Zvezda 1/35th Soviet OT-26 Flamethrower Step By Step Full Build

Zvezda 1/35th Soviet OT-26 Flamethrower Step By Step Full Build

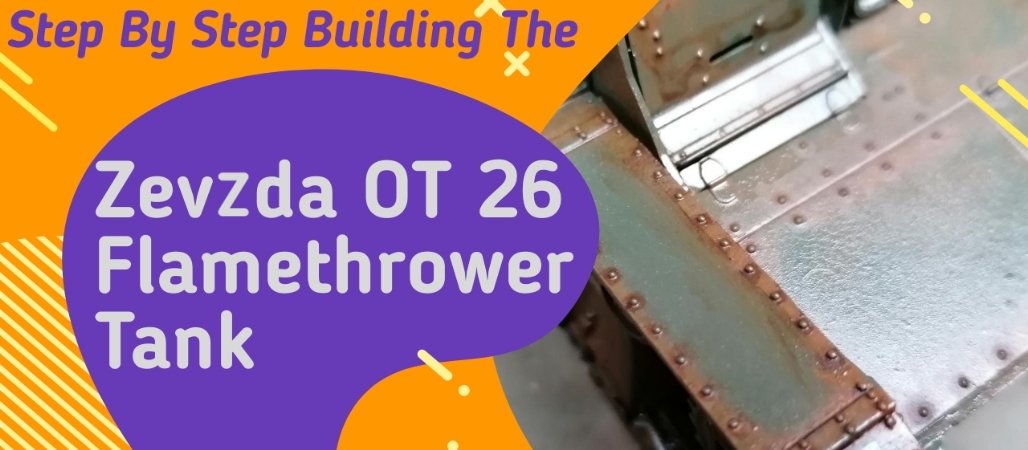
This time on the workbench I’m building the Zvezda OT26 Flamethrower Tank. I have never built a Zeveda model so this small tank should be a great place to start. It’s a reasonably priced kit at under £15 so let’s see what we can do with it.

Building The 1/35th Scale Zvezda OT26 Flamethrower Tank

Zvezda 1/35th Scale Soviet Flame Thrower Tank OT-26 Plastic Model Kit
Zvezda 1/35th Scale Soviet Flame Thrower Tank OT-26 Plastic Model Kit.
Cleaning Up The Parts For The OT-26 Tank Model
Cleaning Up The Parts For The OT-26 Tank Model.

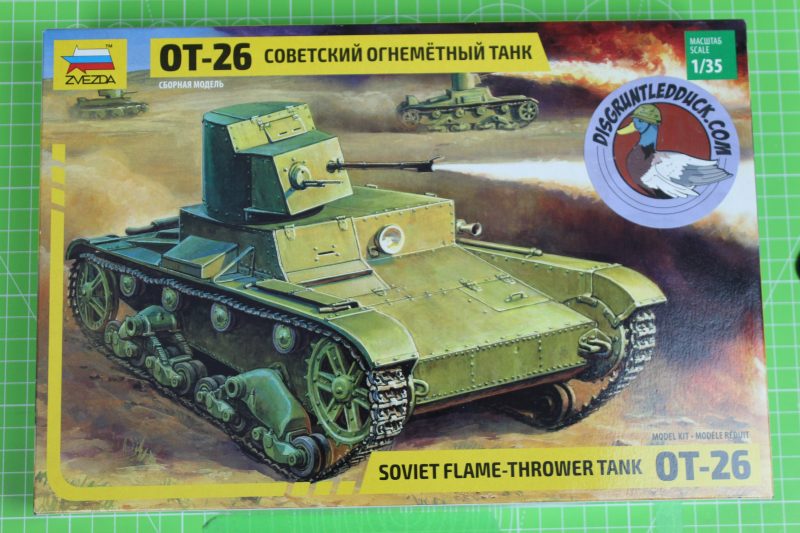
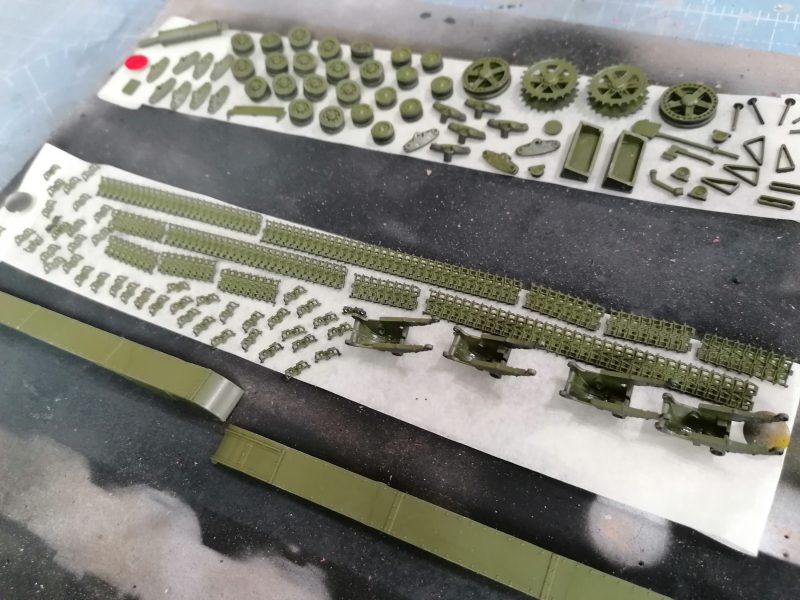
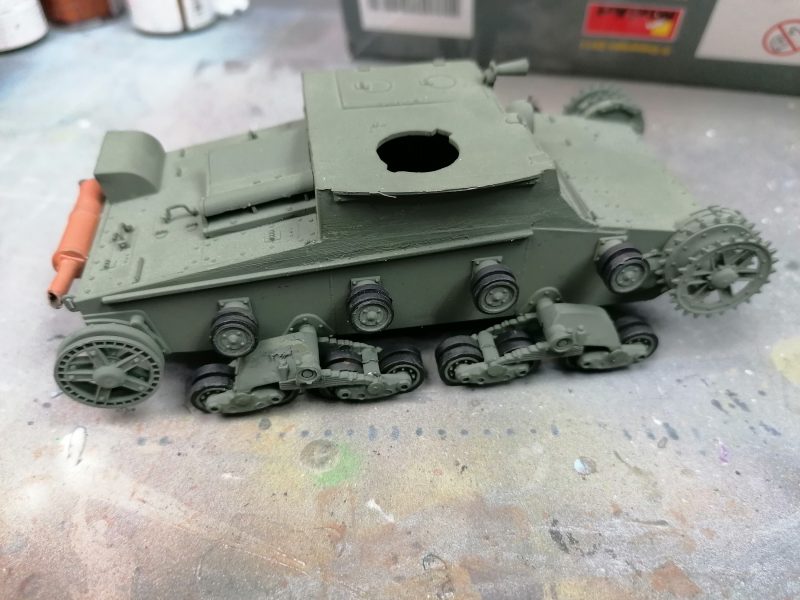
So out of the gate, you can see that the tank is quite square in places, maybe because of this, the upper and lower hull are cast in multiple parts. This straight away makes it a trickier build than the Tamiya Model Tanks I have been working on. You can check out the full in box review of this model HERE.

The First Parts Of The Tank Hull Coming Together
The First Parts Of The Tank Hull Coming Together.
Main Part Of The Russian Scale Model Tank Is Completed
Main Part Of The Russian Scale Model Tank Is Completed.
Rear View Of The Hull On The OT-26 Flamethrower Tank Model
Rear View Of The Hull On The OT-26 Flamethrower Tank Model.
The Turret For The Russian Flame Thrower Tank
The Turret For The Russian Flame Thrower Tank.

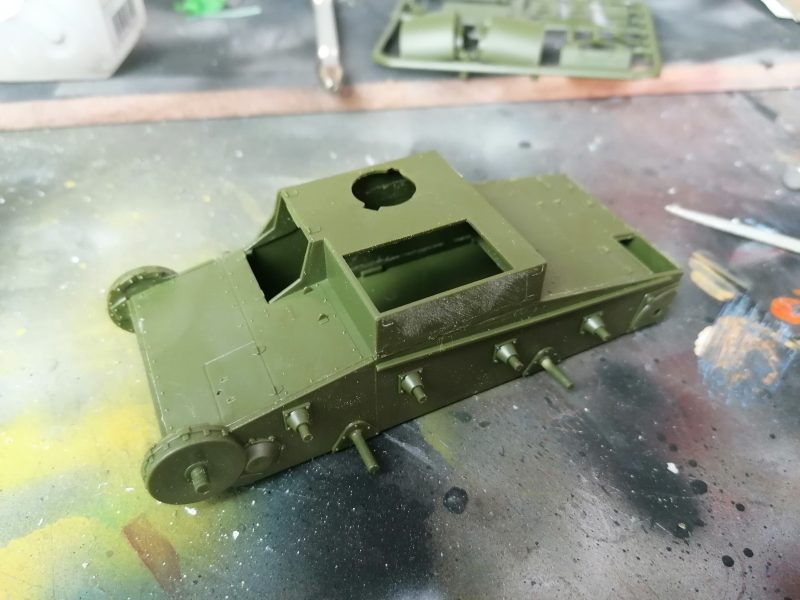
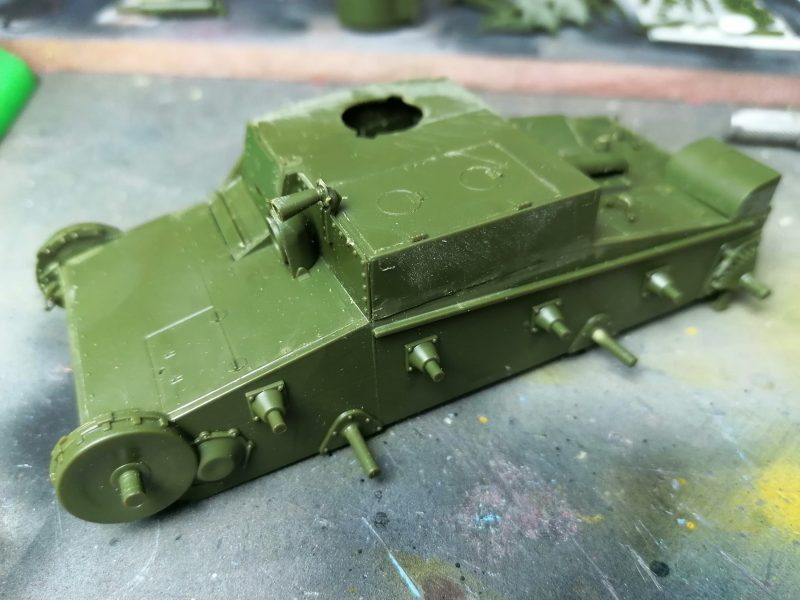
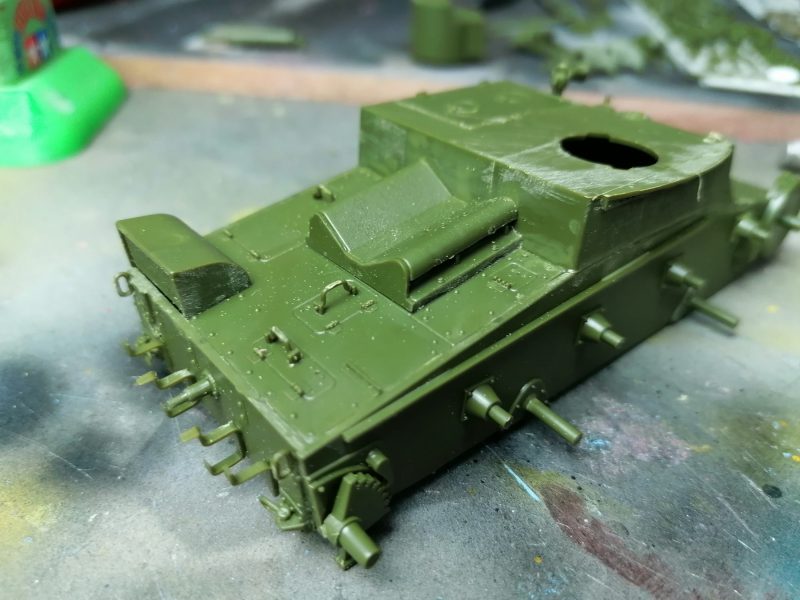
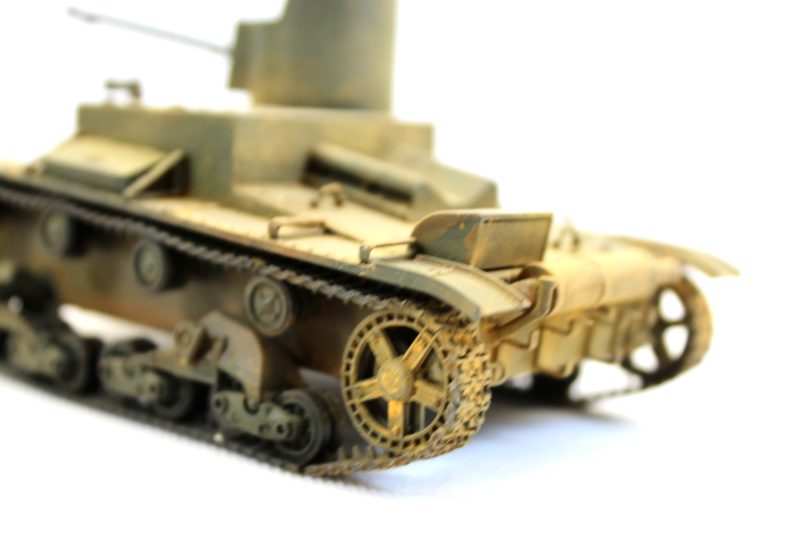
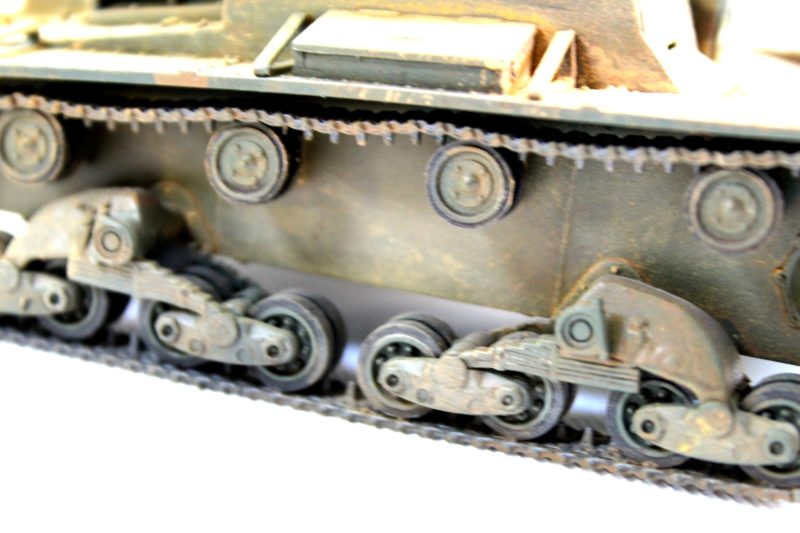
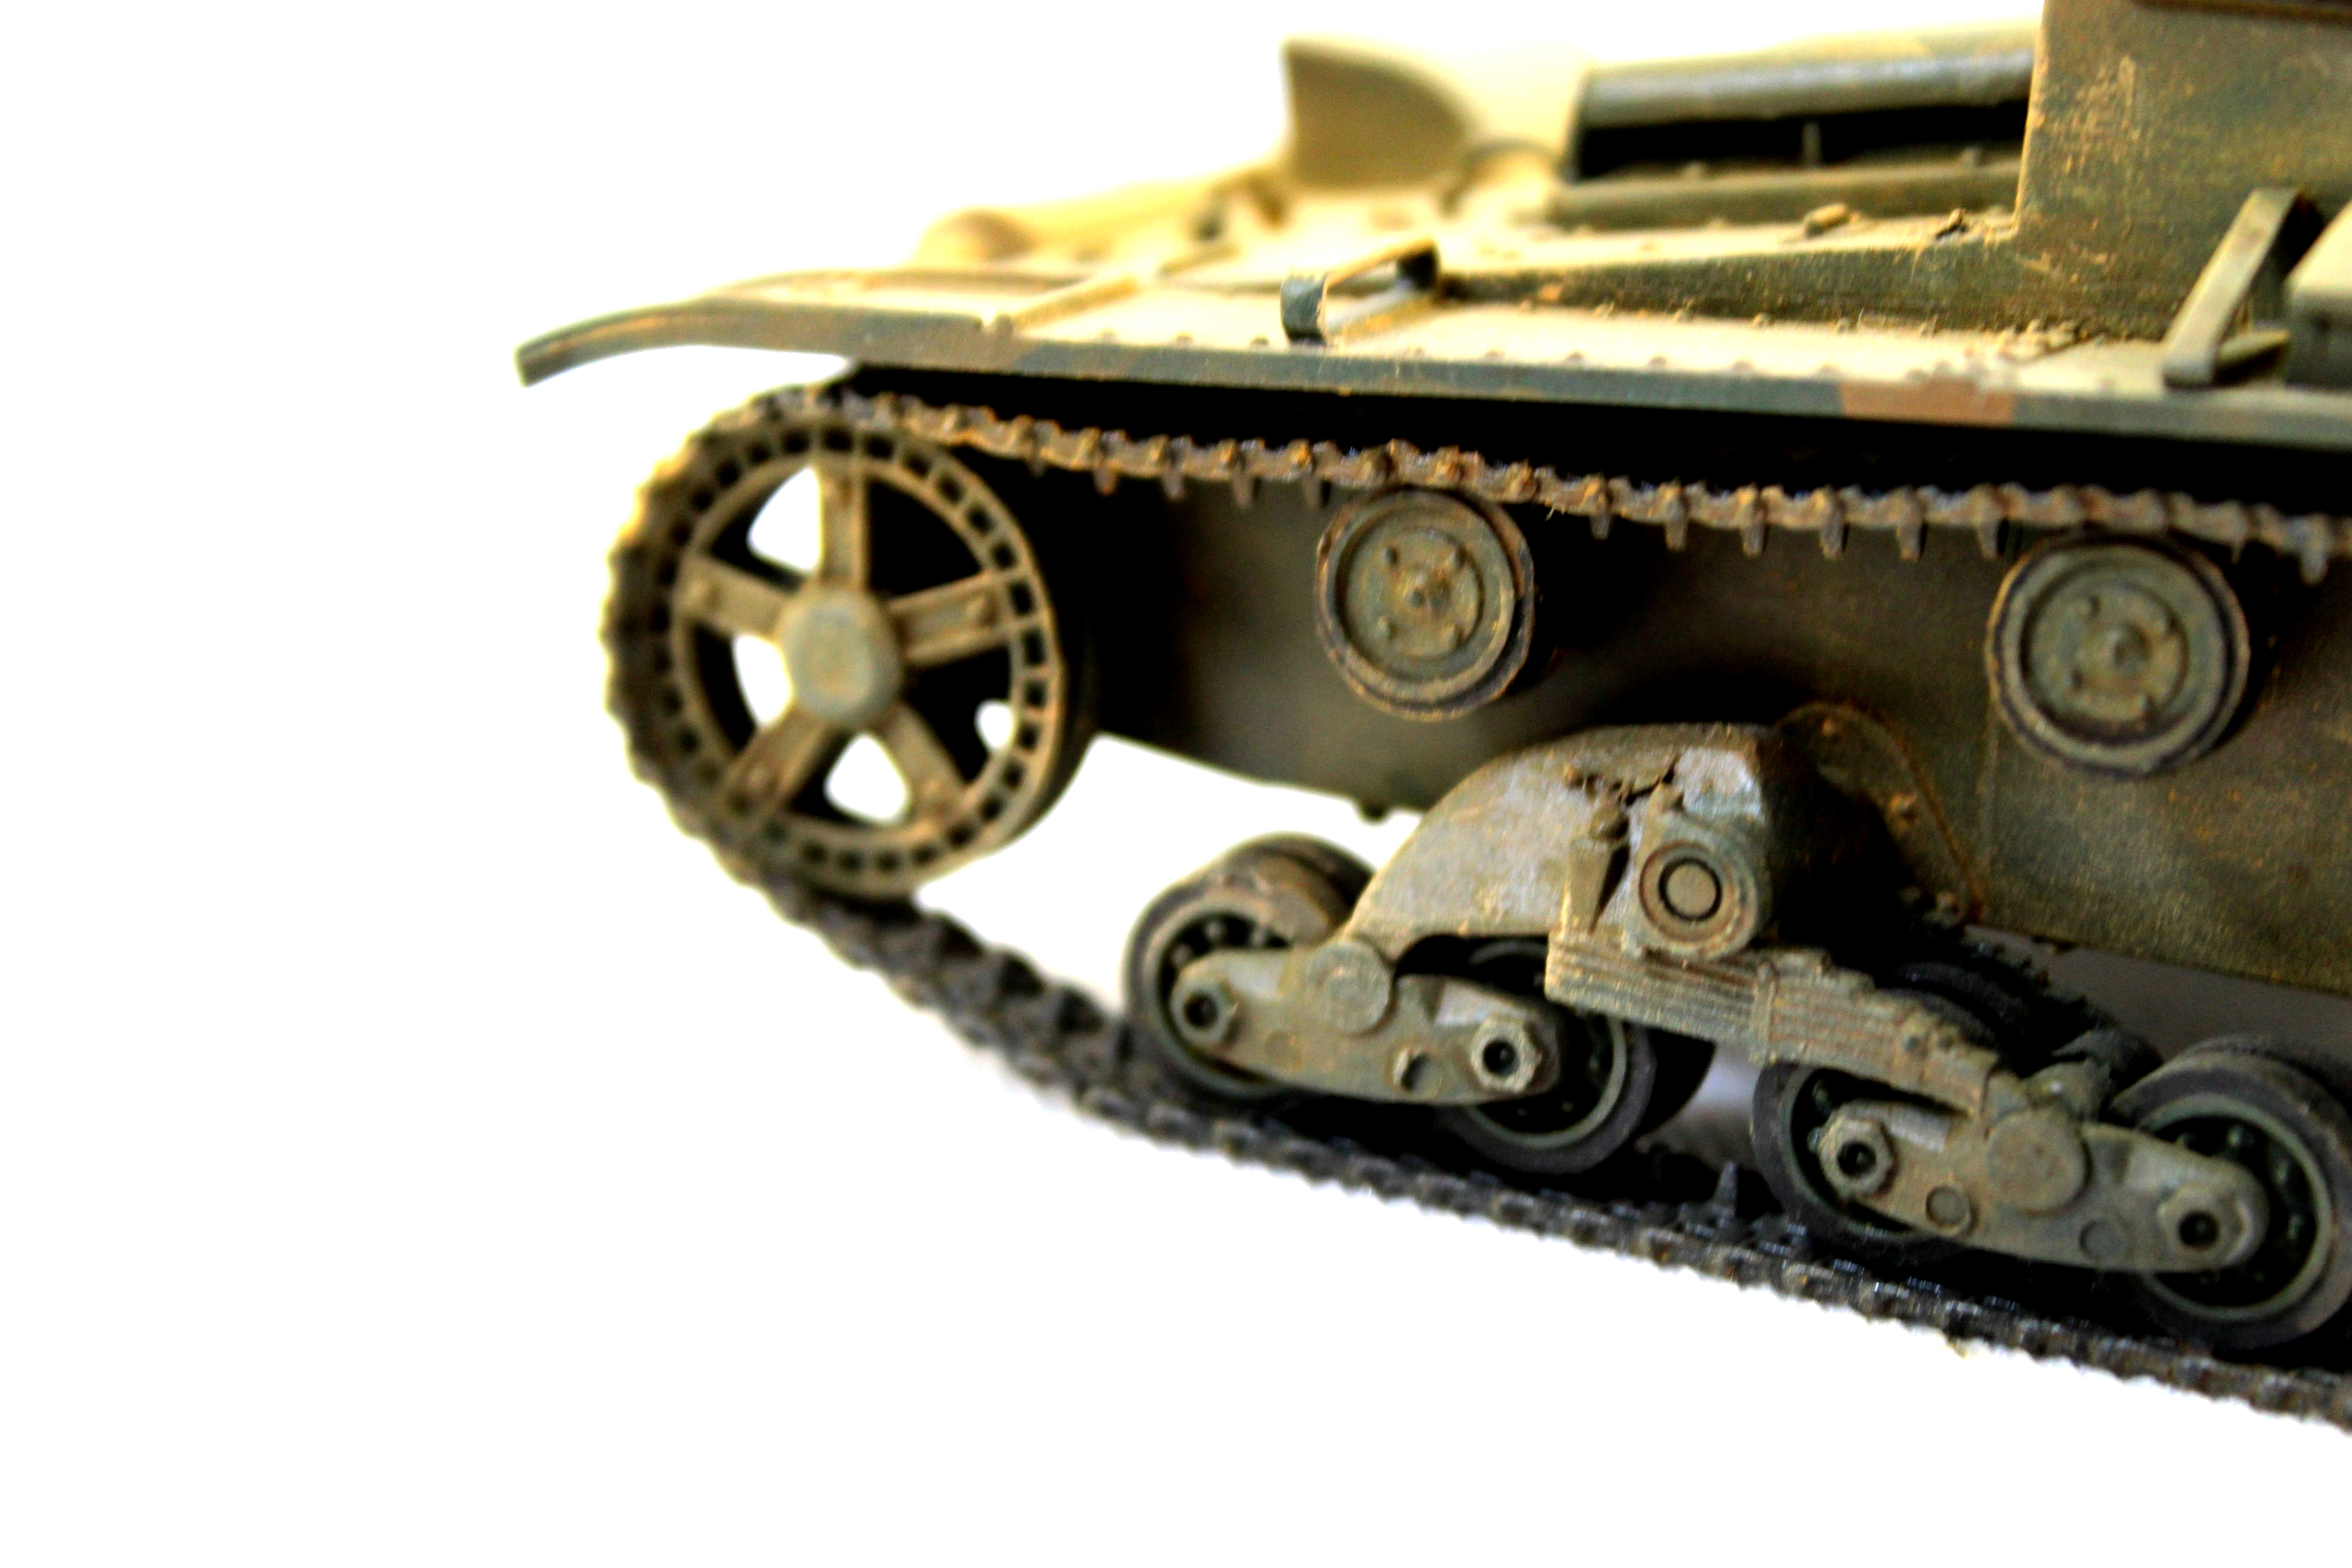
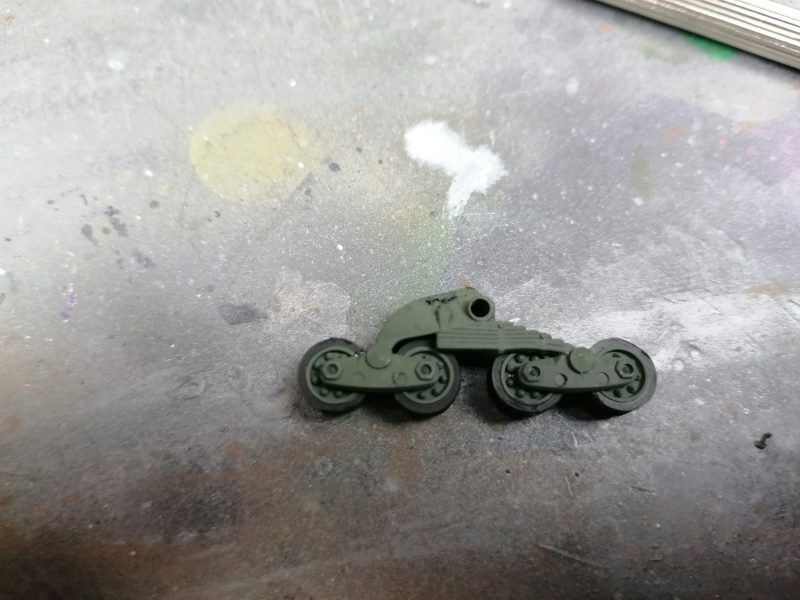
In the conclusion of the build phase, there has been a fair amount of sanding and filling on this kit. Admittedly the work has been worth it as this cute little tank has made me practice a few skills that I don’t necessarily use on every build. In particular because of those solid plastic tank tracks.

The Parts For The OT-26 Model Tank Ready For Painting
The Parts For The OT-26 Model Tank Ready For Painting.

Painting And Weathering The Zvezda OT26 Flamethrower Tank

Wheels For The OT-26 Model Tank
Wheels For The OT-26 Model Tank.
The Wheels And Iderlers Fitted On The 1/35th Scale Russian Tank
The Wheels And Idlers Fitted On The 1/35th Scale Russian Tank.

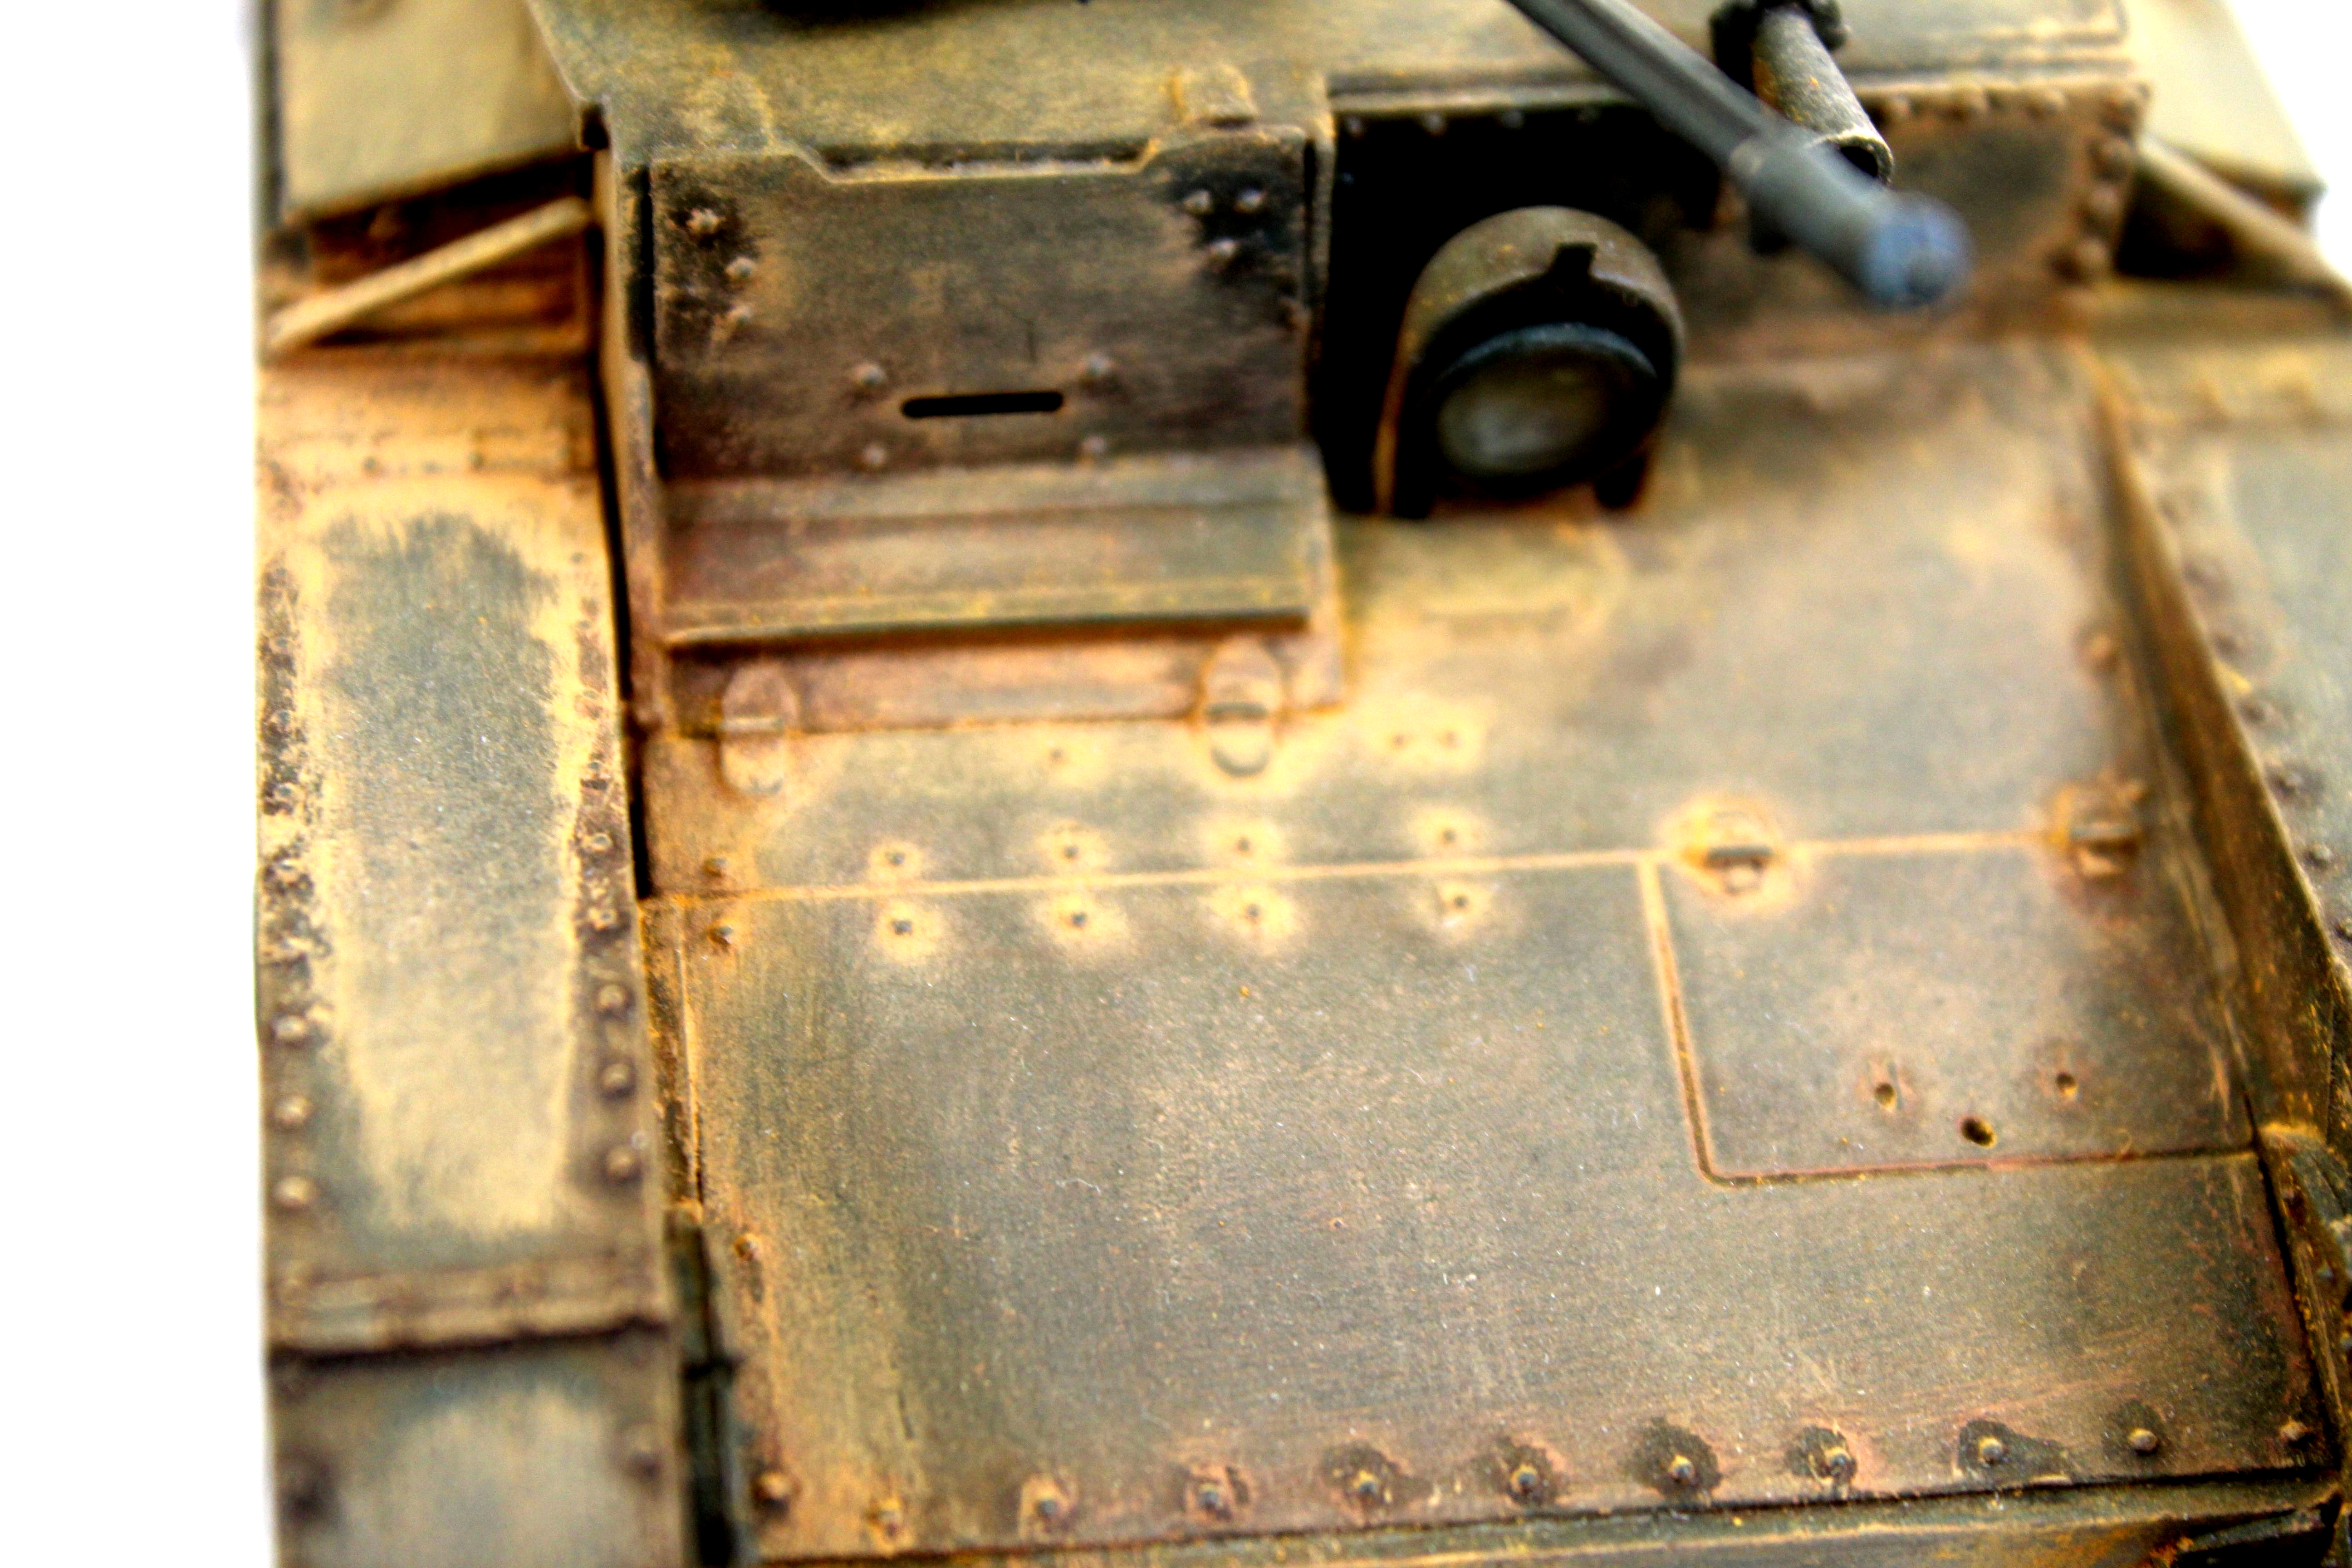
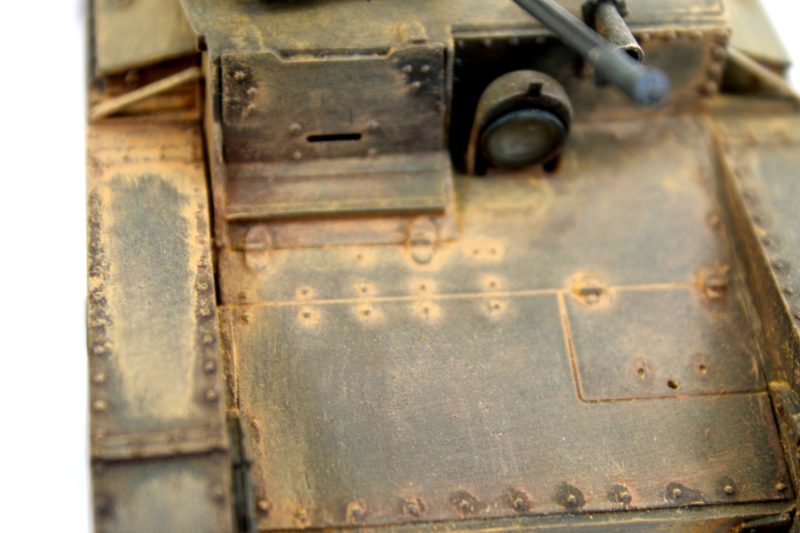
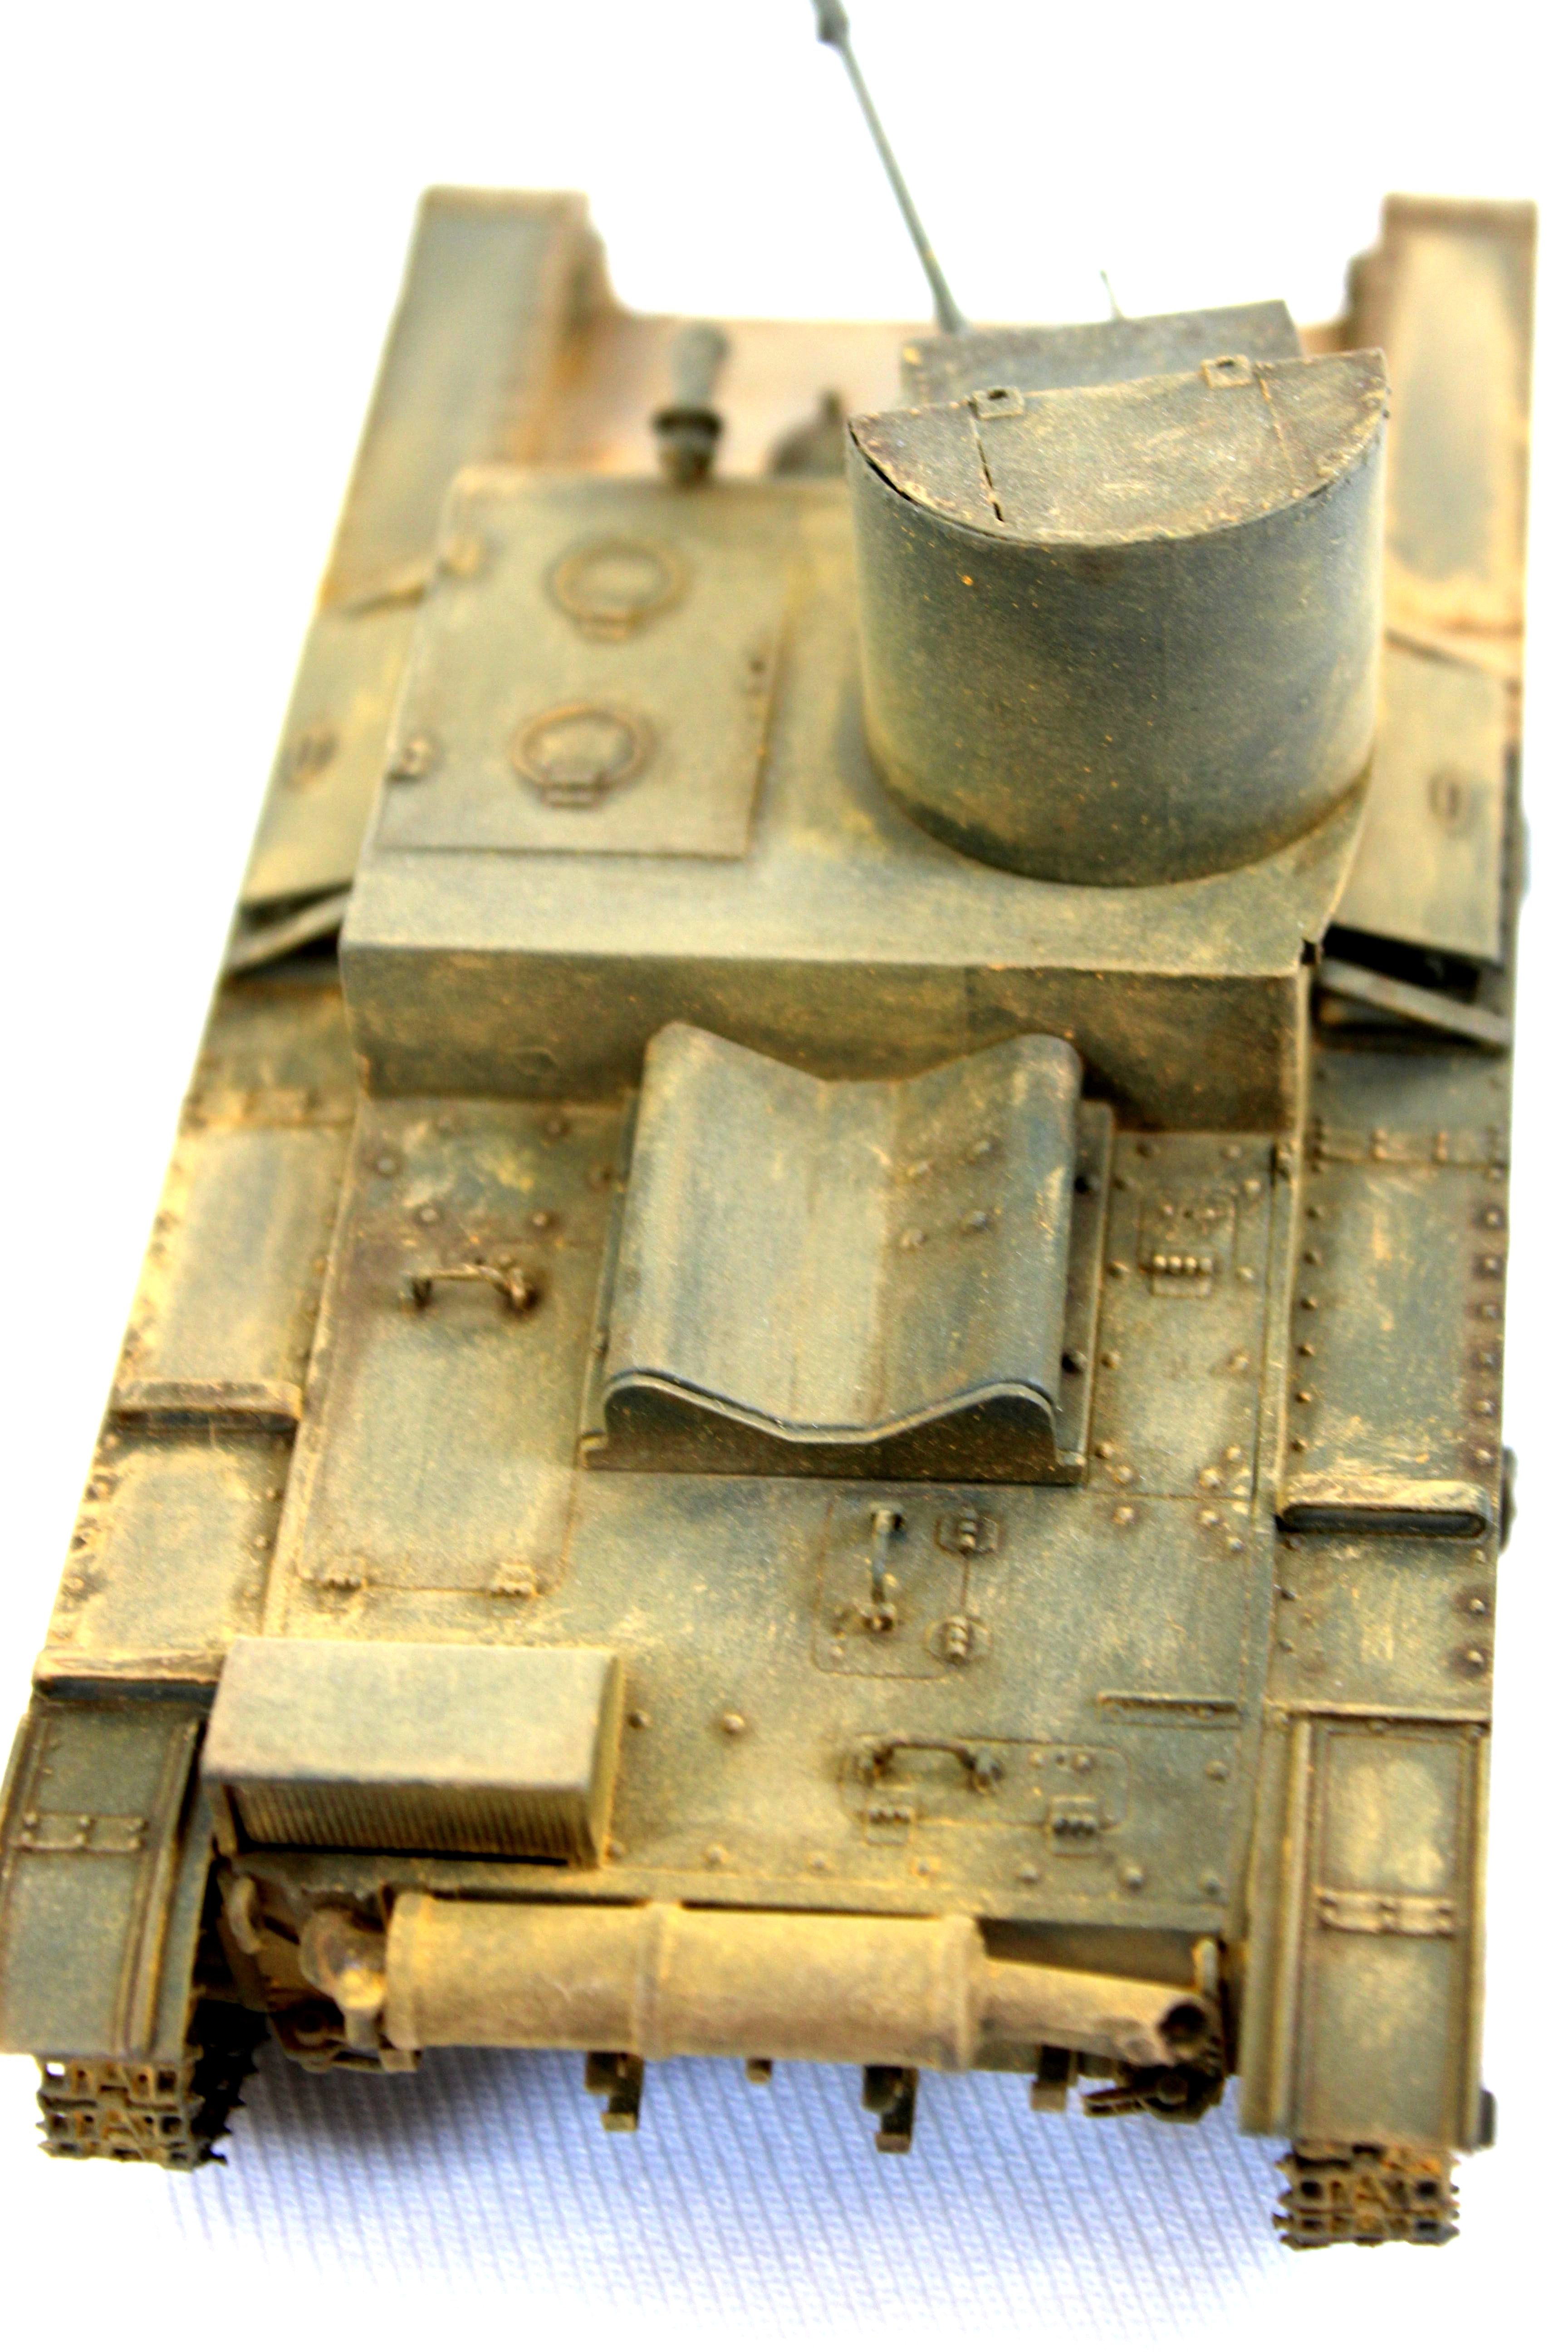
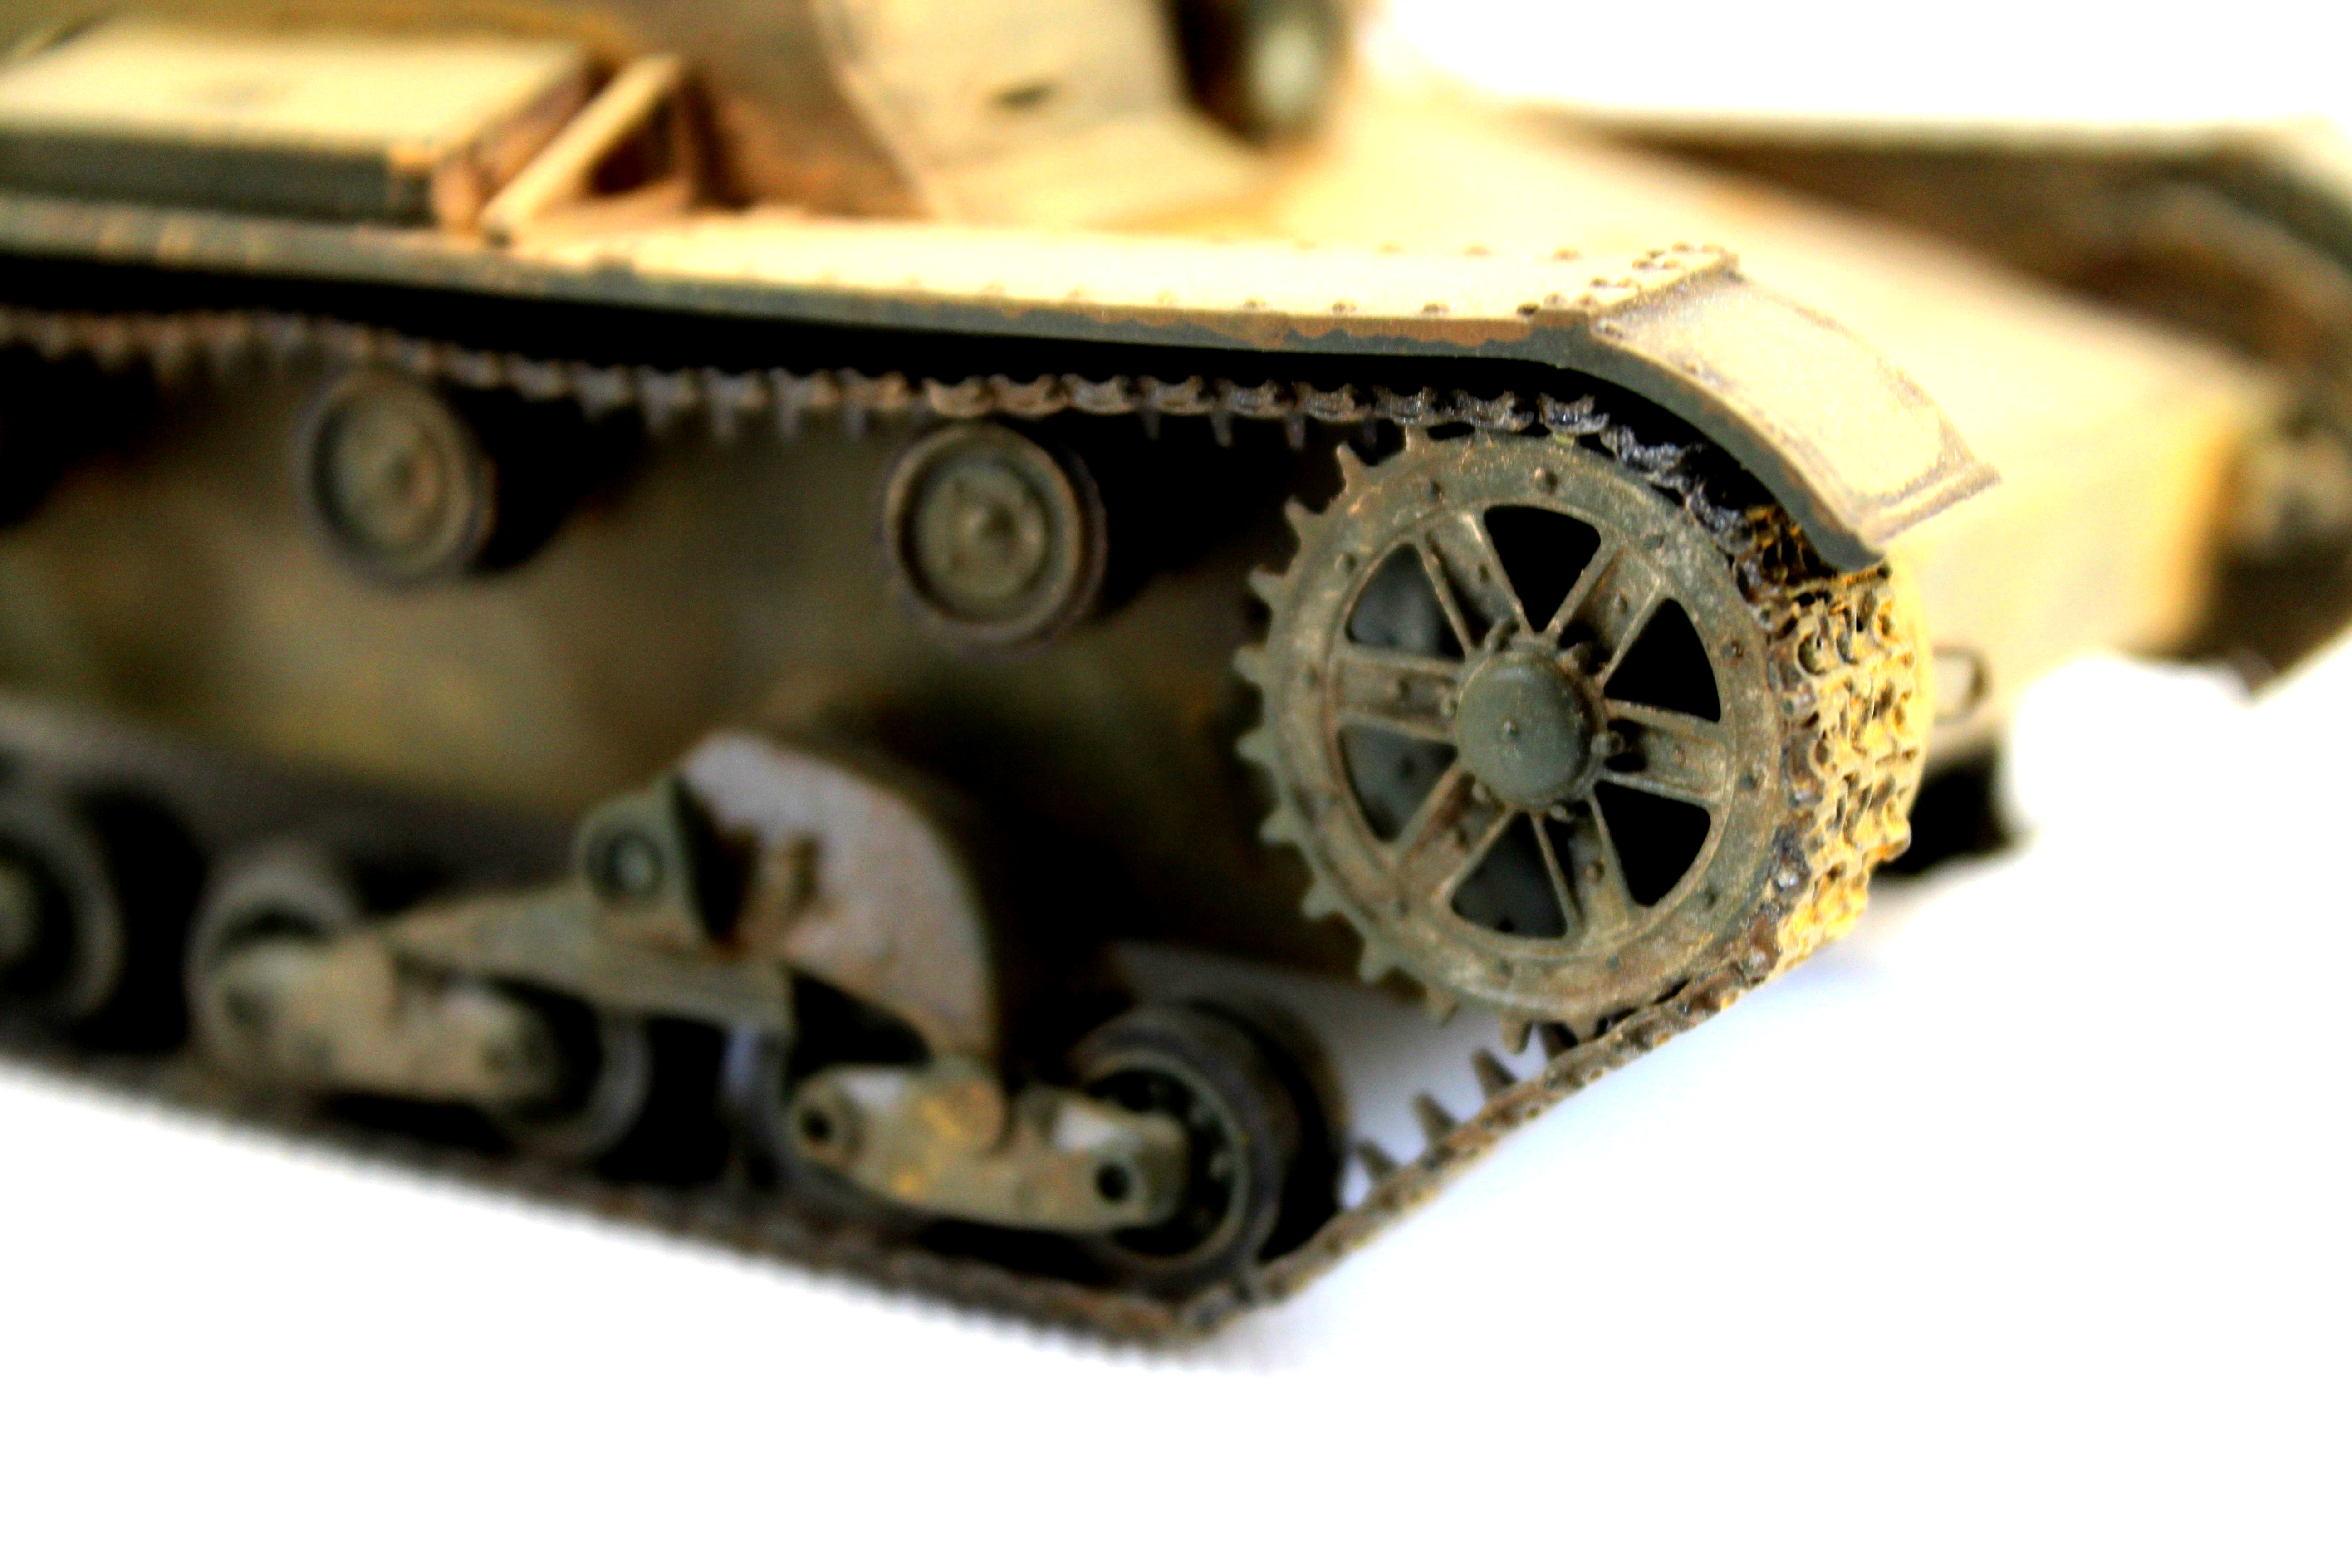
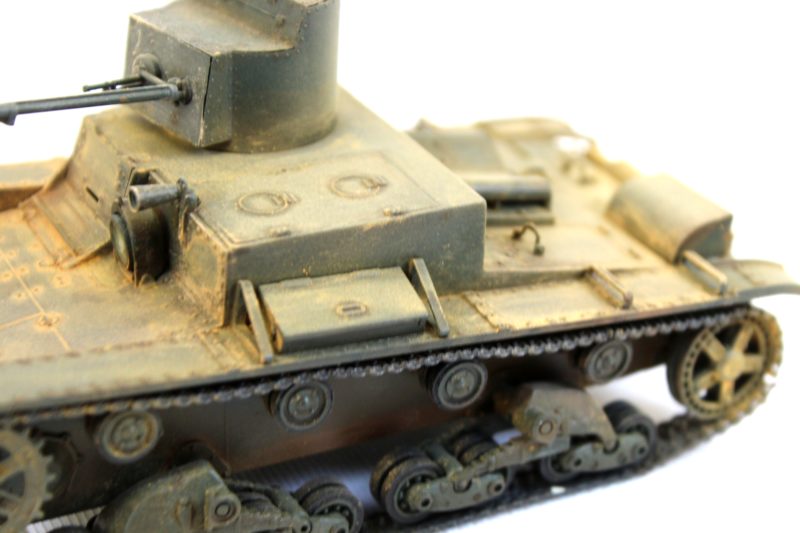
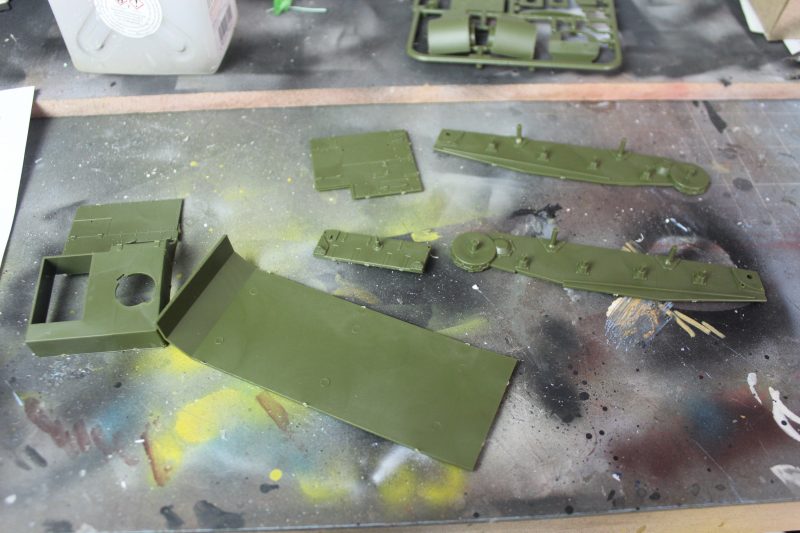
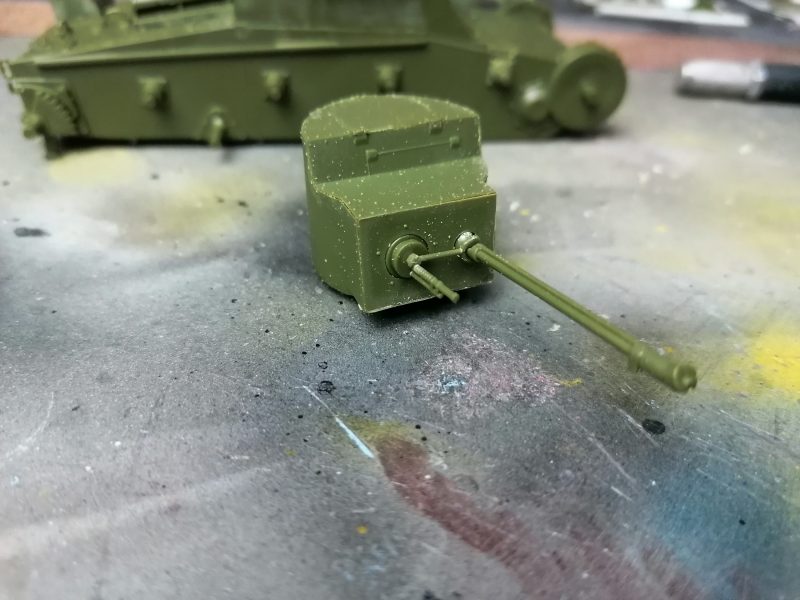
So this tank model is getting a super simple paint scheme and very minimal weathering. Then after a coat of green paint, I have painted the exhaust a rust colour and given the body work a rust wash.

A Heavy Rust Wash Applied To The Edges Of The Panels
A Heavy Rust Wash Applied To The Edges Of The Panels.
With The Rust Wash Applied Quite Liberally
With The Rust Wash Applied Quite Liberally.
Close Up Of The Rust Wash On The OT-26 Flamethrower Tank
Close Up Of The Rust Wash On The OT-26 Flamethrower Tank.

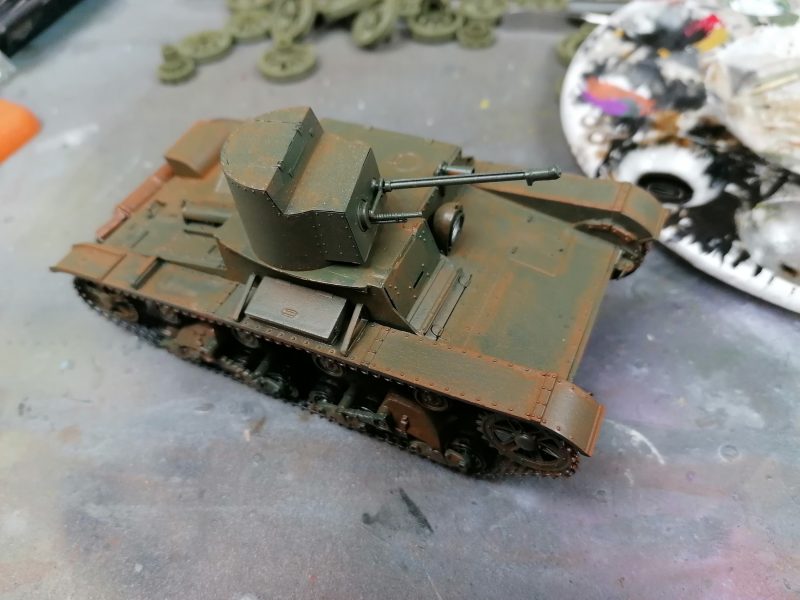
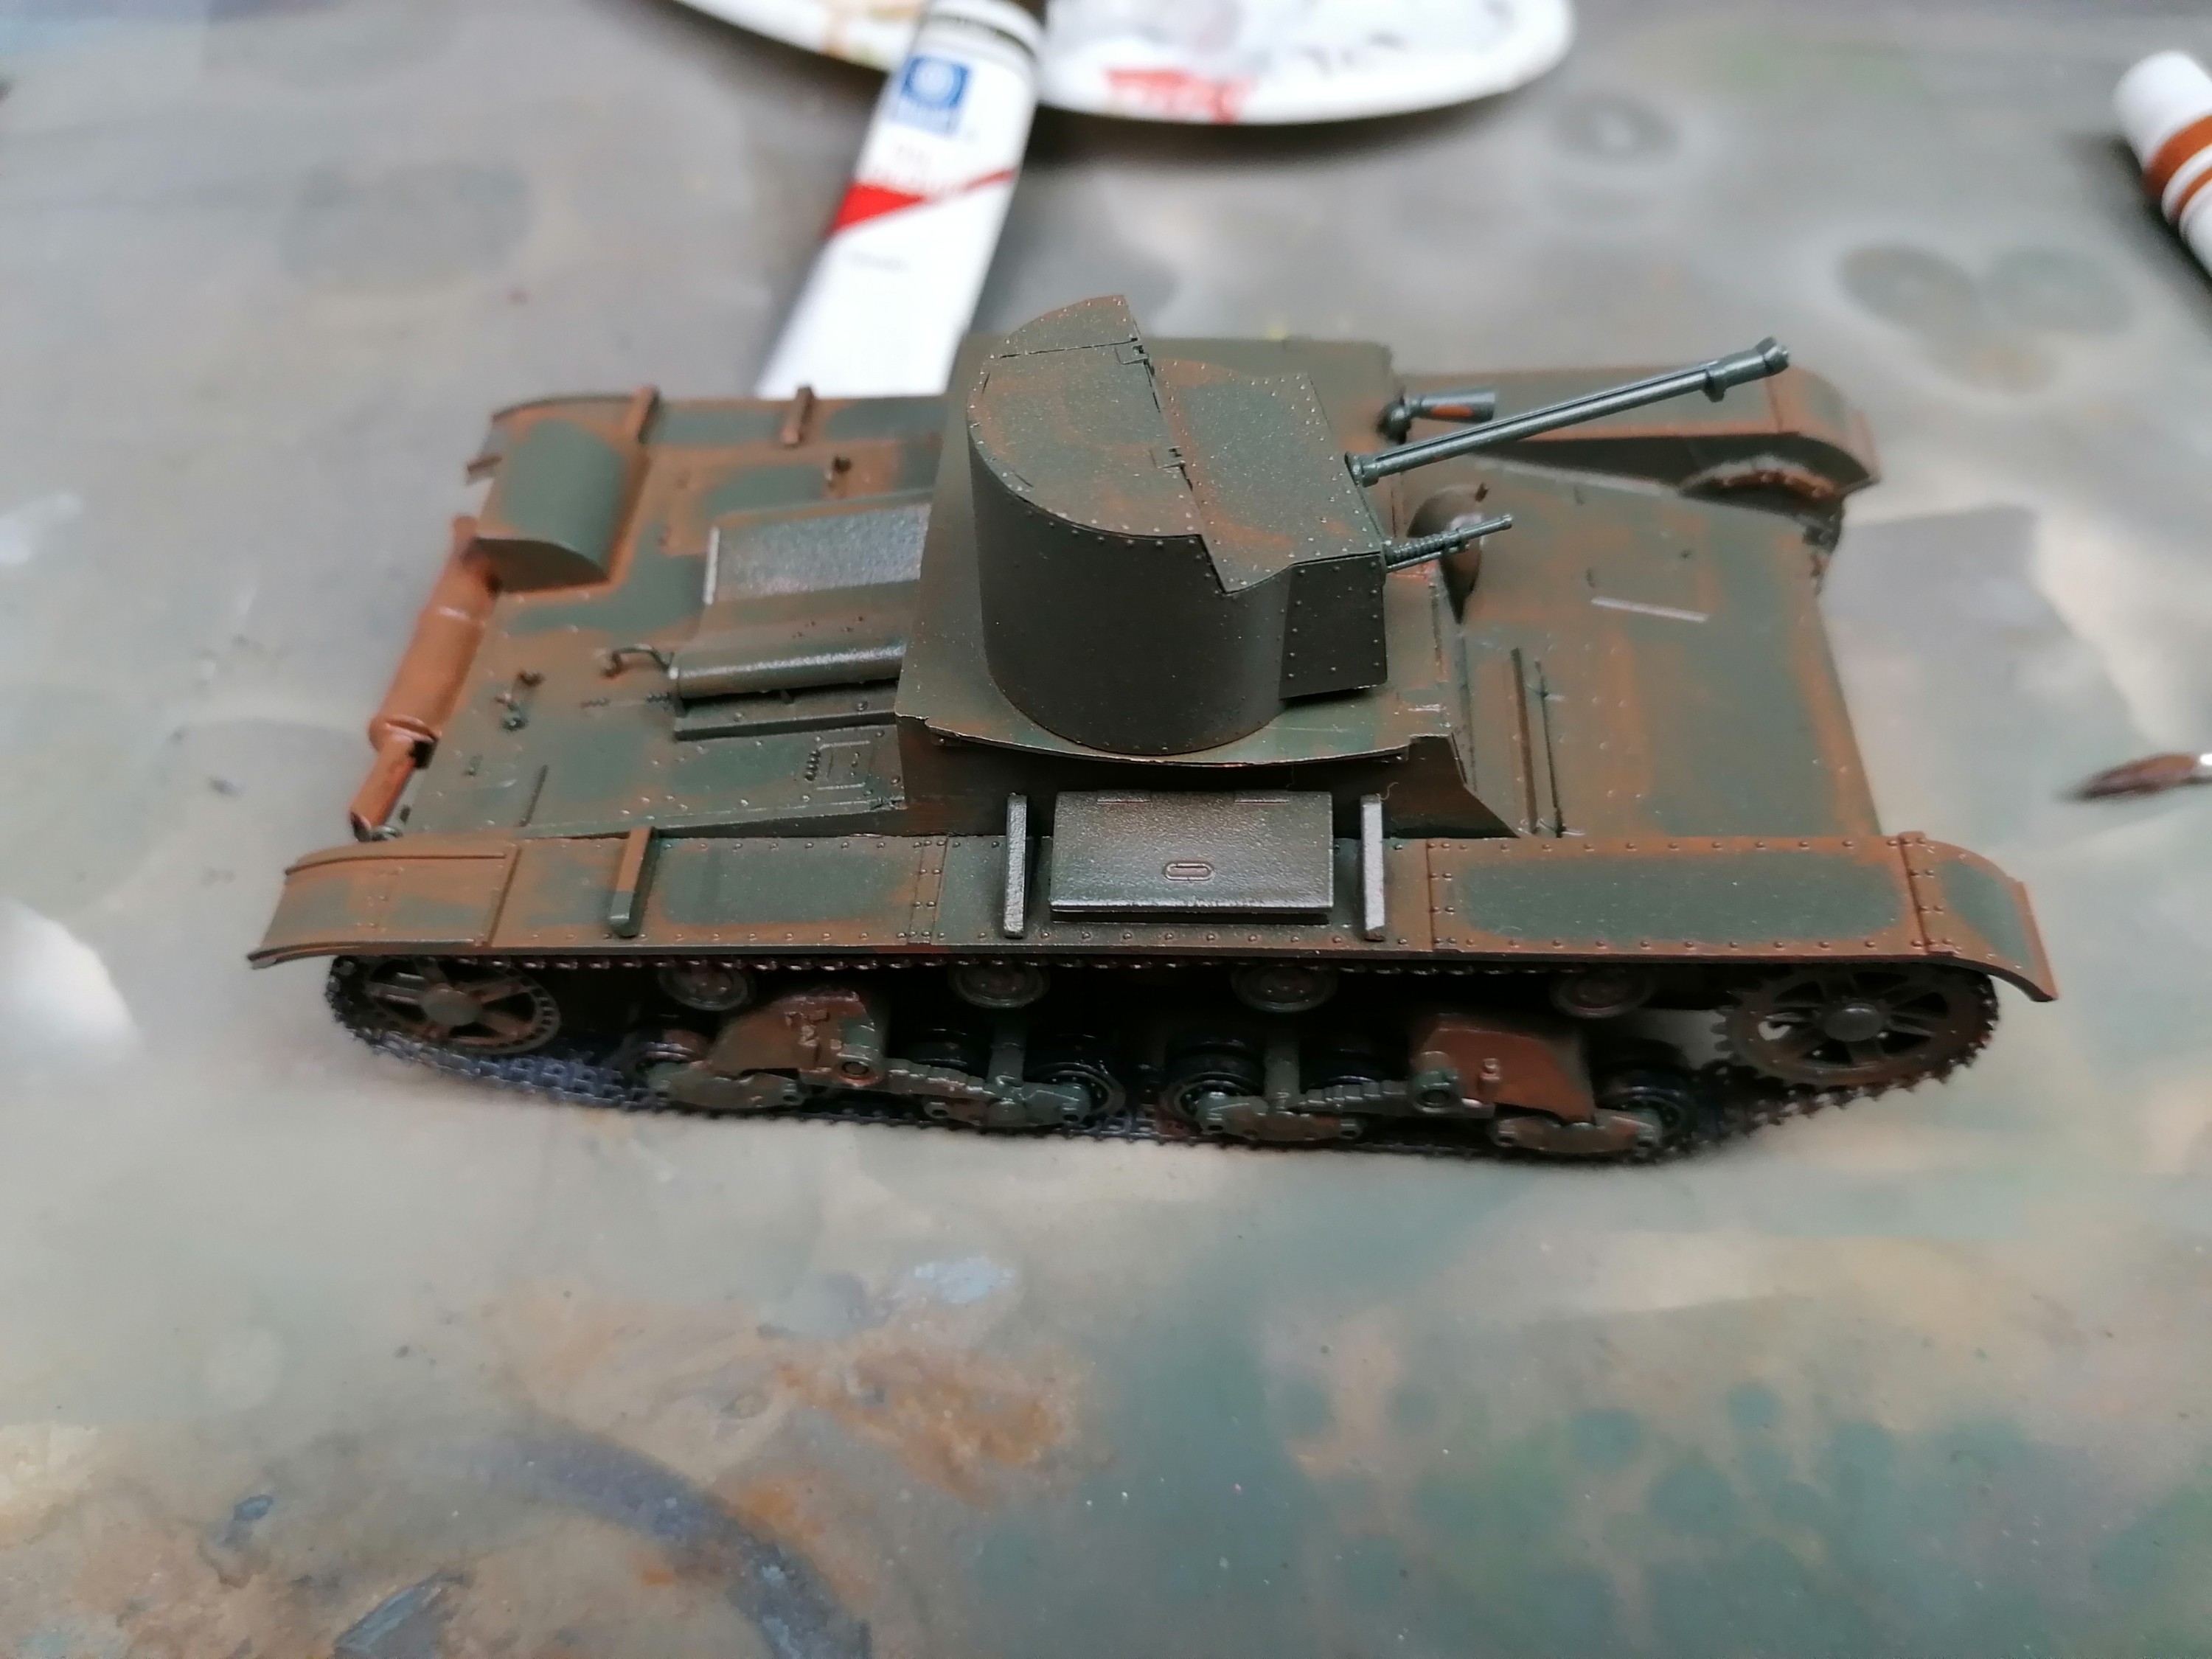
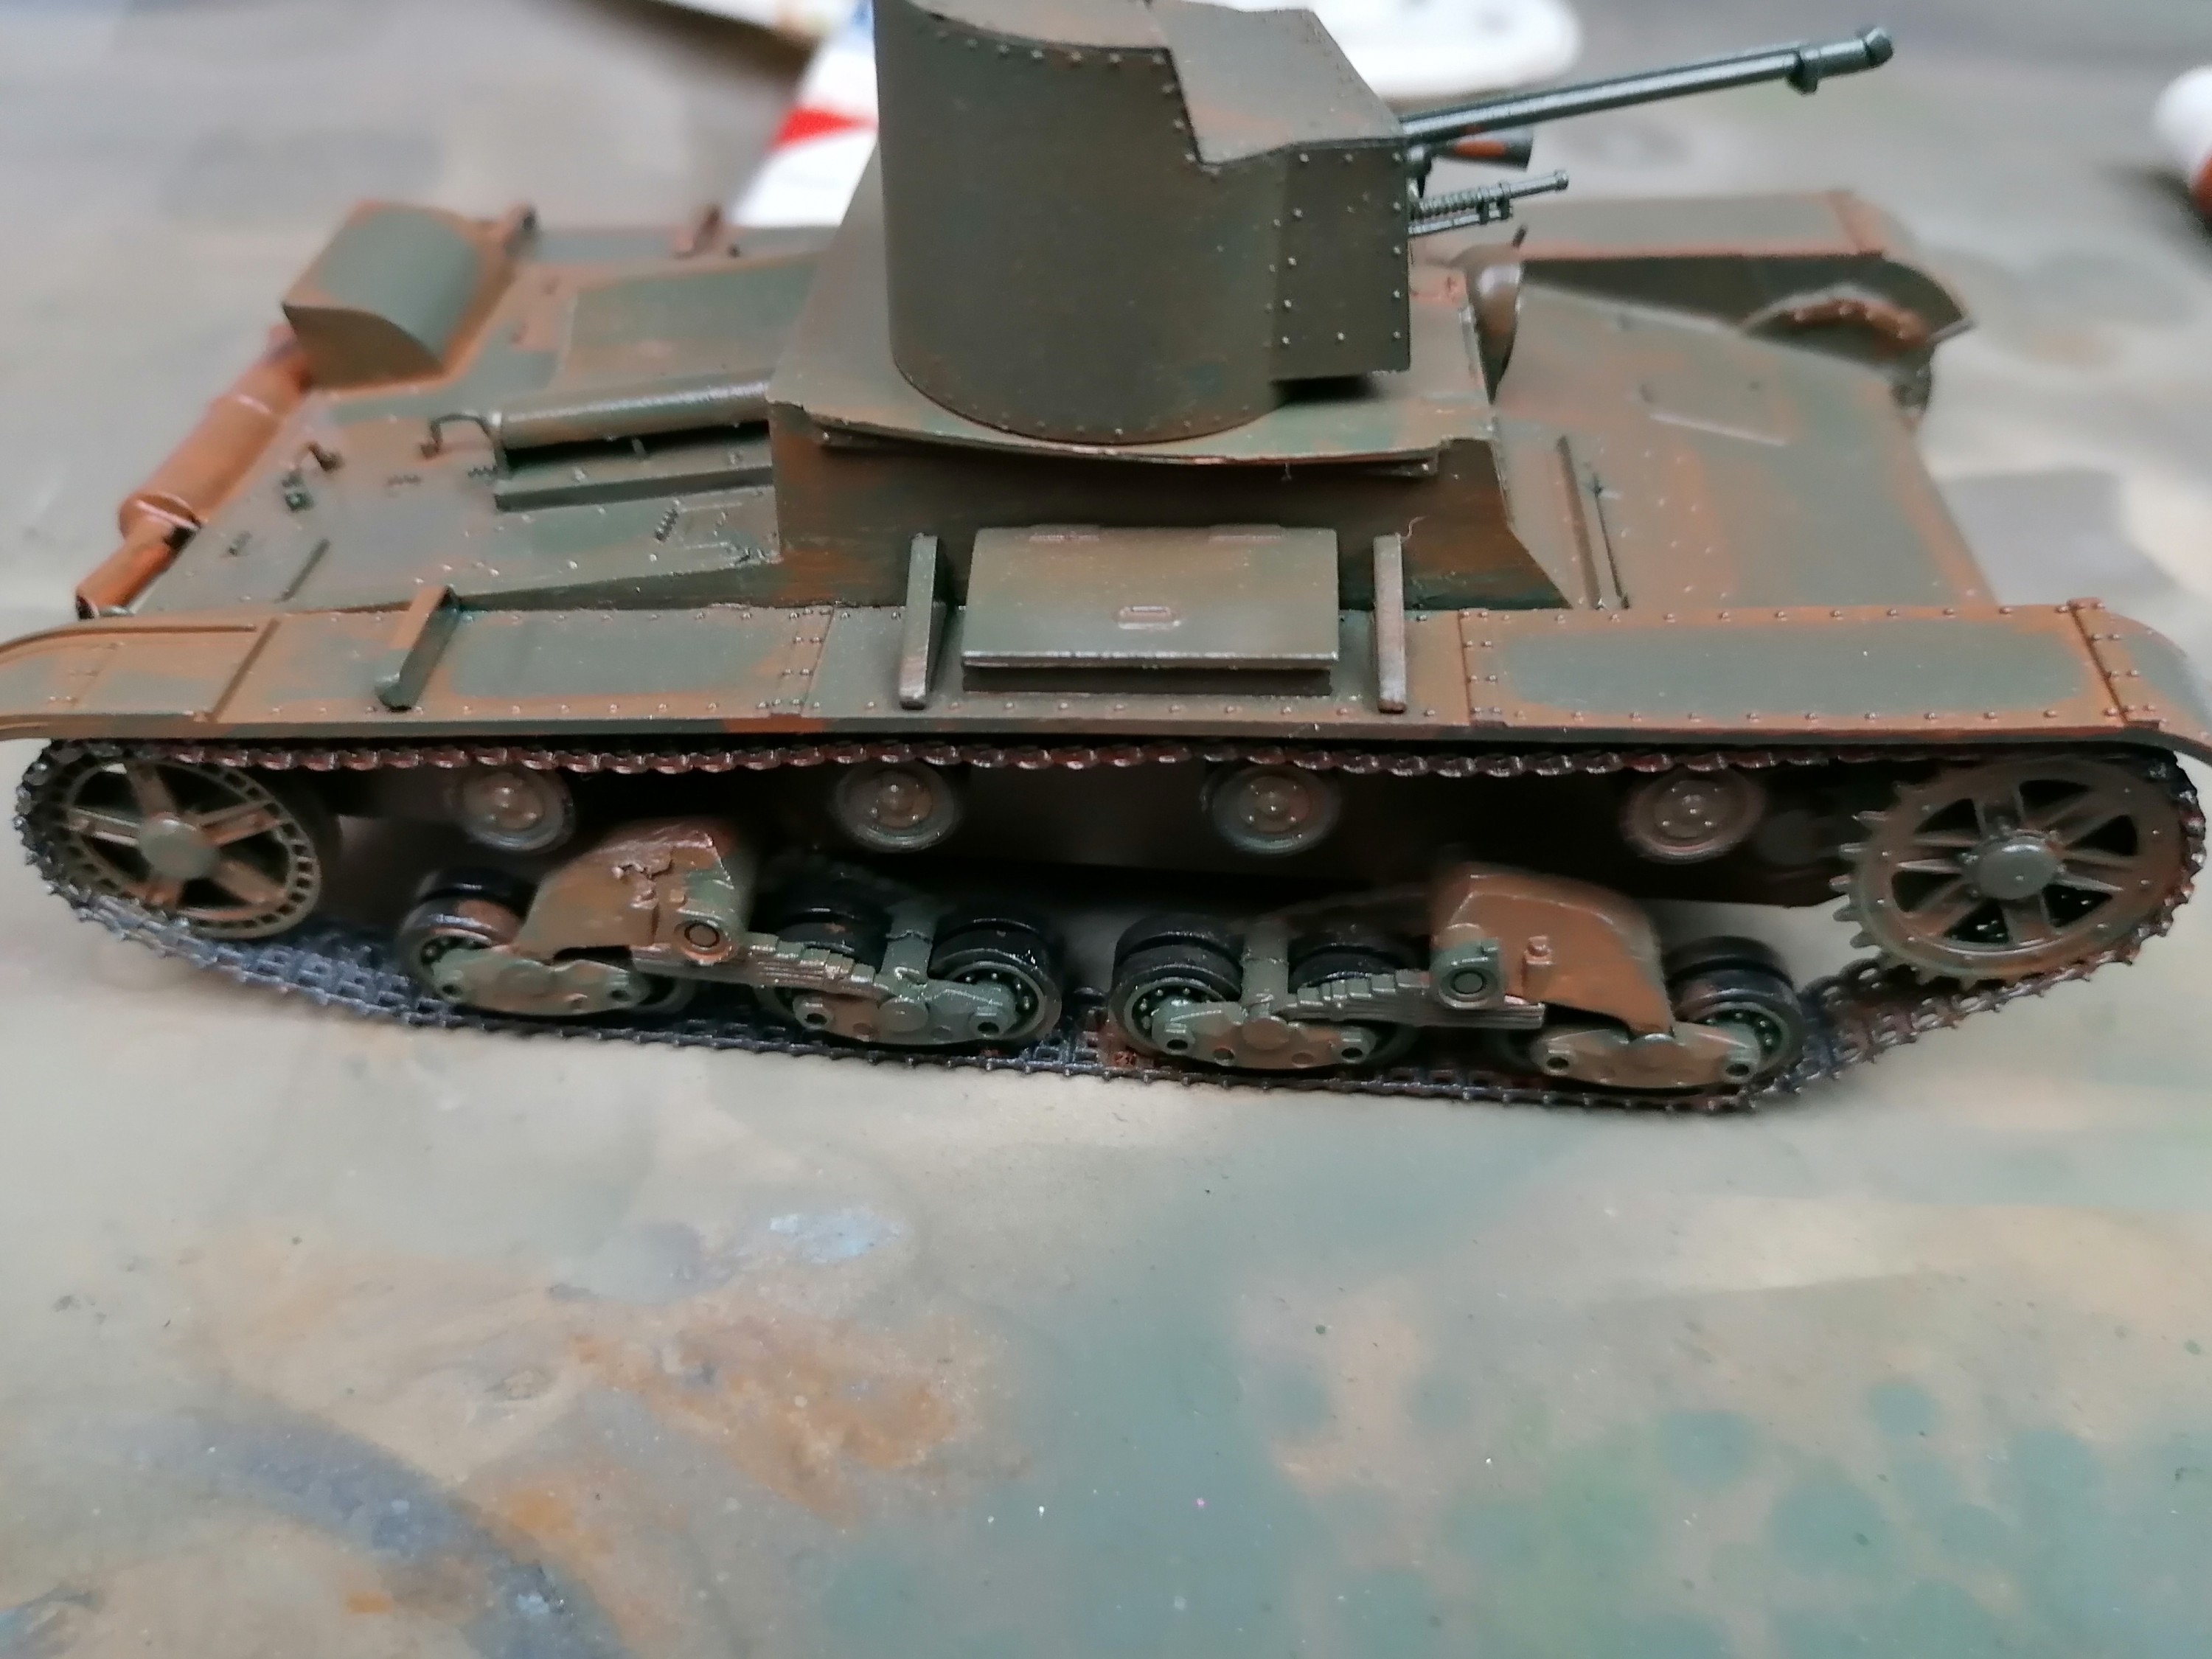
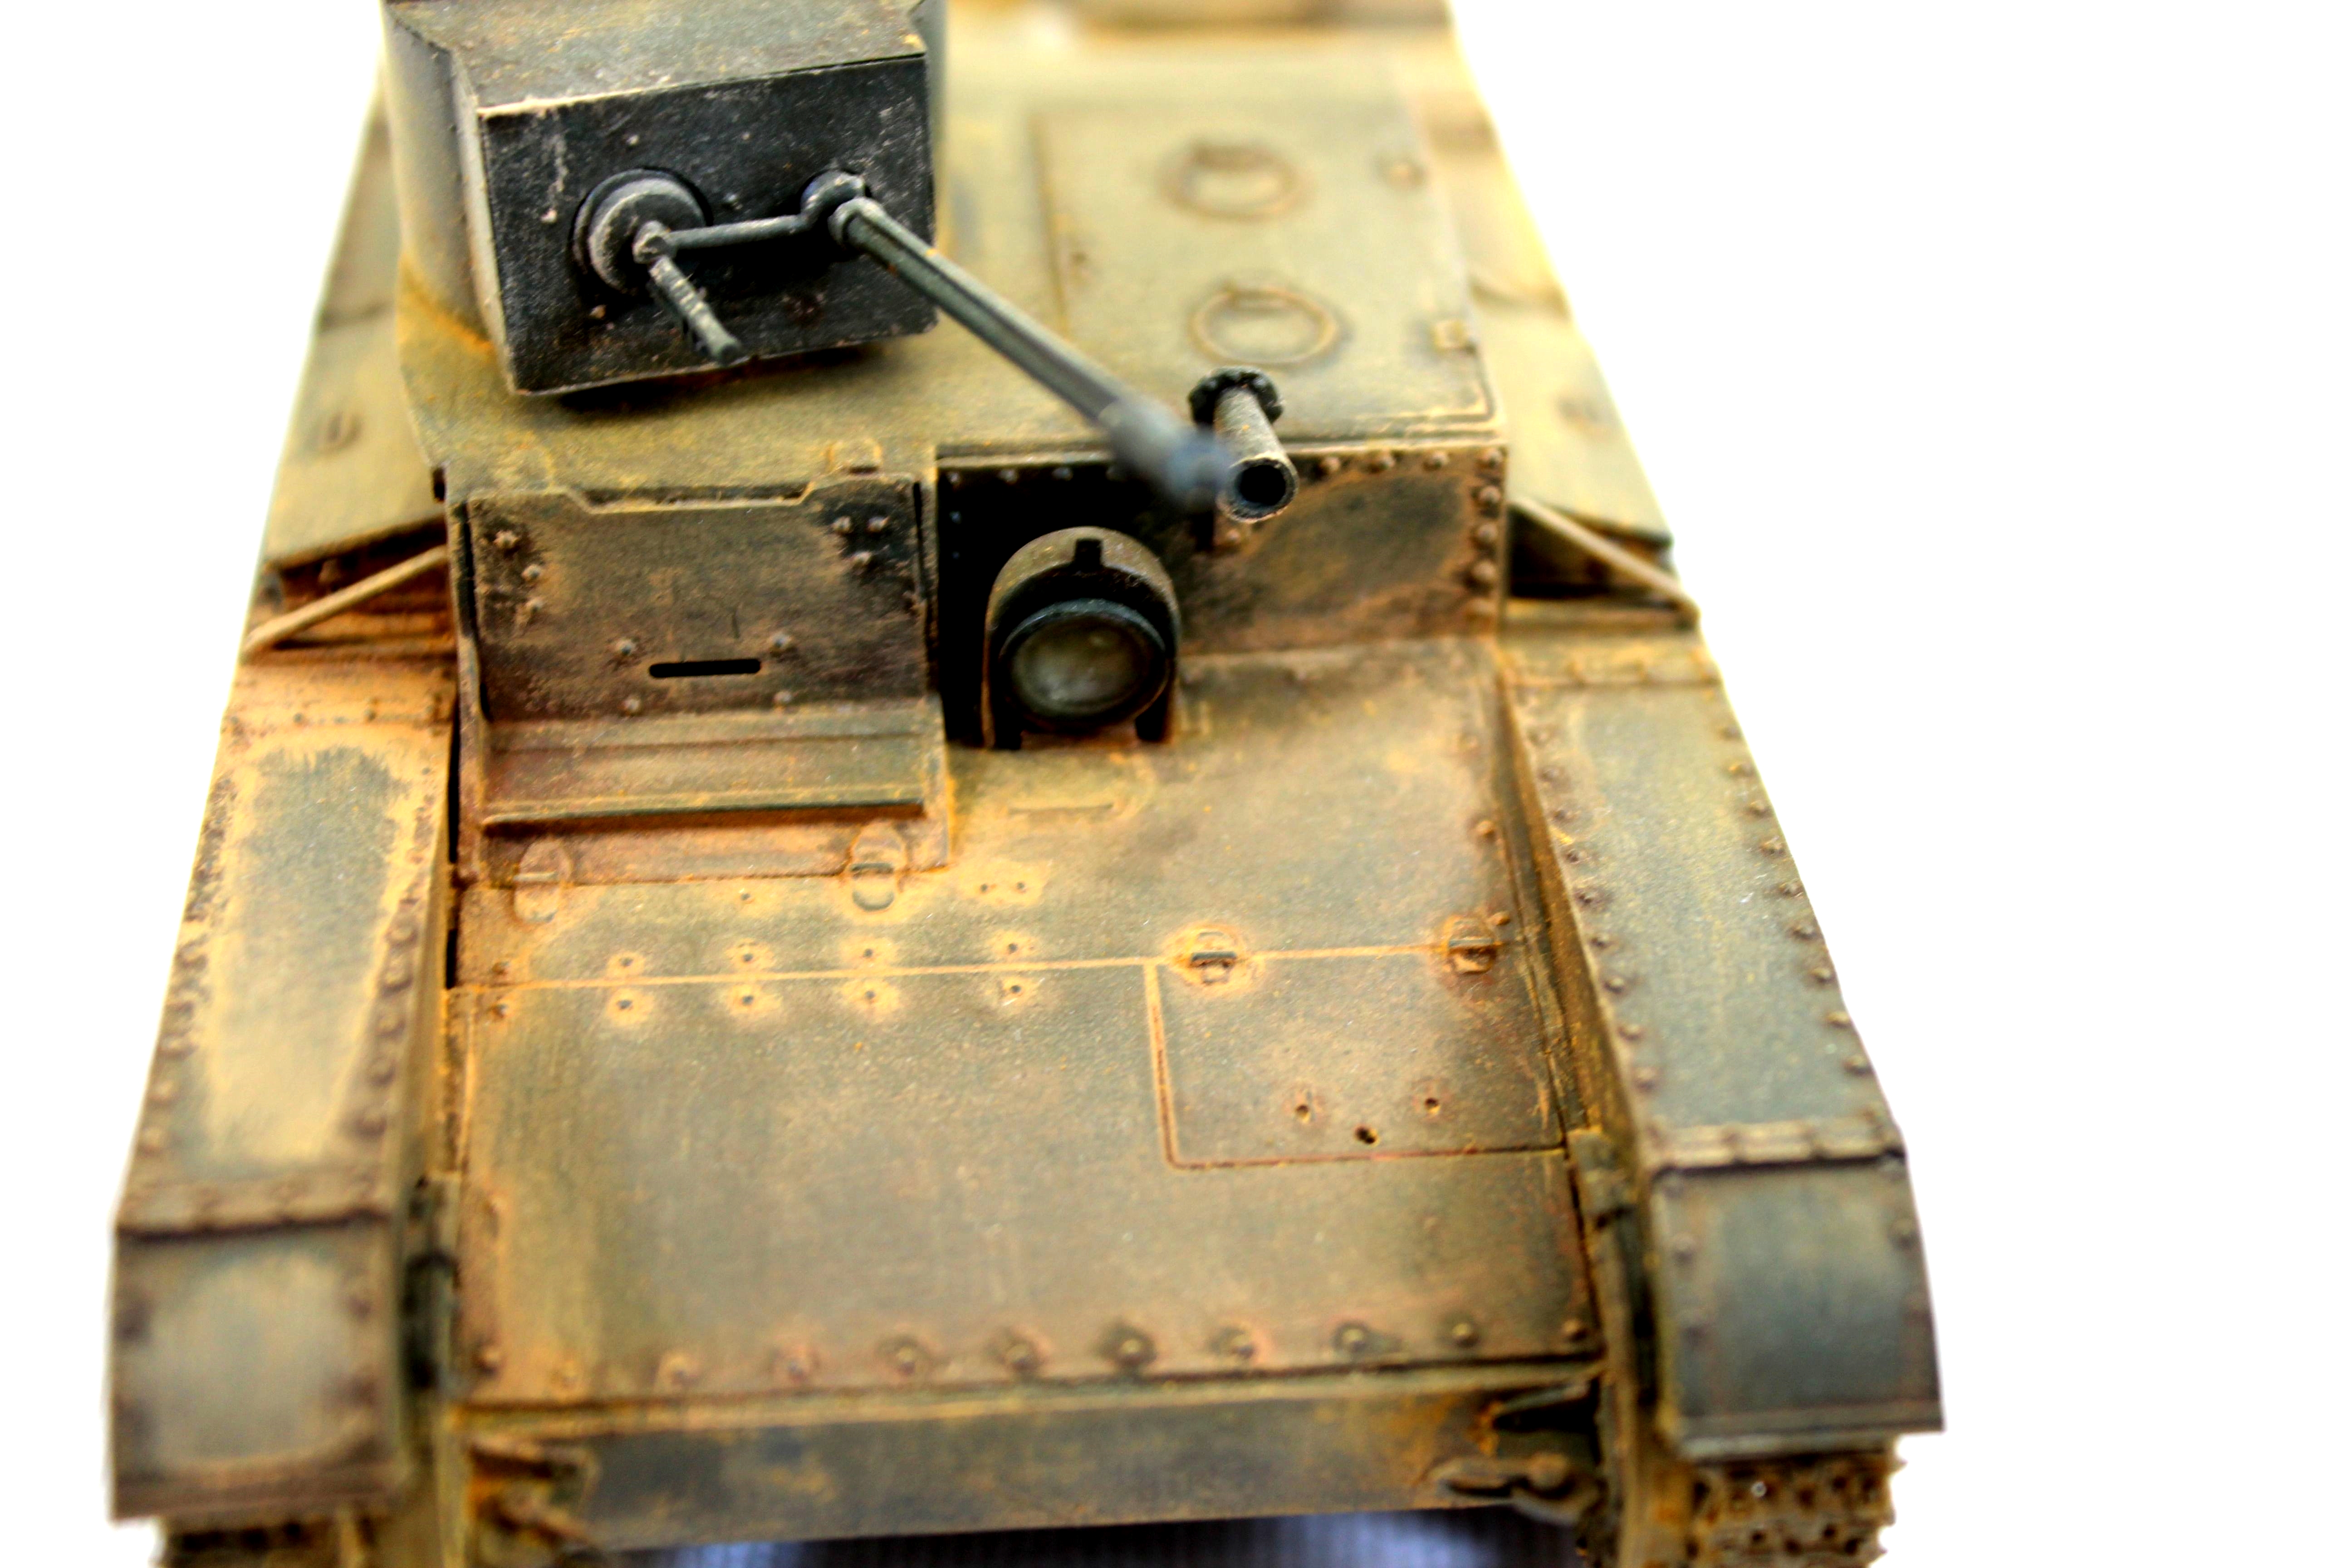
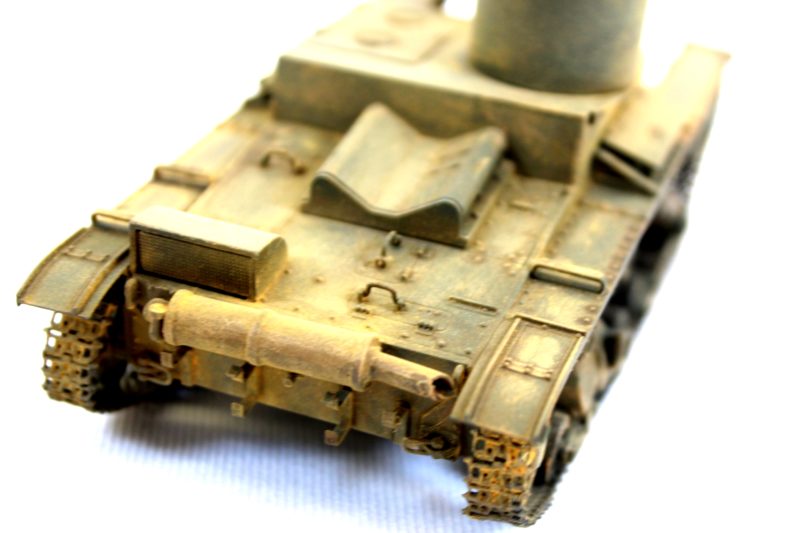
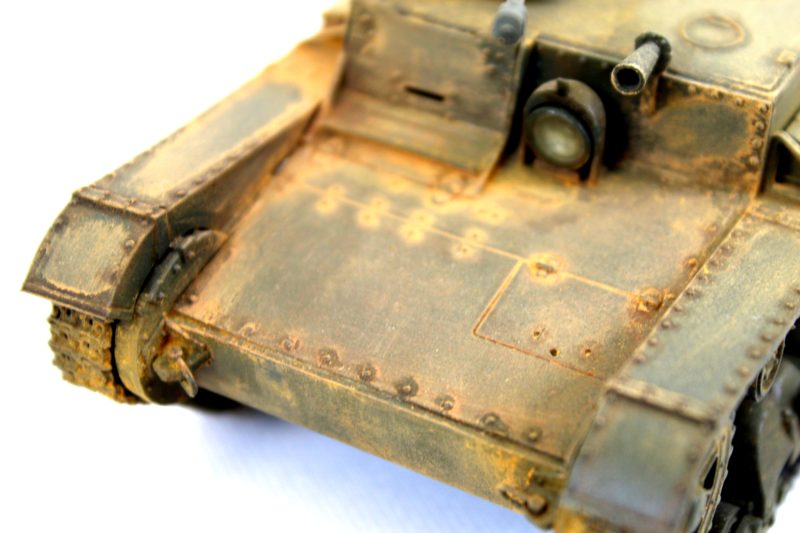
After the rust wash I have given the rivets and panel lines a dark brown wash. once the wash has been neatened up the rivets really pop out. Finally, I’m going to finish it up with some rust pigments.

Now A Oil Wash Over The Rivet Areas
Now A Oil Wash Over The Rivet Areas.

Just Finished Neatening Up The Panel Lines And Rivets On The Russian Tank Model
Just Finished Neatening Up The Panel Lines And Rivets On The Russian Tank Model.
Used The Glue And Glaze For The Lens On The Spotlight
Used The Glue And Glaze For The Lens On The Spotlight.

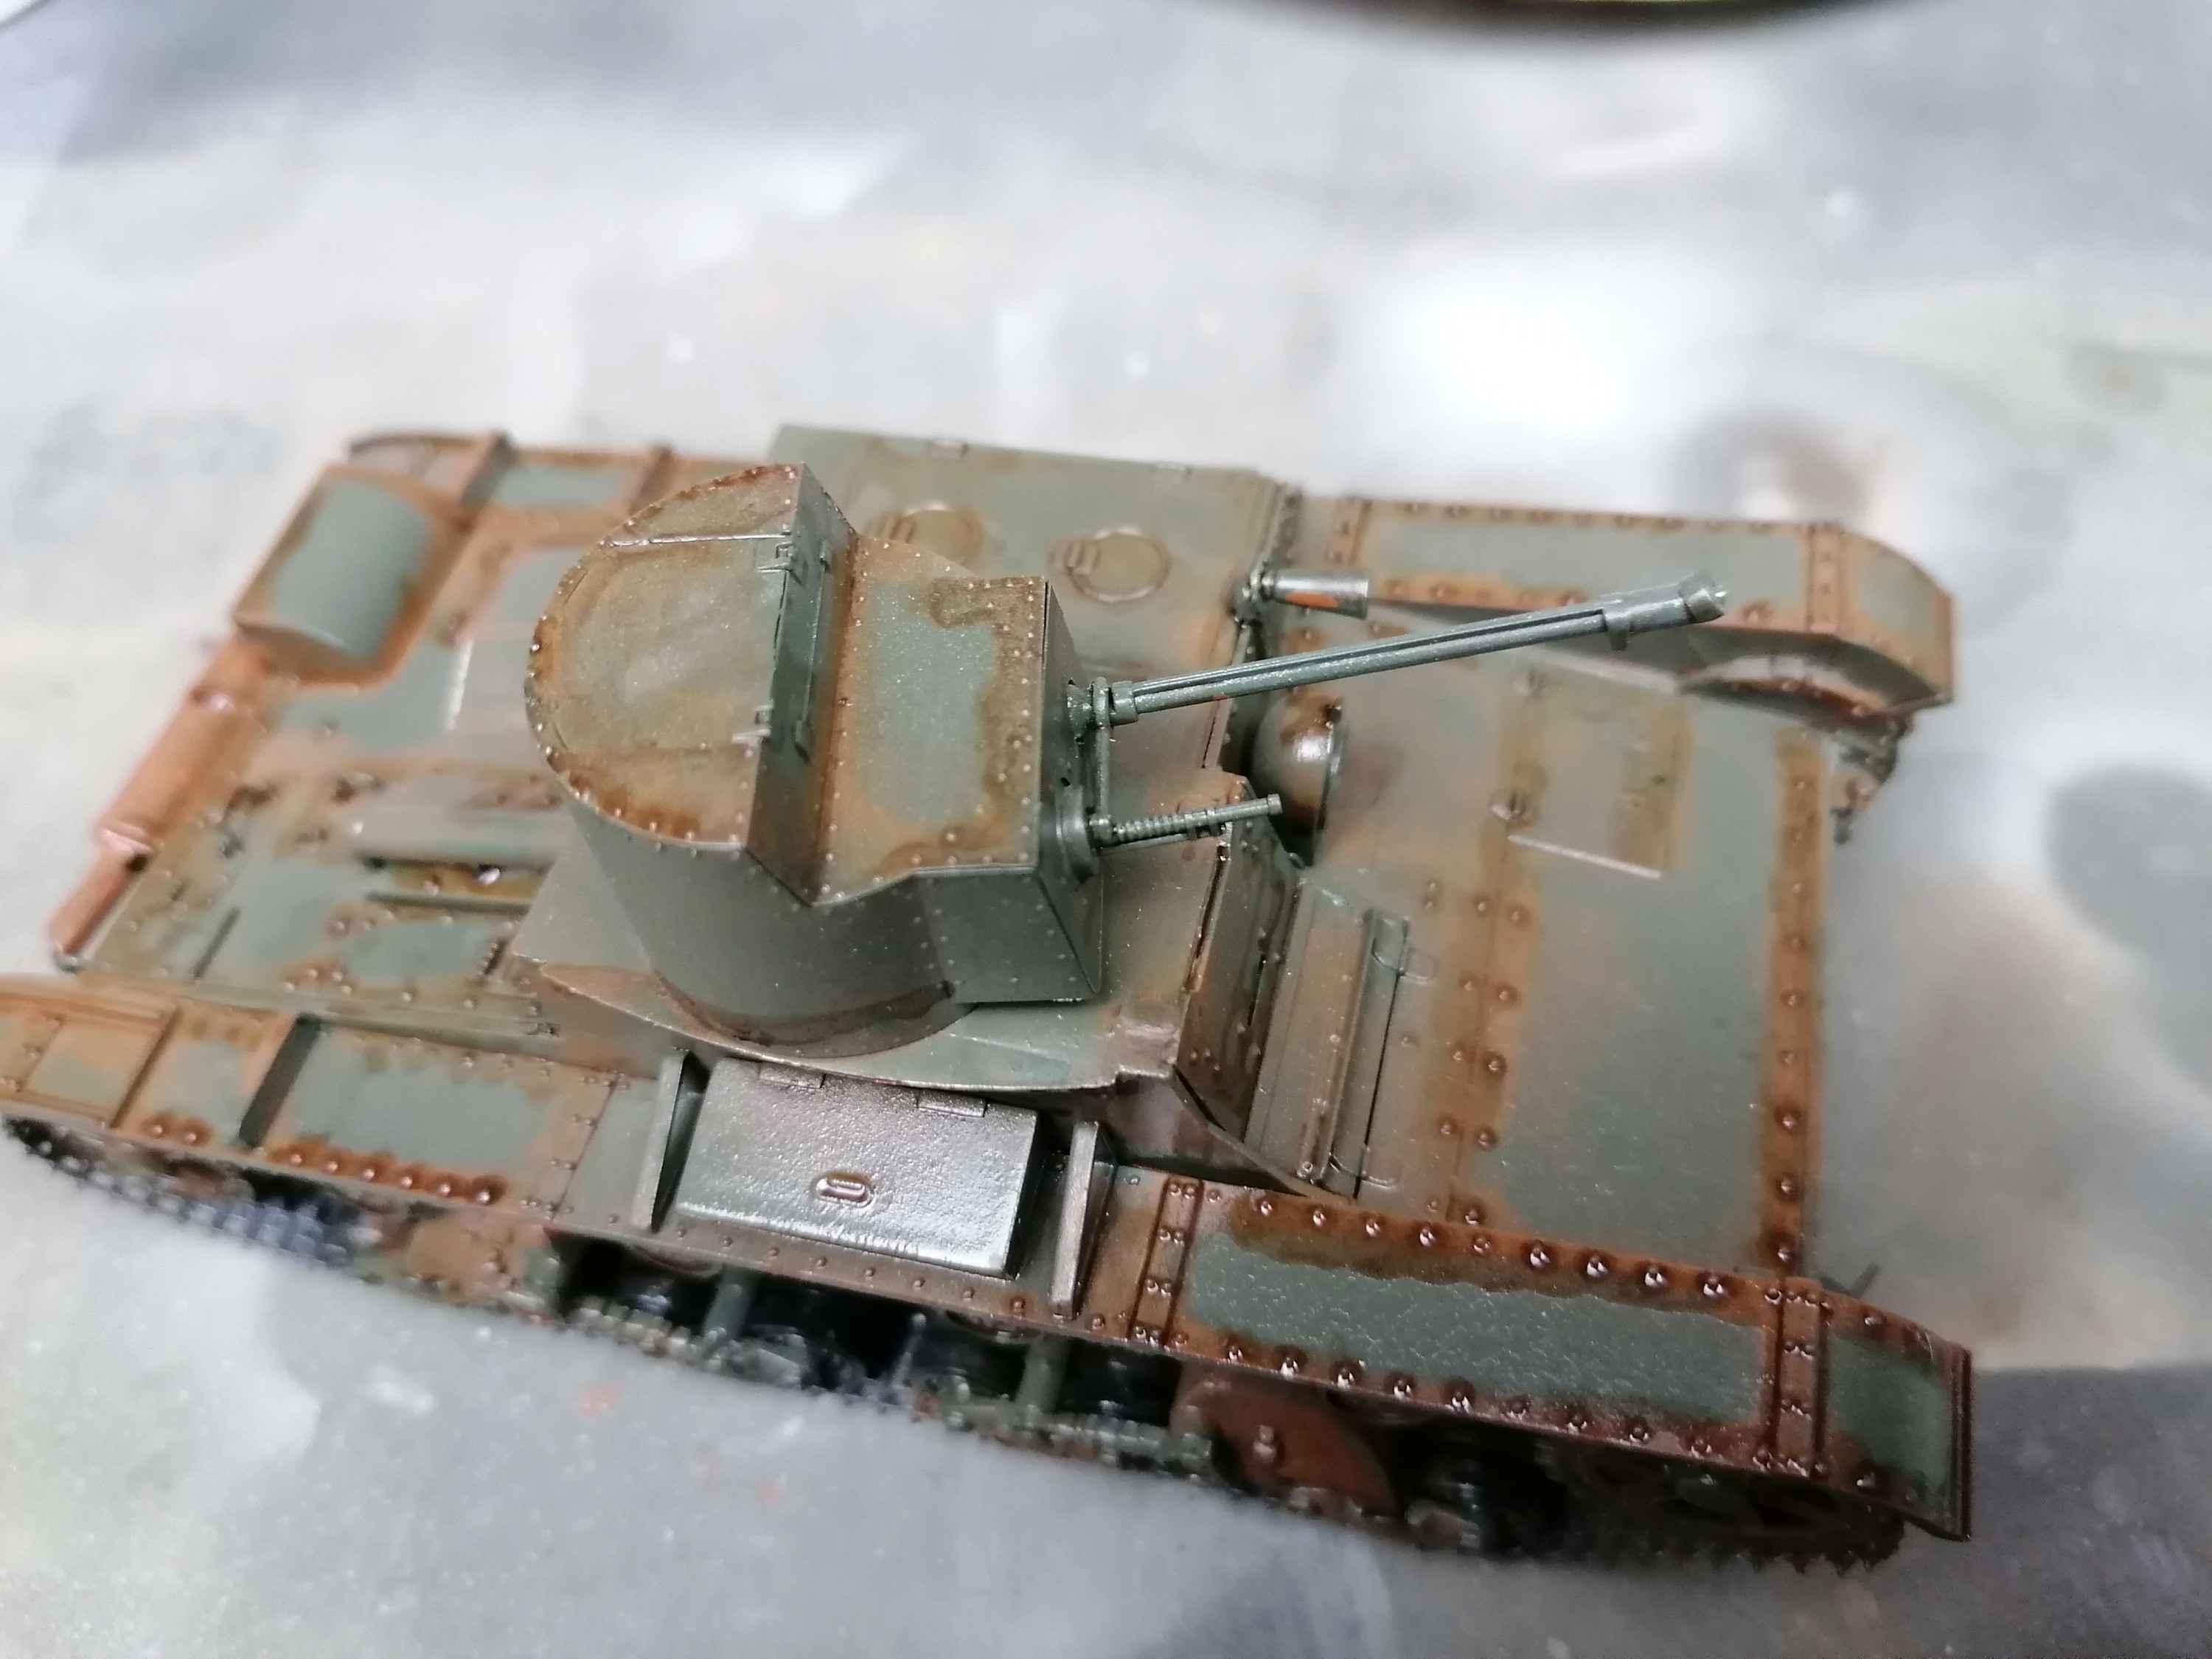
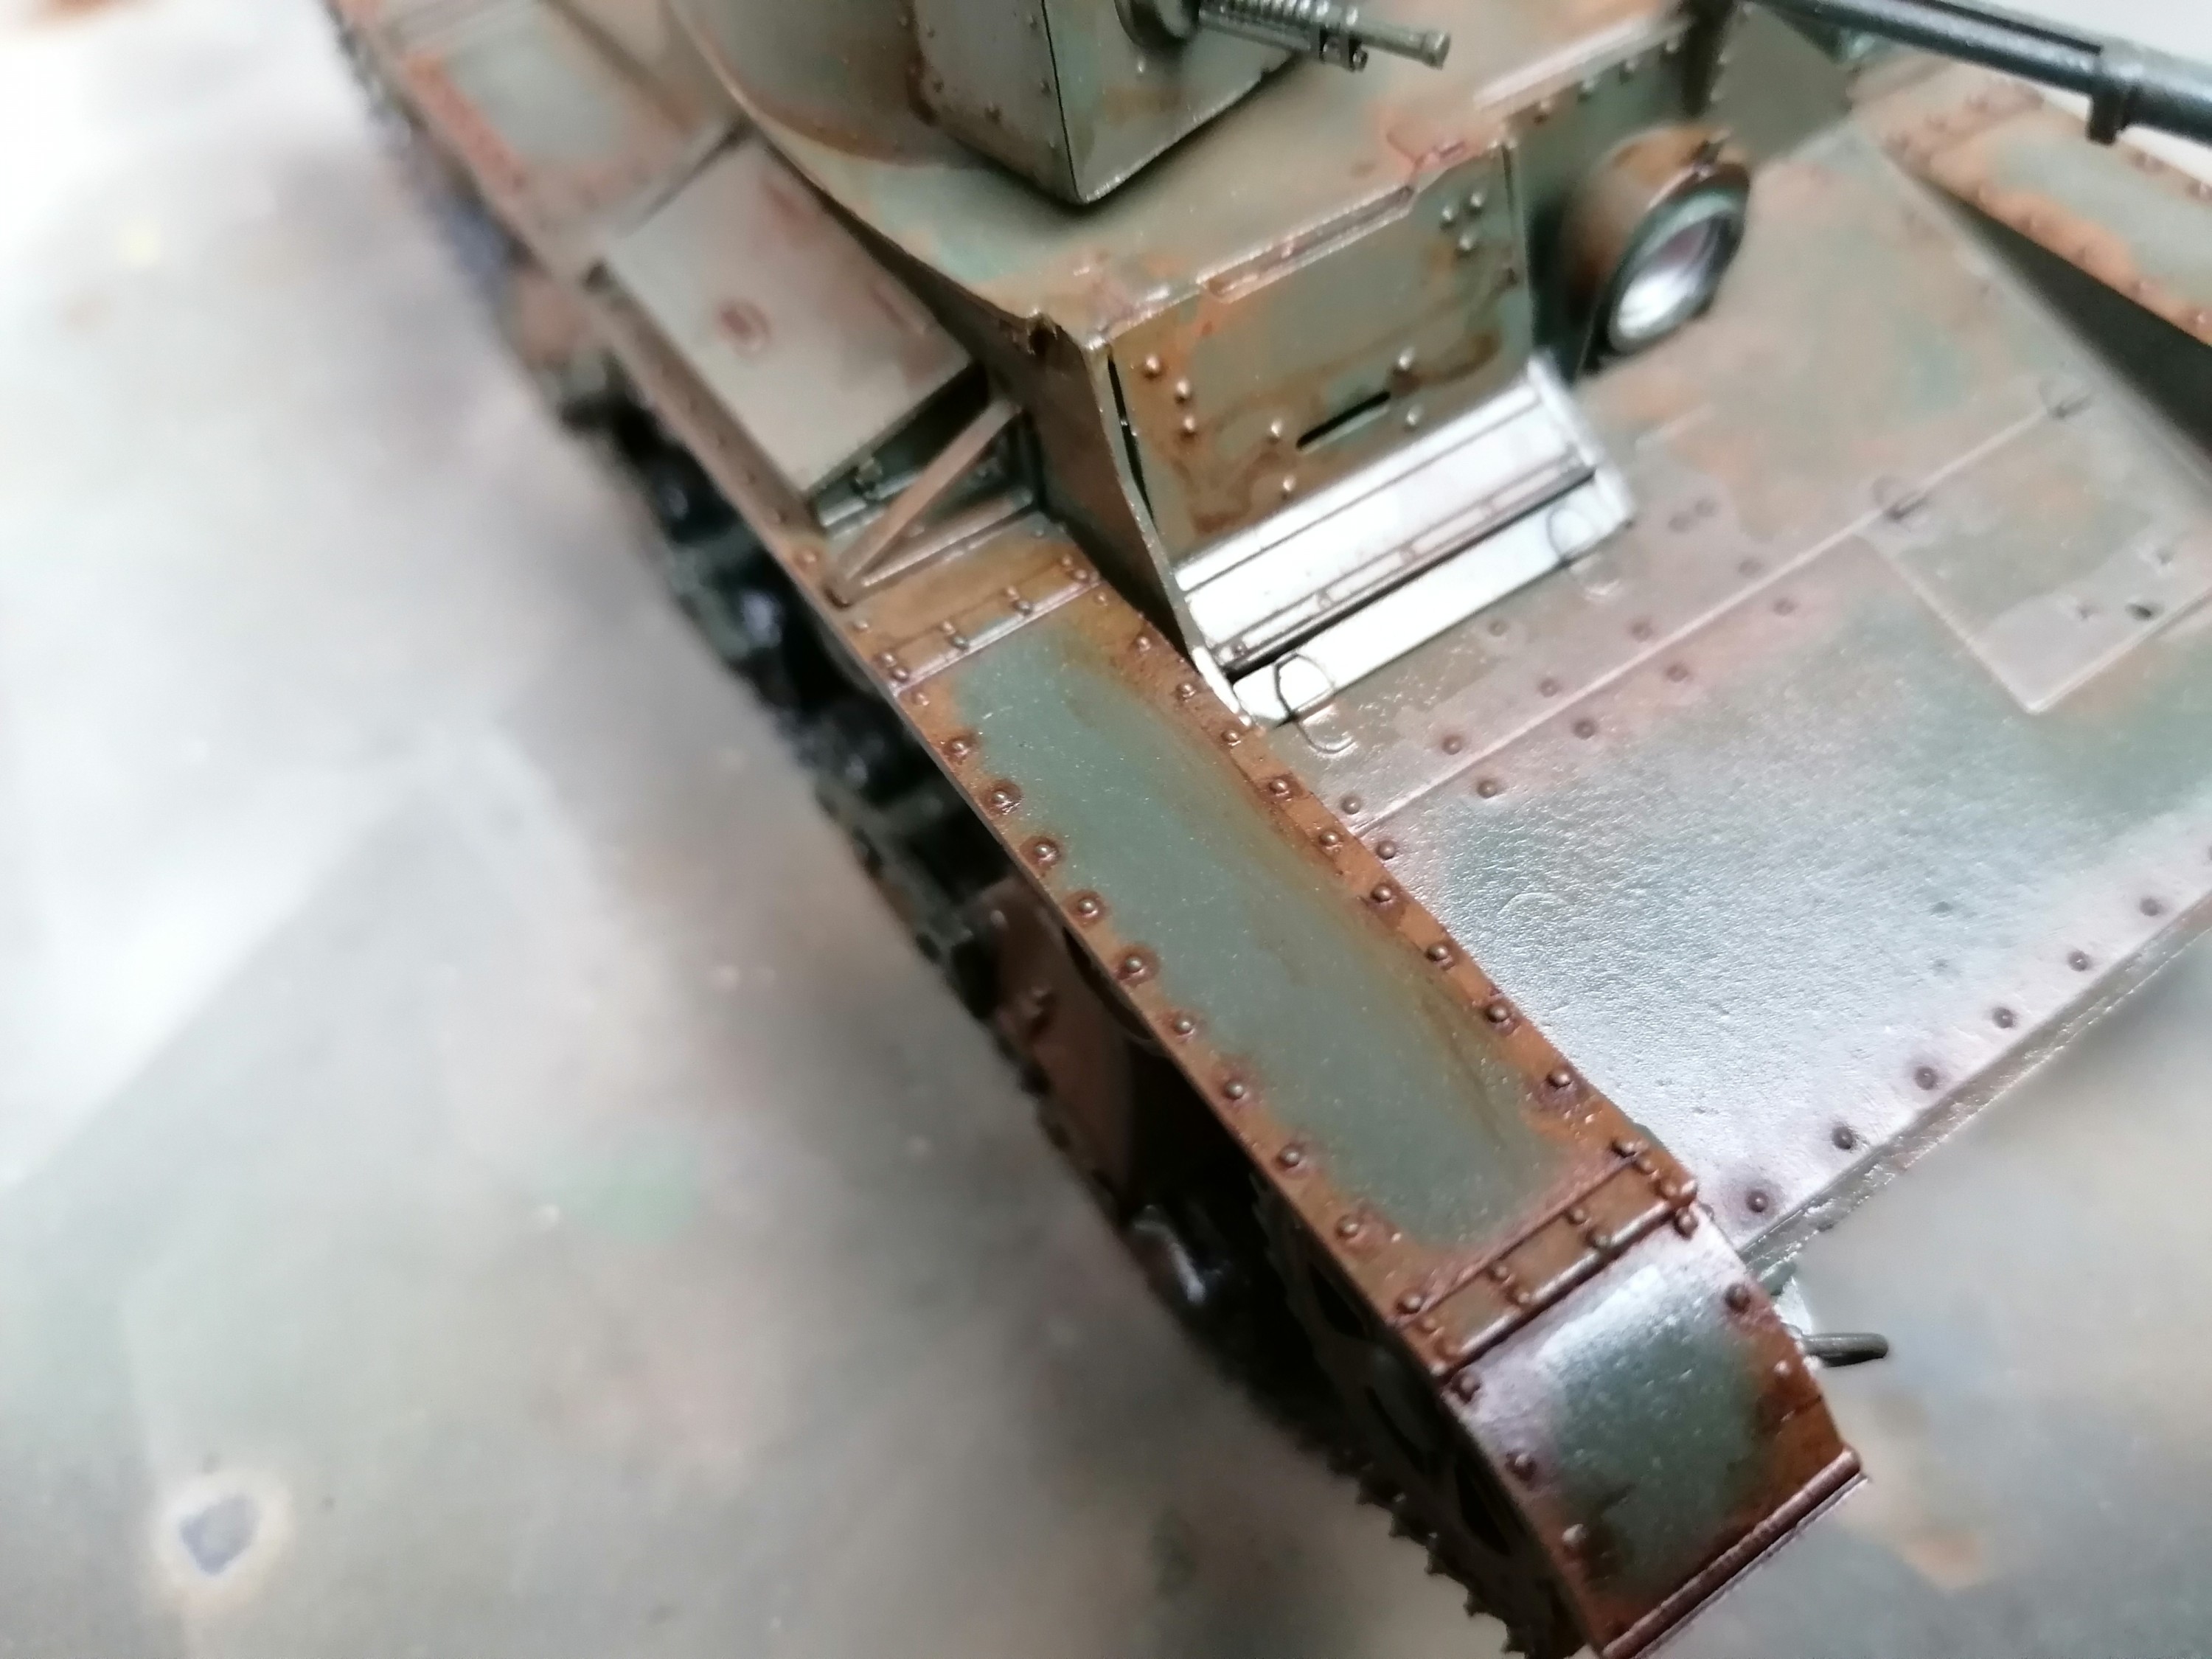
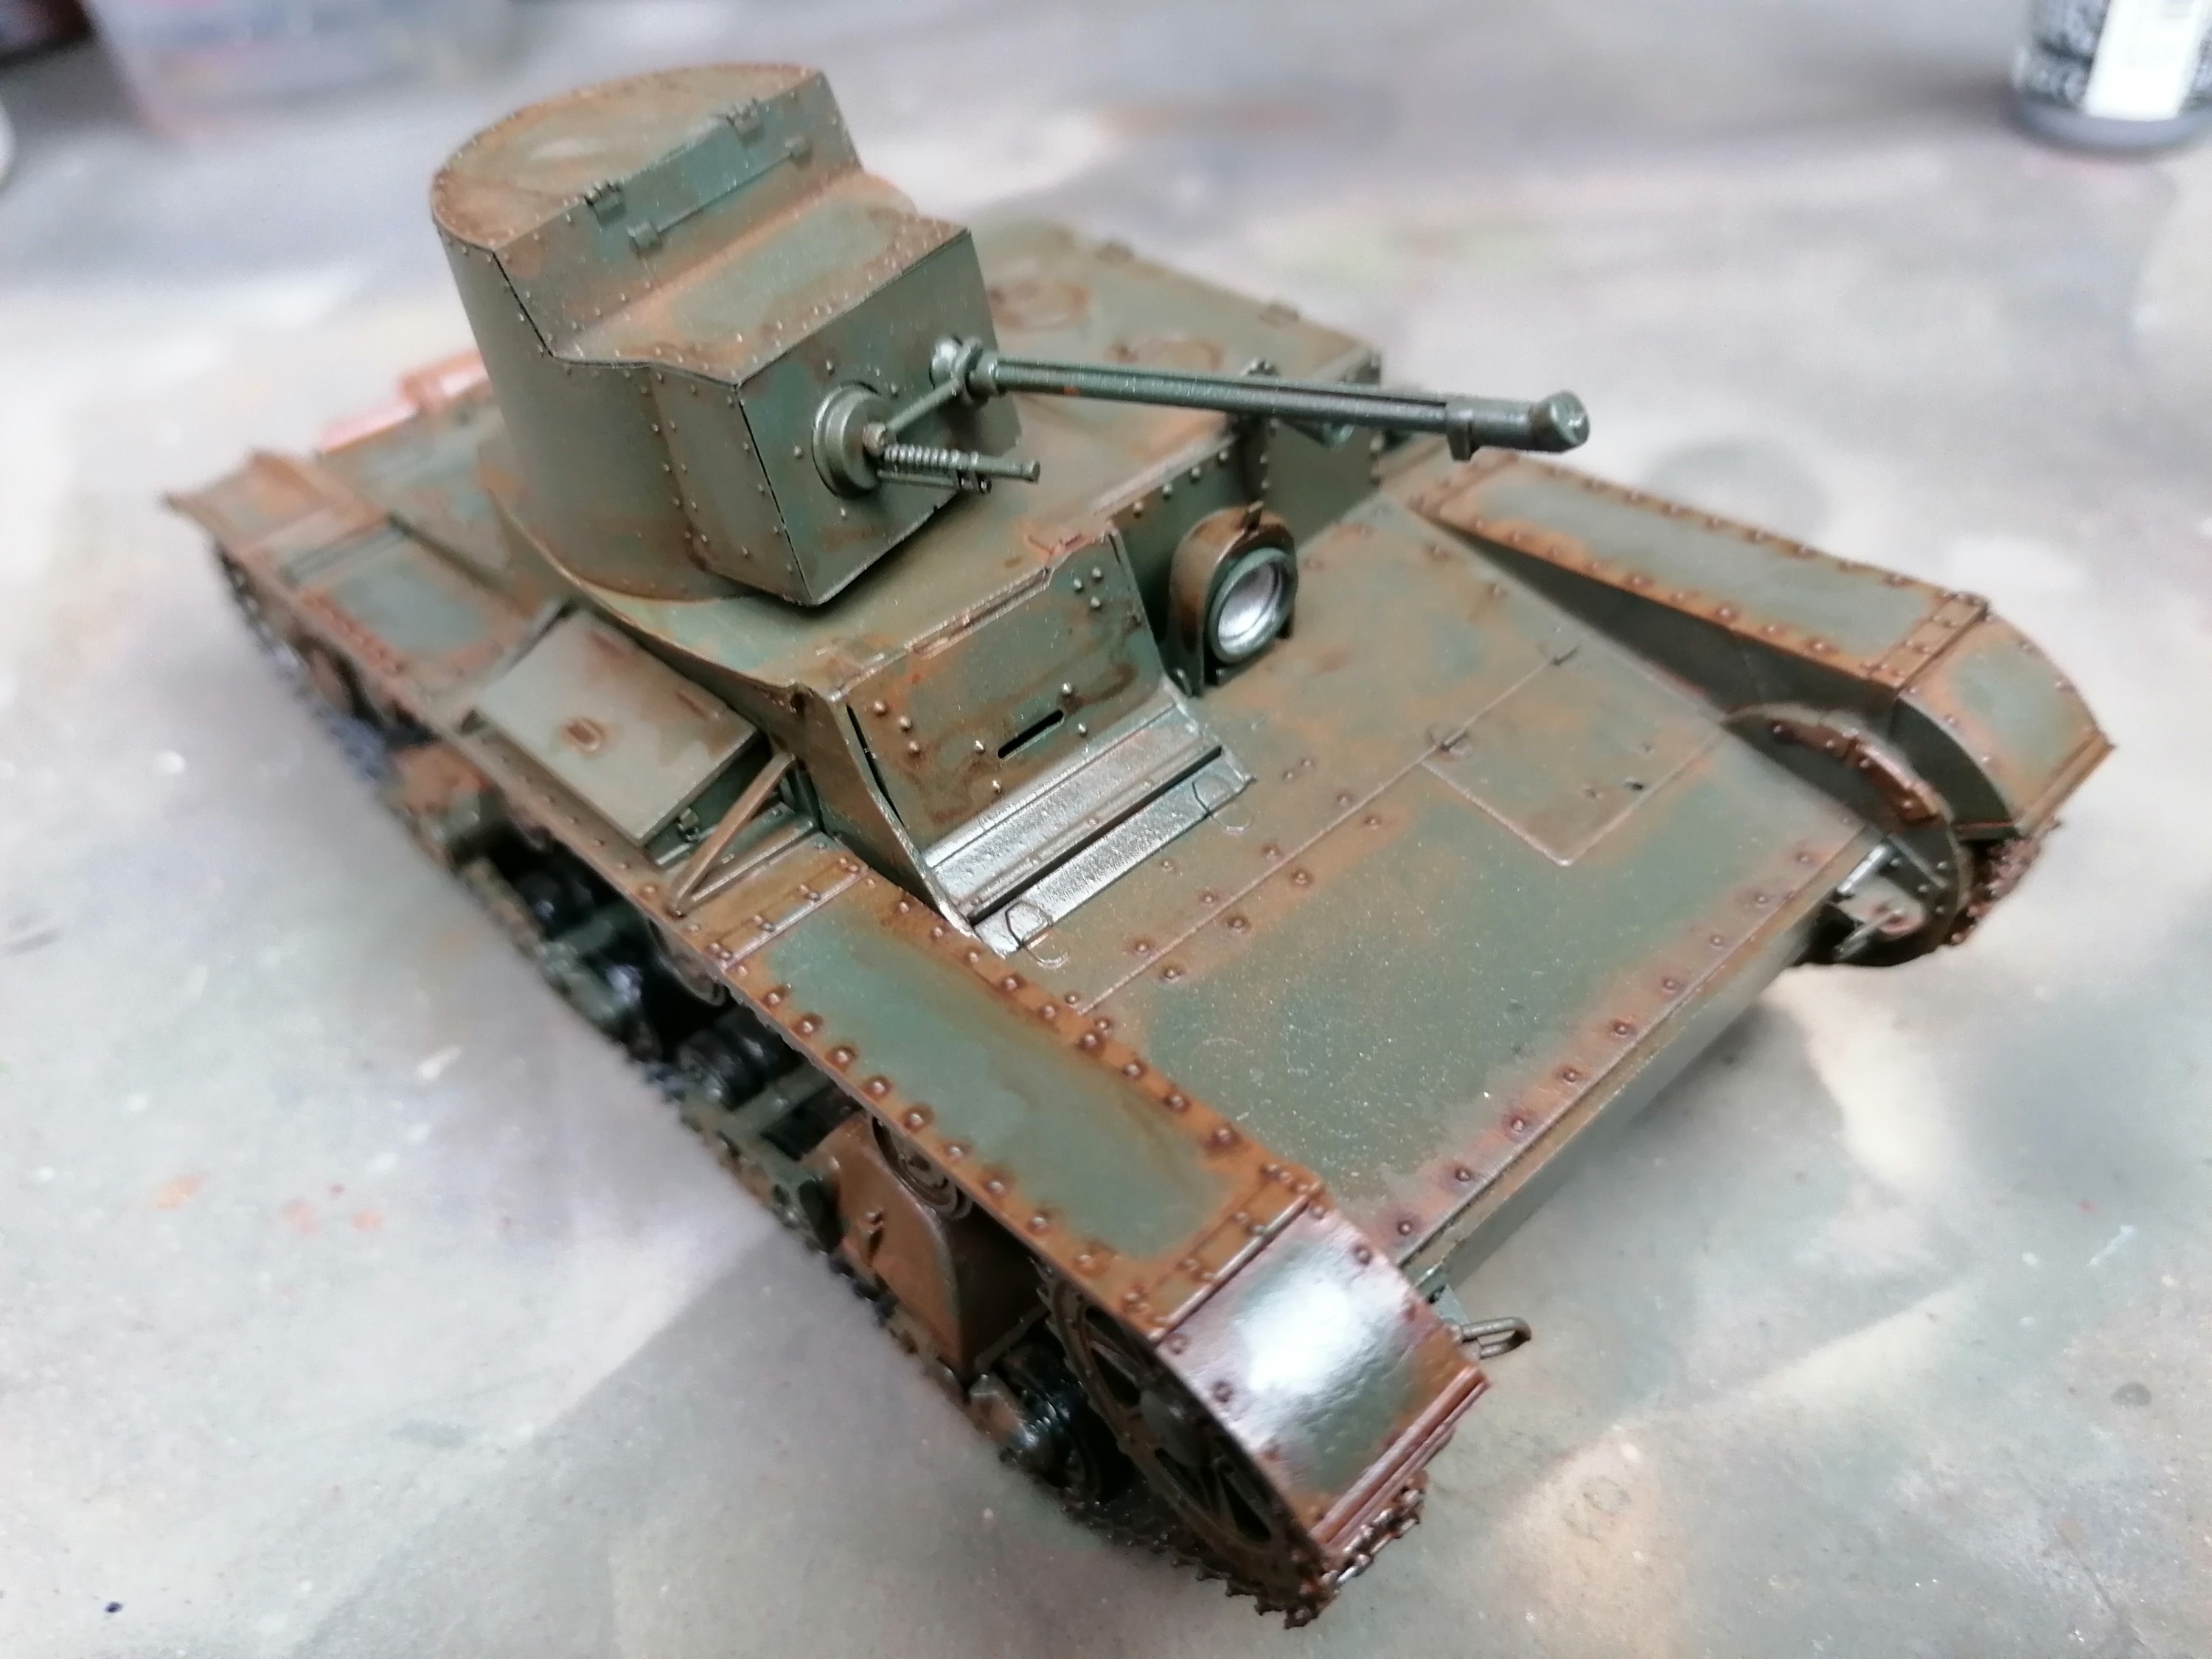
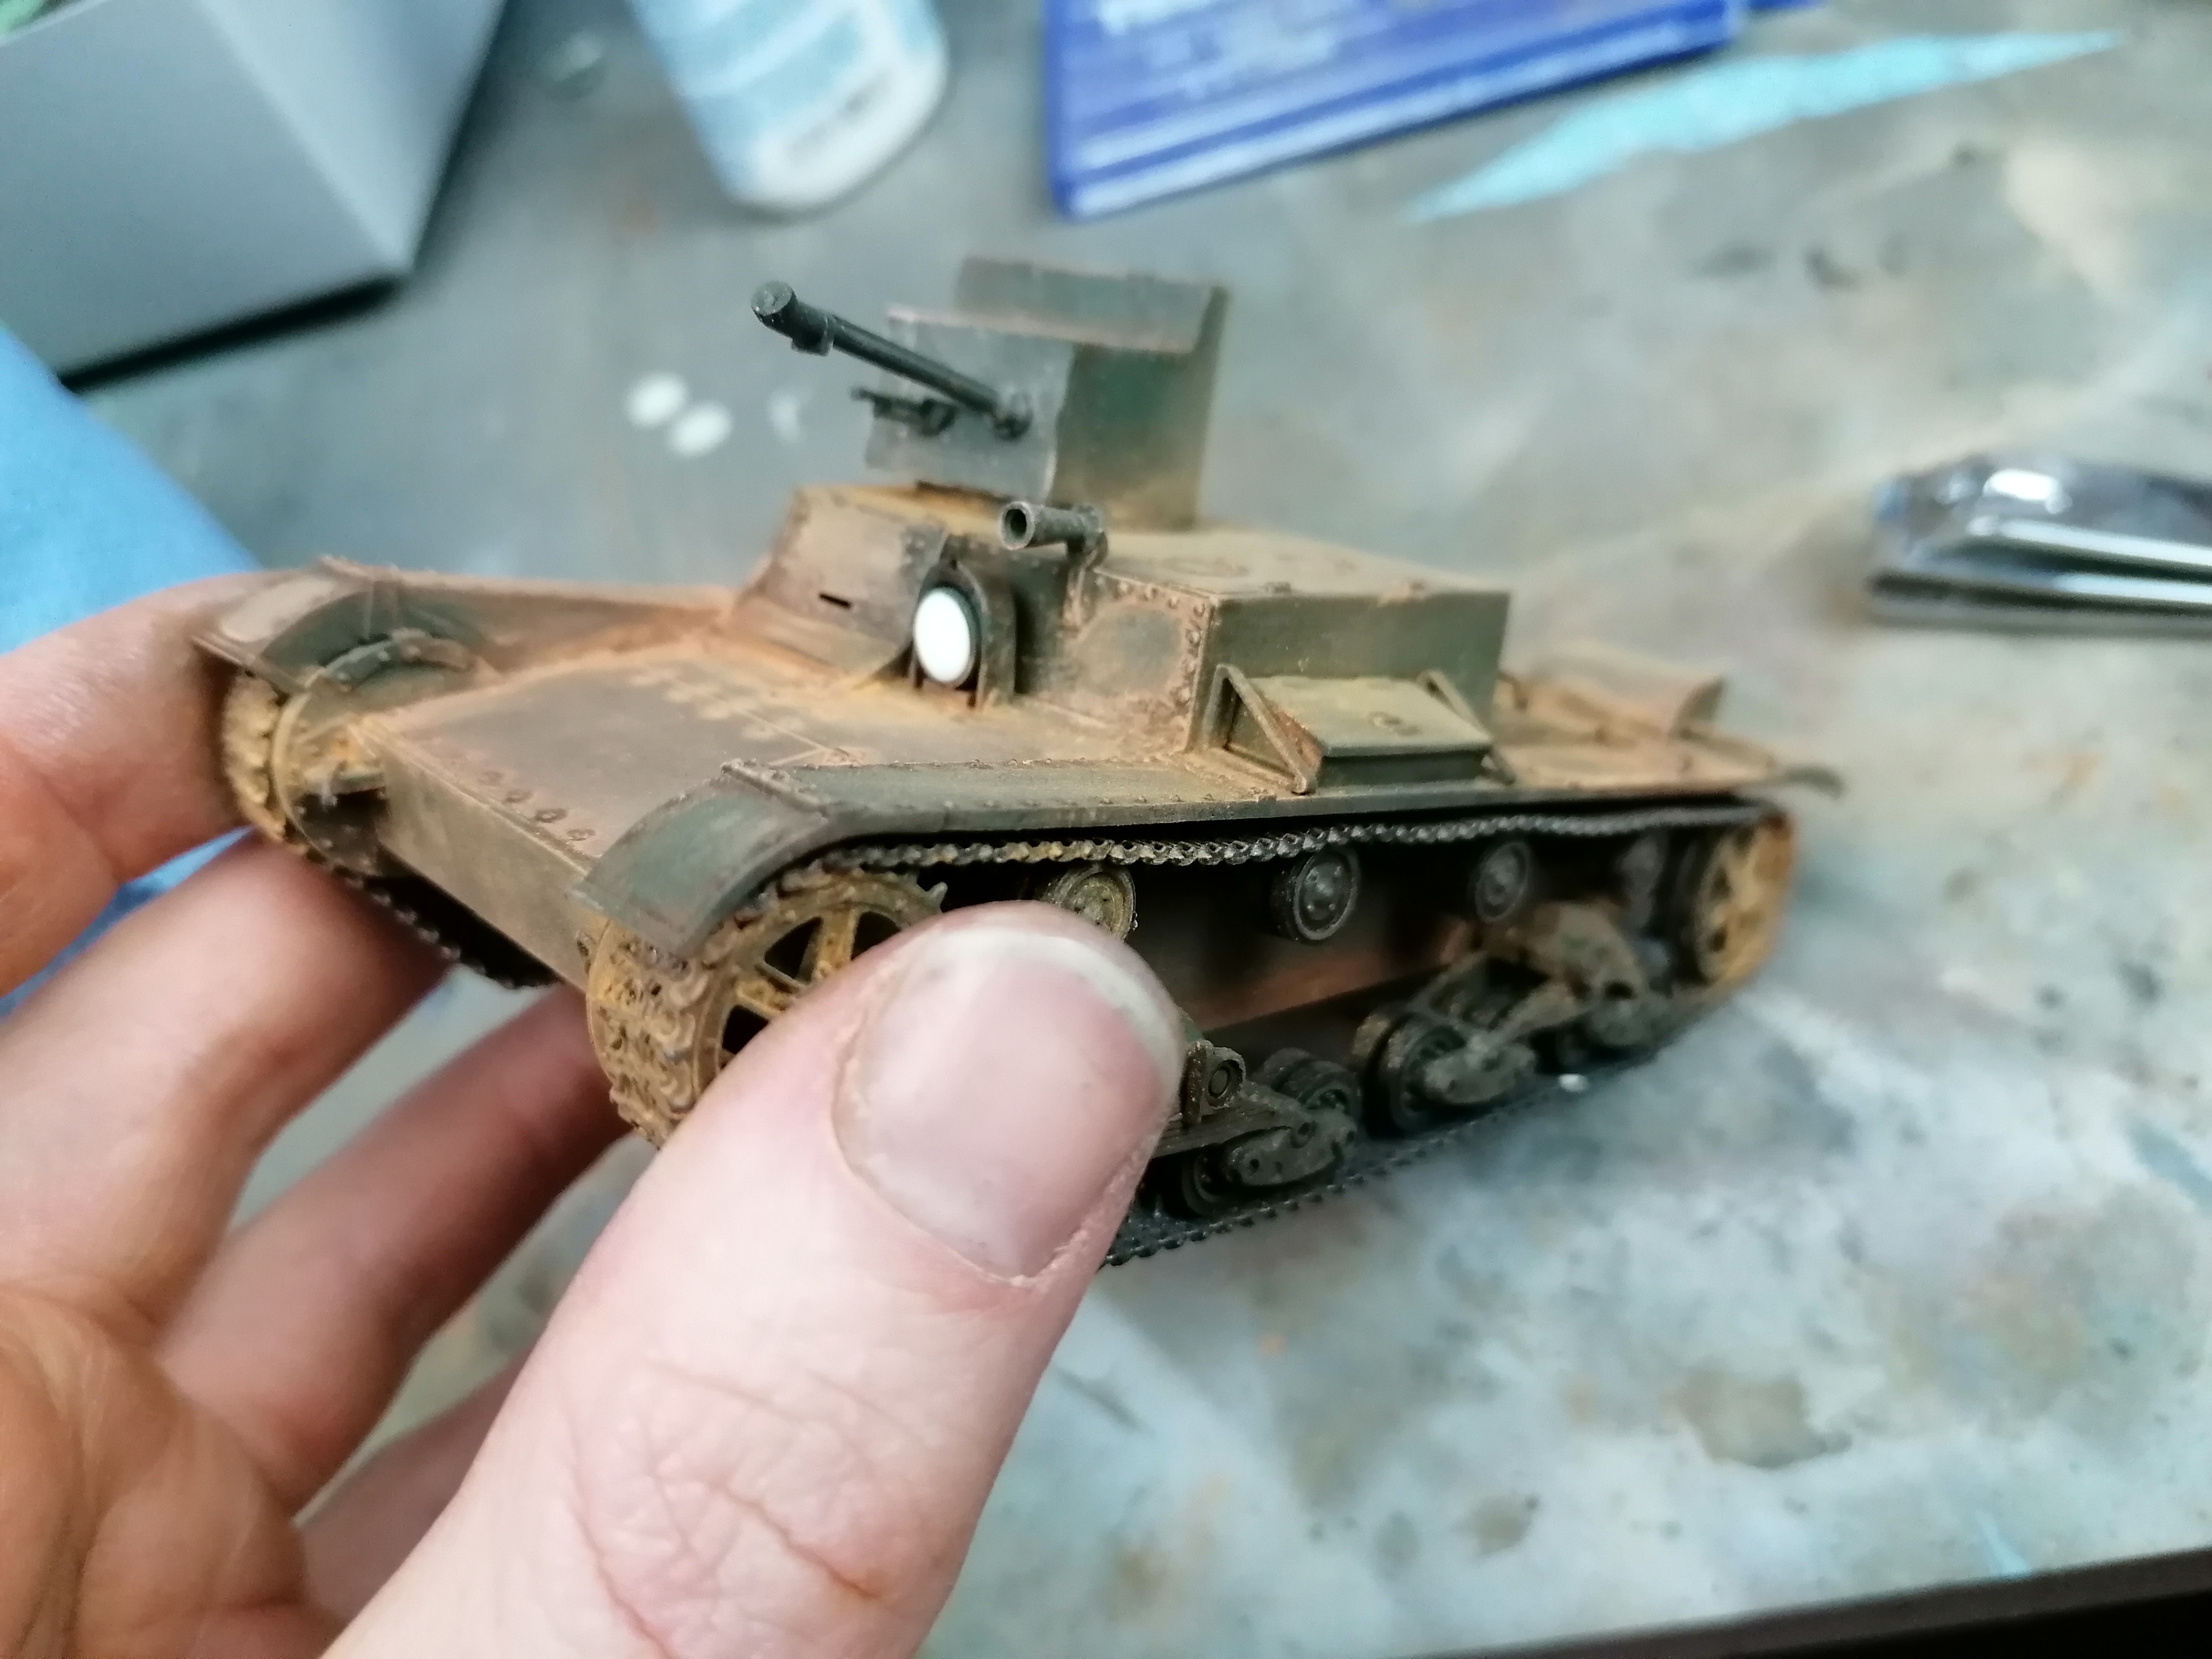
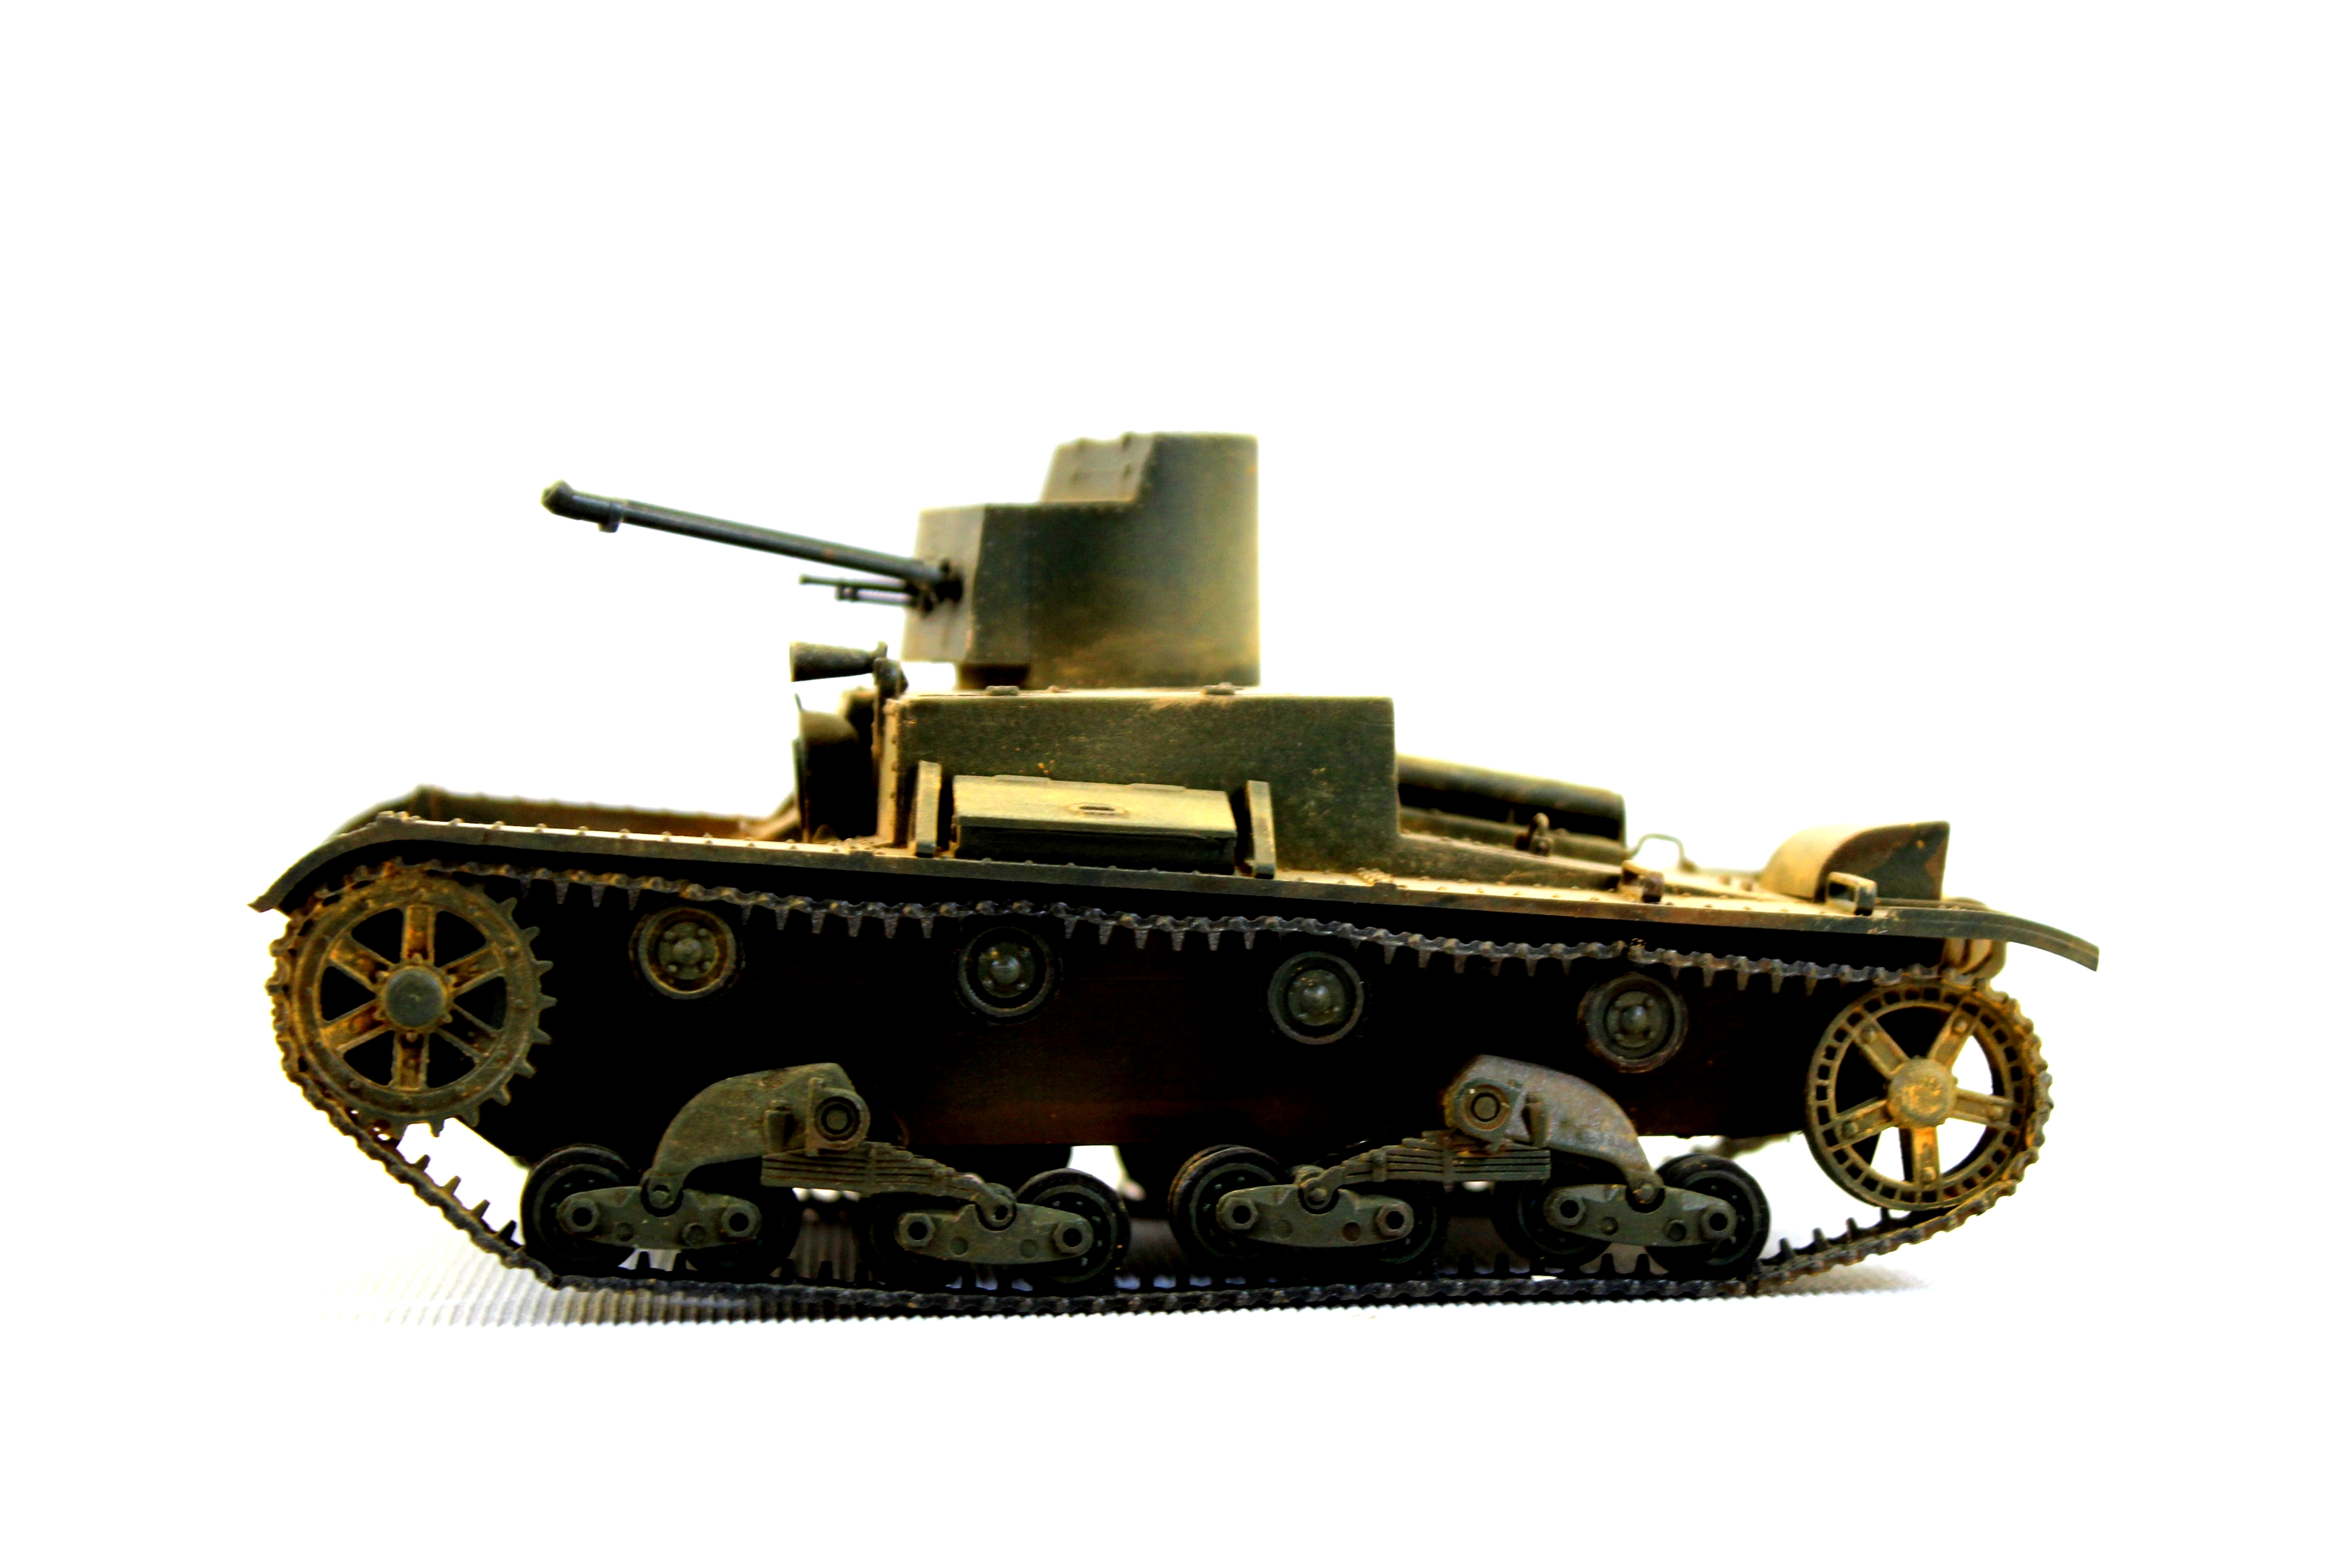
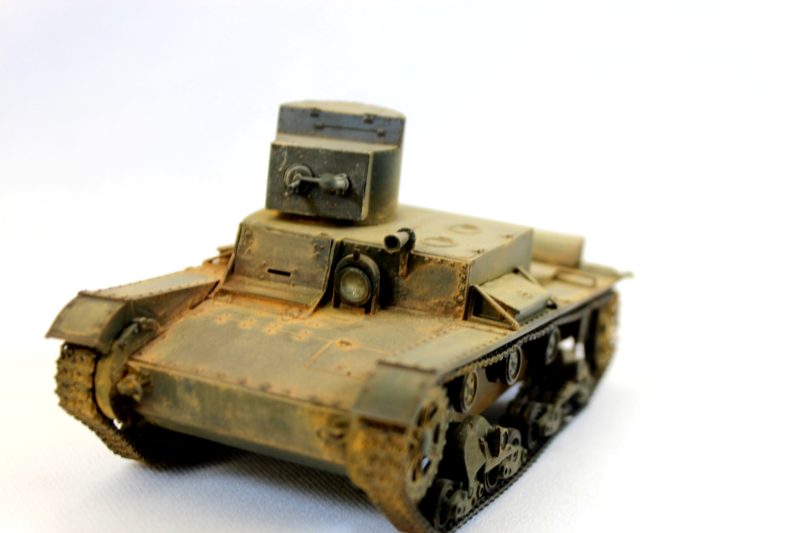
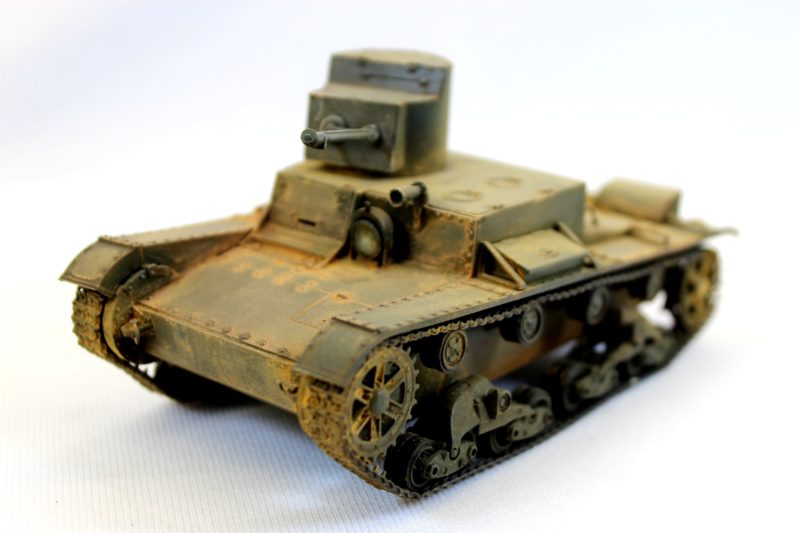
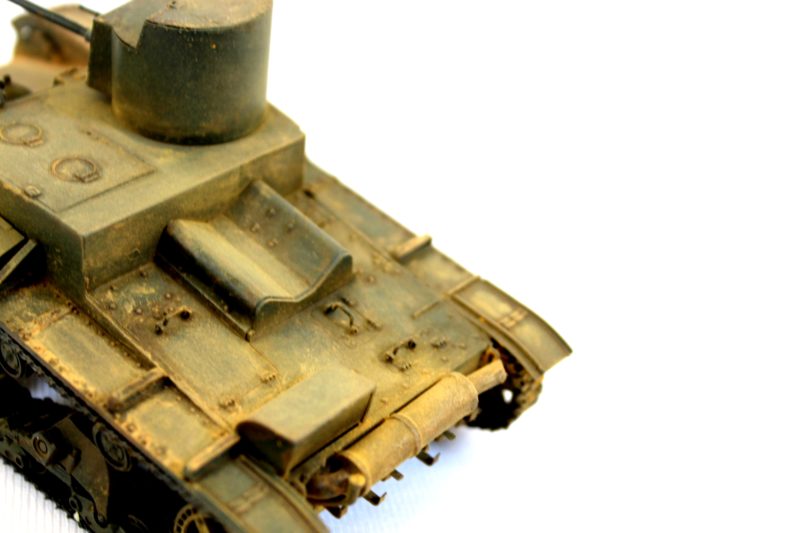
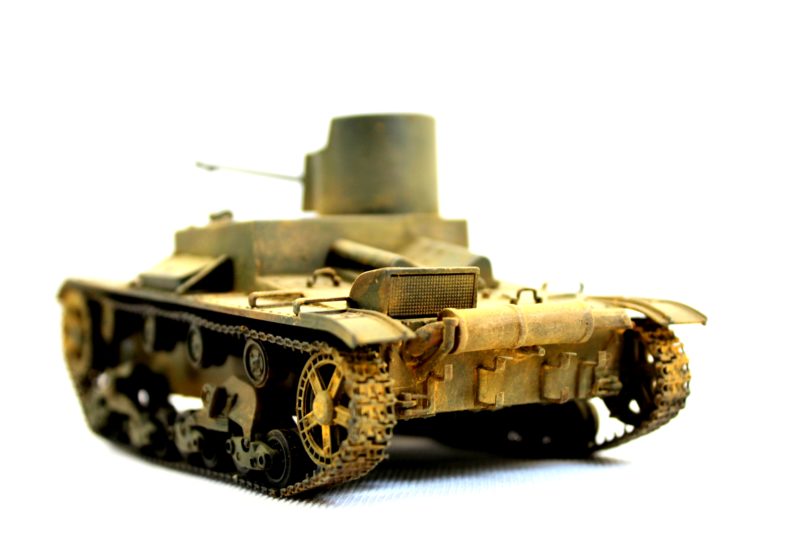
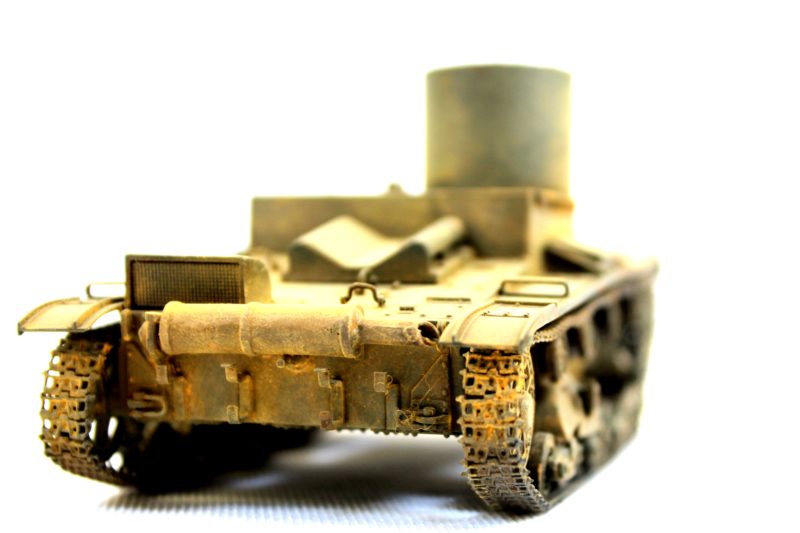
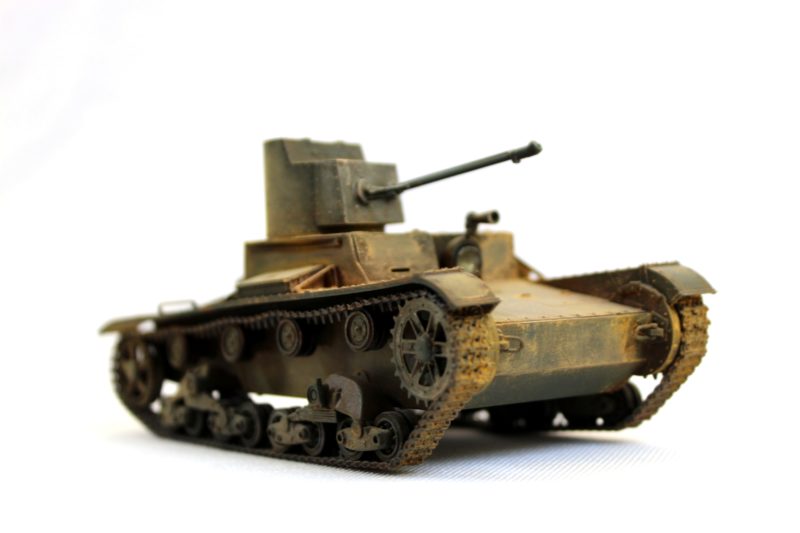
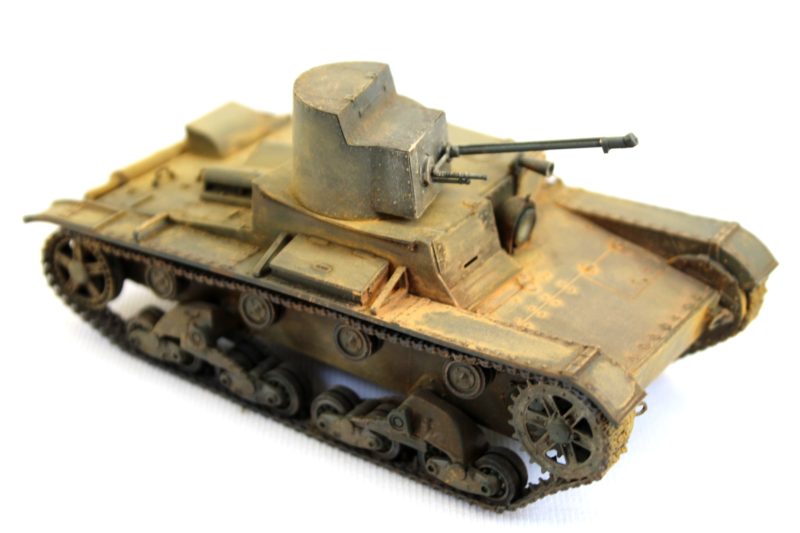
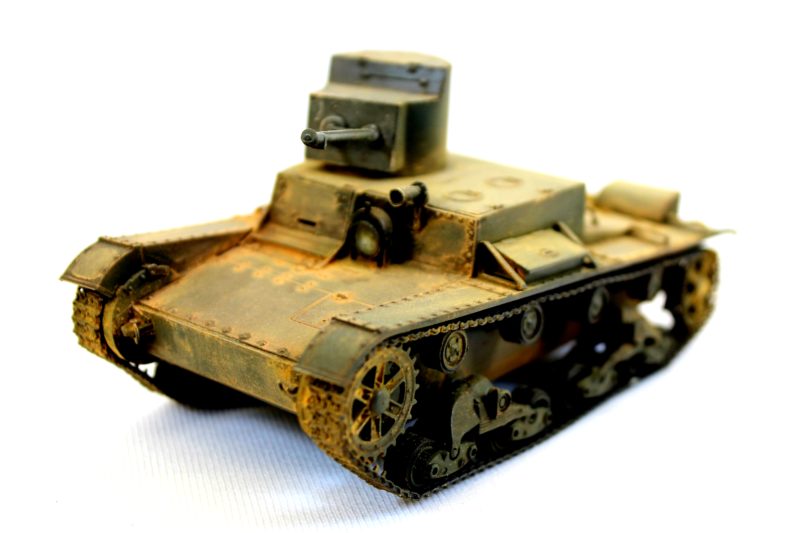
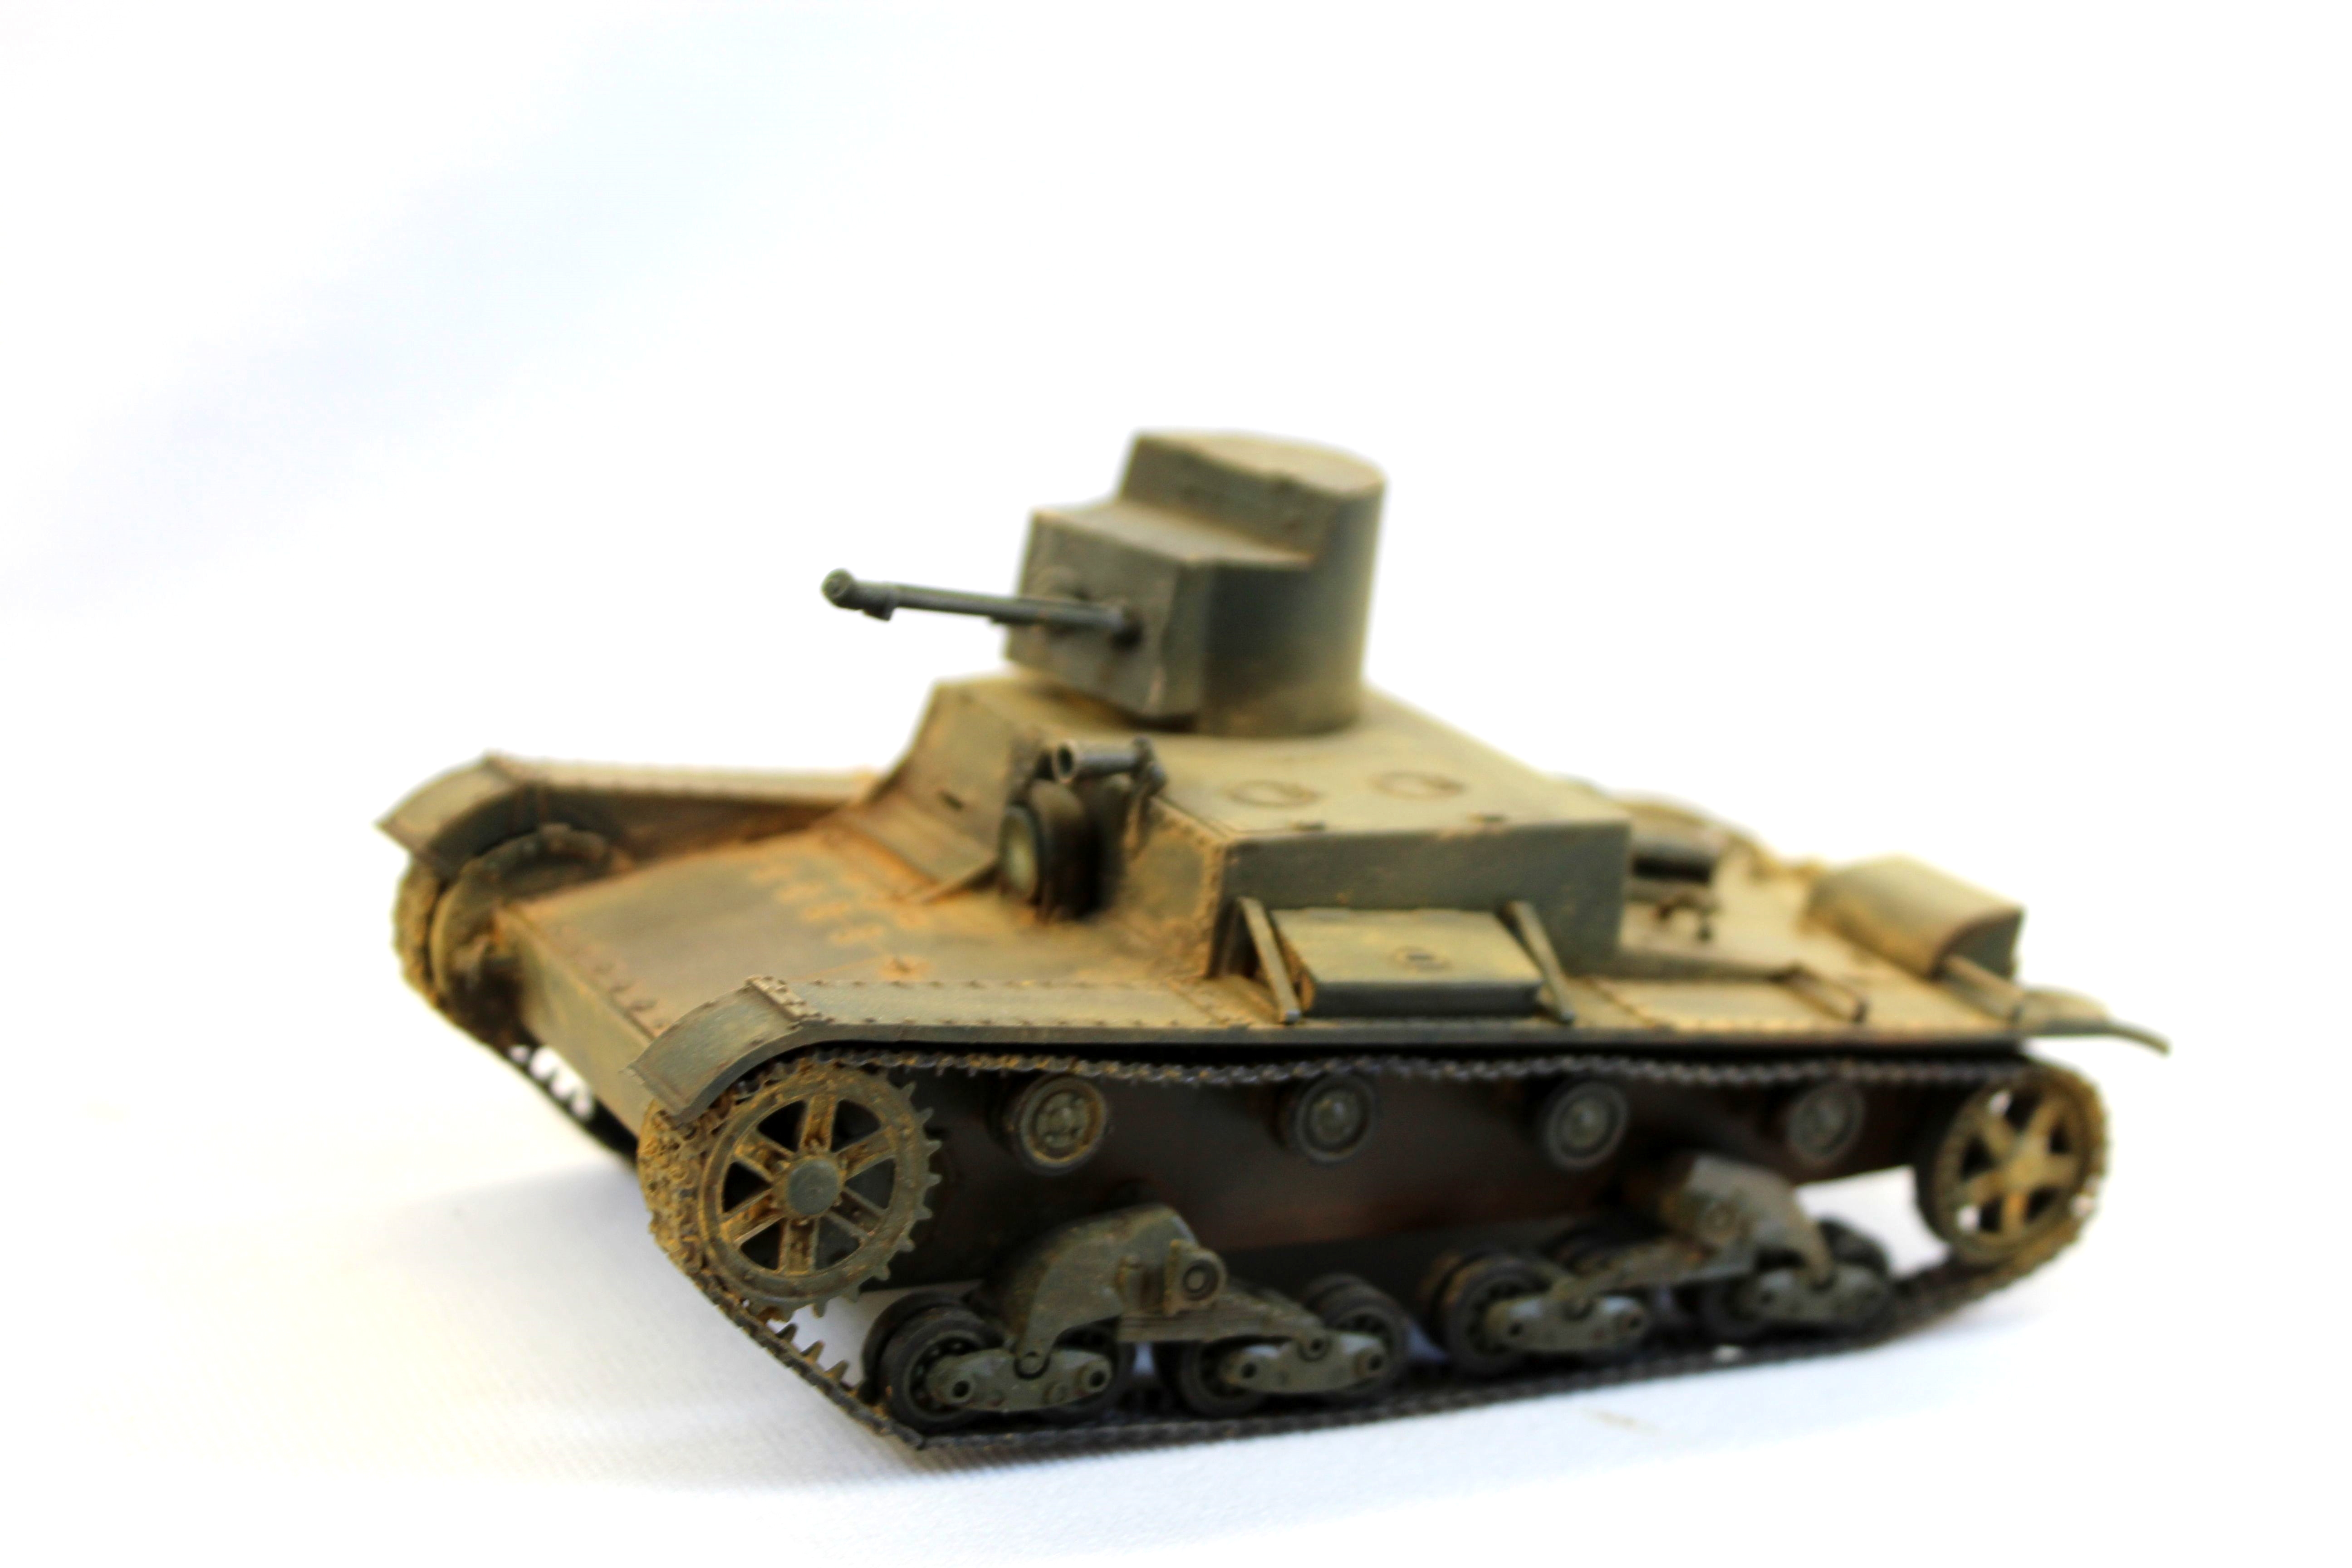
With some rust pigment on the body and tracks, I’m all done with the final stage of weathering. I haven’t used the additional tools on this build, as I don’t think it needs the extra detail. I’m just finishing it off with some glue and glaze for the light’s lens and I’m calling this scale model tank done.

The Completed 1/35th Scale OT-26 Flamethrower Tank

CLICK HERE TO BUY THE ZVEZDA OT-26 FLAMETHROWER TANK