
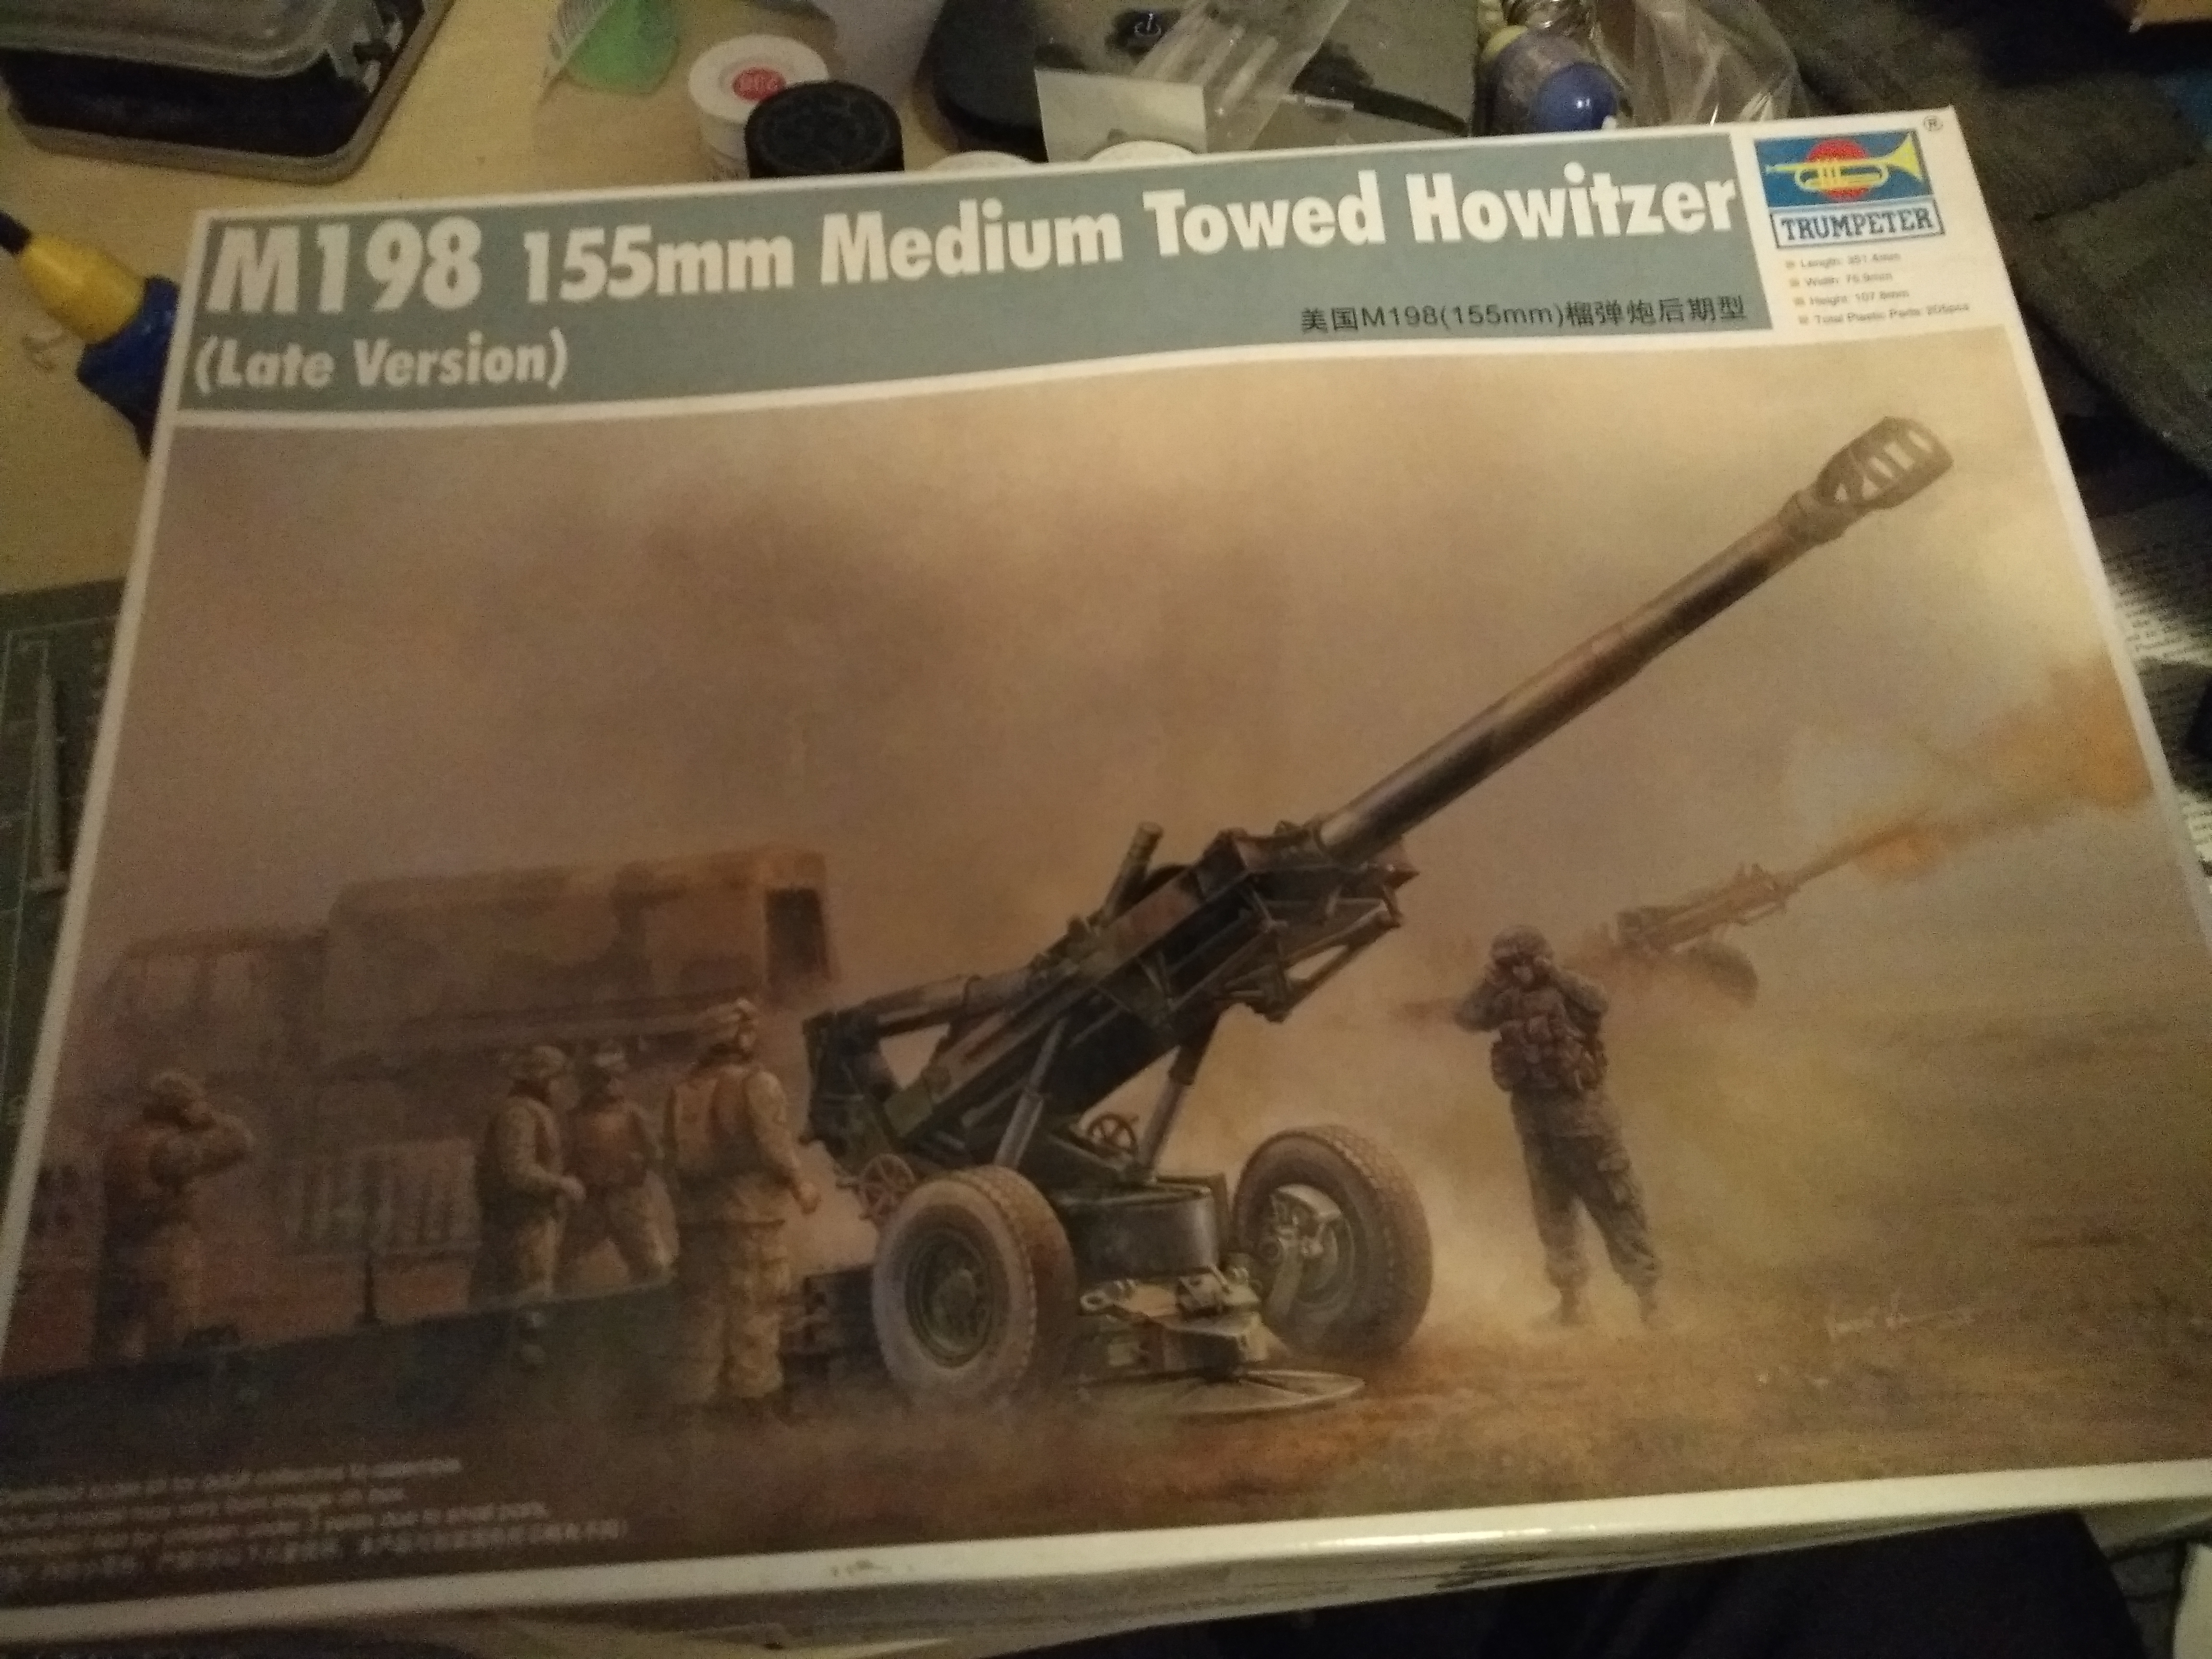
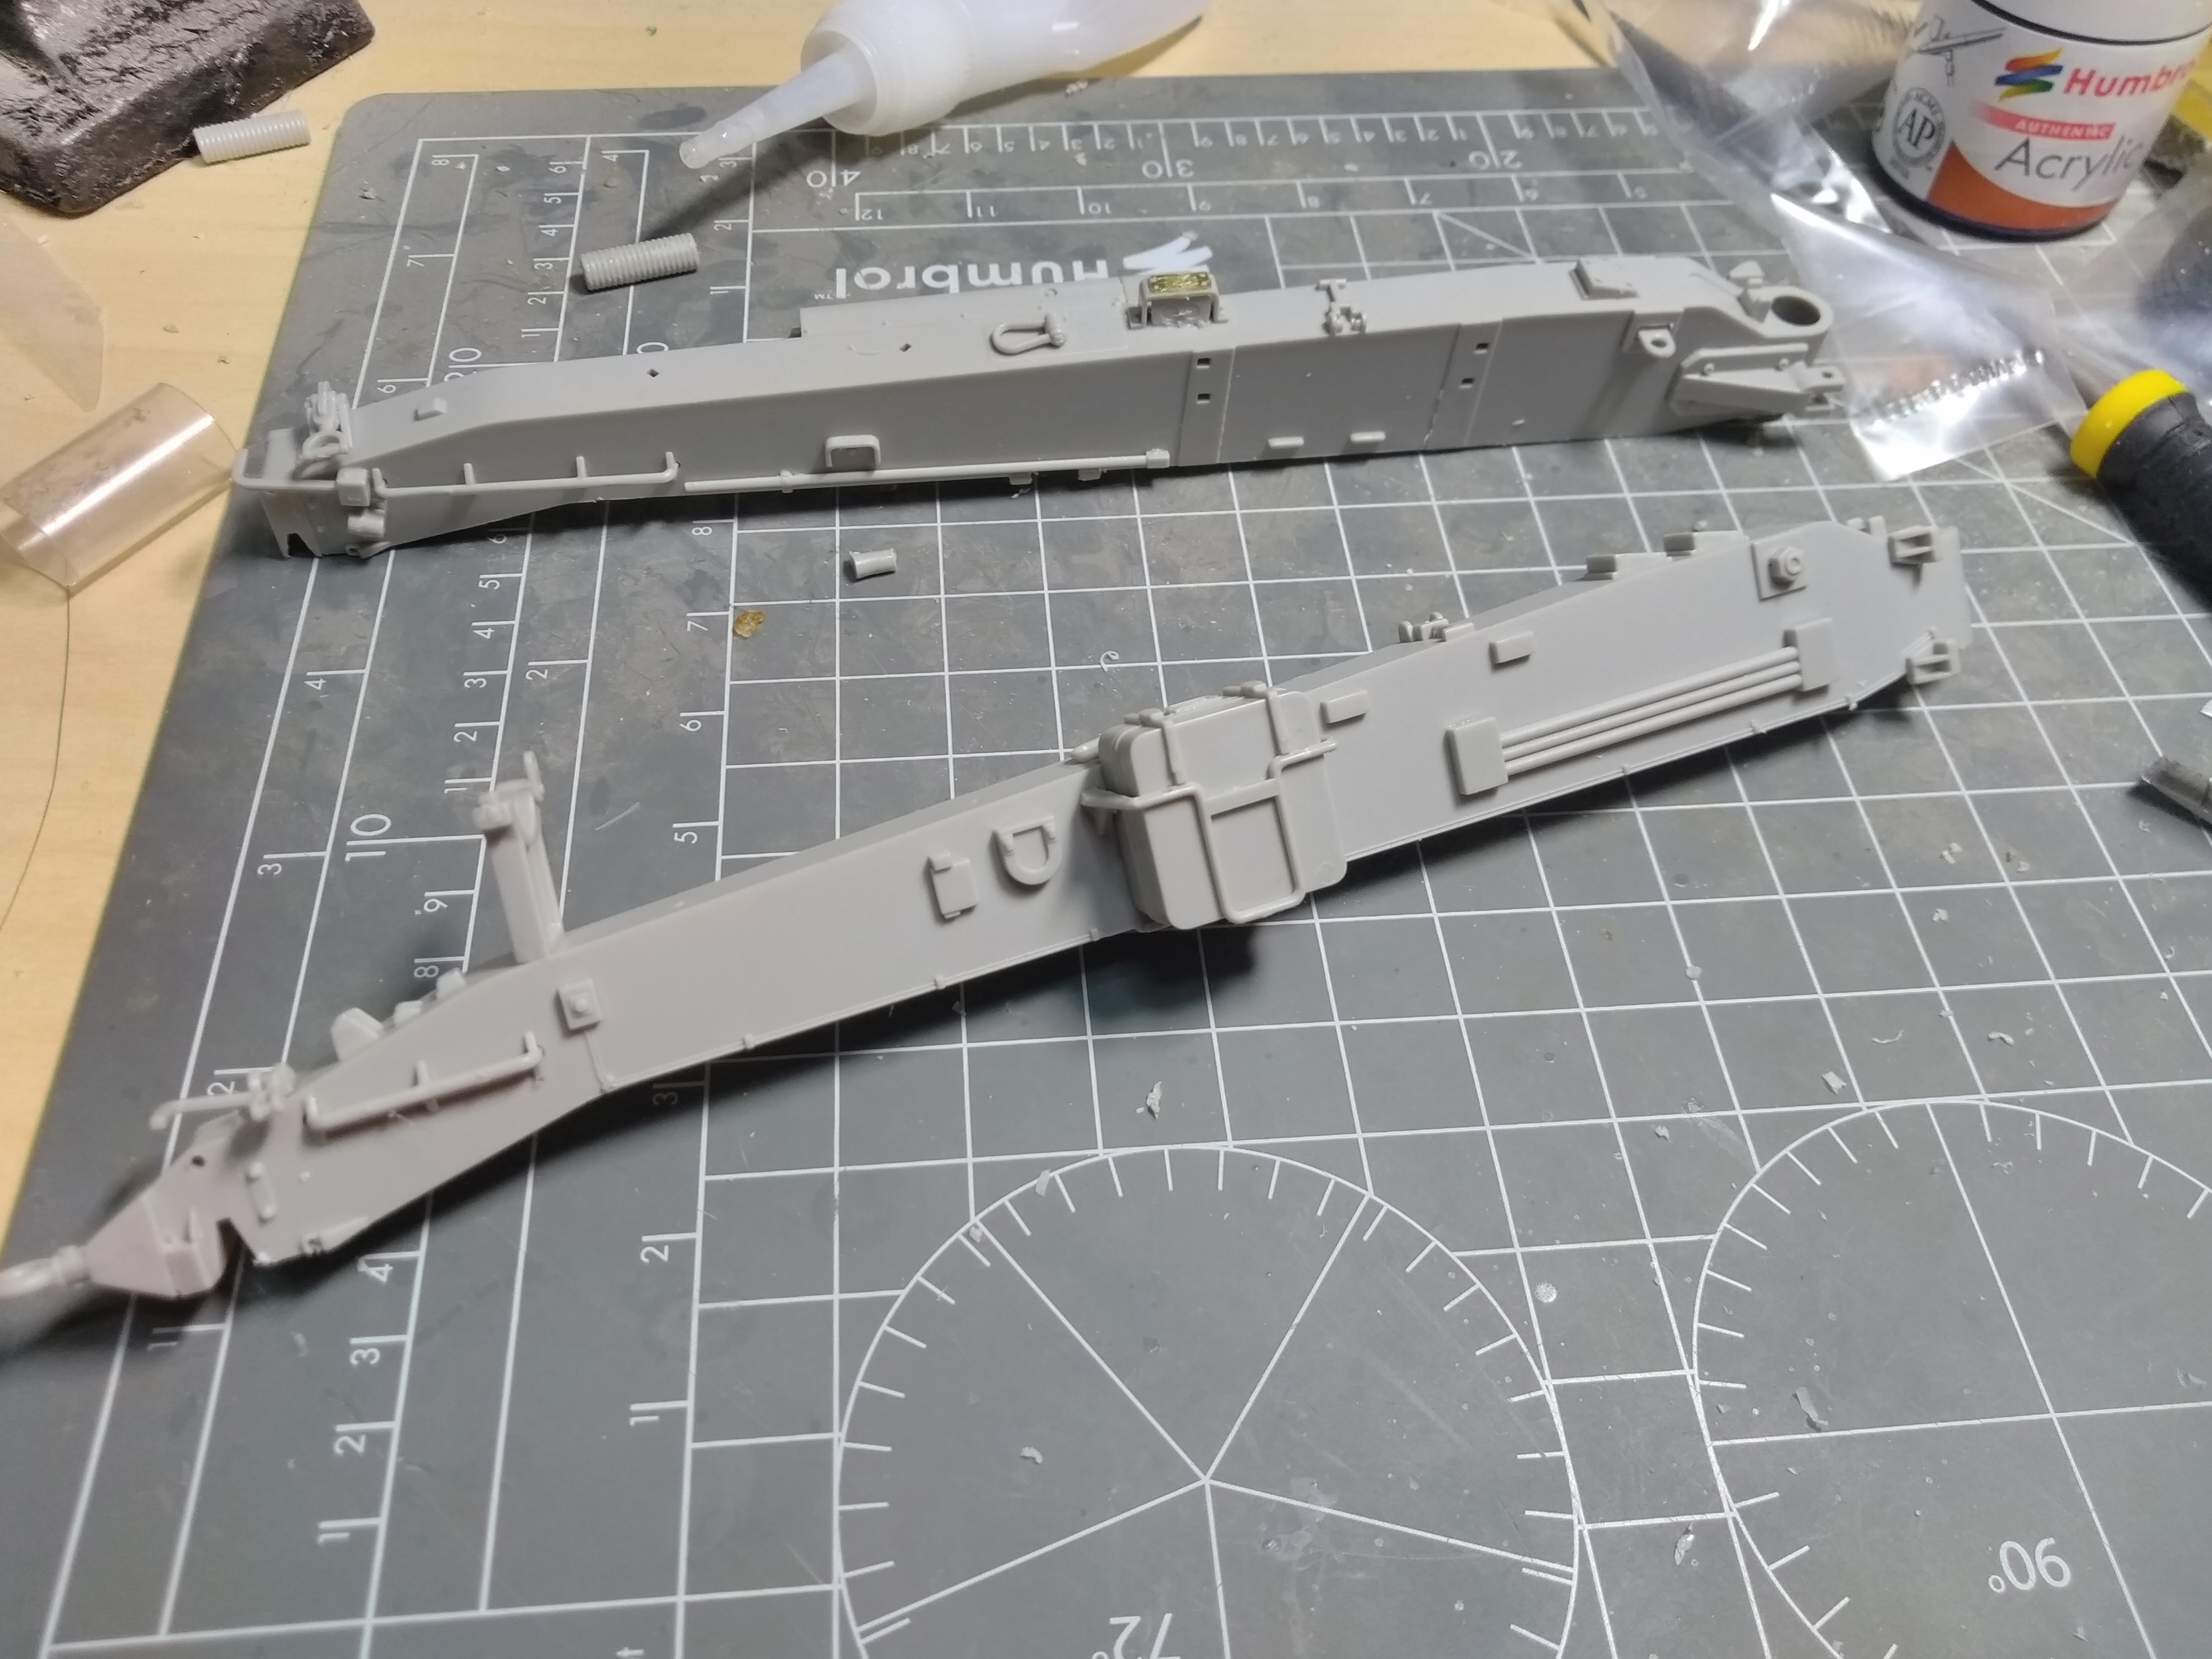
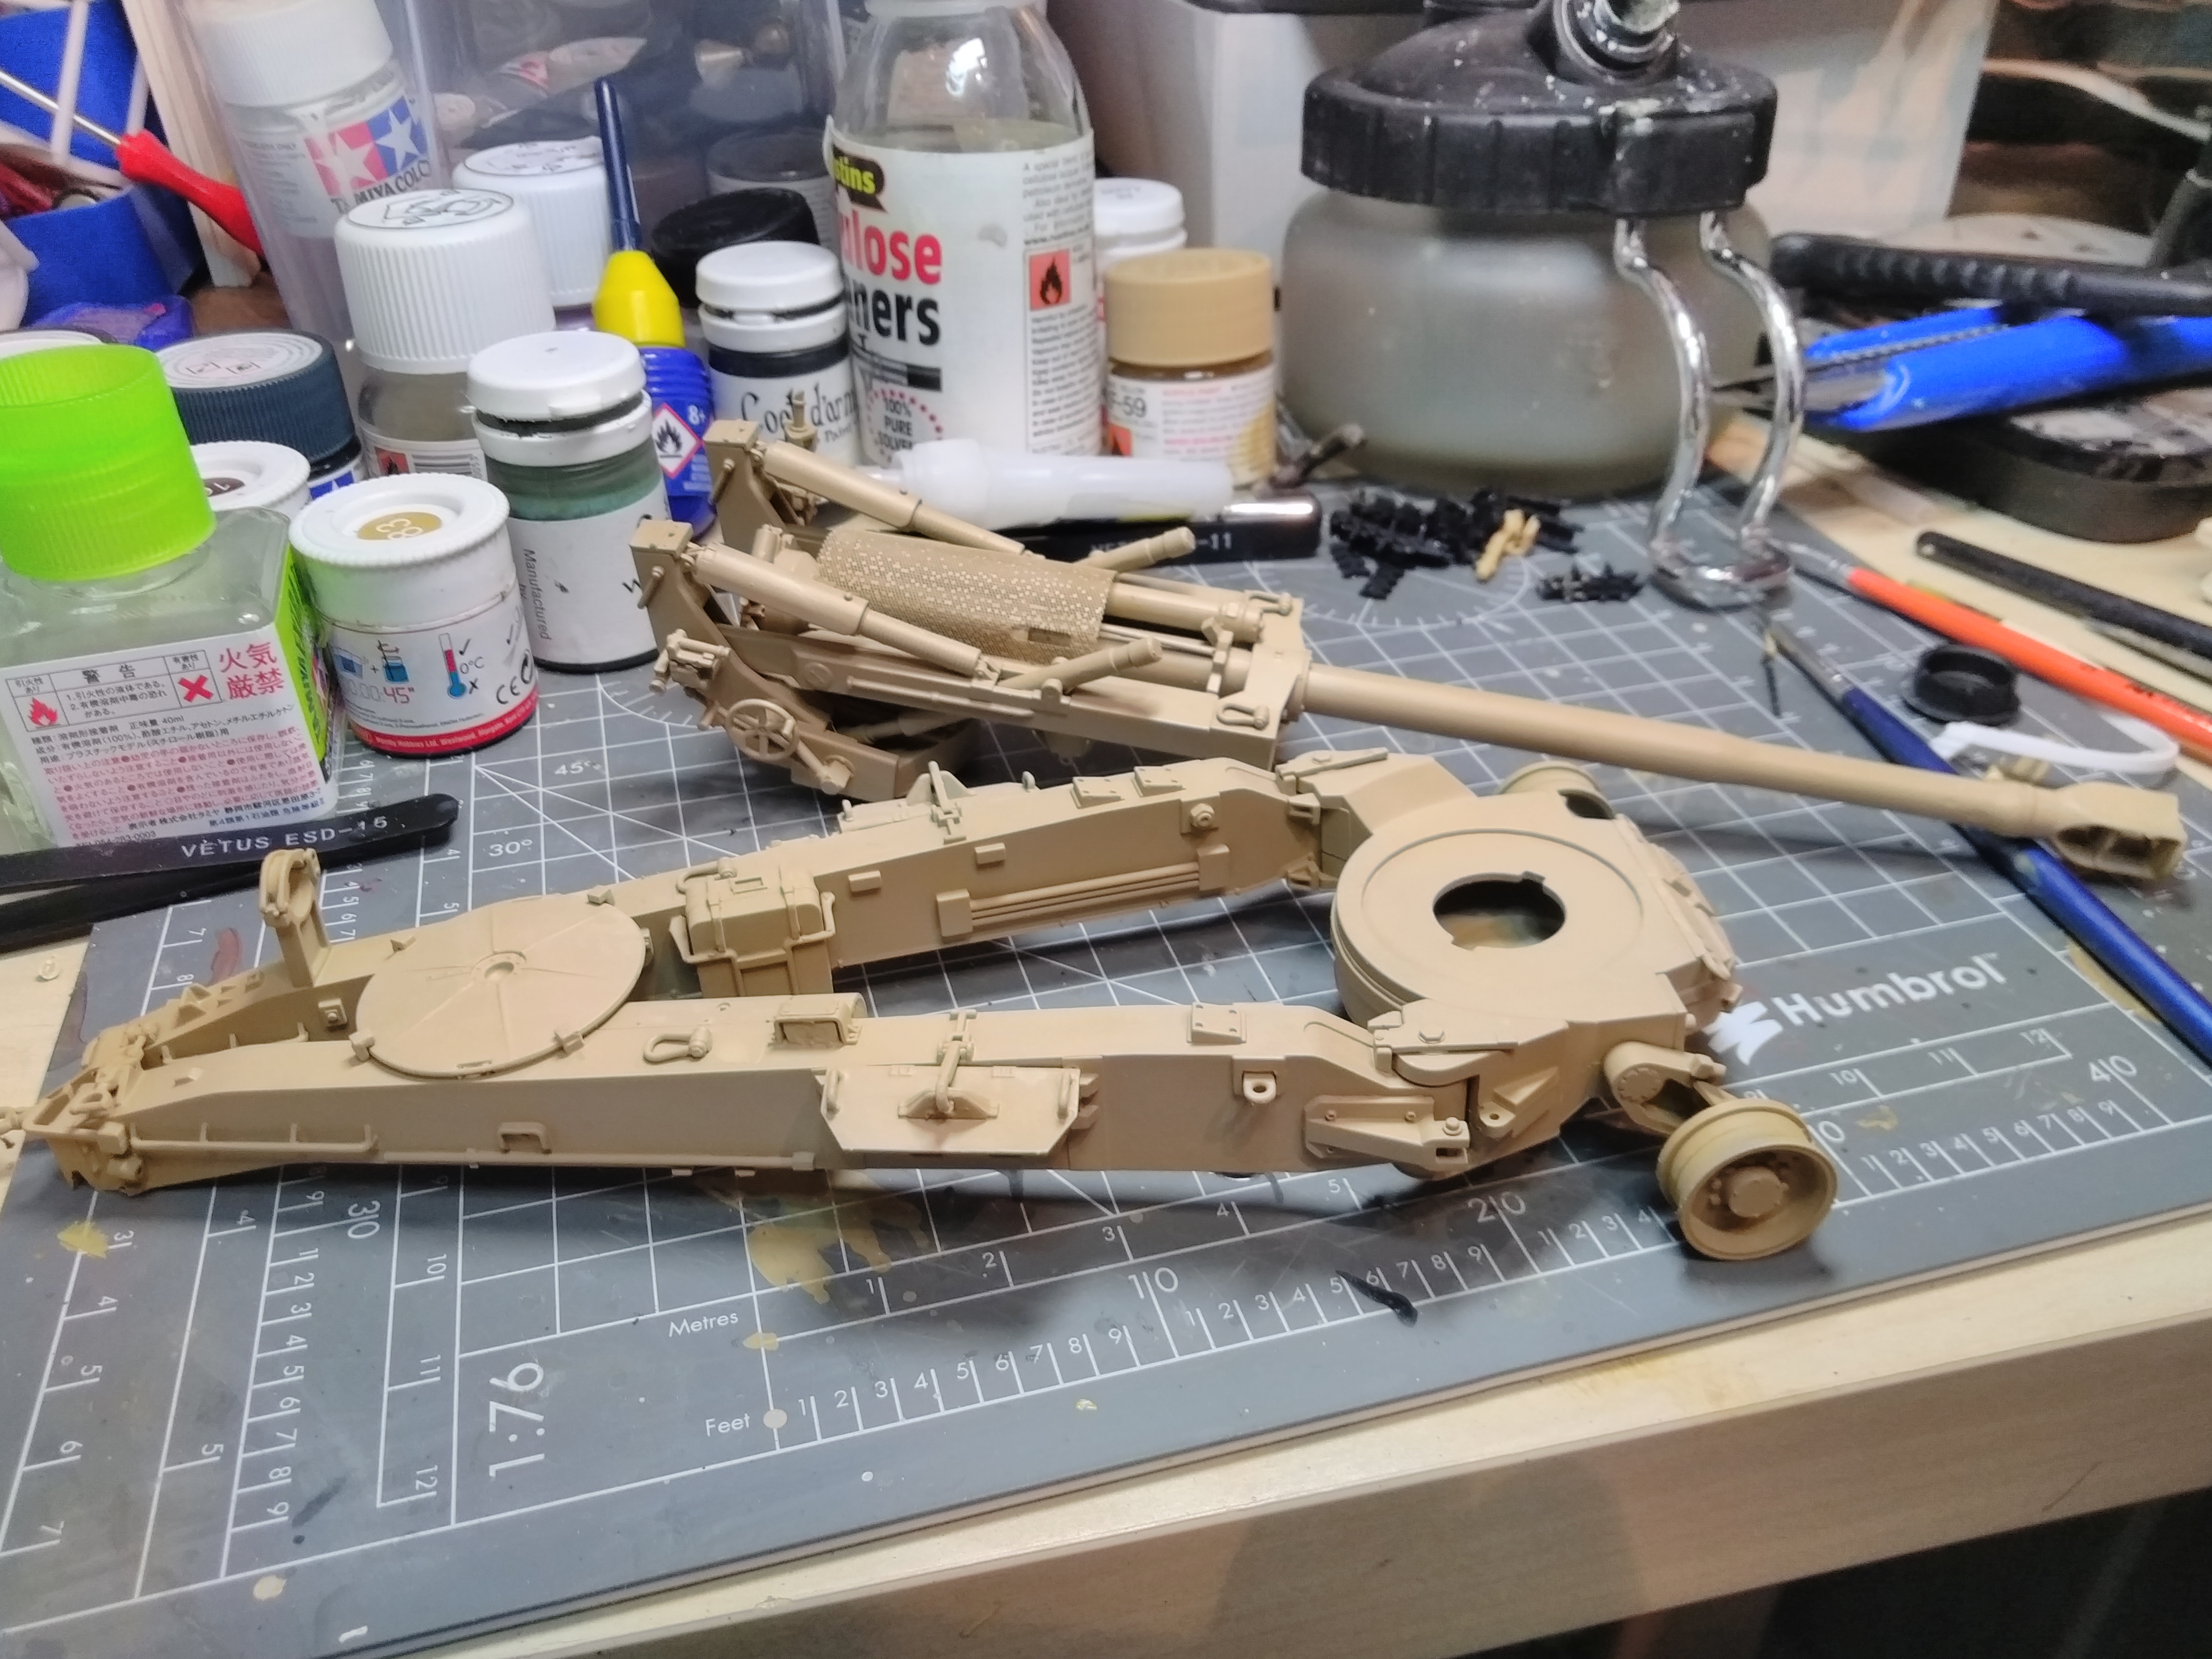
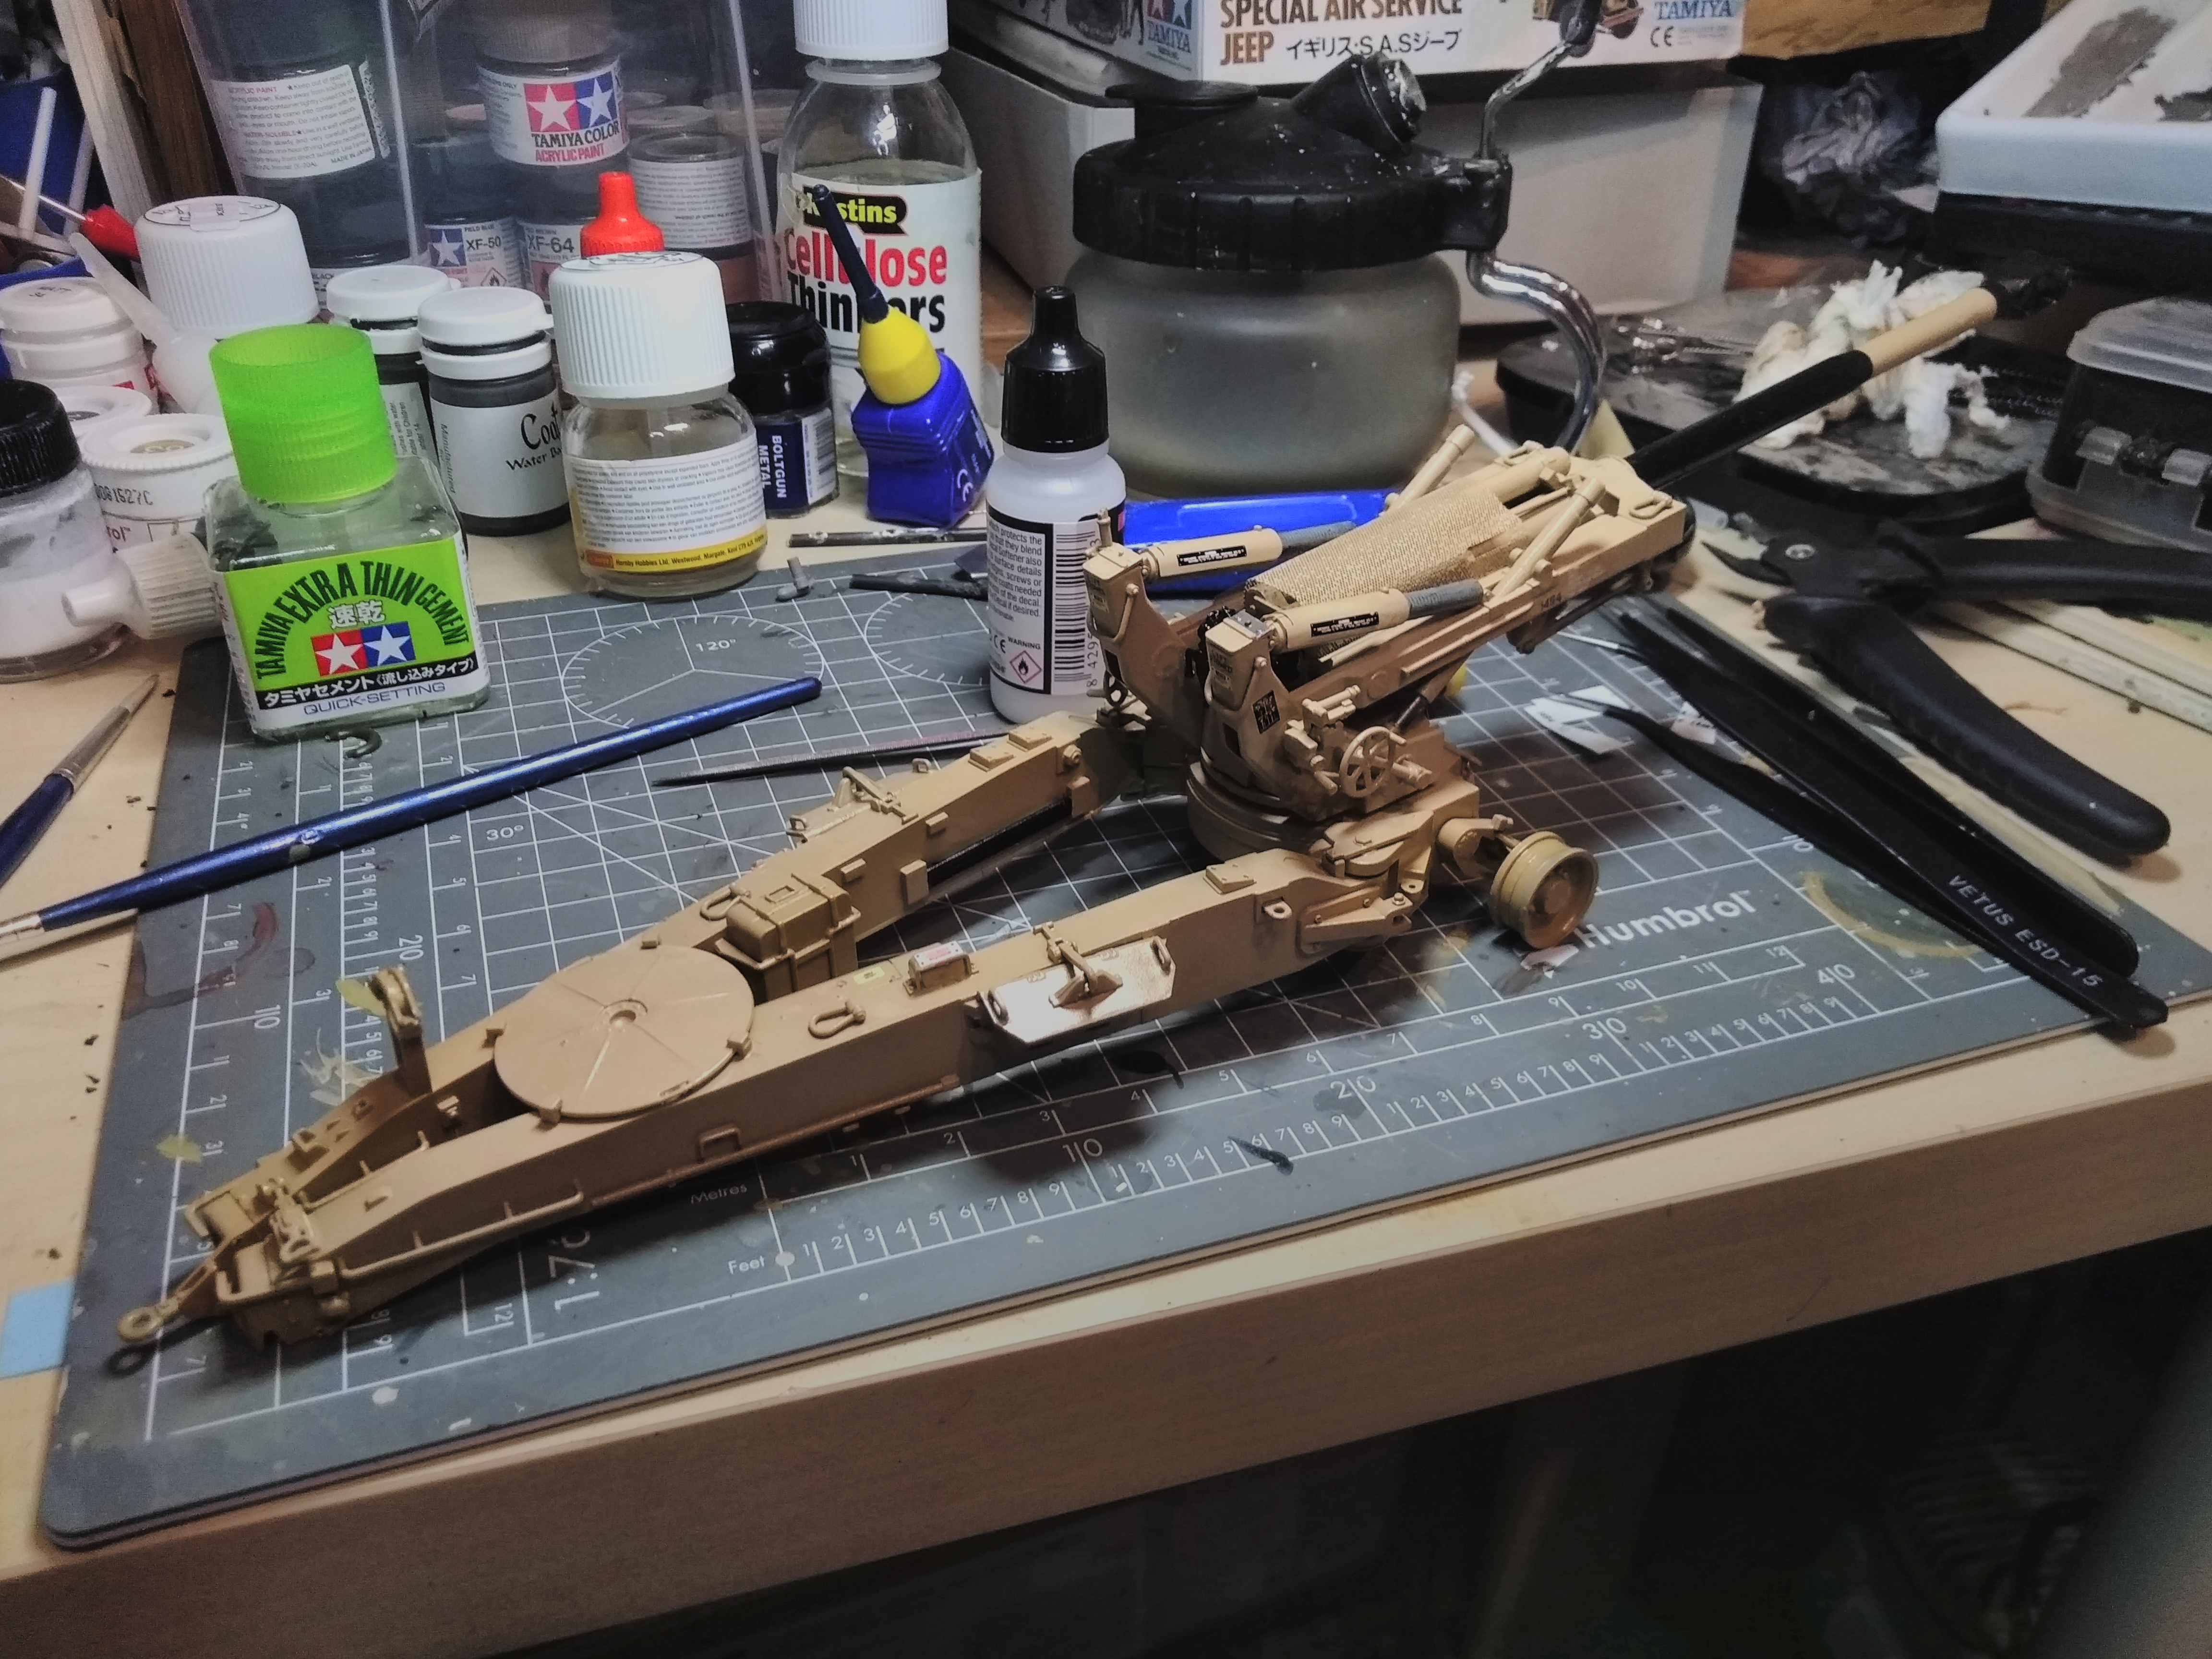
This is one I have had sitting around for a few years. Quite an interesting looking model, a lot of parts, rubber wheels and a small sheet of photo-etch. Think I paid about £13 on sale. A lot of little pieces on this one took quite a bit of patience.

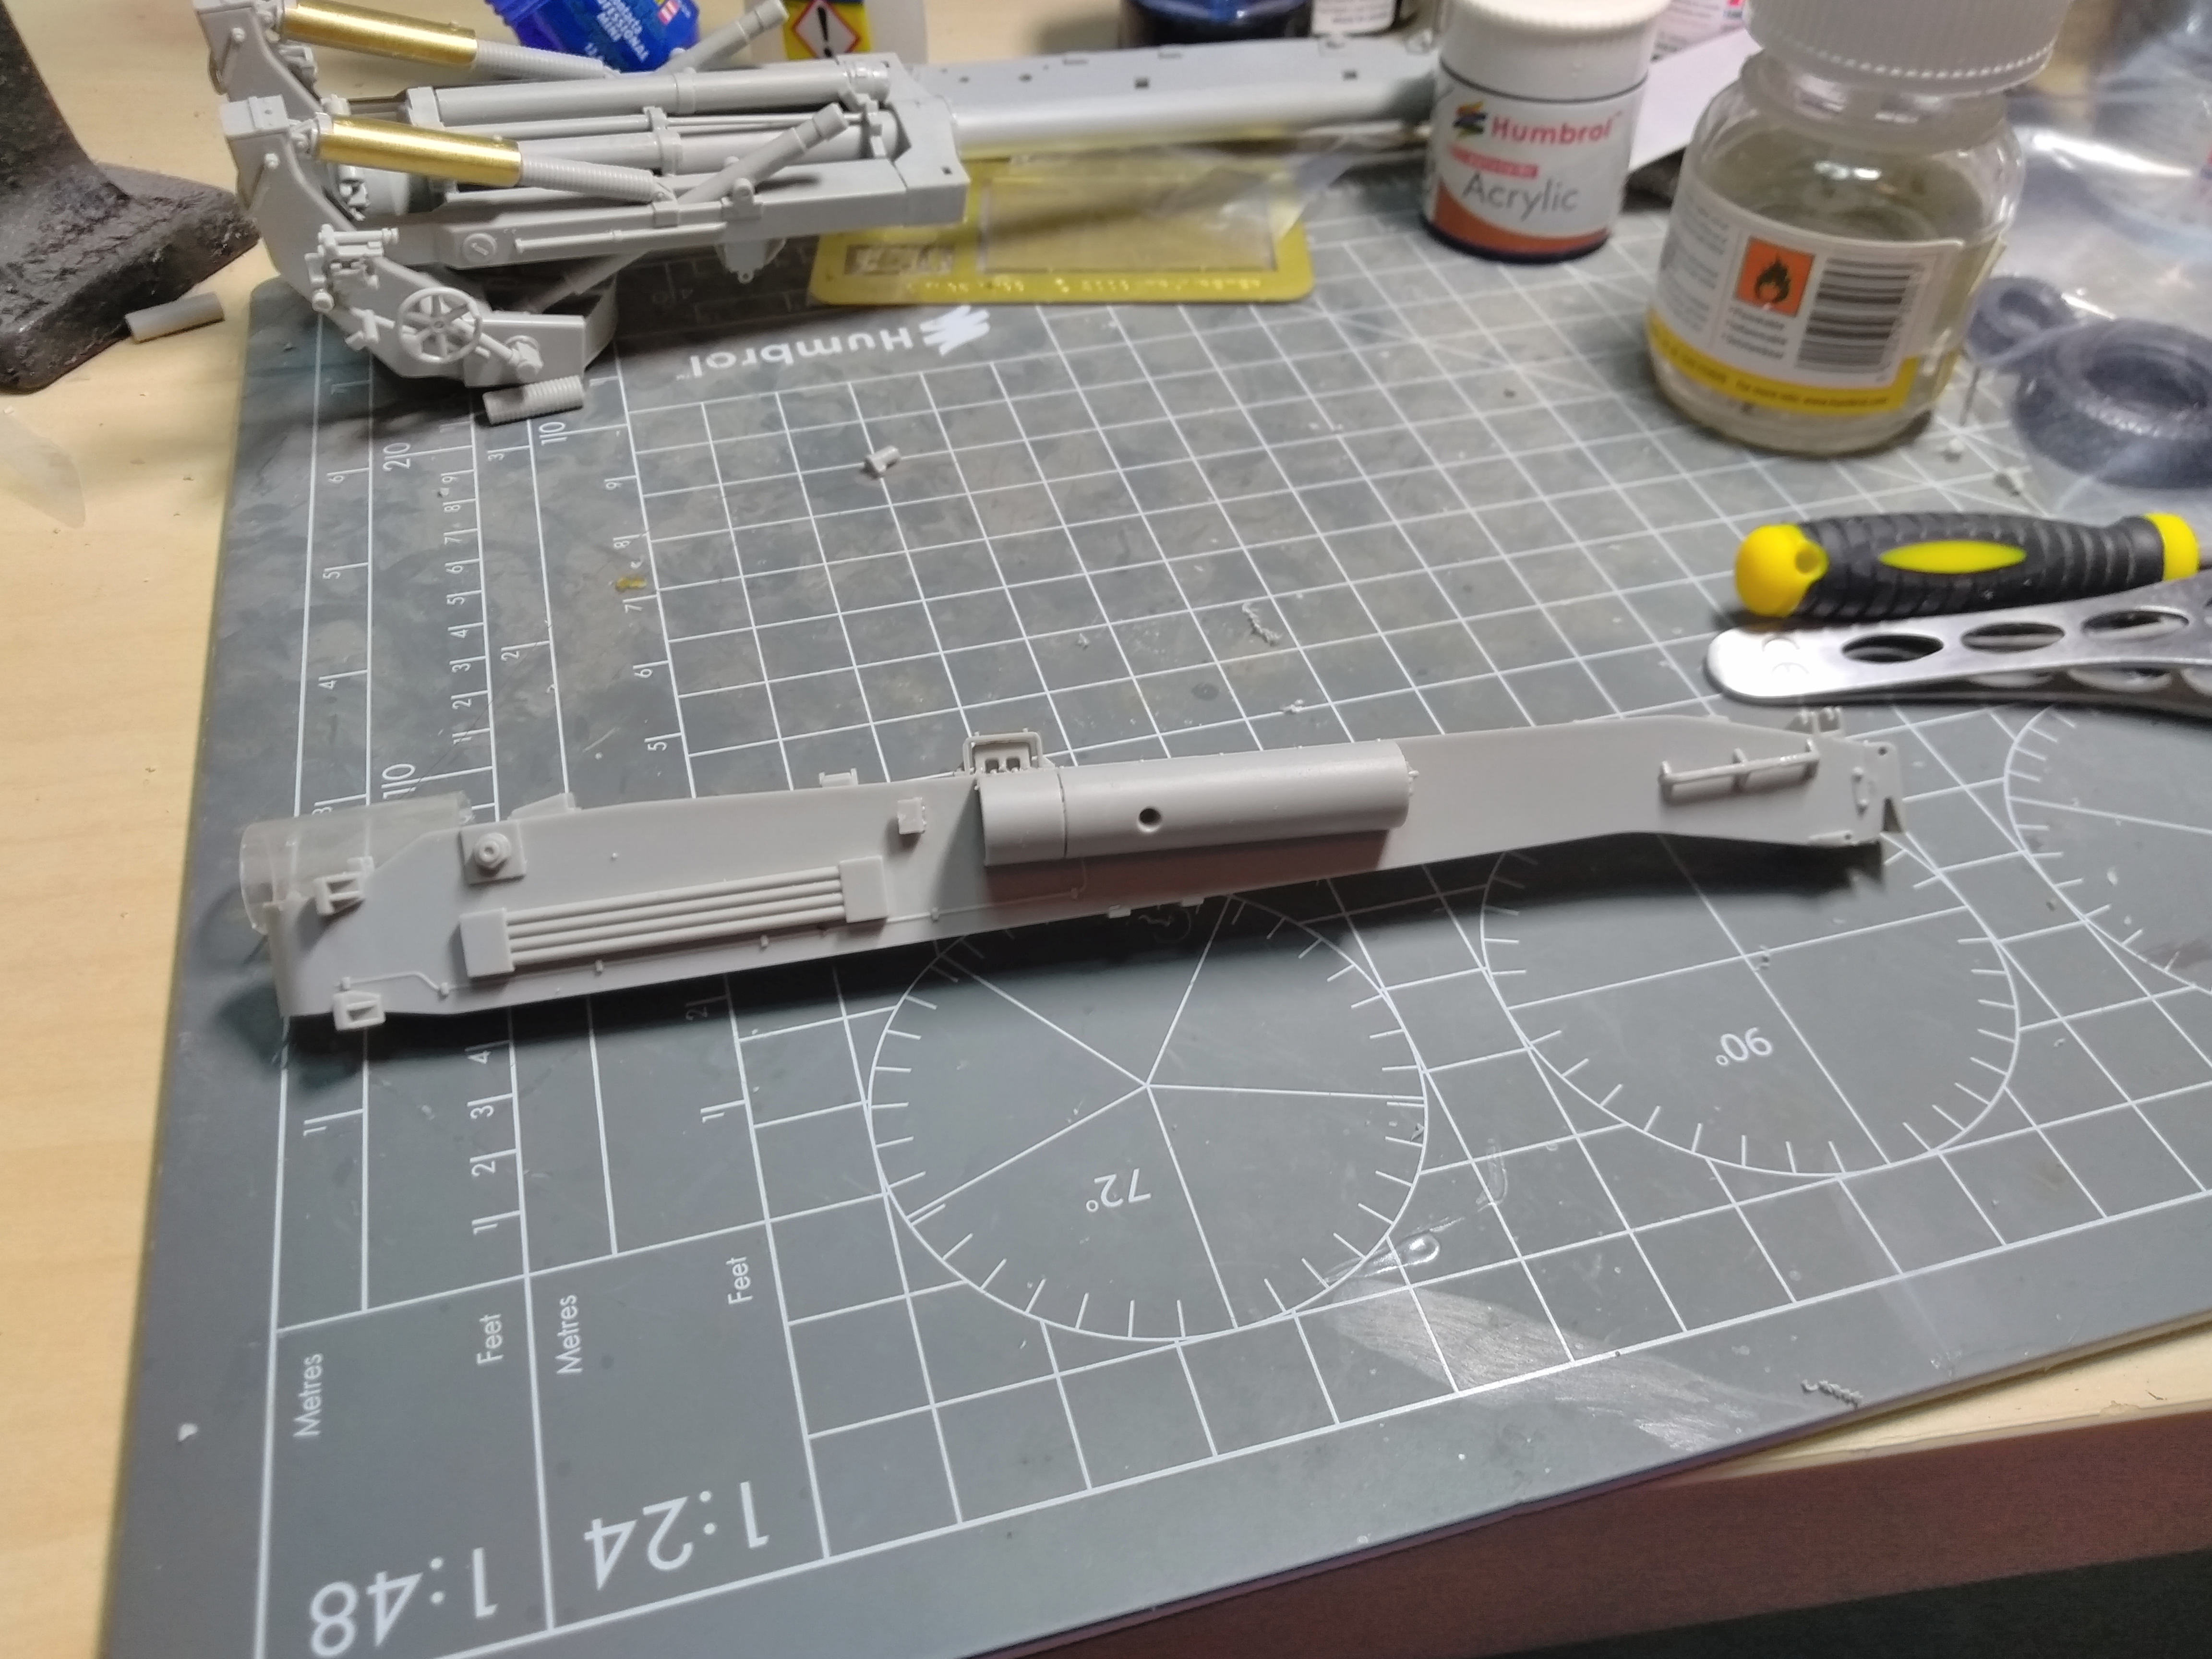
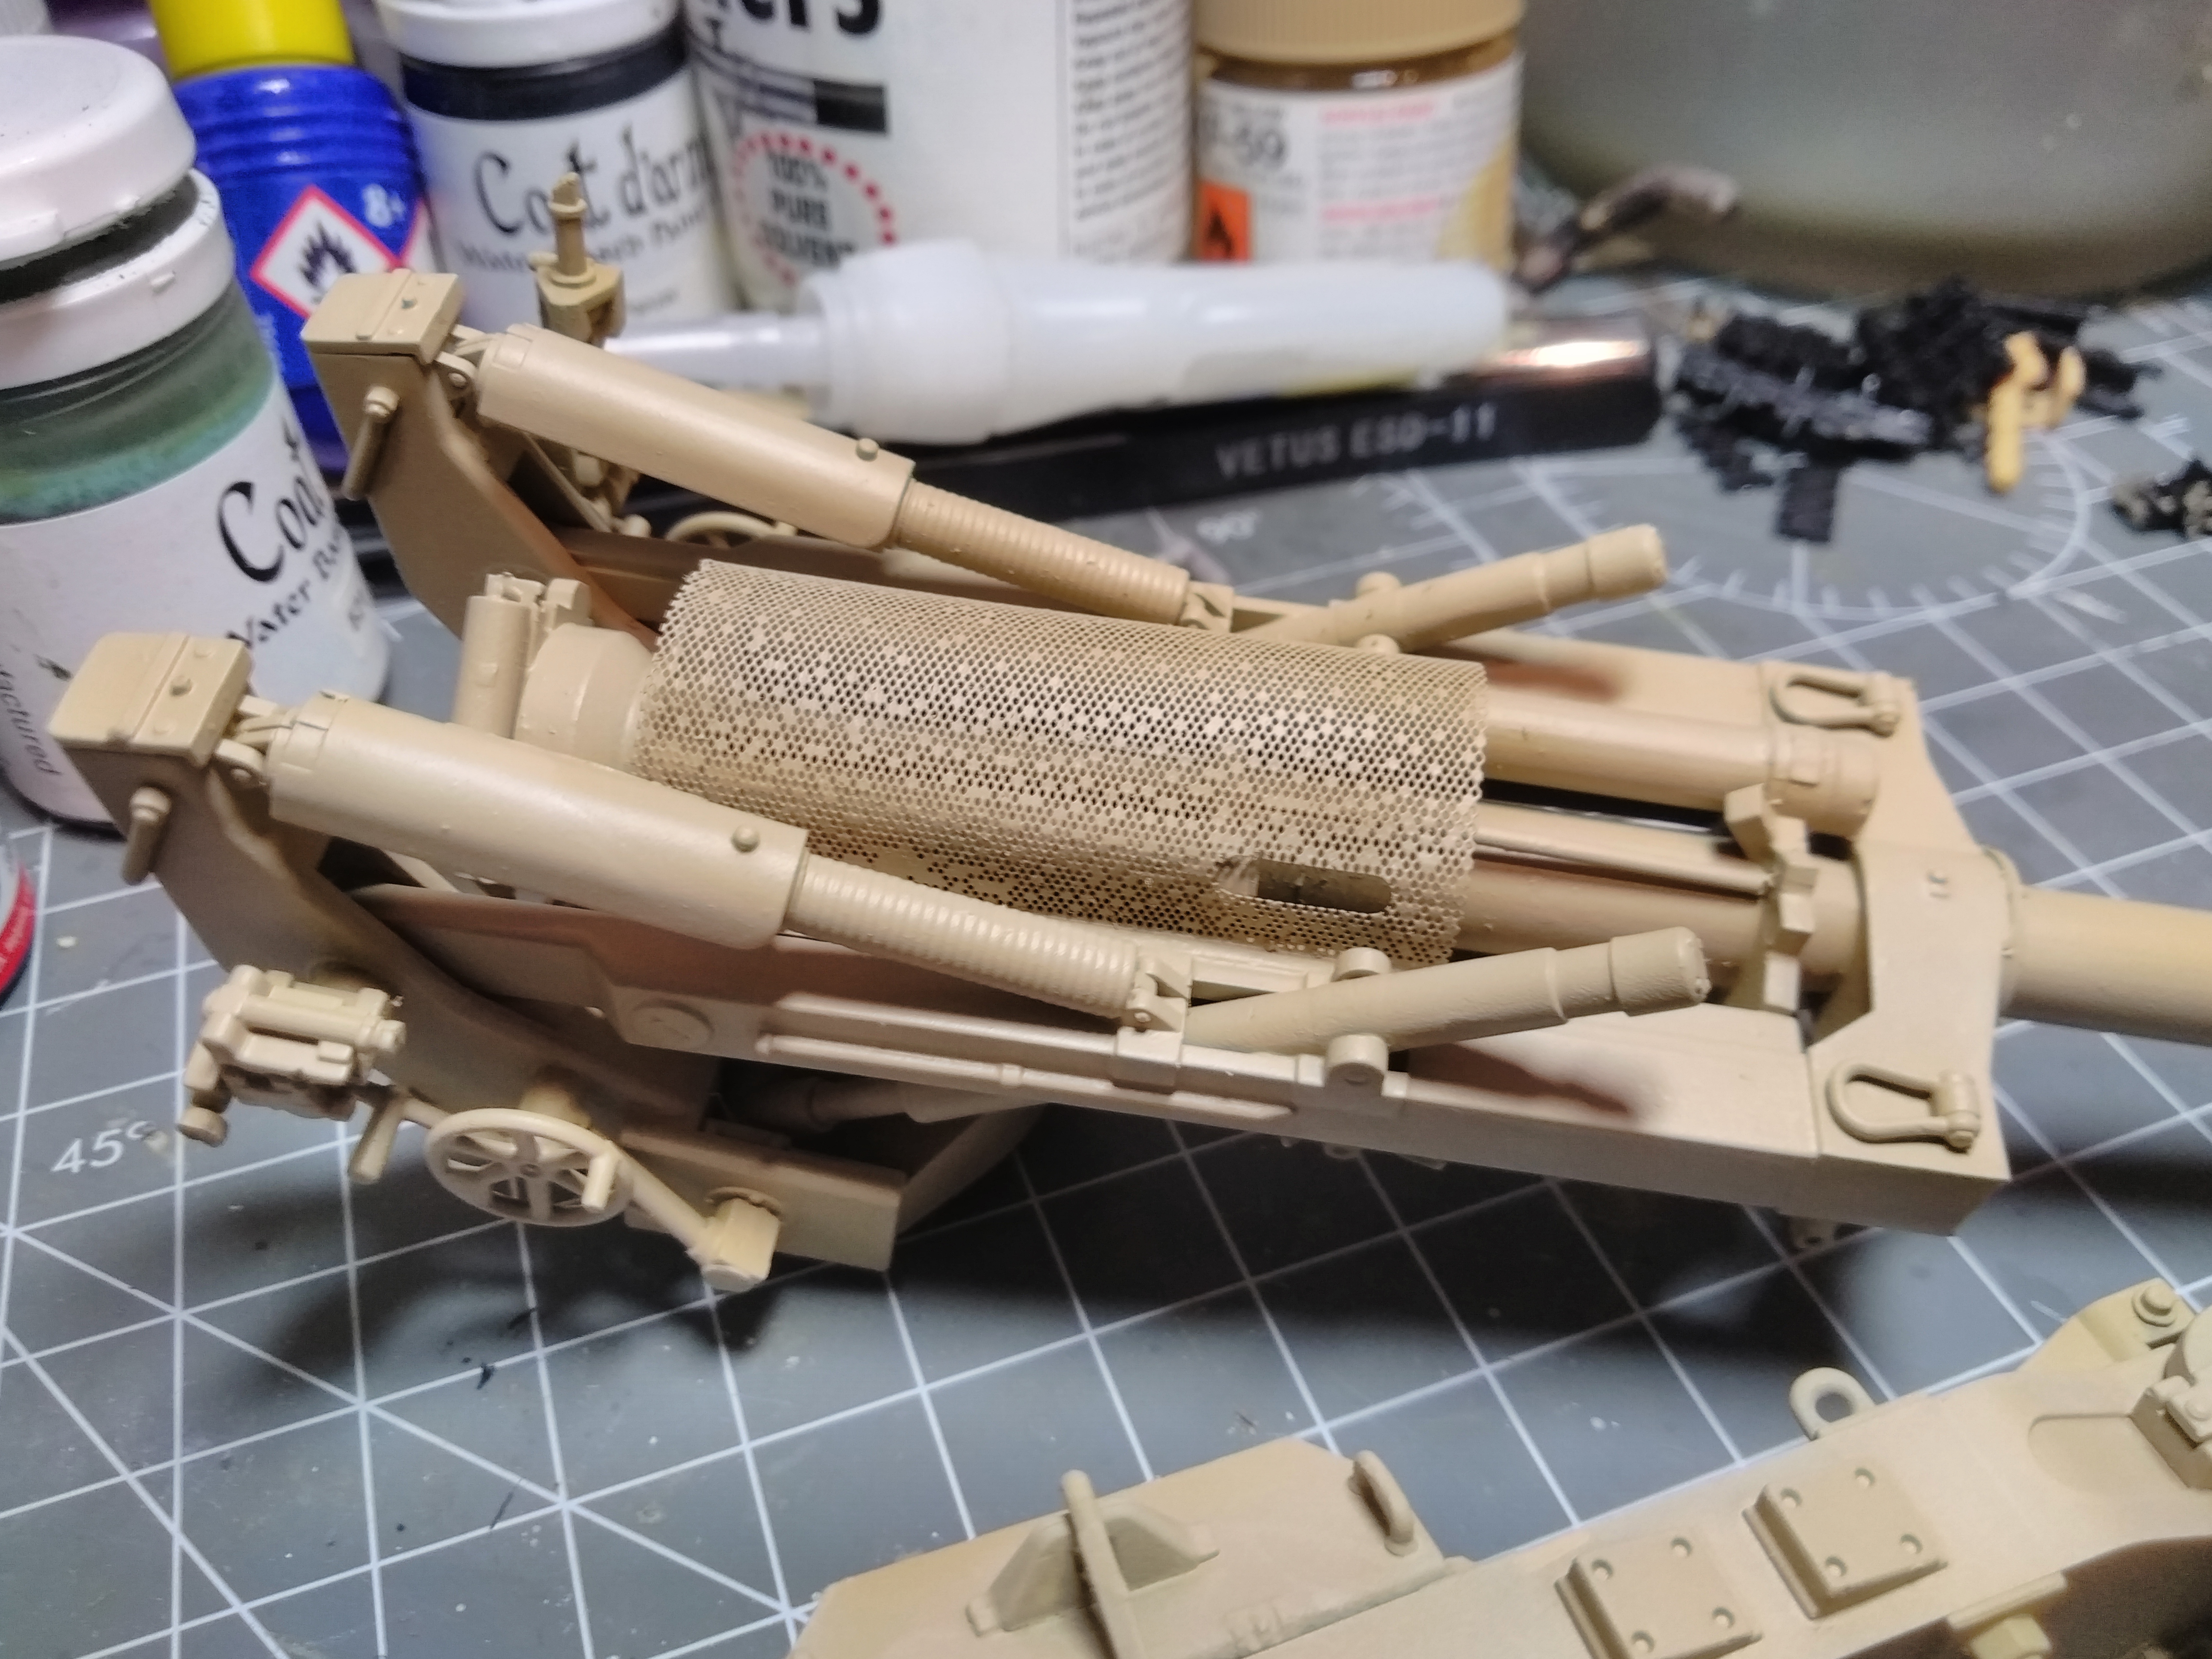
One thing I do like is the fact the pe is sandwiched between two pieces of tacky clear plastic. It means that when you cut pieces they don’t ping across the room. You can achieve this with tape, however, it’s just nice it has been made this way, to begin with.
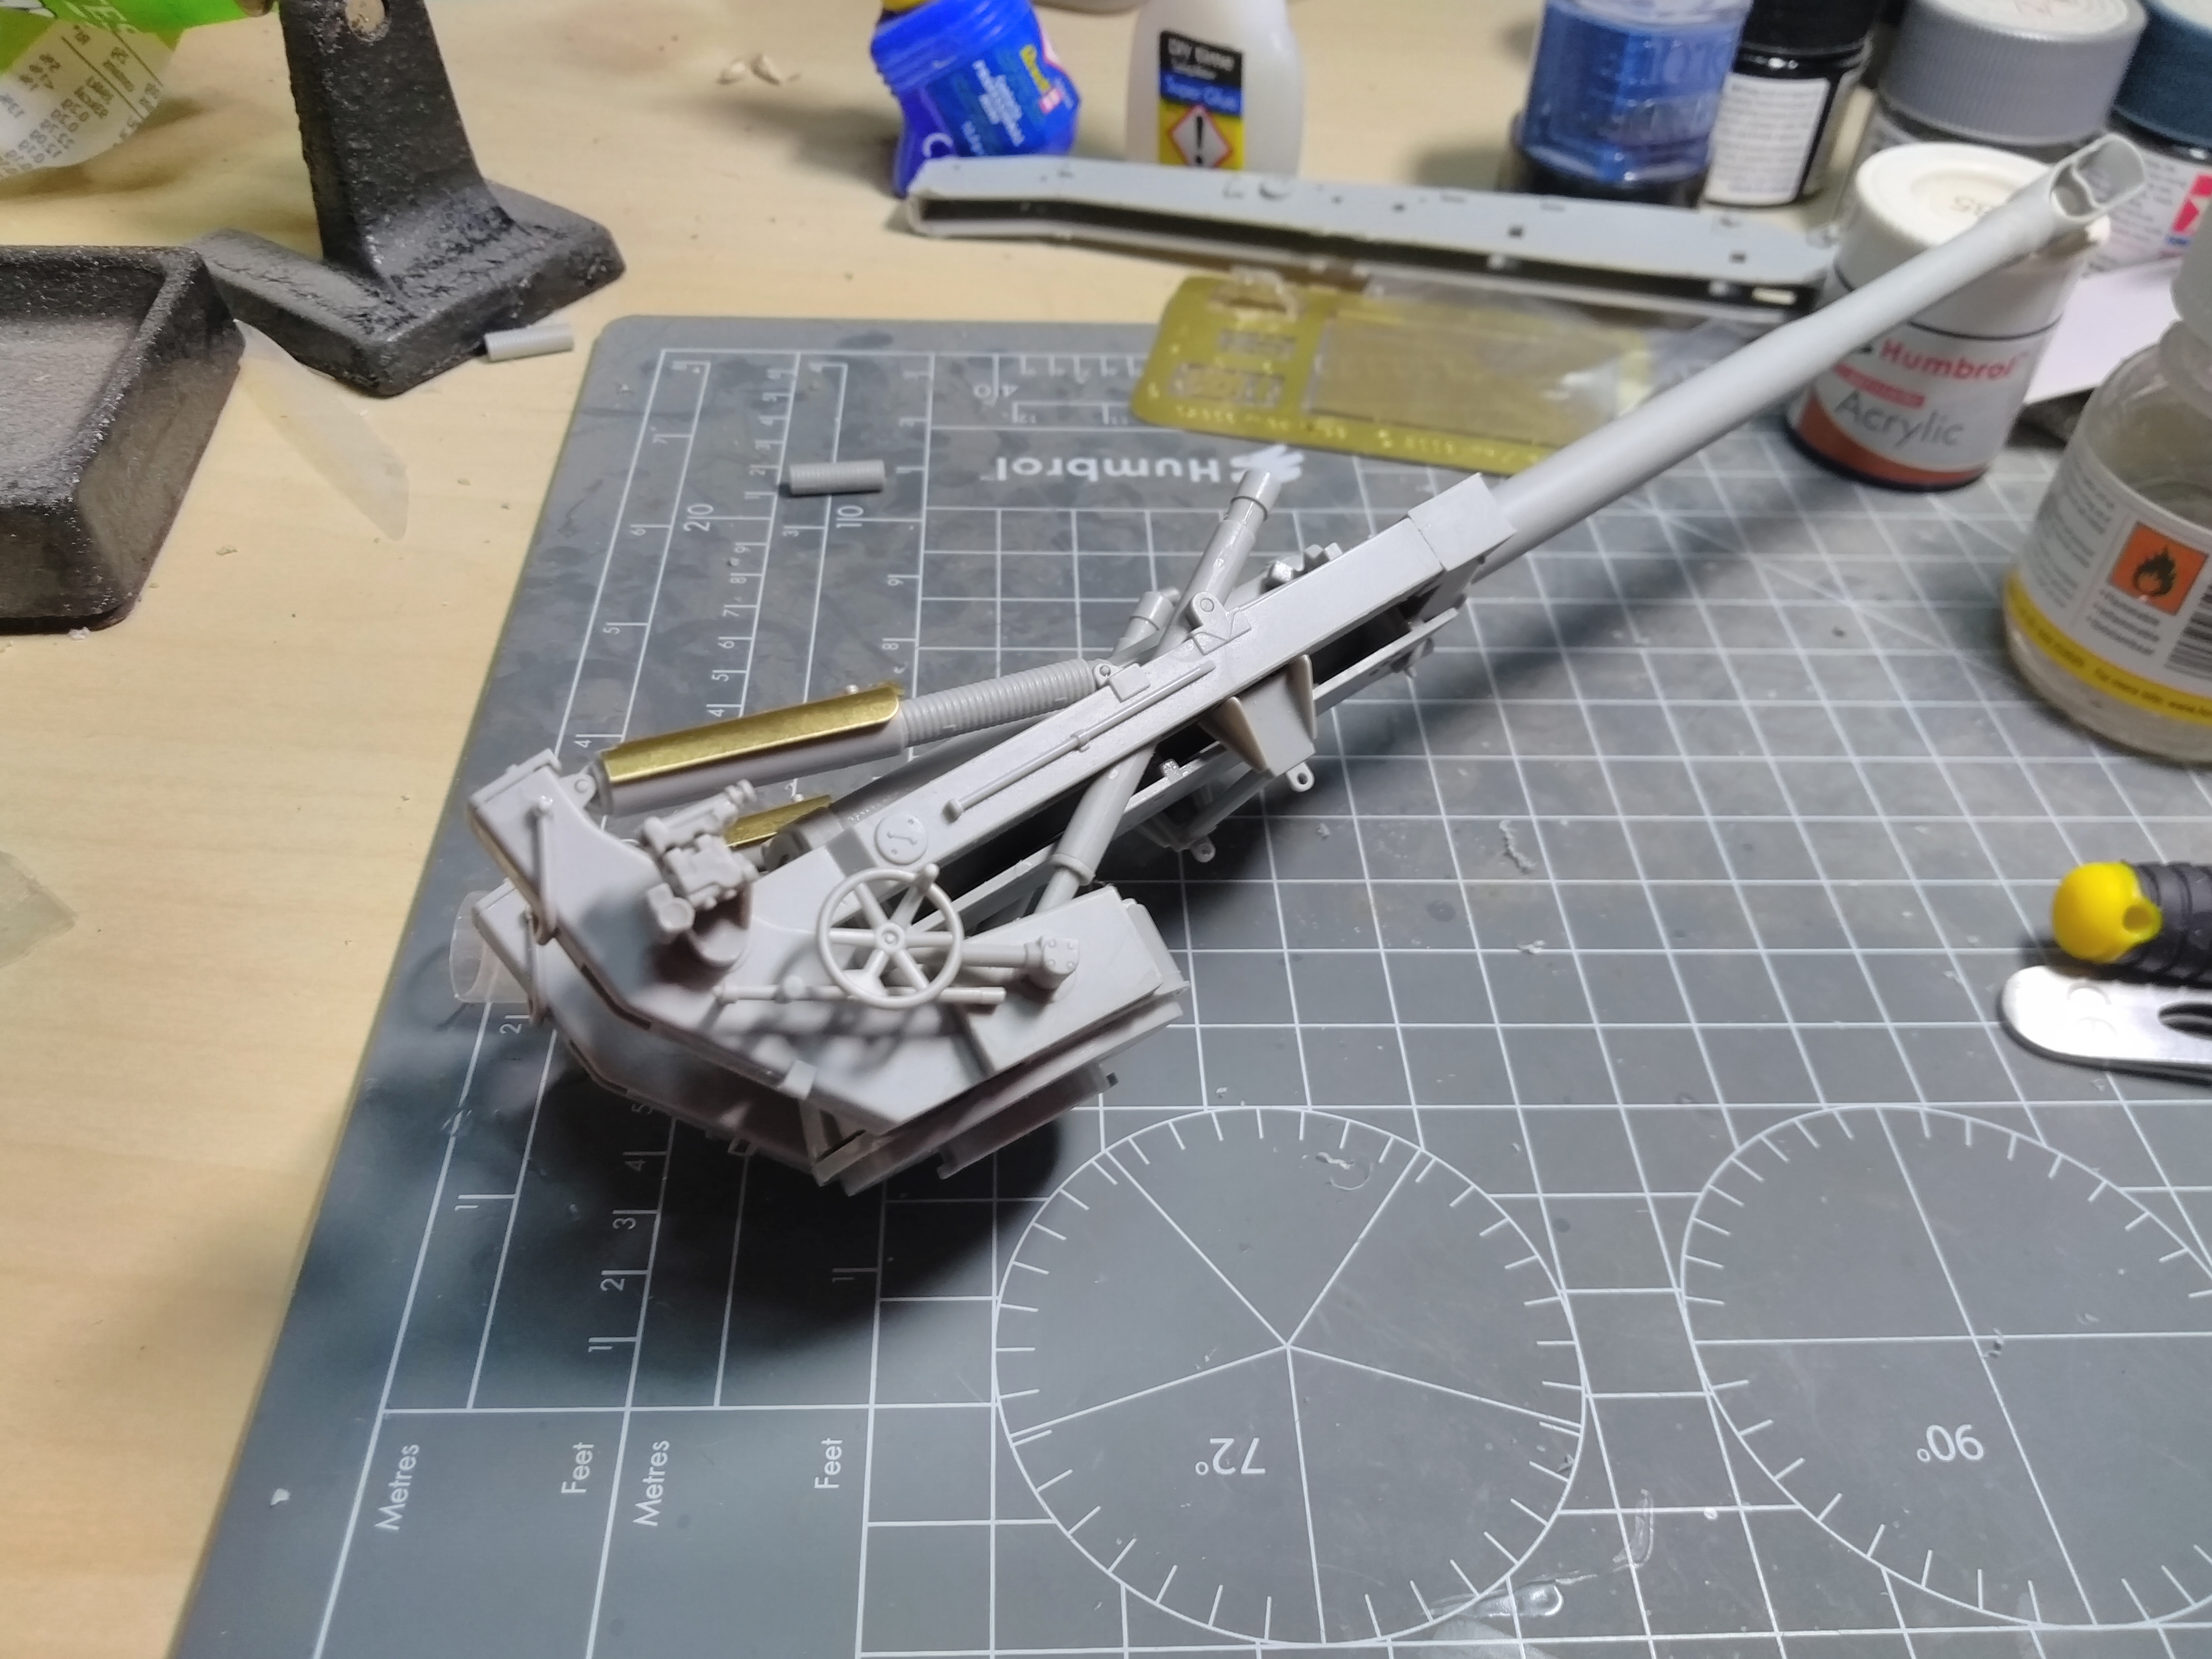
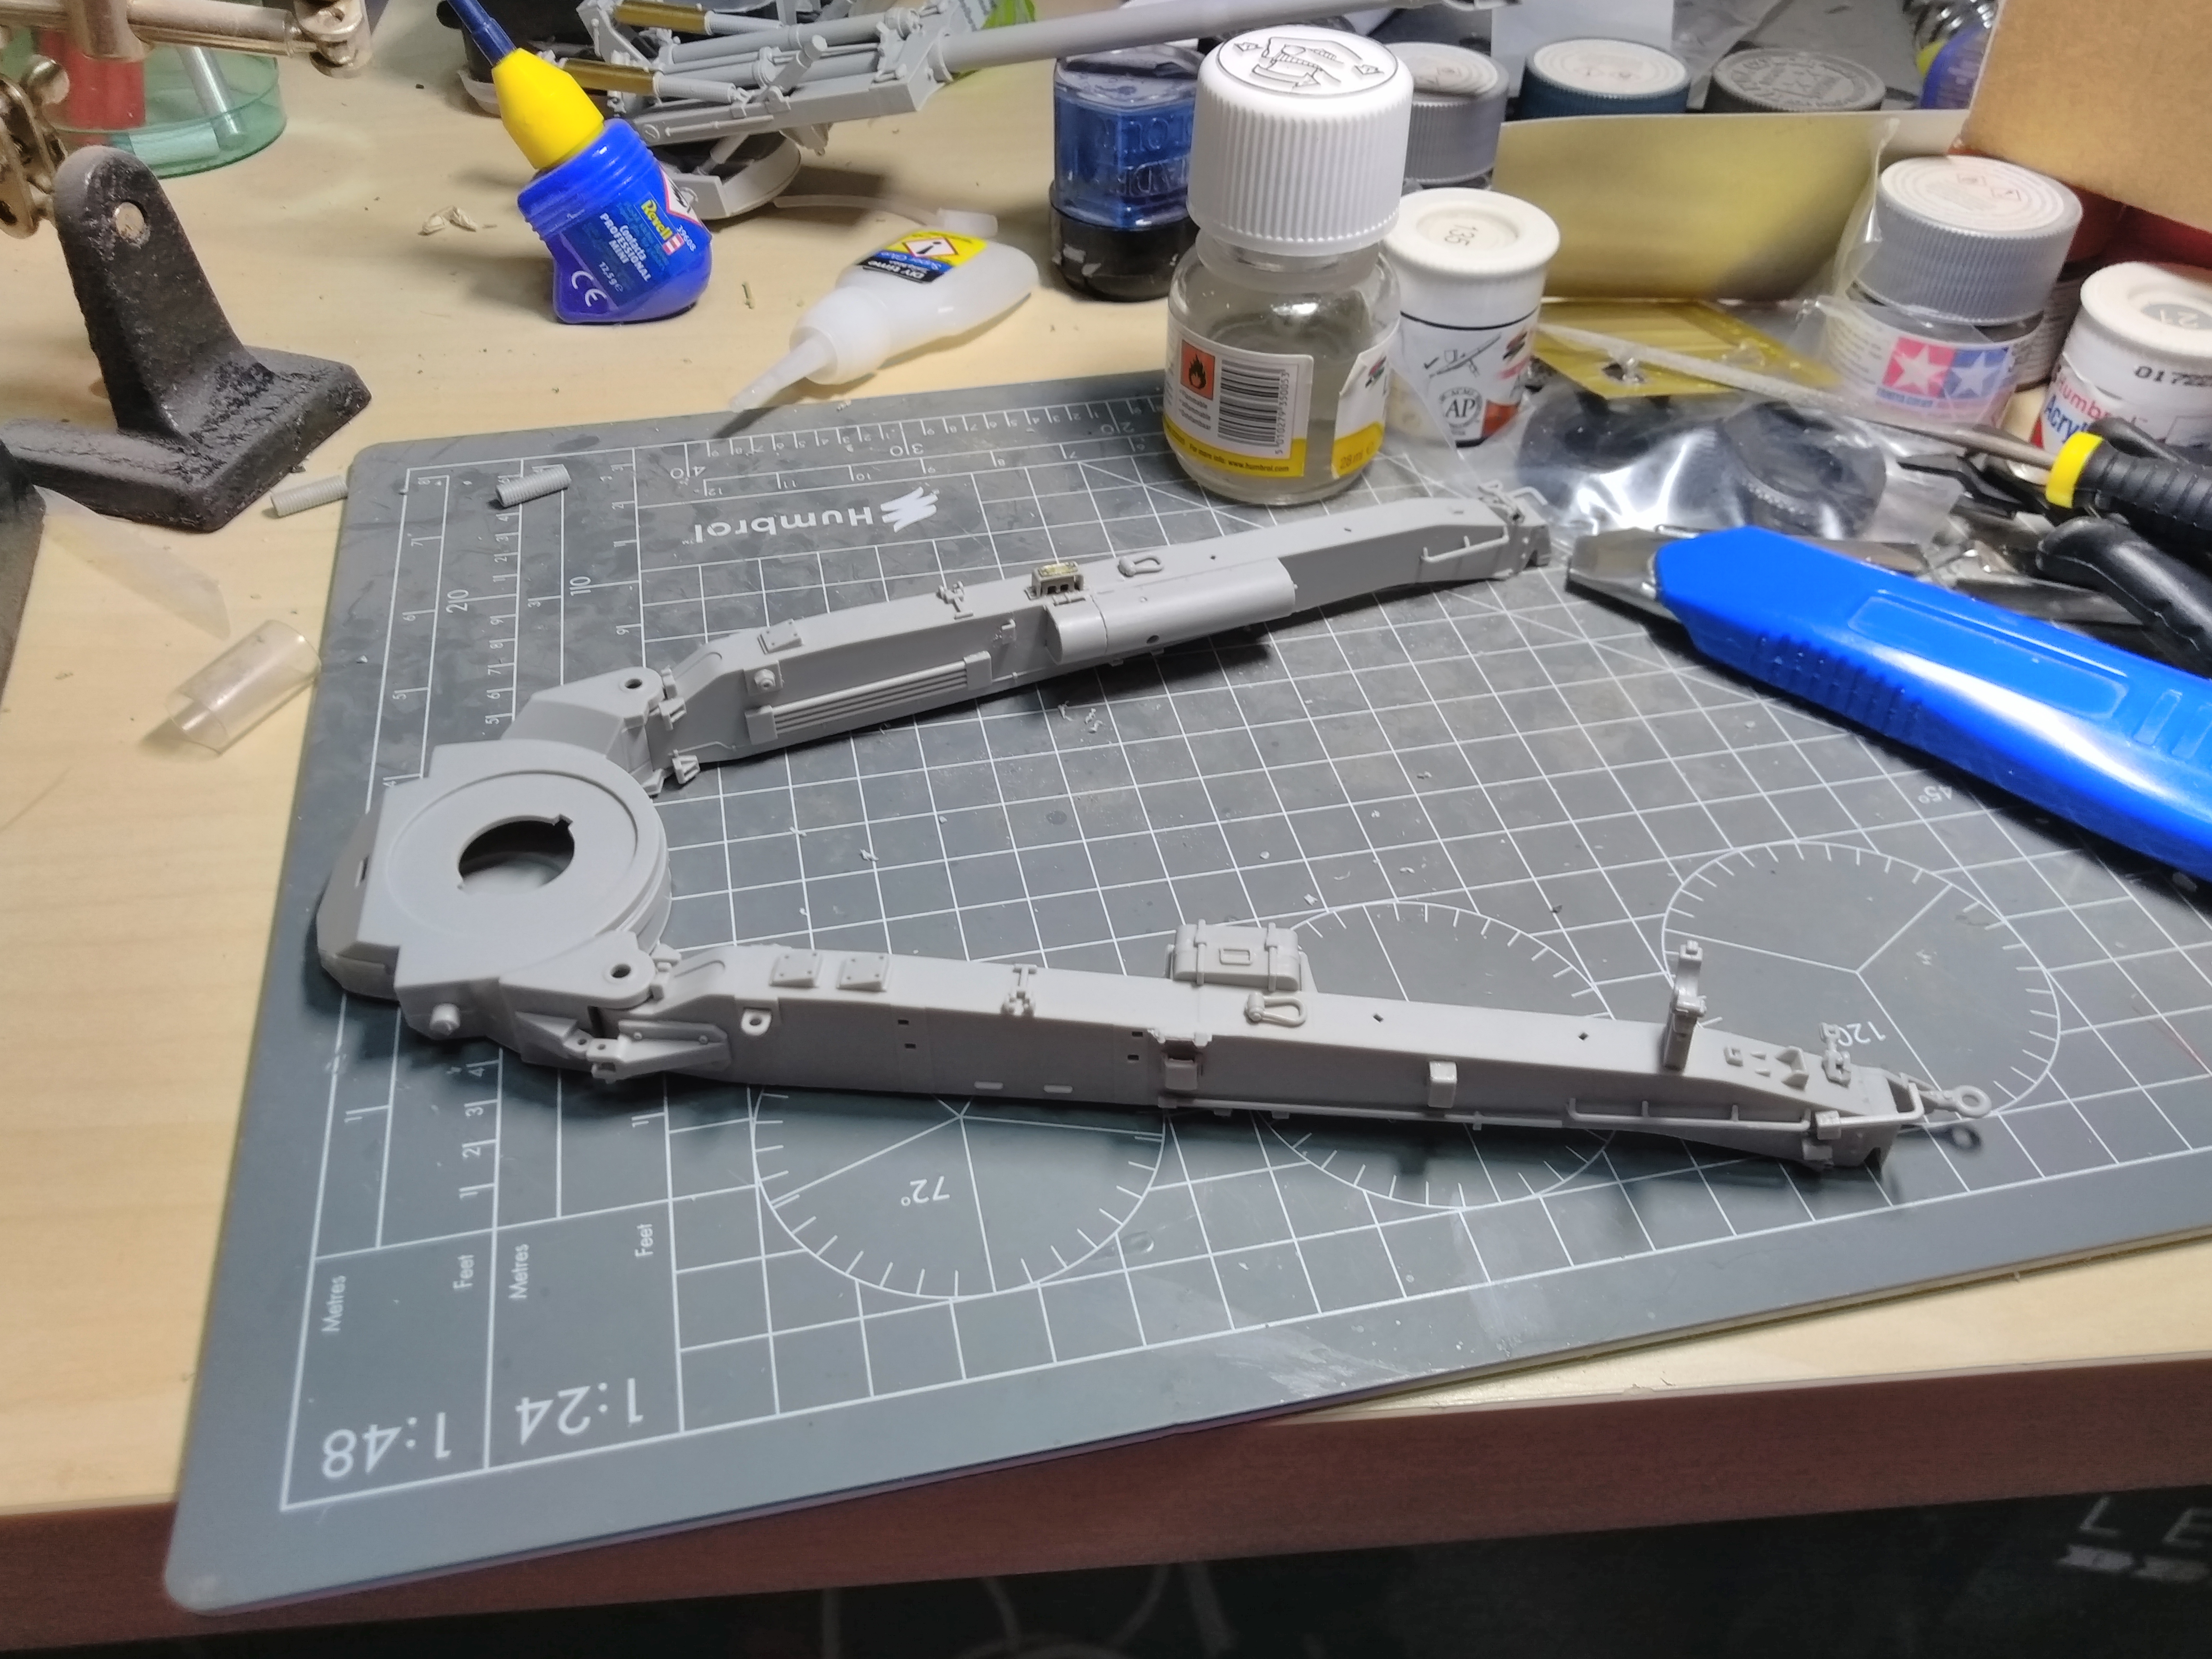
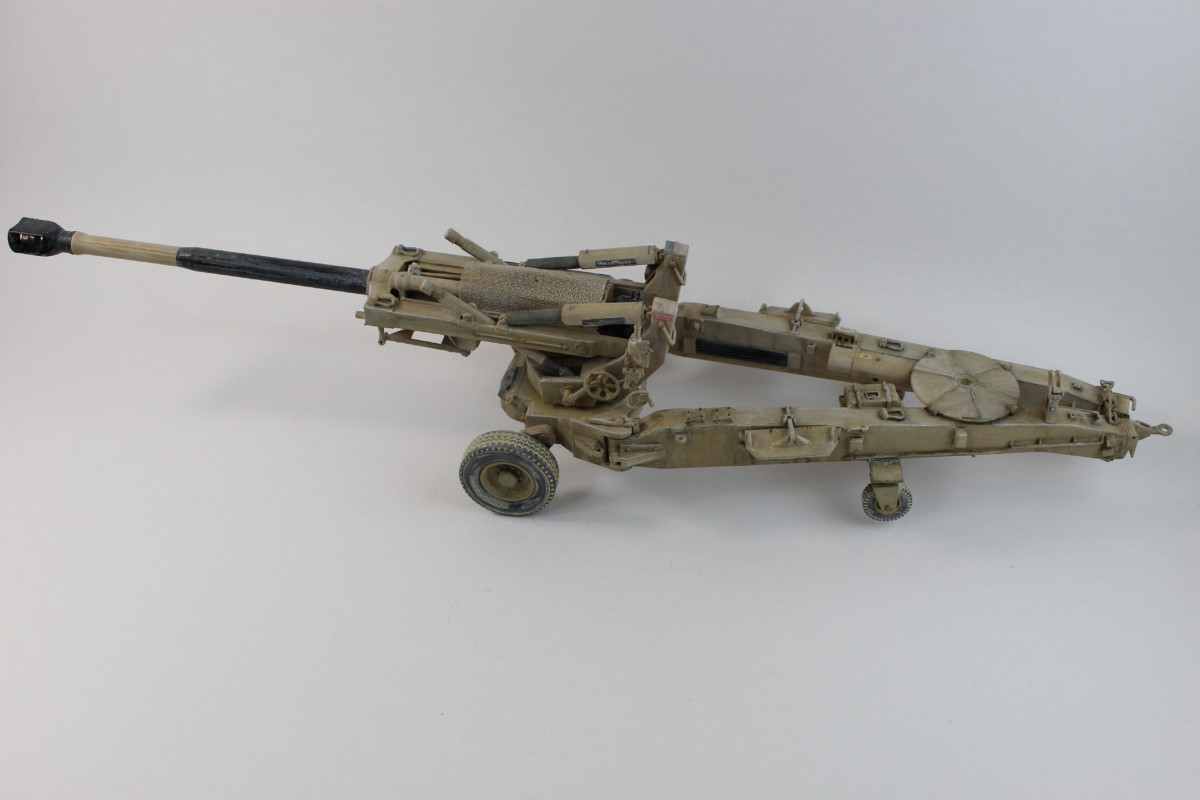
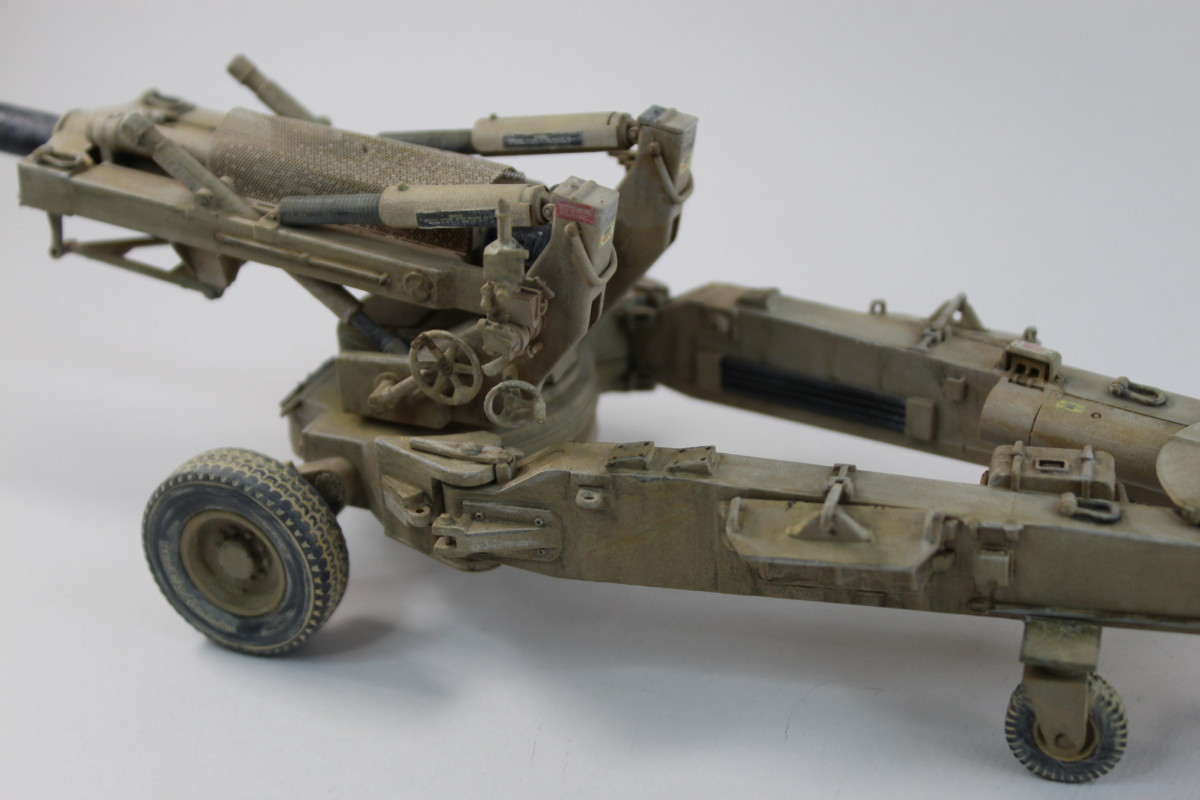
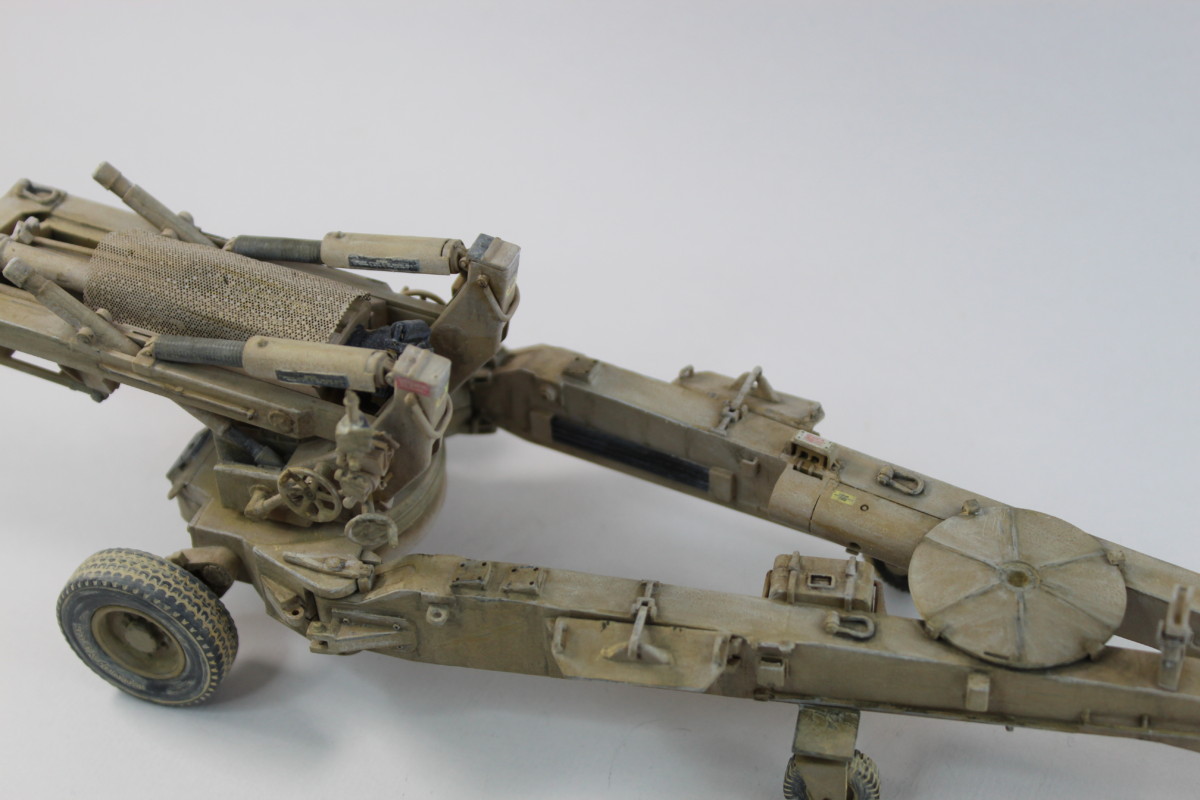
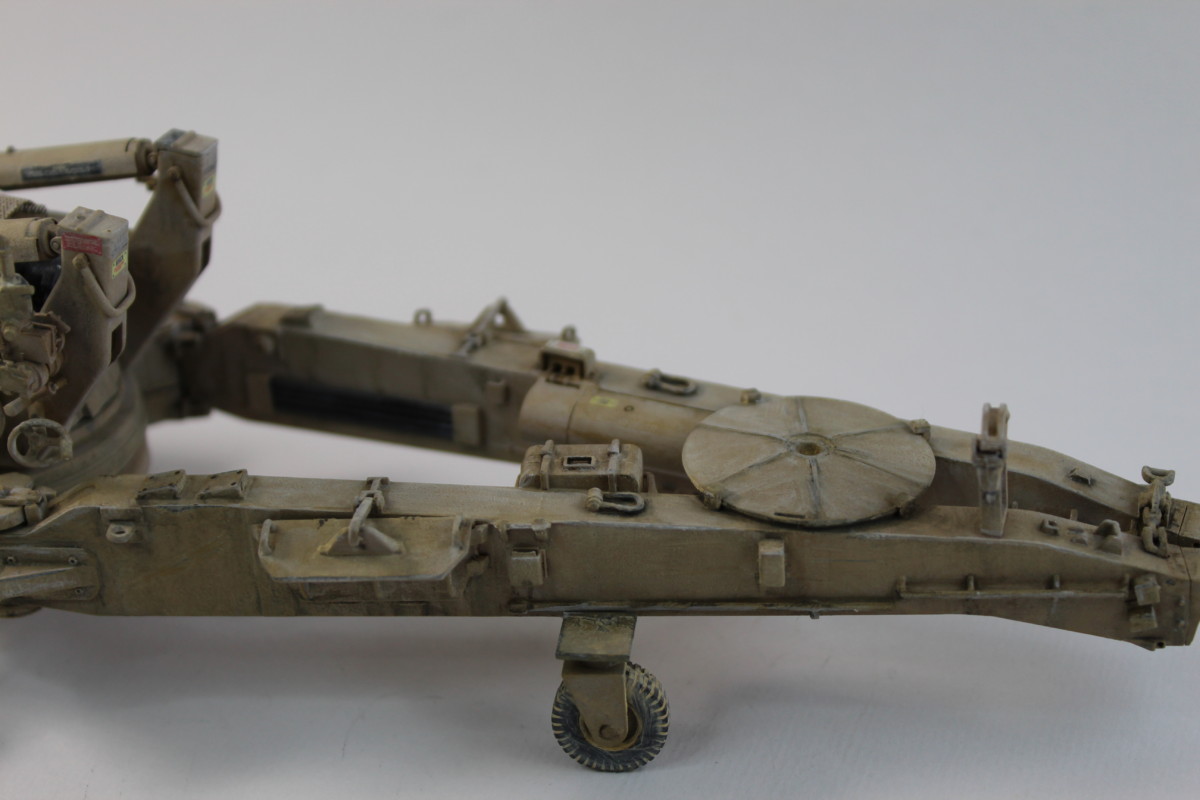
It seems that the main gun can be moveable but I decided to set it in position for painting. You can also set the model in 3 positions. Position 1. firing and positions 2 & 3 towing. Position 3 enables the gun to be completely strapped down. I assume the different towing configurations are to do with long-distance transport as opposed to transport during battle. I have opted for the more open looking transport configuration. This way you can still see the whole model but it takes up a bit less desk space.

Attached.

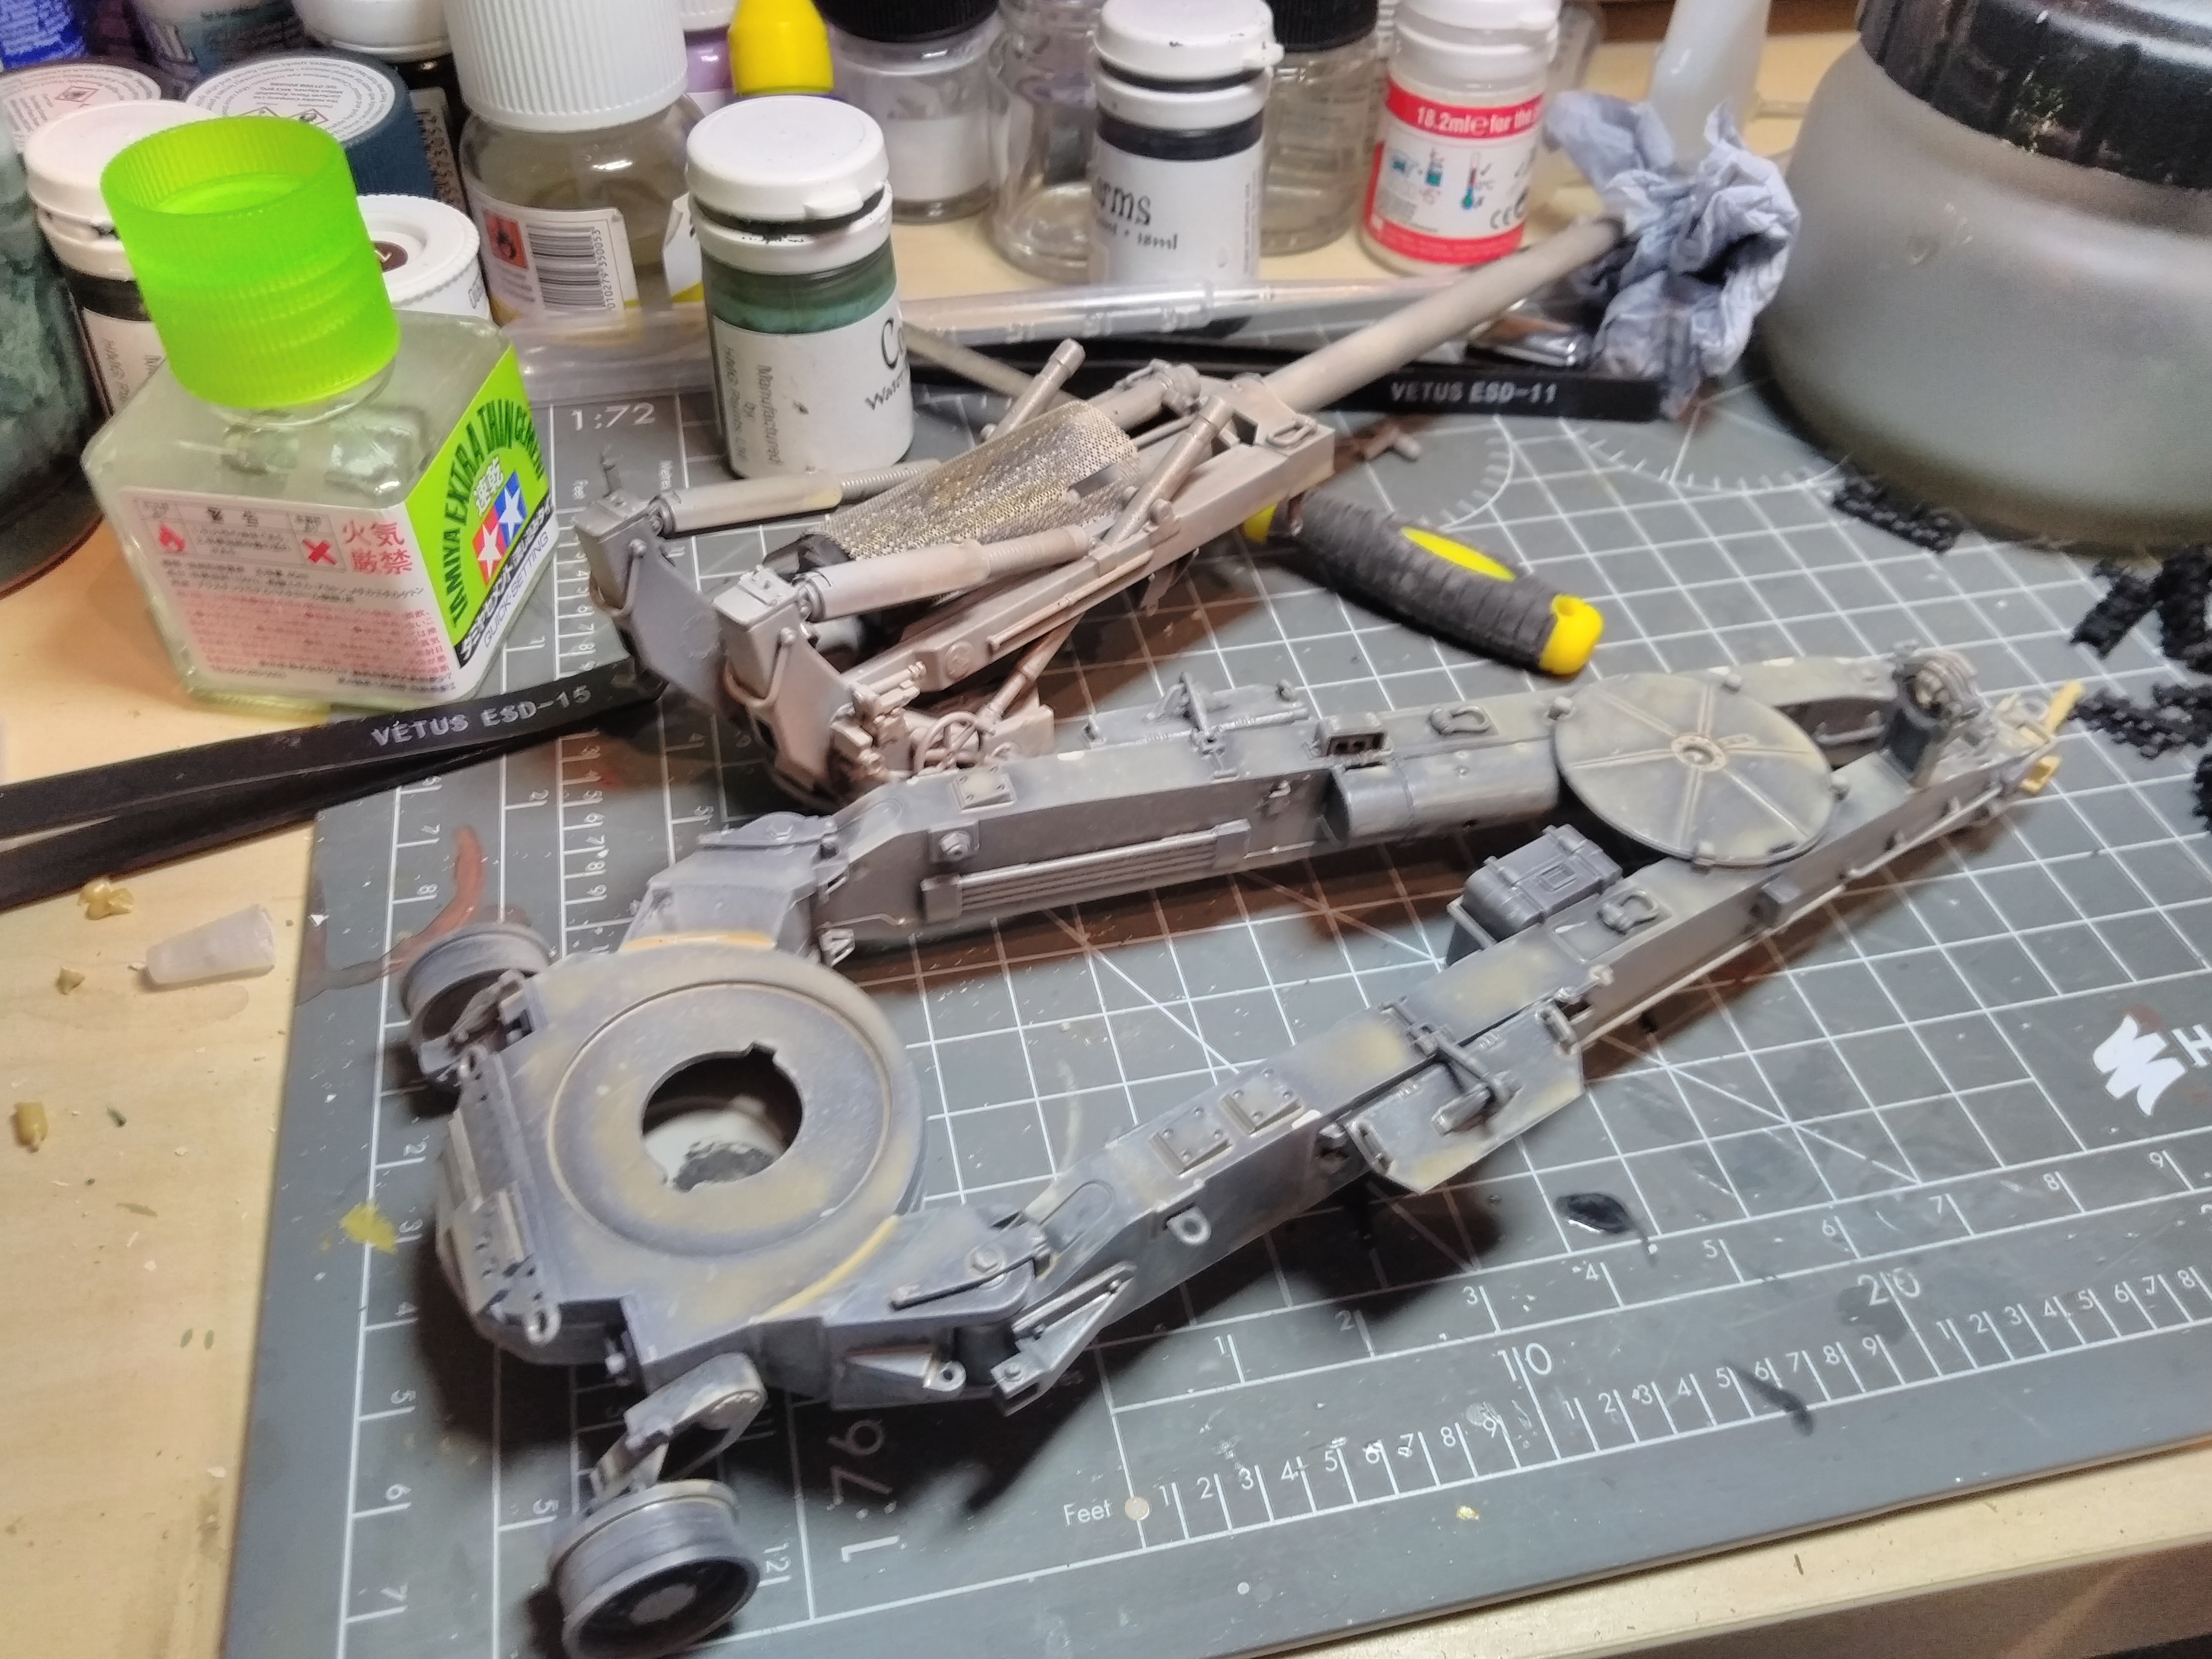
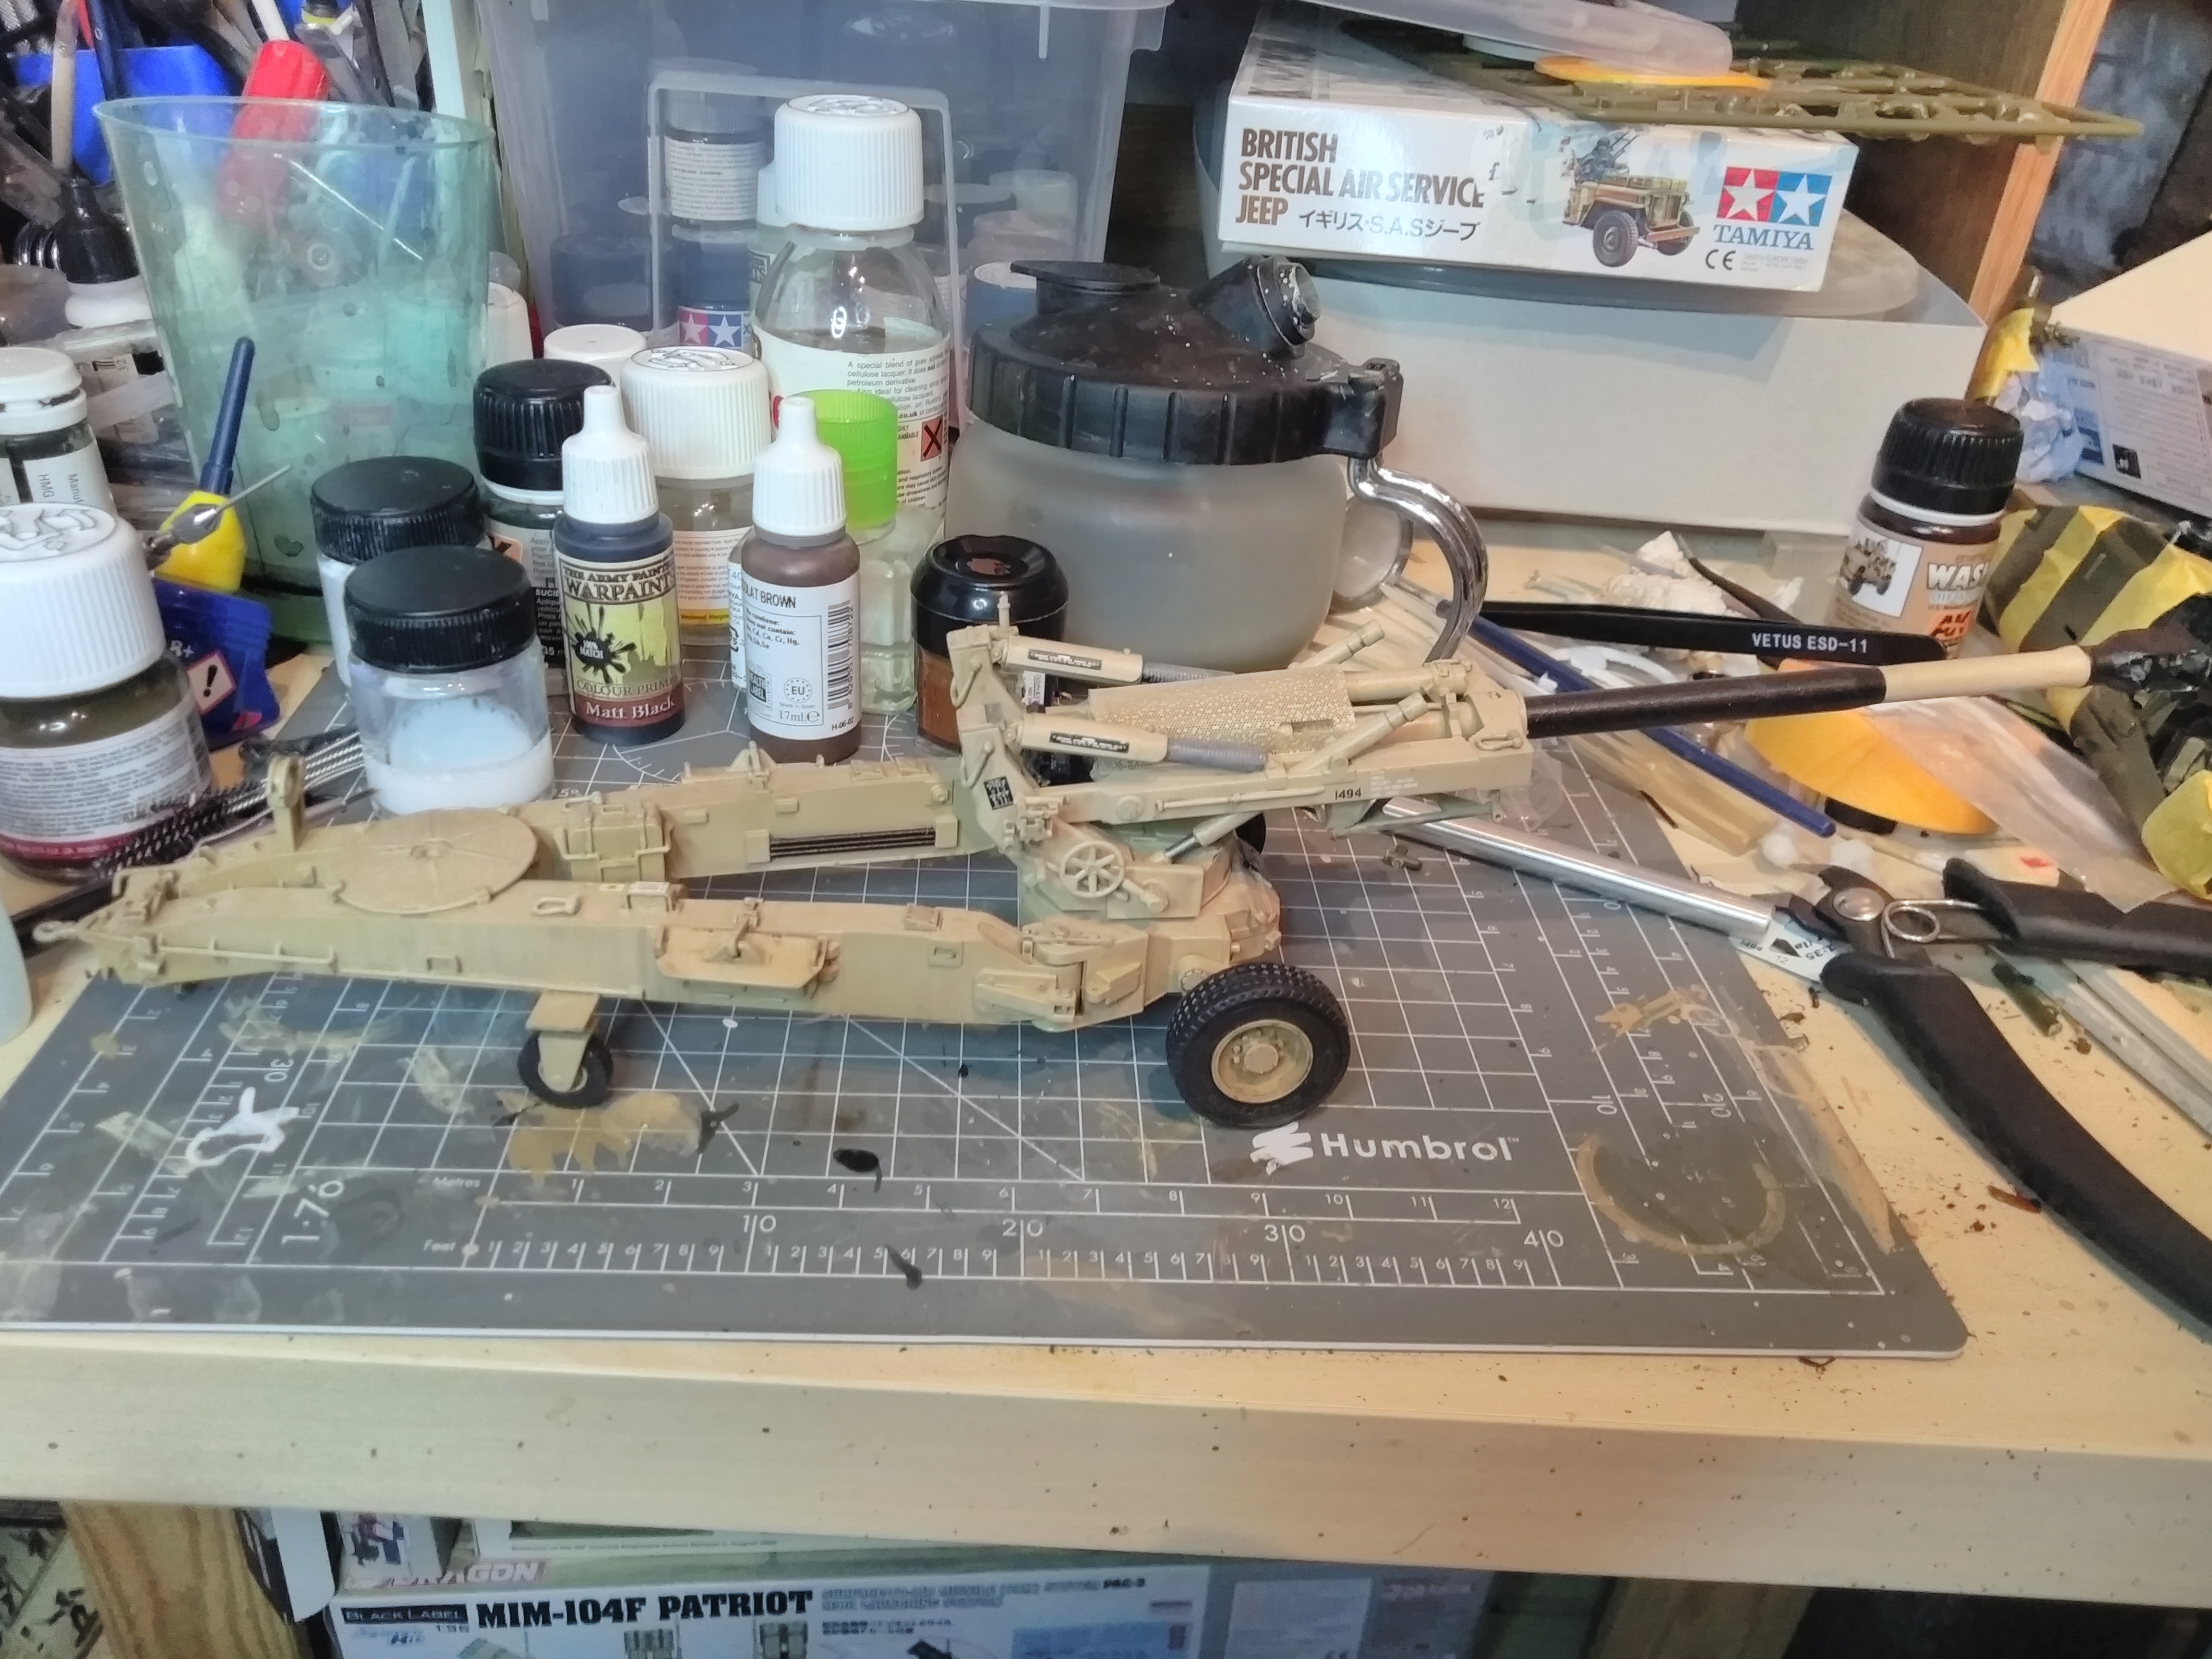
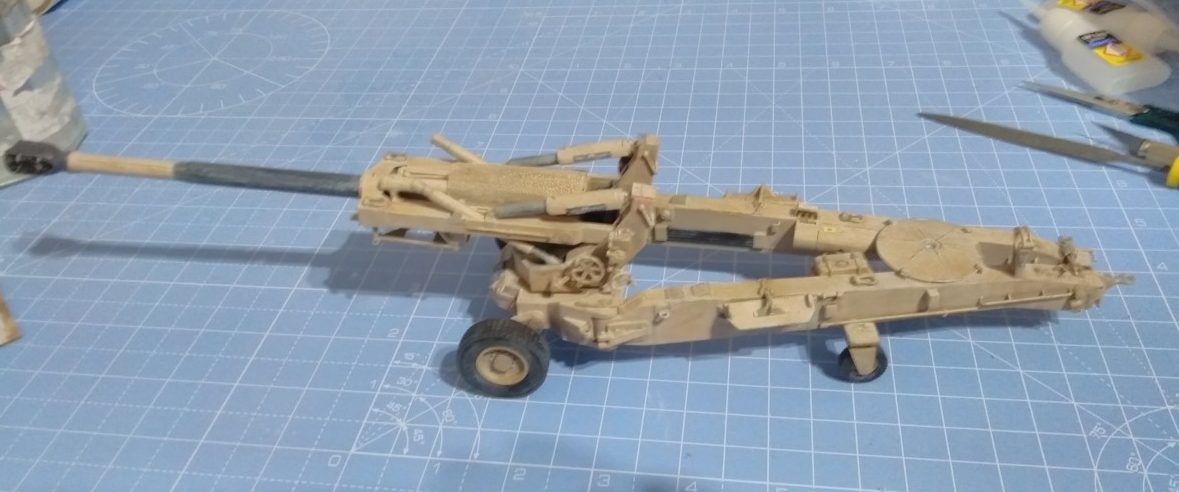
This is one of the first models I’m playing around with the airbrush on. I gave it a black undercoat with a can of auto spray then tried out the AK interactive paint. This is still a learning process for me and I think I have thinned the AK paint out too much as it wouldn’t cover the black paint. So tried I Humbrol white to see what the coverage was like and seems to be fine so definitely, the AK paint is too thin. I did also use water to thin it so will see if that is also a problem, having read up it seems that it needs a specialist thinner. I might try and go with Tamiya paint.

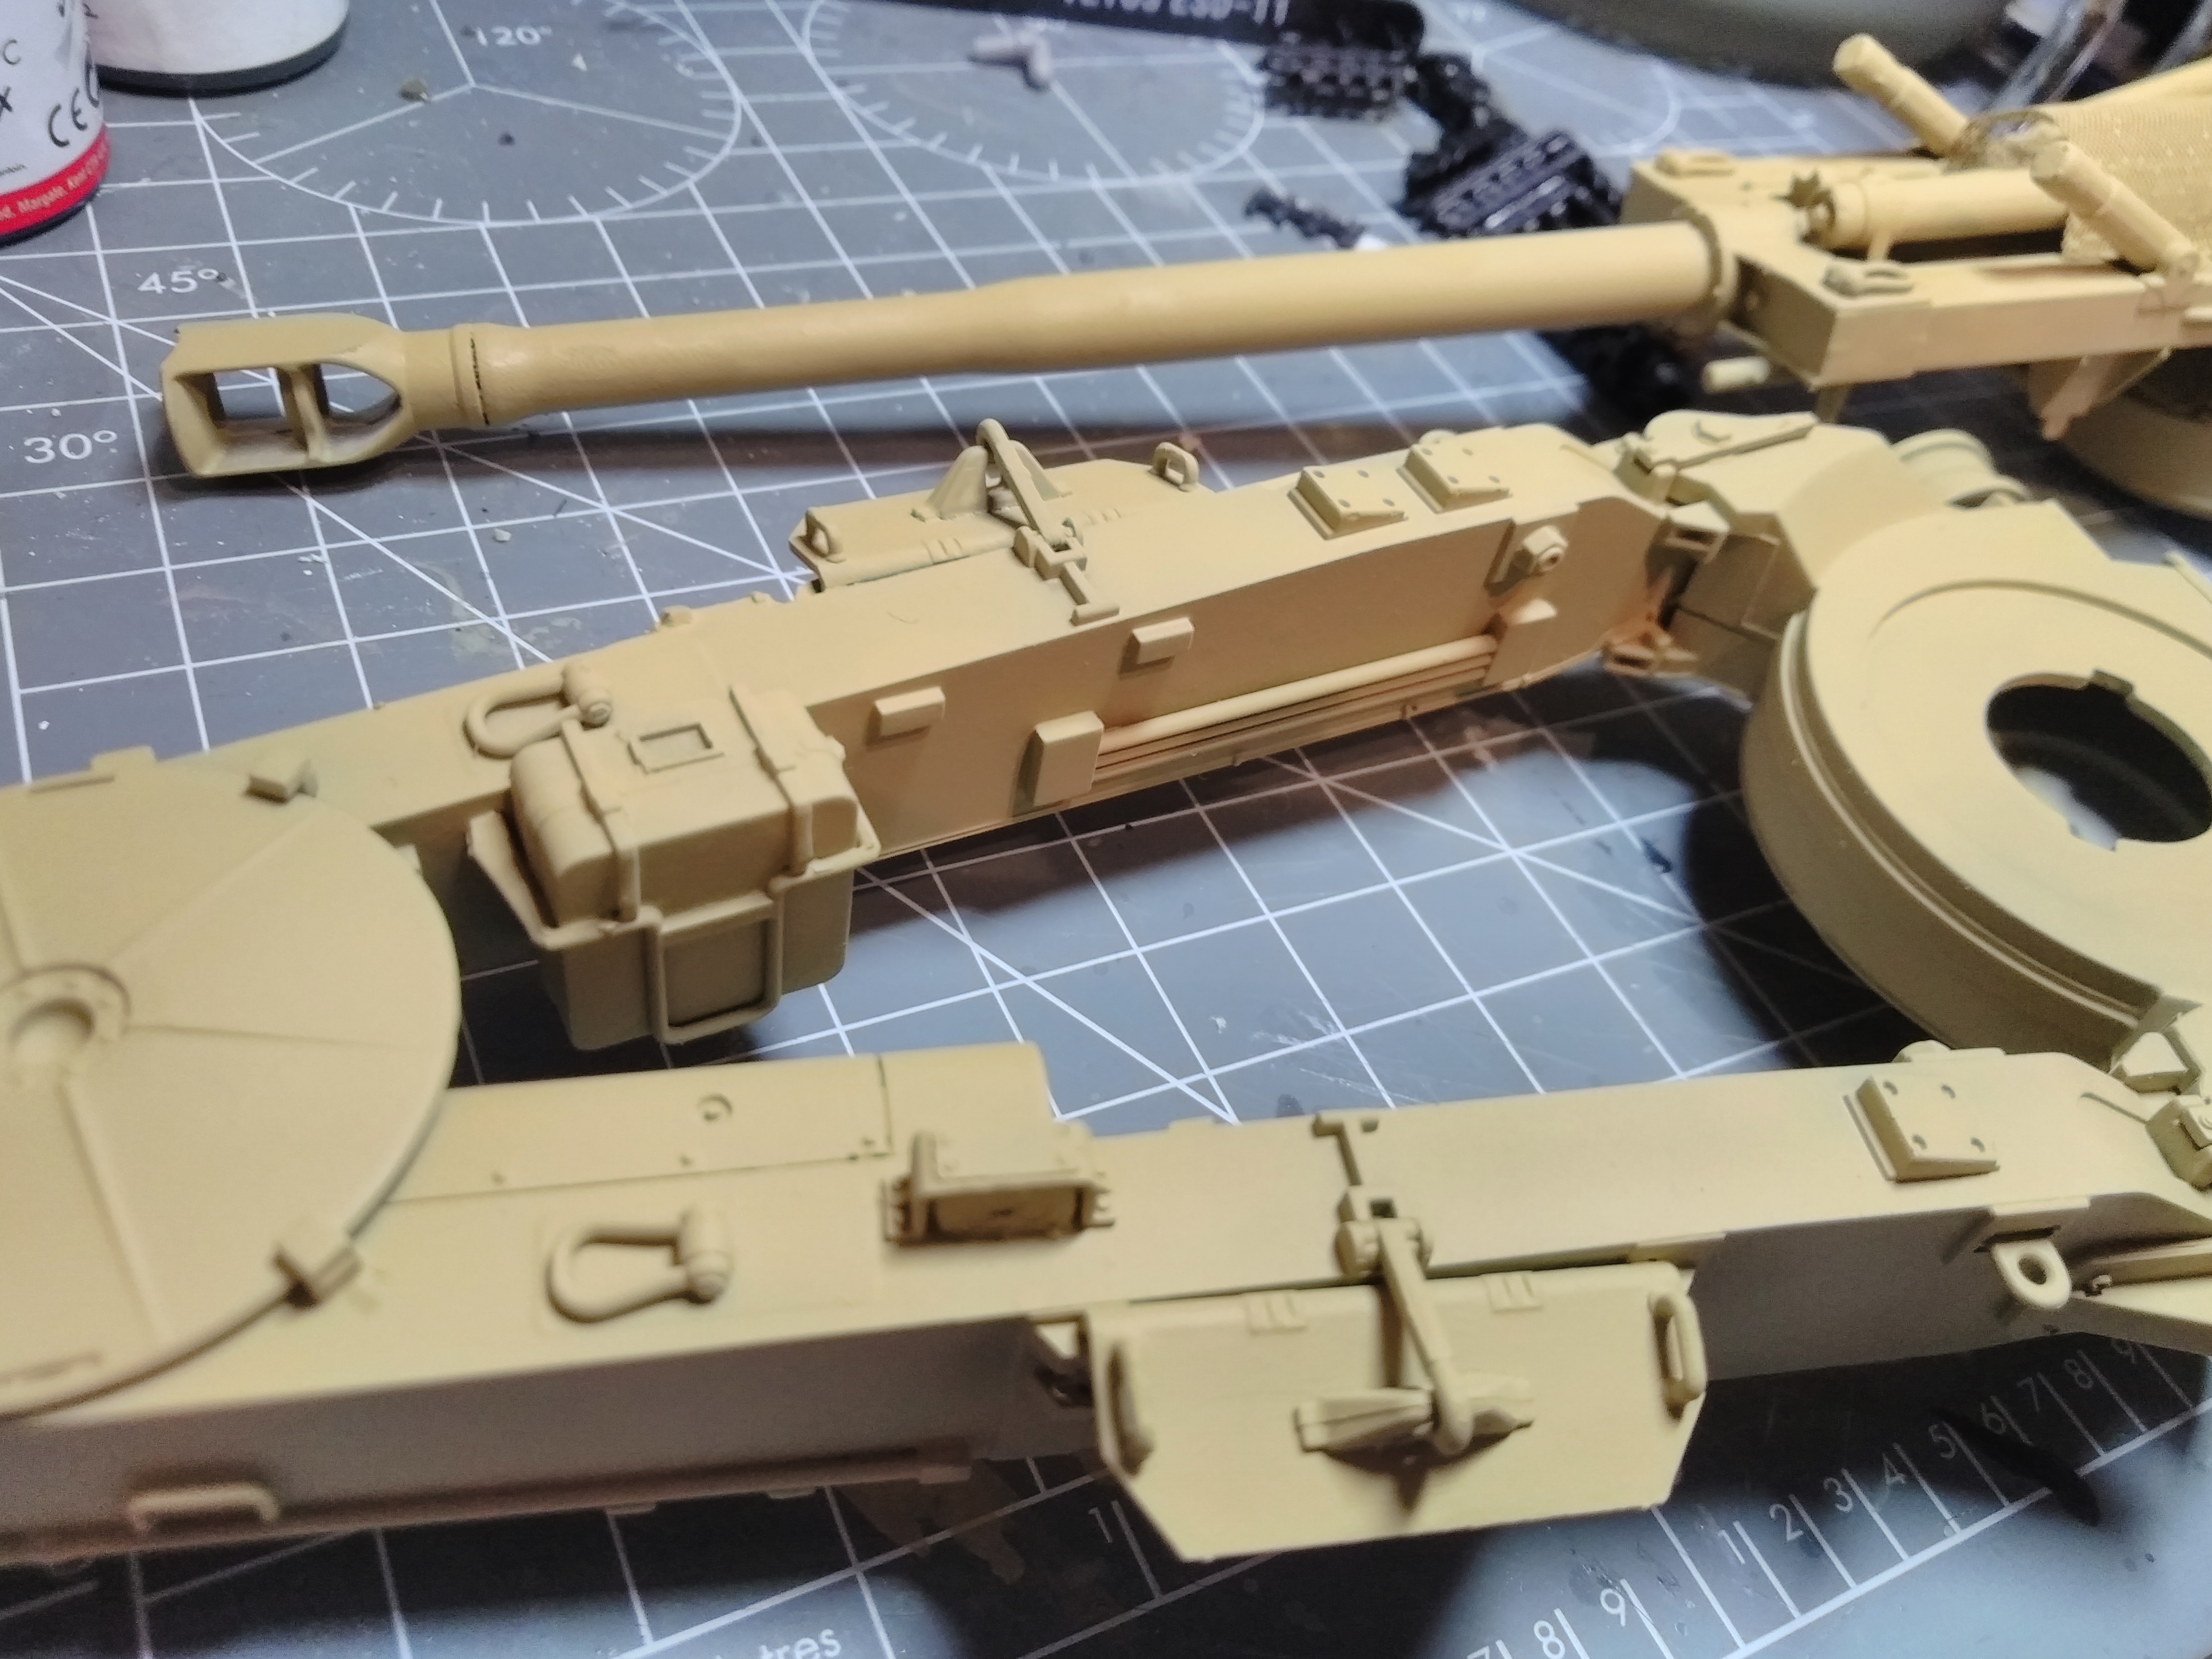
So now I have given it a coat of Tamiya Desert Yellow XF-59, it came out a little dark for my liking but the undercoat has given a nice bit of depth. So back to the AF paint. I’m using number 122 which is the ODS OIF US colour. This time I mixed it with a little cellulose. Low and behold it worked perfect, a lot lighter and great definition. Hopefully should look good with a pin wash.

One small problem is with all the airbrushing some of the holes on the photo-etched mesh have got blocked, once I have sprayed the first coat of gloss varnish I will get a little needle and poke them out.
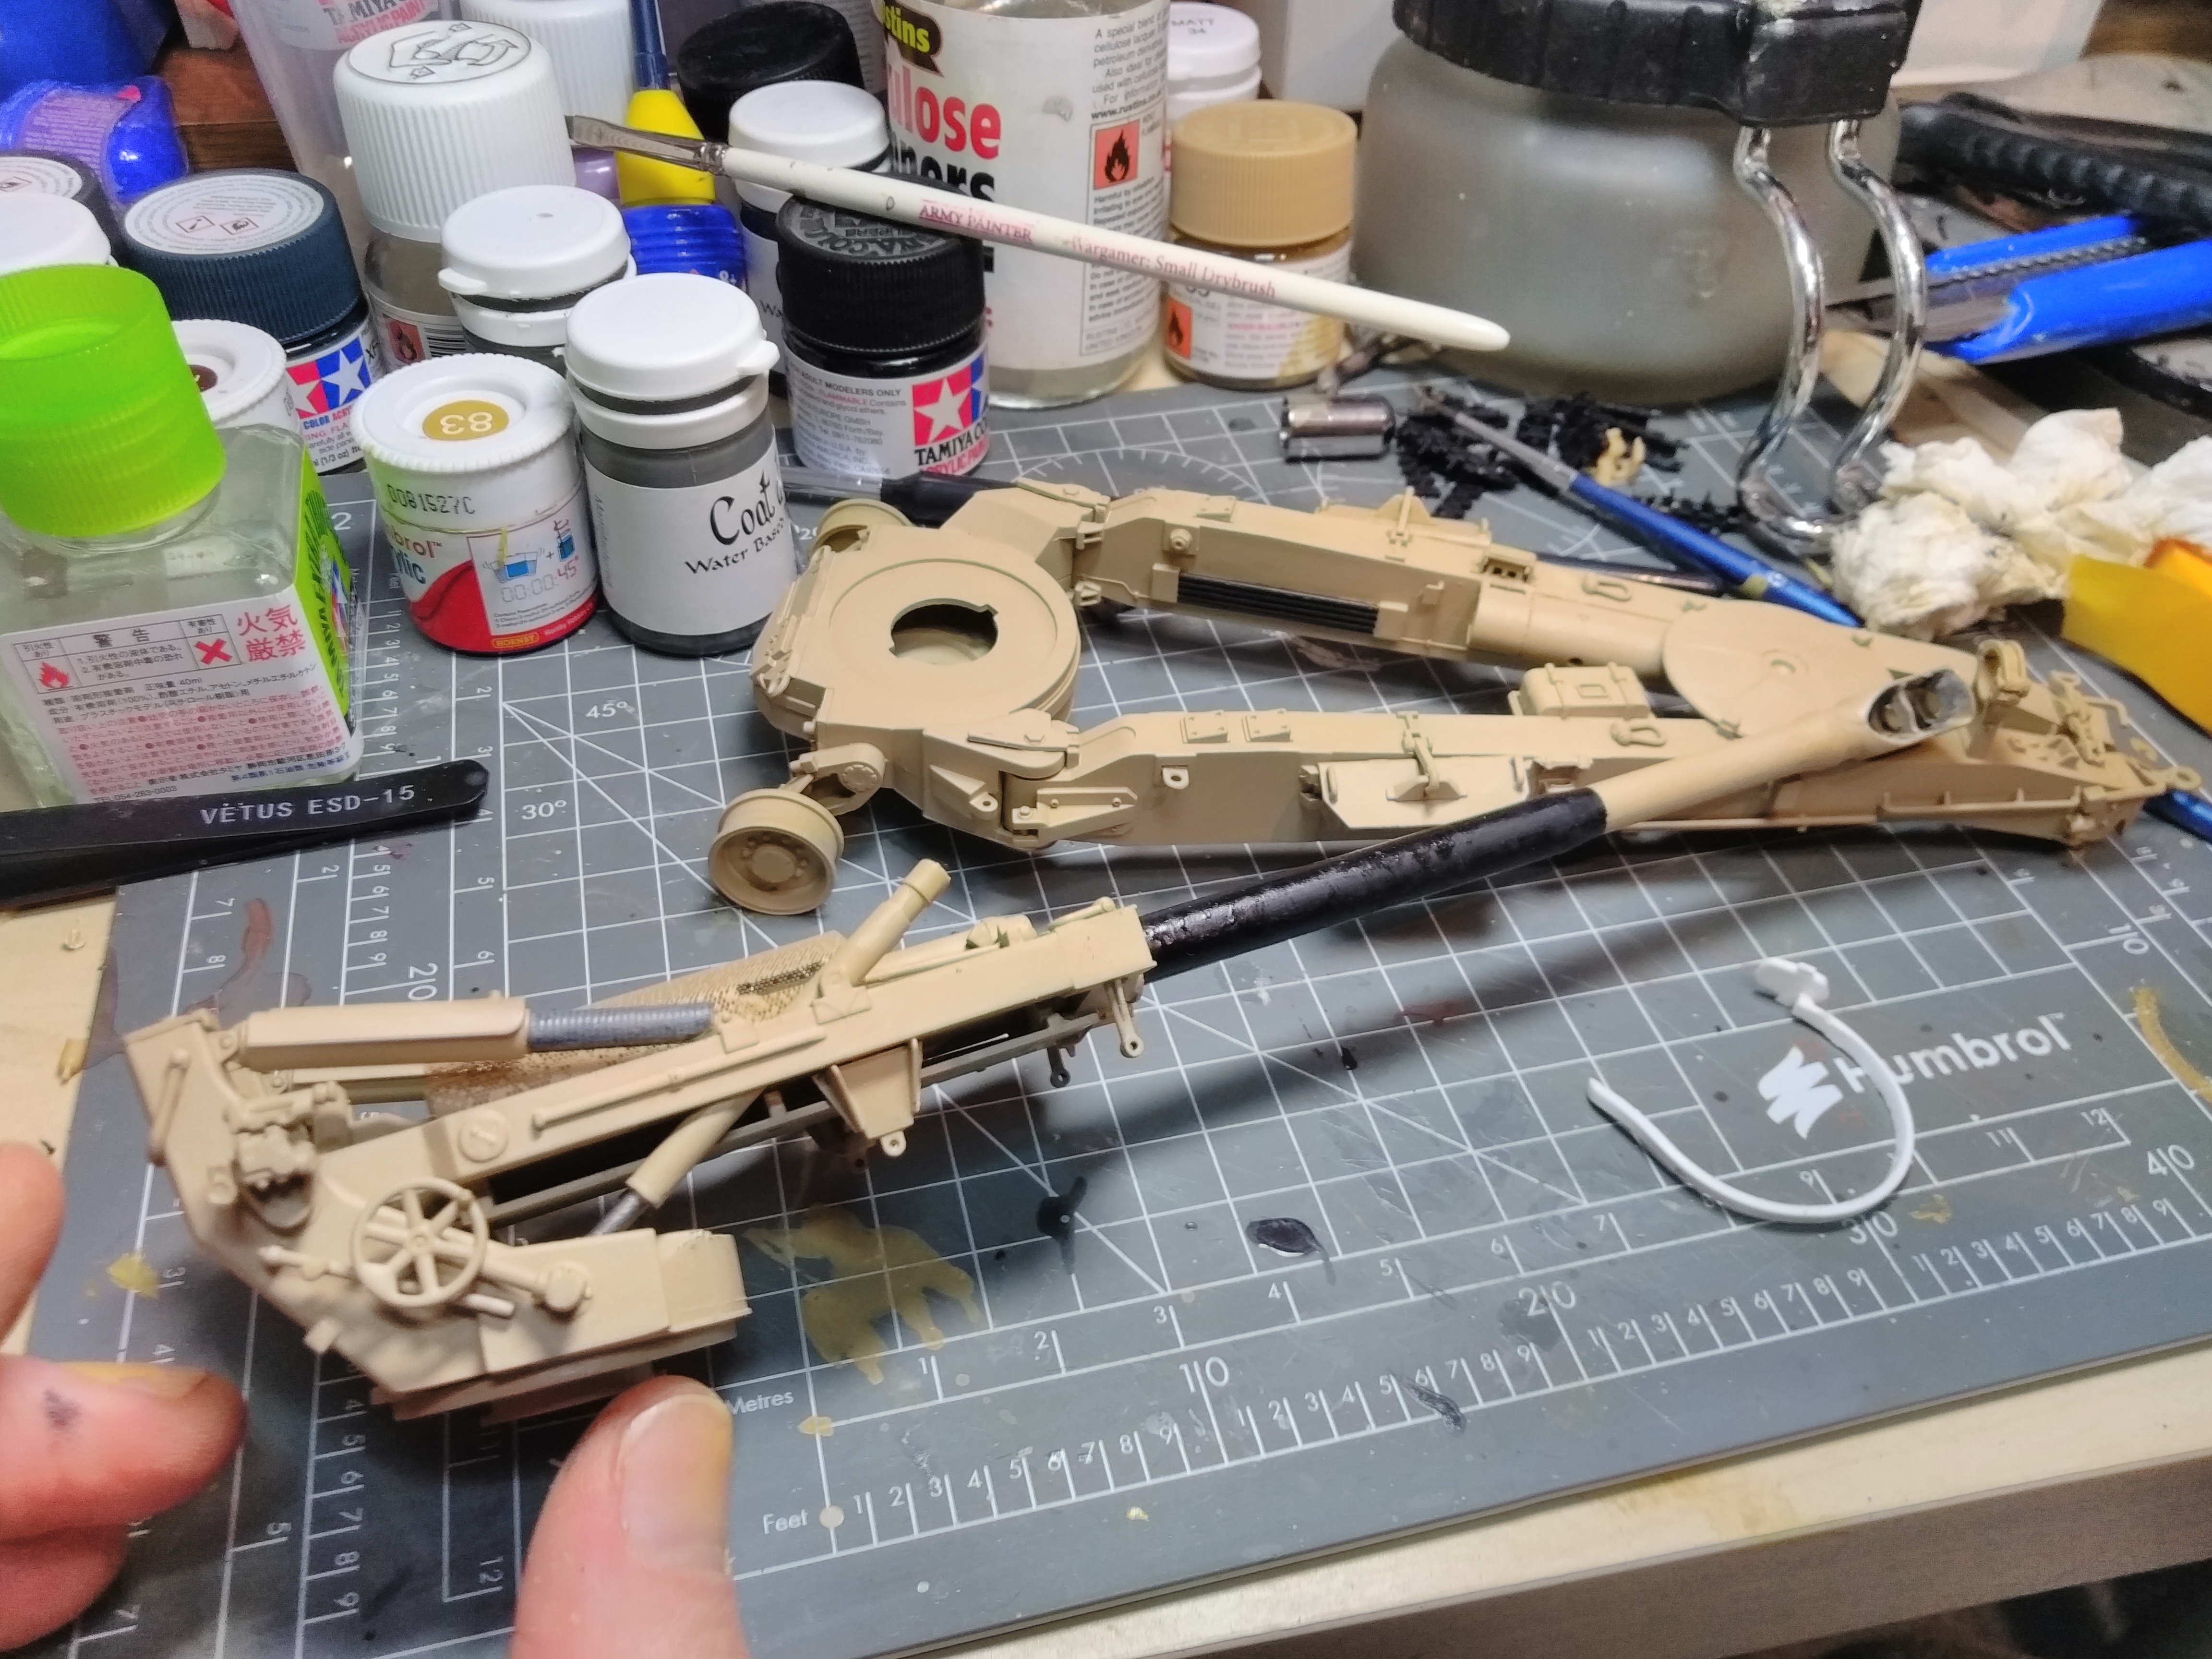
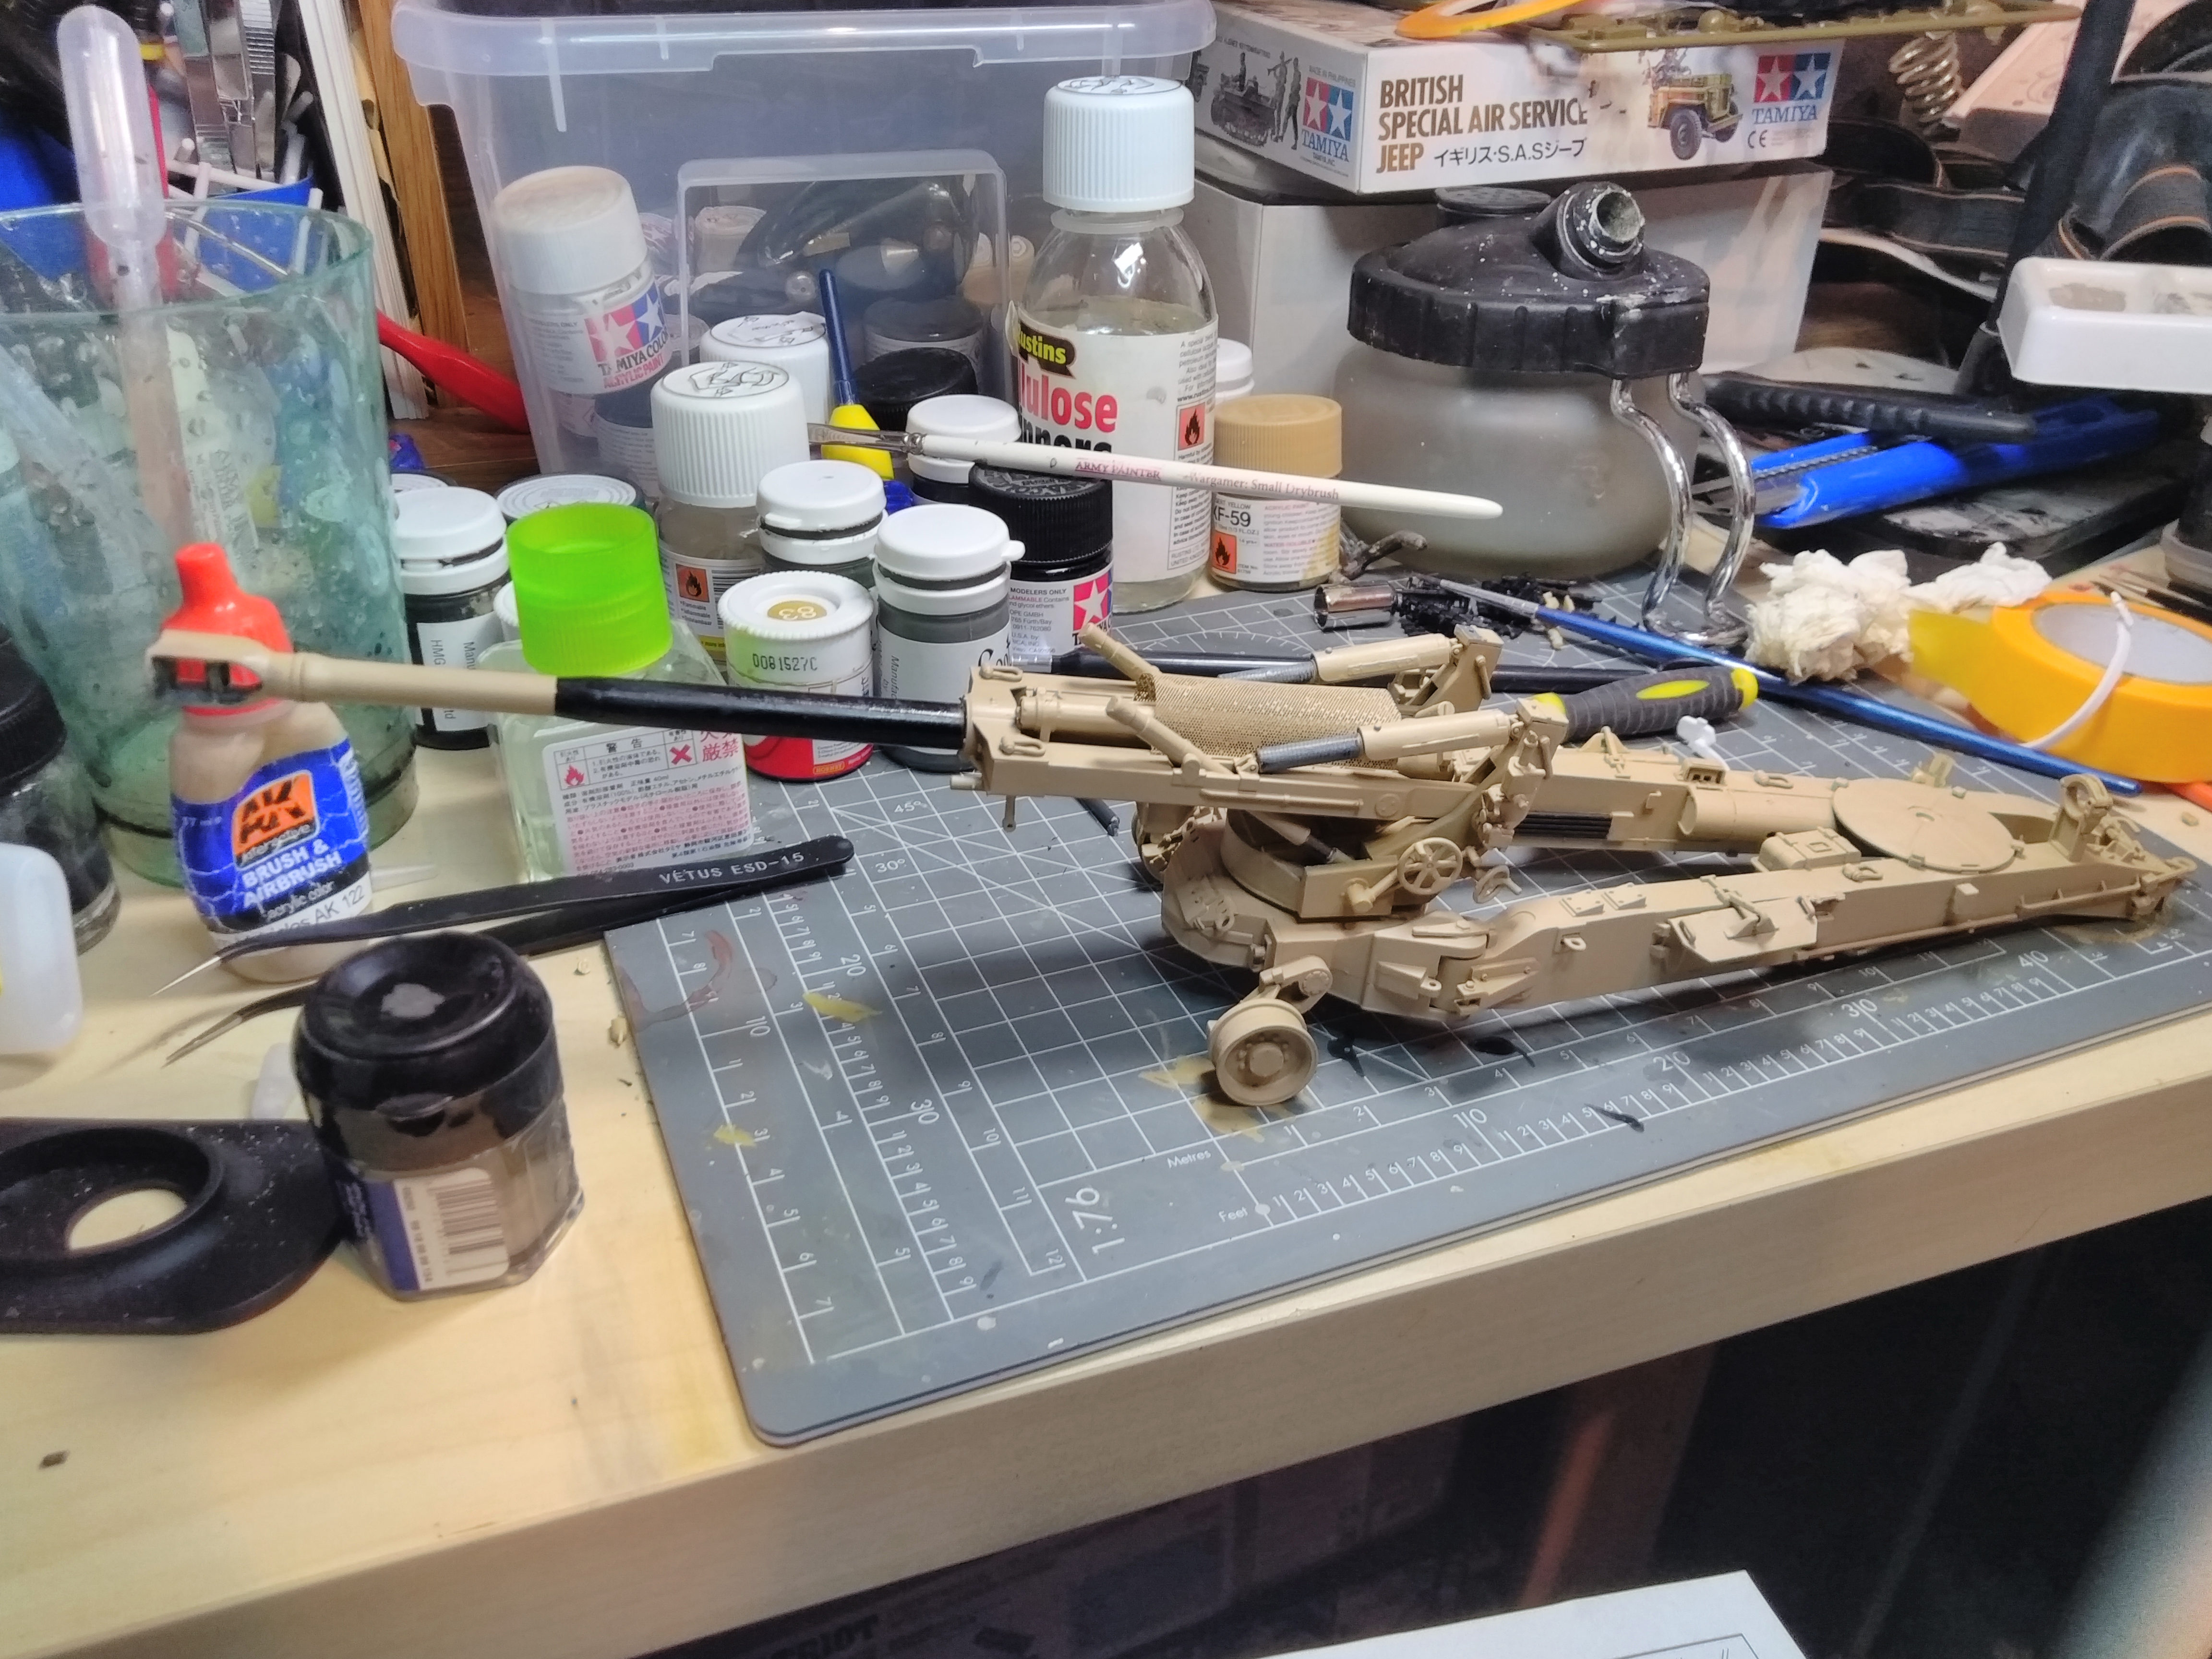
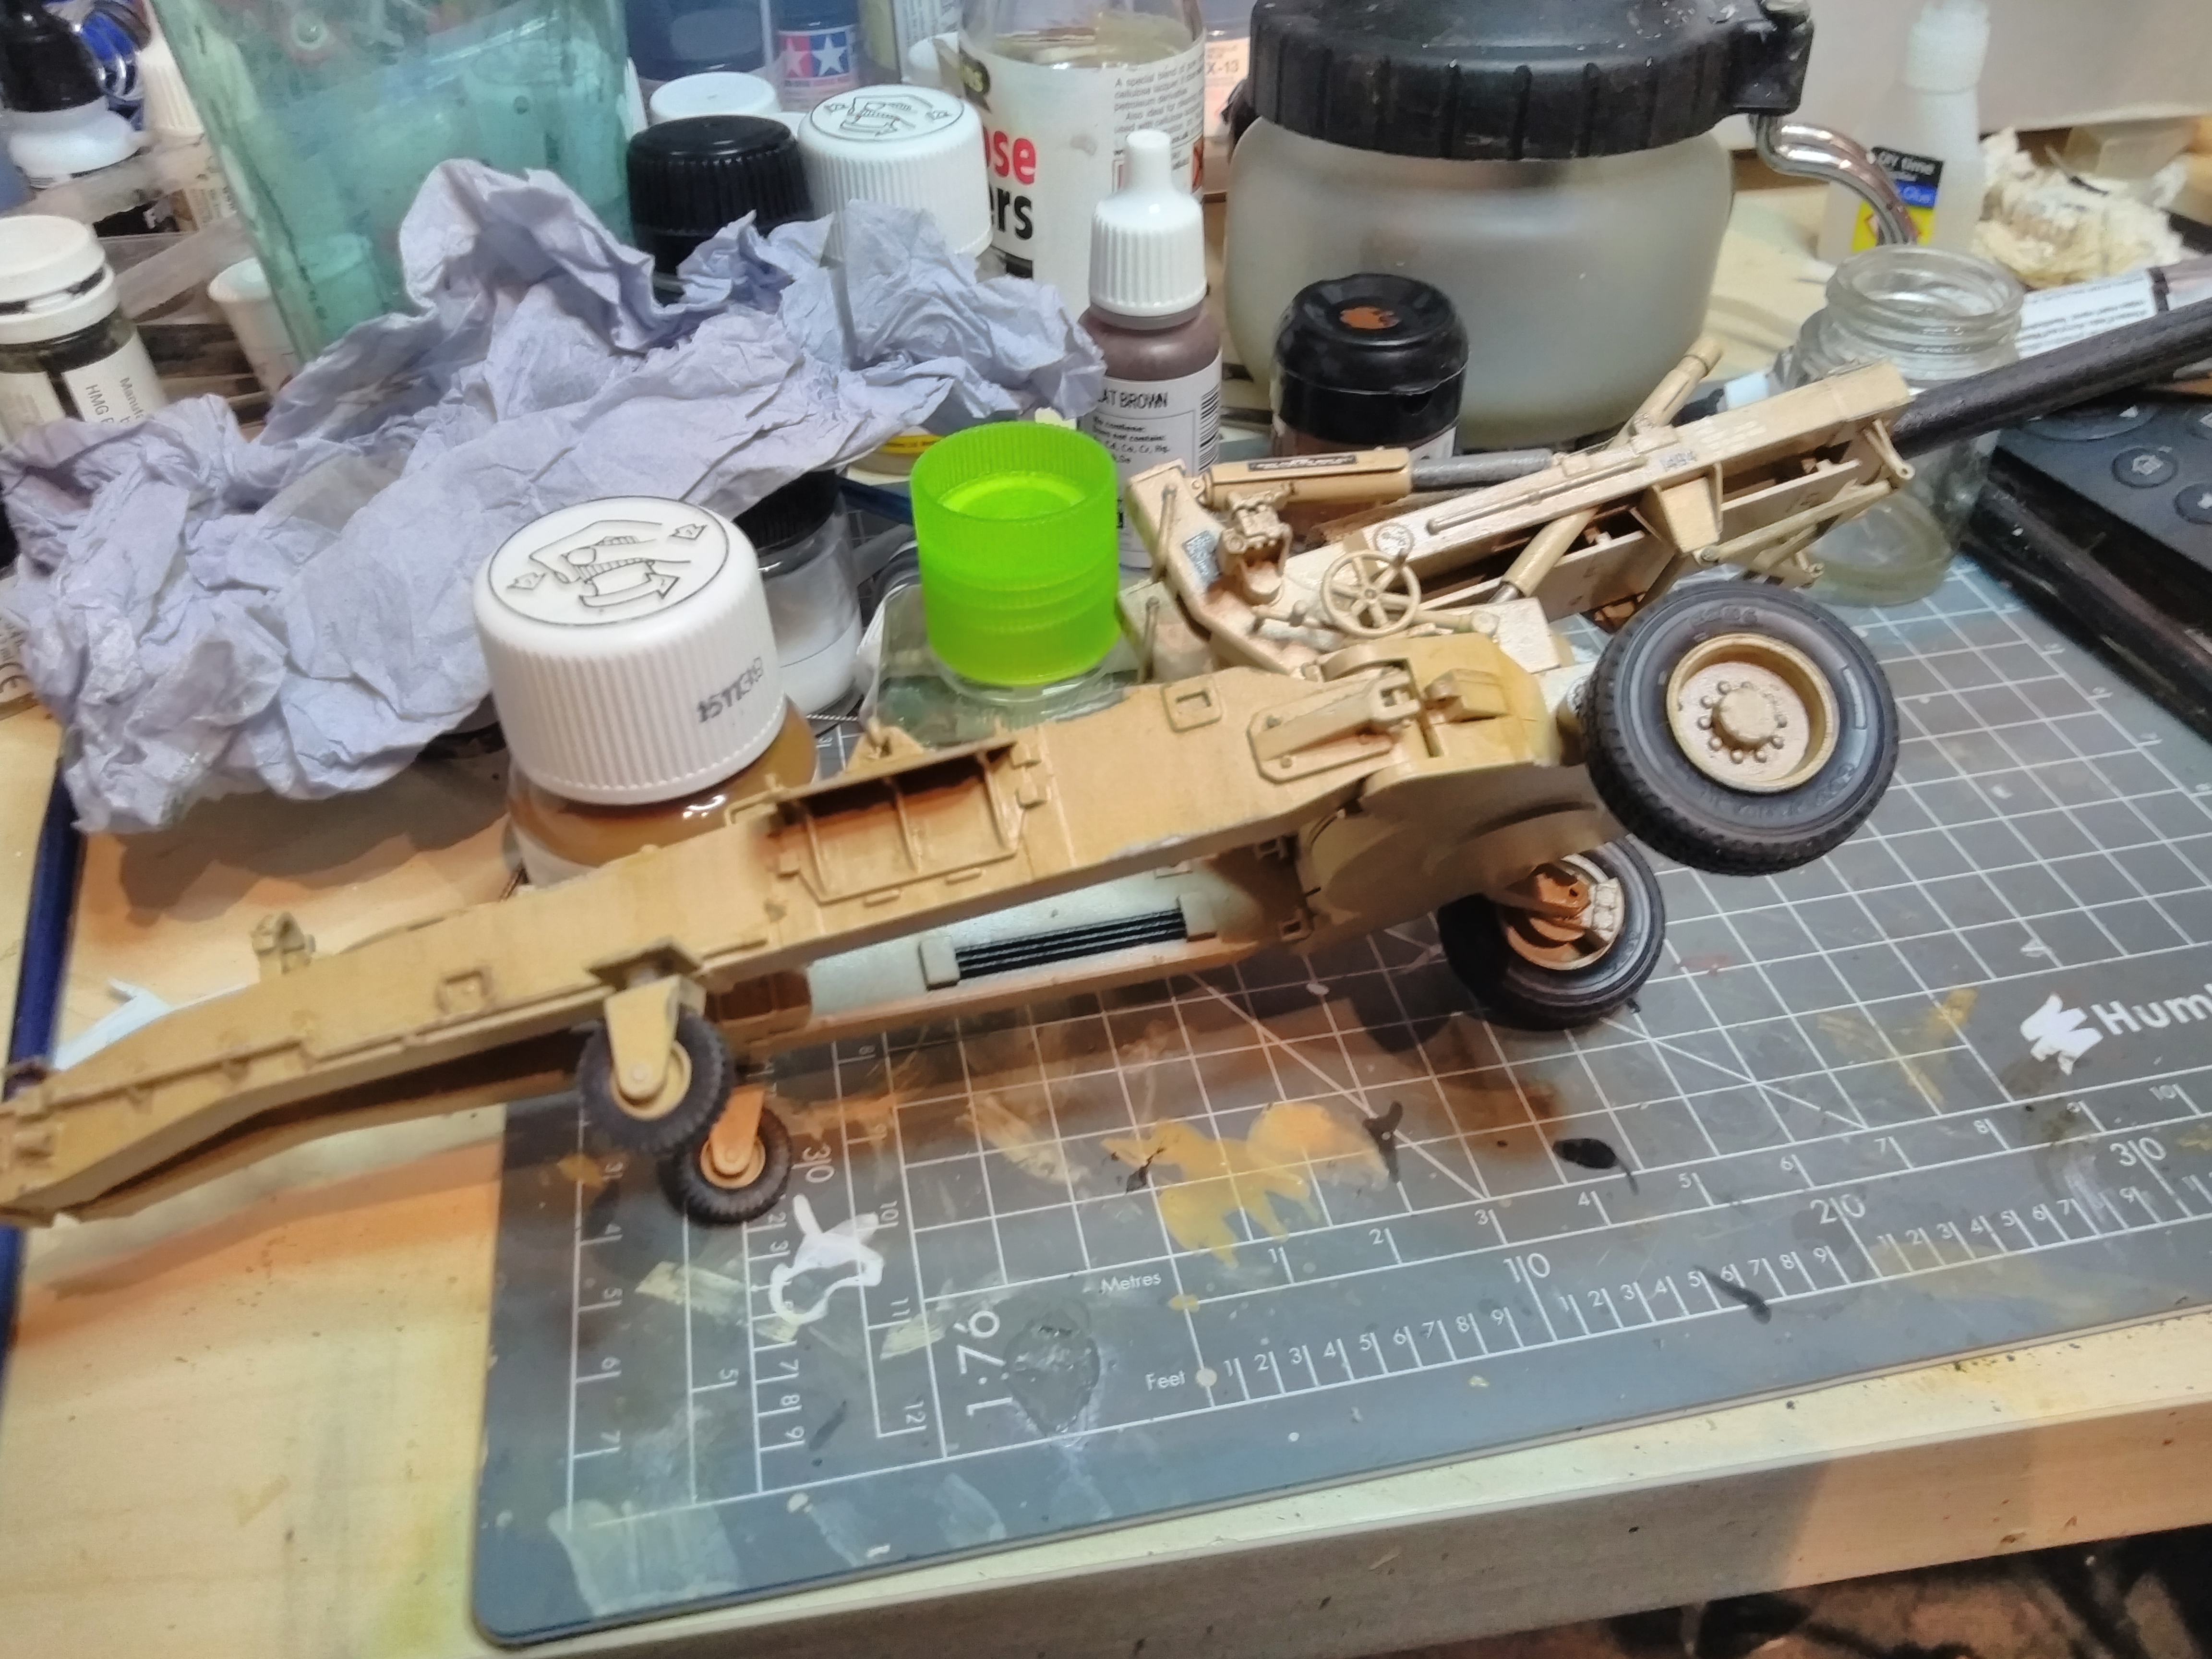
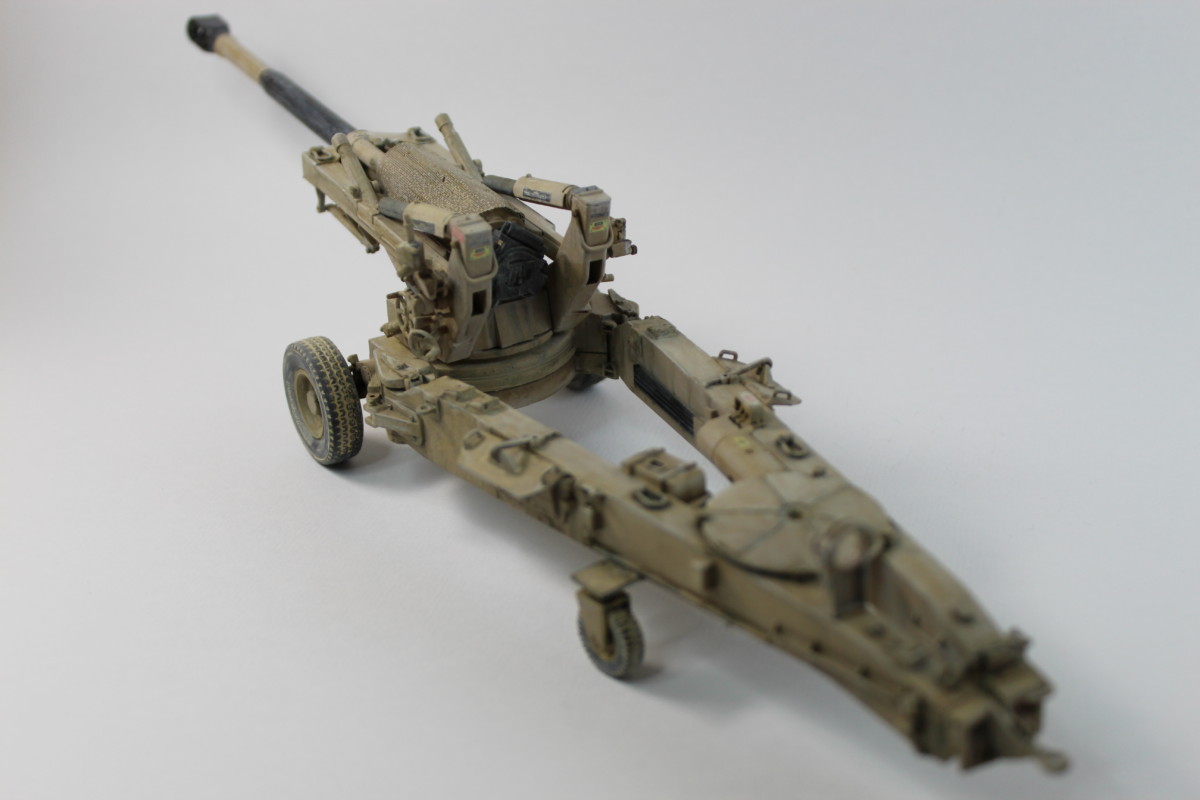
Now The main colour is done I have painted in some of the details, just took a look at a couple of reference shots online. Finally, have joined the gun to the limber/base, now to connect the the transport barrel support and the last photo etch parts. Then a quick coat of gloss varnish and can start with the decals.
So now given it a coat of gloss varnish and applied all the decals and another coat of varnish over them. I think that all is left to do is the weathering then some matt varnish.
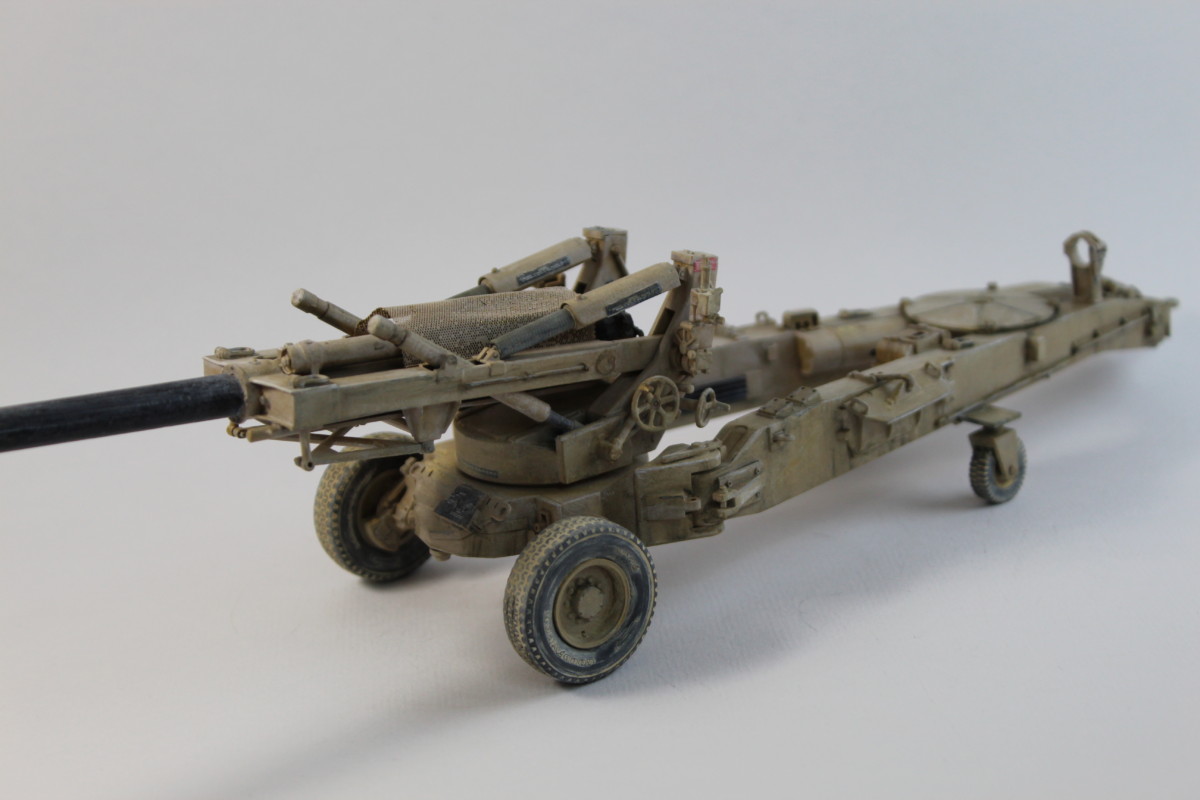
So I have applied gloss varnish over the top and done some weathering but I’m really not happy with the results after the matt varnish has gone. I have also fitted on the rear wheels and tyres. I have ordered some oil paints so will try a pin wash to bring out a little more of the detail. I also tried the matt varnish in a different airbrush. I will need to have a play around with it as the finish isn’t brilliant. So I will see what I can do to save it.
So I have gone back over with a darker wash and it really has pulled some of that detail out. I just fear that is has made the model a little dark so may go over and do some highlights/dry brushing. I Also want to try out some pigment to see what they do to this one.
I have also done a small bit of sanding and scratching in places, just to emphasize wear and tear. I have done through the black undercoat to the grey plastic. I think with the little bit of undercoat showing on the edges, it really gives it some depth.
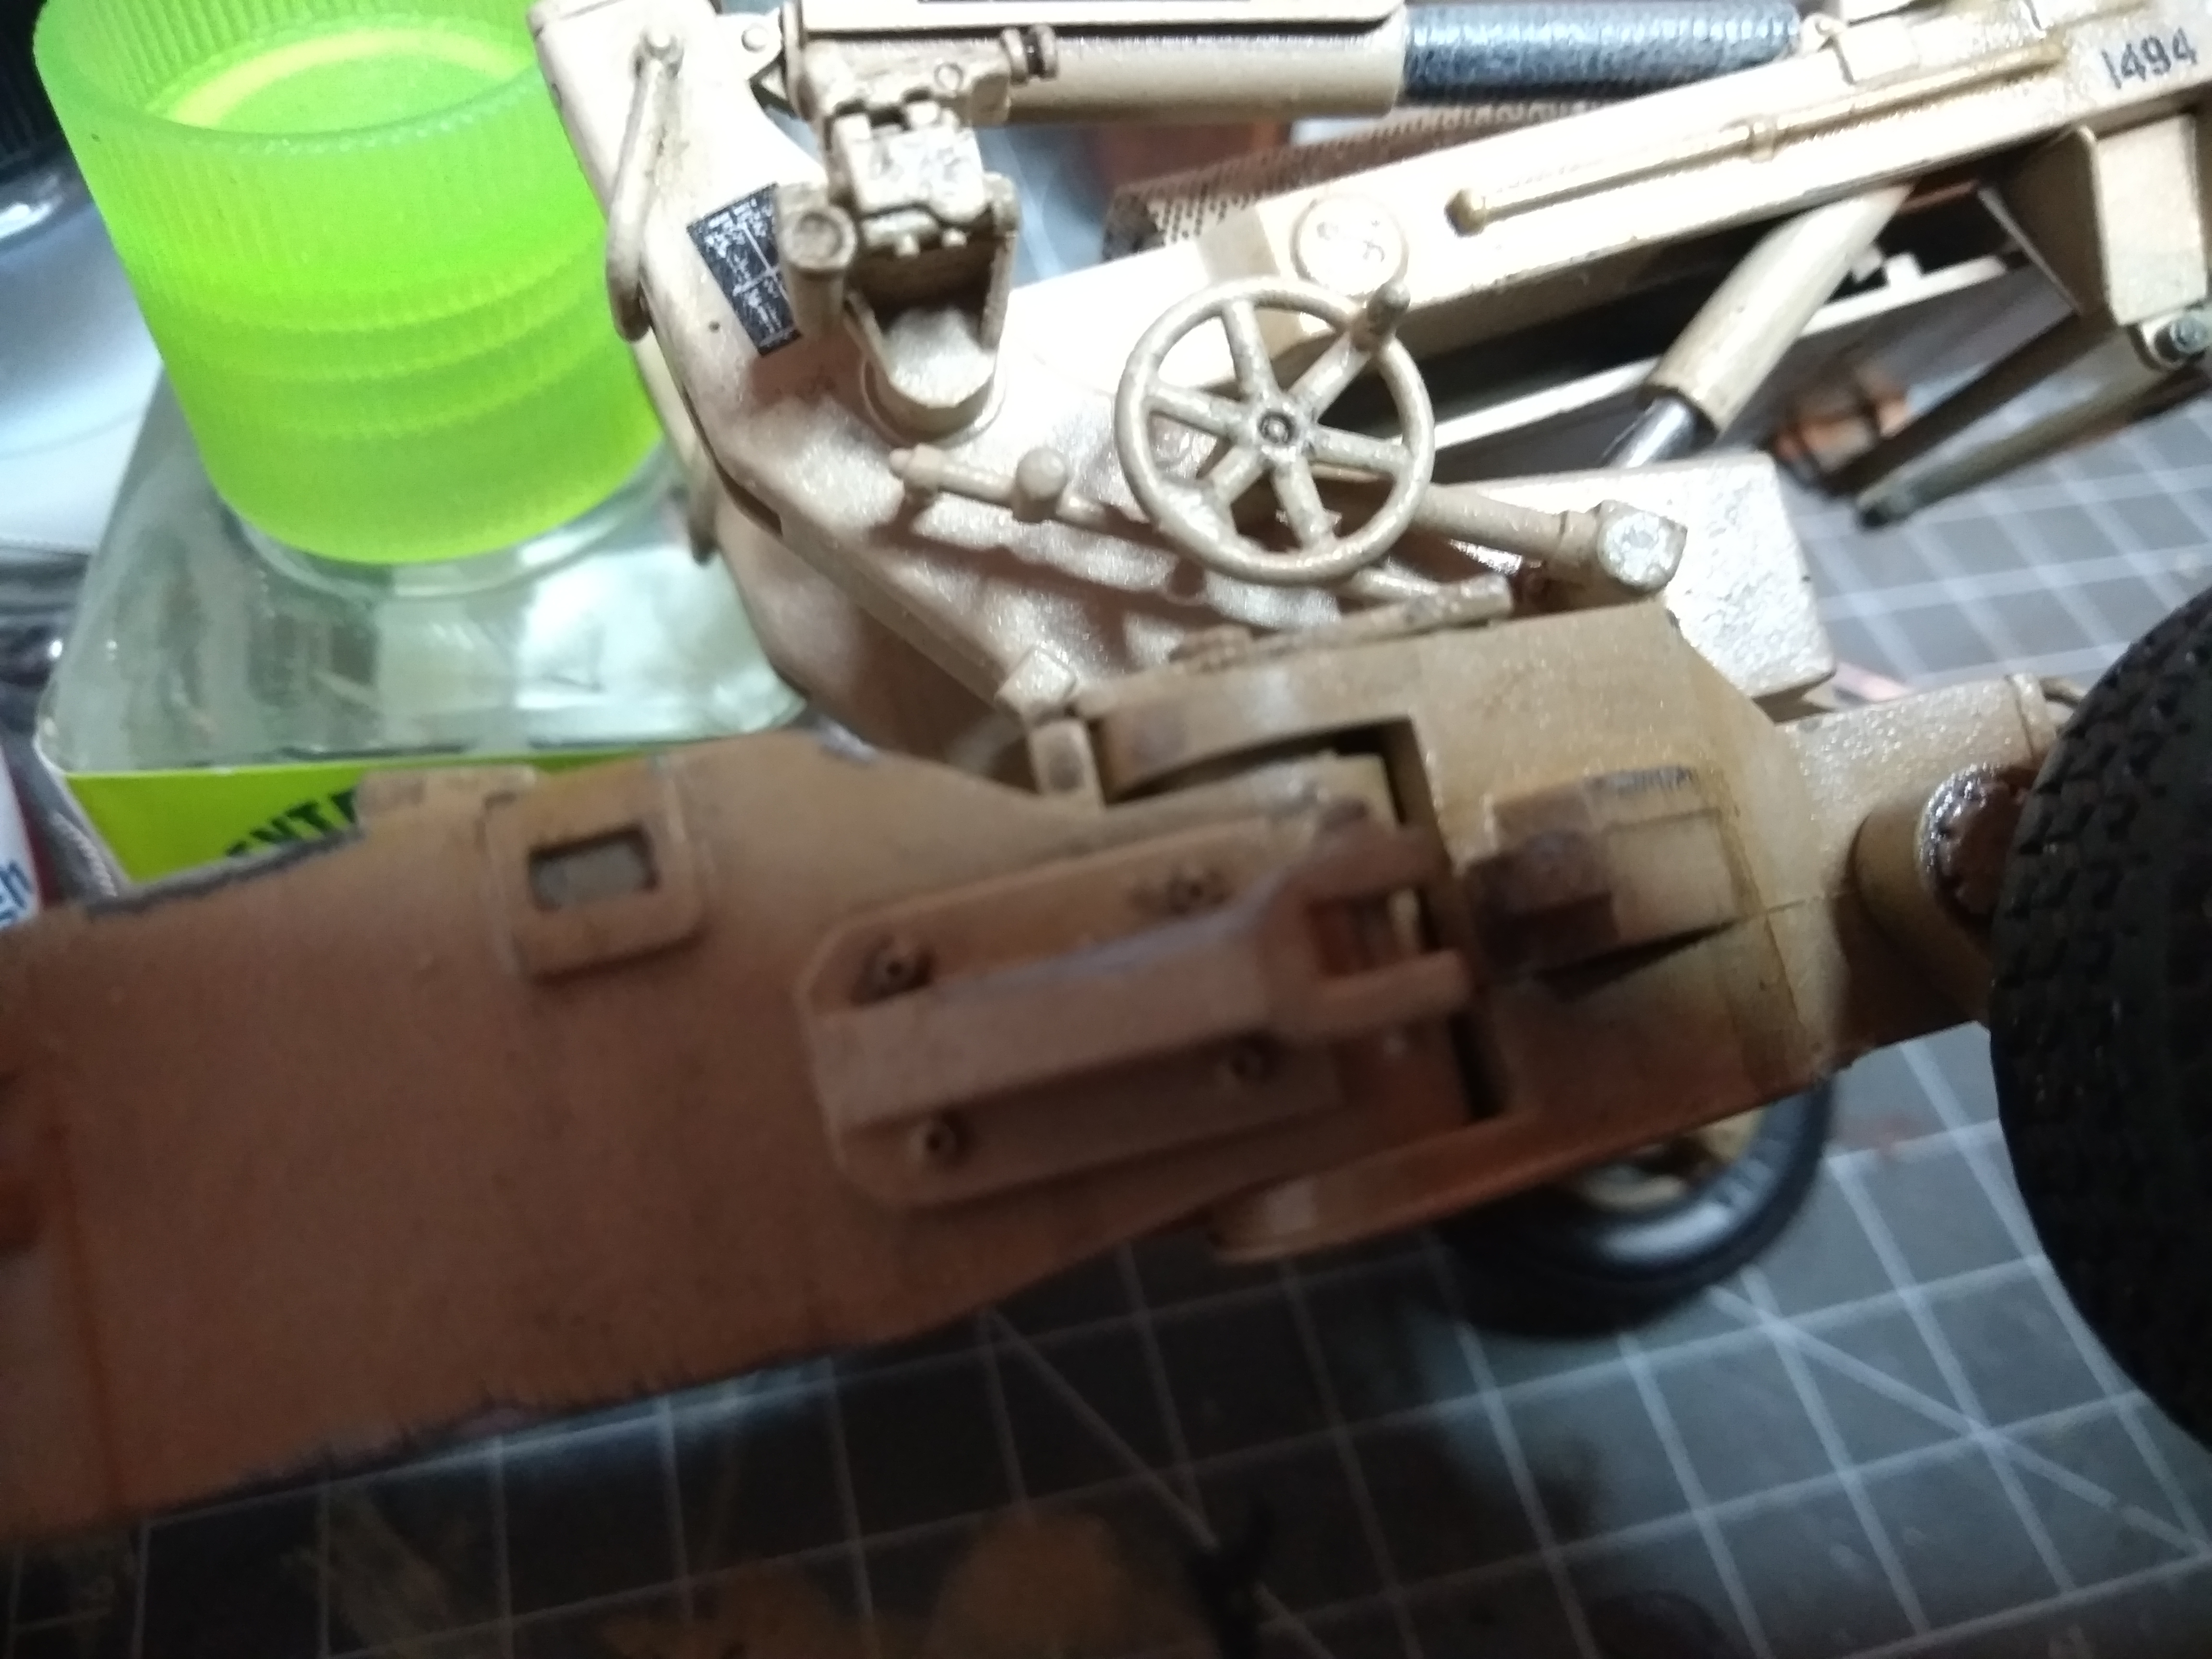
I’m not entirely happy with how dark the model has gone so I have got some white oil paint just to lighten it up. Then I have used a little white spirit to just thin out the paint to a level I want. I think it is starting to get back to a more realistic look and the weathering is looking more natural.
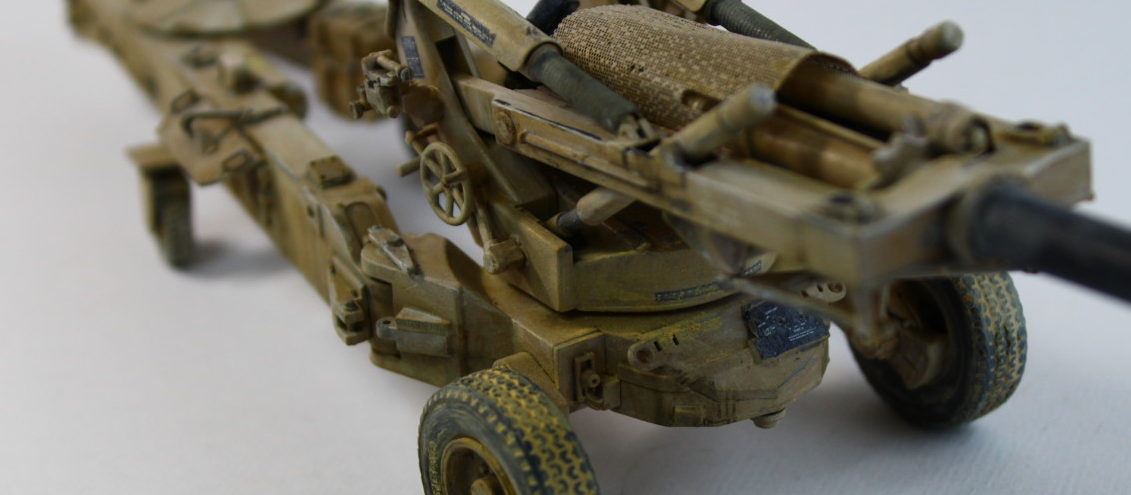
The last thing was to have a play with some pigment. This is something very new to me. I was just trying to make some shadows and dark areas, as well as get some sand into the tyre treads. All that is left to do is the reveal below.

I have learnt quite a bit on this build. It was very enjoyable, however, the airbrushing problems were a real frustration. As was clogging the
BUY The M198 Medium Towed Howitzer Late 1/35th By Trumpeter HERE
Check out this little video I made to show off the details on this scale model kit.