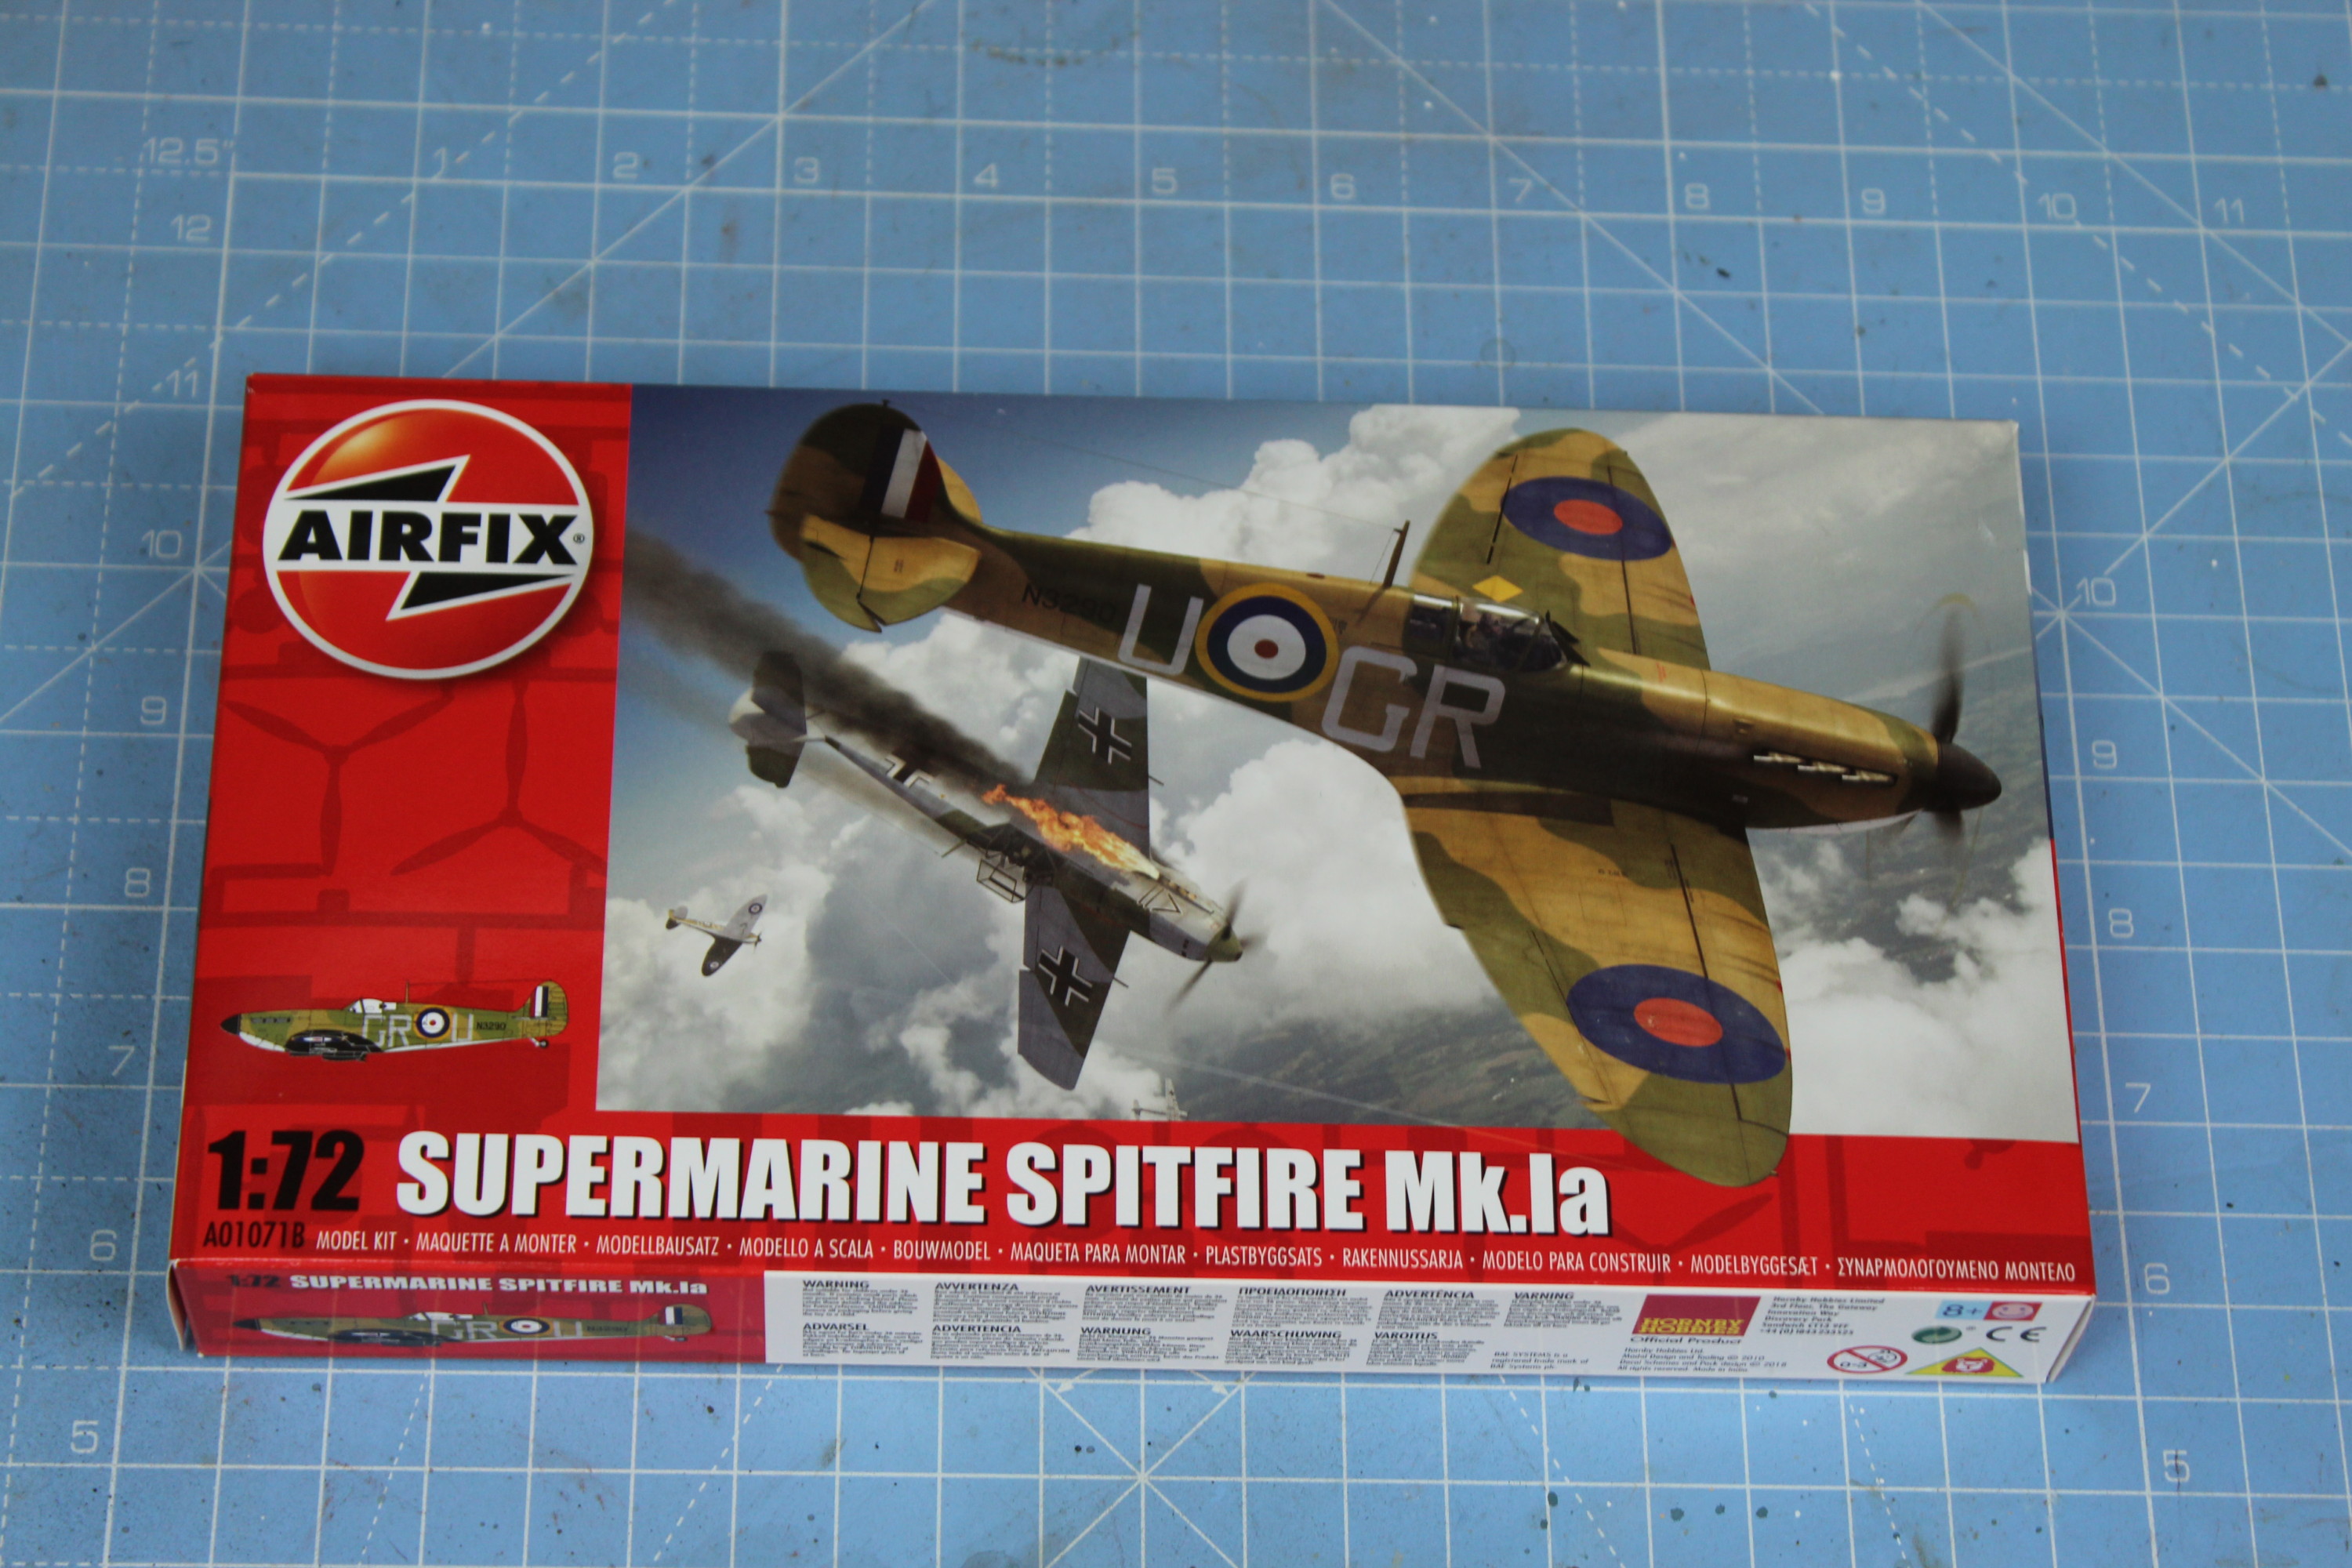
I was out with The Sam at a local Kent festival, after we left she wanted to go to a vegan cake shop so I got dragged along. It just so happened that opposite the bakery was a model shop. So as you do, I popped in for a look. To be honest I didn’t really need anything but I like to support local model shops whenever I can. So I found this little 1/72nd scale Supermarine Spitfire MK.1a. Now I haven’t picked up an Airfix model in over 20 years so this should be a fun little project.
So you get 2 main Sprues and the canopy and a lot of decals. The detail is pretty incredible for the scale.
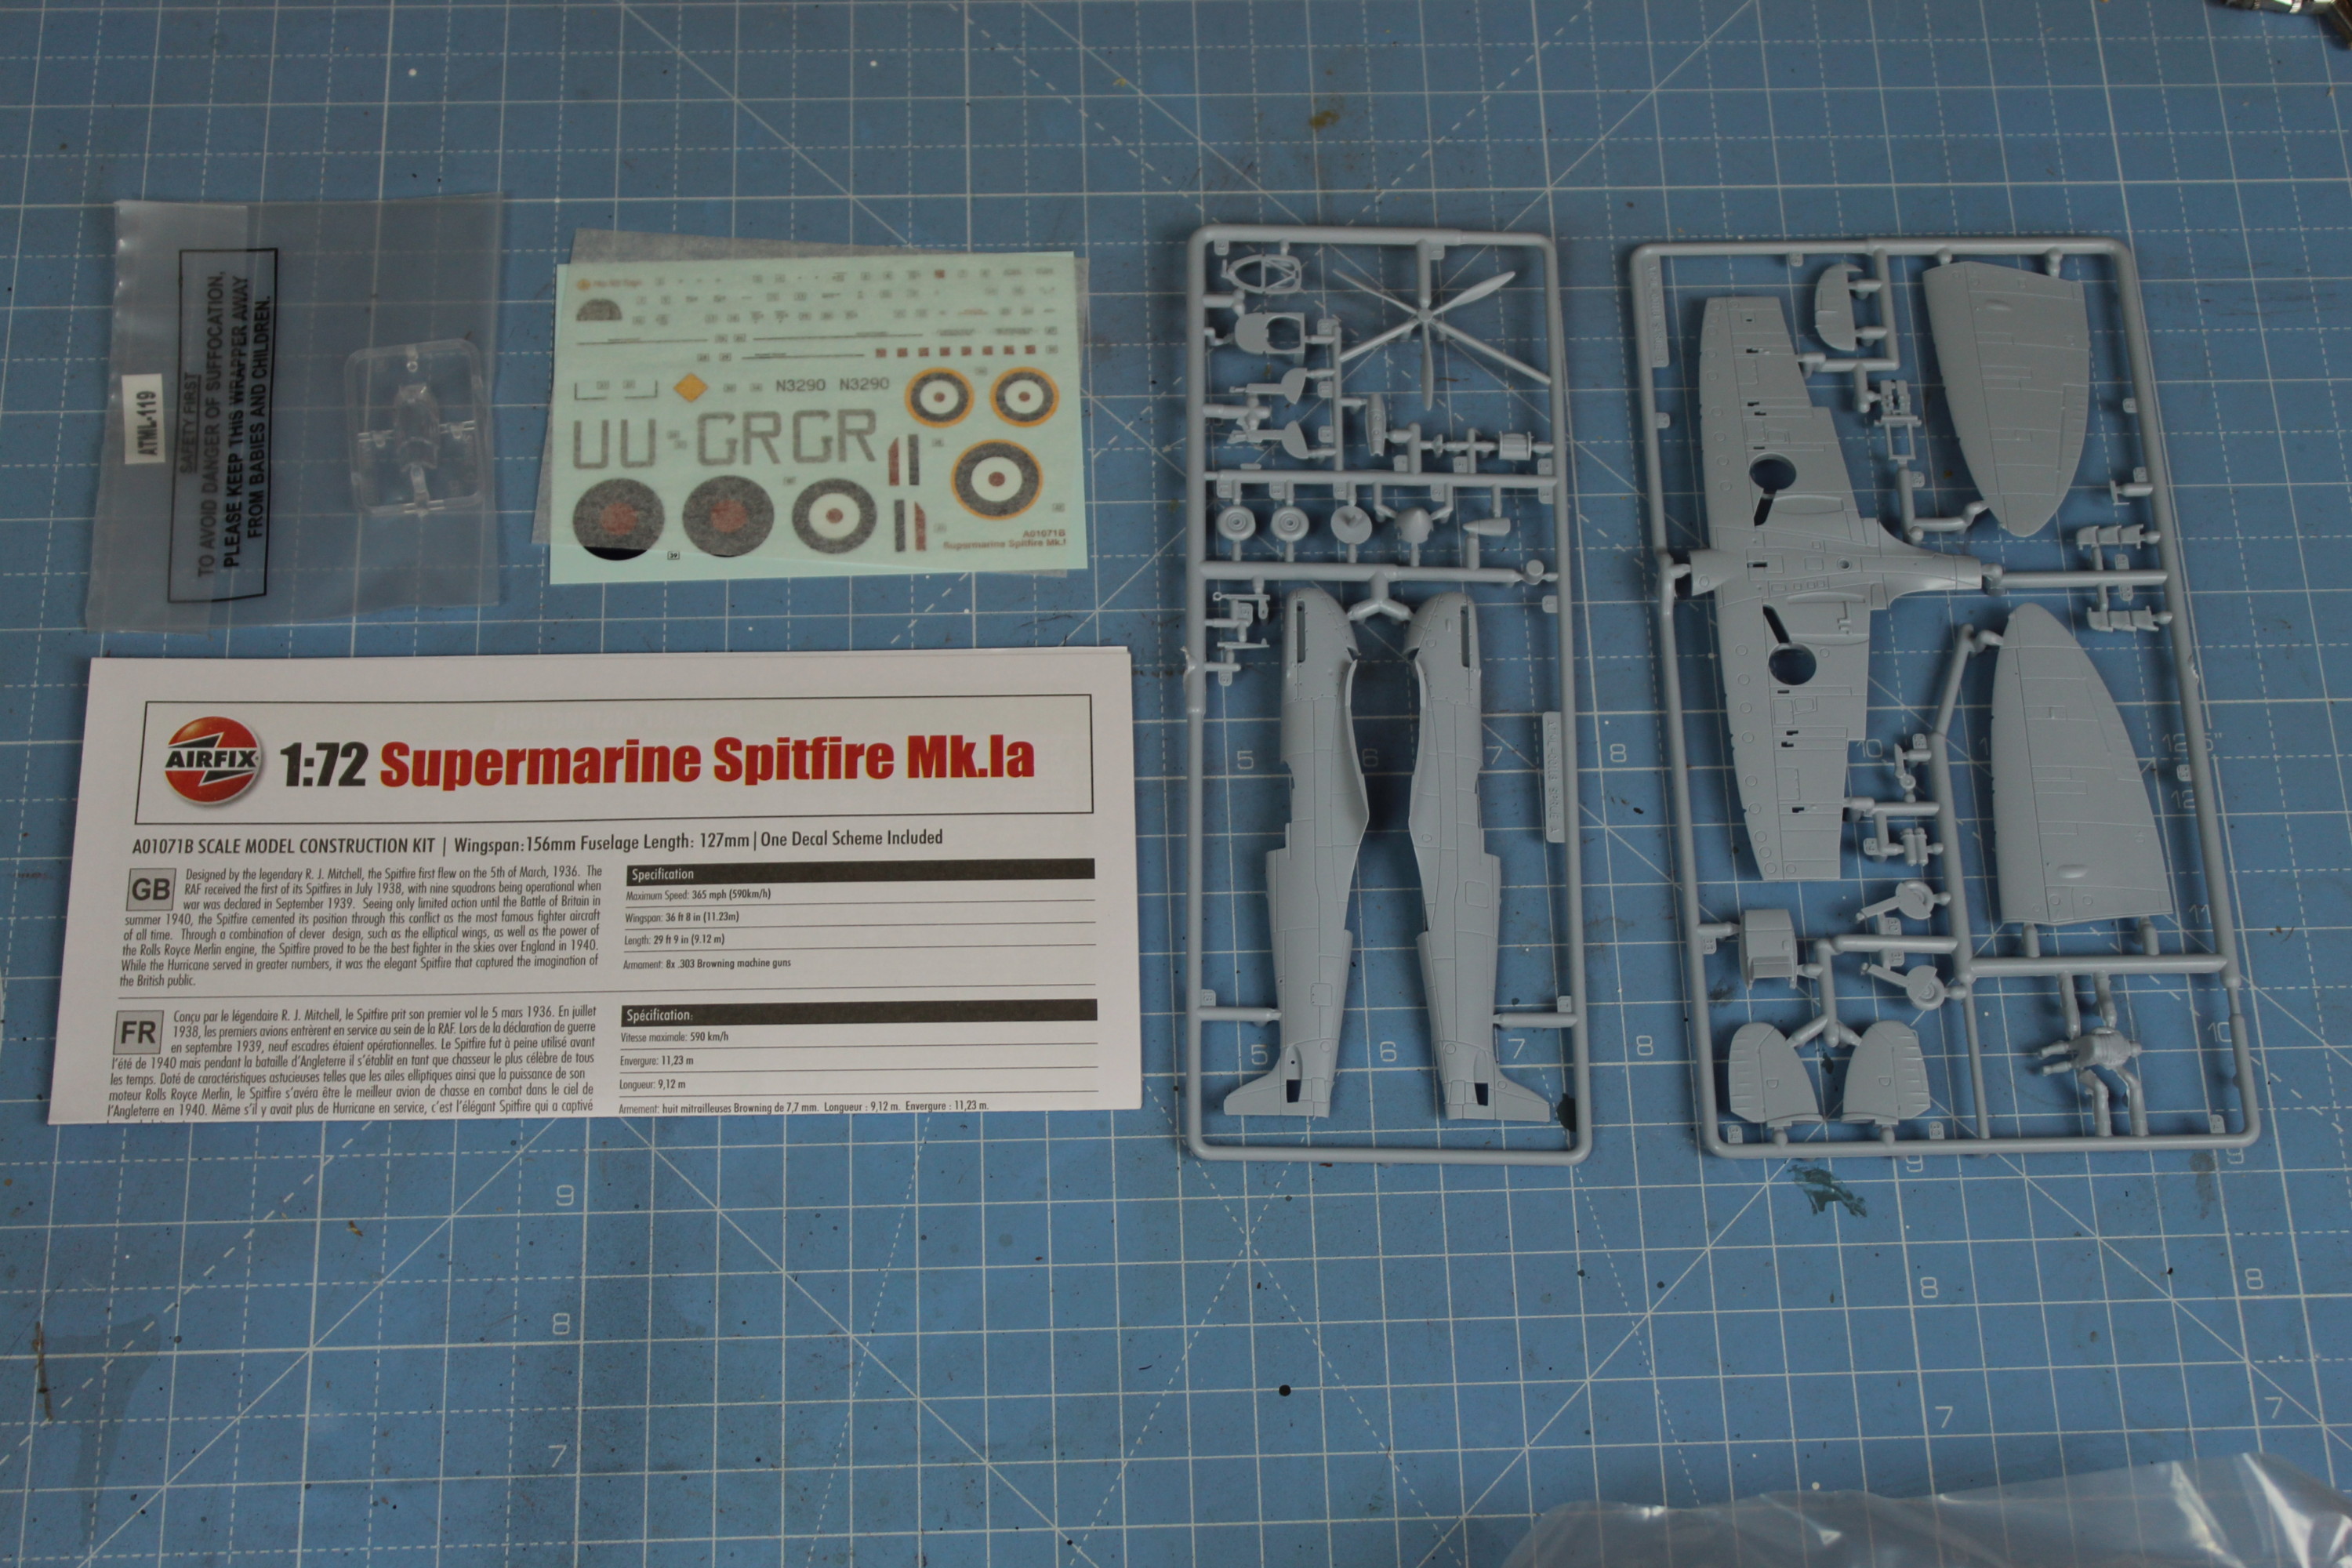
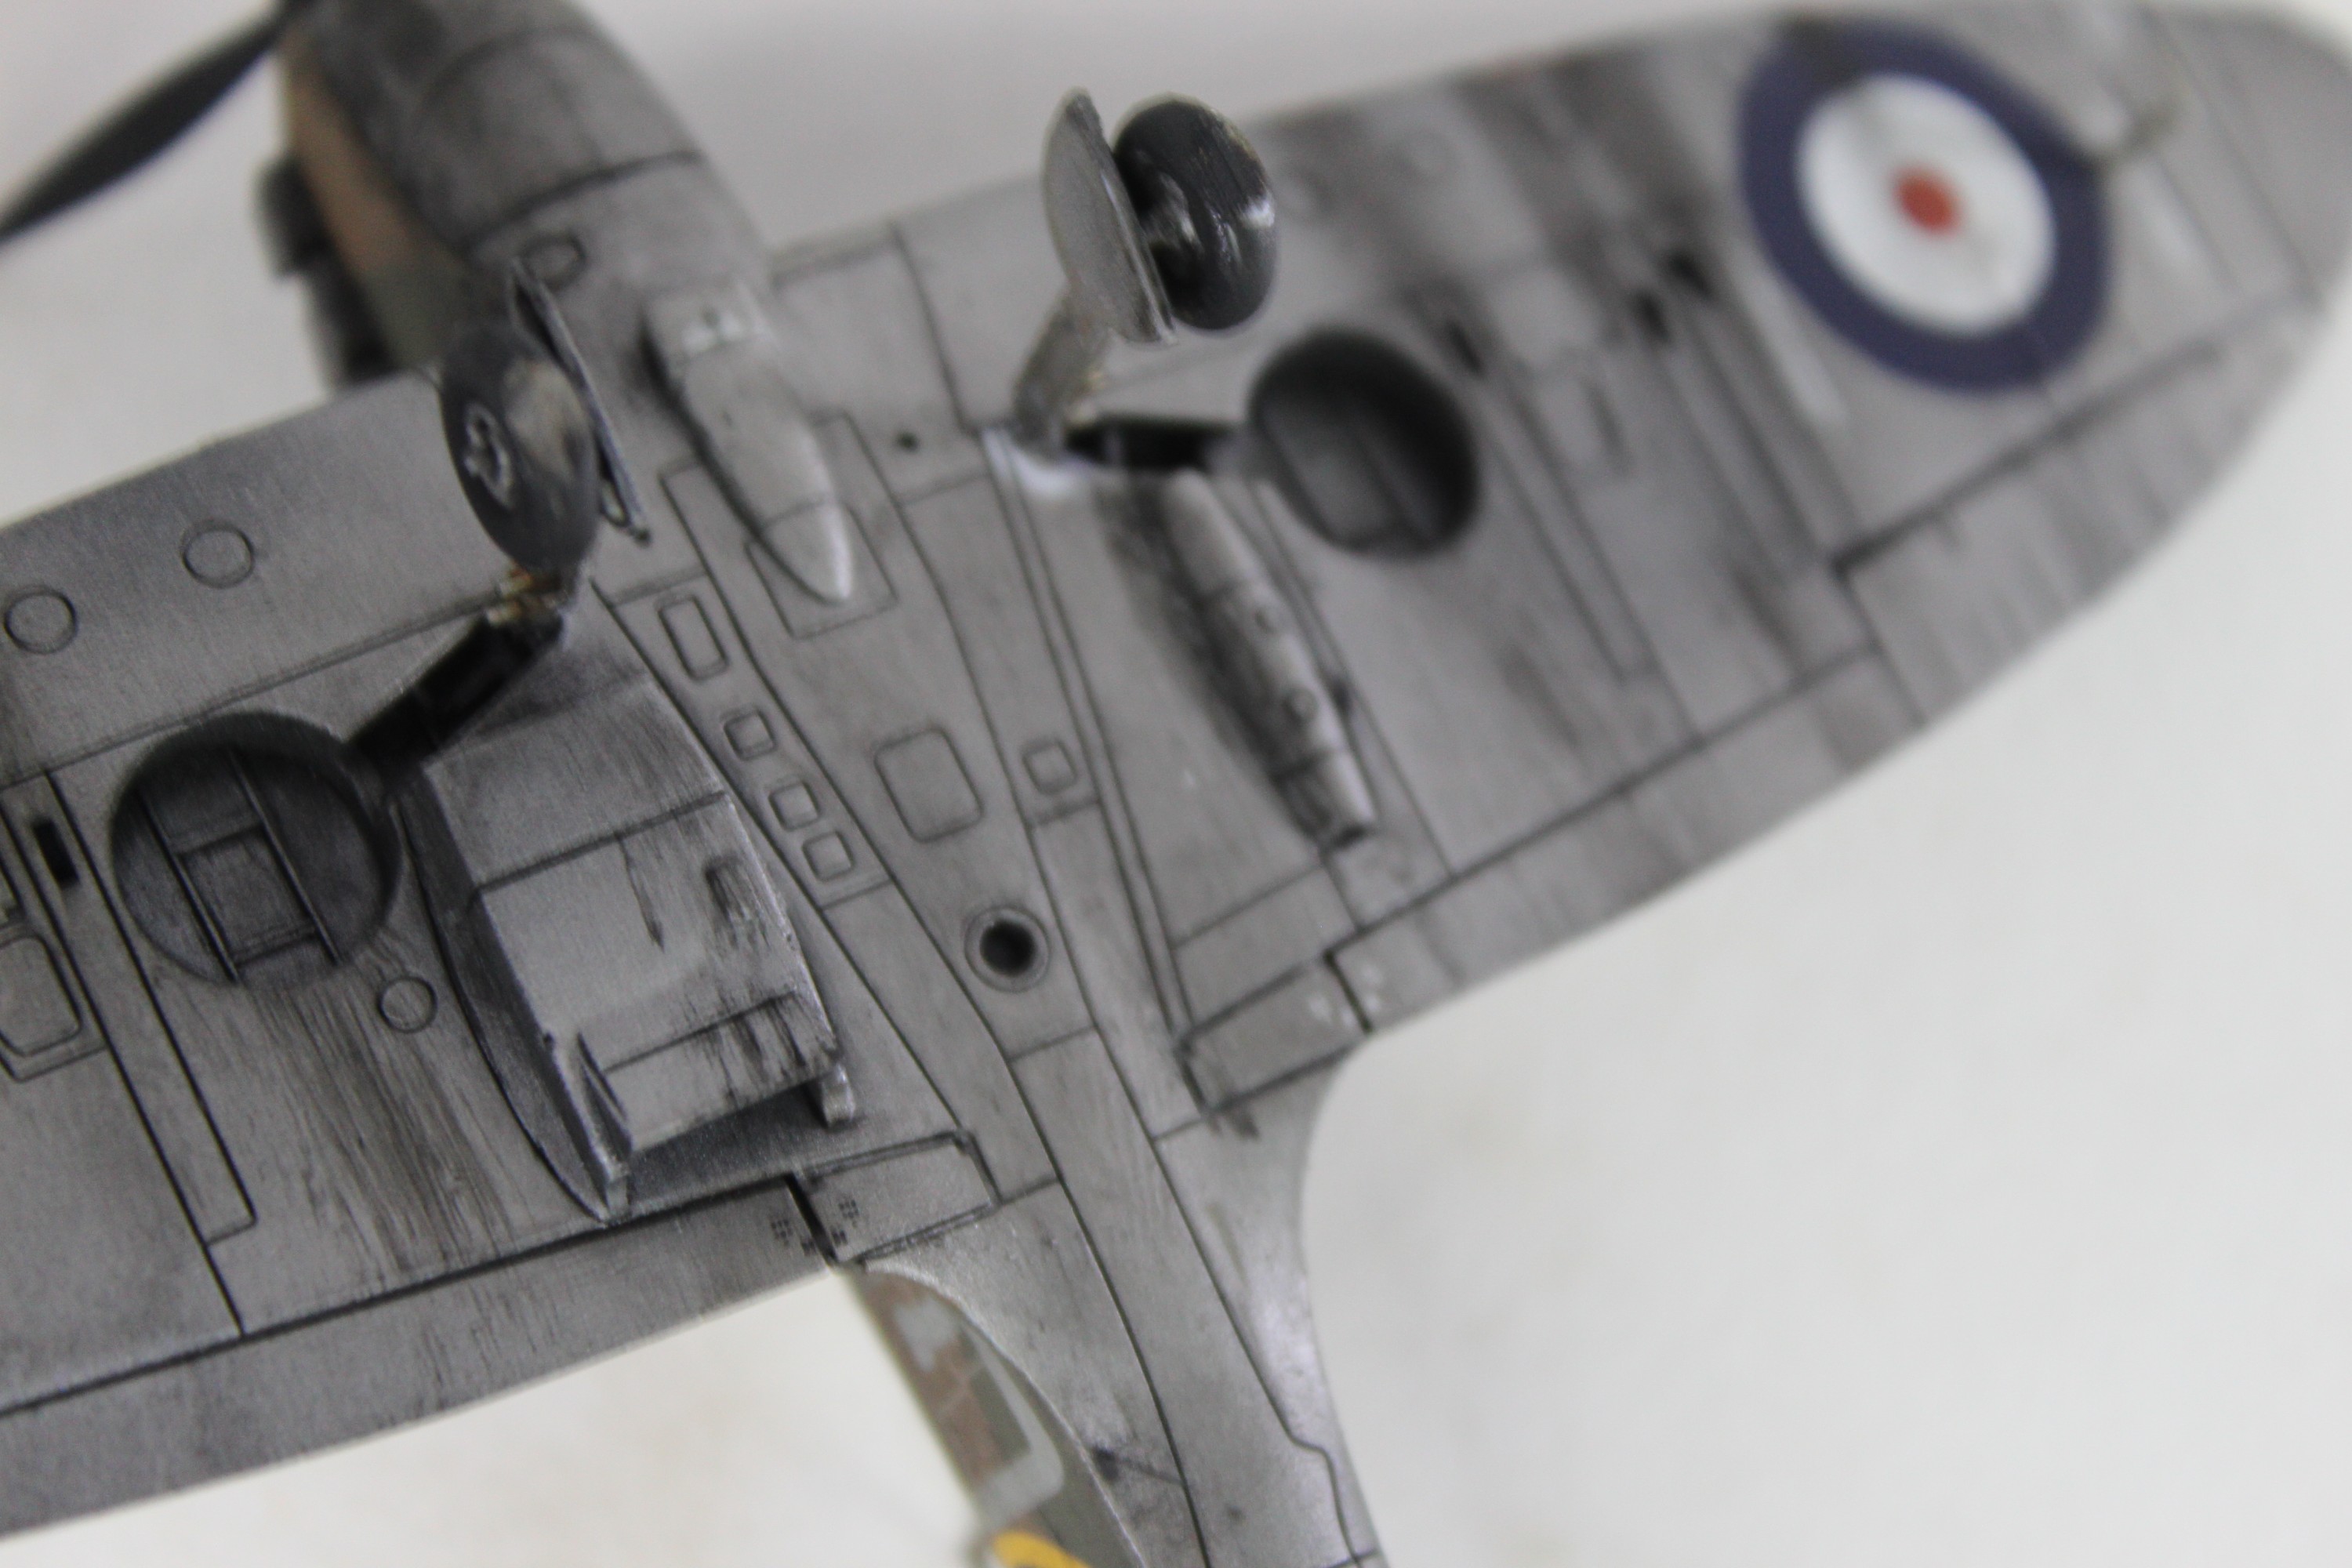
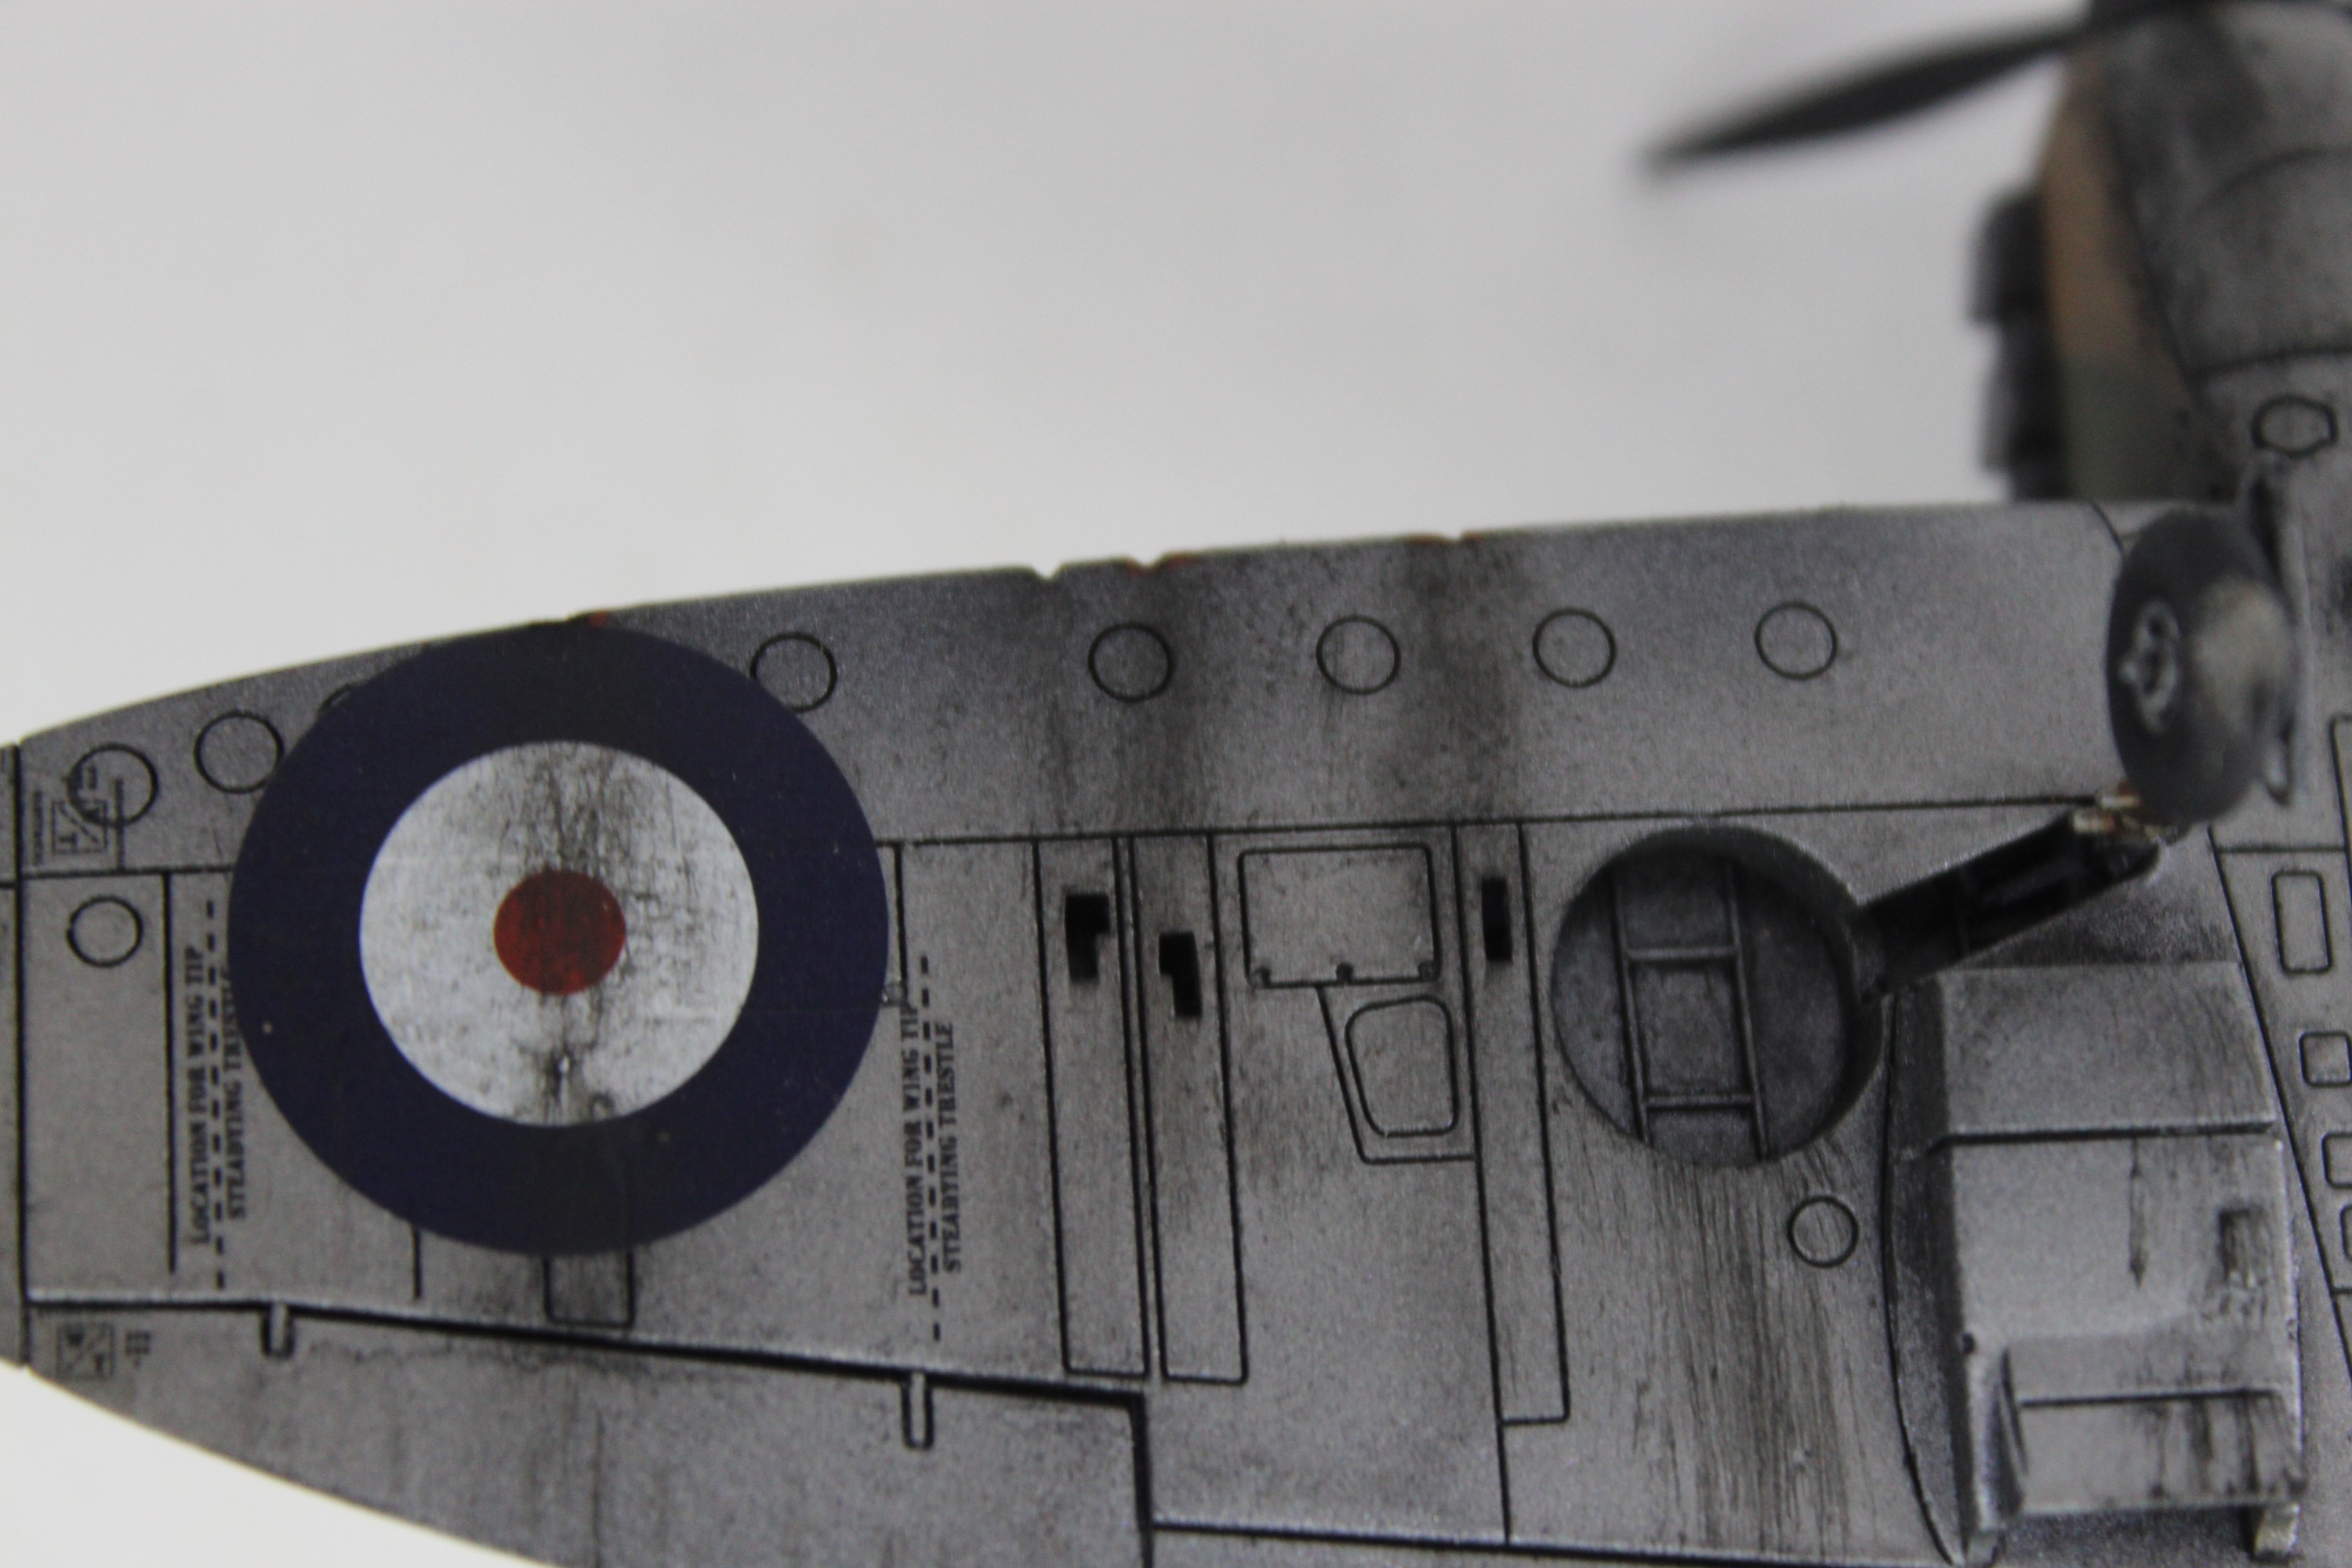
A close up just to show off some of the amazing details Airfix have managed to cram into this Spitfire model.
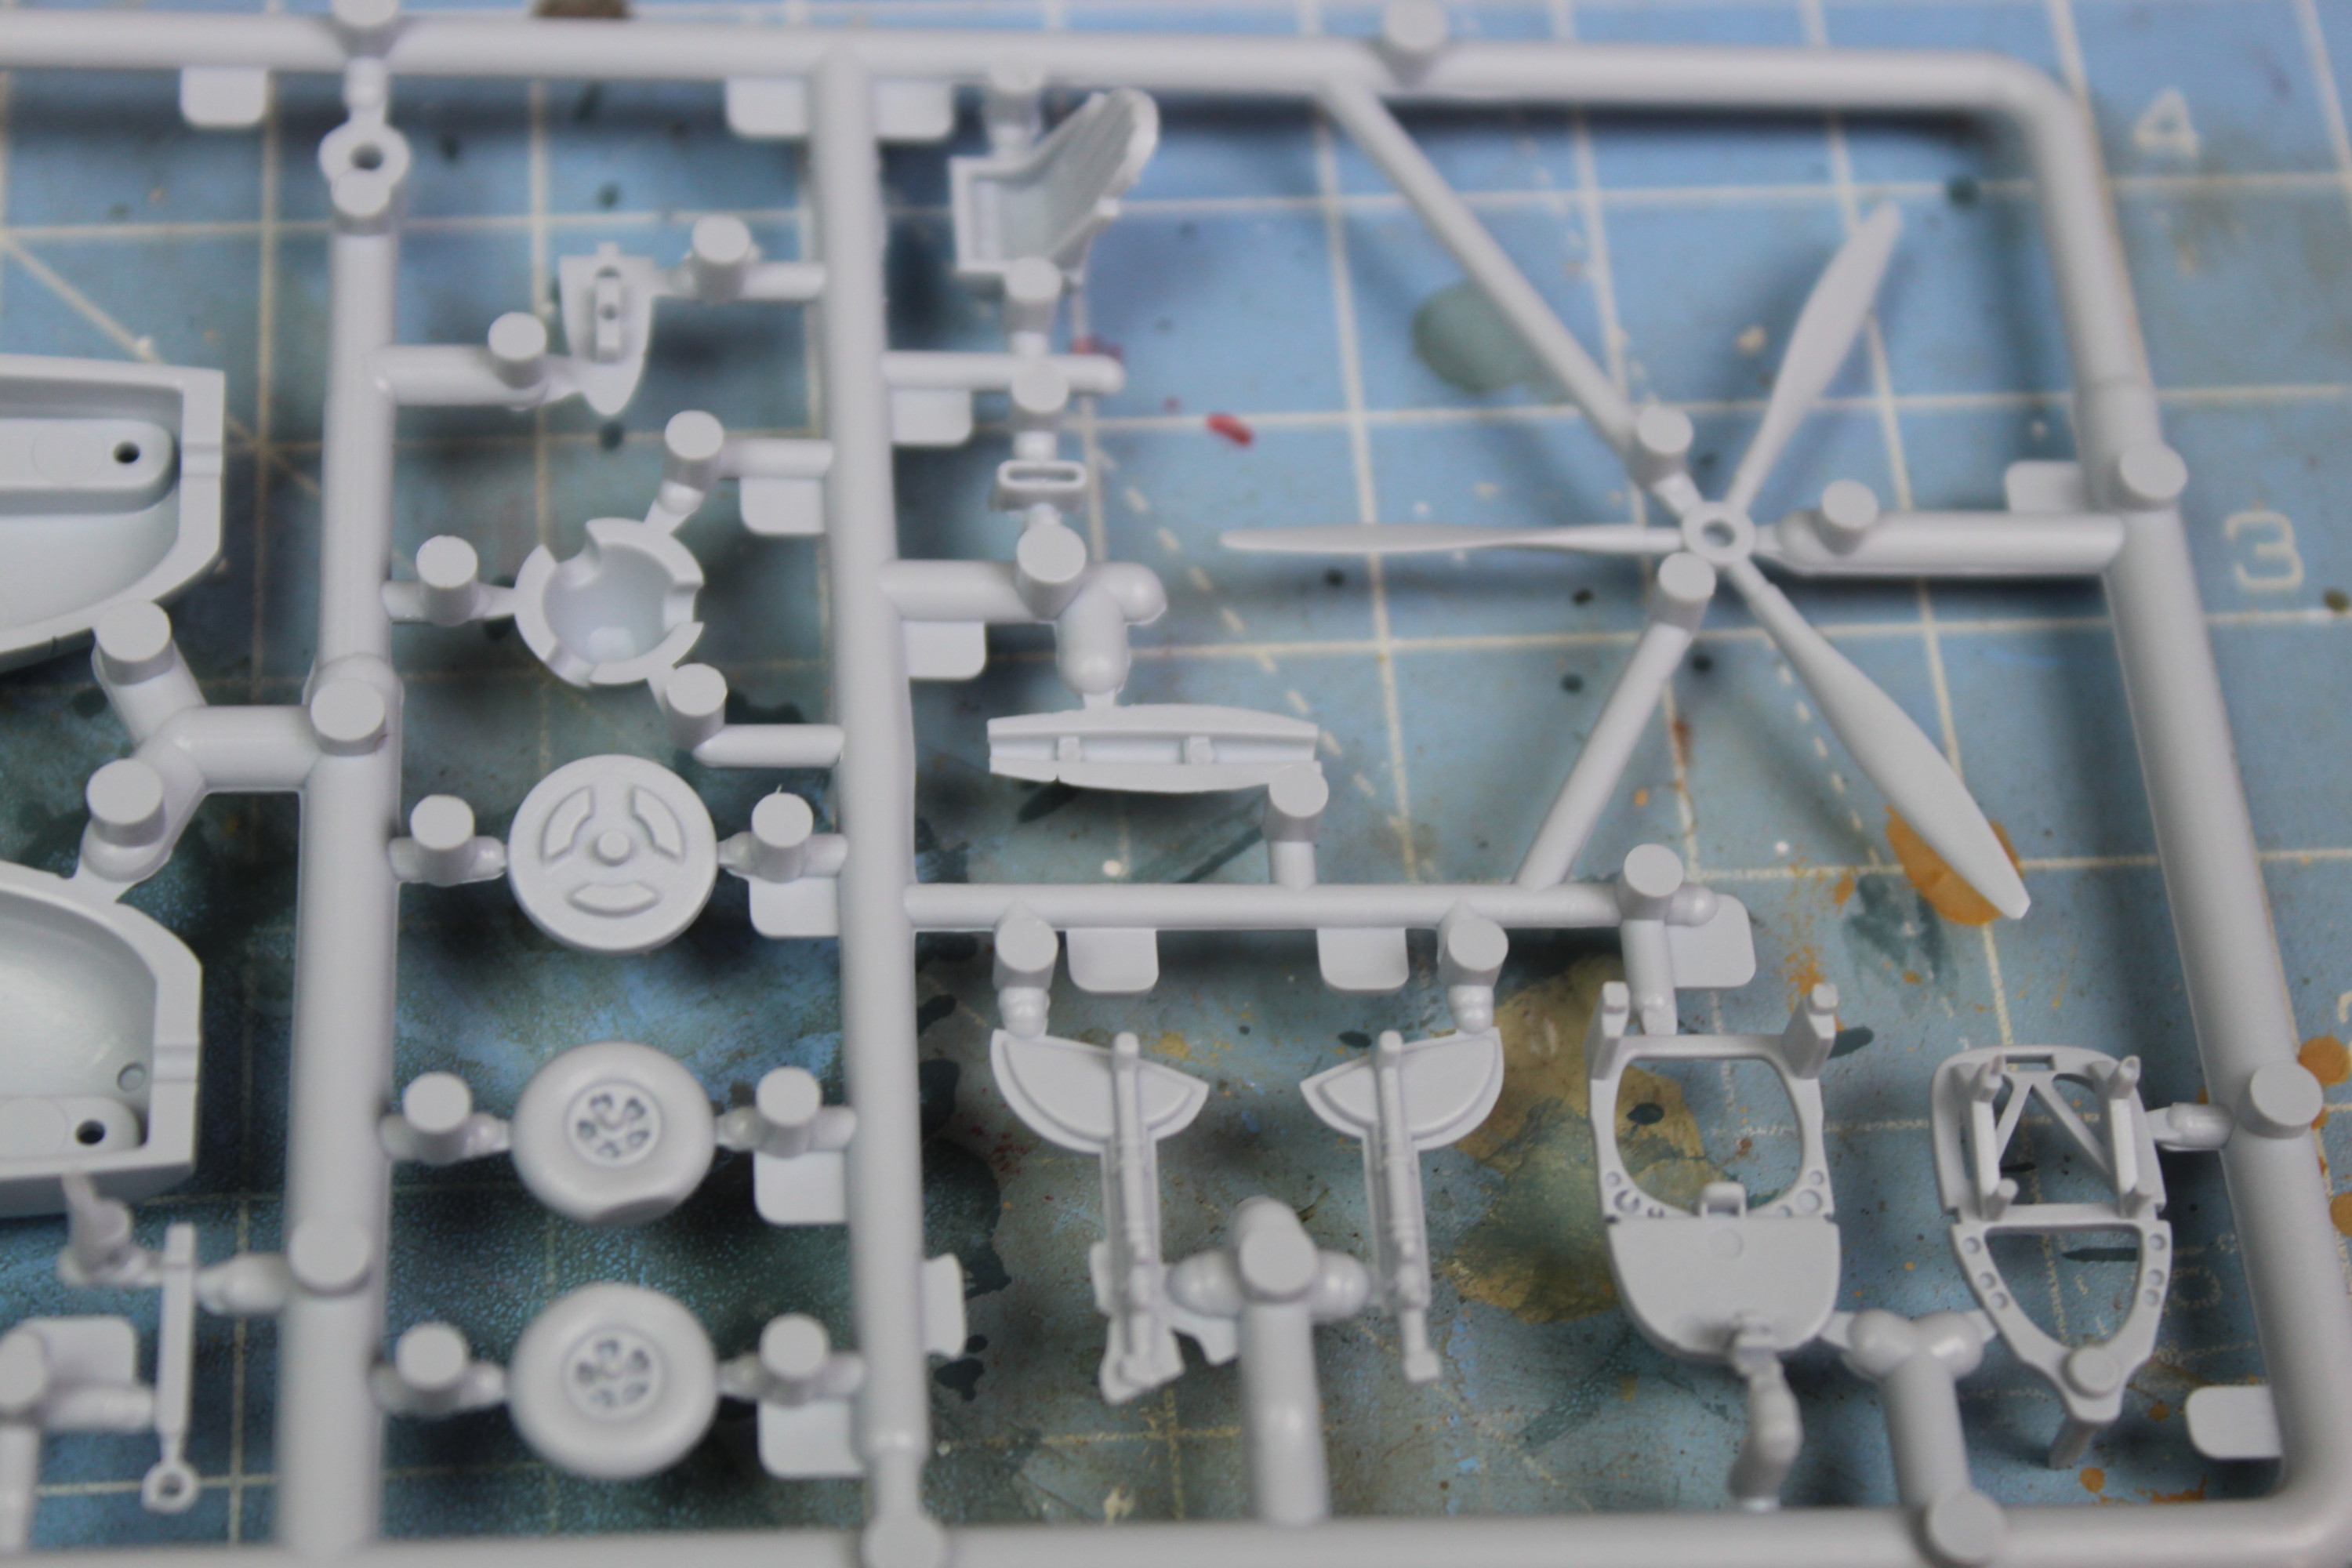
Even the details on the inside of the cockpit body are insane. I have to say that Airfix has really upped their game.
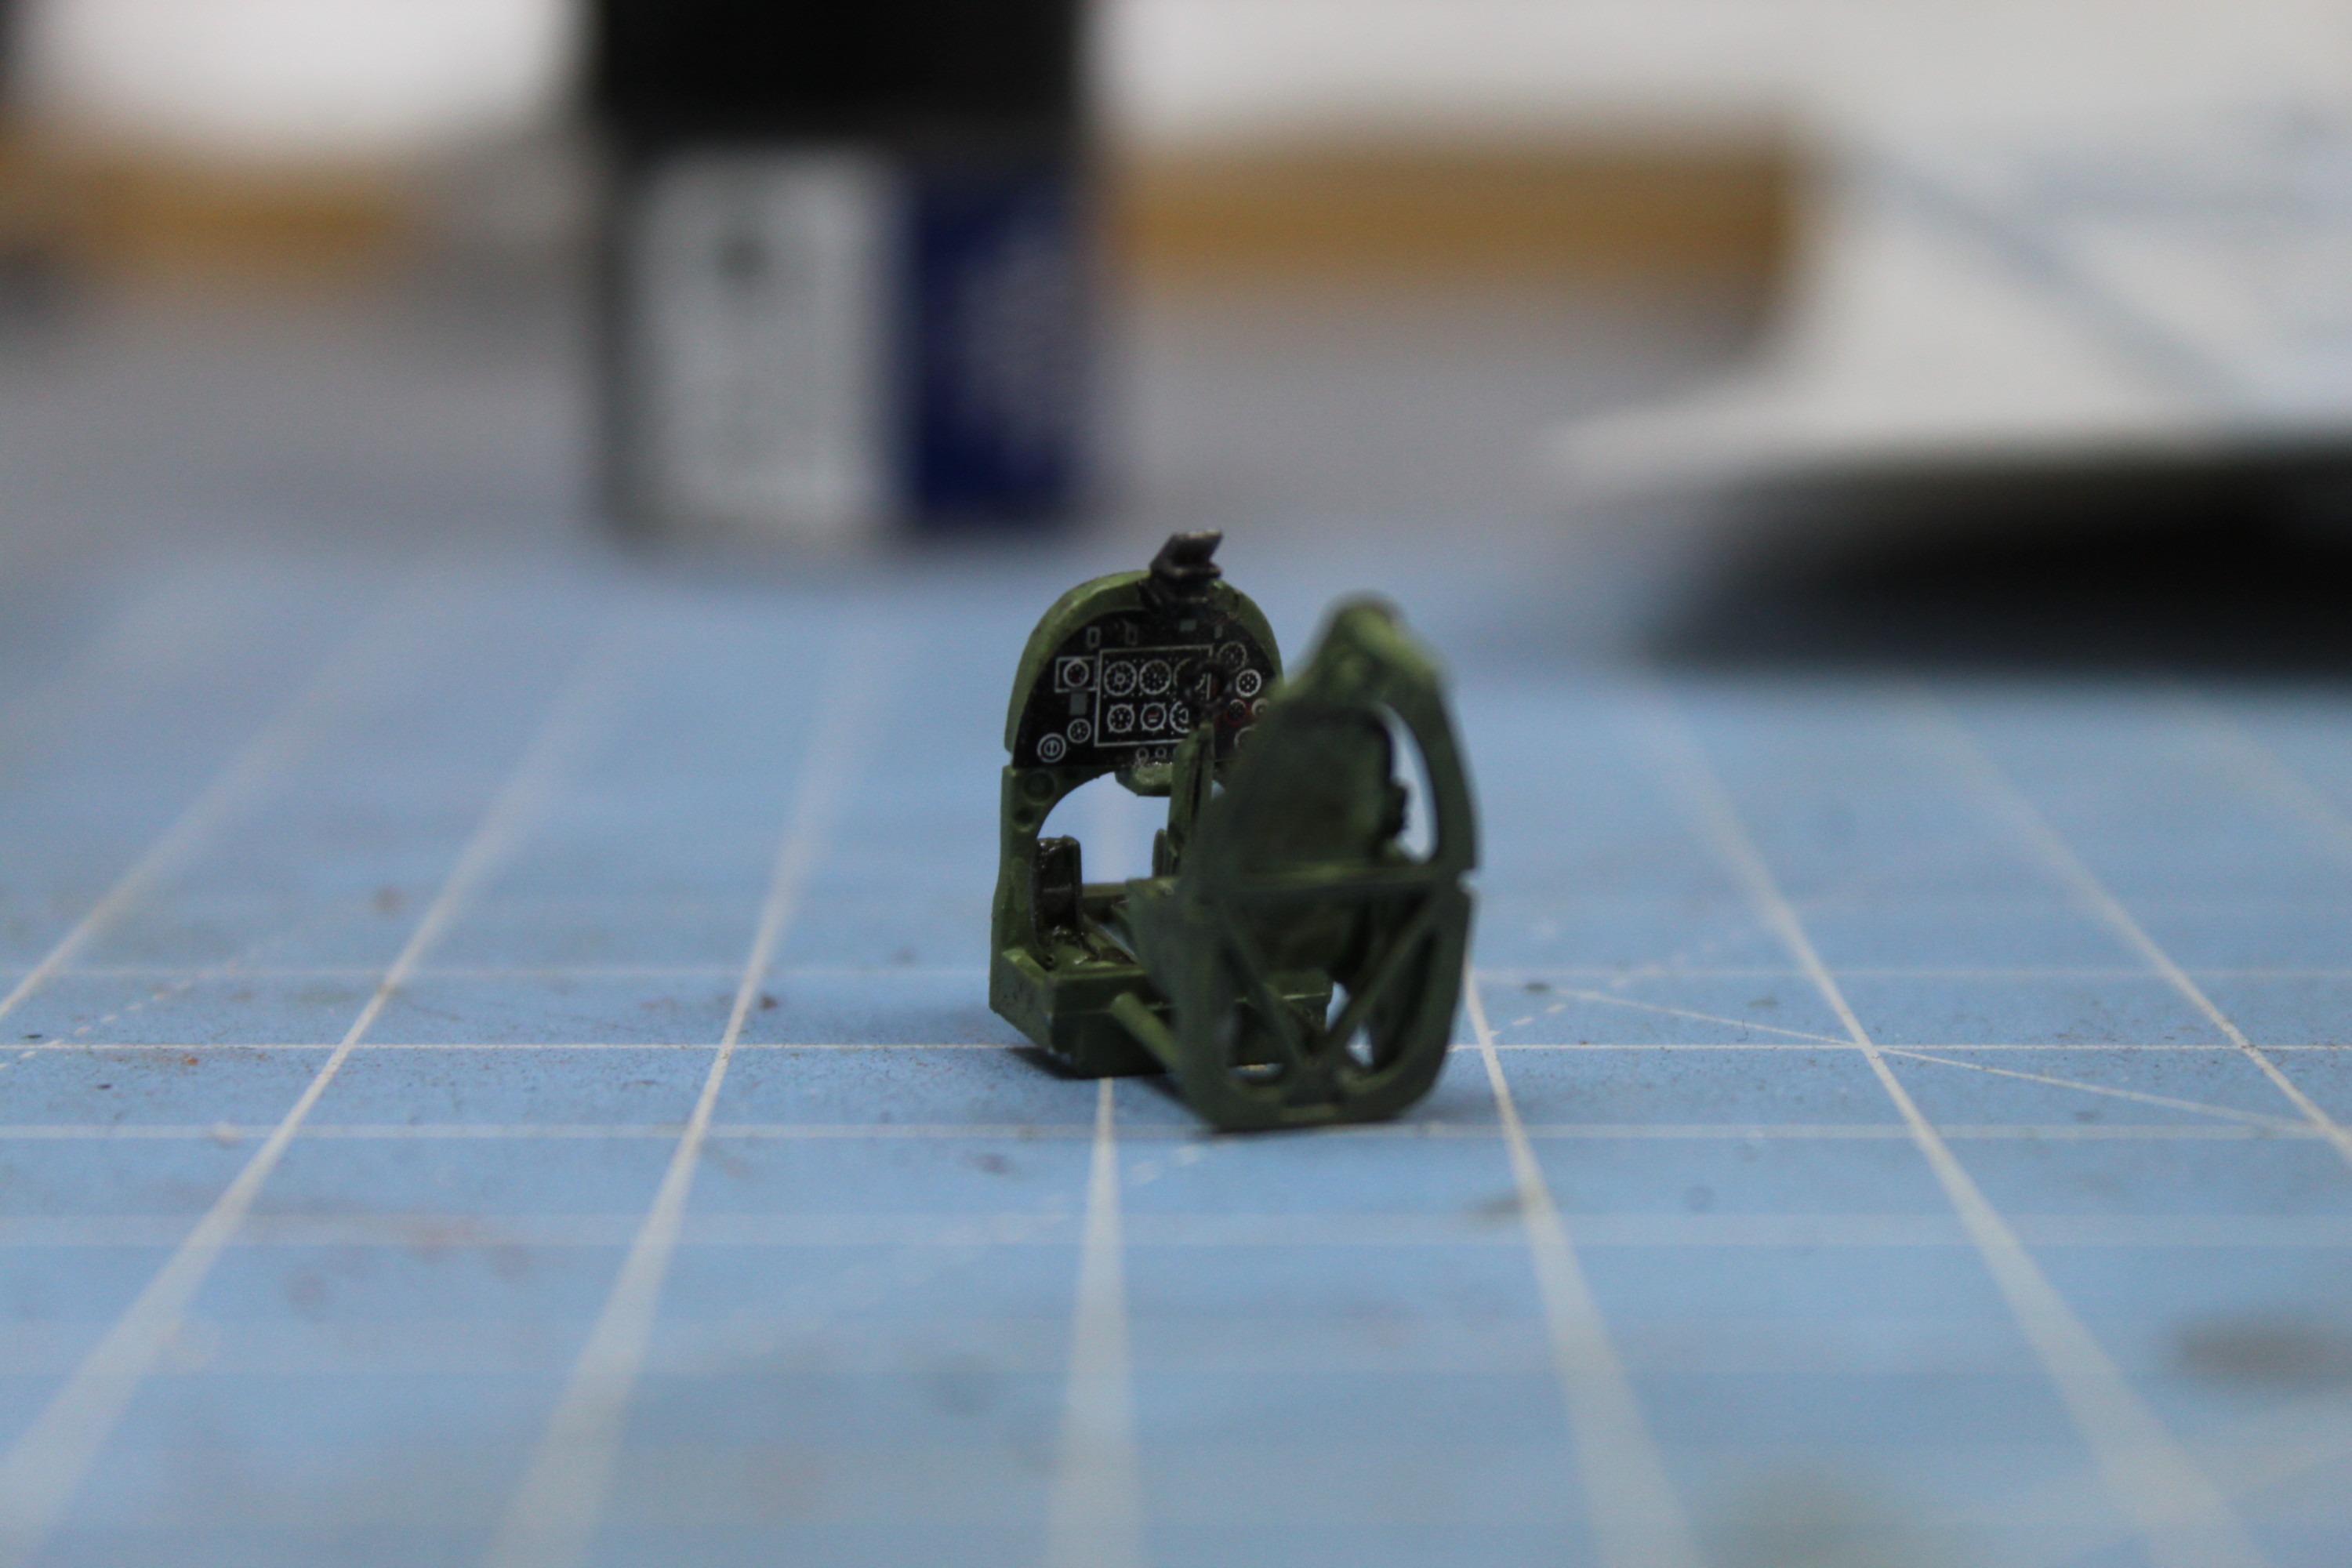
The first job is to get the inside of the body painted up with green and to give it a quick wash to bring out all the details.

On to the main part of the cockpit. The tooling is so nice, the parts fit together very nicely and the detail is brilliant.
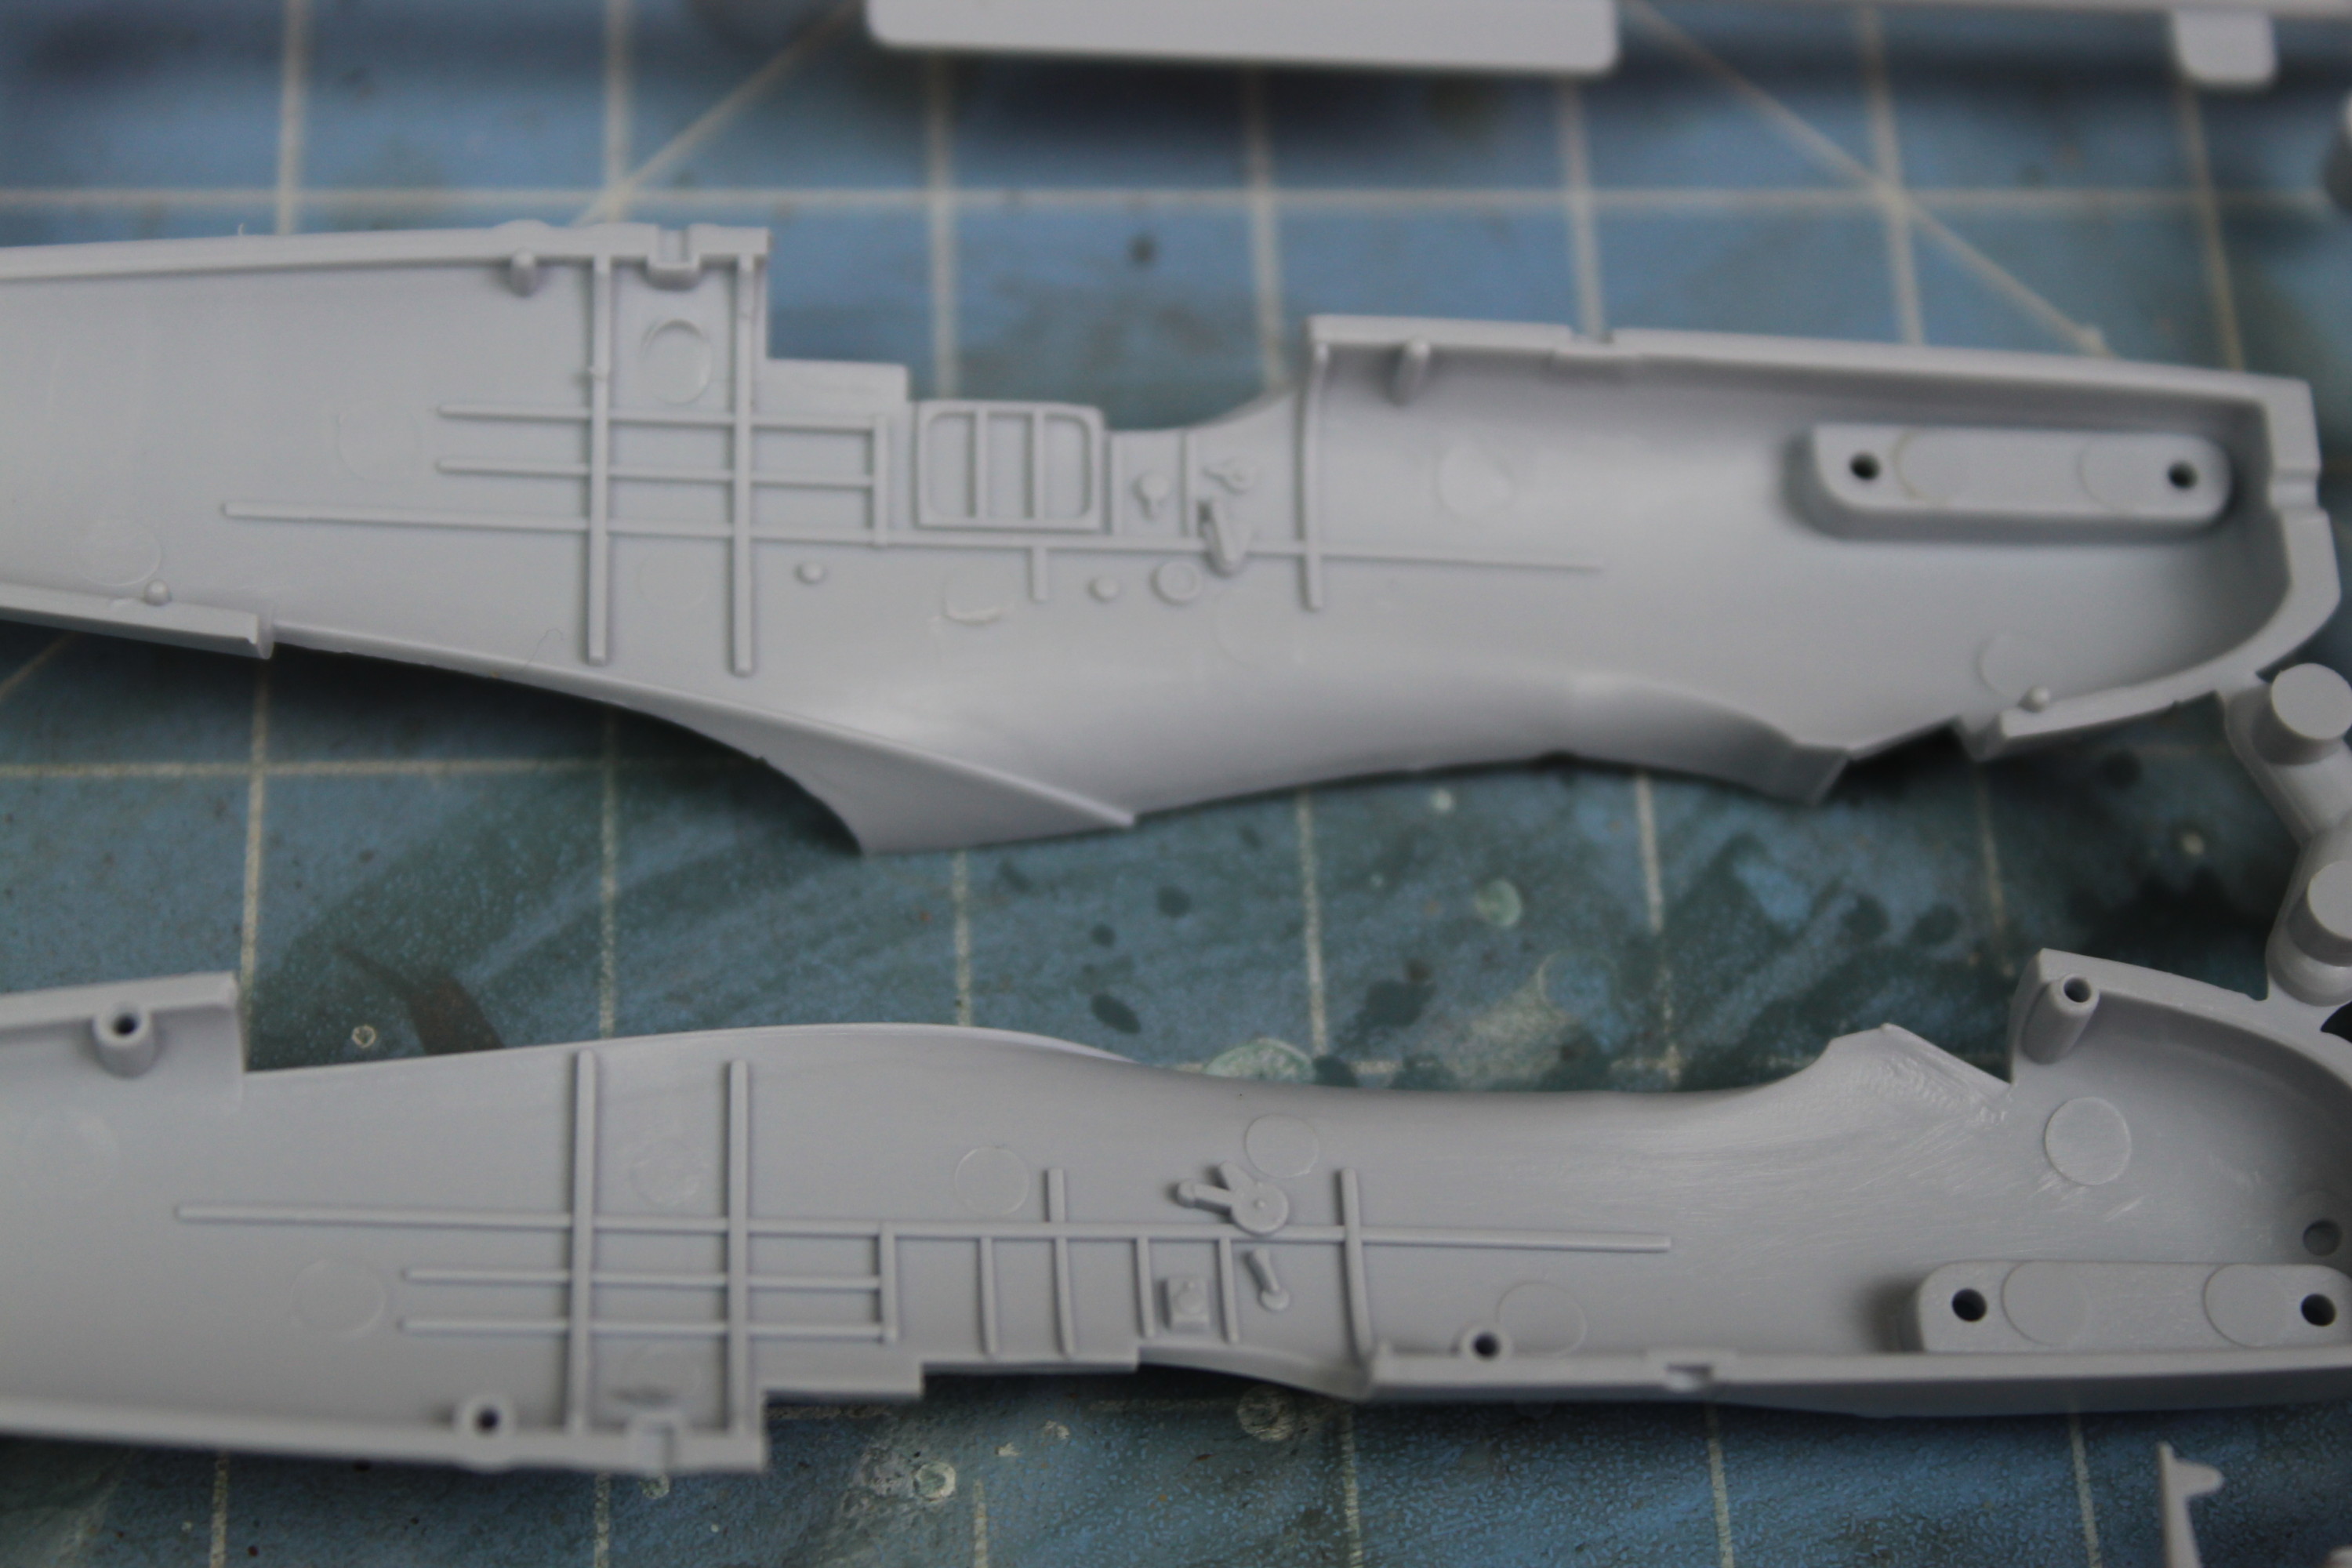
While the paint dries on the cockpit I have moved on to the wings. Only a tiny bit of flashing that needed trimming and again the parts fit together brilliantly.
Next, the fuselage gets joined together as well as the cockpit seating and controls fitted inside.
The wings and body meet together, again, these are very neat, I don’t even think I will need to do any filling on this one.
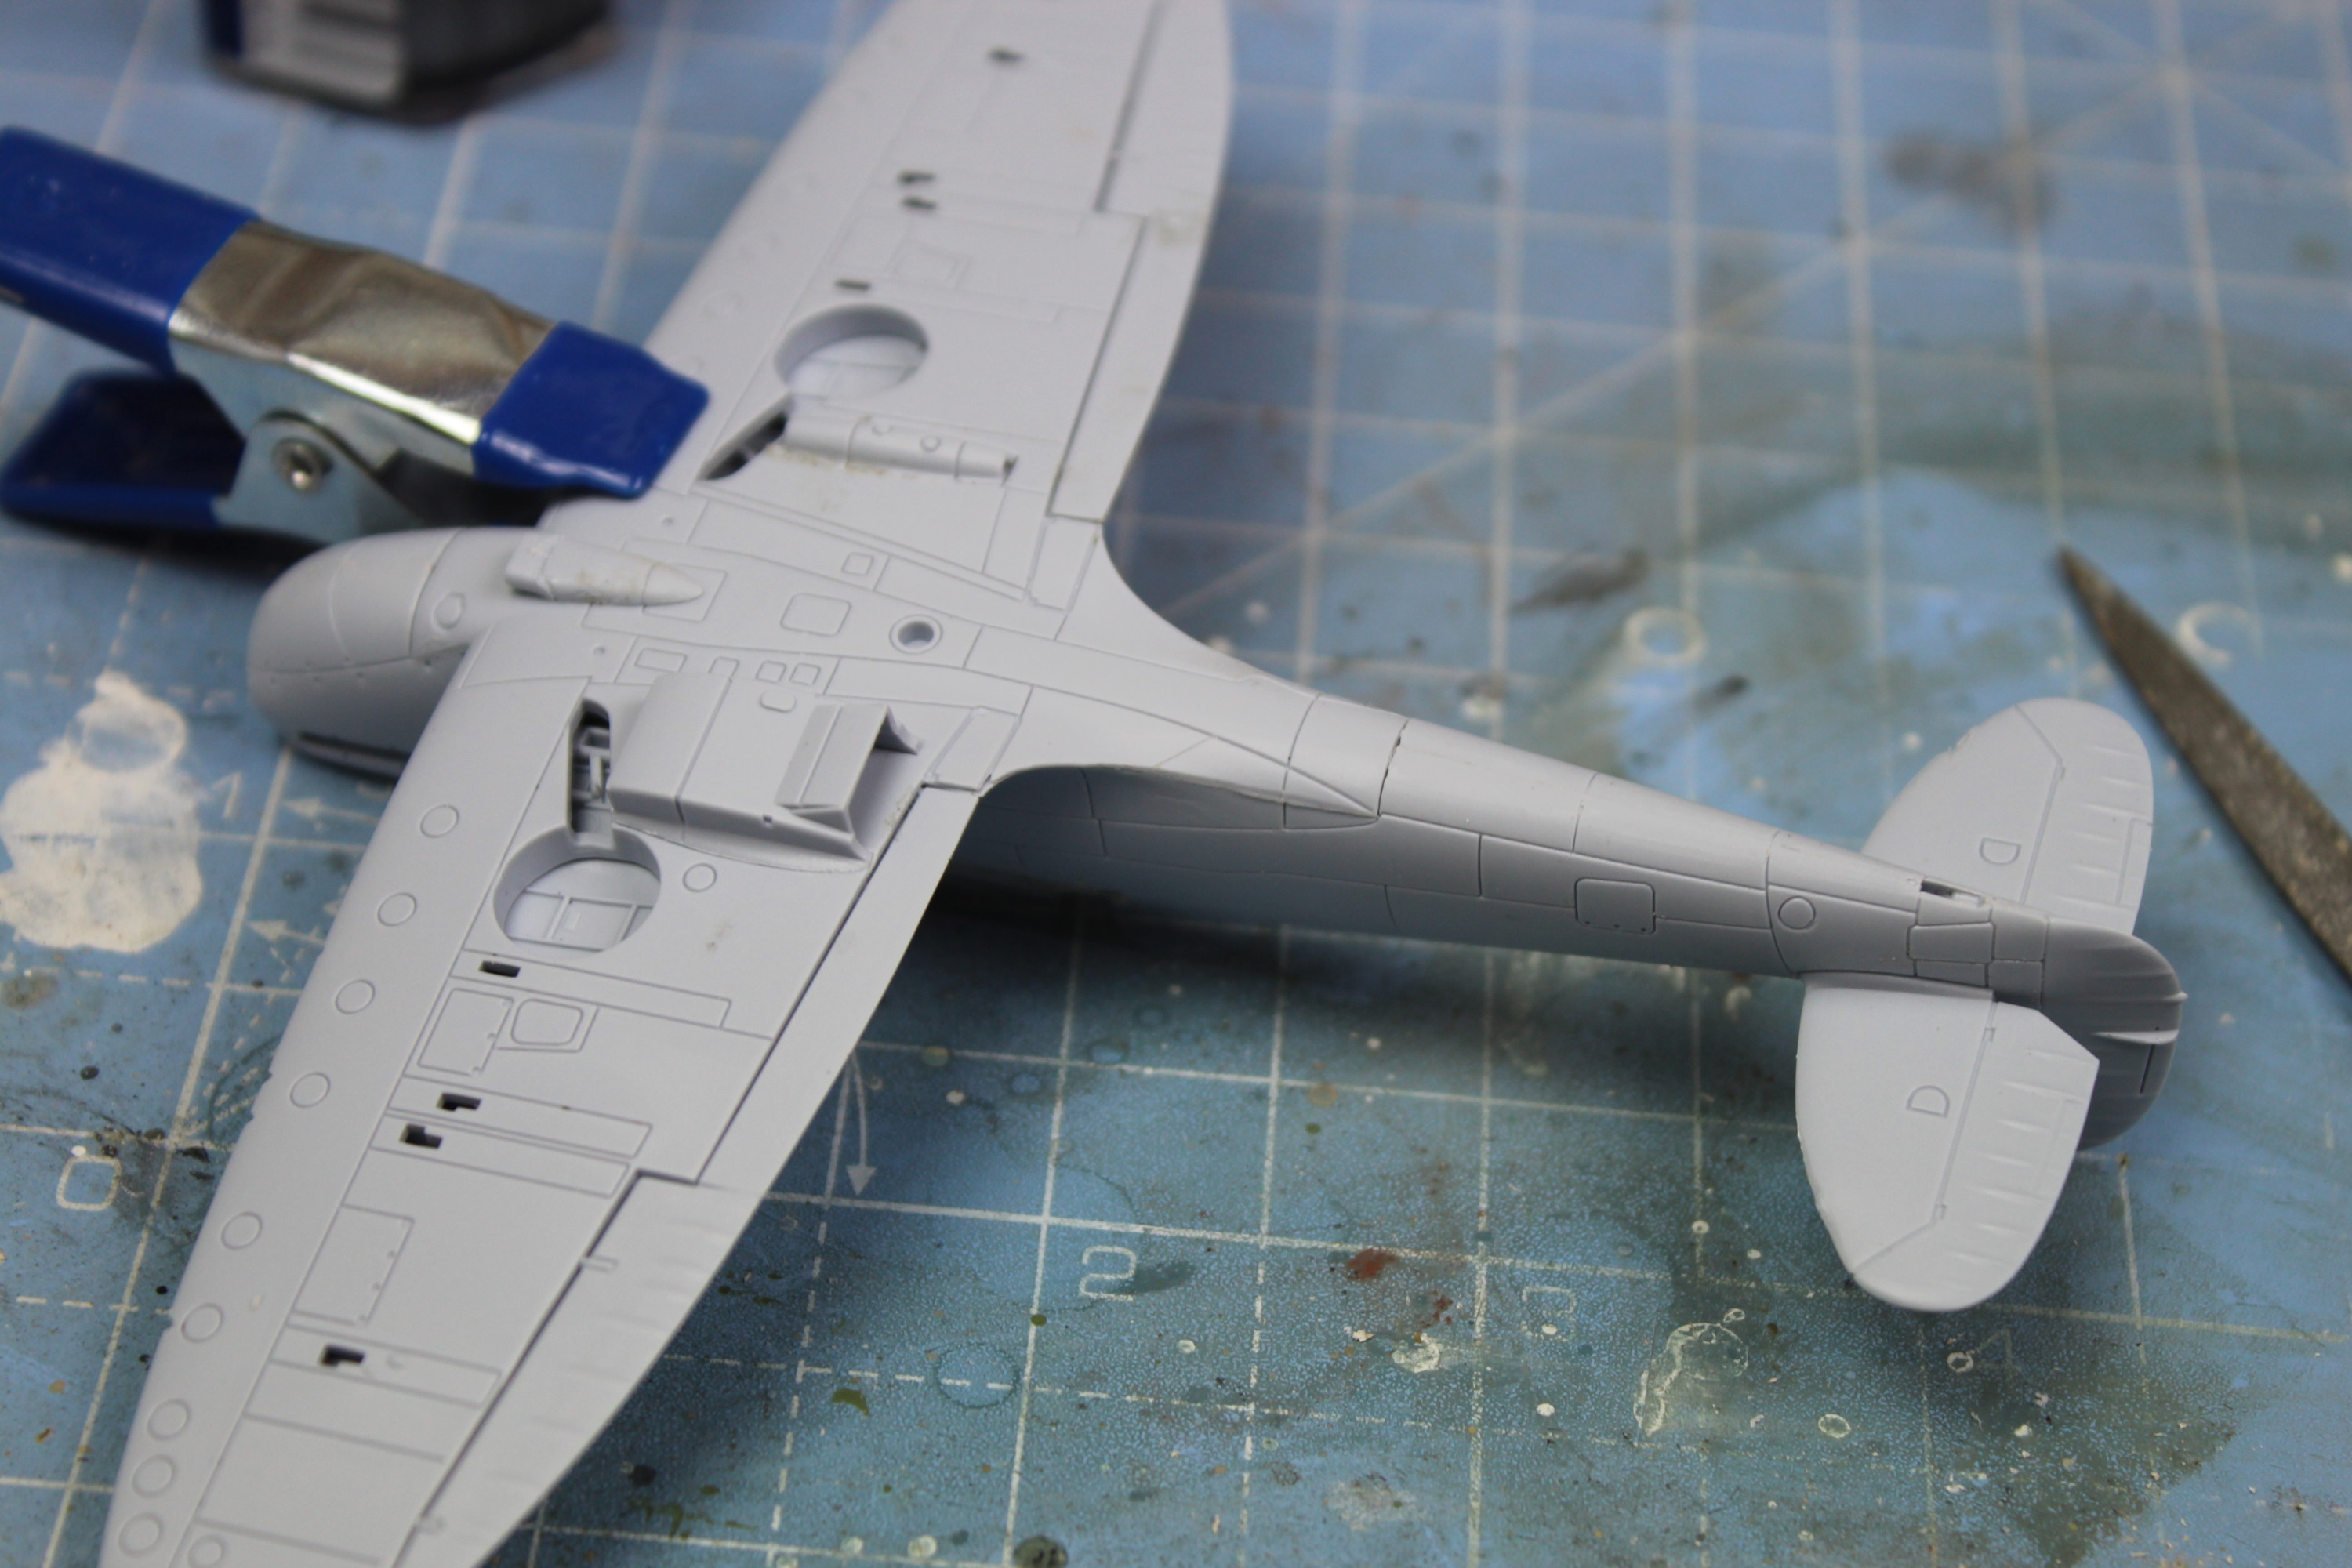
Another close up photo of all that delicious detail they have crammed into this kit. When I start to do pin washes this should look amazing.

Added on the canopy, used glue and glaze, I will wait for it to completely dry before cleaning off any glue residue.
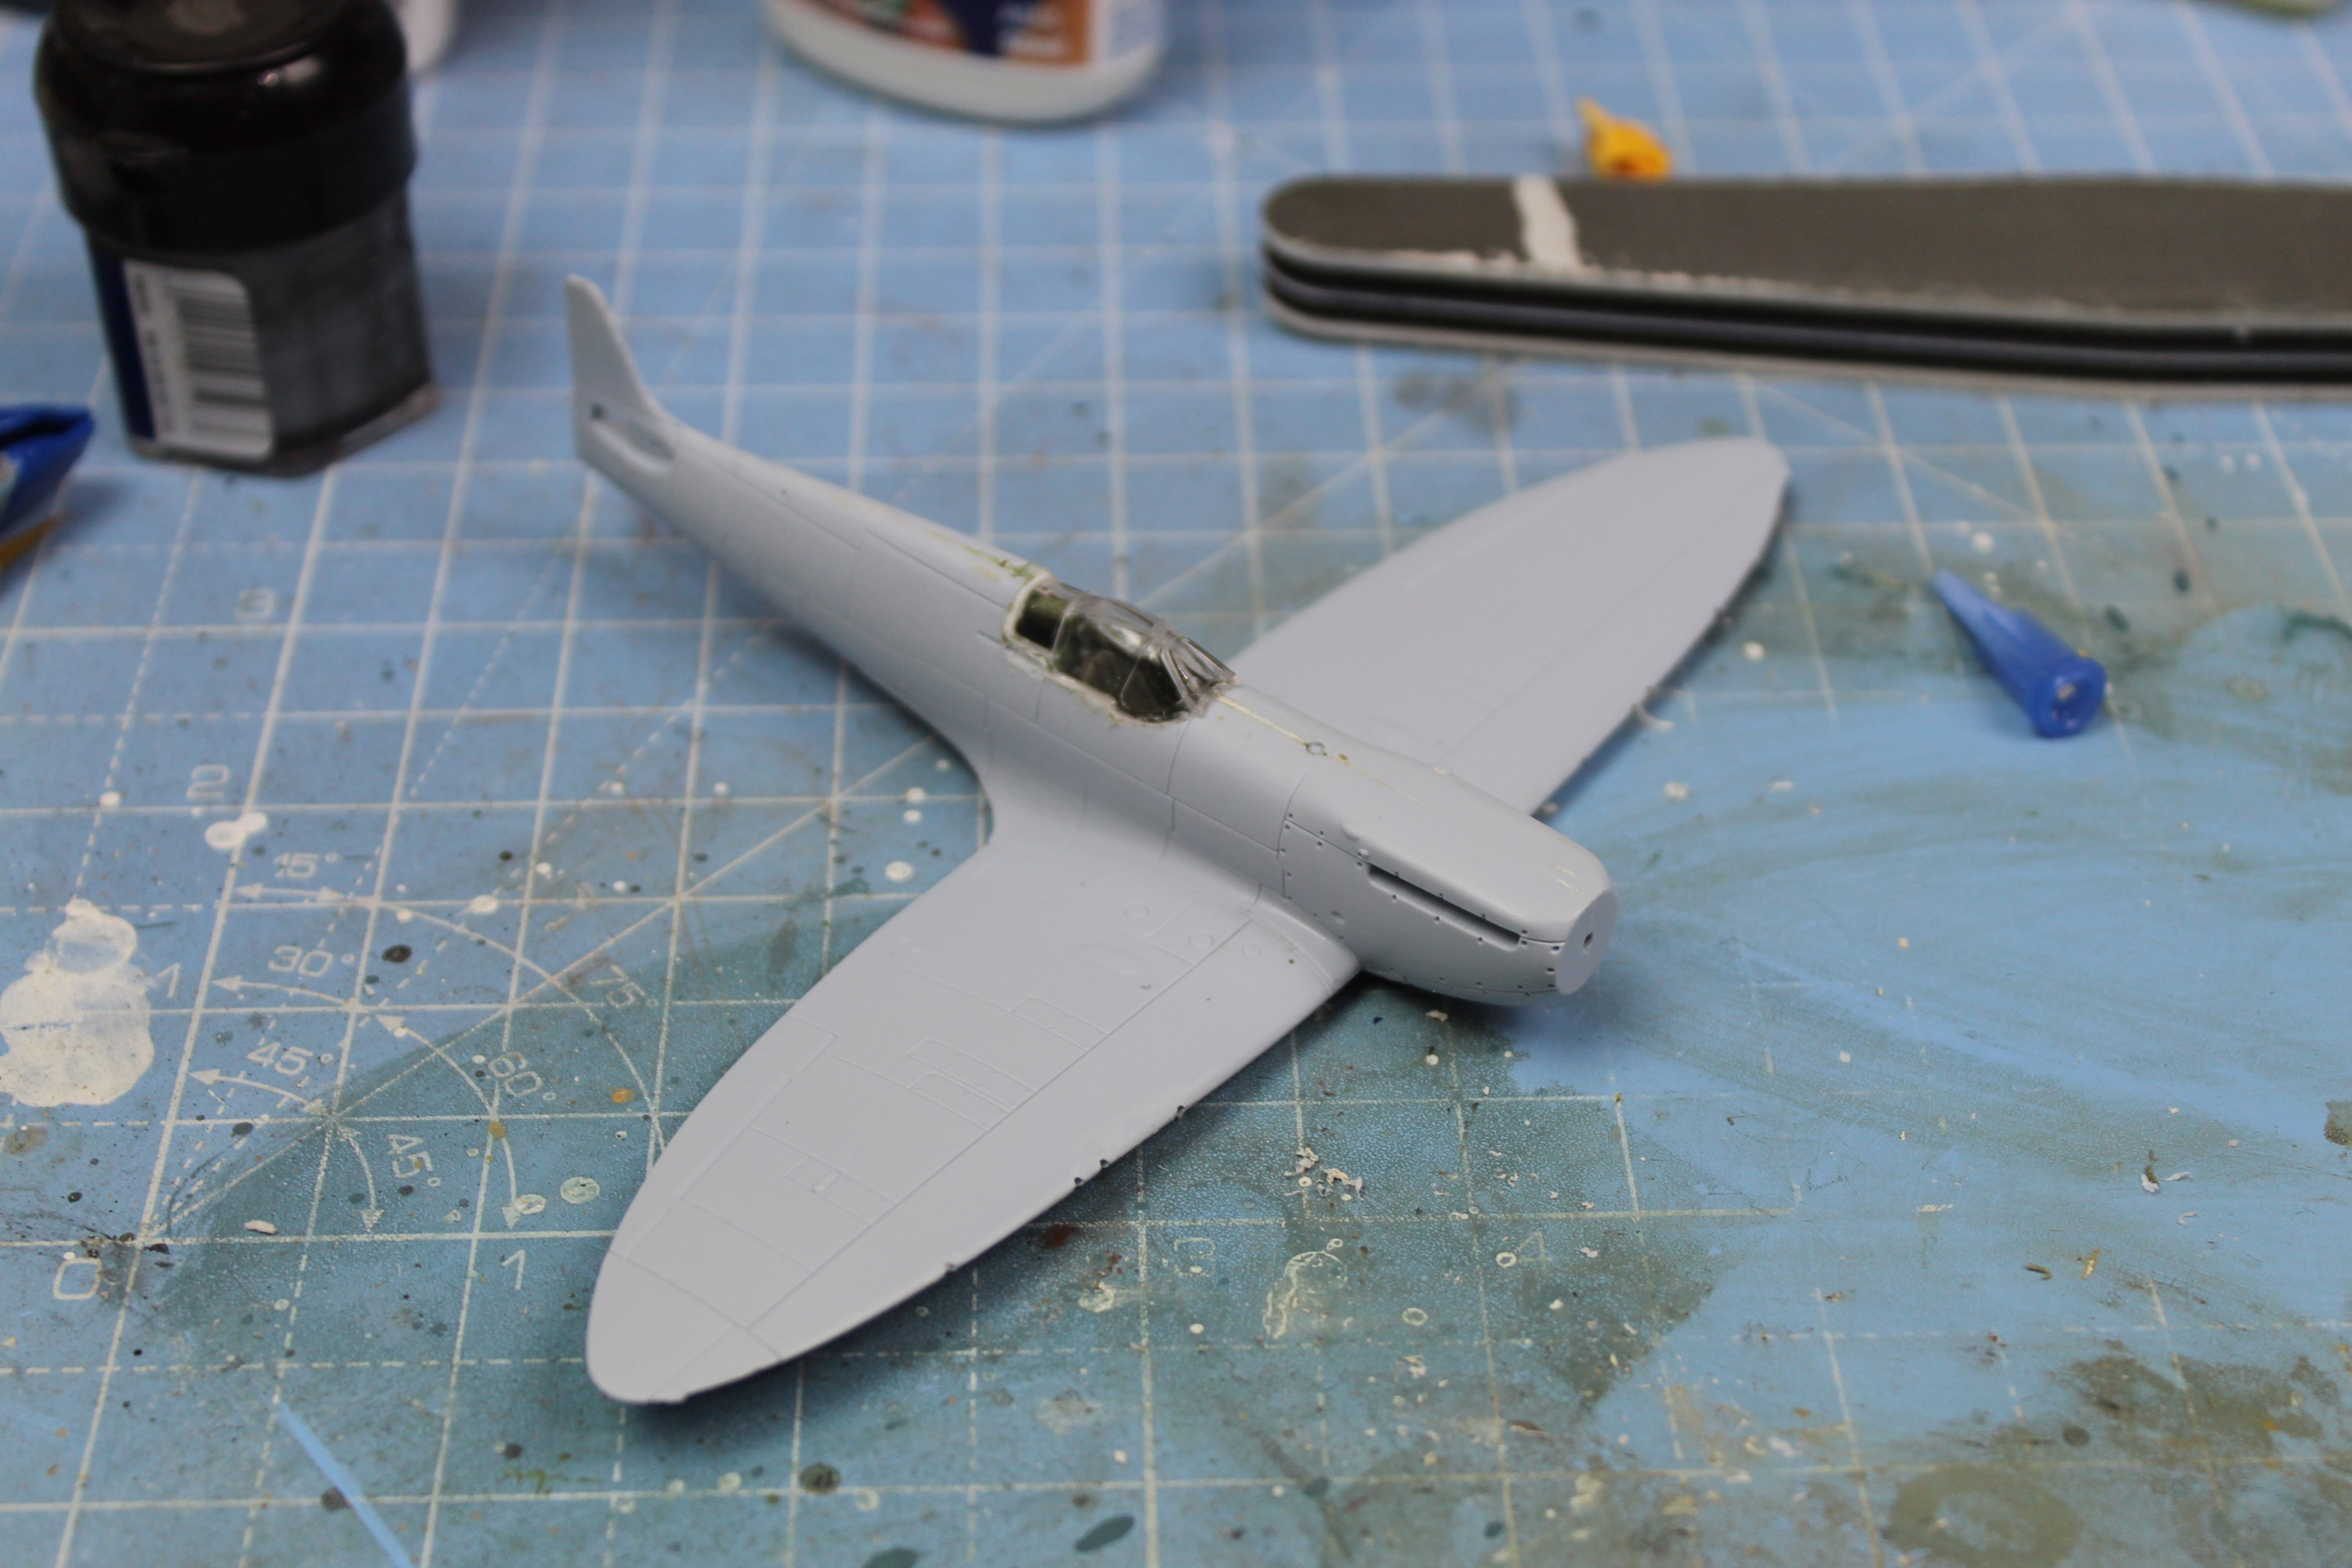
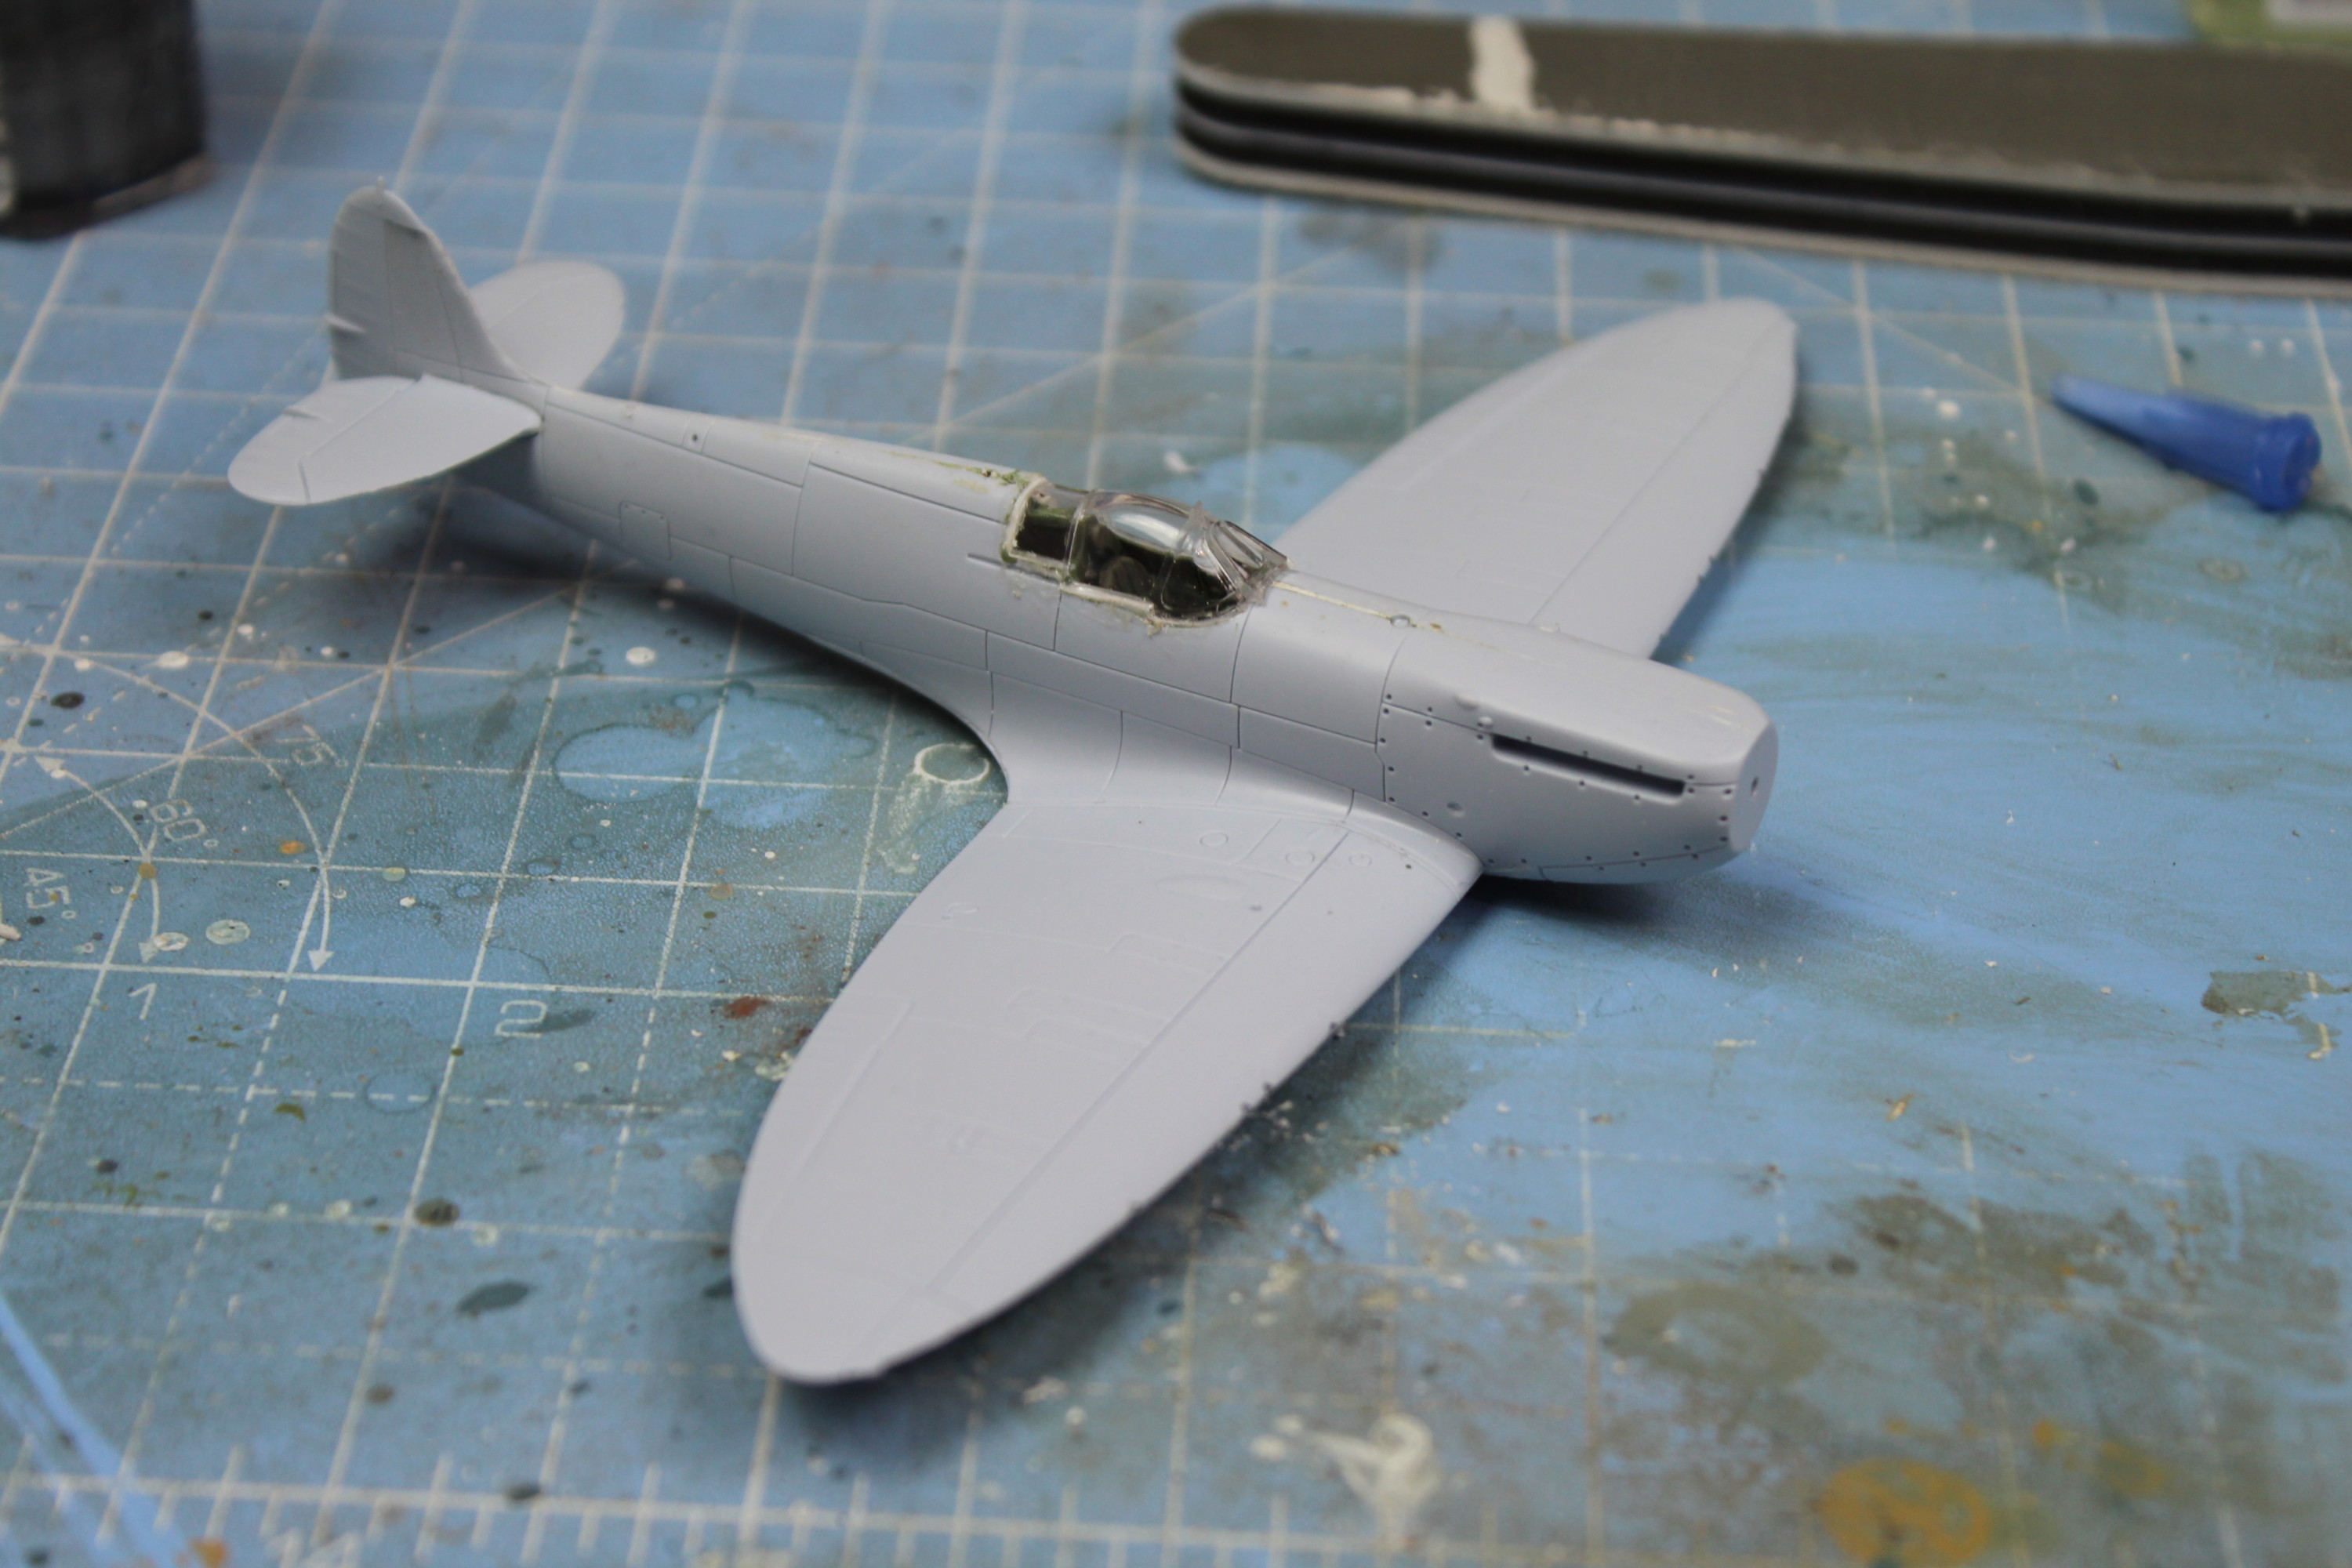
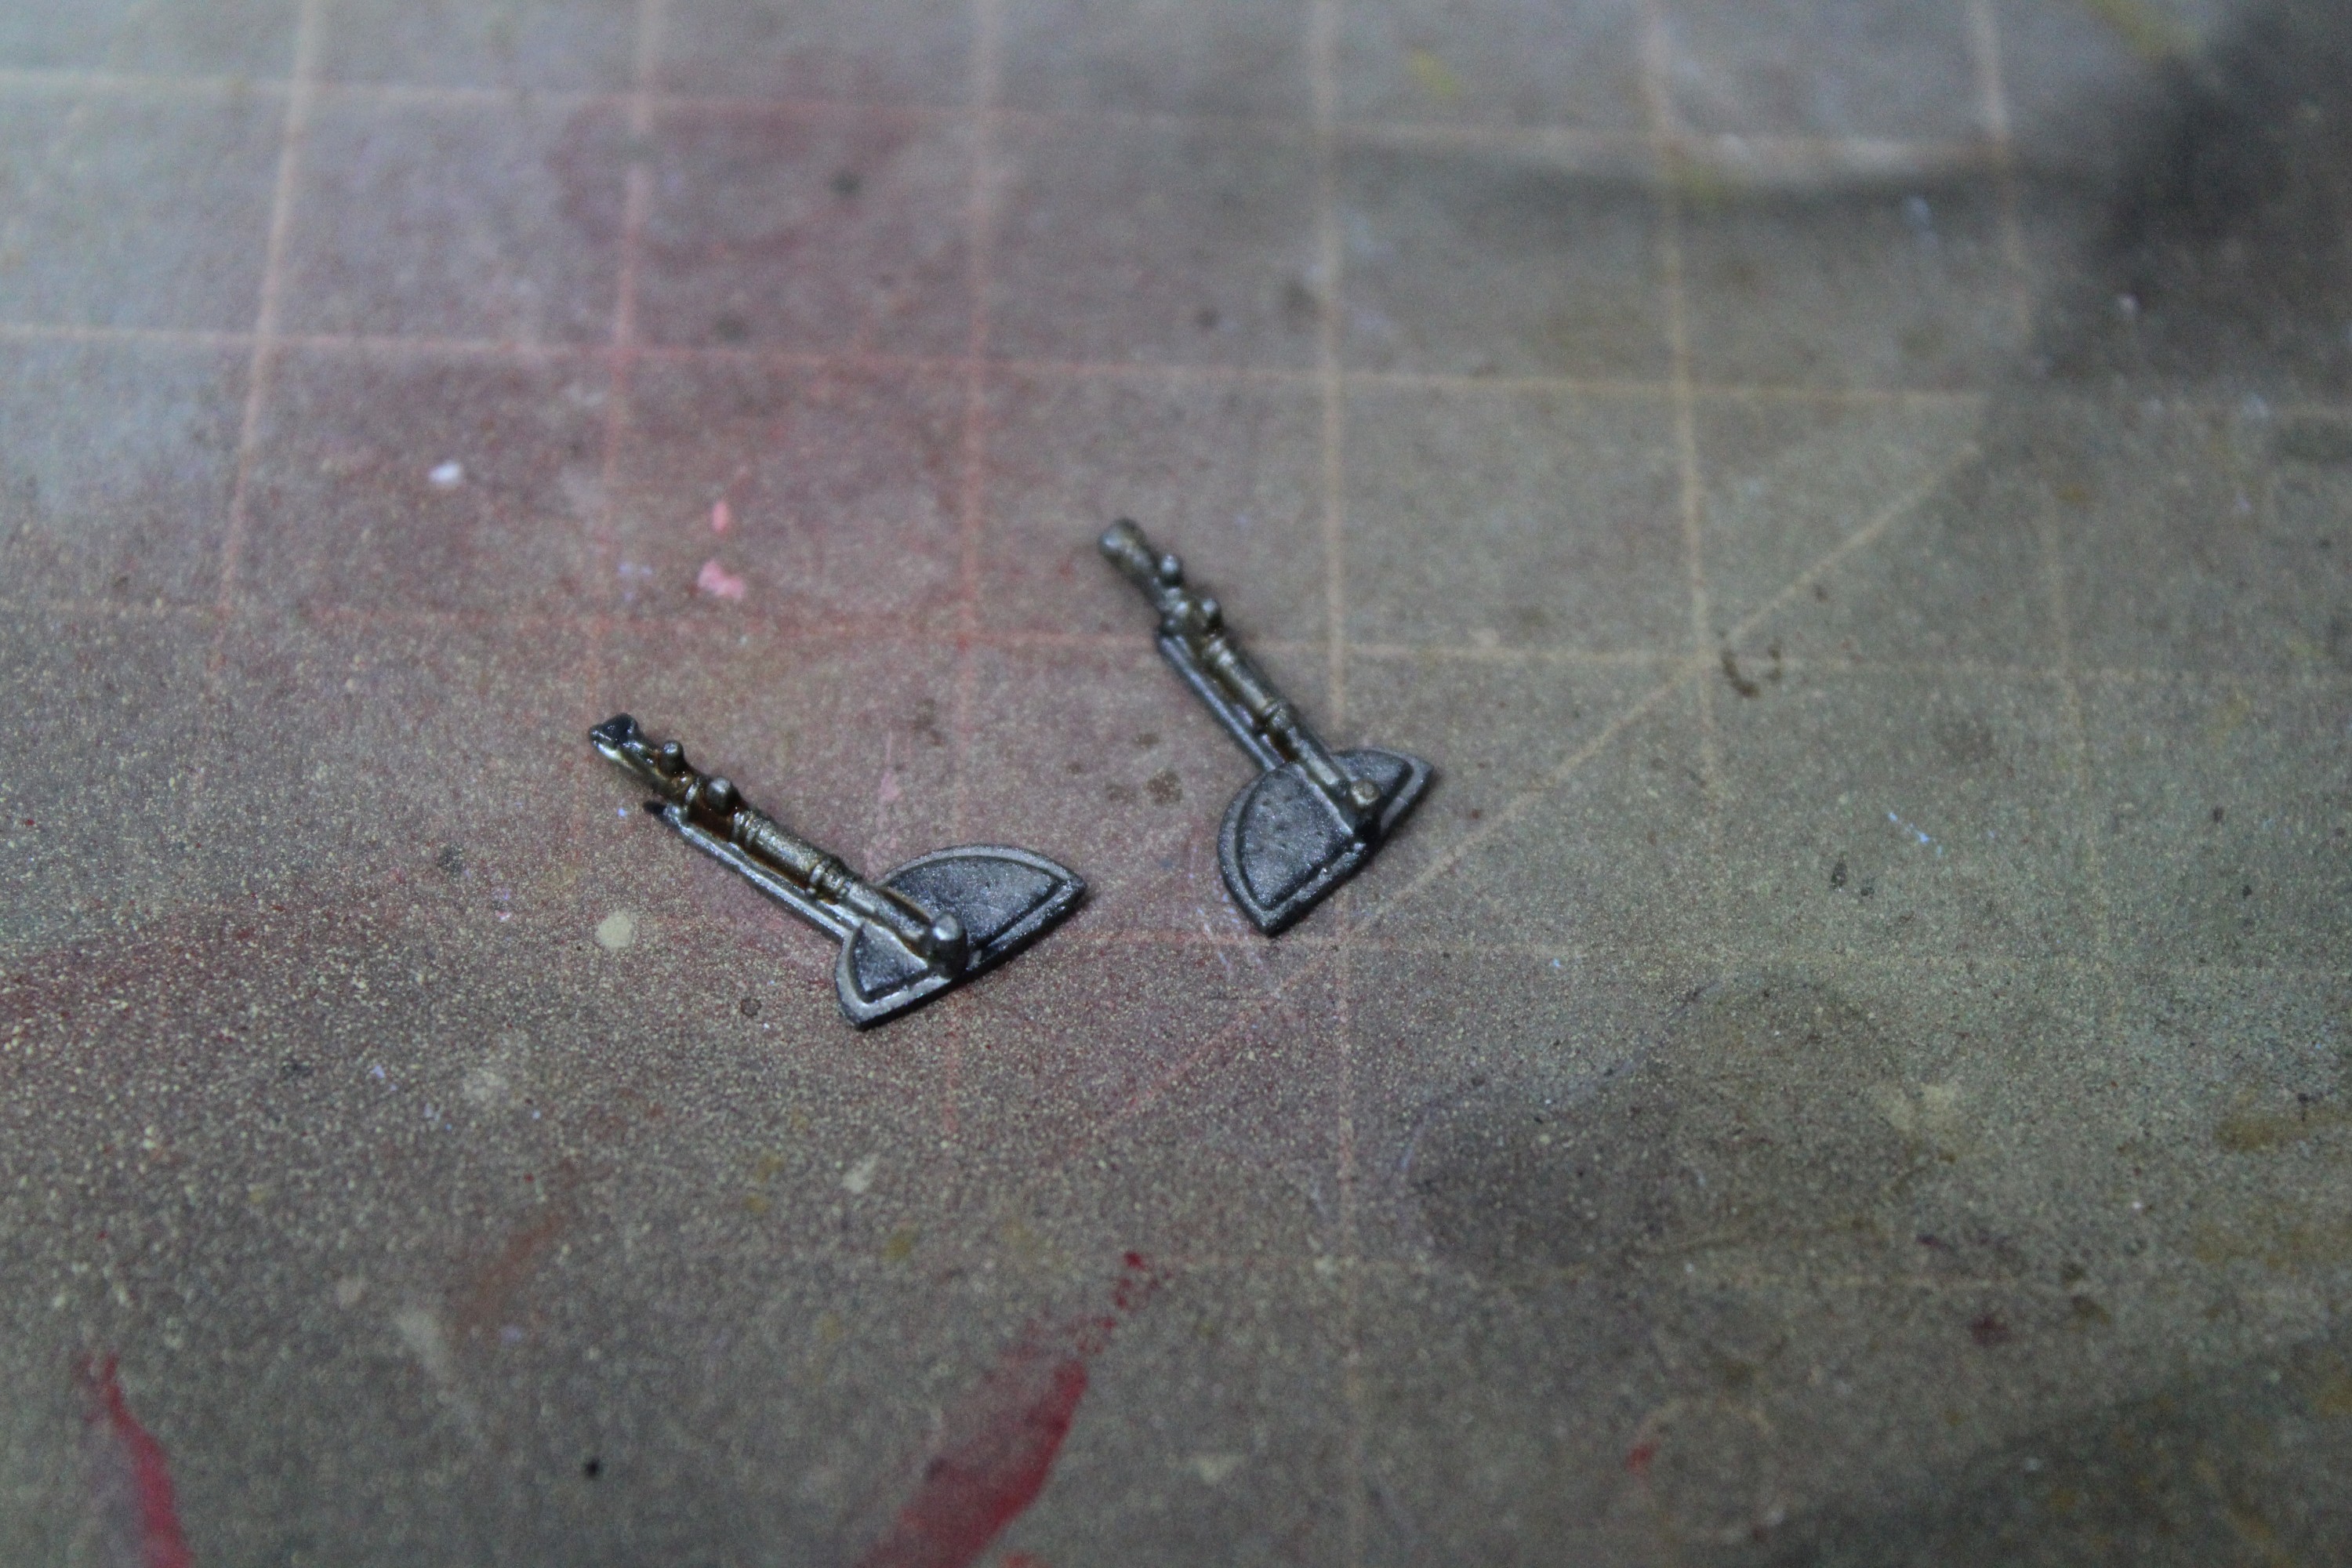
That is basically the build mostly completed. Now I need to do some painting then finish the smaller parts.
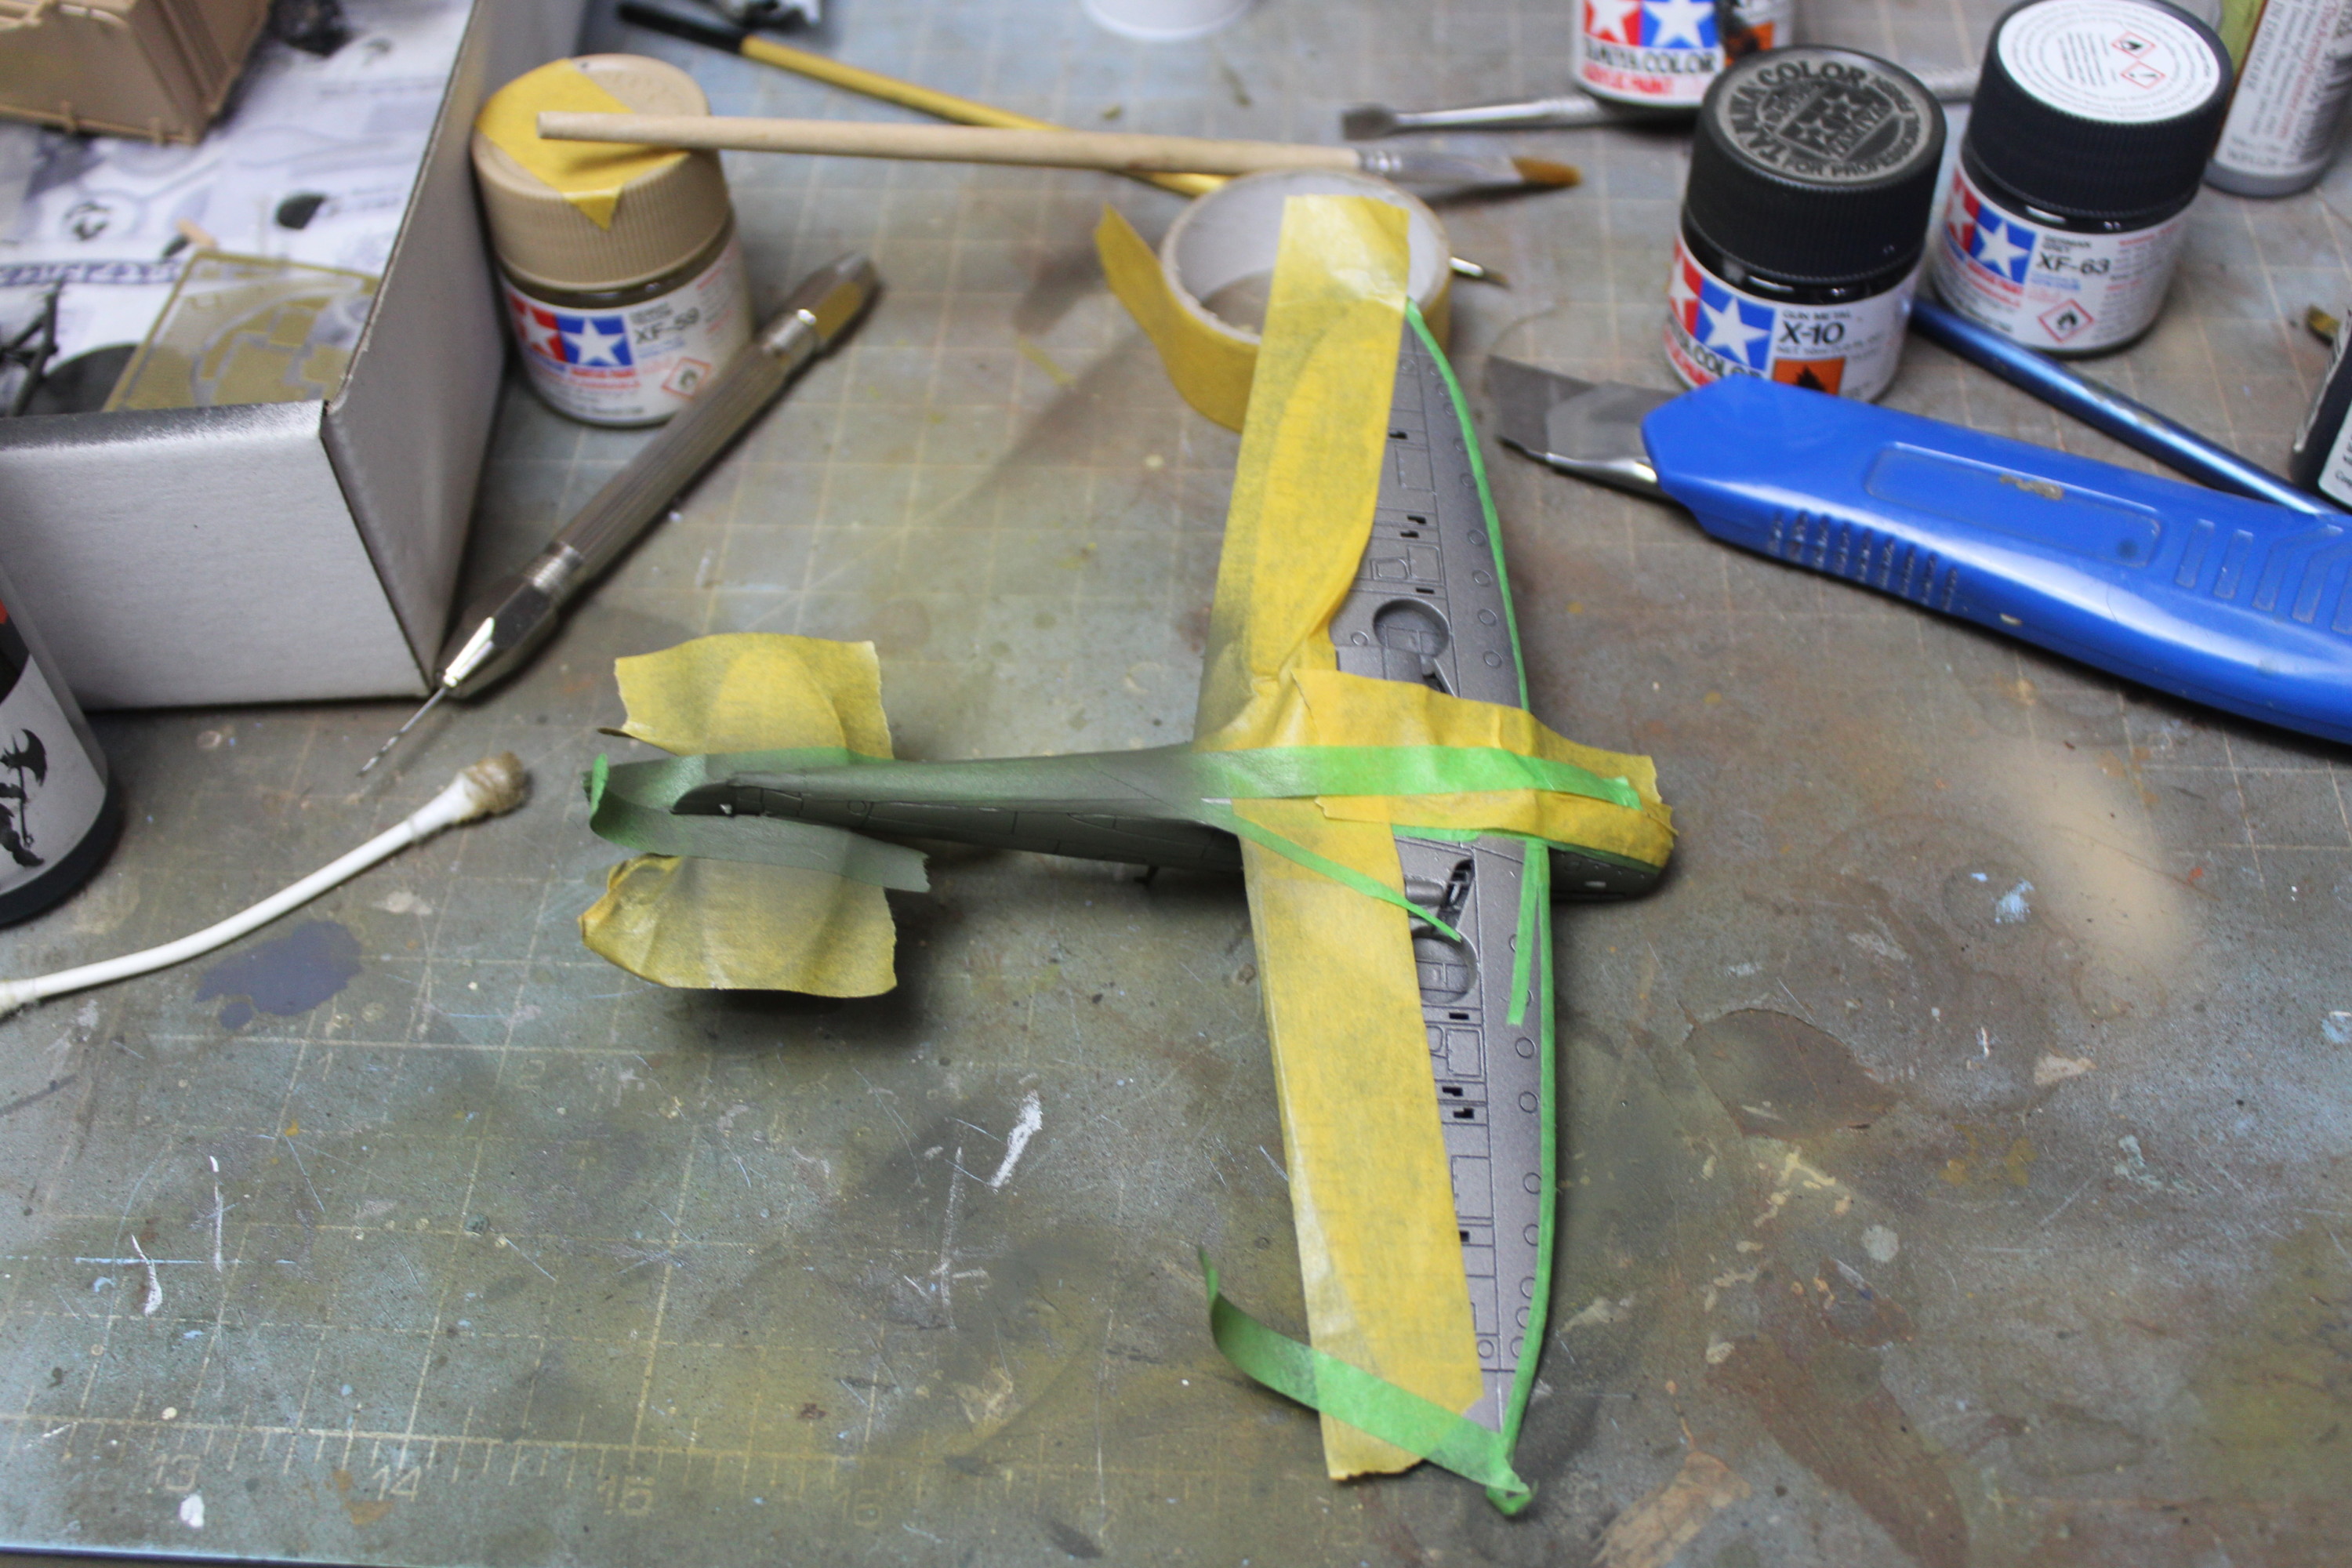
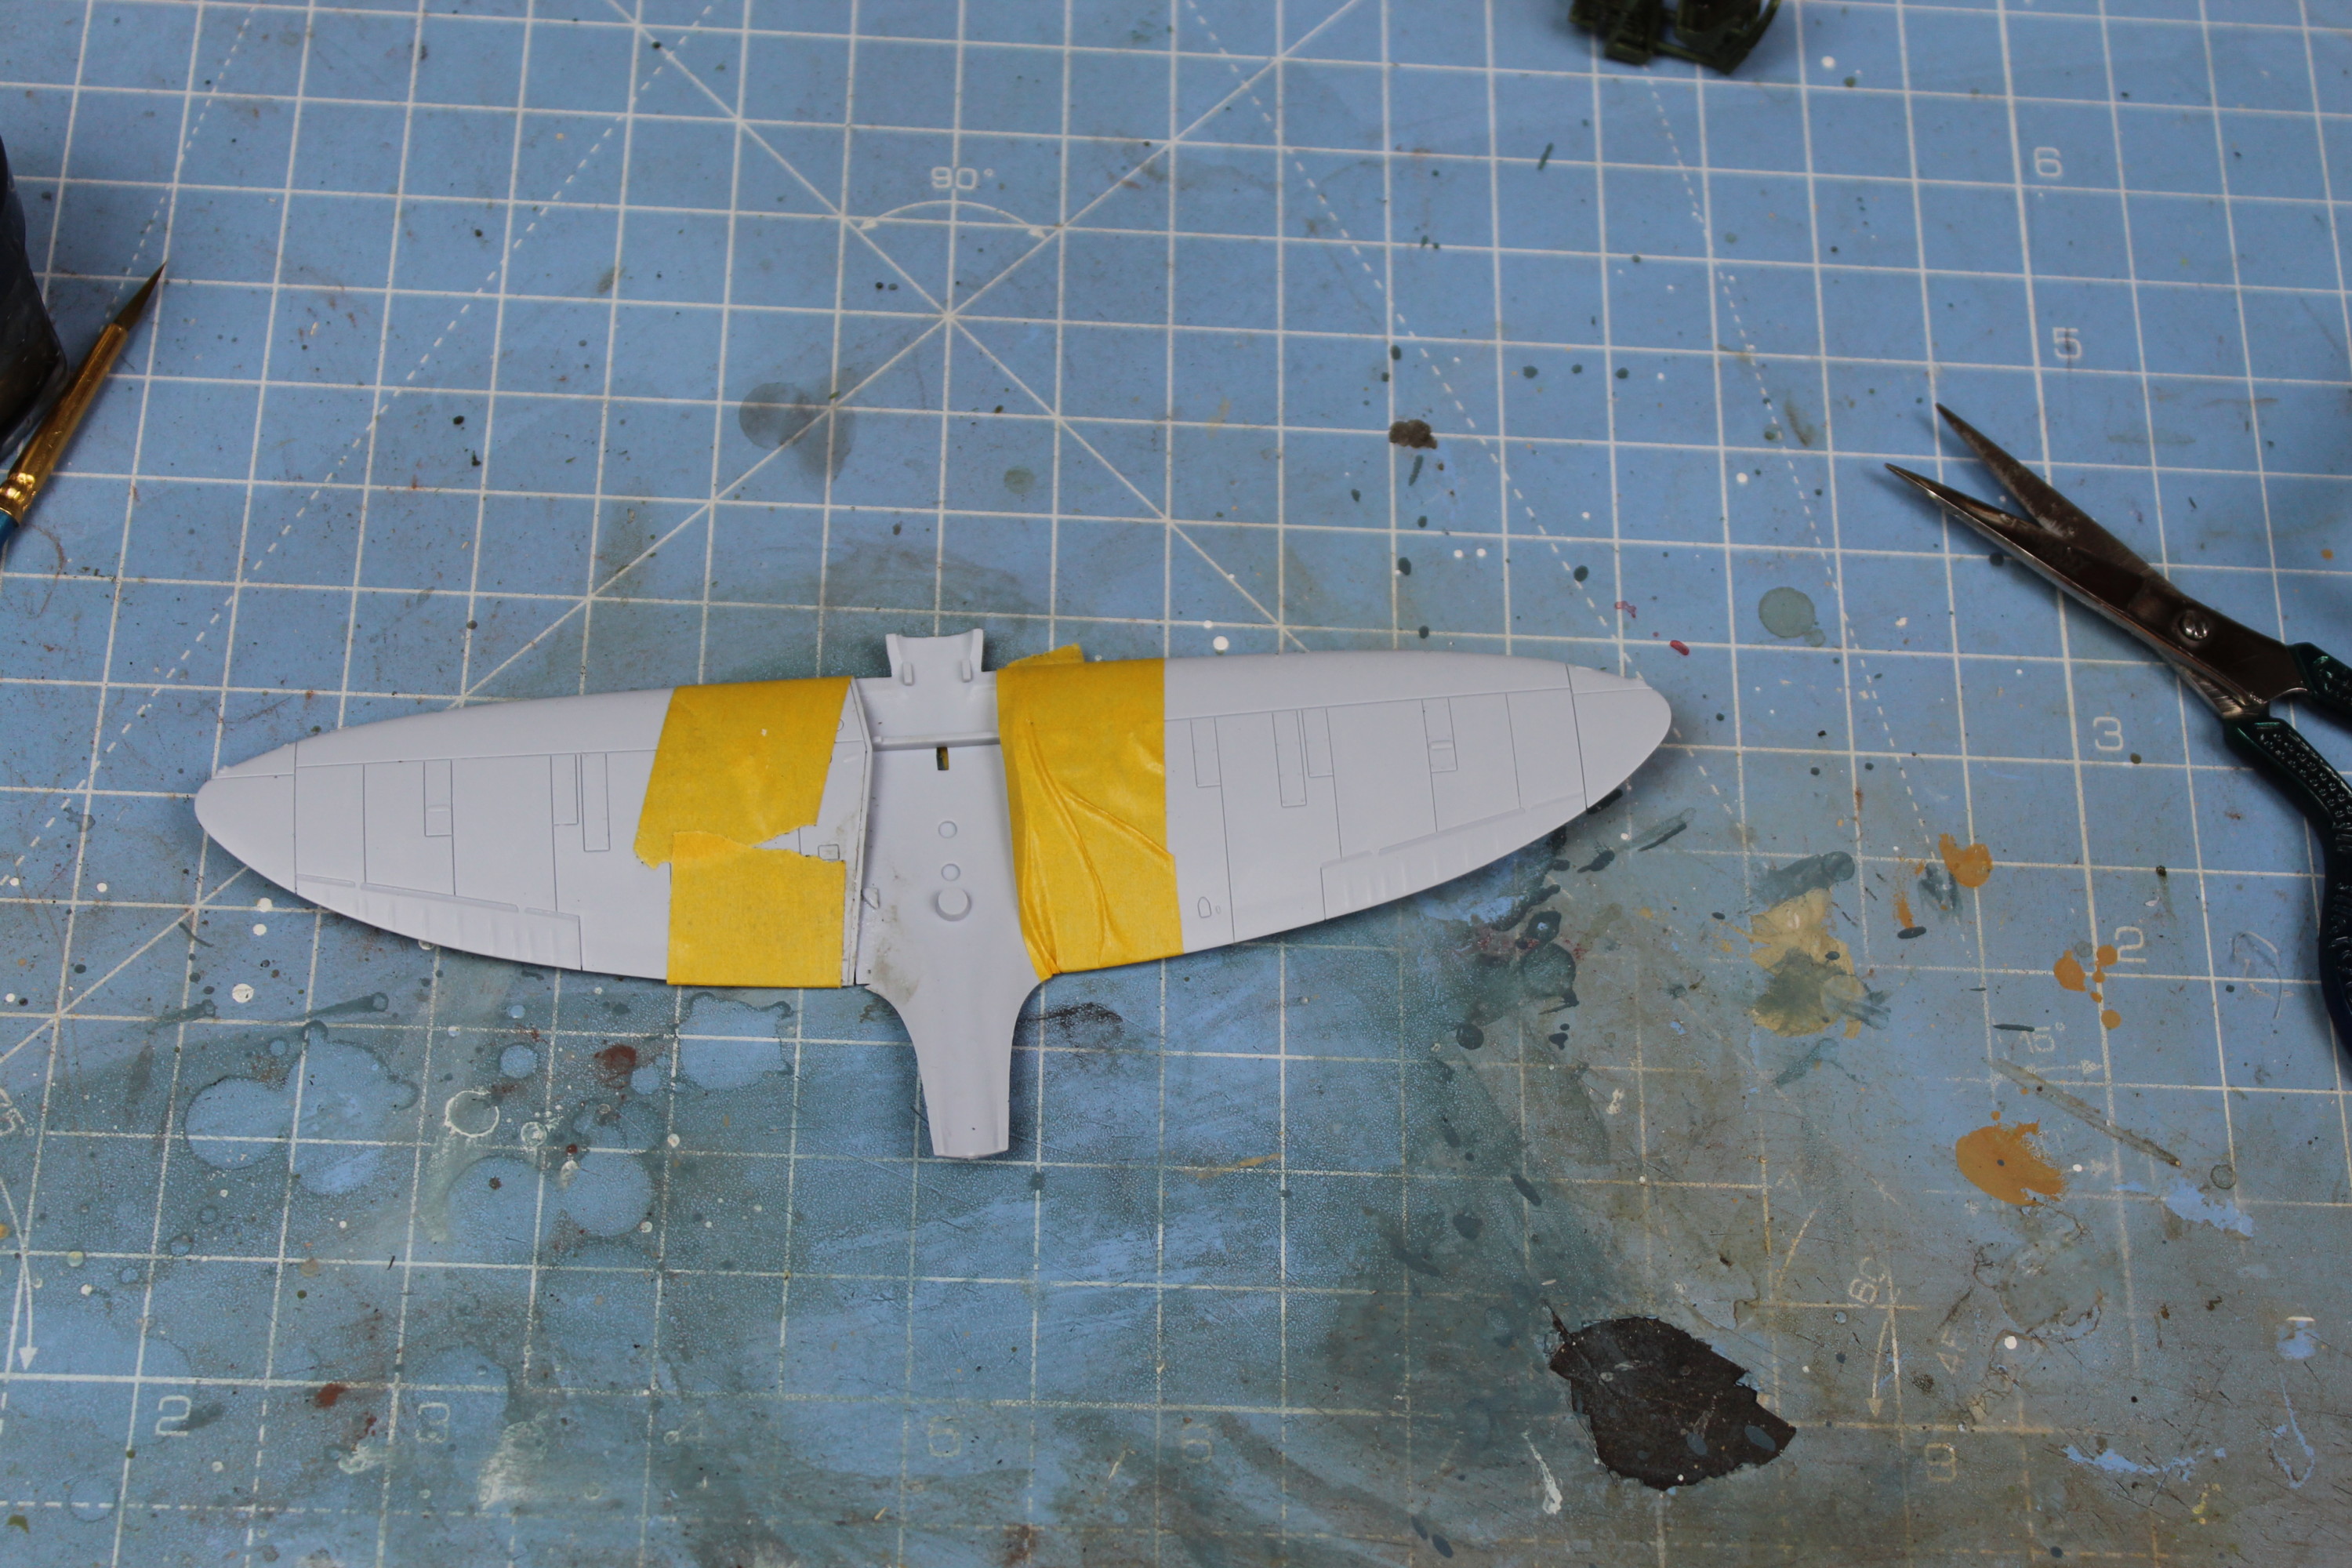
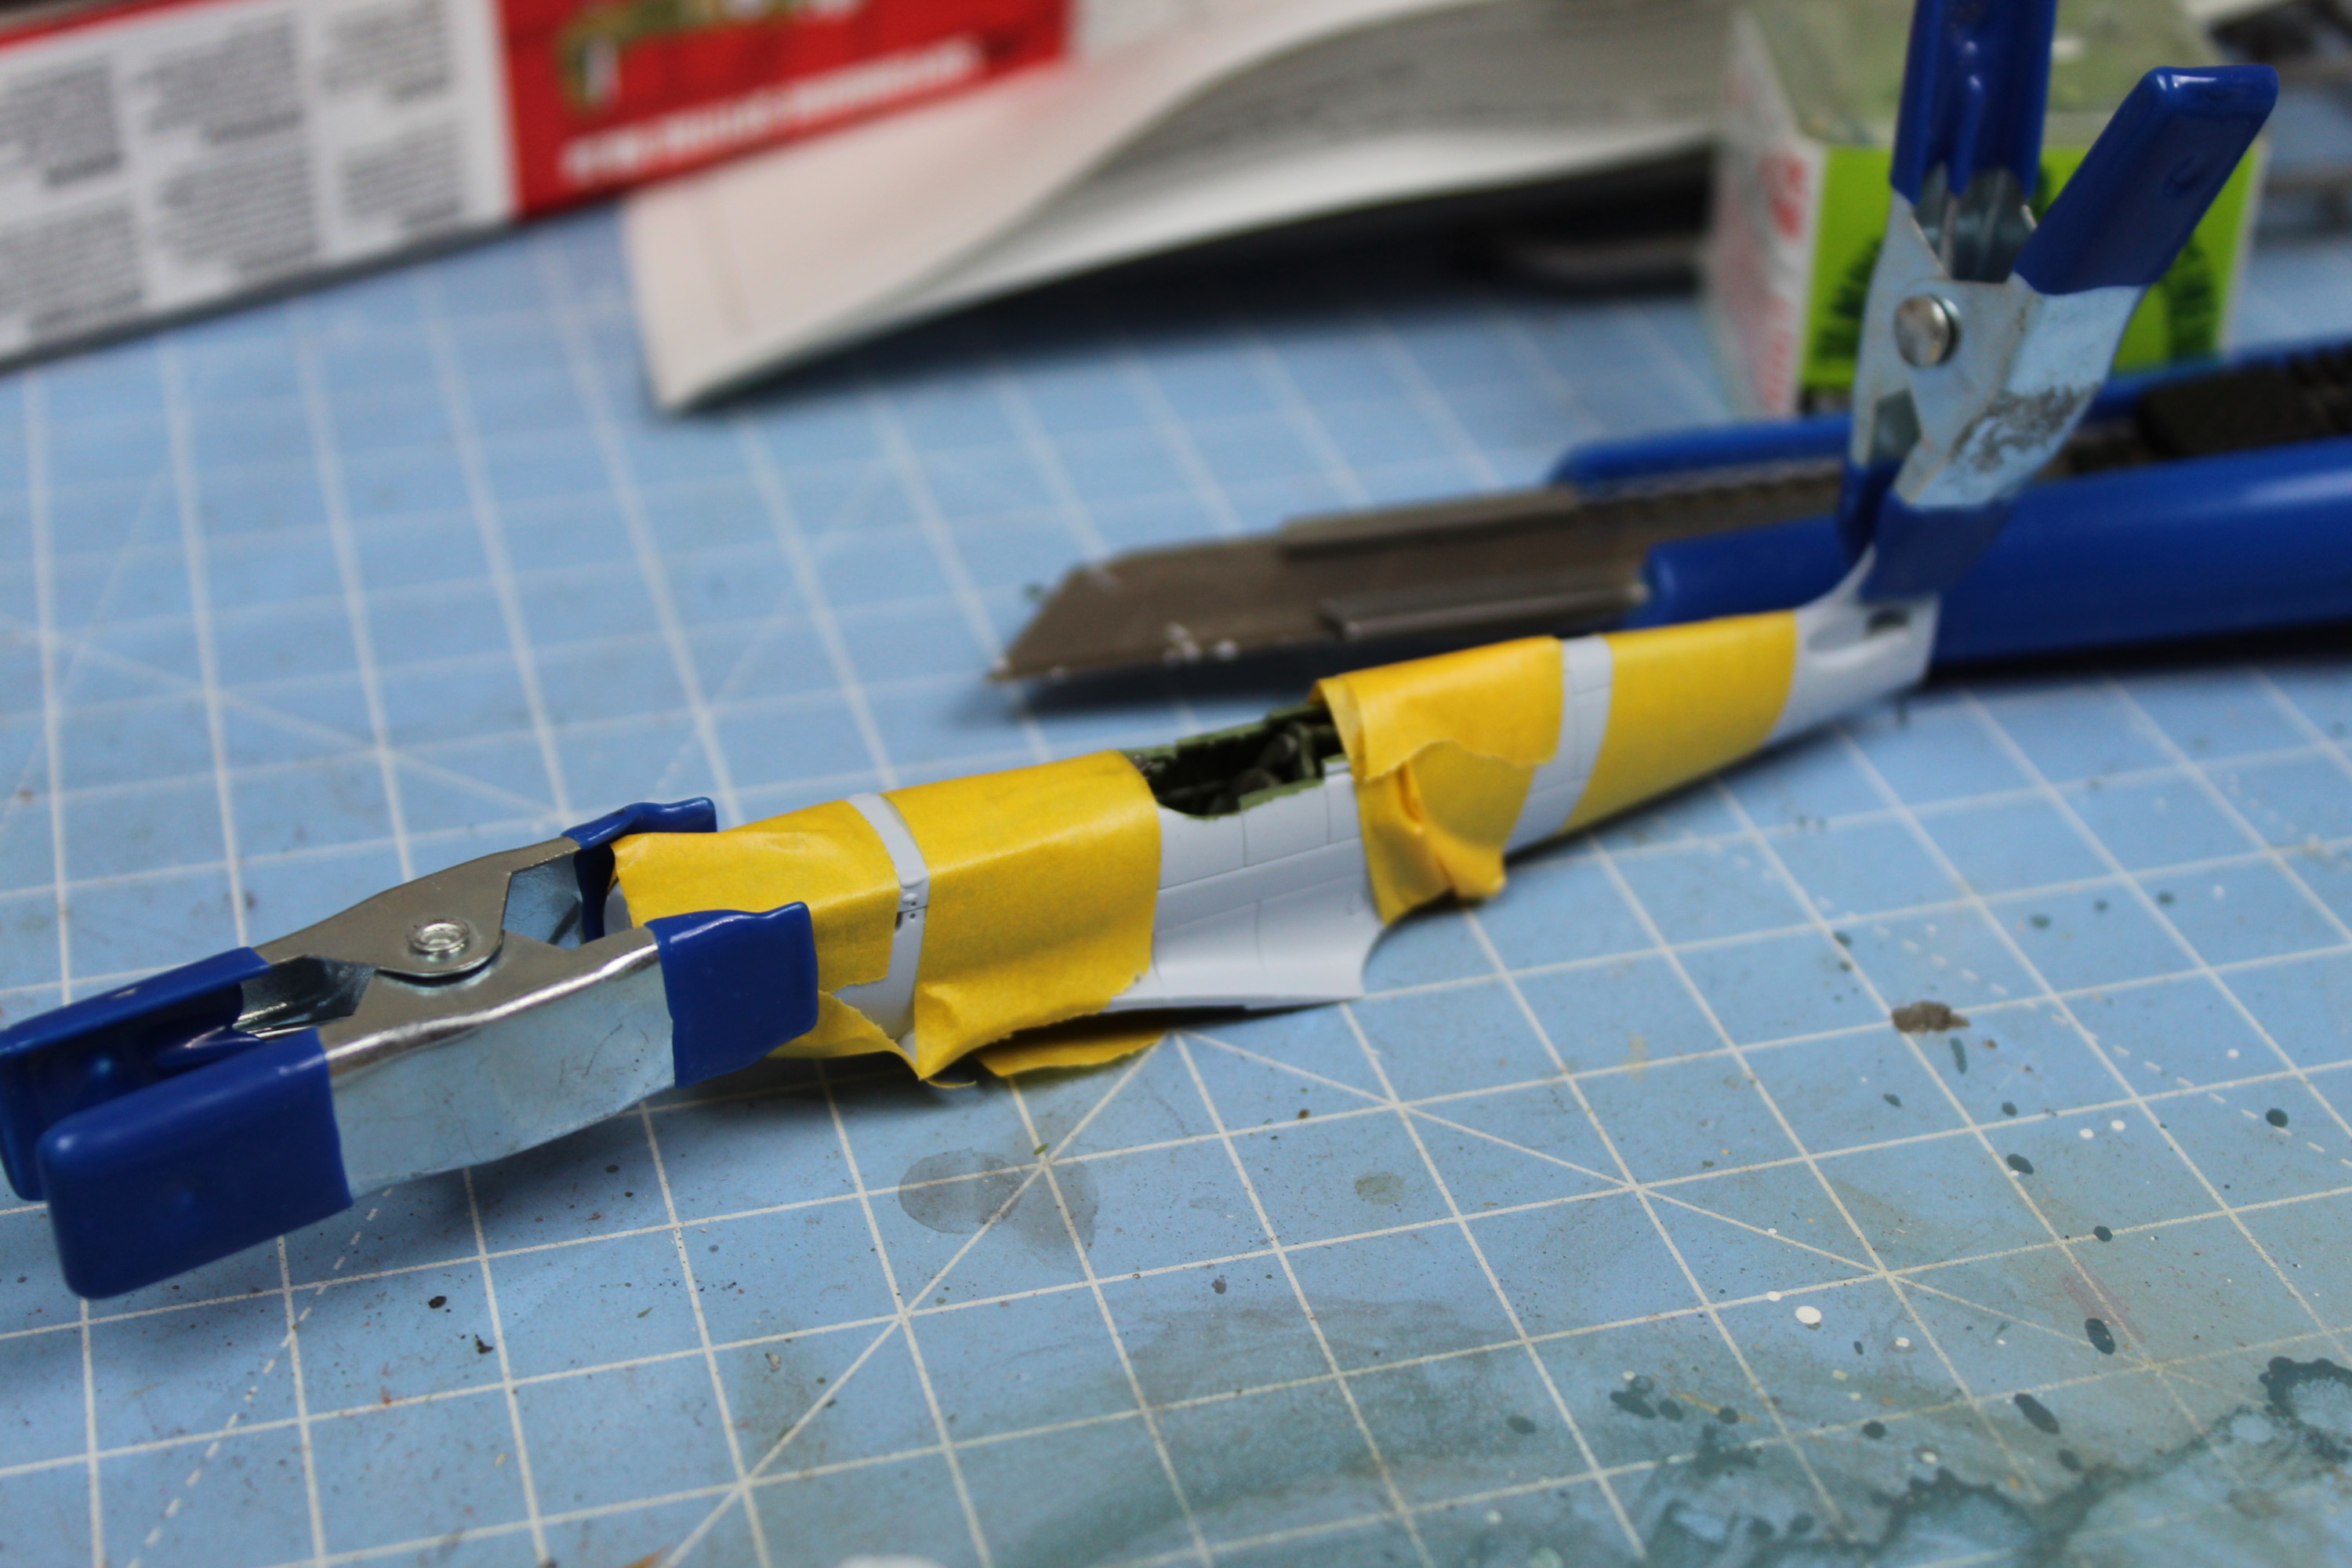
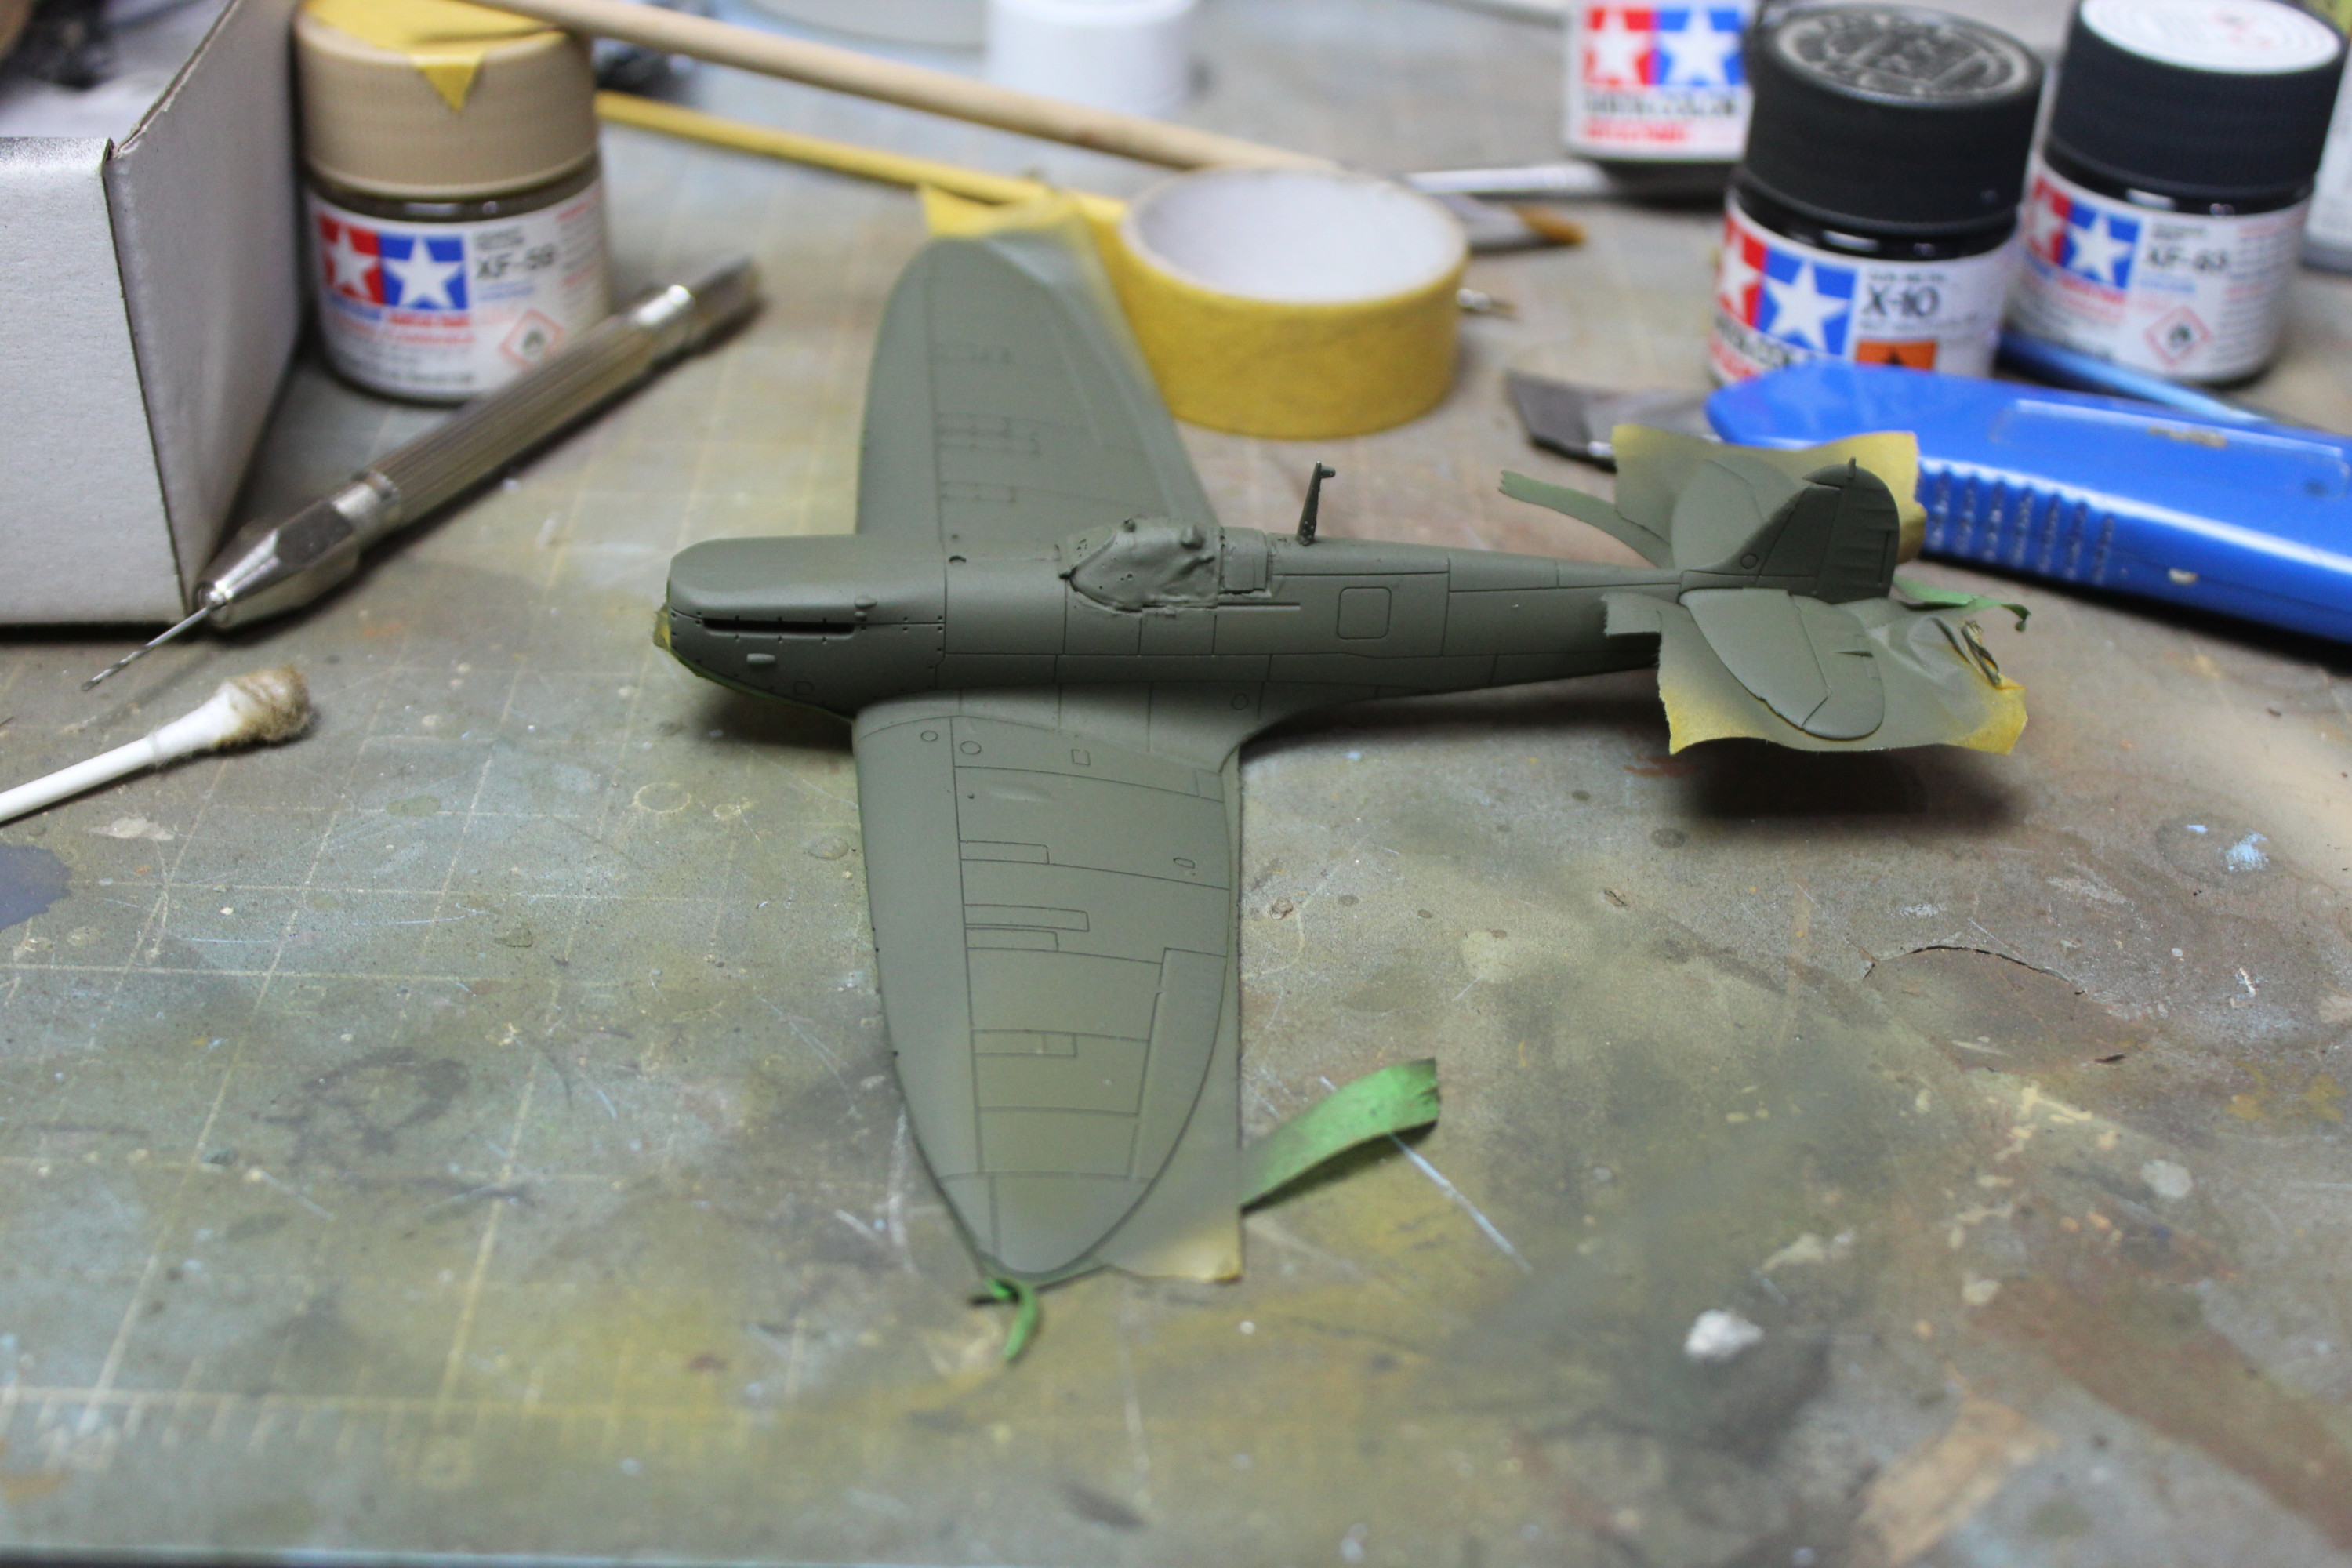
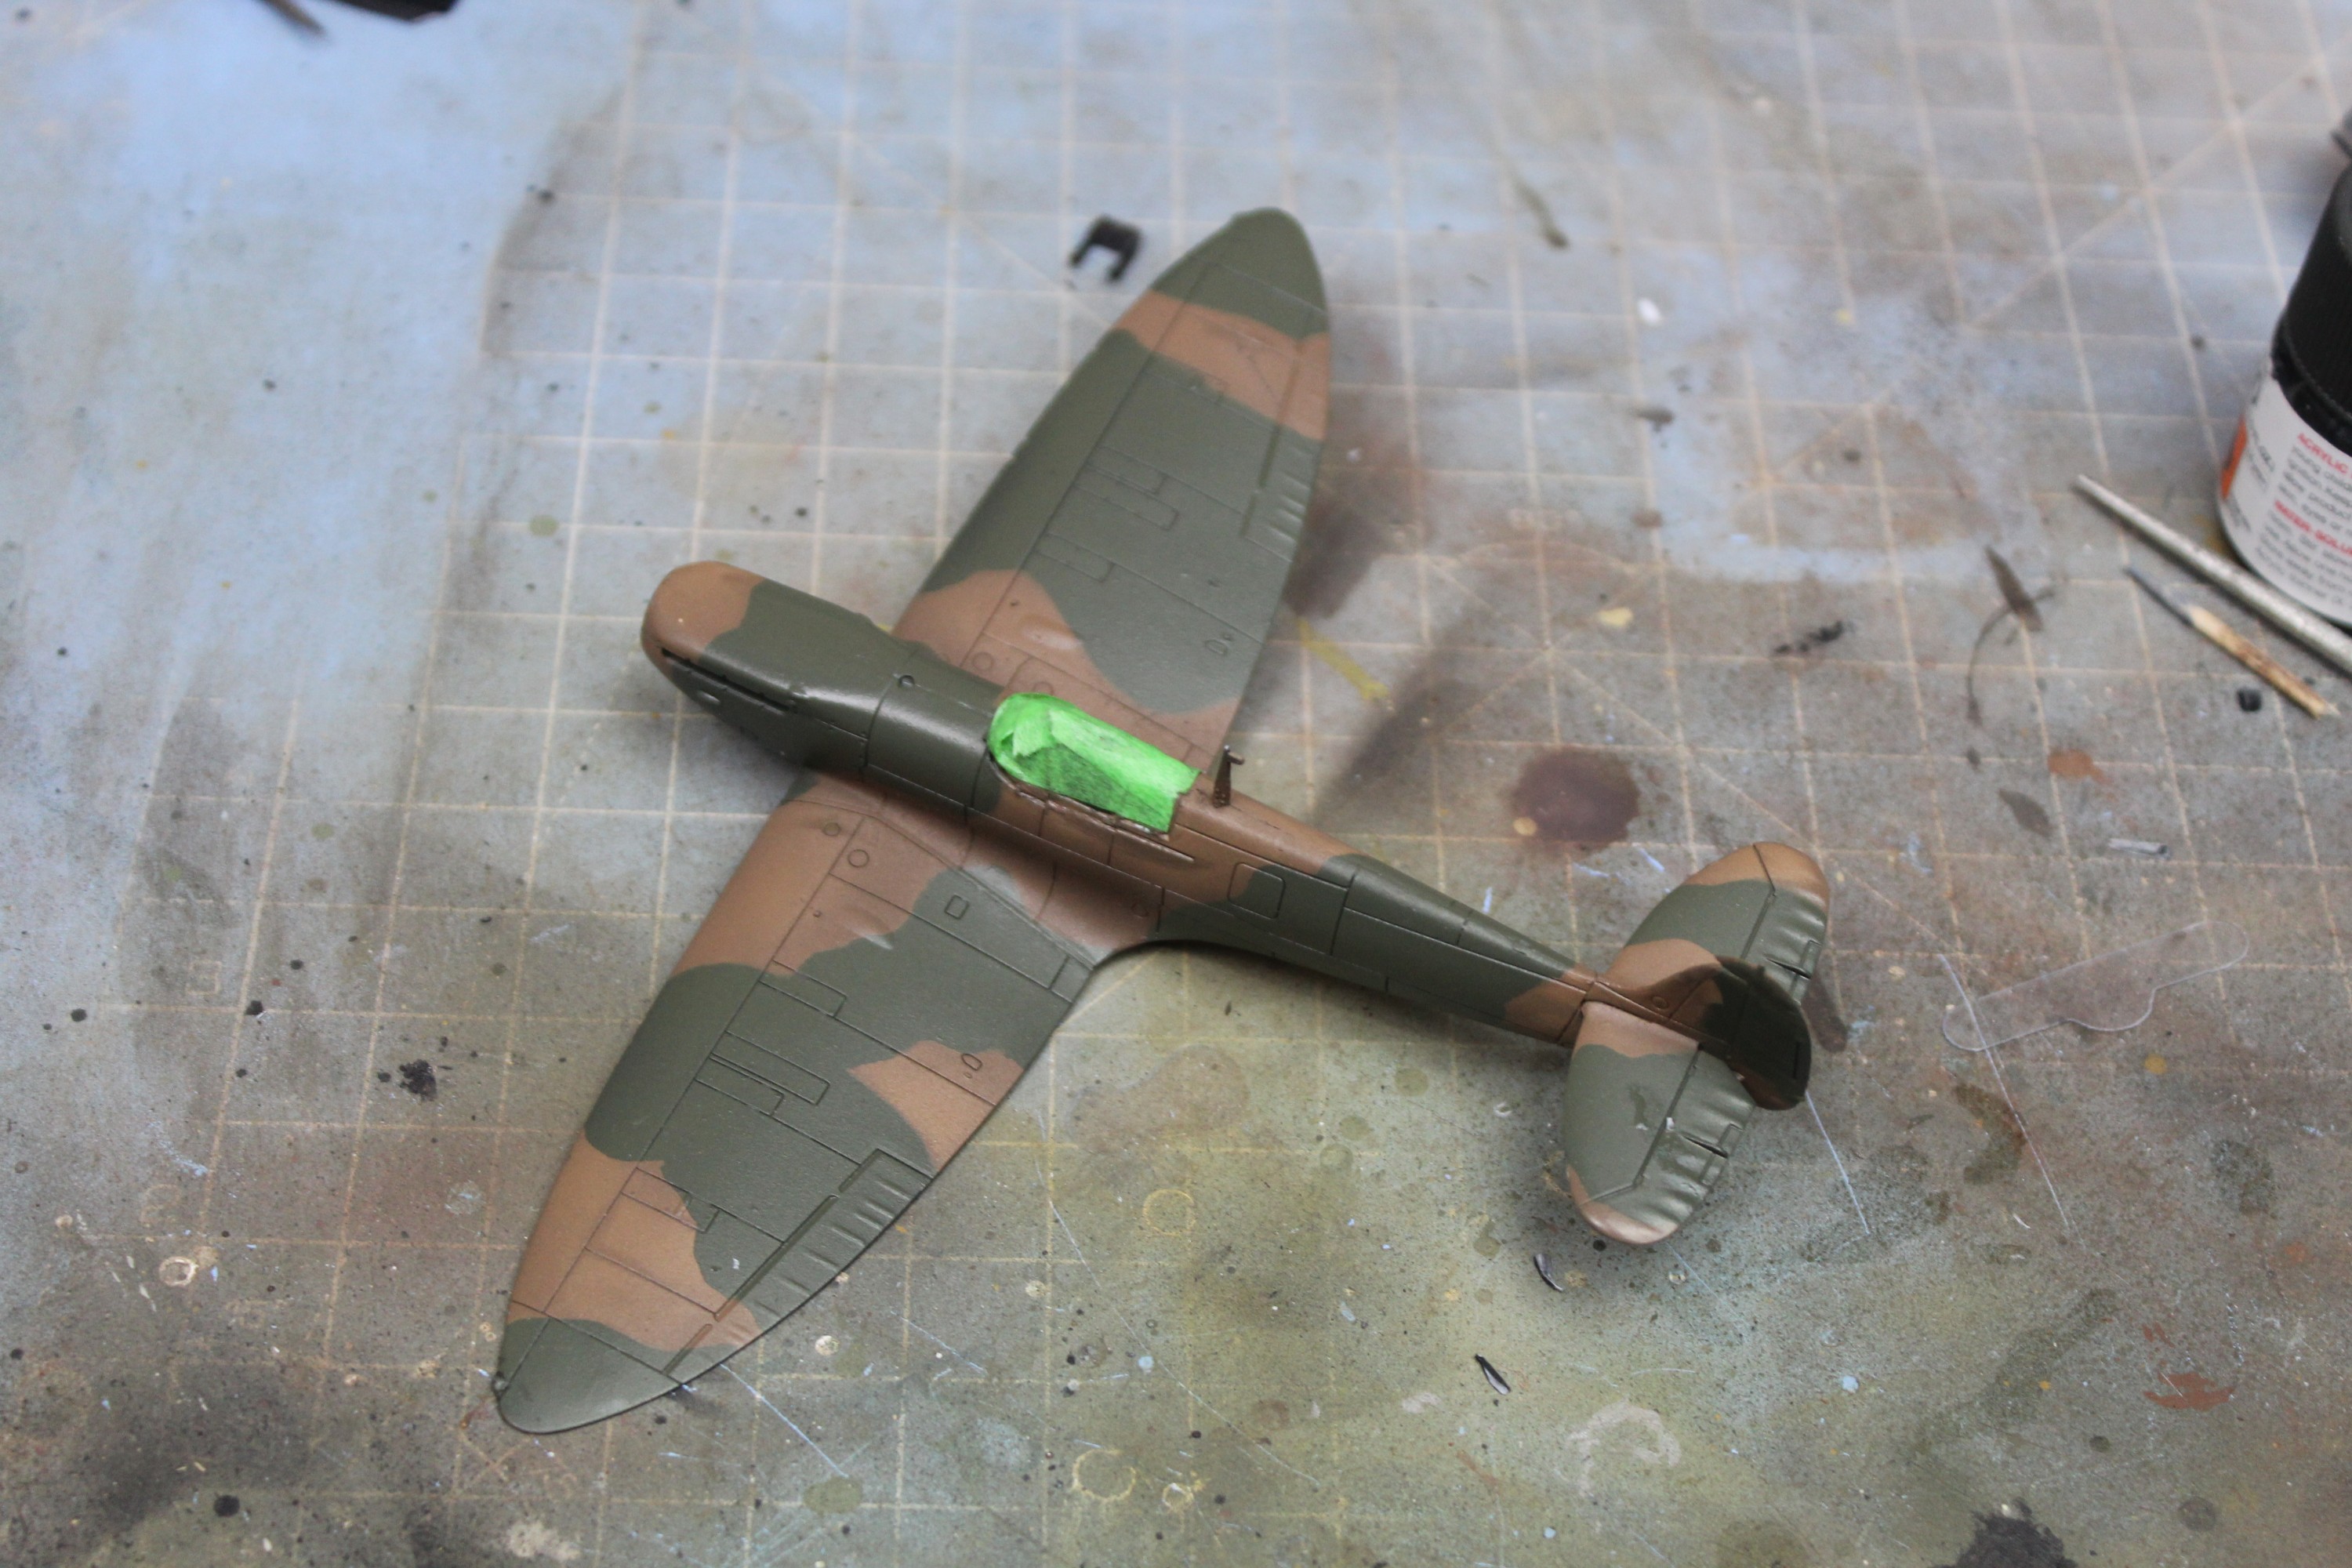
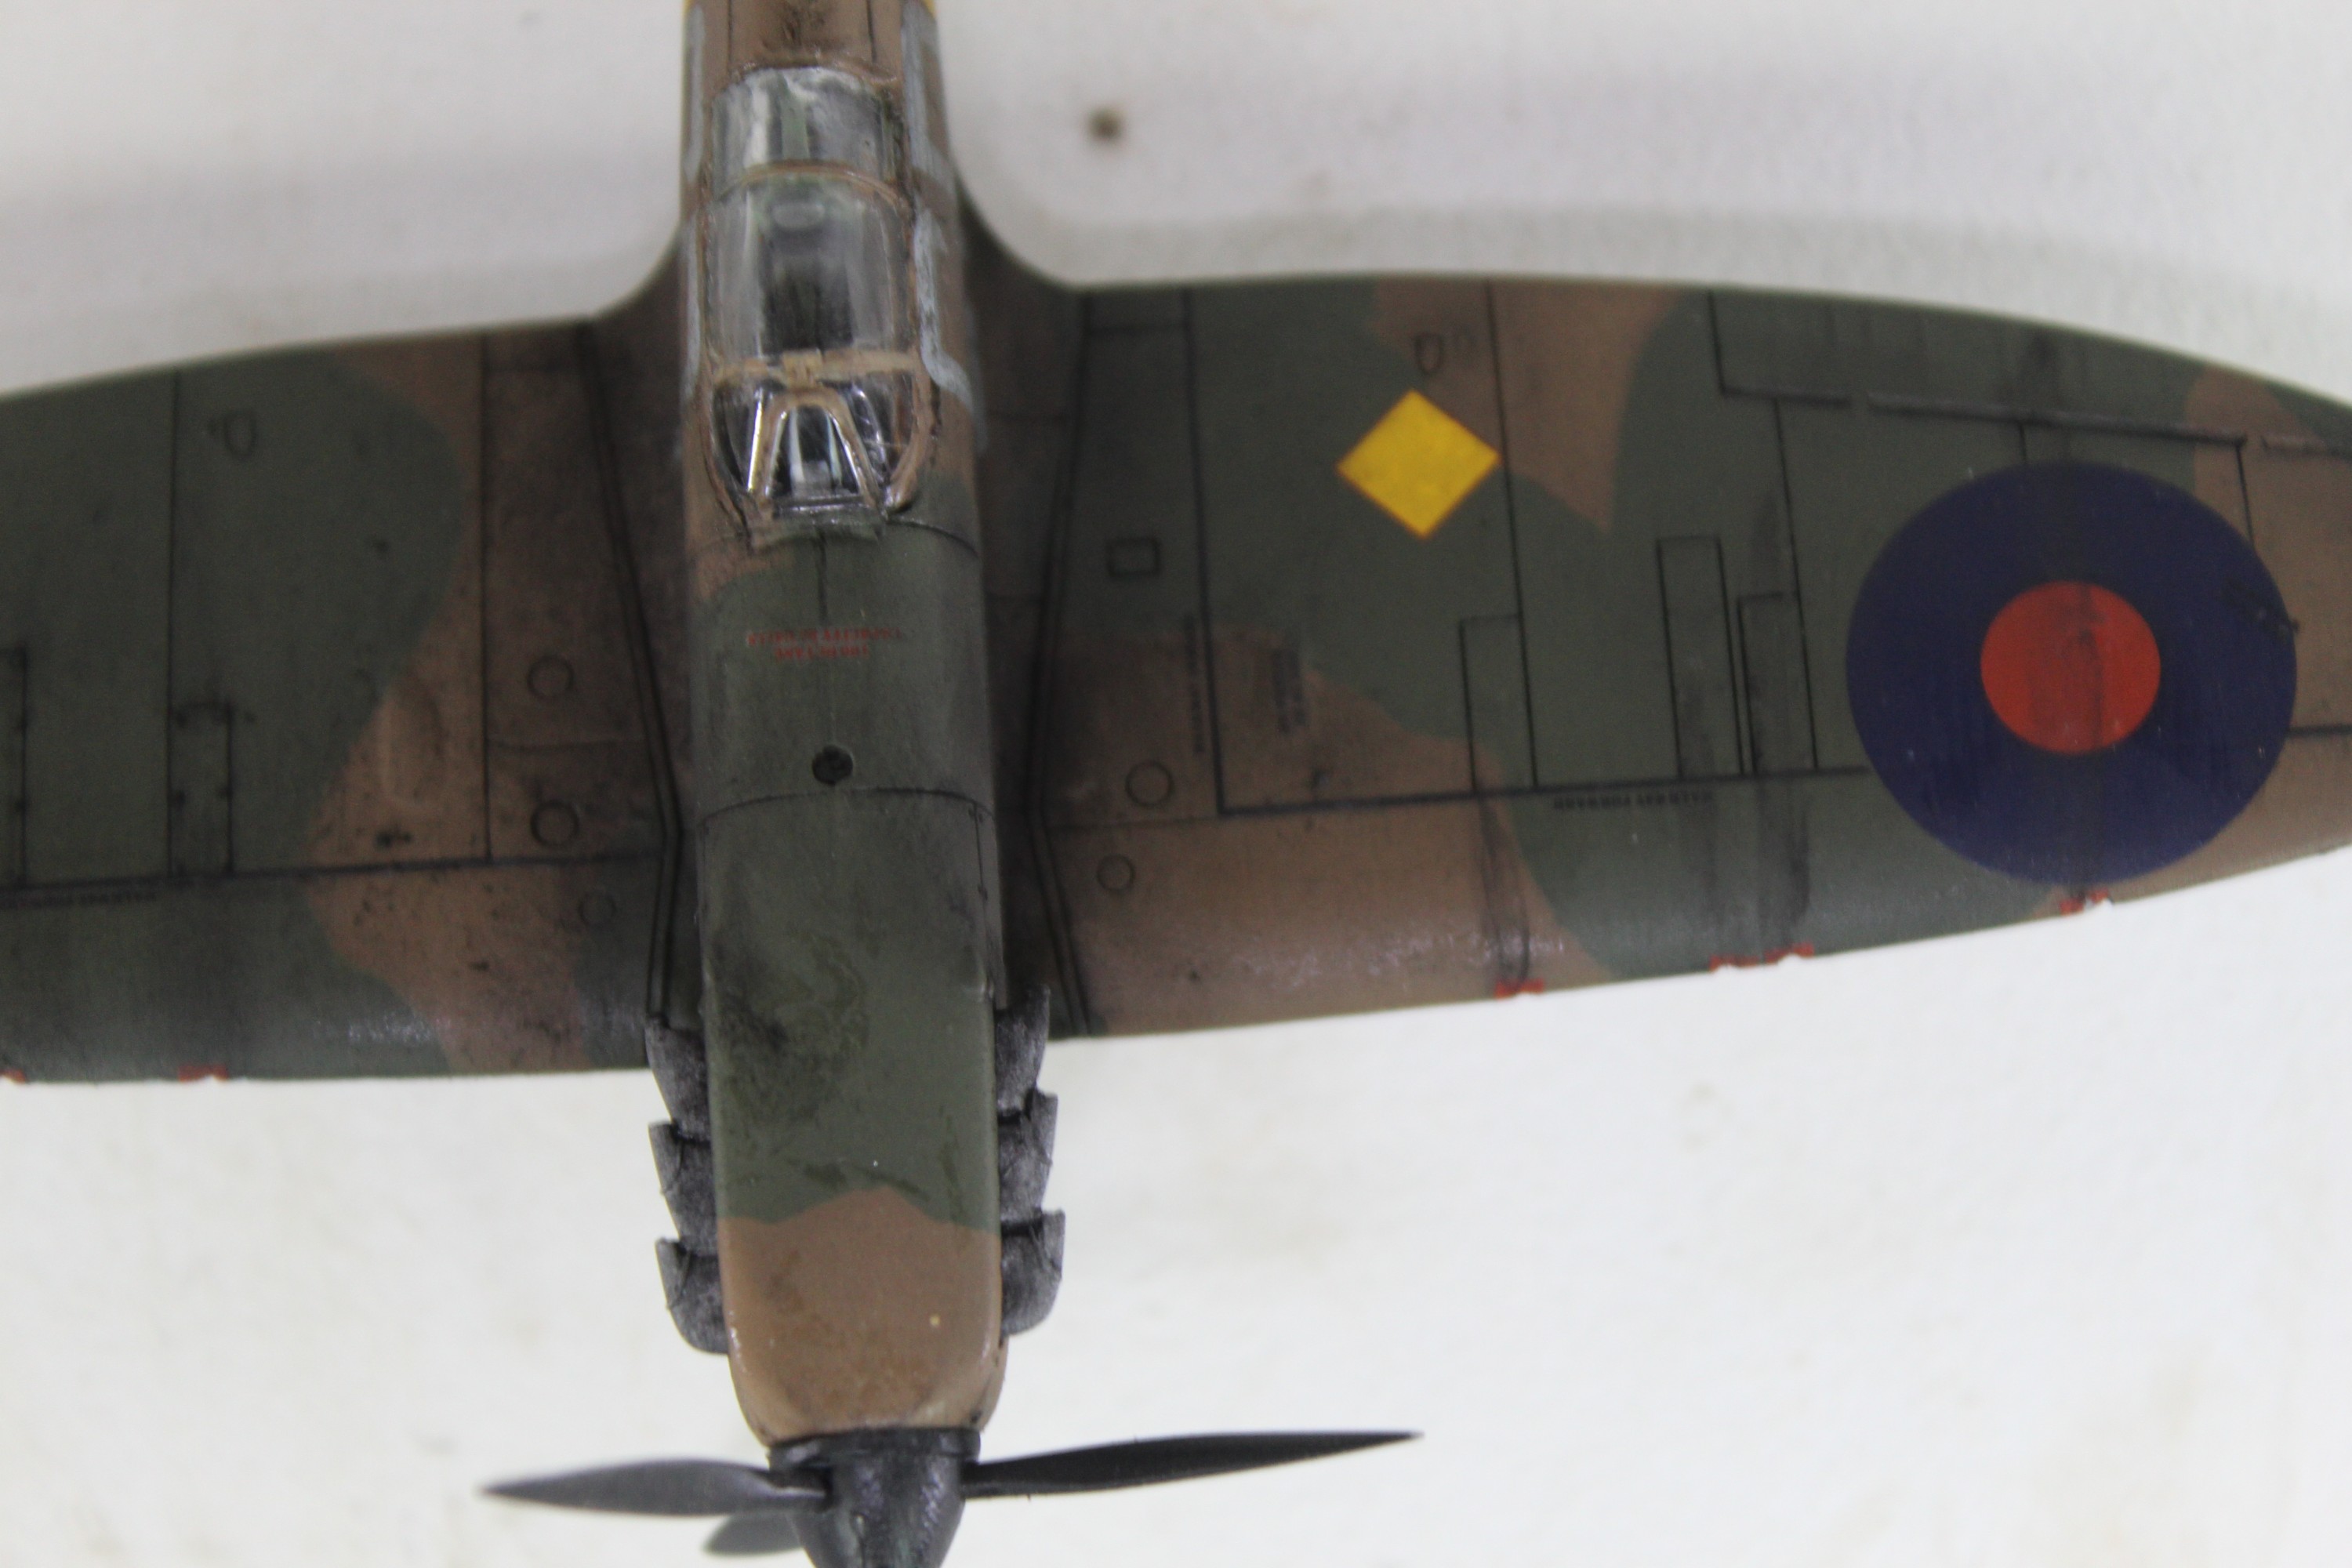
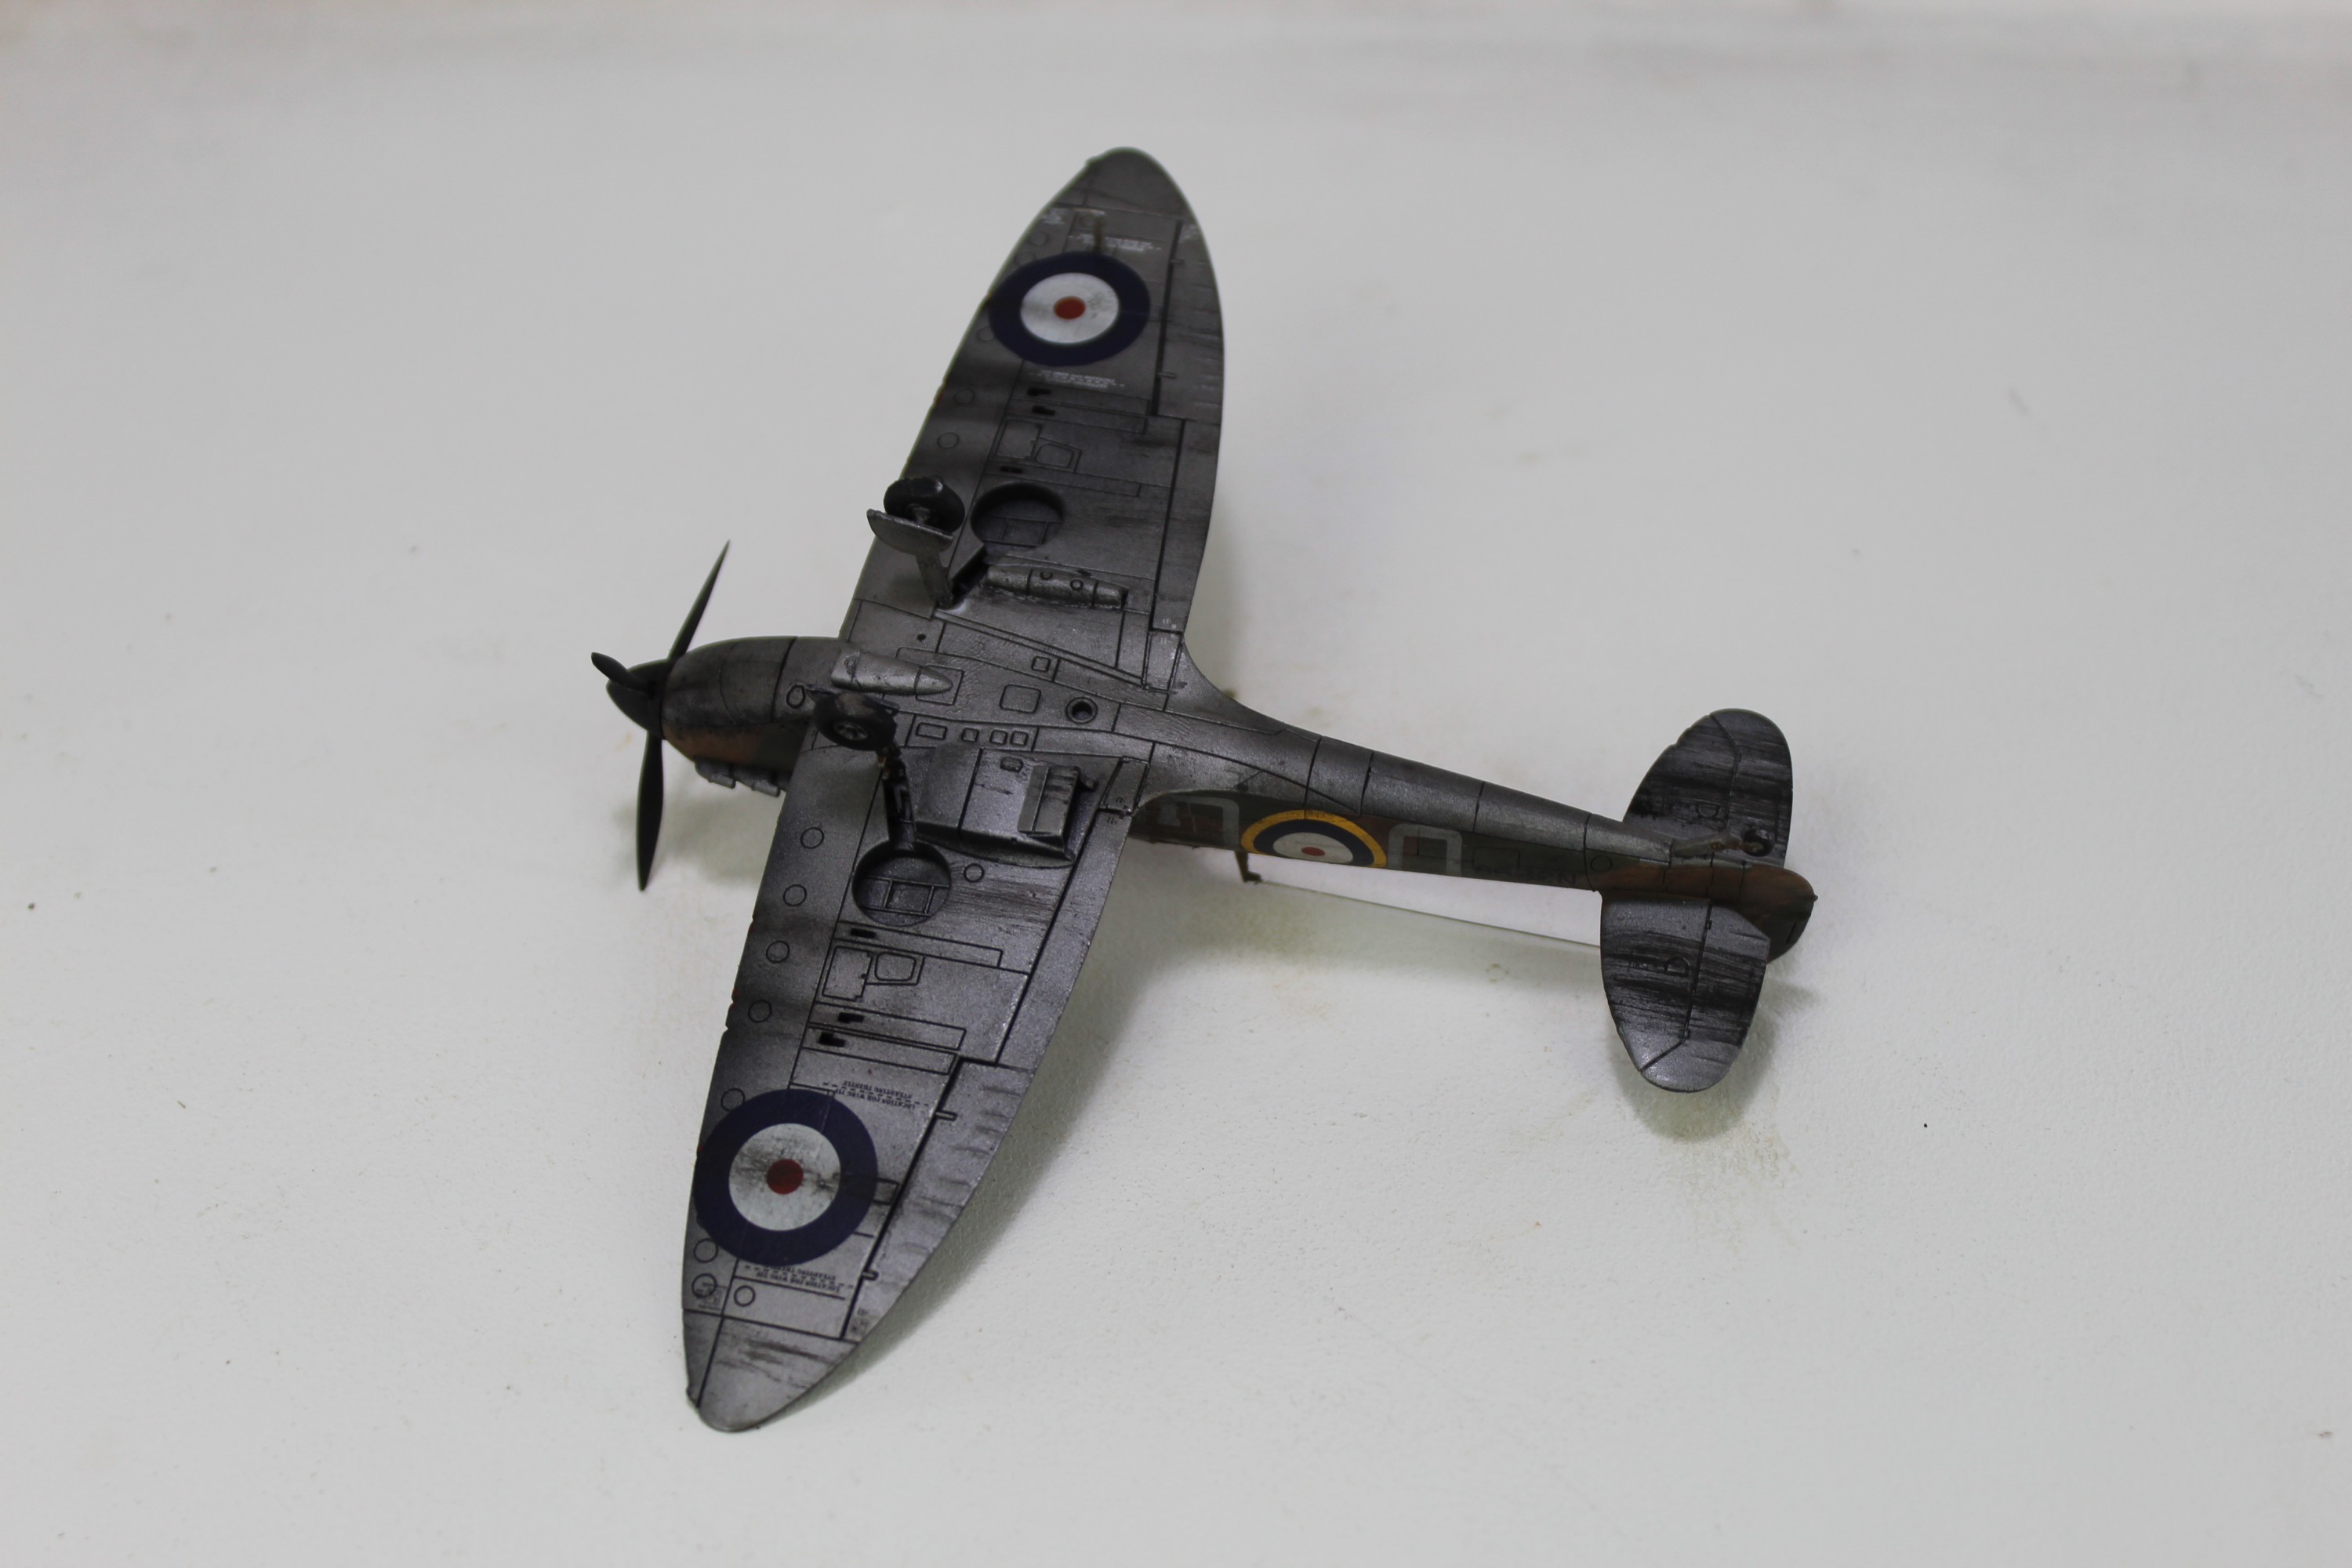
From the instructions, it would appear the underside is completely silver, So I have given it a coat of Tamiya Titanium Silver and now masked it off. Next a coat of RAF green. So far it is looking pretty nice.
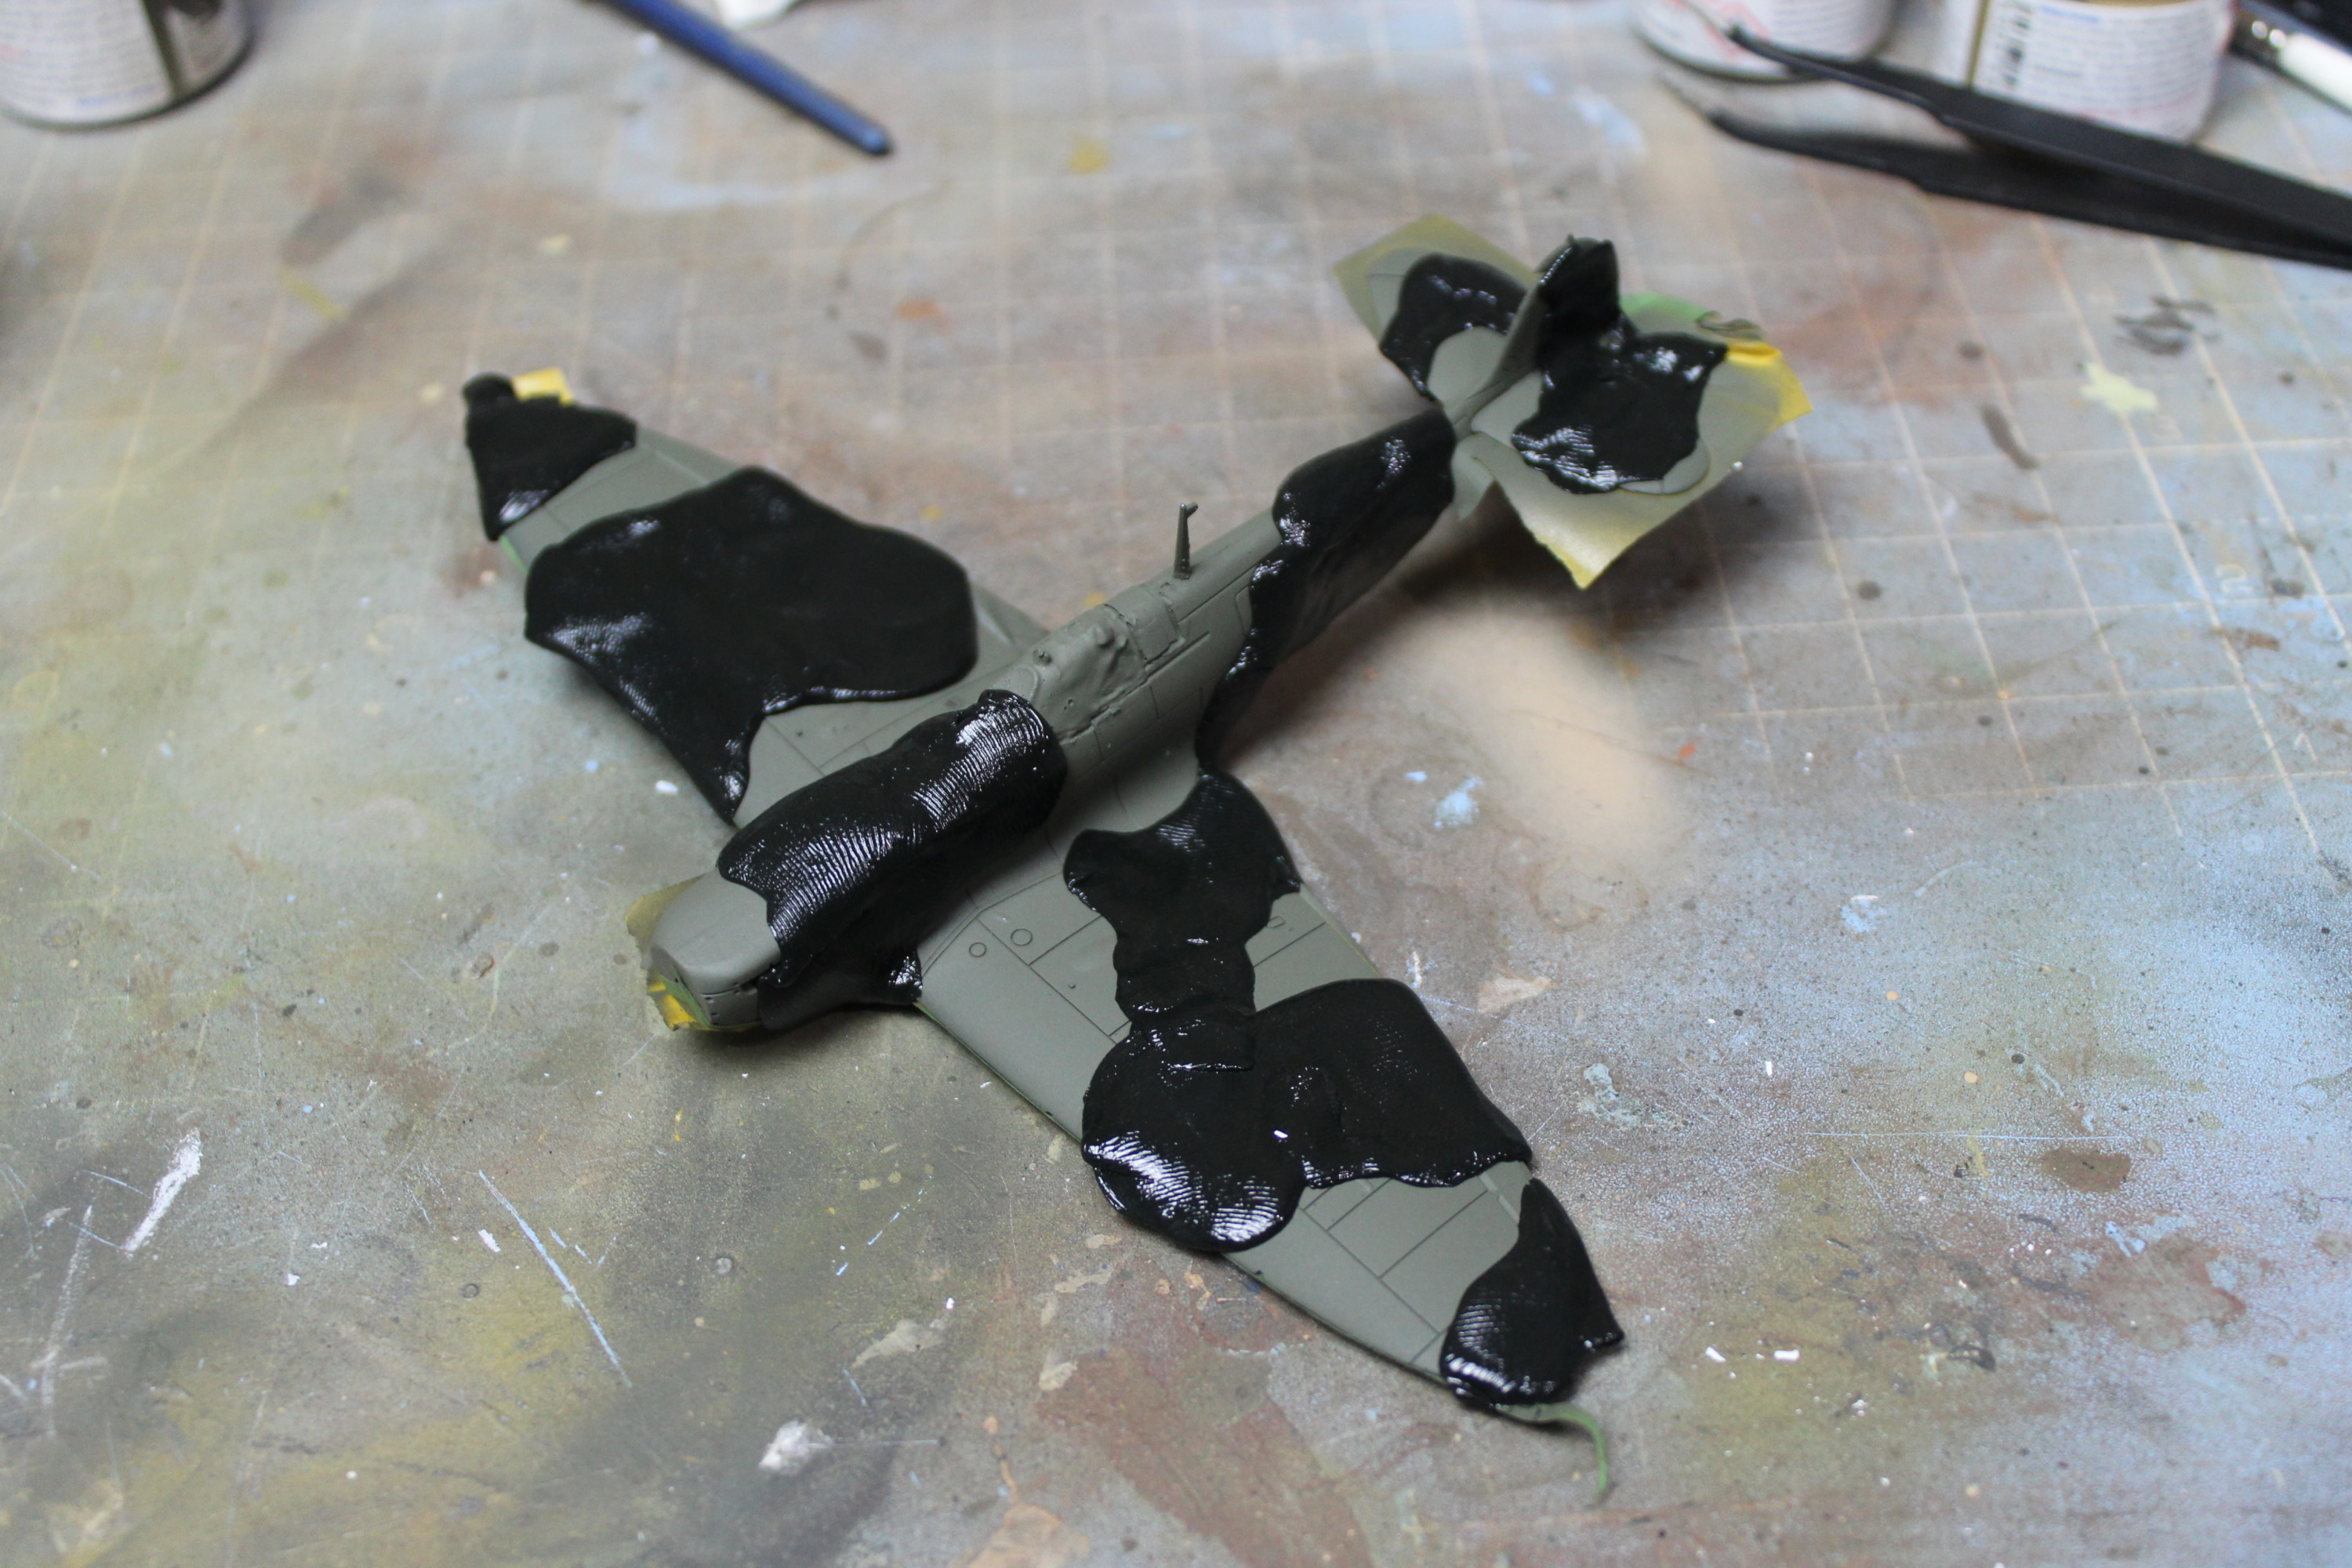
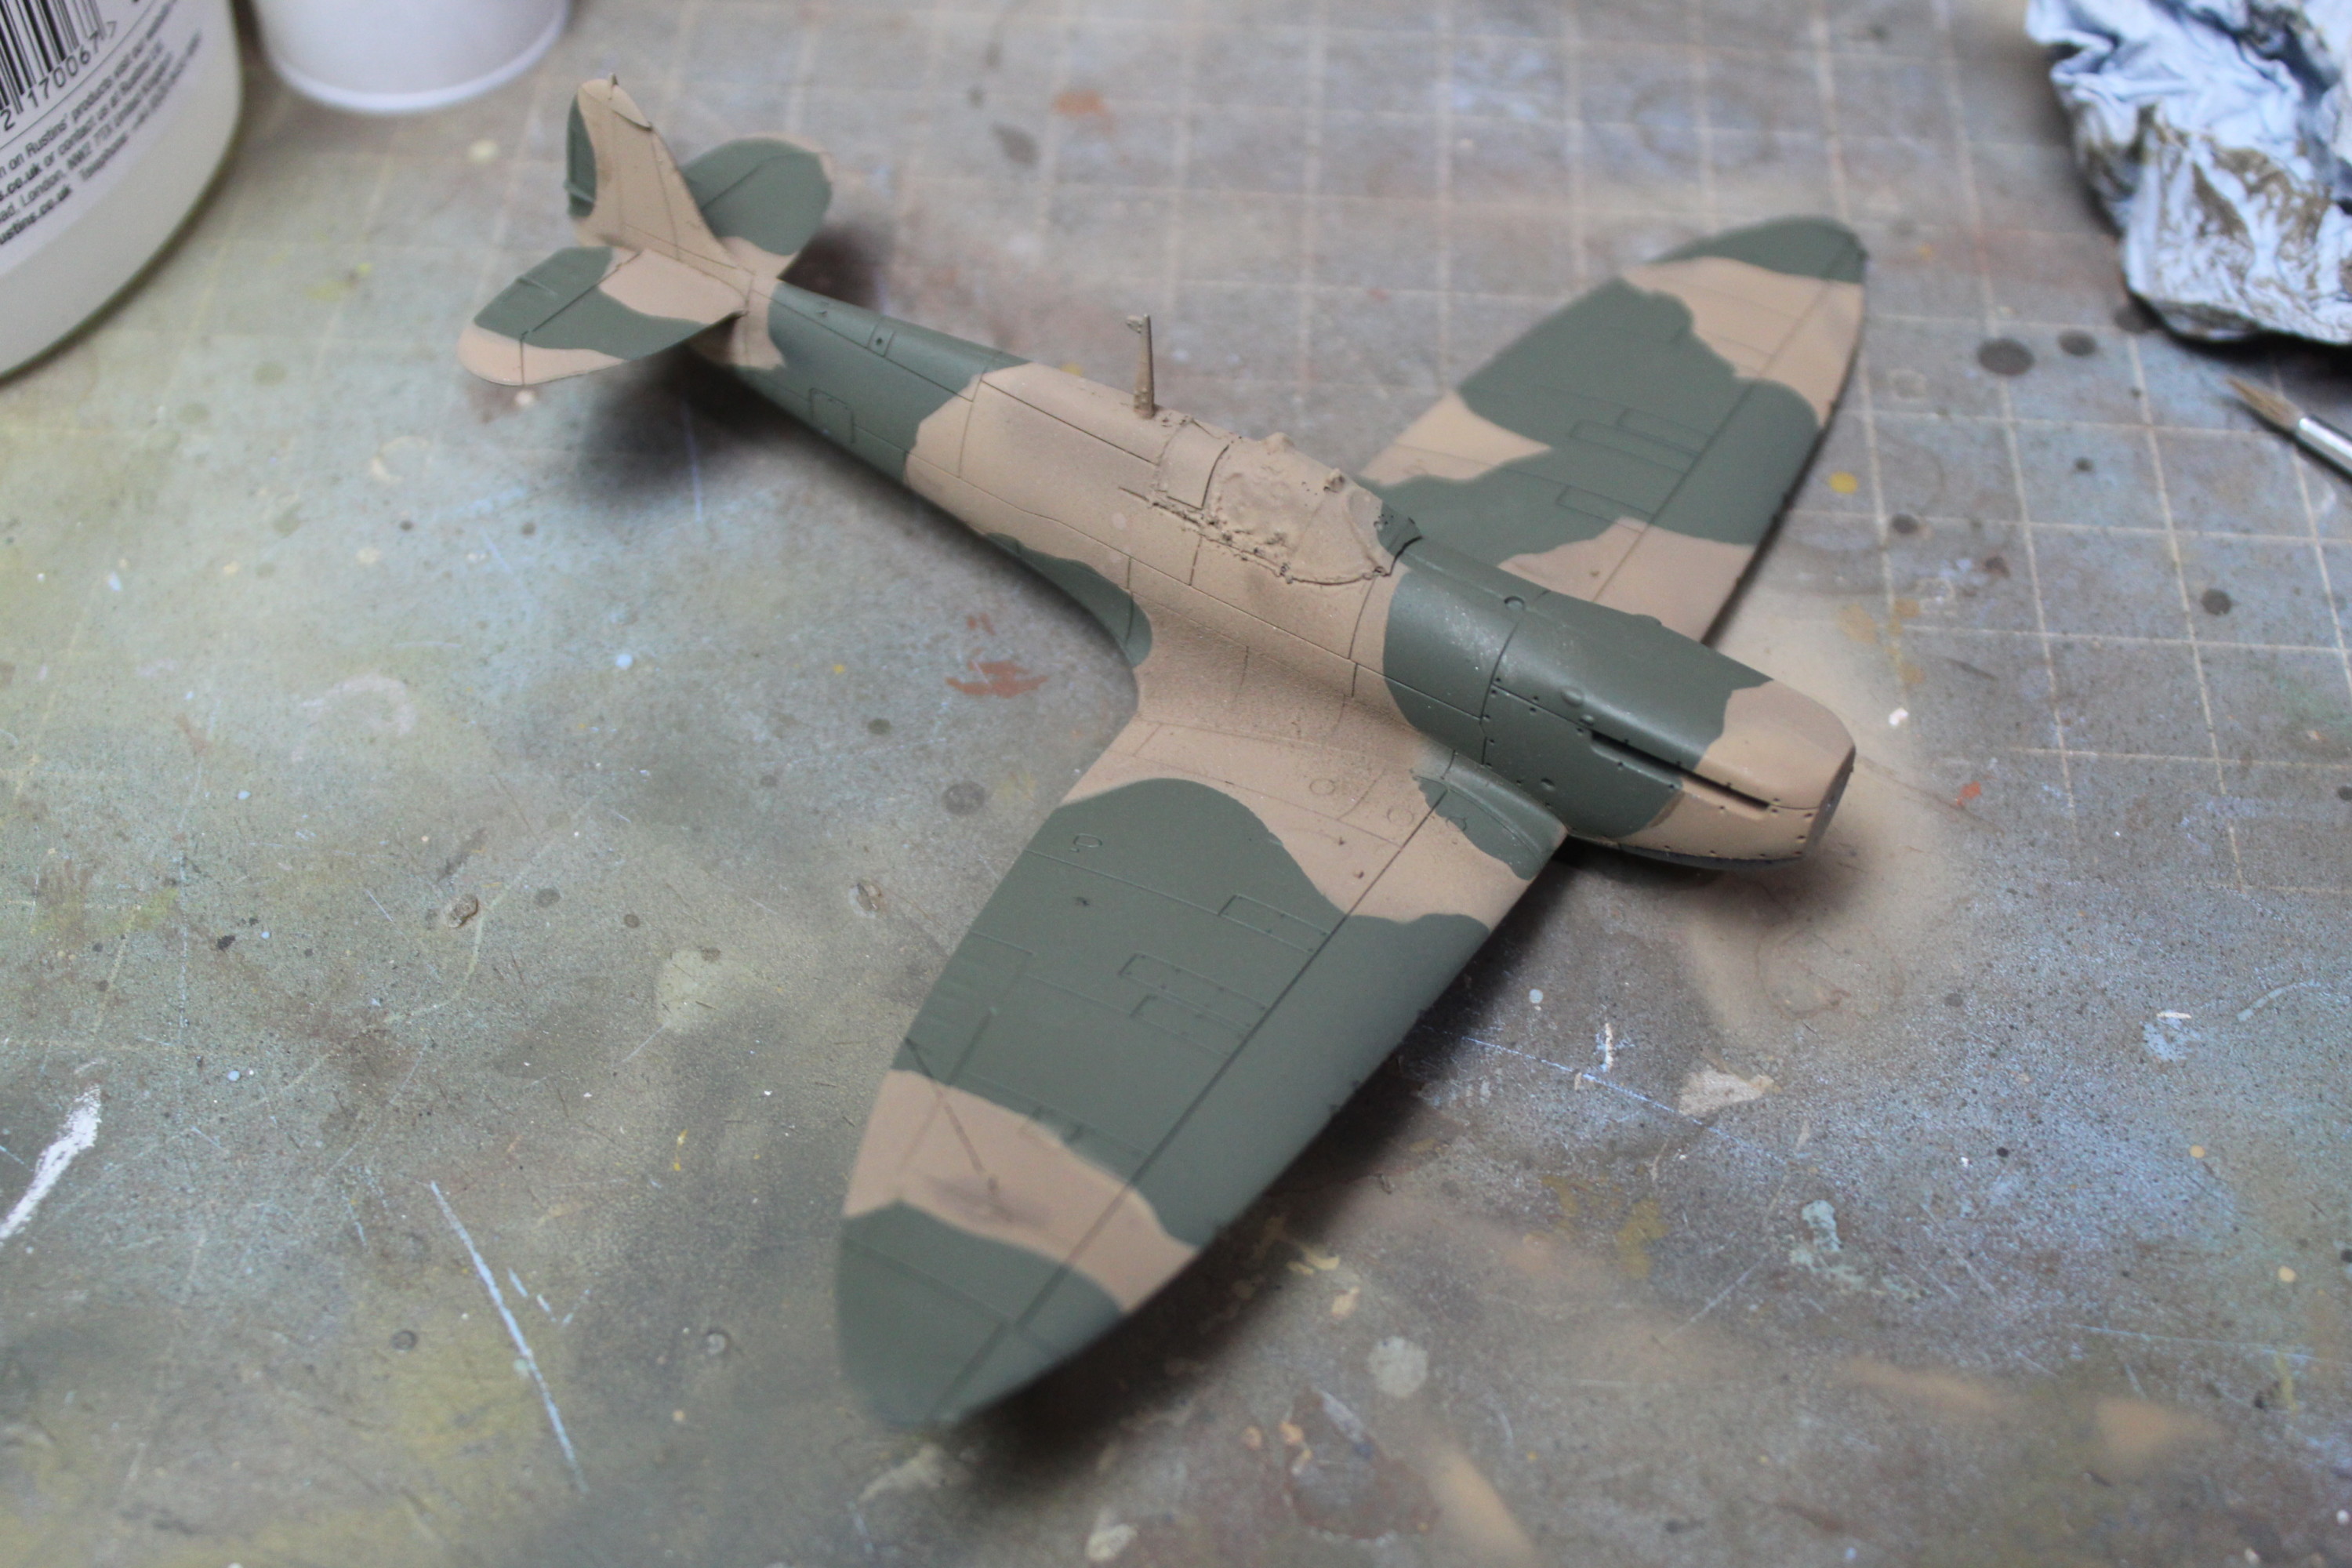
Tried out some masking putty from green stuff world. The model has been given a coat of Flat Earth from Tamiya.

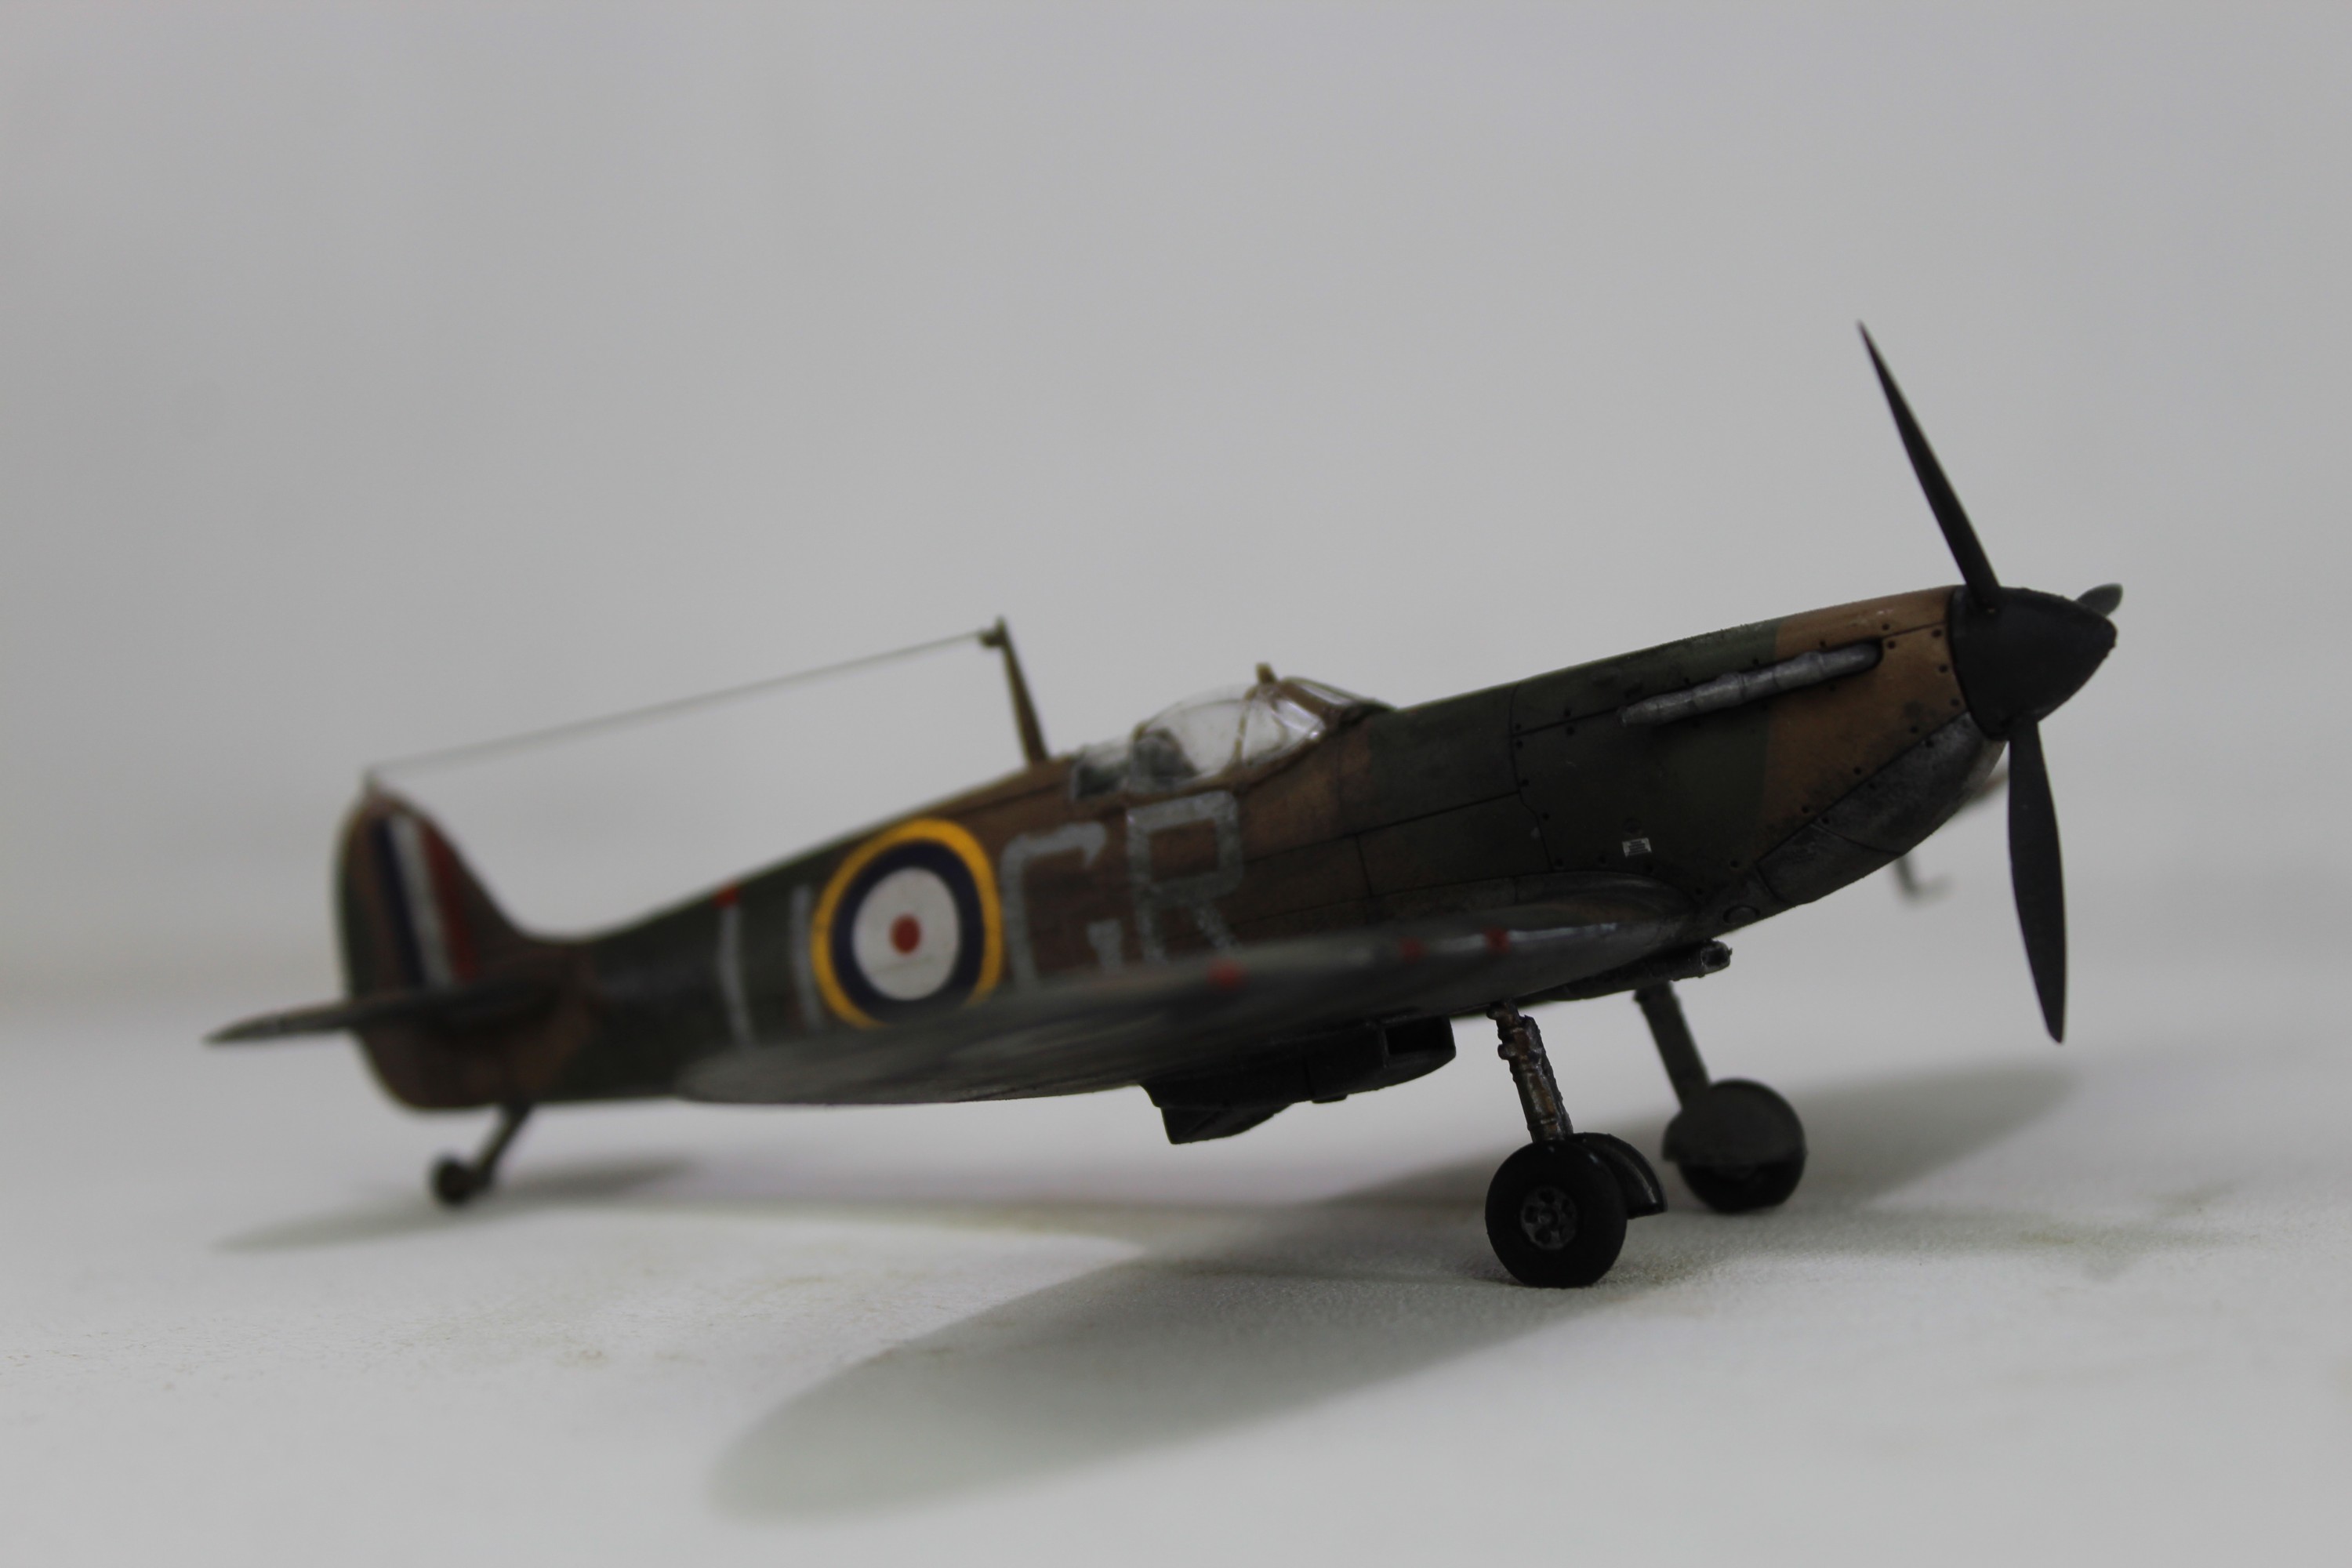
The gloss varnish has been applied and now the decals. There are an absolute load of decals with this kit. Once applied a quick coat of decal softener to allow the decal to fall into all the recesses.

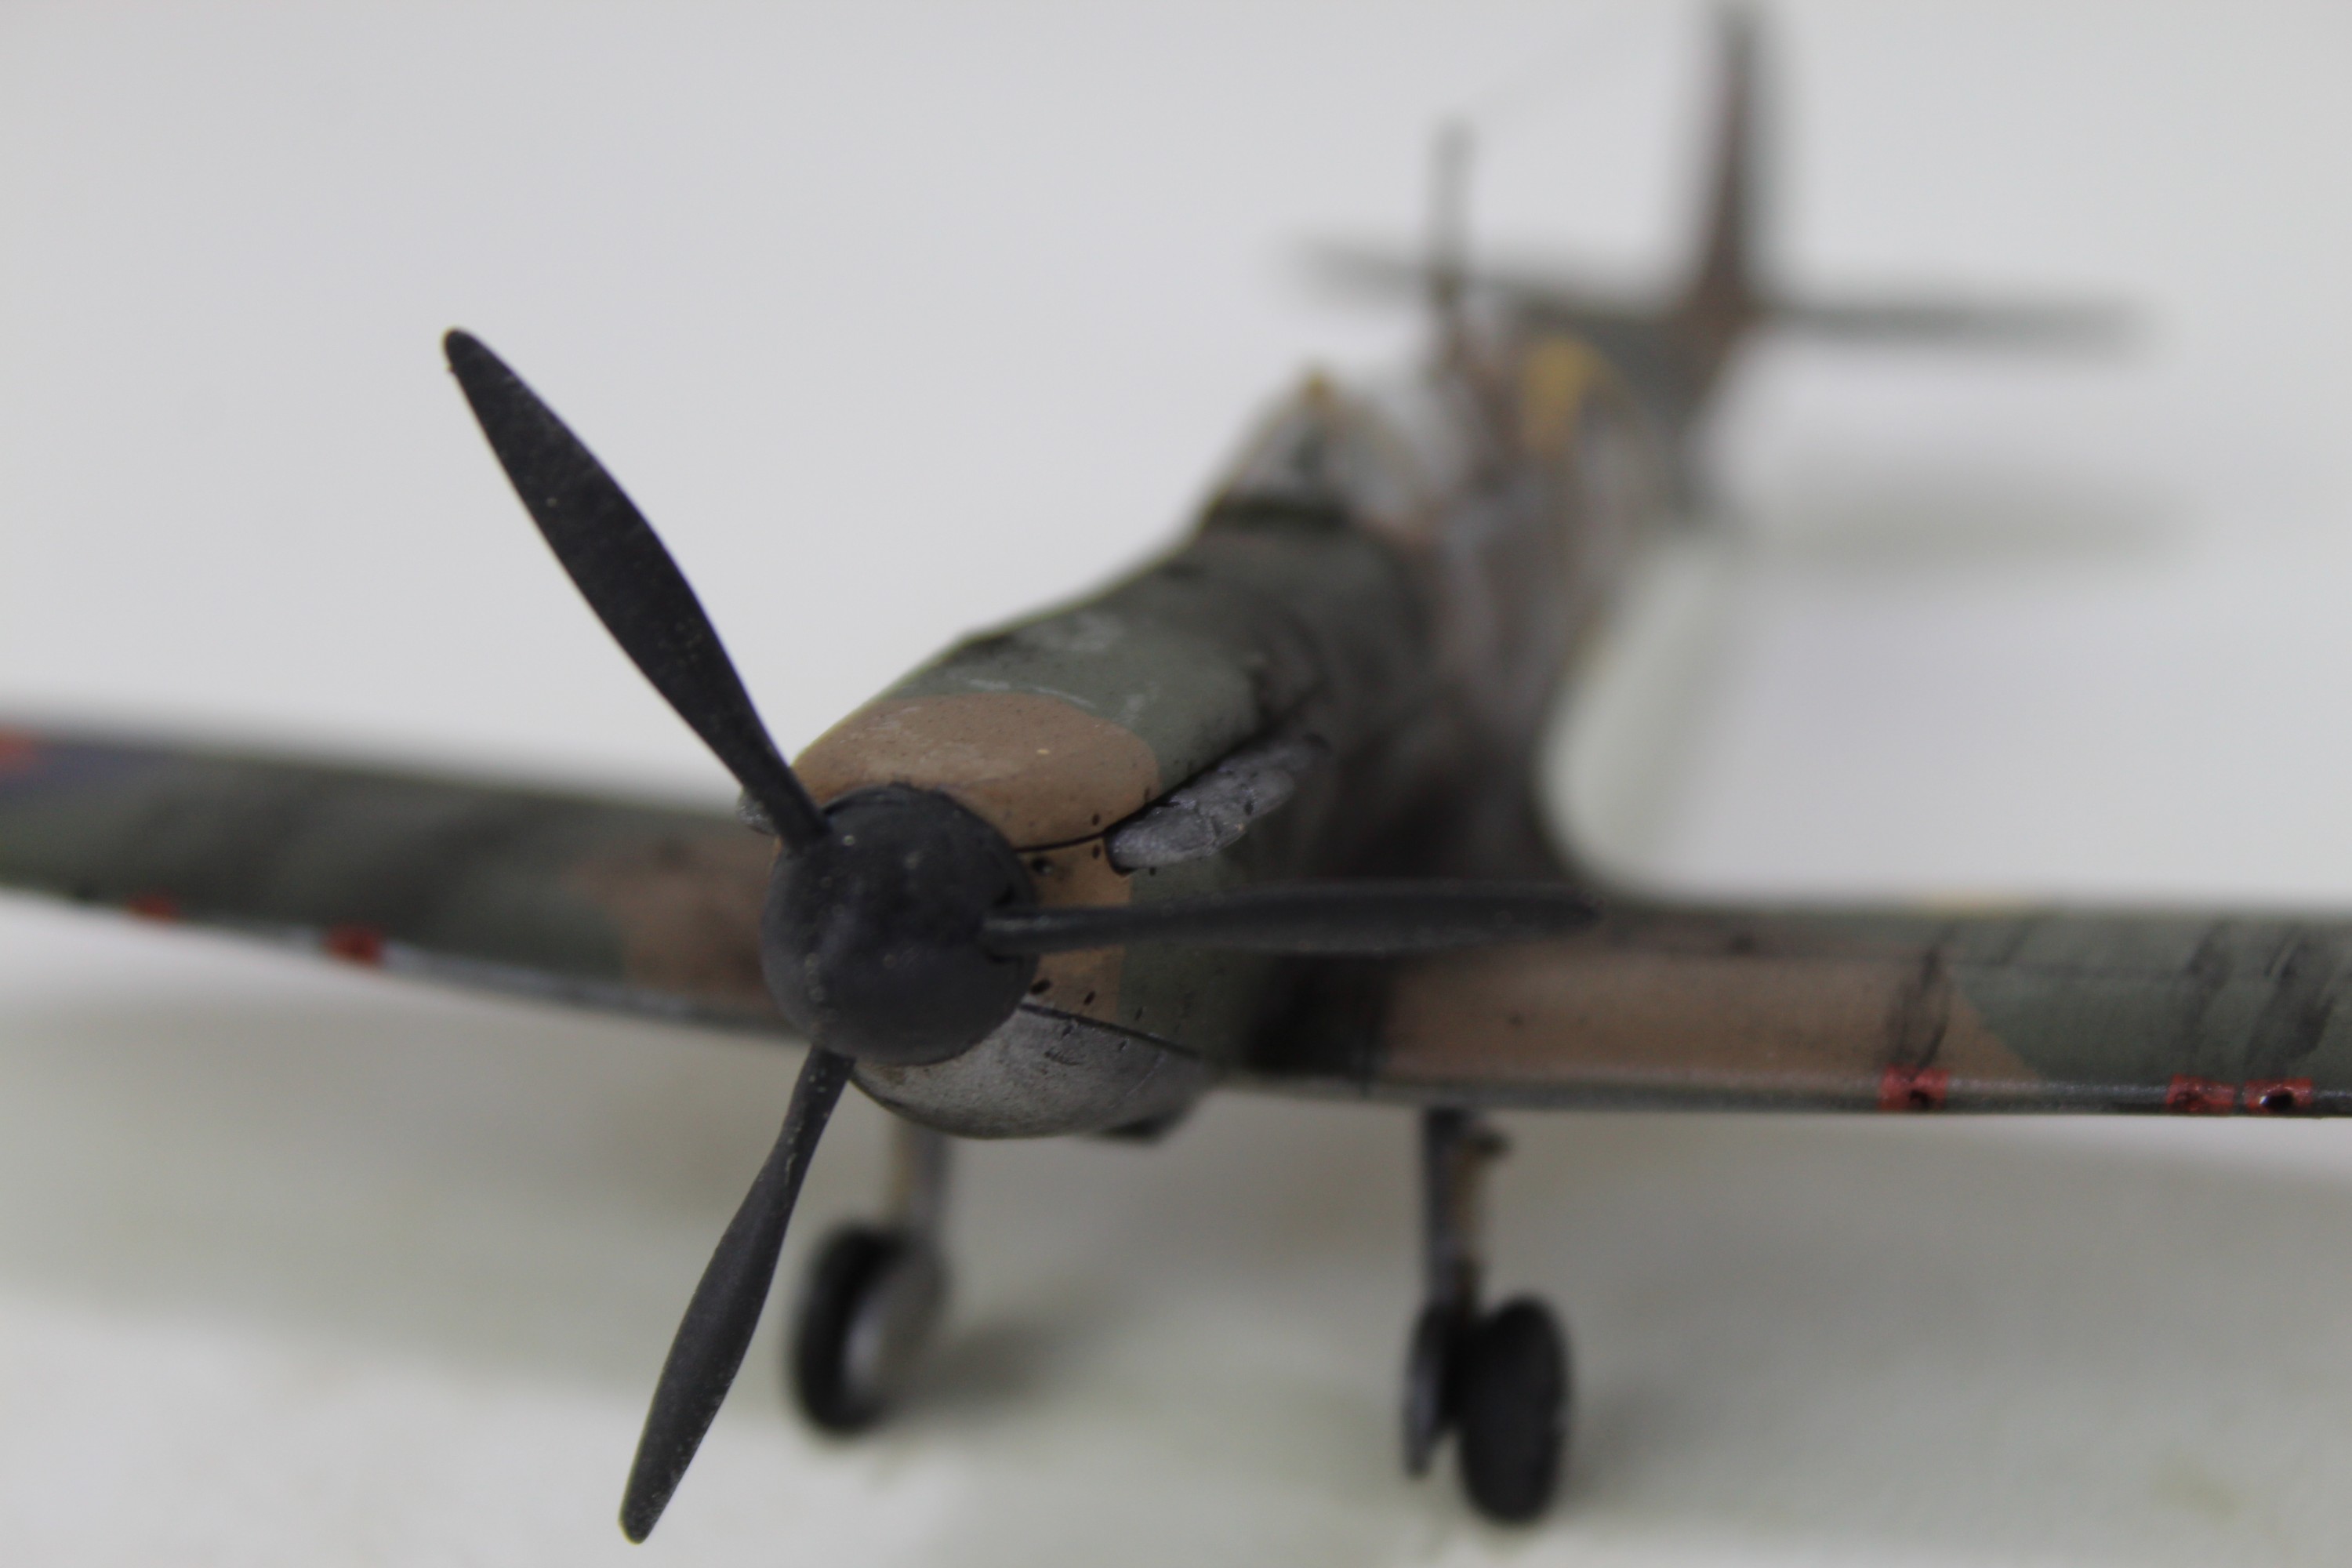
So that’s the model complete. Decals are on and now just panel line wash and a little bit of black pigment and then I’m calling it done.
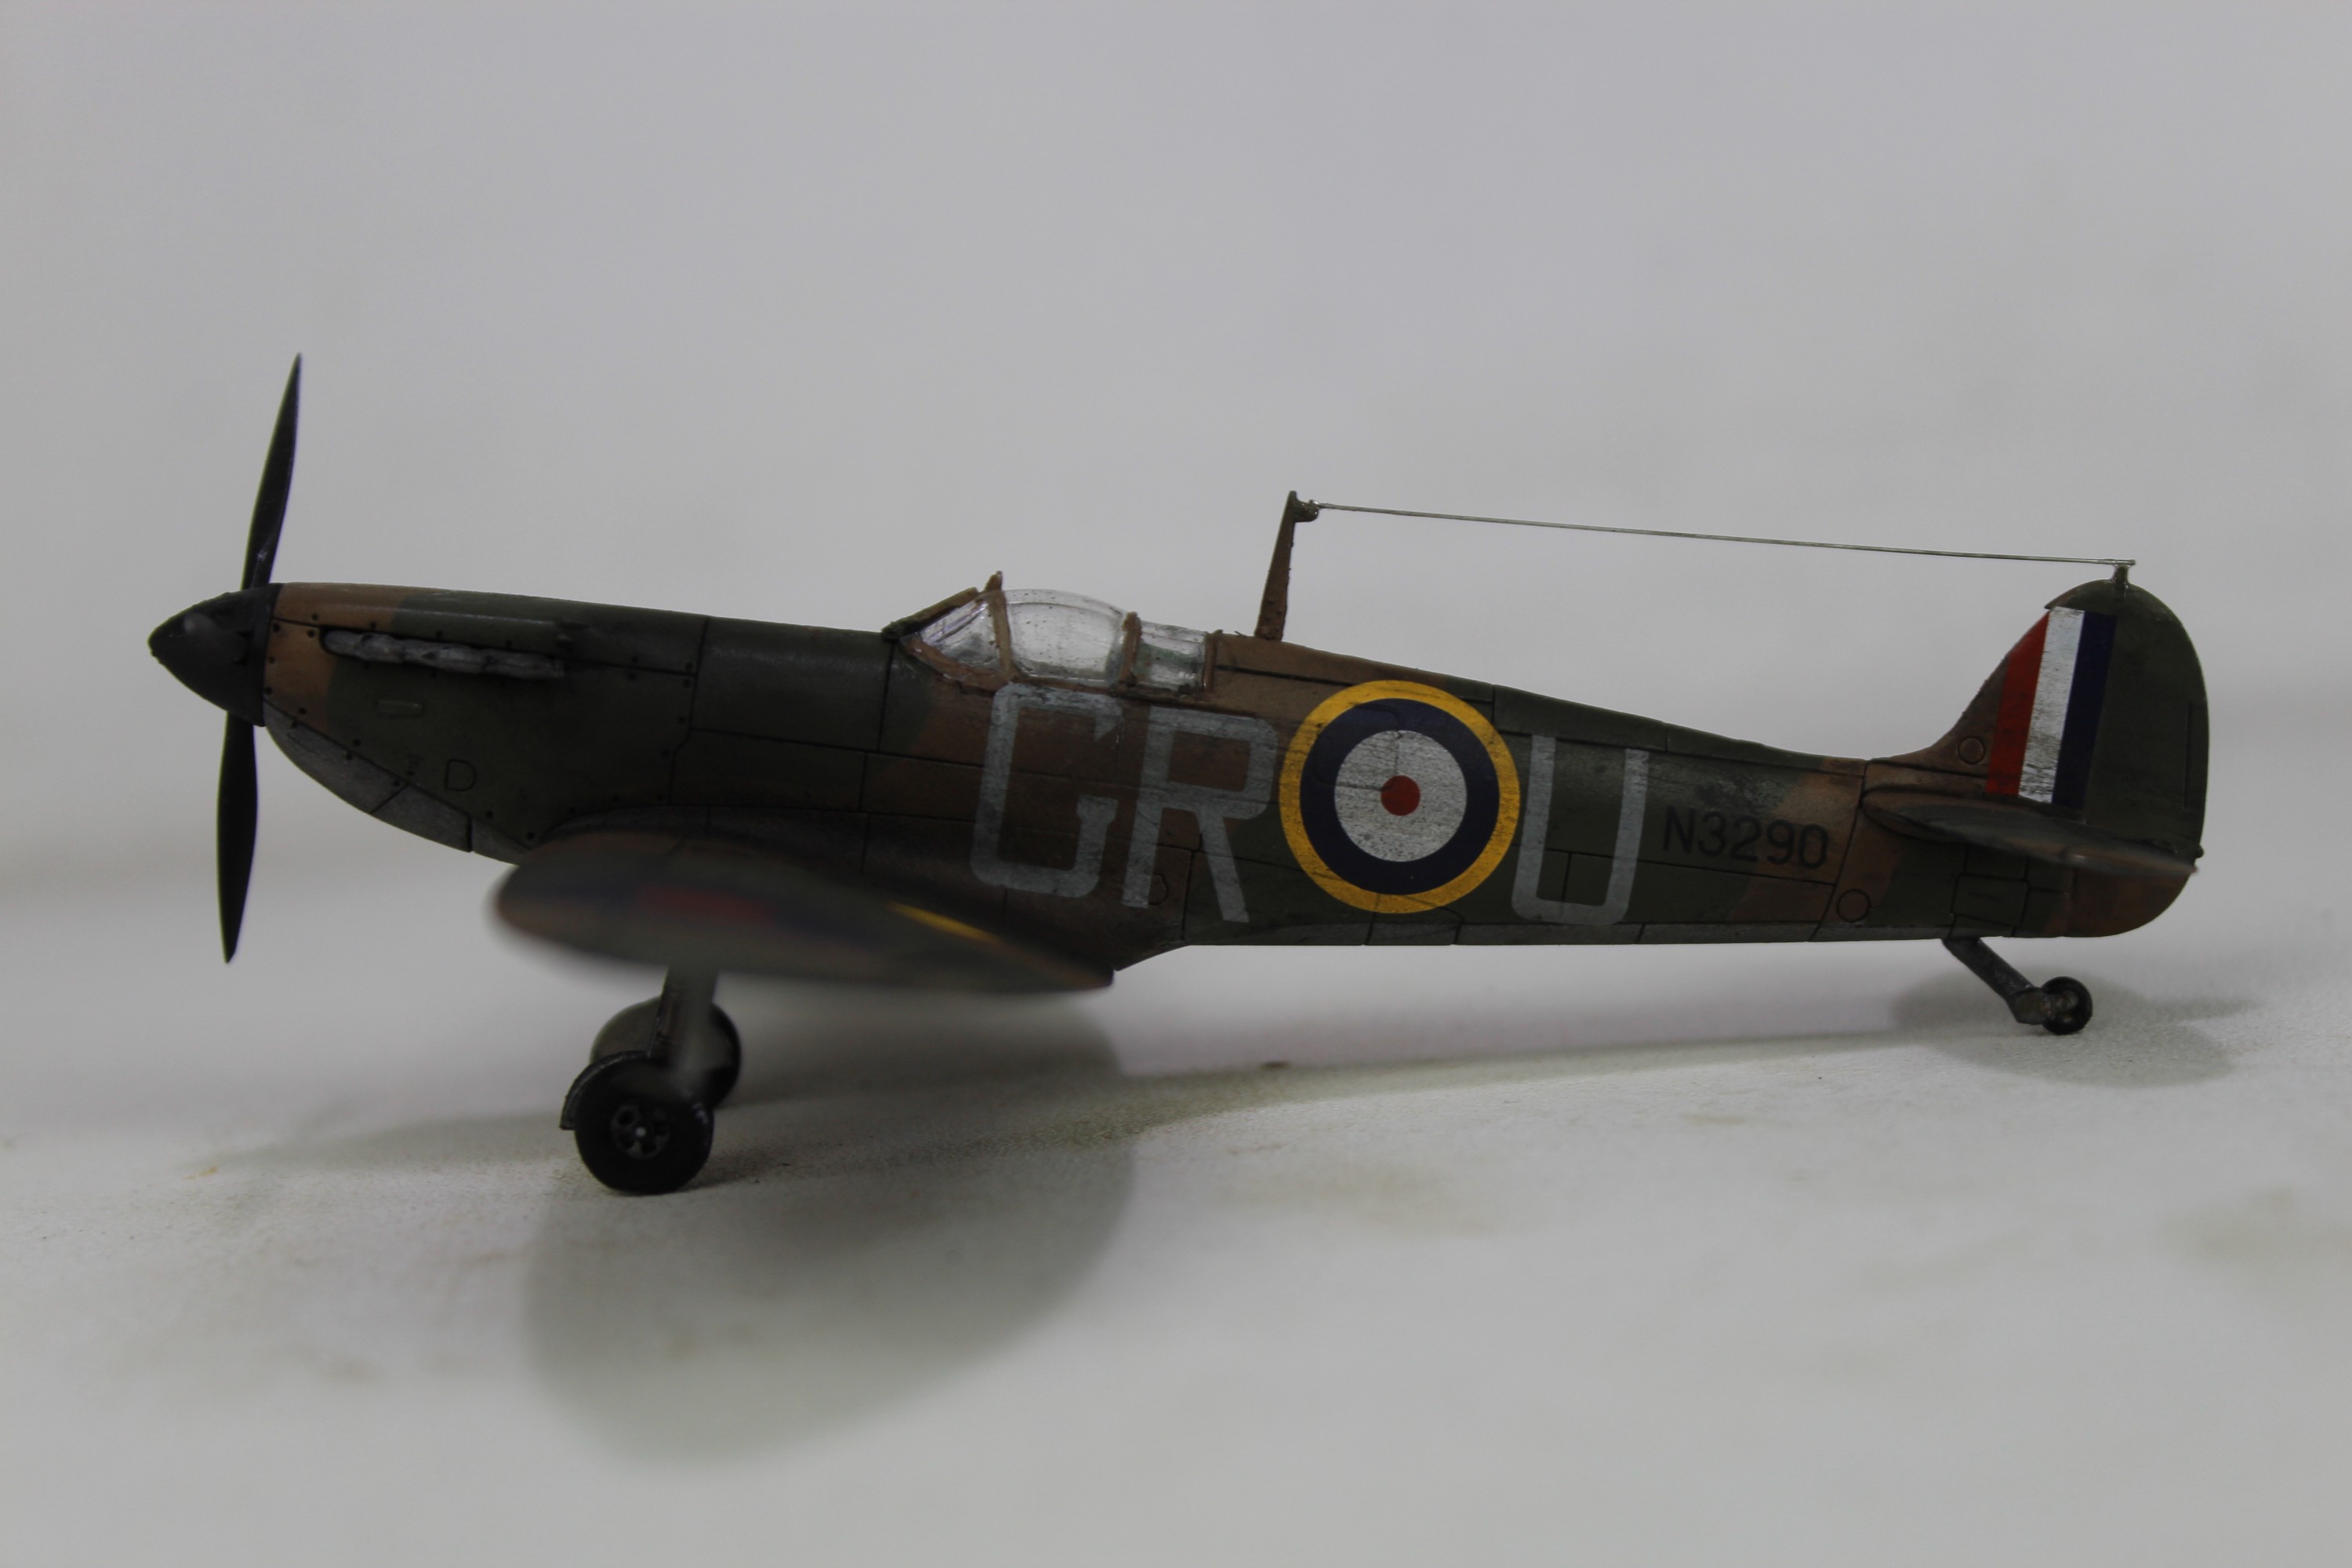
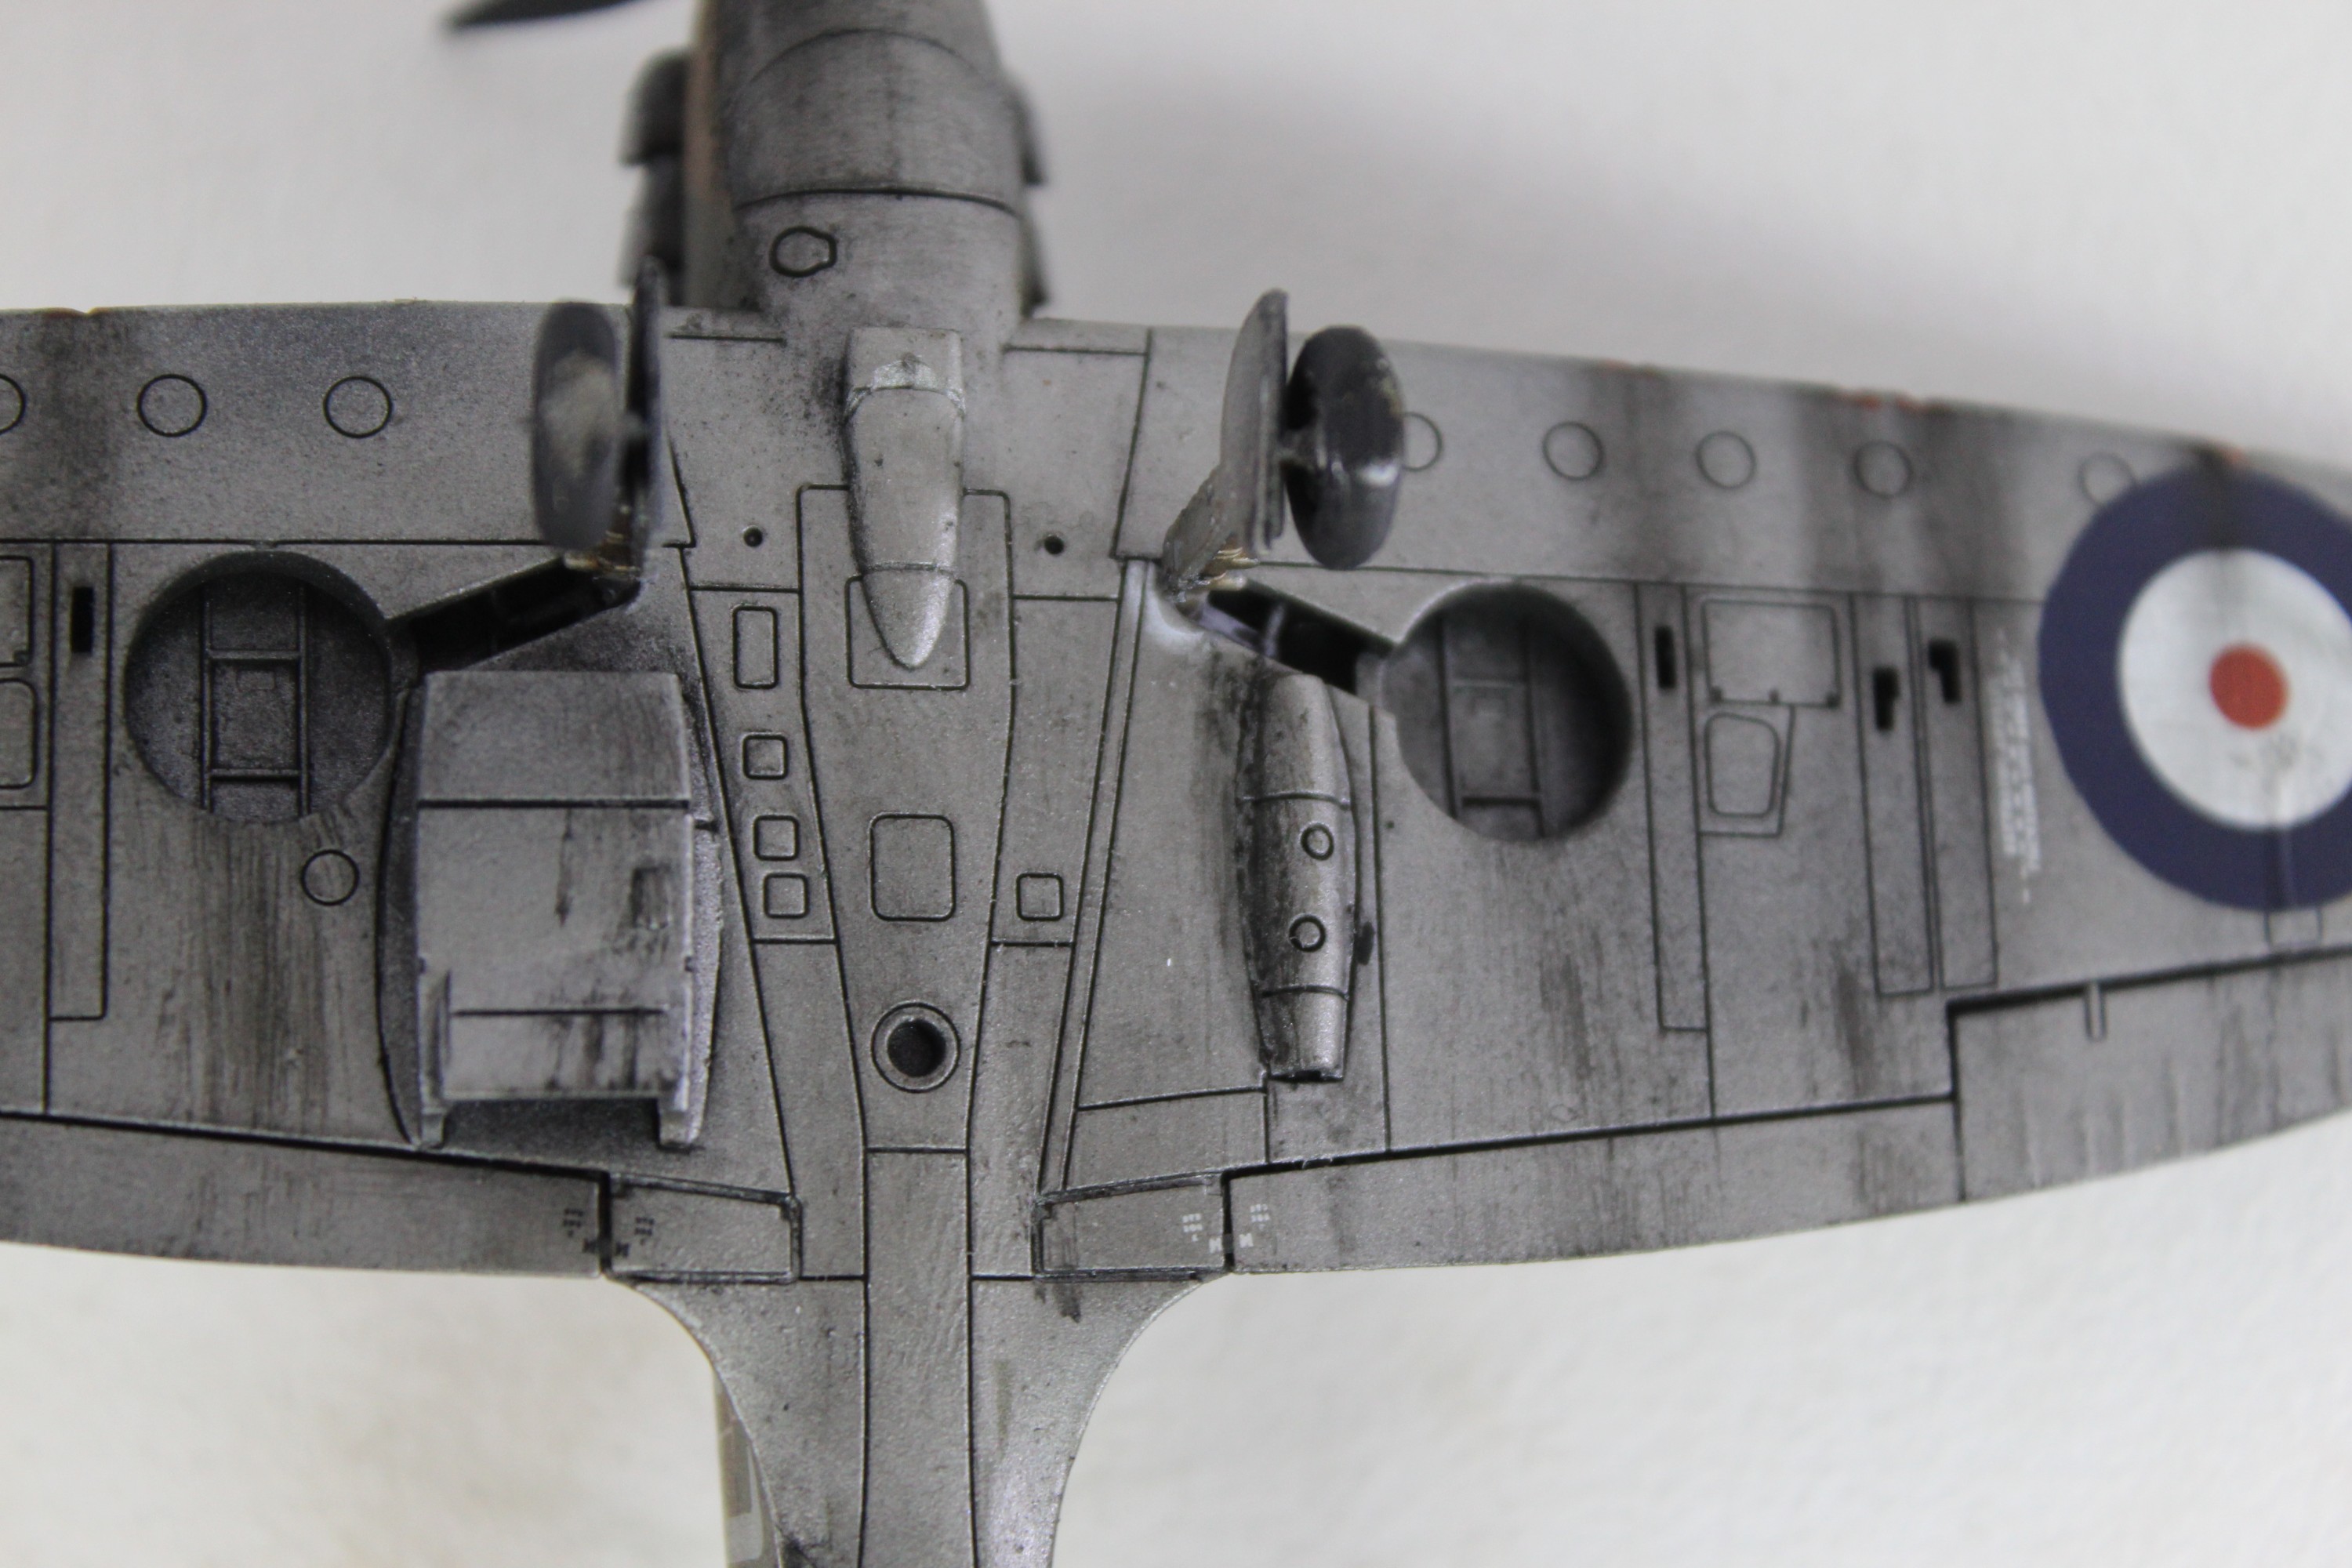
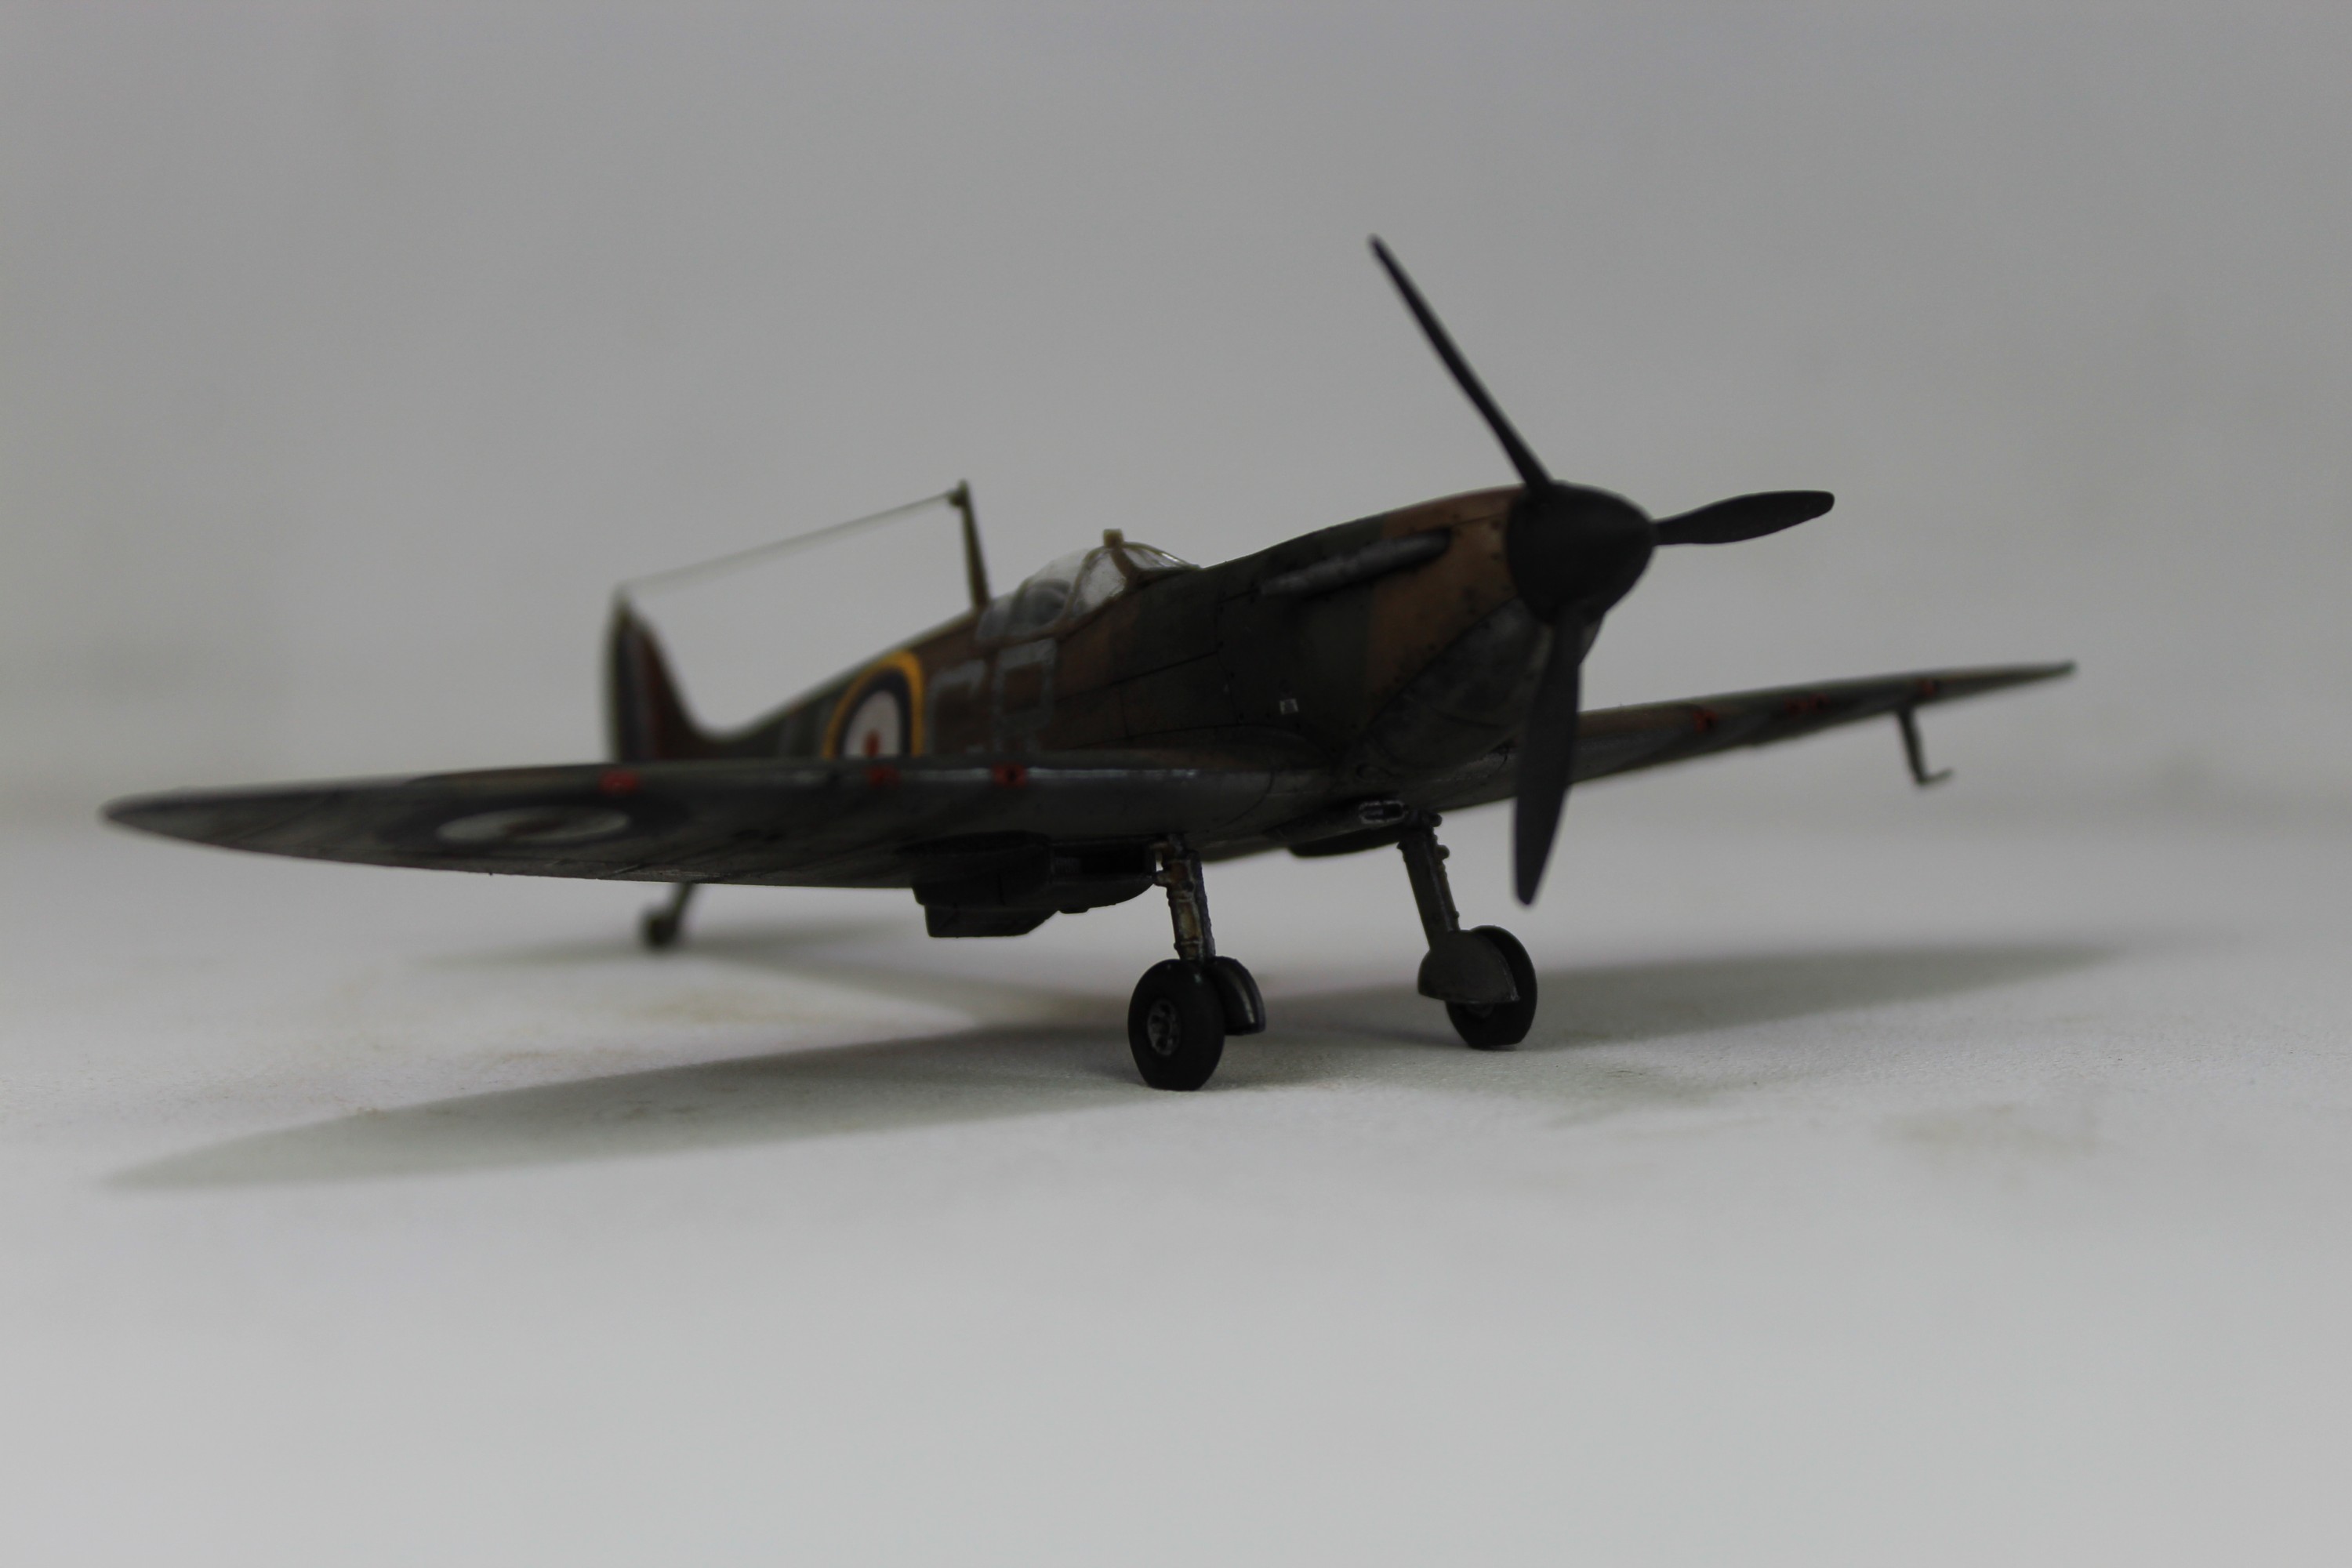
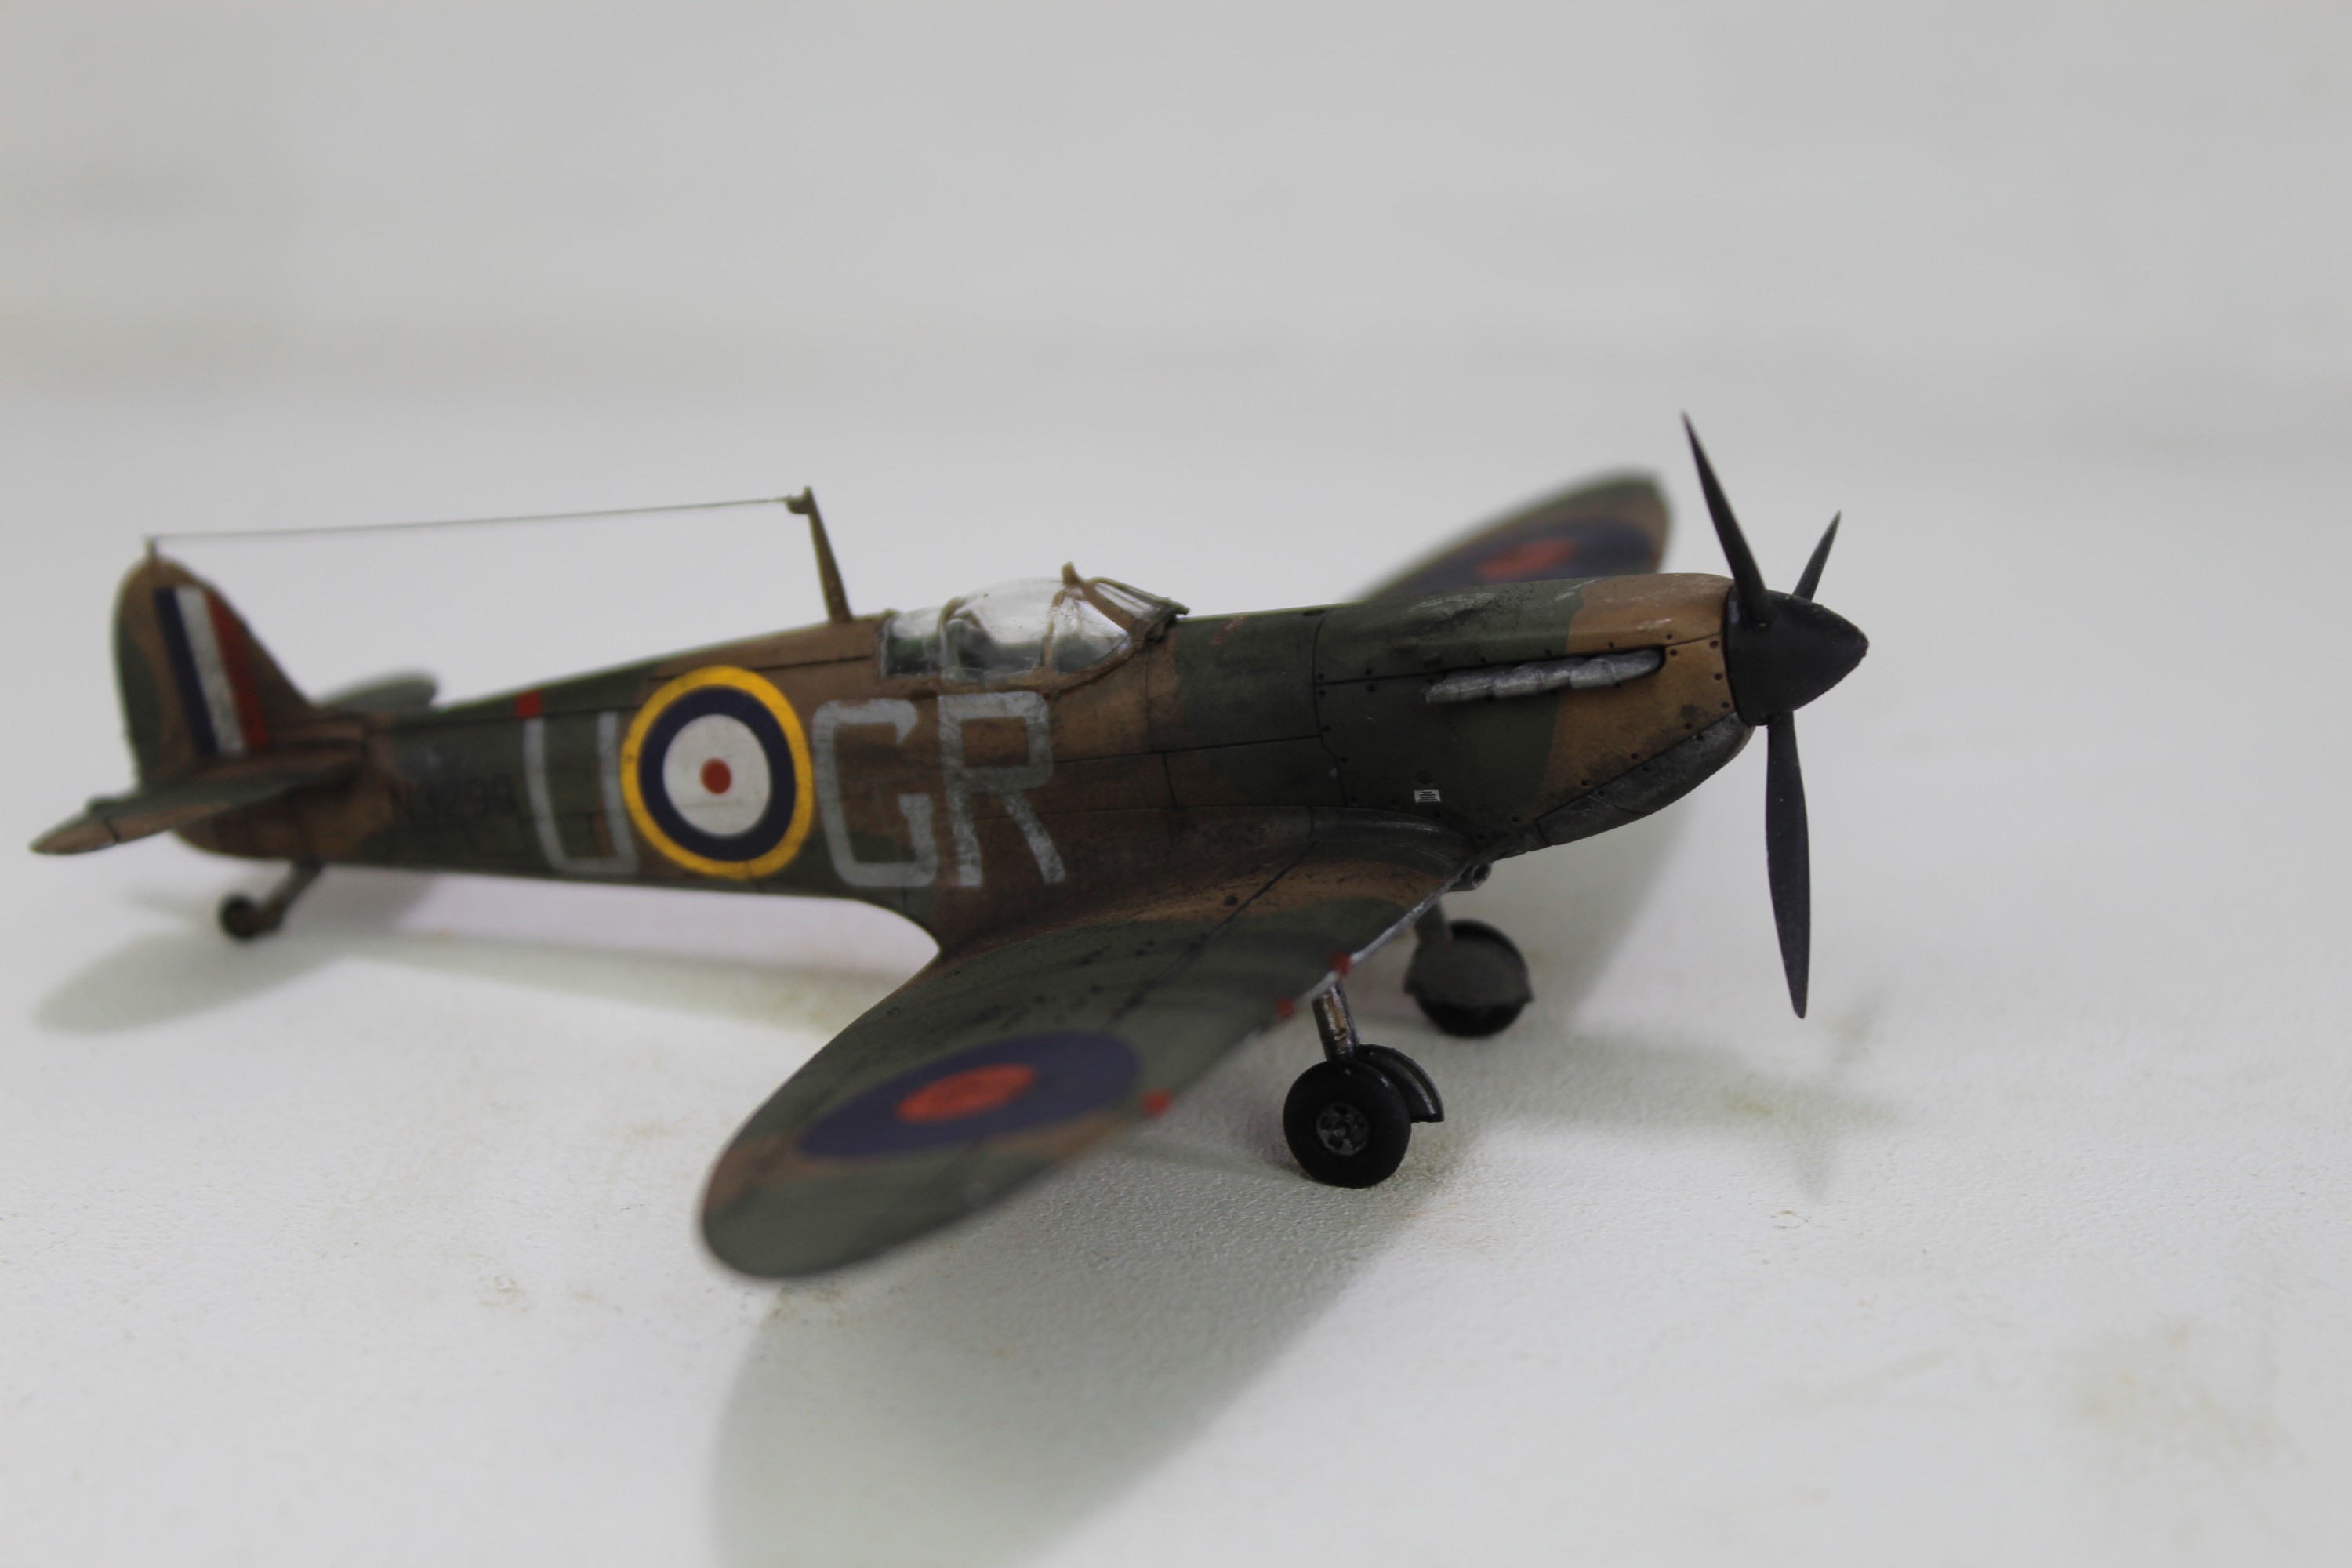
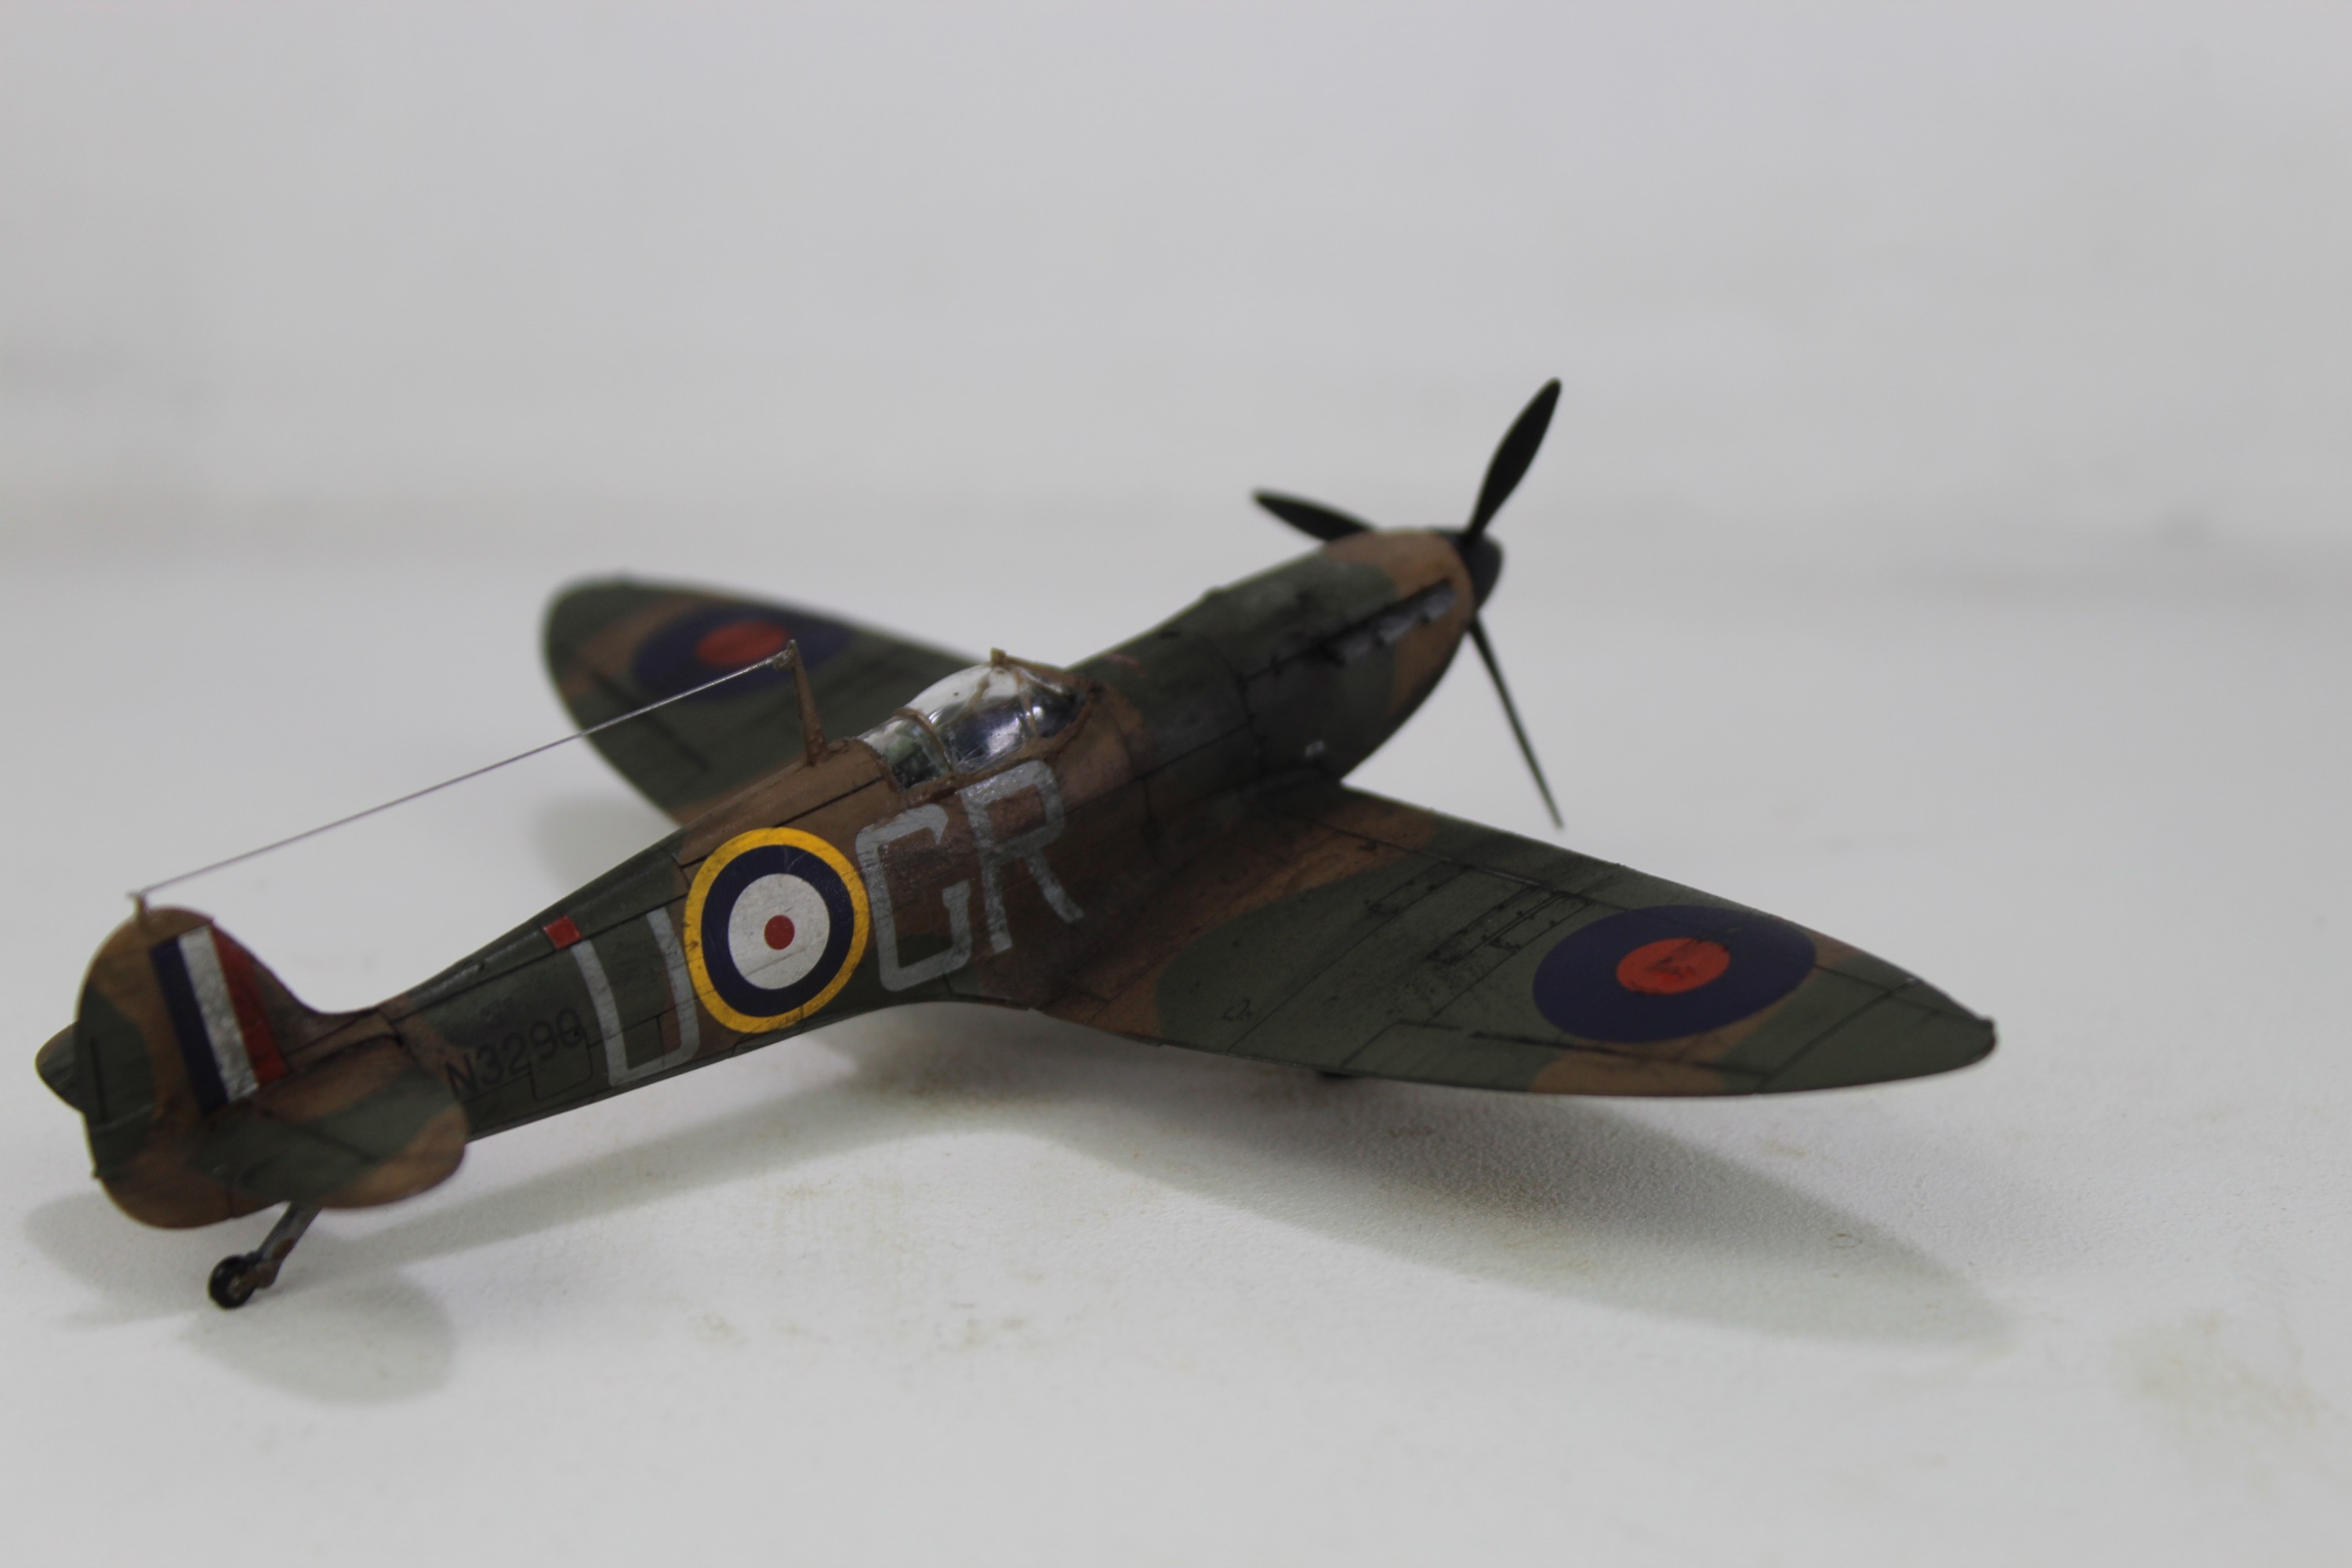
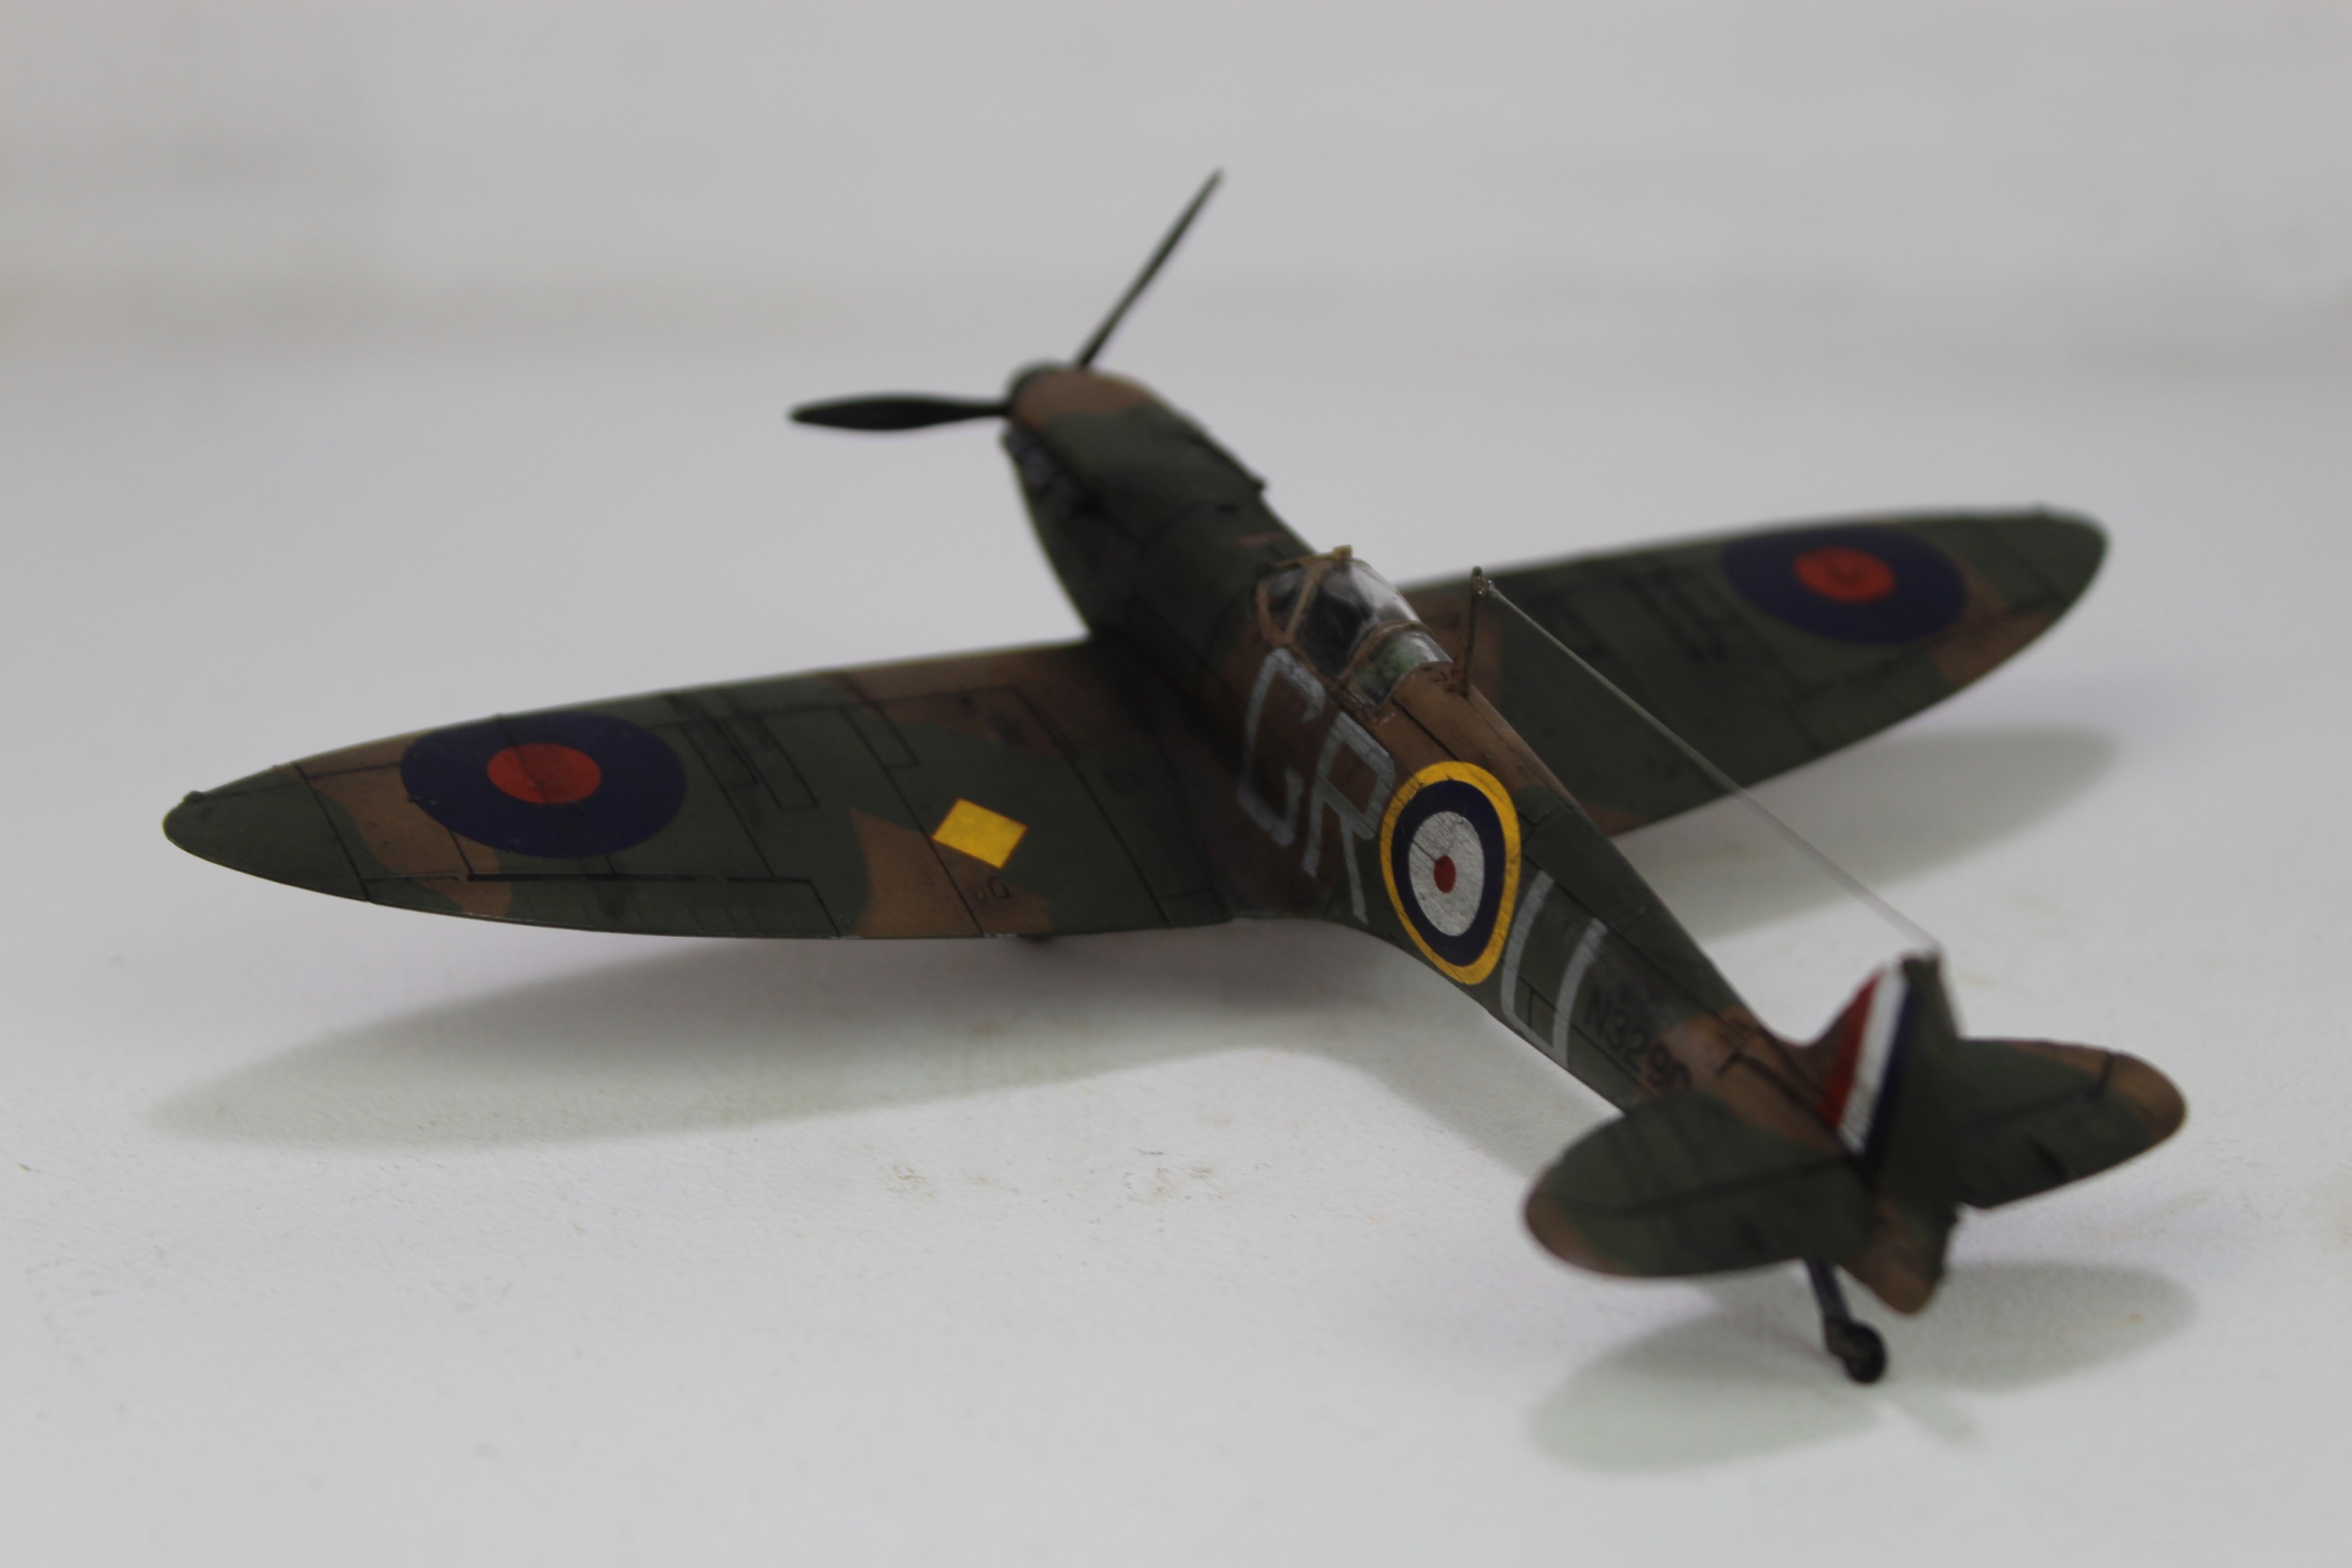
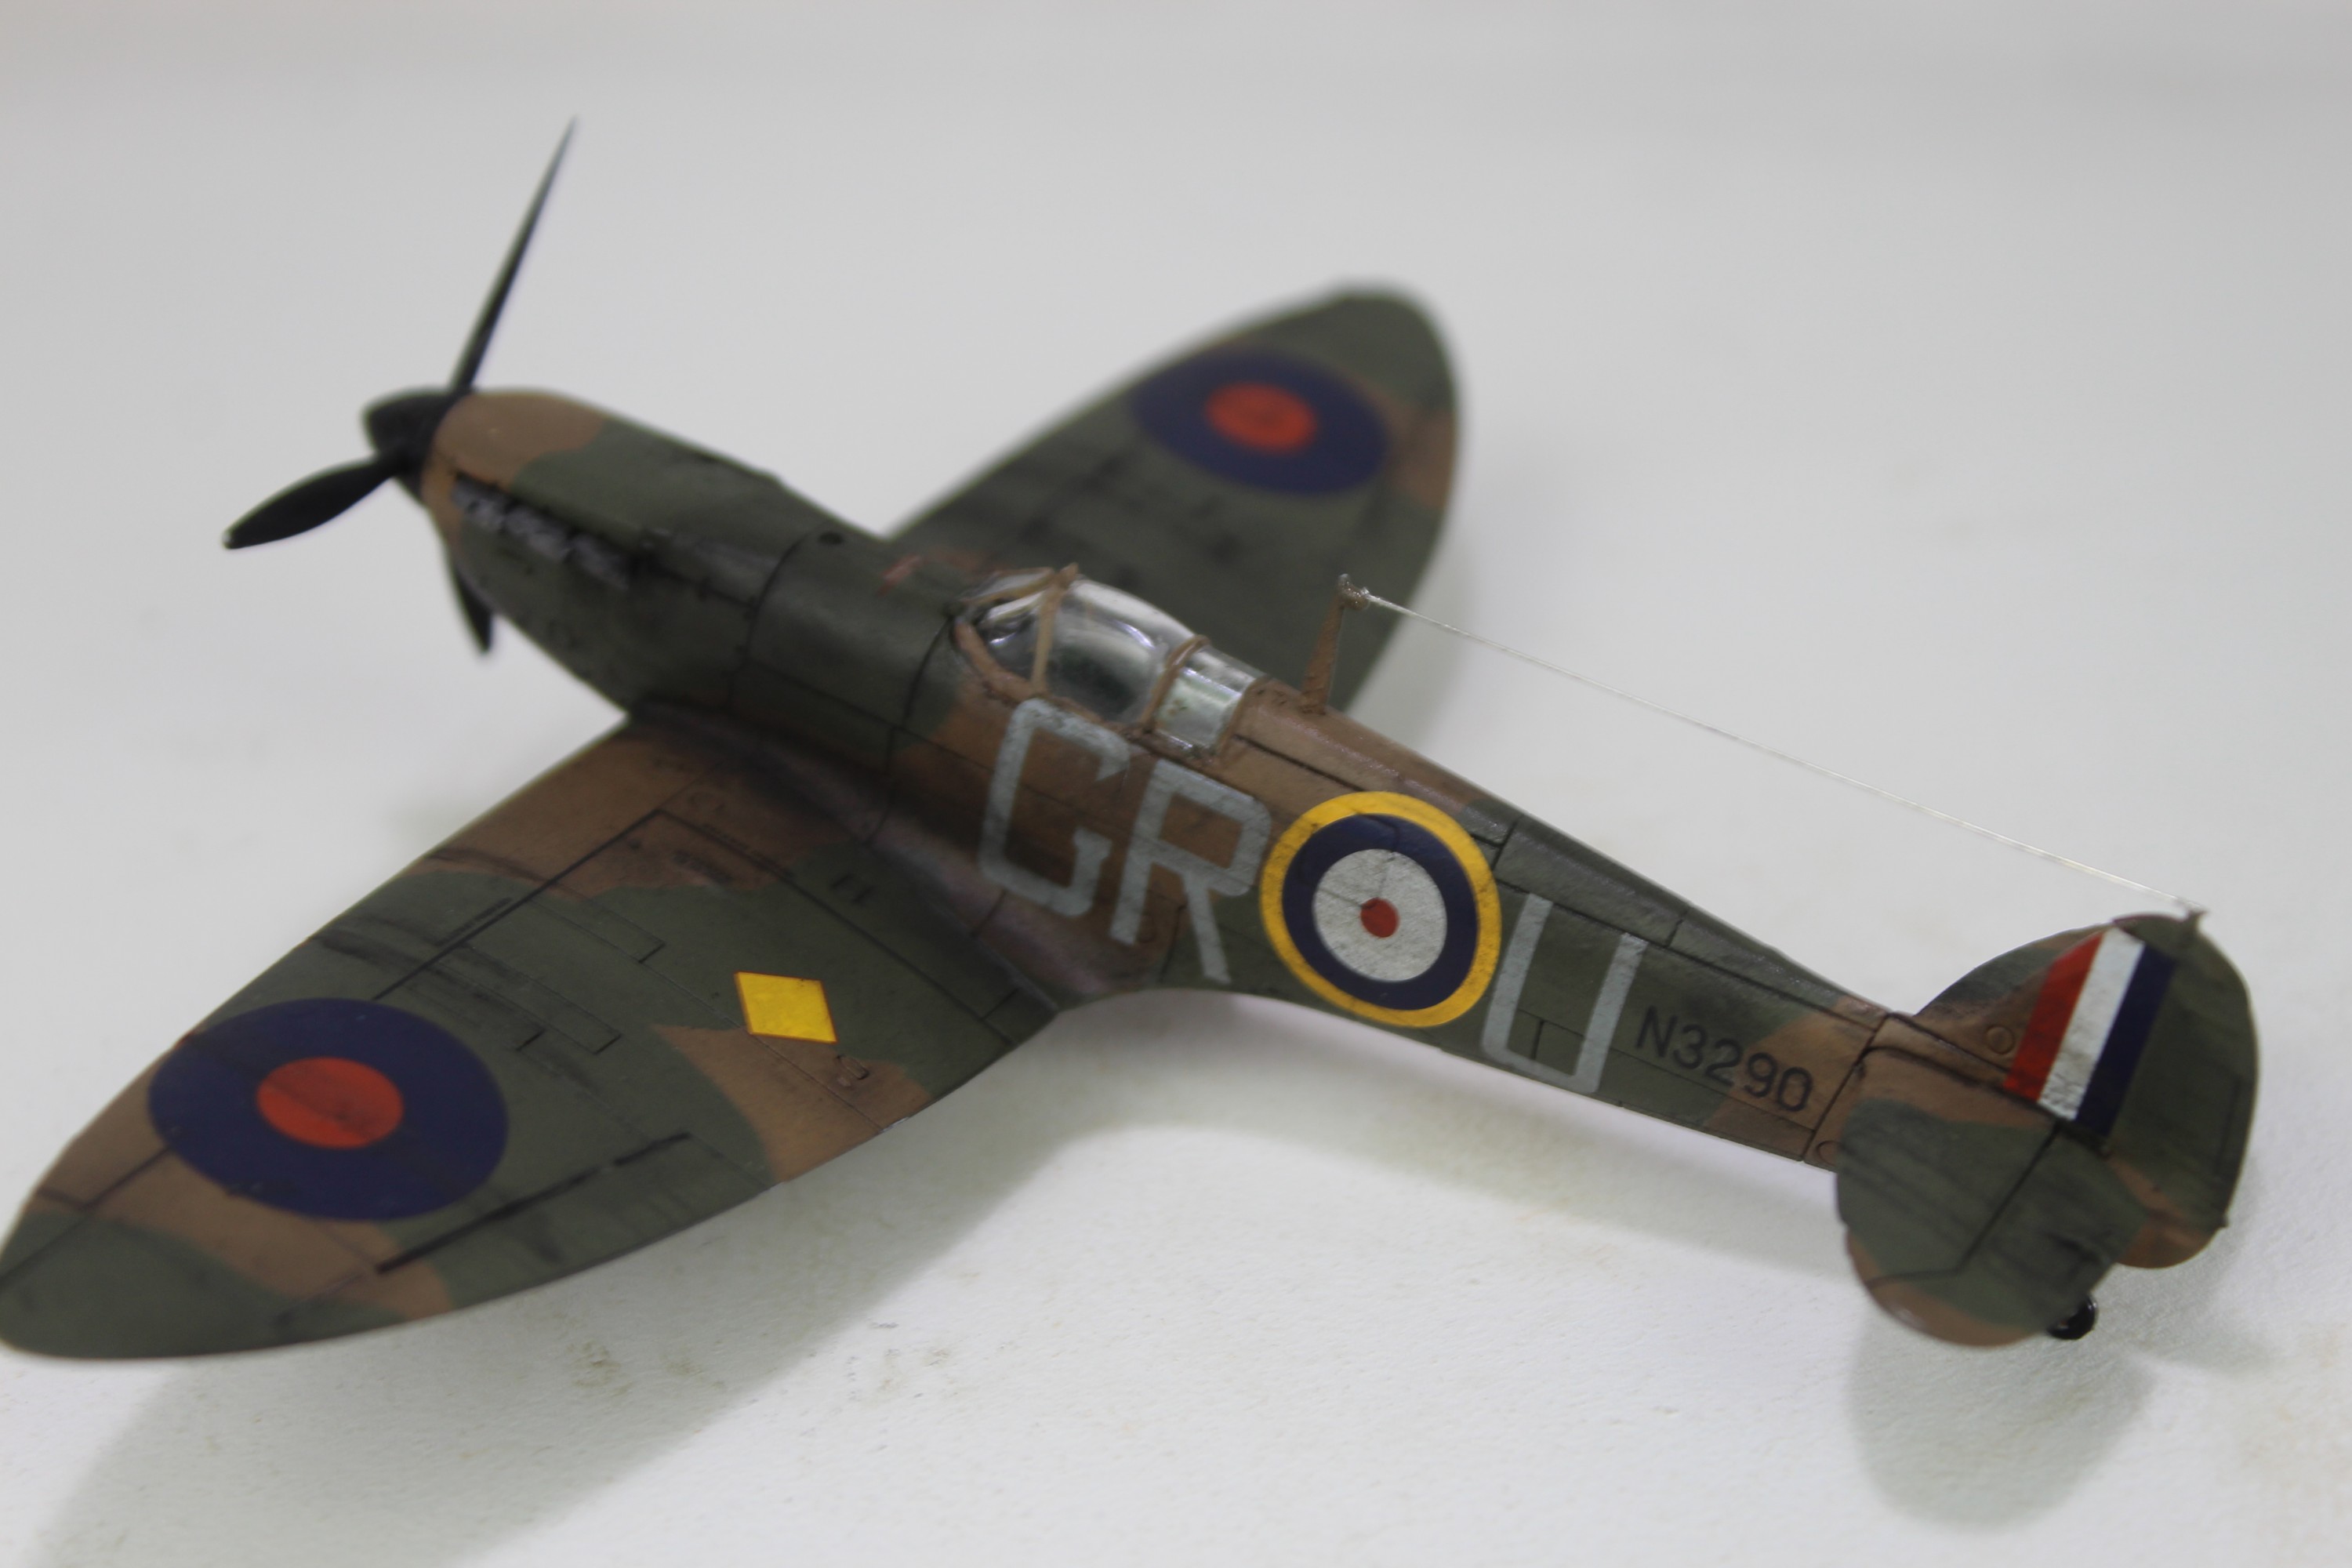
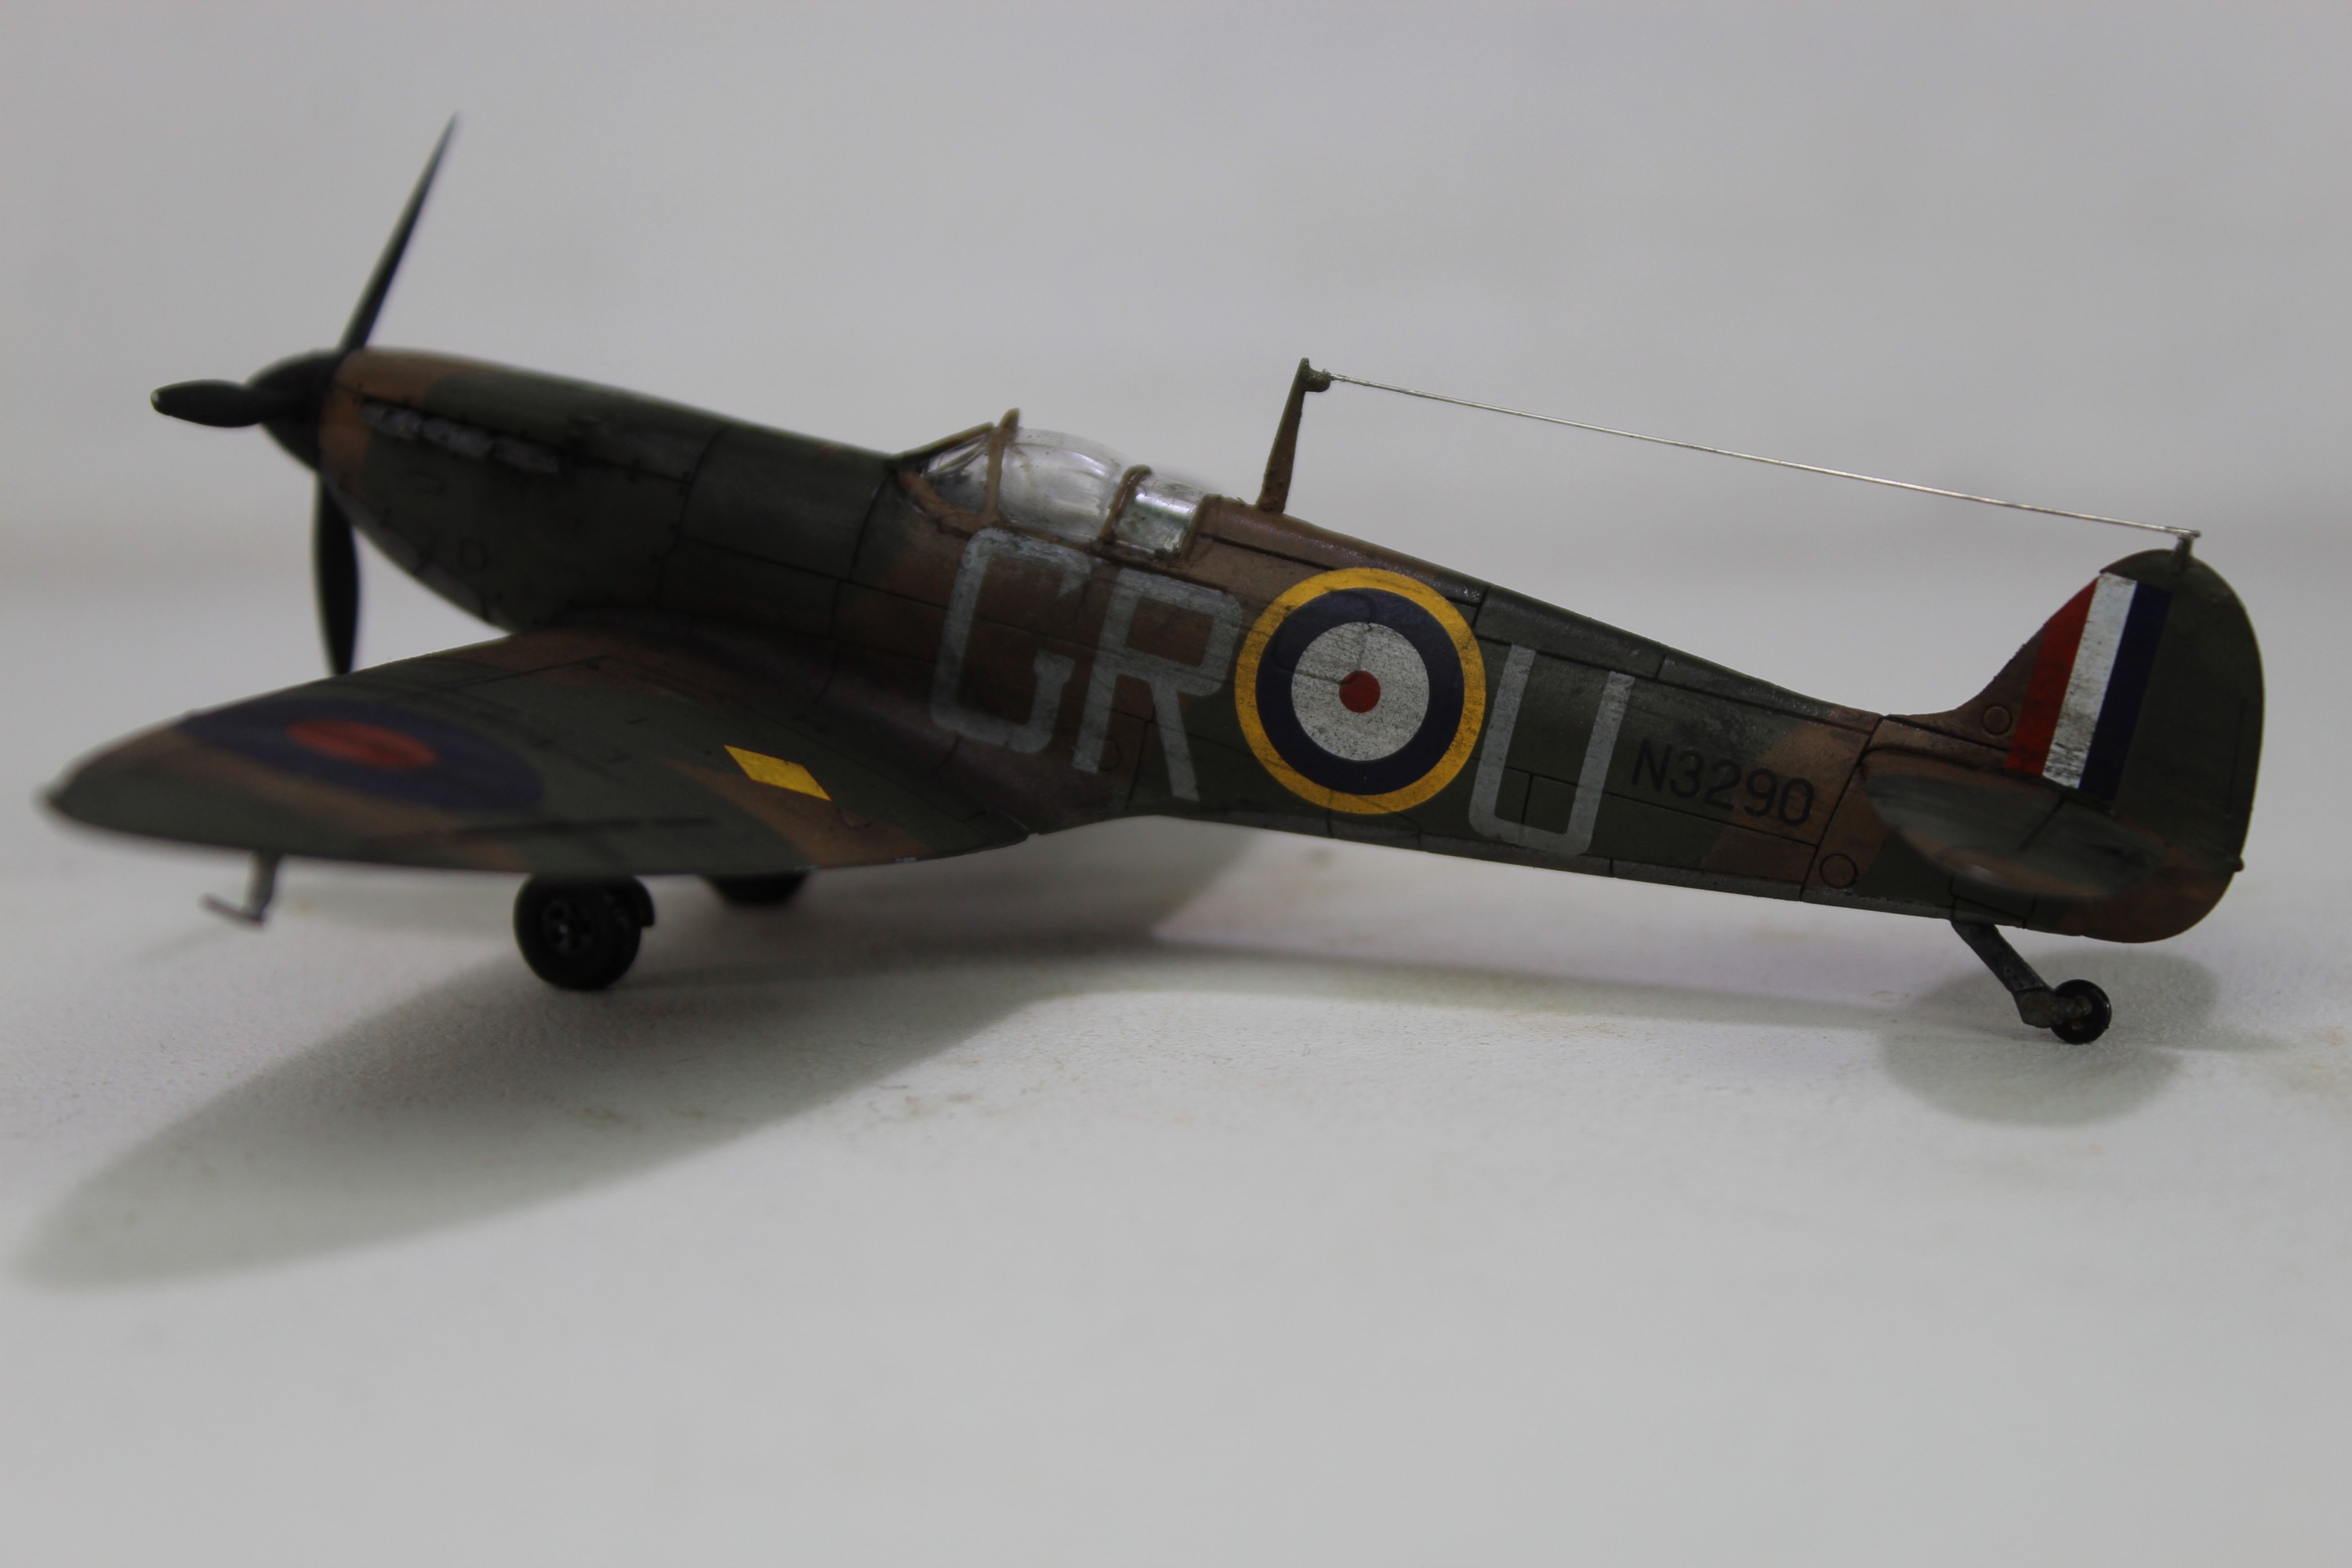
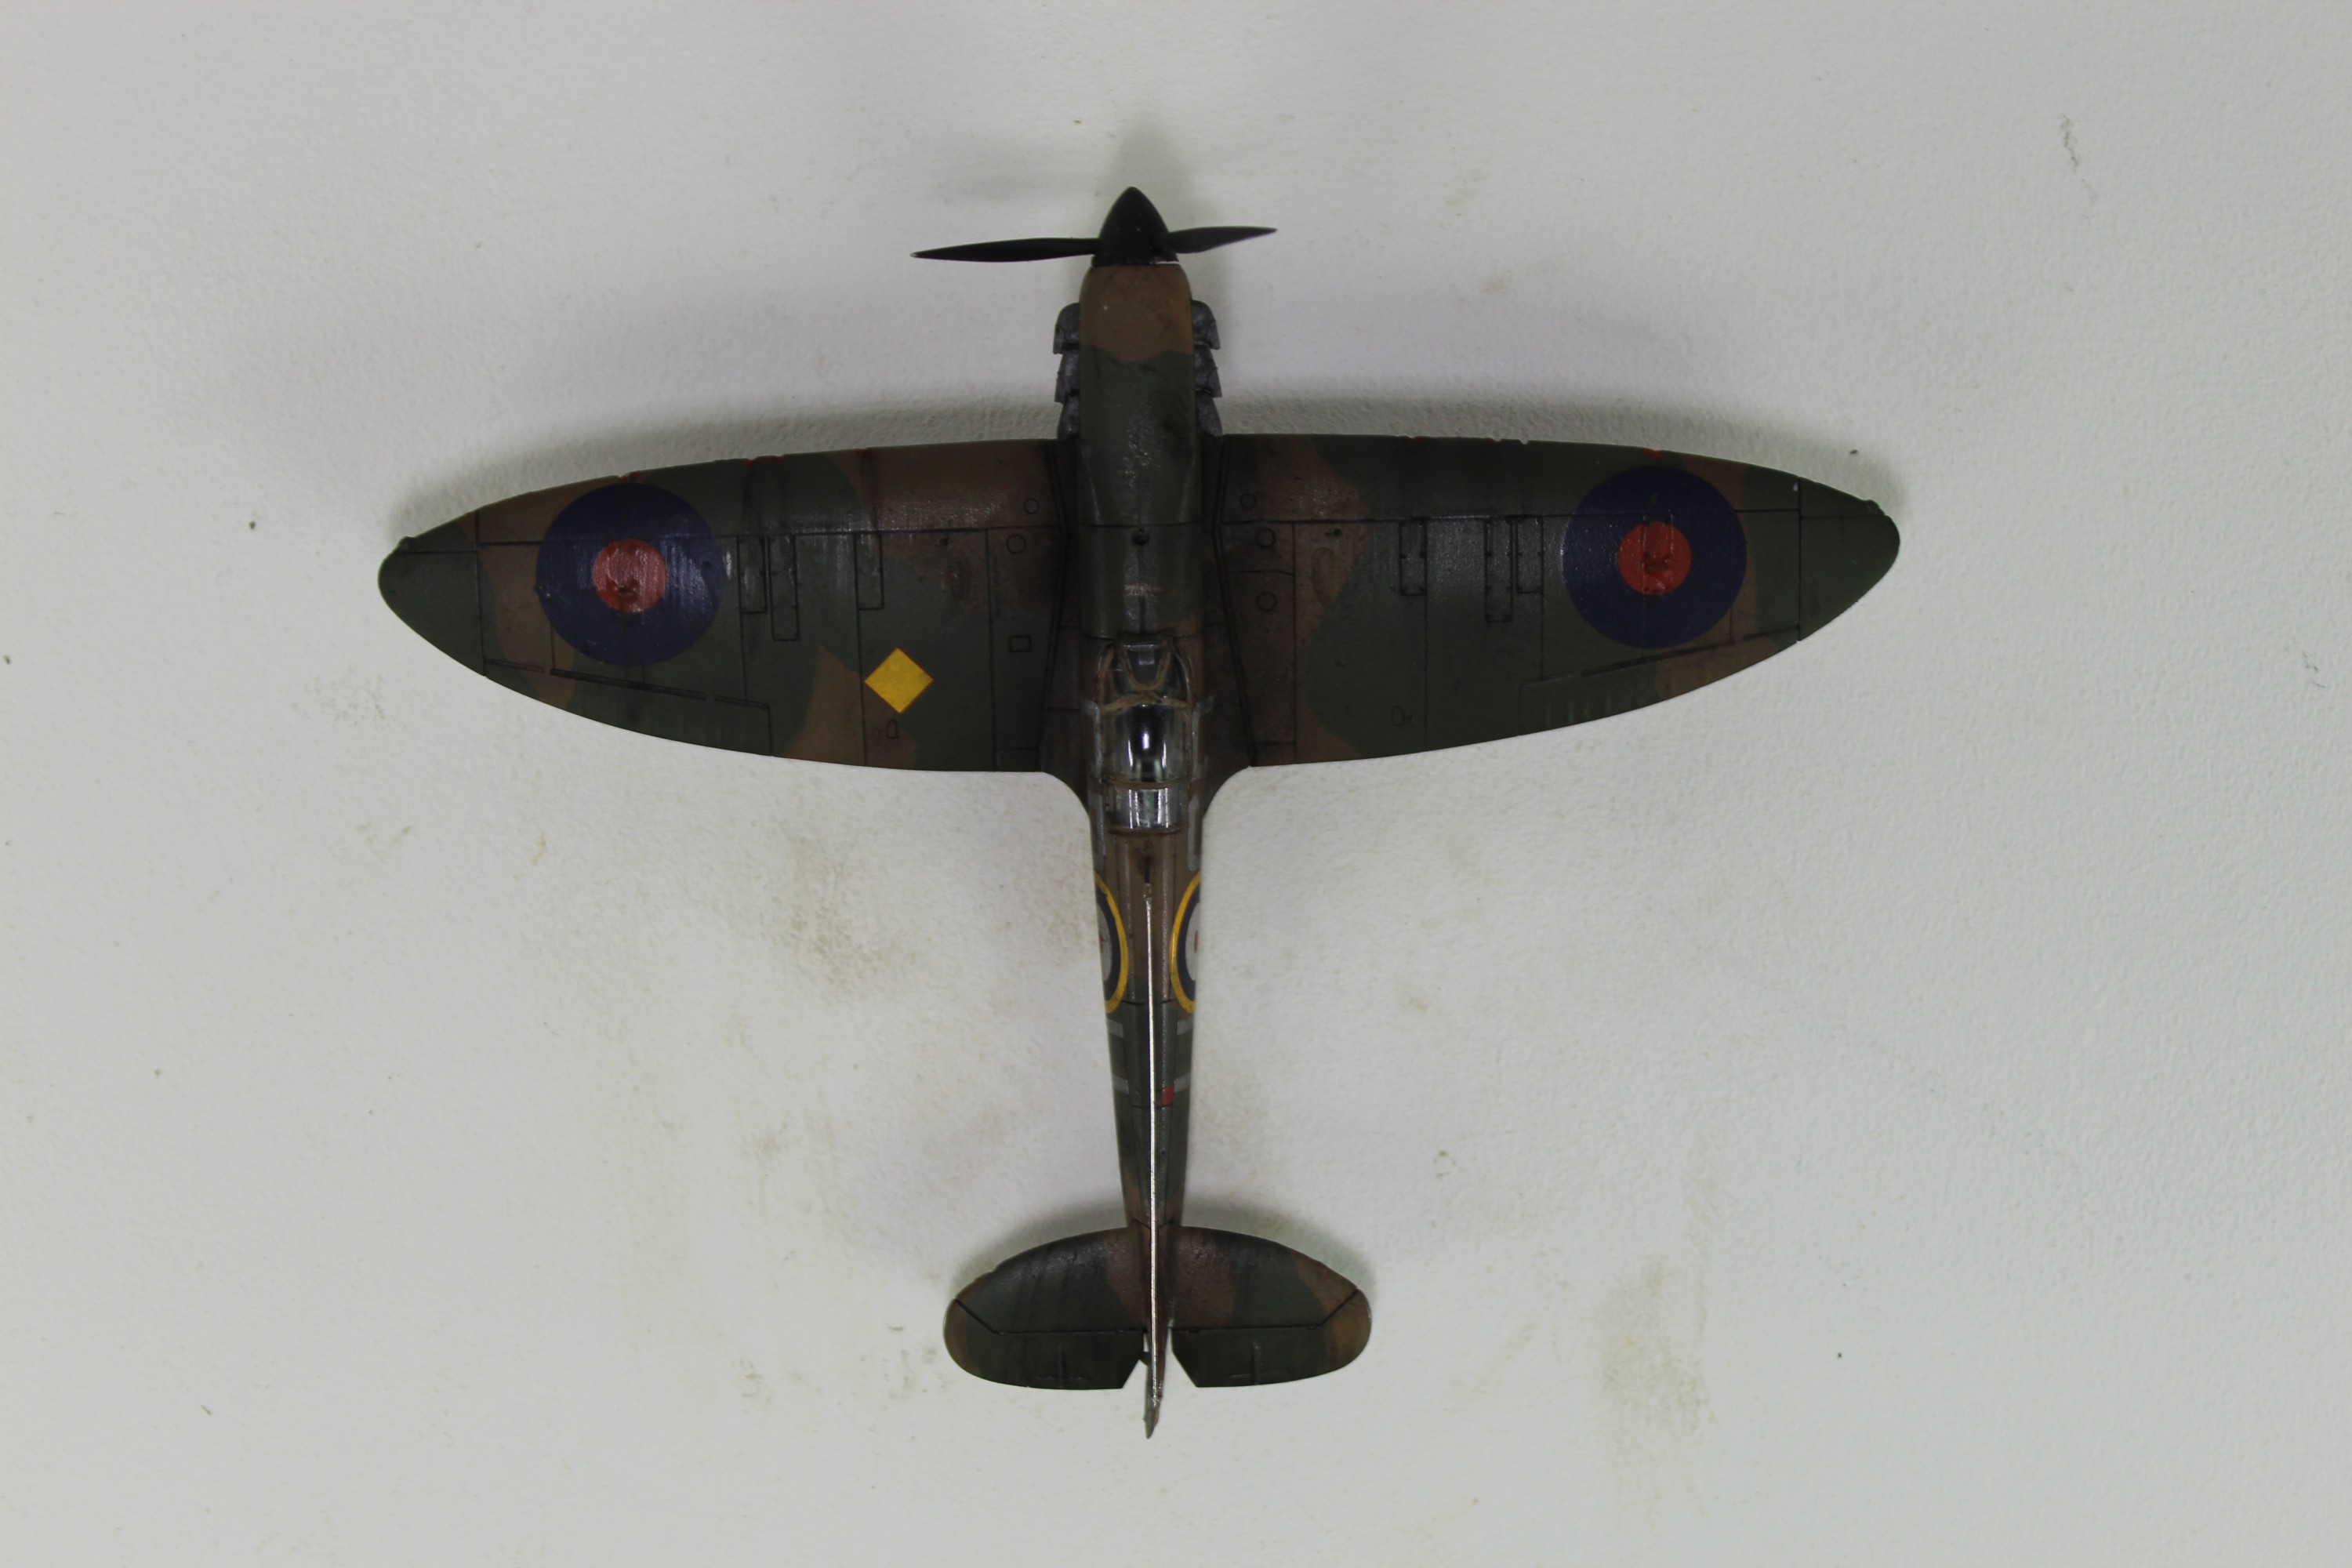
It has been a fun little build. I have learnt a few things along the way. I need to remember to fill the gaps, mask the canopy better and more practice on decals. I am however pretty happy with this for a first Scale Aircraft Model Build.