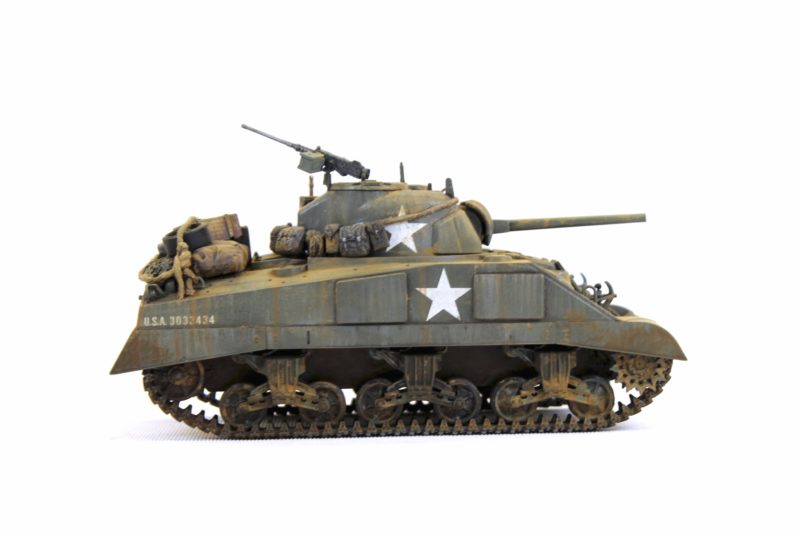
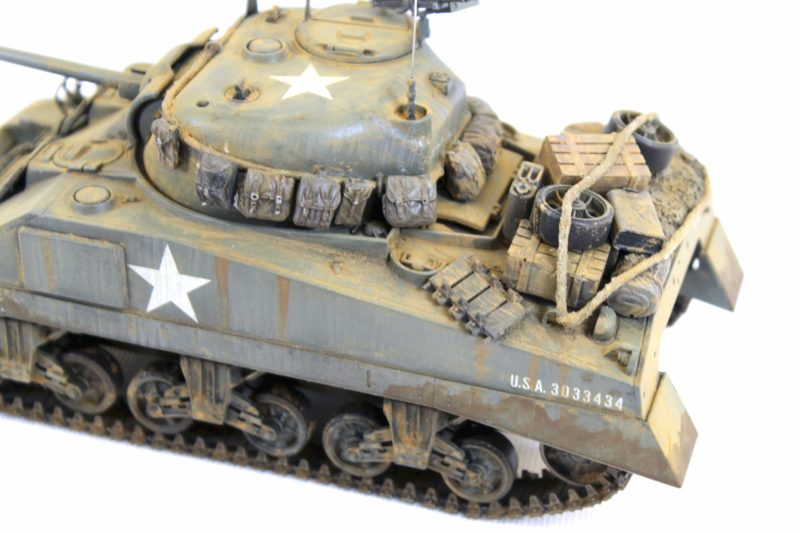
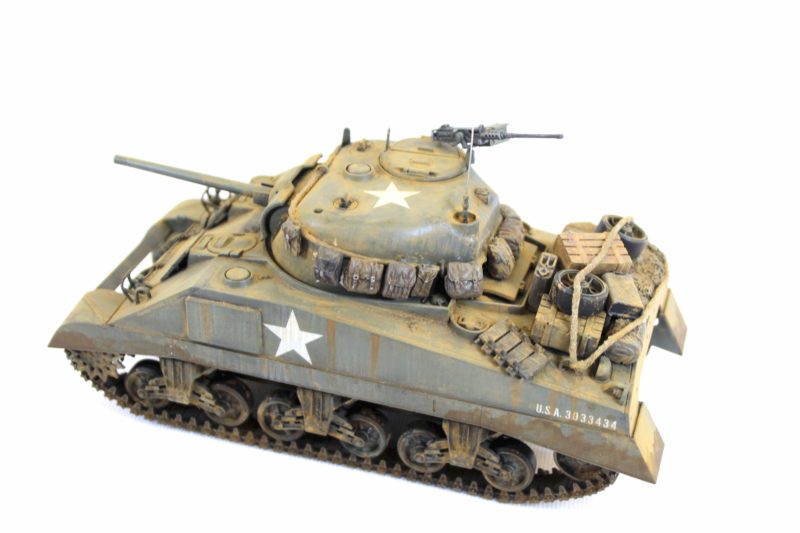
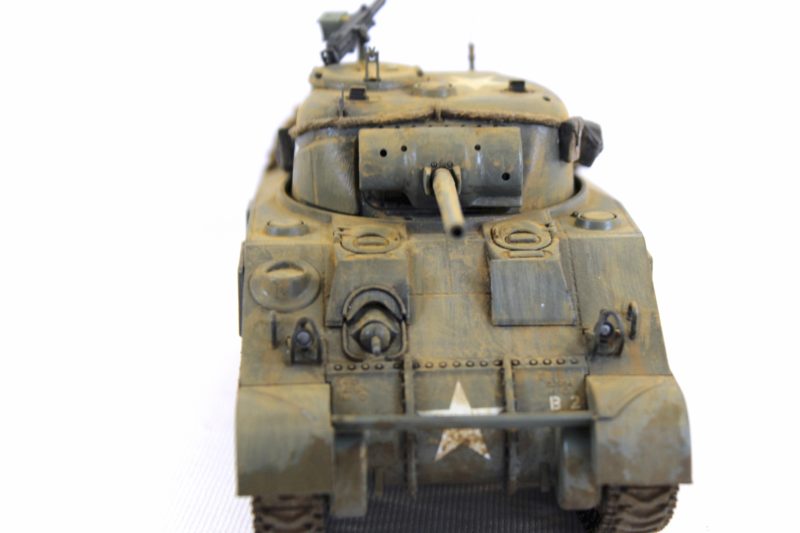
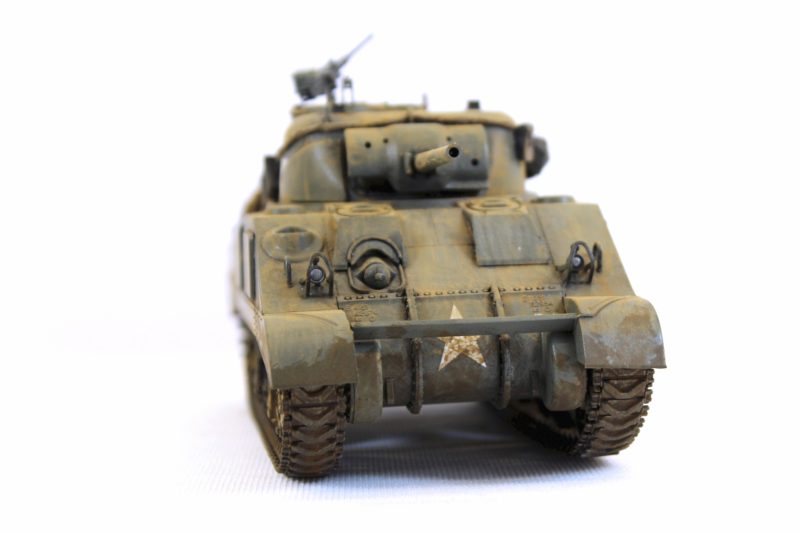
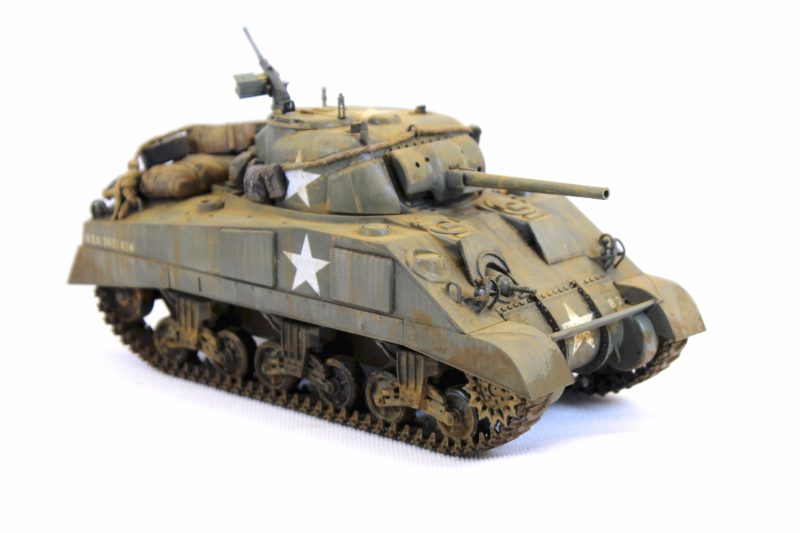
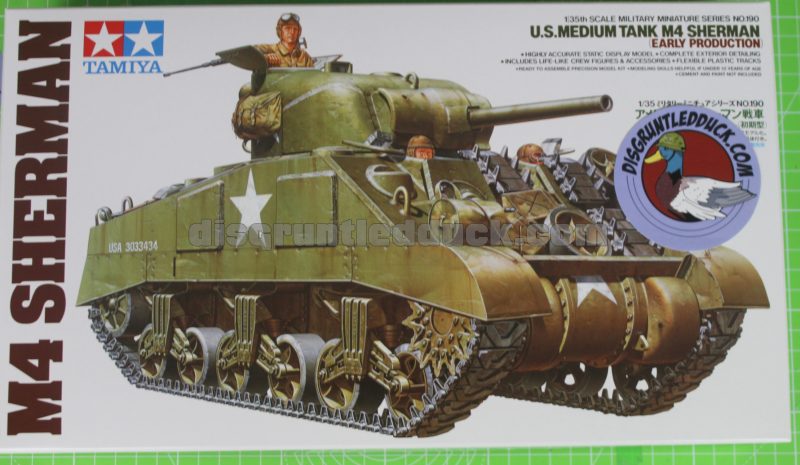
This weeks post will be the Tamiya M4 Sherman Early Production Step By Step Full Build. This Tamiya Sherman Scale model kit was quite reasonable coming in at under £25. The kit gives you the option to make a variety of variants of the famous American Tank and should turn out to be a fun build. Enjoy this Tamiya M4 Sherman Full Build.
Building The Tamiya US M4 Sherman Early Production
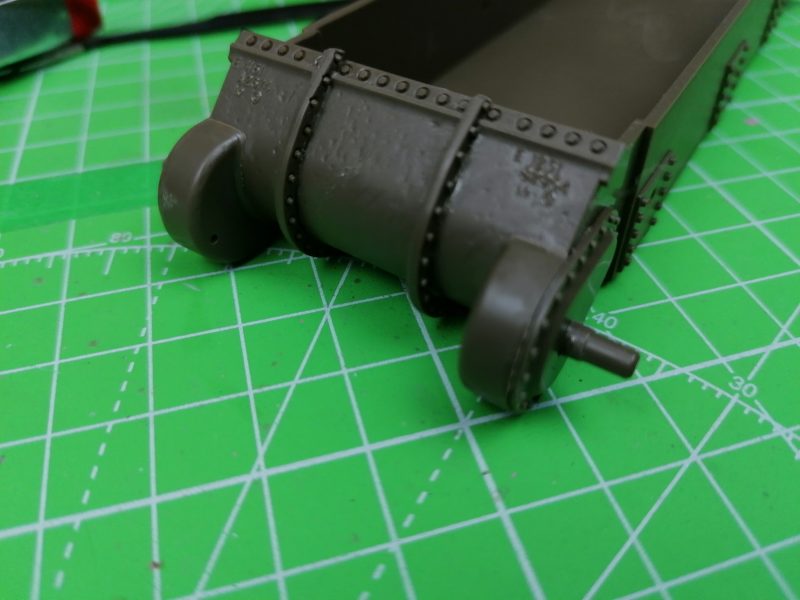
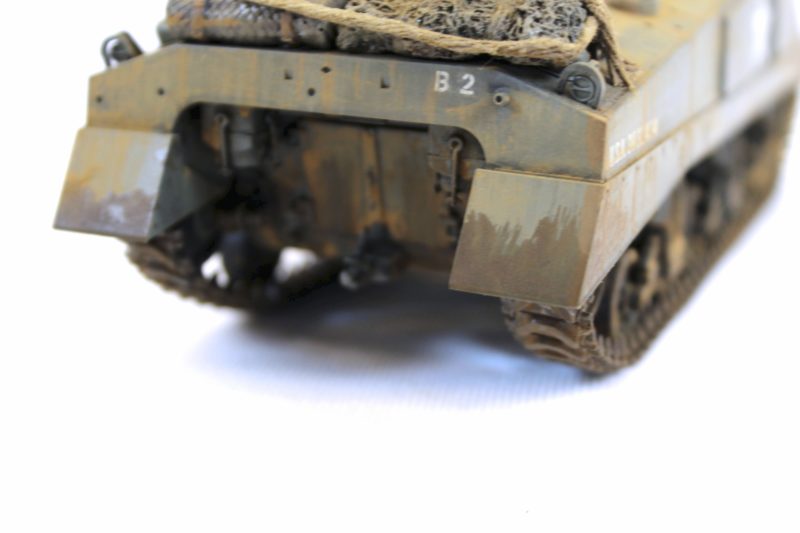
The first option that is interchangeable is the front of the hull. I decided on this part as it has some beautiful acting marks that I feel are going to look great once the weathering stage is complete.
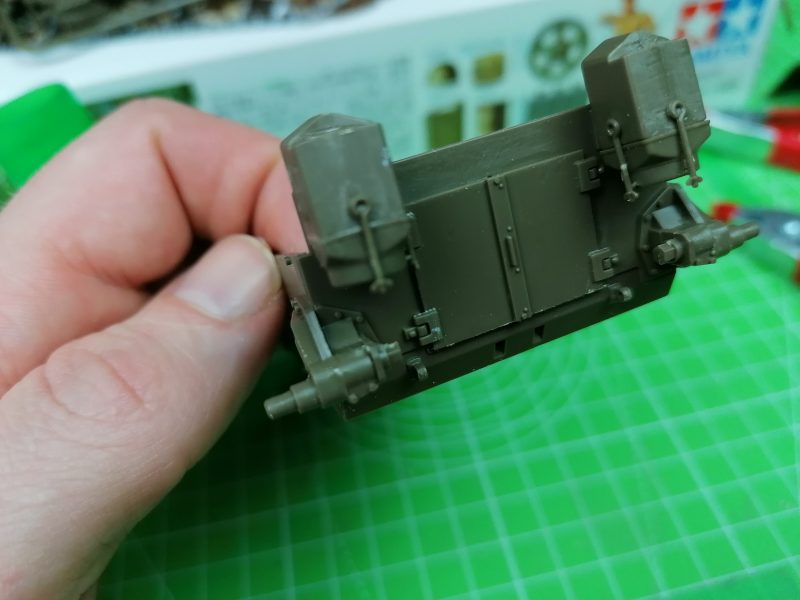
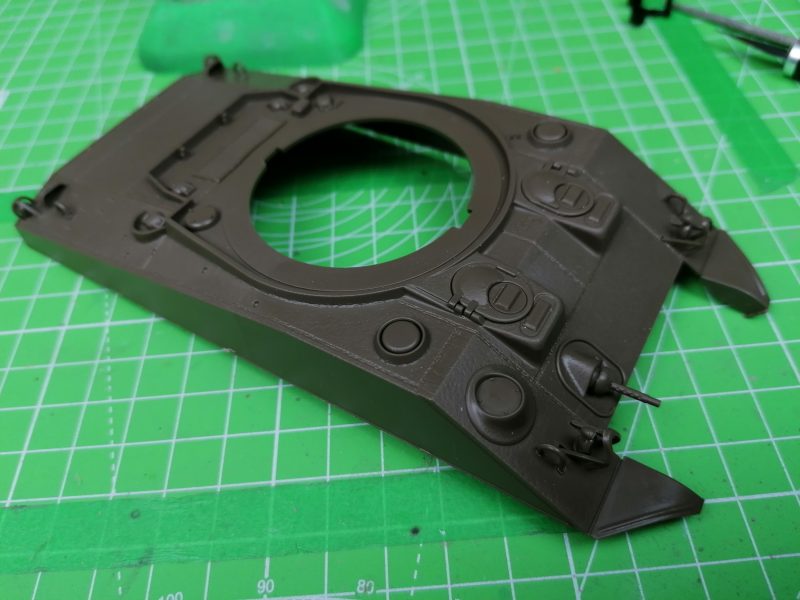
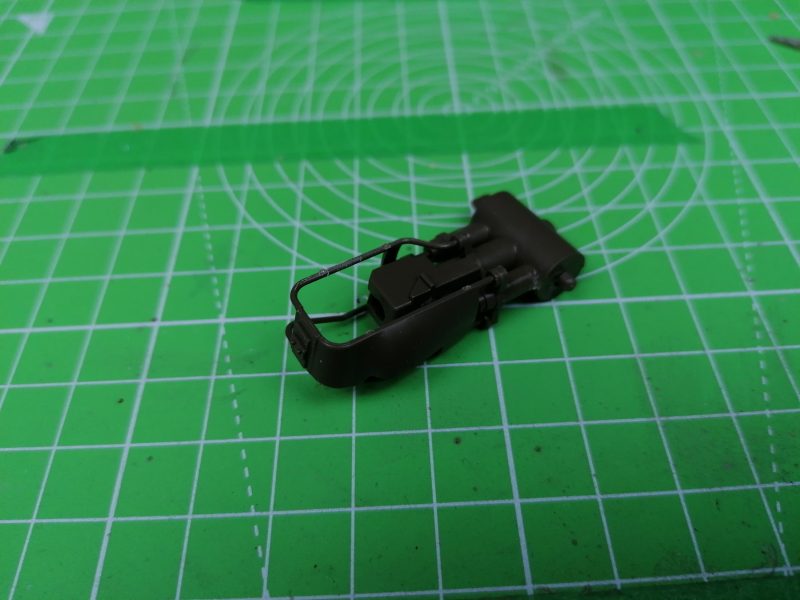
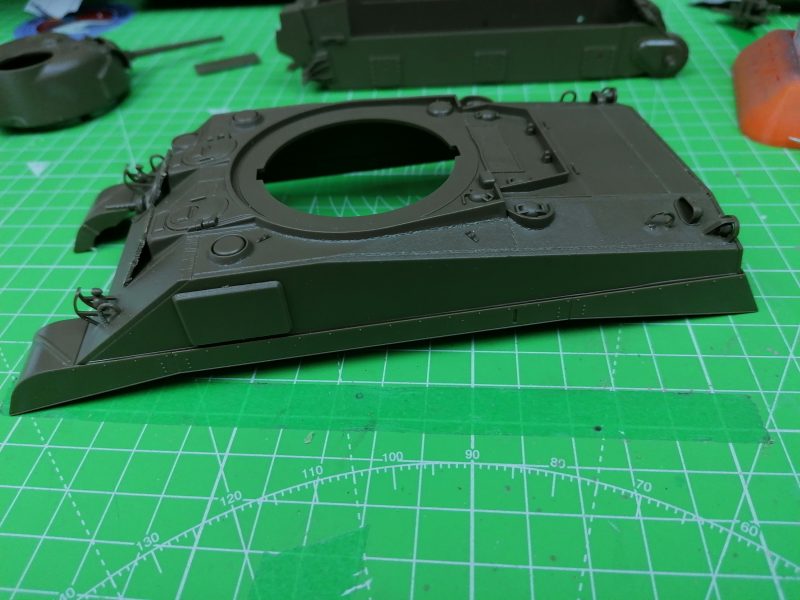
As expected the scale model Sherman tank is coming together very nicely. Everything fits perfectly. Included in the kit is a fair amount of stowage. most importantly Looking at photos of the M4 Sherman in action it is clear that the tank was a real workhorse and carried a fair amount of kit into the field.
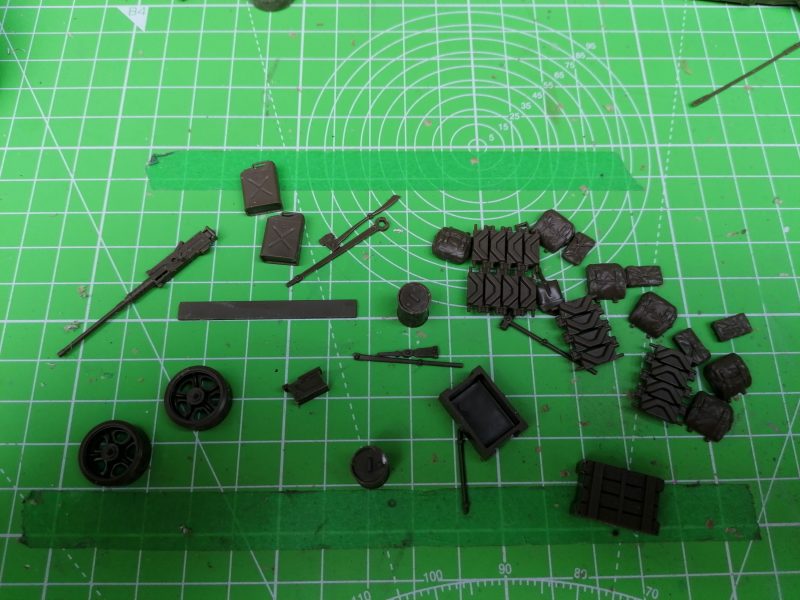
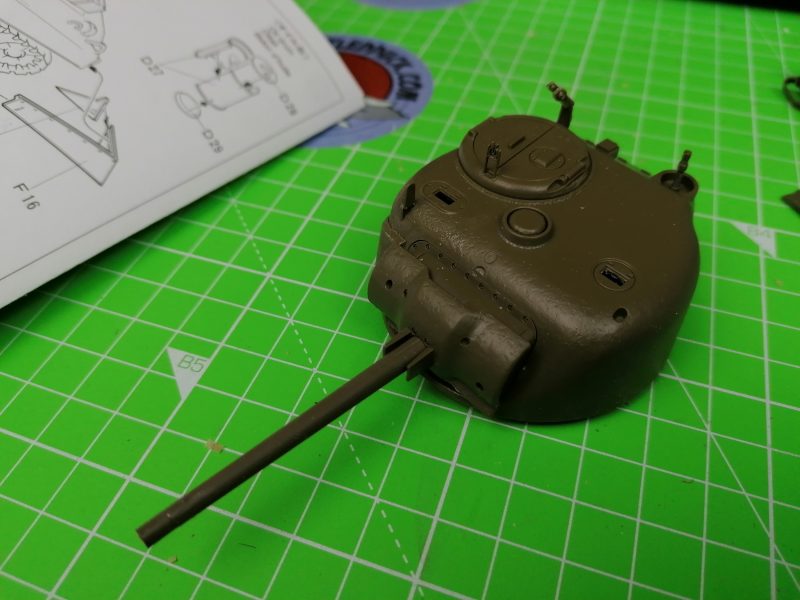
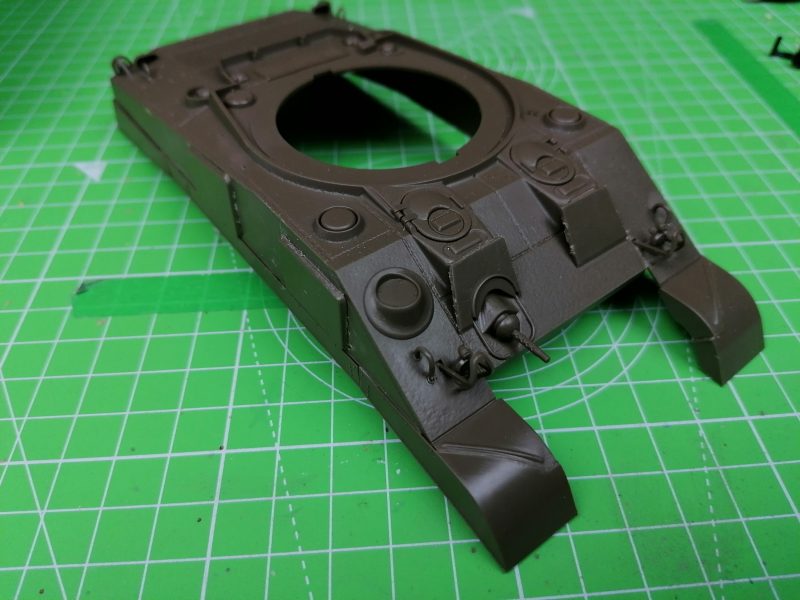
The main parts of the Tamiya scale model tank are completed. In the meantime, I’m going to keep the hull in two parts while I paint it finally I will join them together later on.
Tamiya US M4 Sherman Early Production Painting
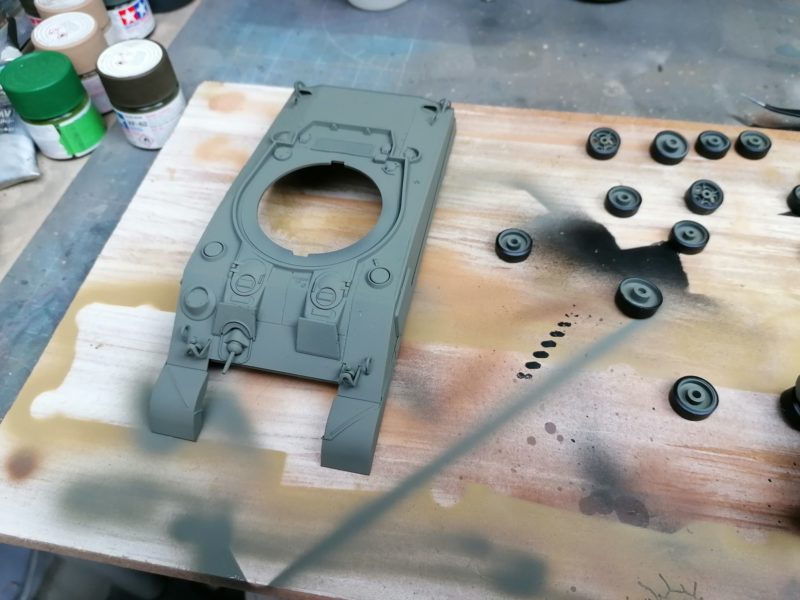
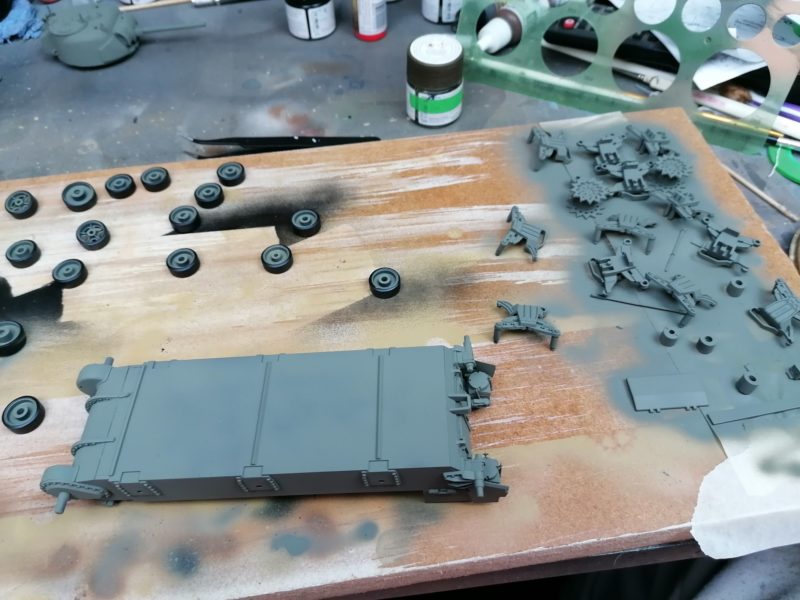
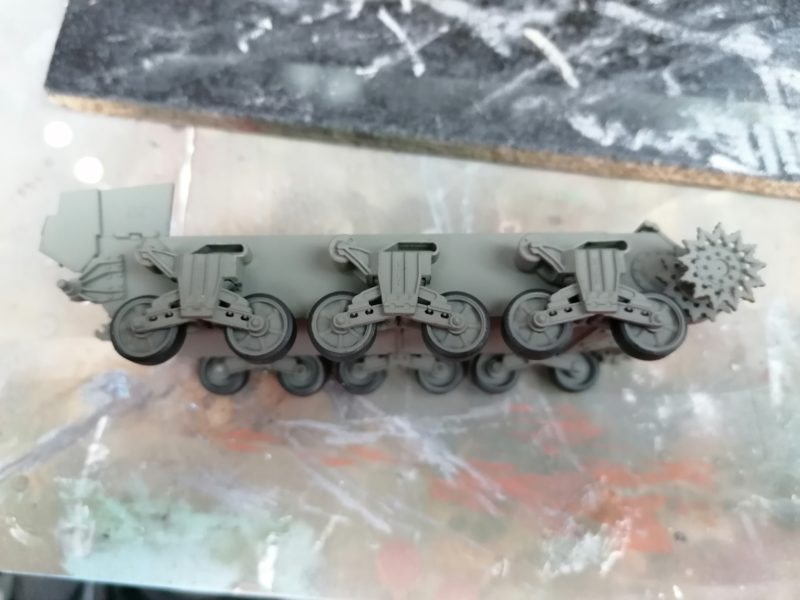
At this time, I painted up the tank with a lightened Olive drab xf62. I decided to try out a very dark wash on this model kit, using a black oil wash.
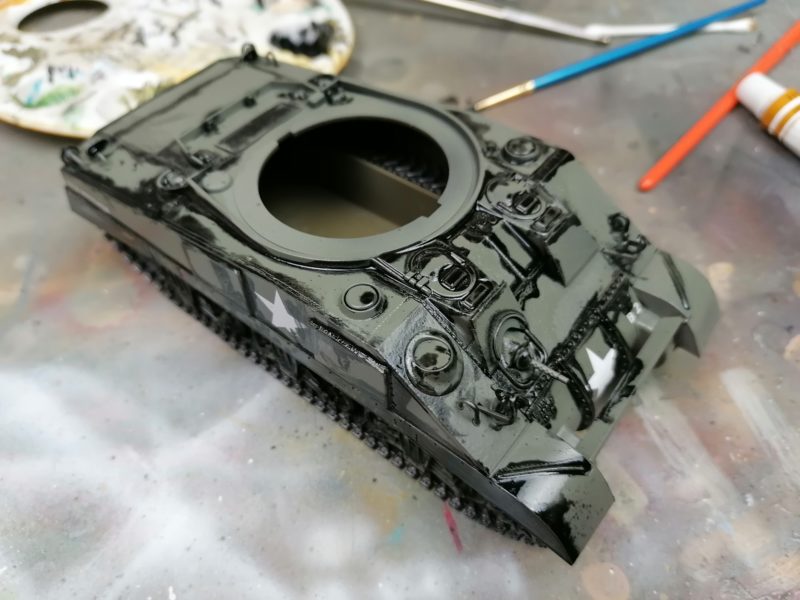
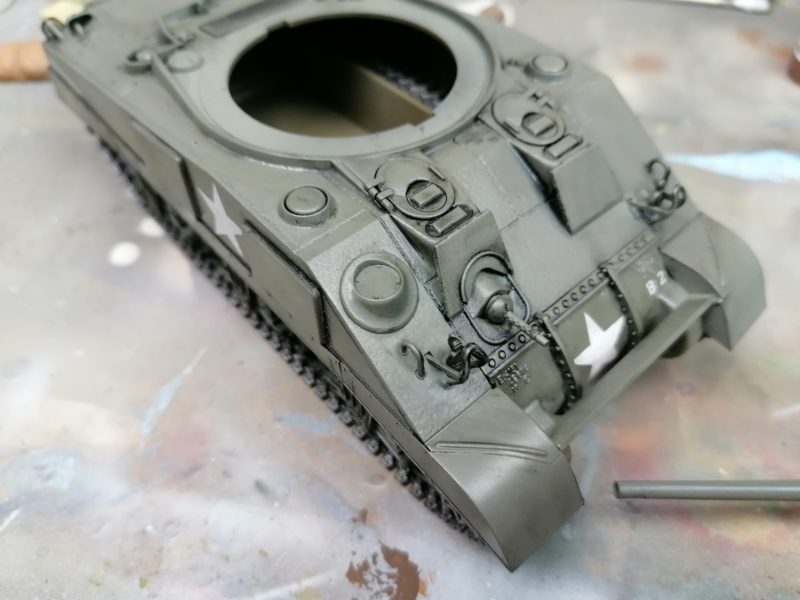
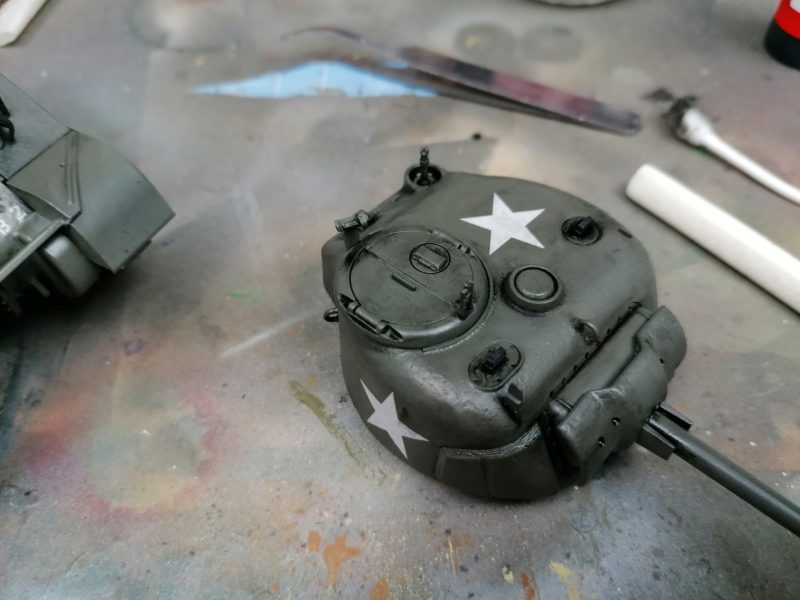
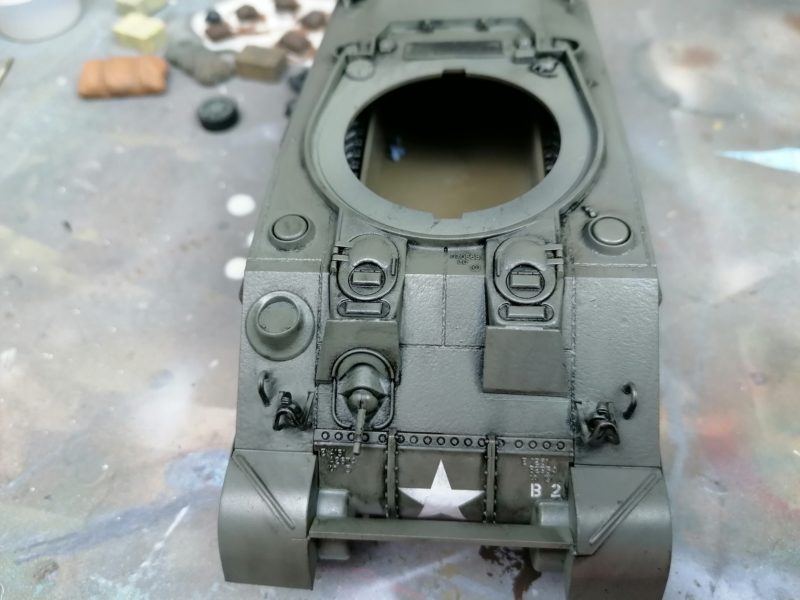
without doubt, the black oil wash has really done this model kit justice. The nuts and bolts are really jumping out. The tracks have been fitted and the two half of the hull have been joined together.
Stowage for The Sherman Model Tank Kit
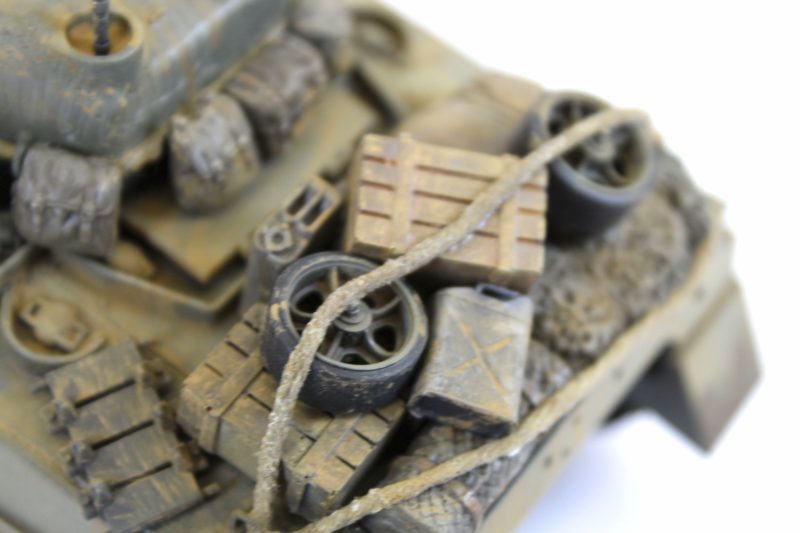
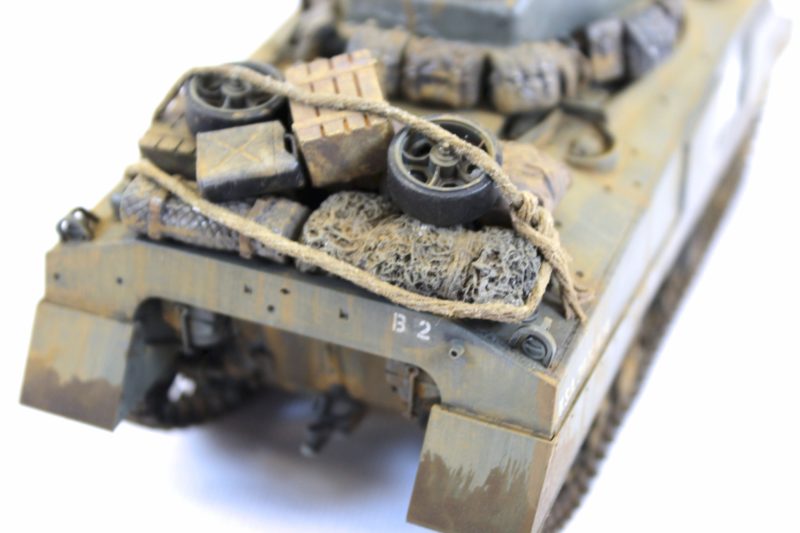
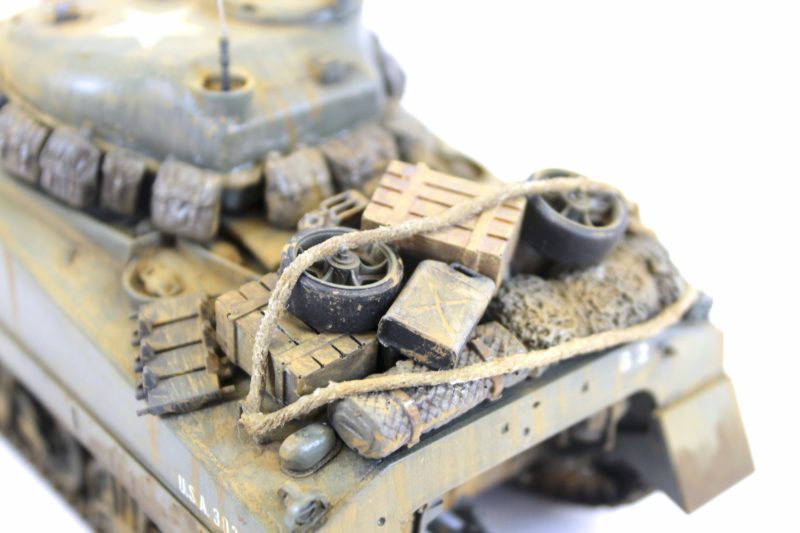
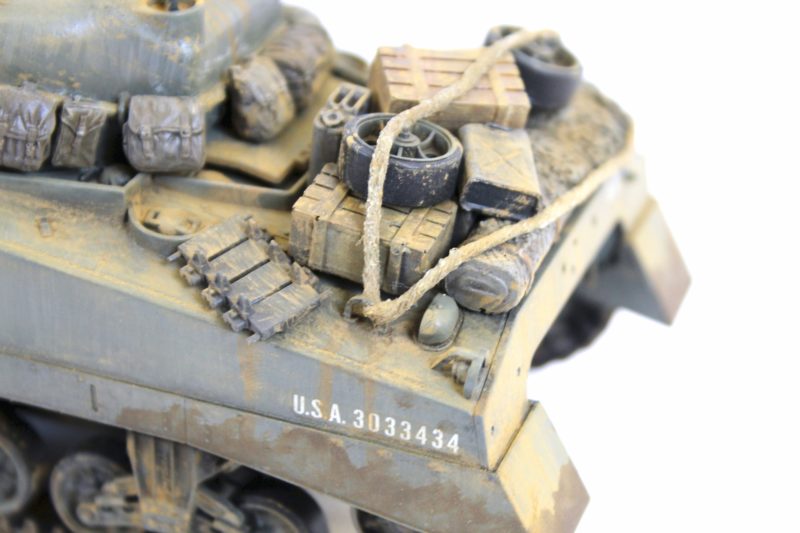
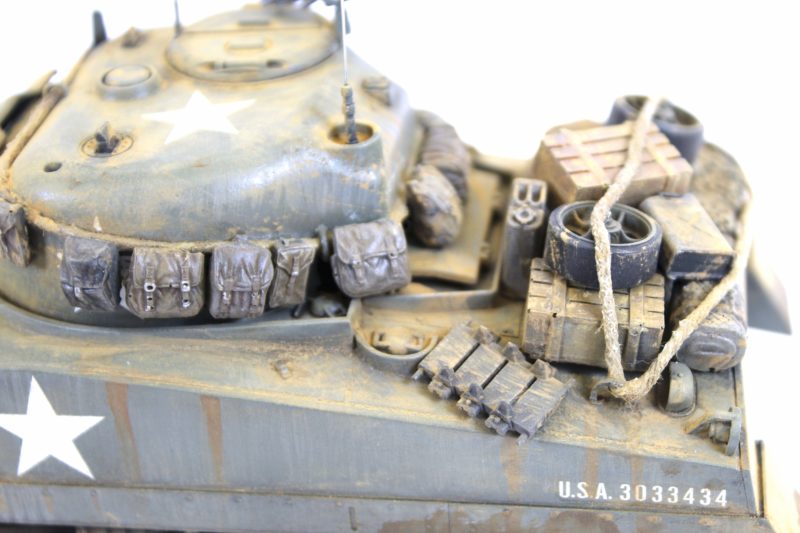
Next up, and before I start weathering the Sherman Tank Model I’m going to work on the scale model stowage. I have taken some of the parts included in the Tamiya model kit, but I am also using some other parts that I got in a general Resin Stowage kit.
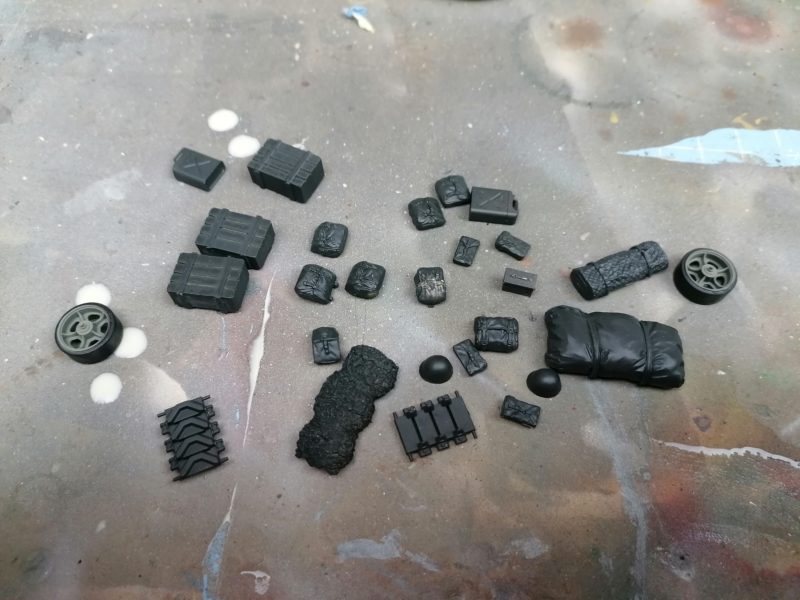
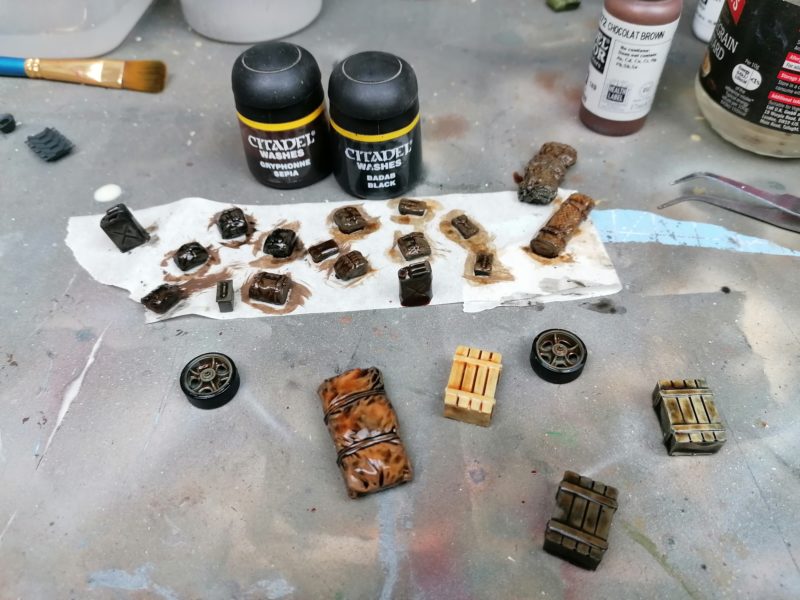
I painted them up with Vallejo acrylic and thought rather than using oil washes I used Games workshop Citadel washes. I think the final result is very nice and all the stowage has a very natural look.
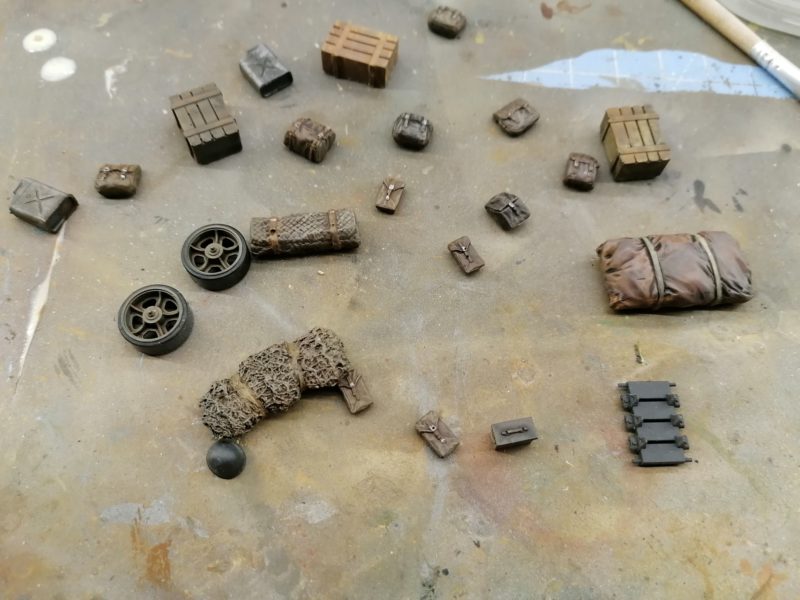
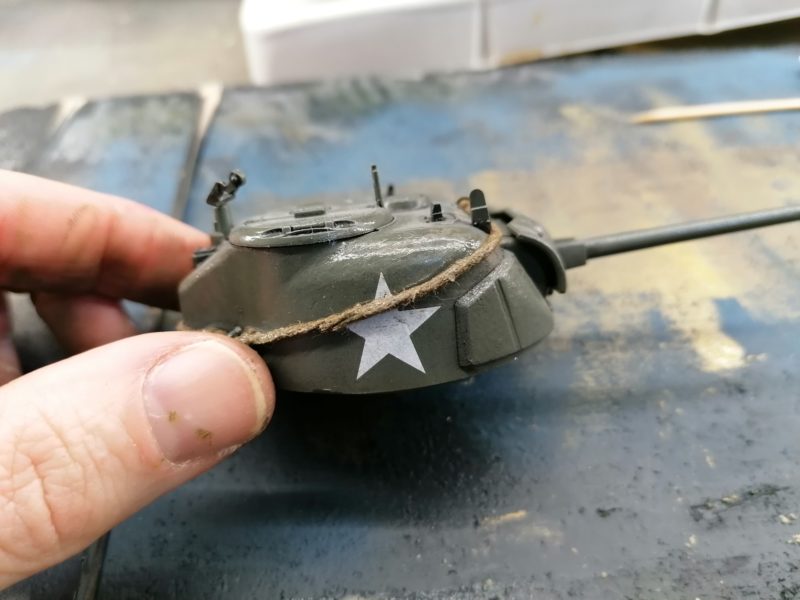
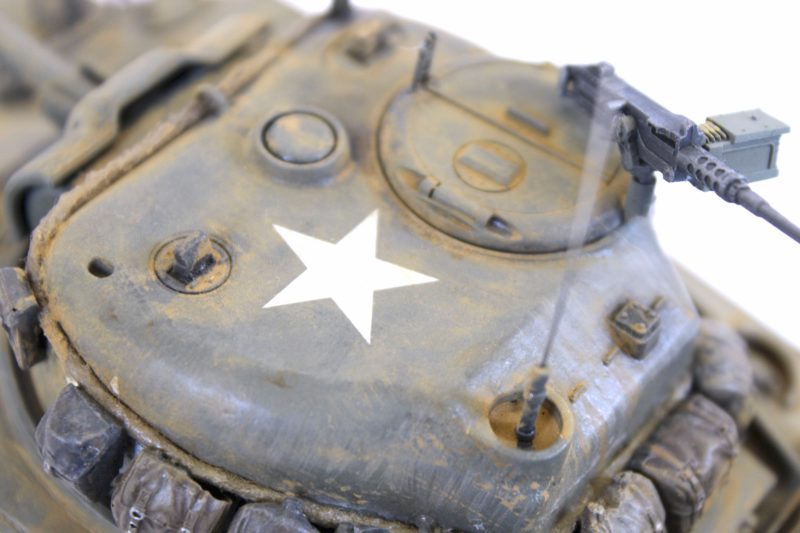
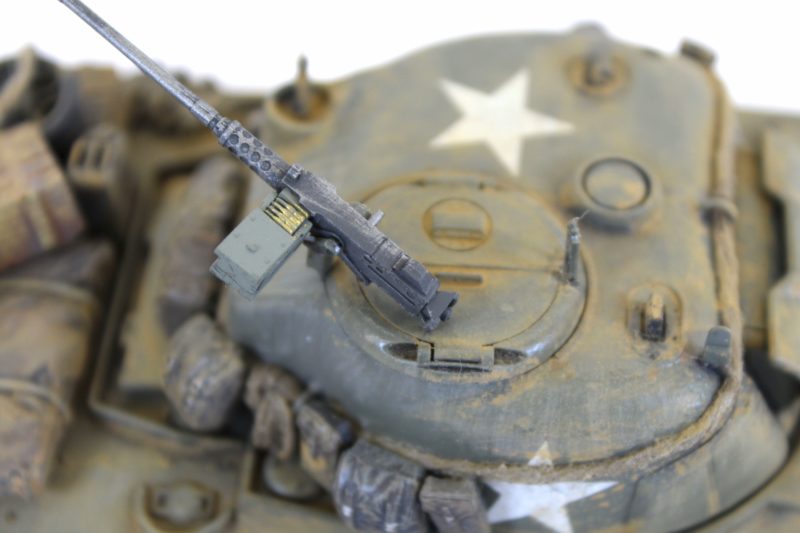
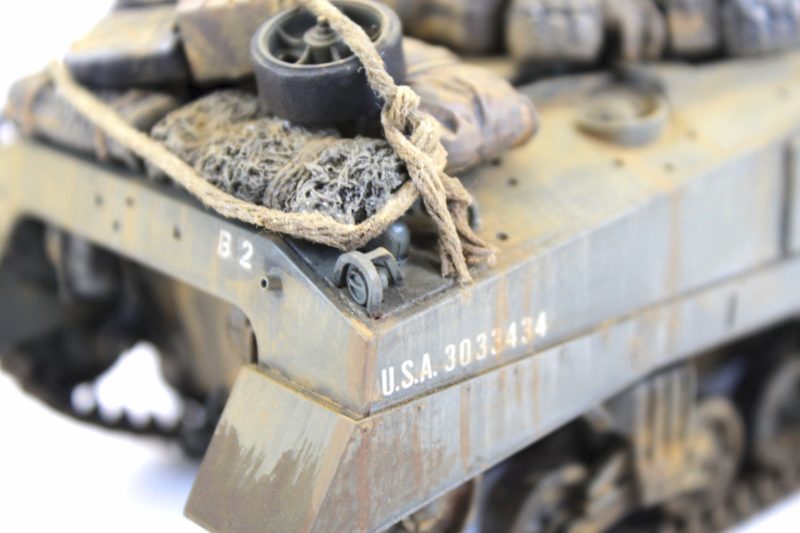
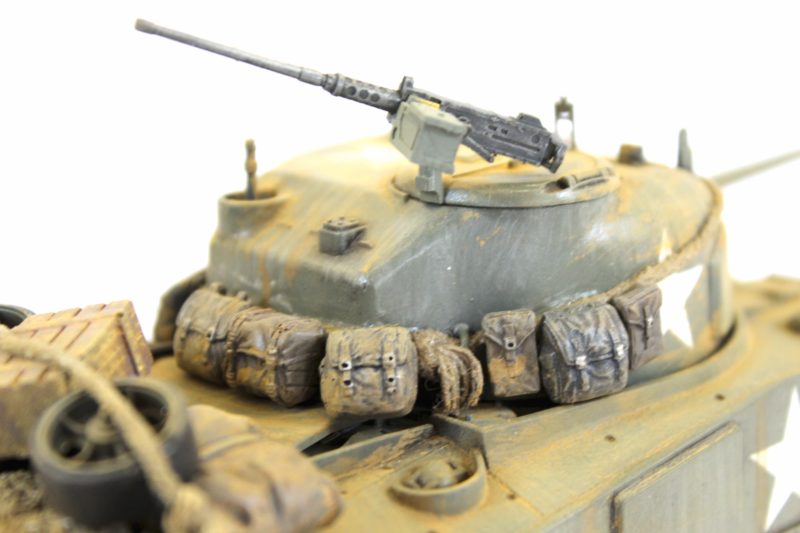
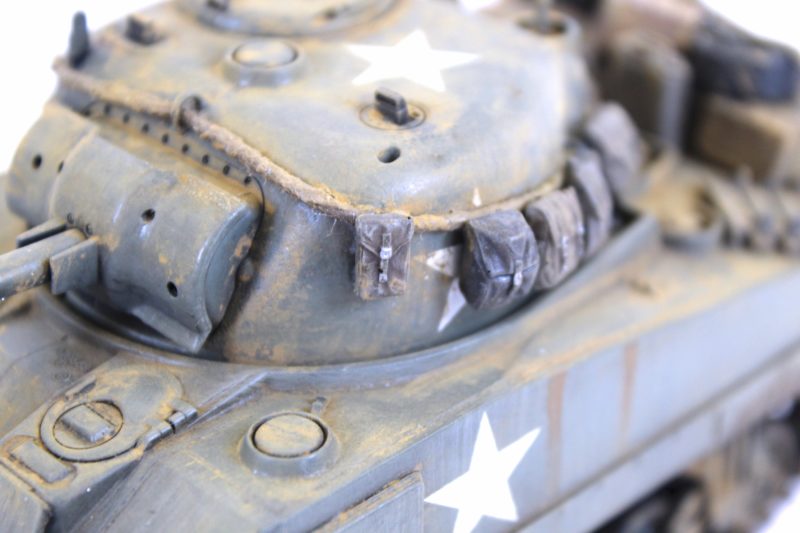
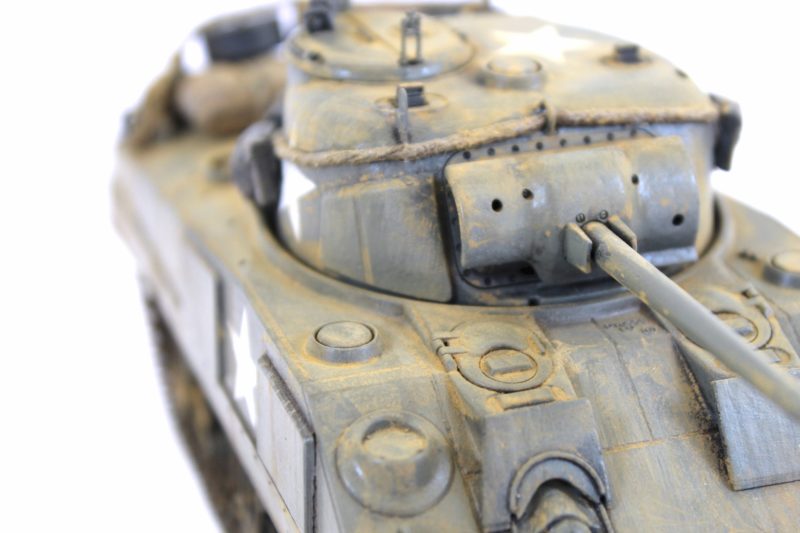
I wanted to add a rope around the turret that I could hang backpacks and the soldier’s personal kits too. For this, I just used some string, coated with PVA glue. After an initial coat of paint, I dry brushed to bring out the detail. Finally, I used superglue to affix it to the turret.
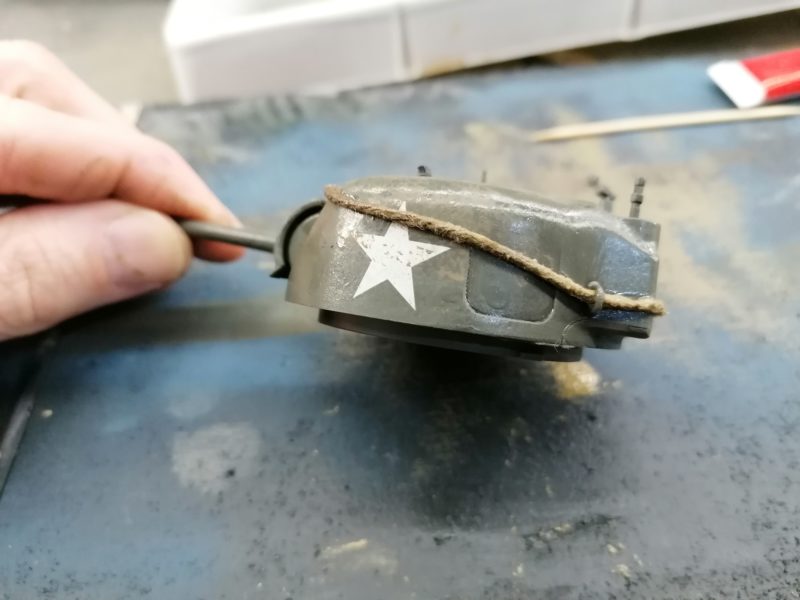
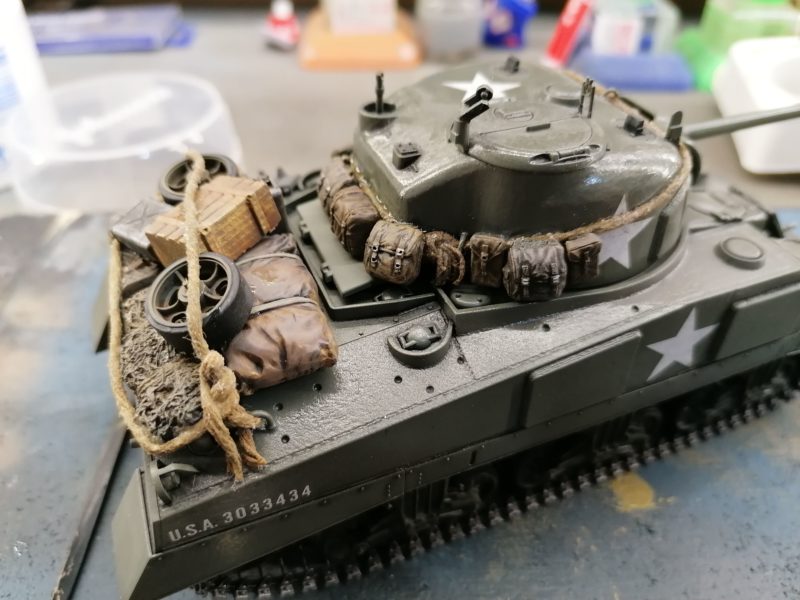
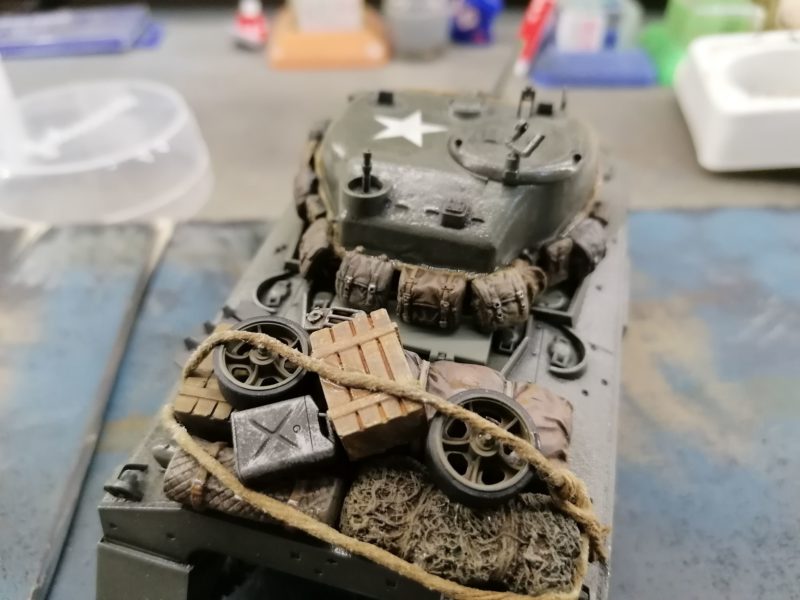
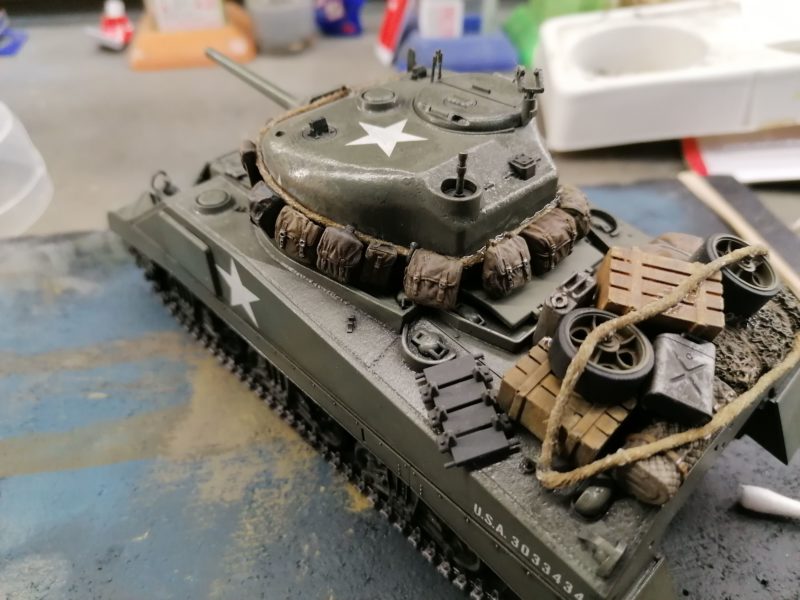
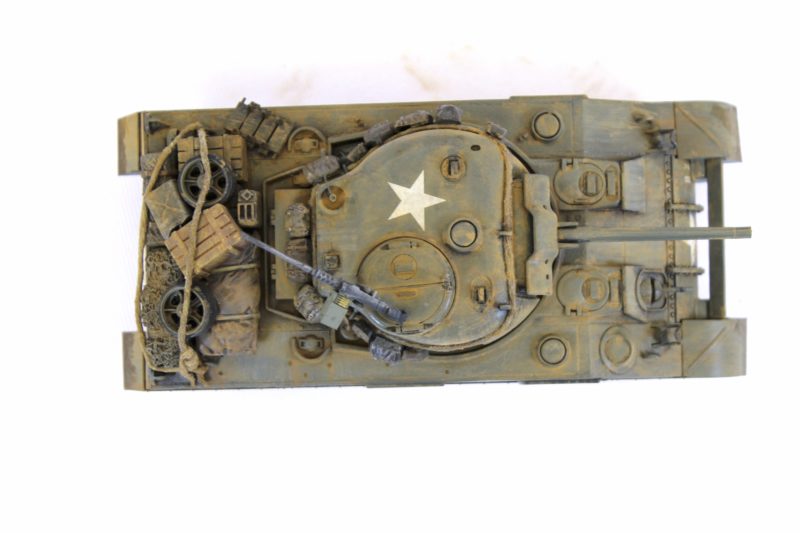
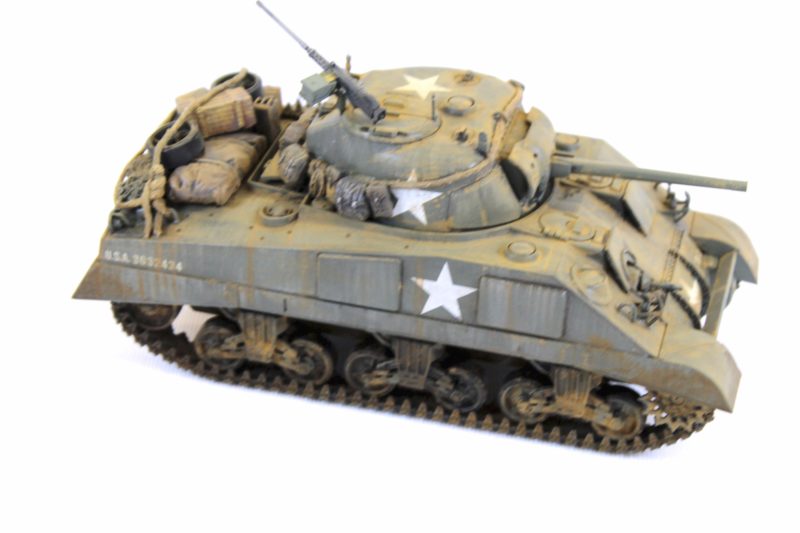
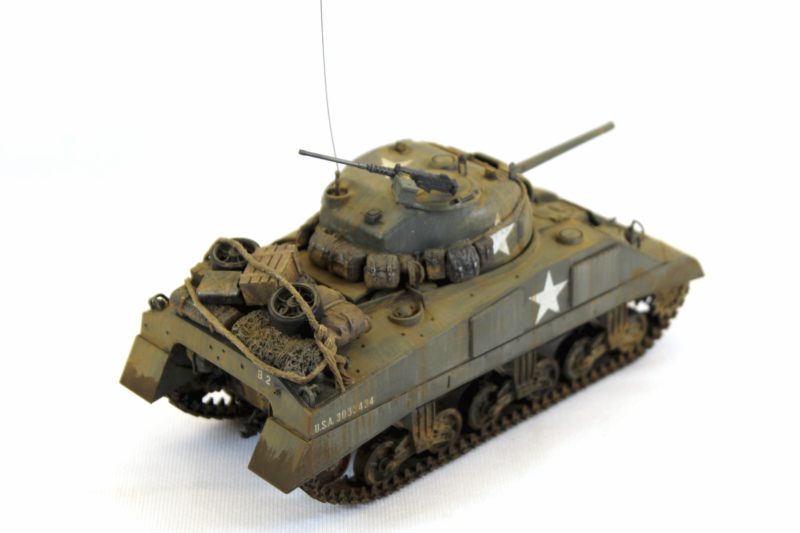
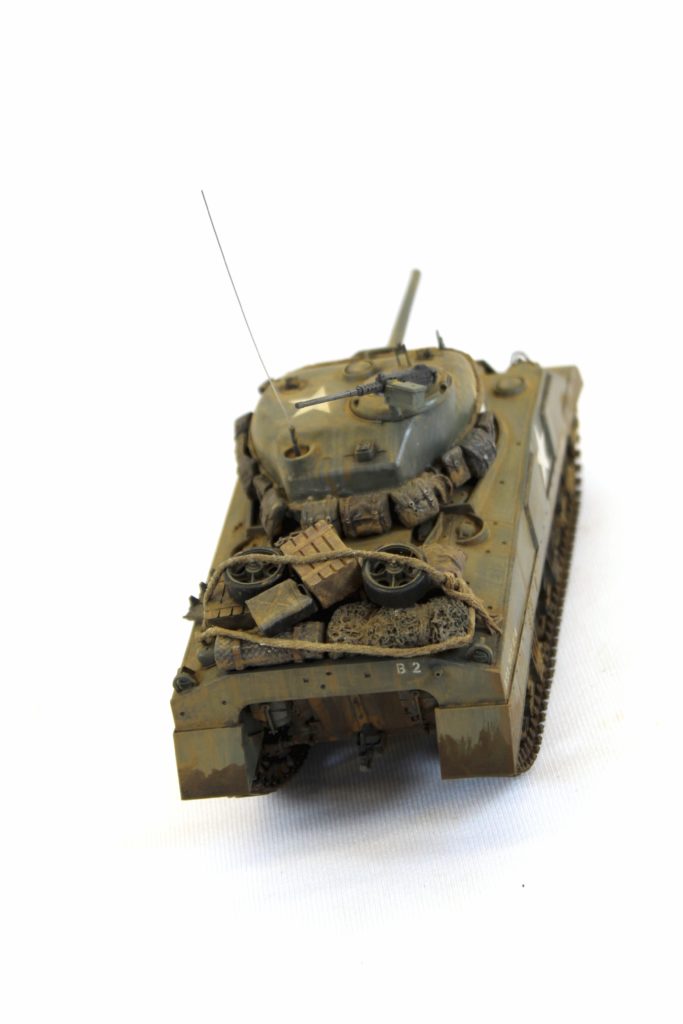
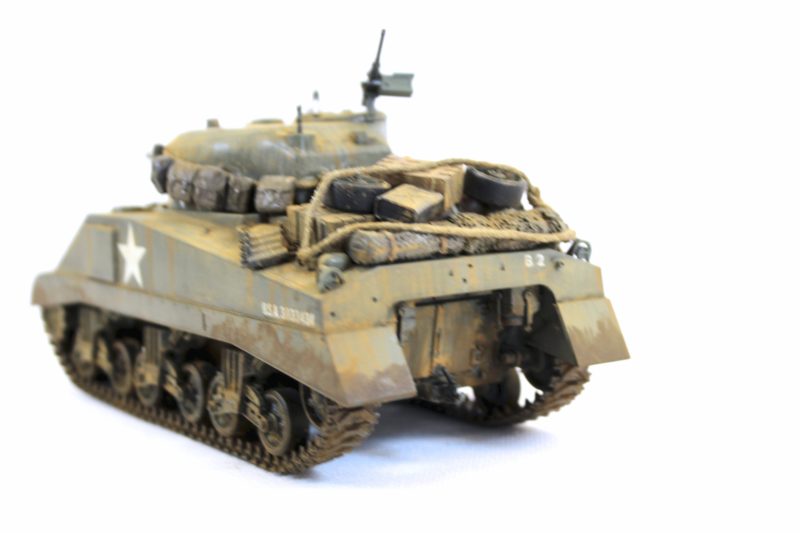
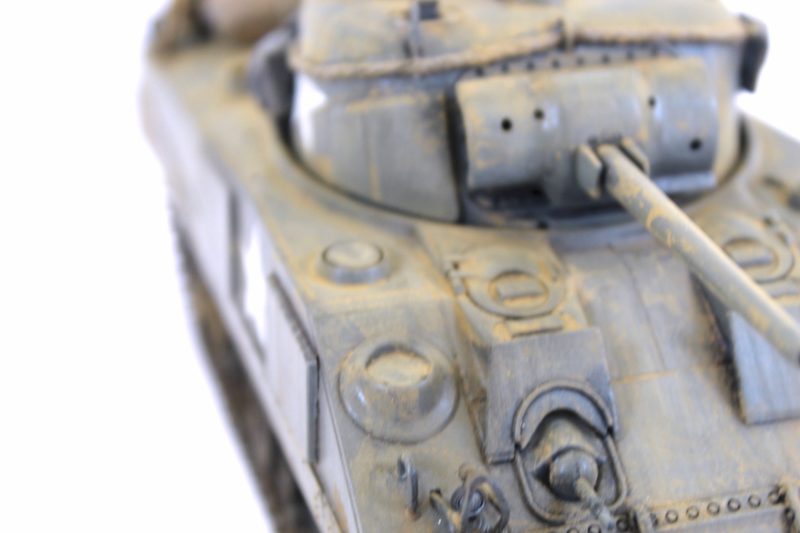
All the stowage has been fitted to the turret and rear hull of the Tamiya 1/35th m4 Sherman Model. I’m pretty happy. Being still quite new to using stowage on a model tank, you never know until you are finished if it looks realistic or not.
Tamiya M4 Sherman Full Build The Weathering
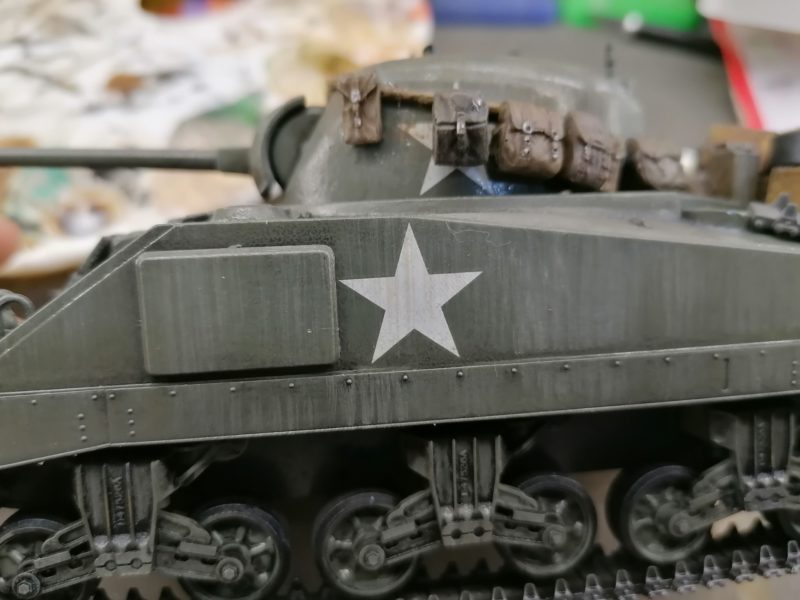
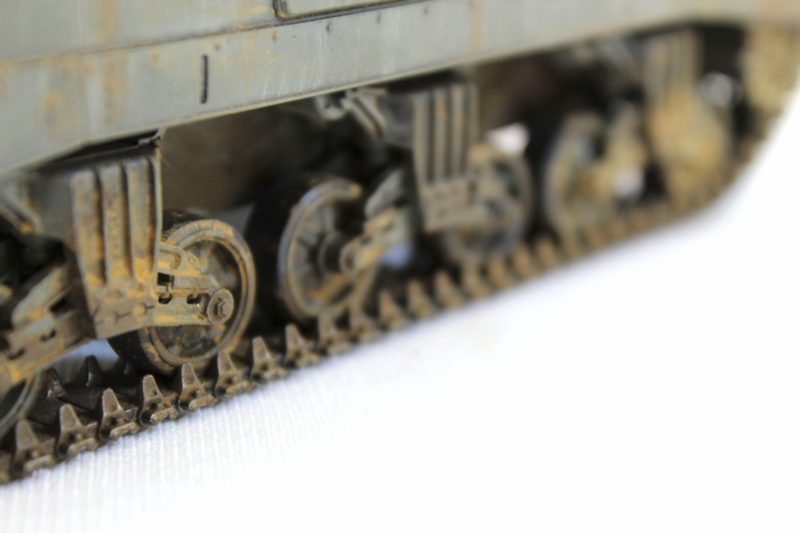
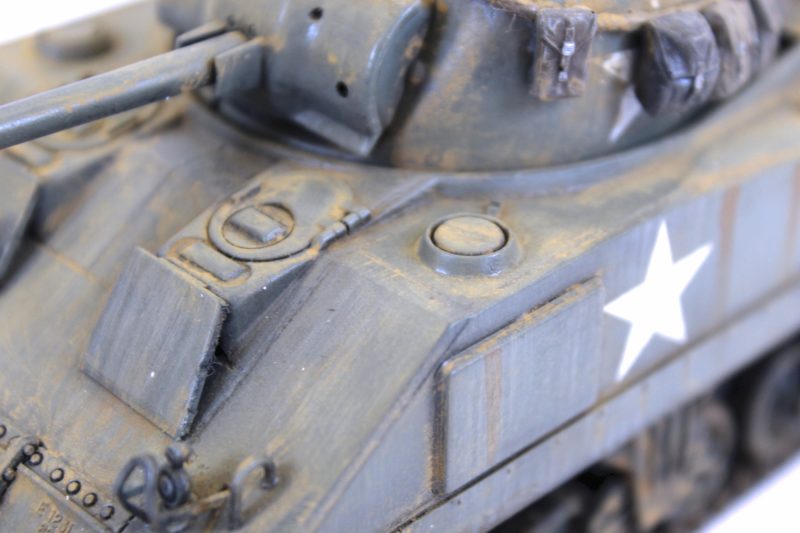
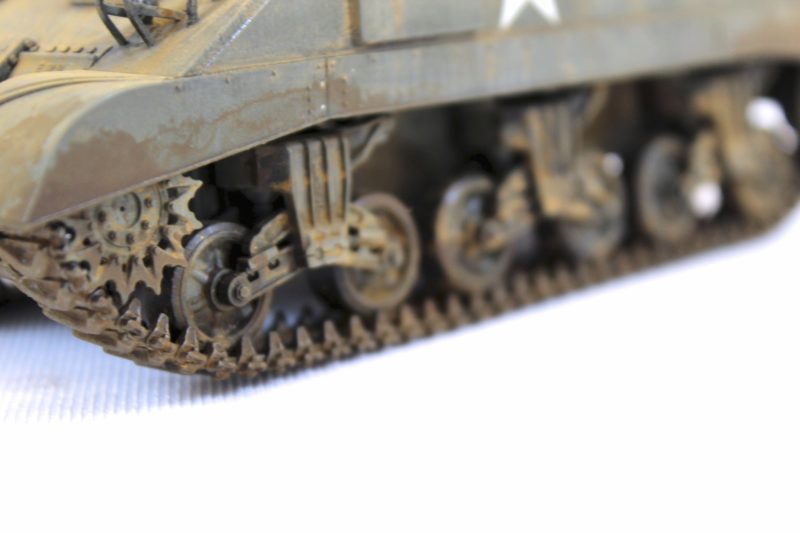
Finally, I have tried to keep the weathering on this model quite simple. Mostly rain streaks and a tiny amount of rust around some of the nuts and bolts. Finally a small amount of dust buildup around the boogies and on top of the hull.
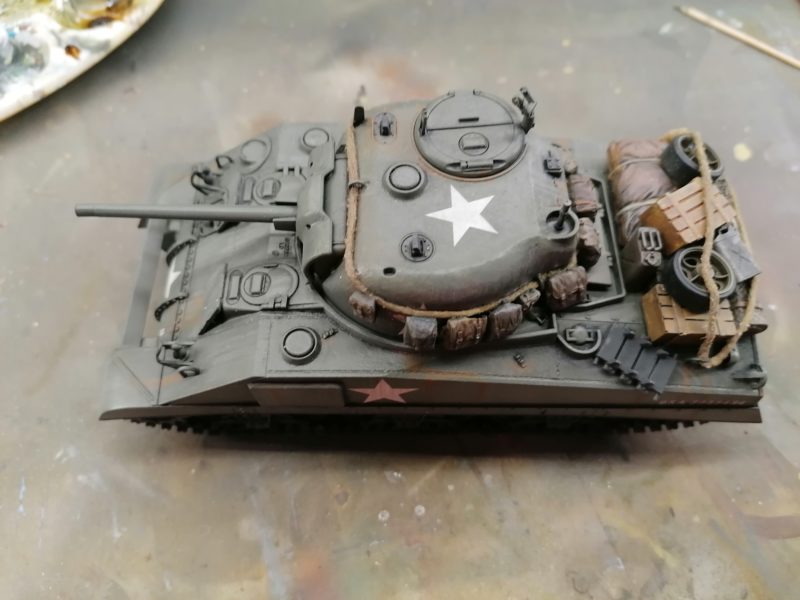
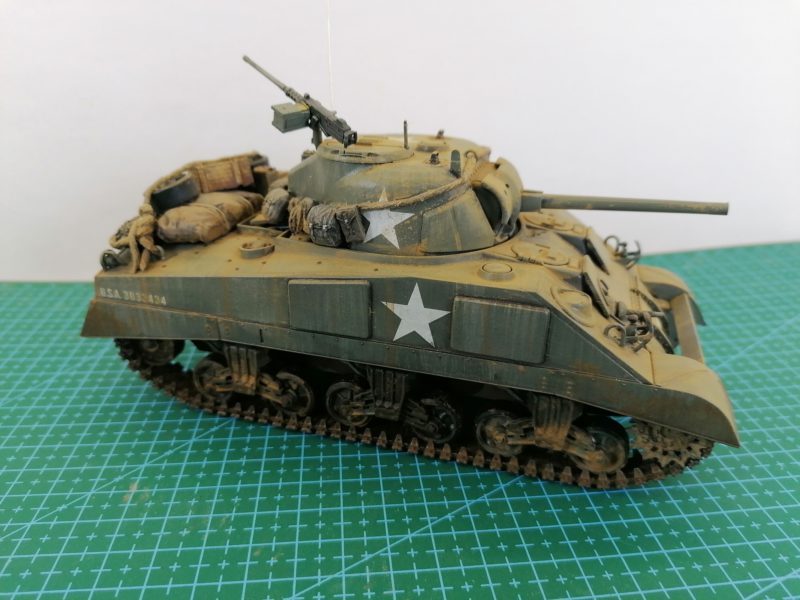
I’m pretty happy with the M4 Sherman Scale Model Tank build and I want to call this one done!
My Completed Tamiya 1/35th M4 Sherman Early Production Tank
Tamiya M4 Sherman Full Build
