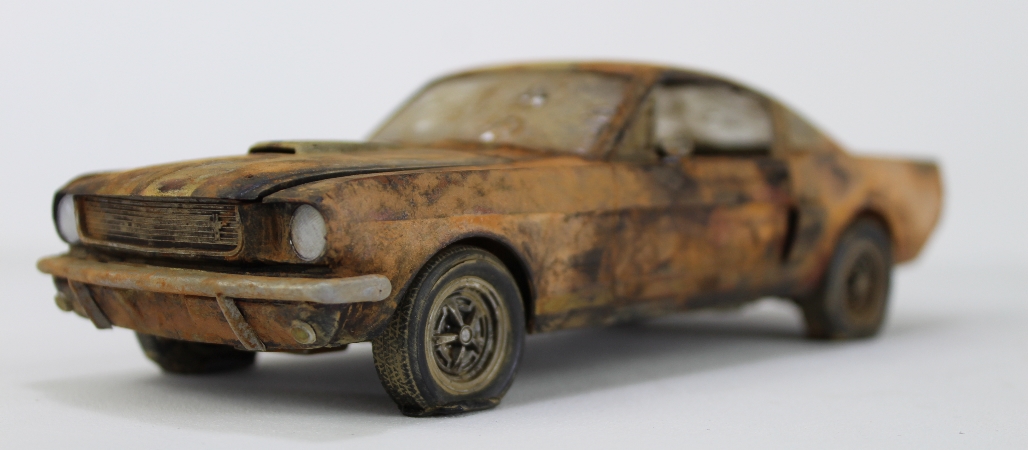
Here is a cute little kit I picked up on an eBay auction. I do love these classic old American cars and I want to try out some of the product I have recently purchased to create a rusty and abandoned “barn find” 66 Mustang.
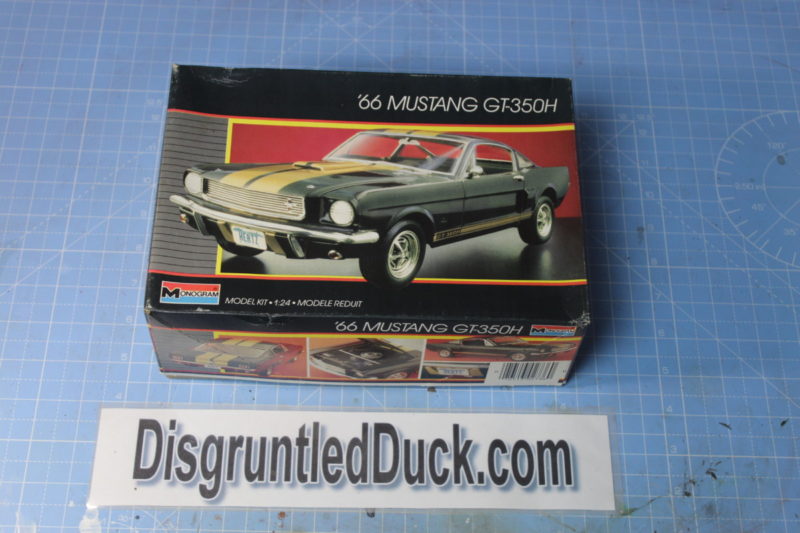
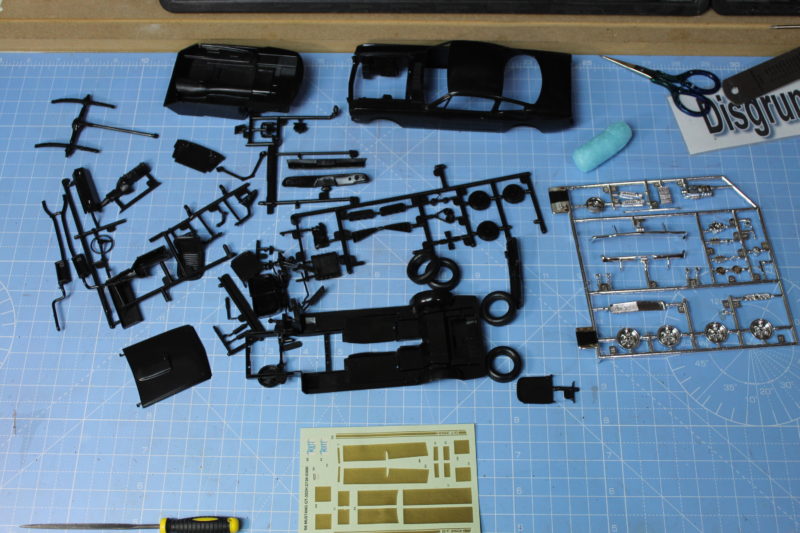
I’m not sure when the kit was made but the parts came pretty loose in the box, not sure is this is the fact it was second hand?
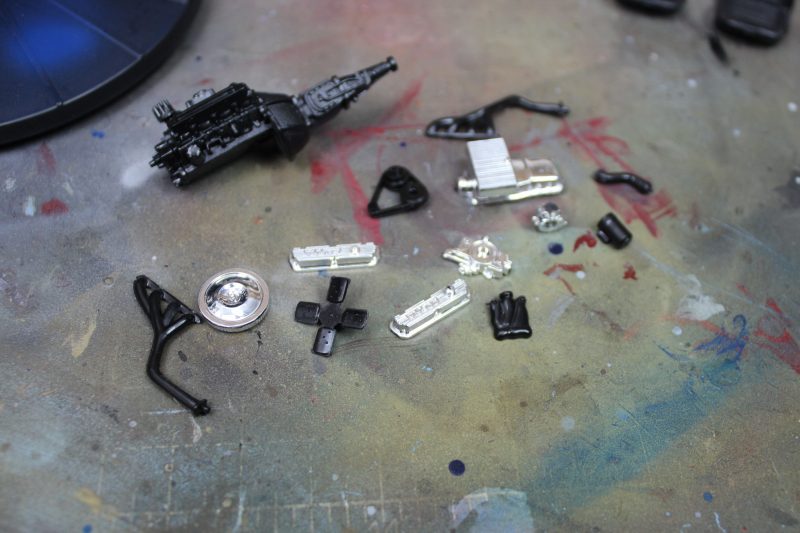
I’m going to start with the engine before I take on the task of the bodywork.
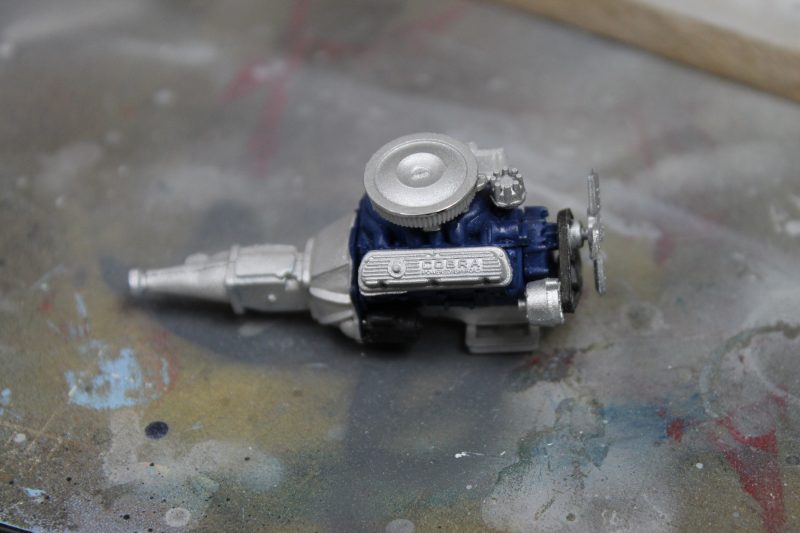
Engine completed, looks good and I can put that to the side for later as I continue with the bulk of the model.
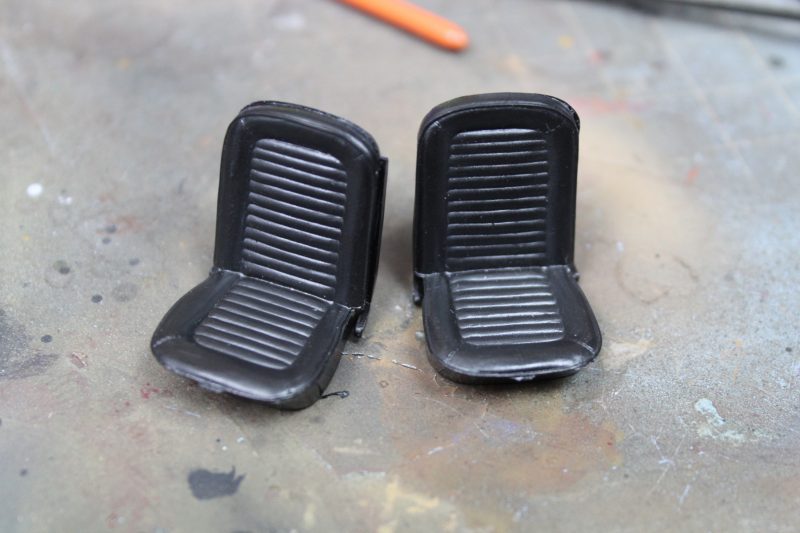
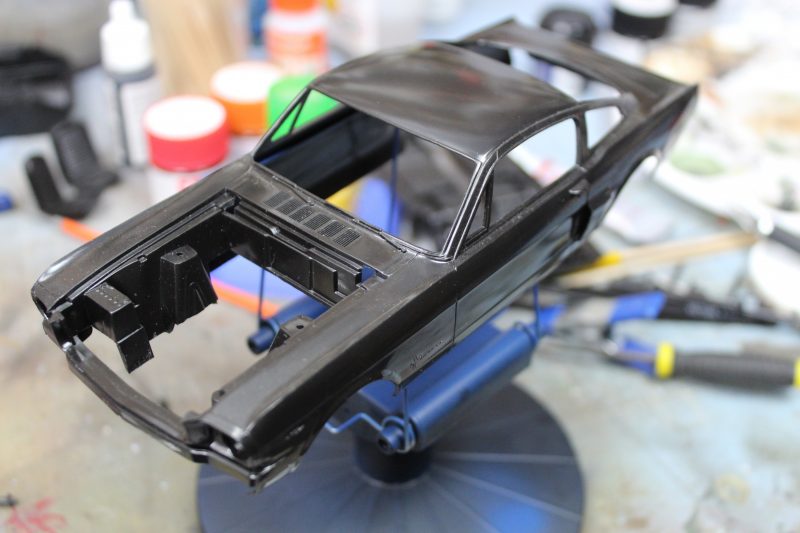
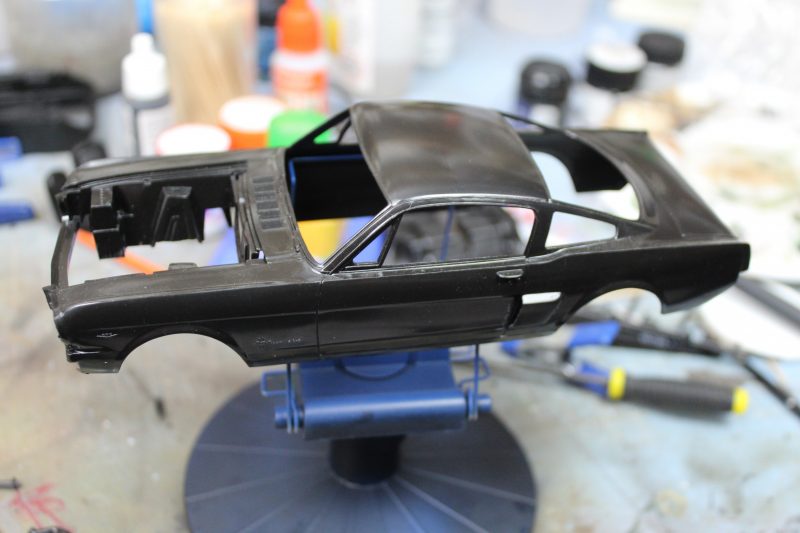
I think most of the work is going to be done on the bodywork, I’m starting with a German red oxide primer.
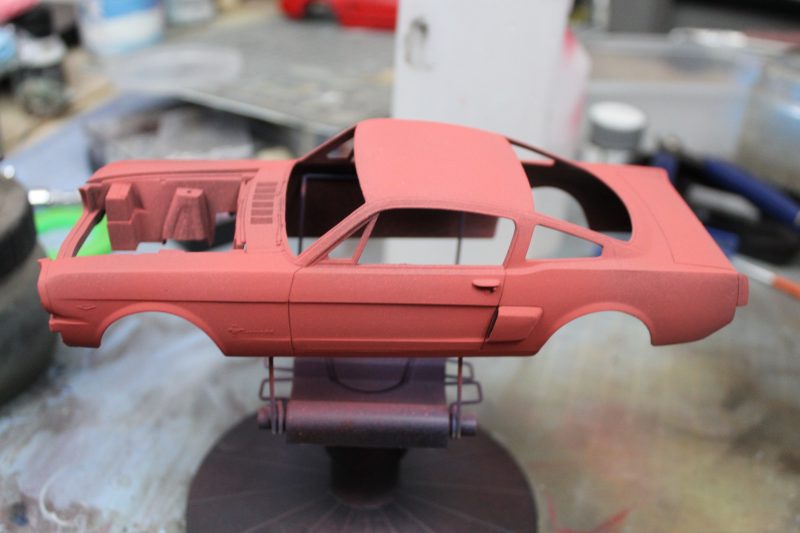
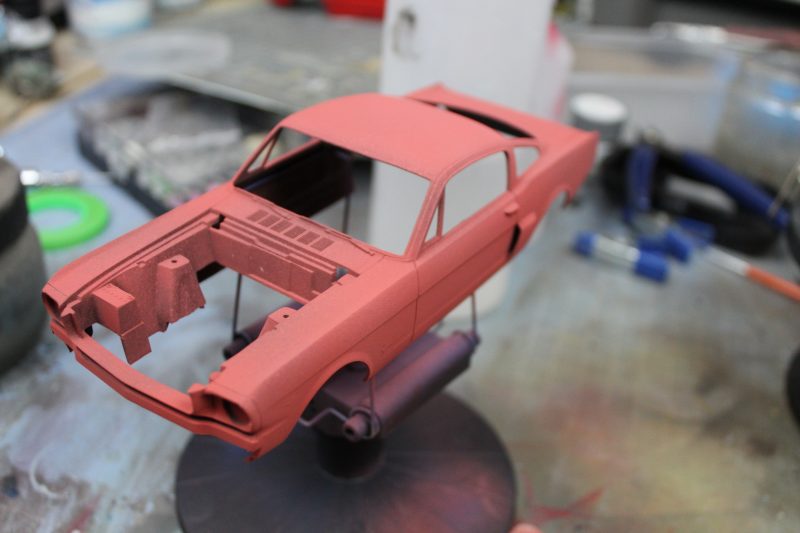
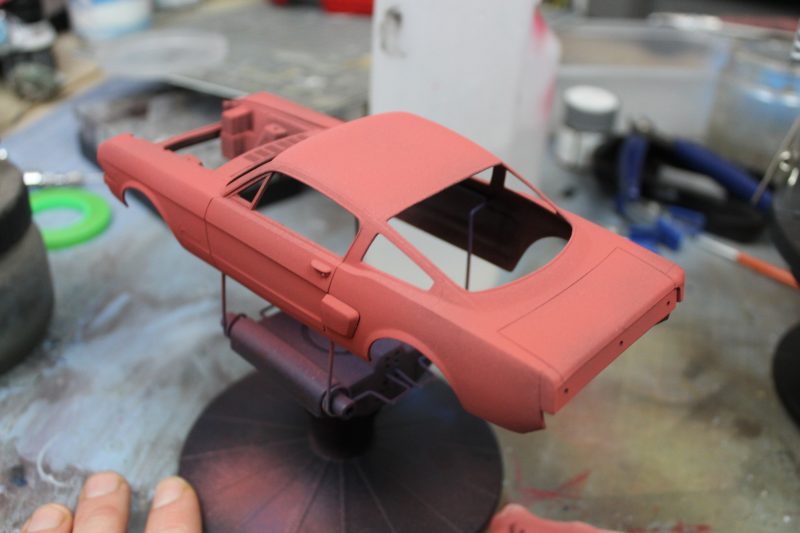
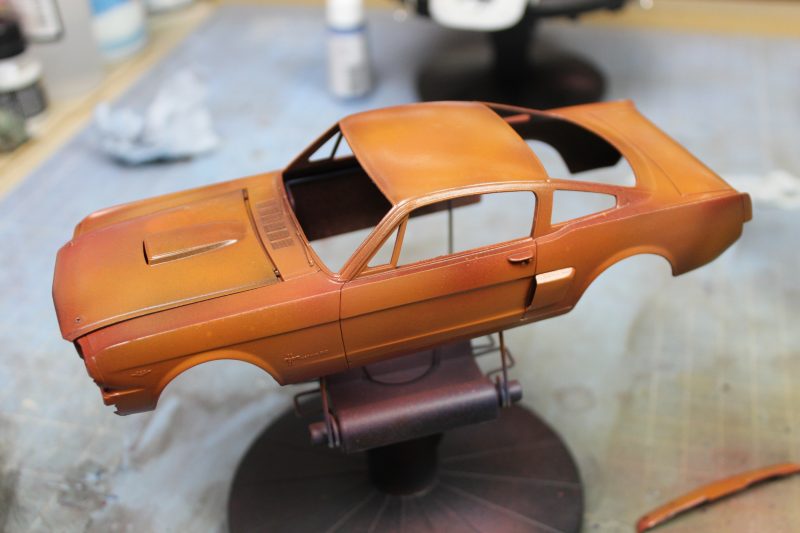
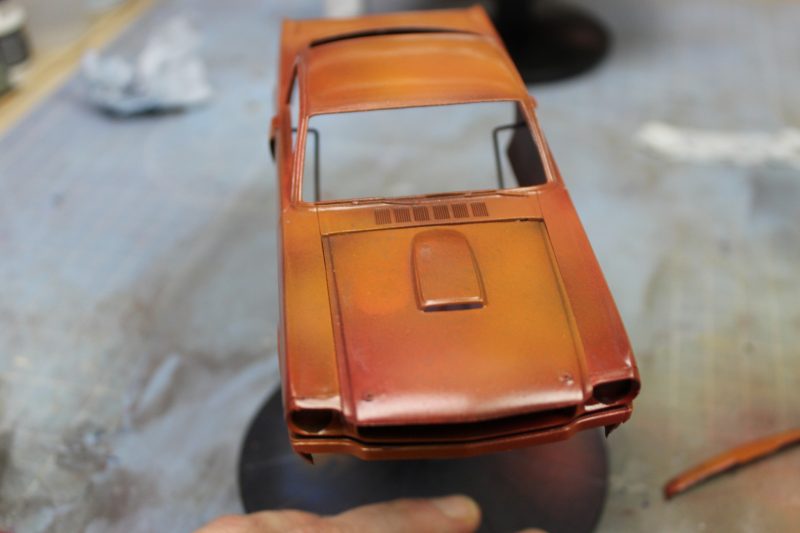
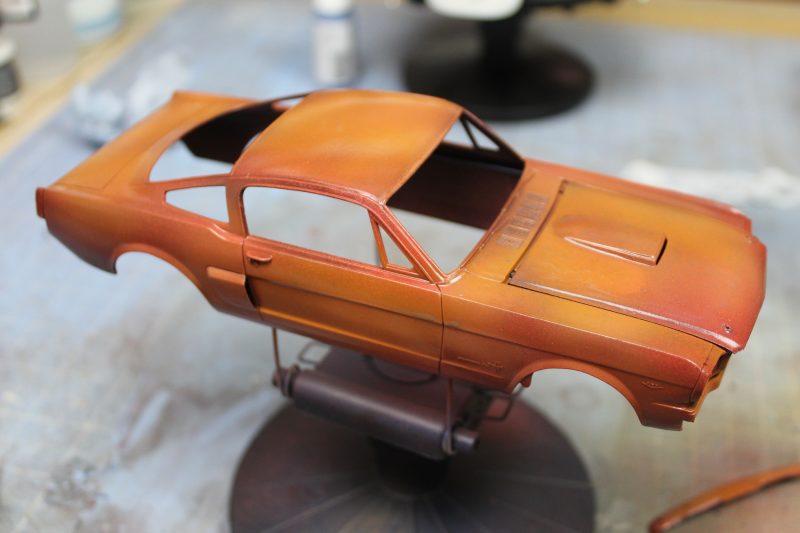
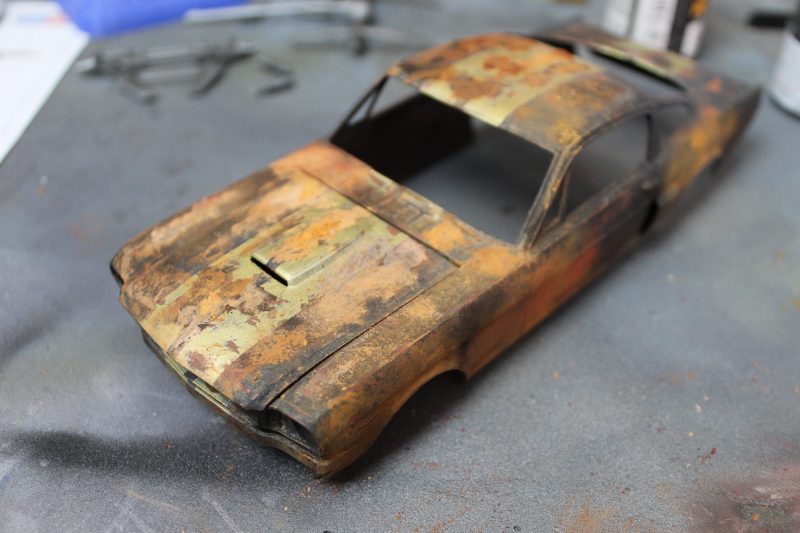
I used two different rust colours to spray the body of the mustang model before a gloss varnish to seal up the body. As there is going to be a lot more work done I want this initial colour to be preserved. To be honest it looks pretty cool with this paint scheme.
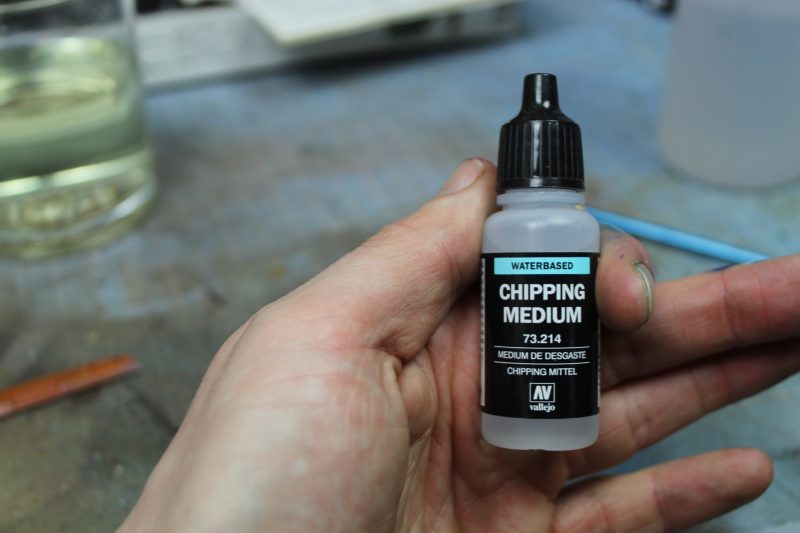
I normally use hairspray for the chipping effect but this time I wanted to try out an aftermarket model-specific product so I’m using this AV Vallejo Chipping Medium.
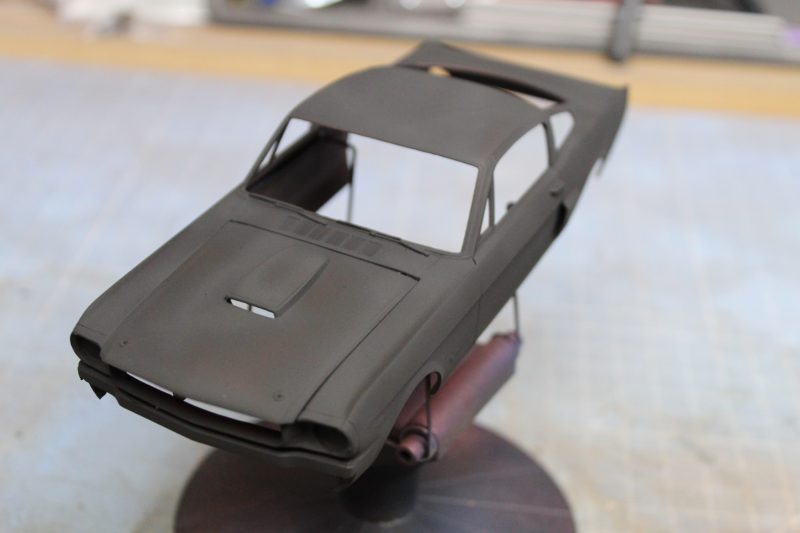
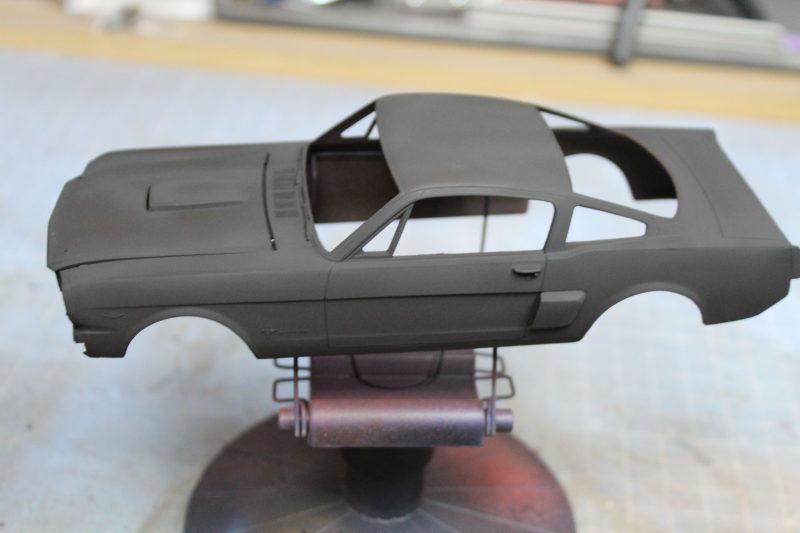
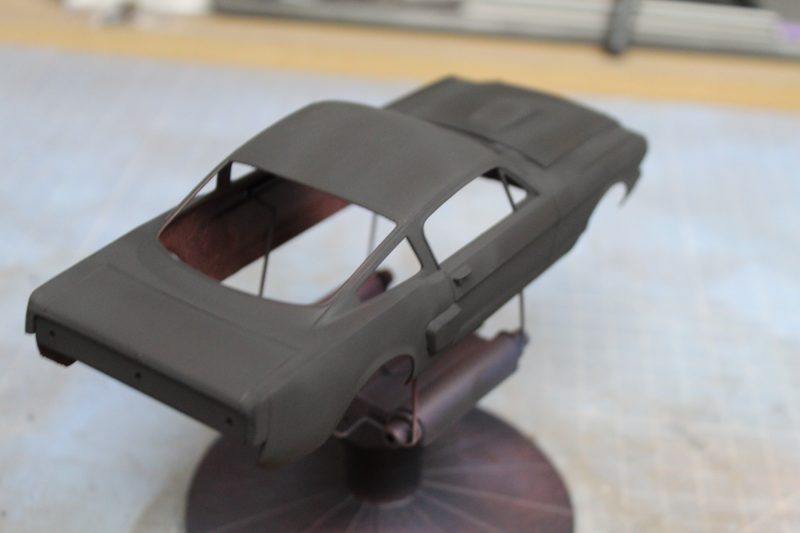
The body work has had a coat of the chipping medium and then a coat of black paint. There is no chance I will be able to use the decals for the stripes as I wont be able to get the effect I want. So that means there is a lot of masking in my future. Which is way outside my comfort zone.
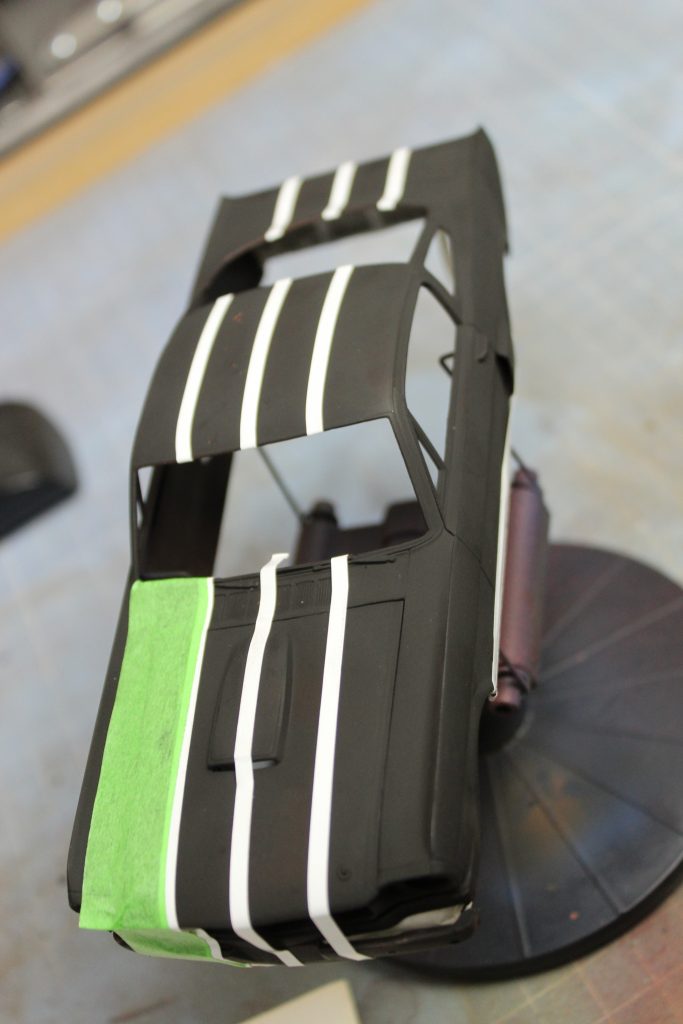
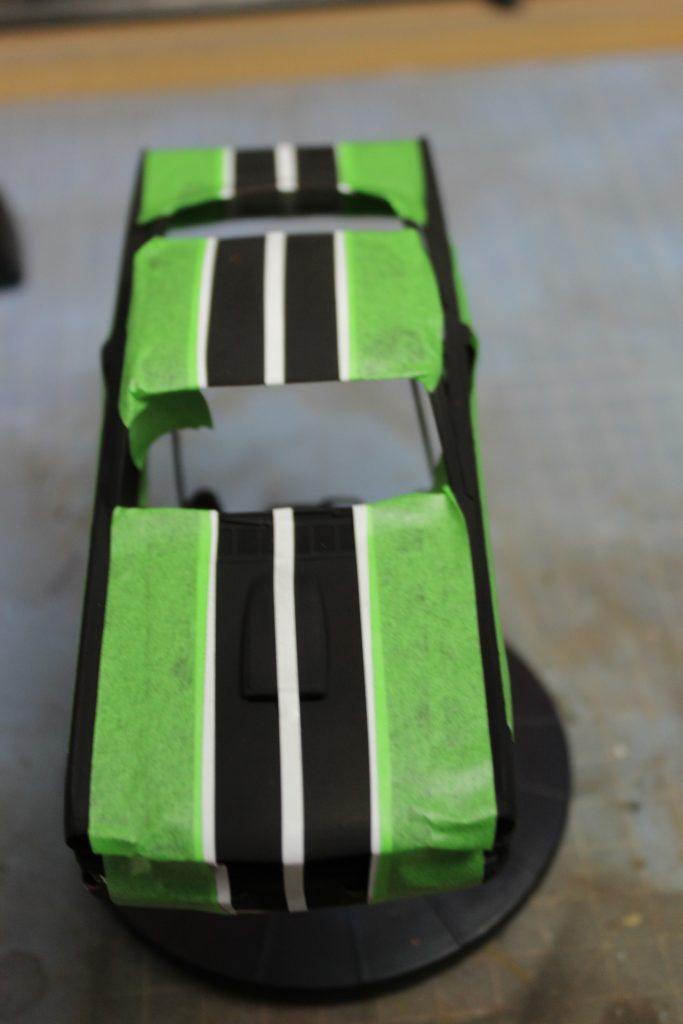
All the masking has been done, now to spray on the gold paint. Going over it with several very thin and light coats as I am worried about the paint bleeding out.
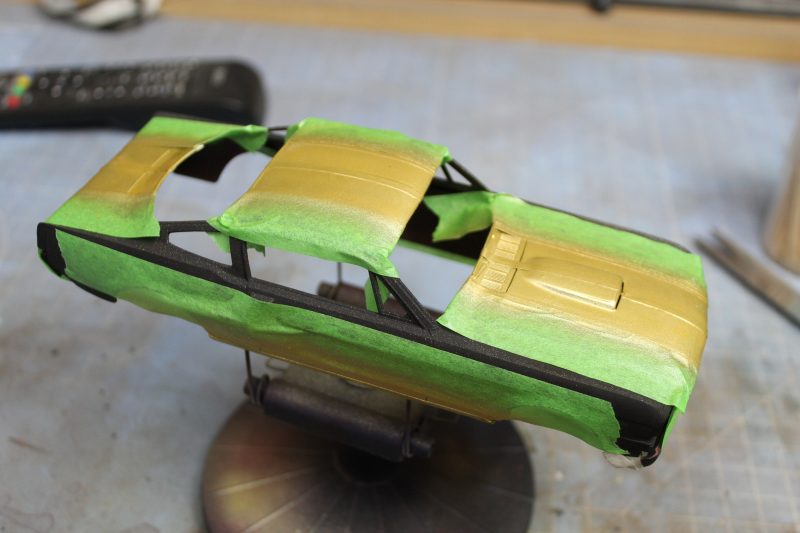
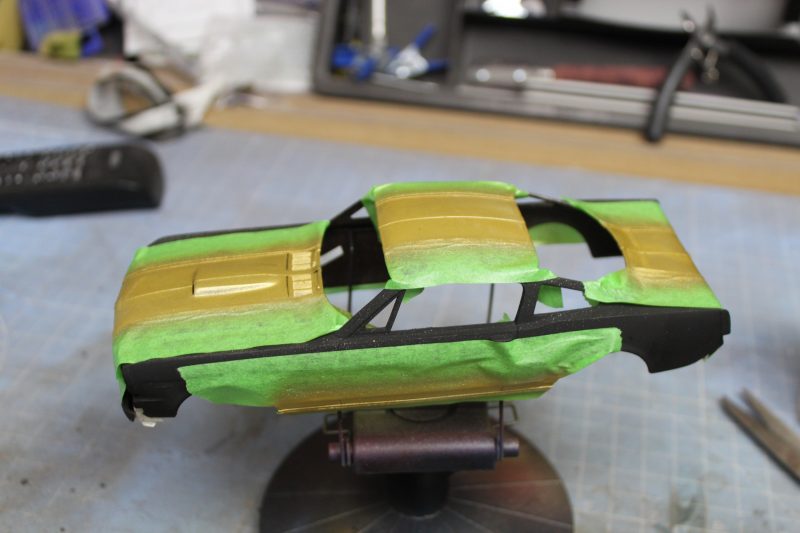
The moment of truth, Removing the masking tape. Now it has peeled off a little of the black. Not a problem as this is going to be heavily weathered. I am very happy with the clean lines and no paint bleeds.
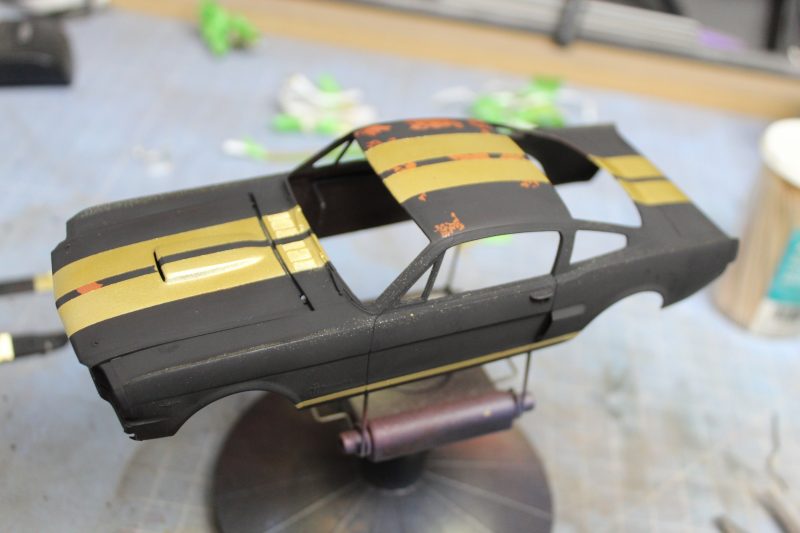
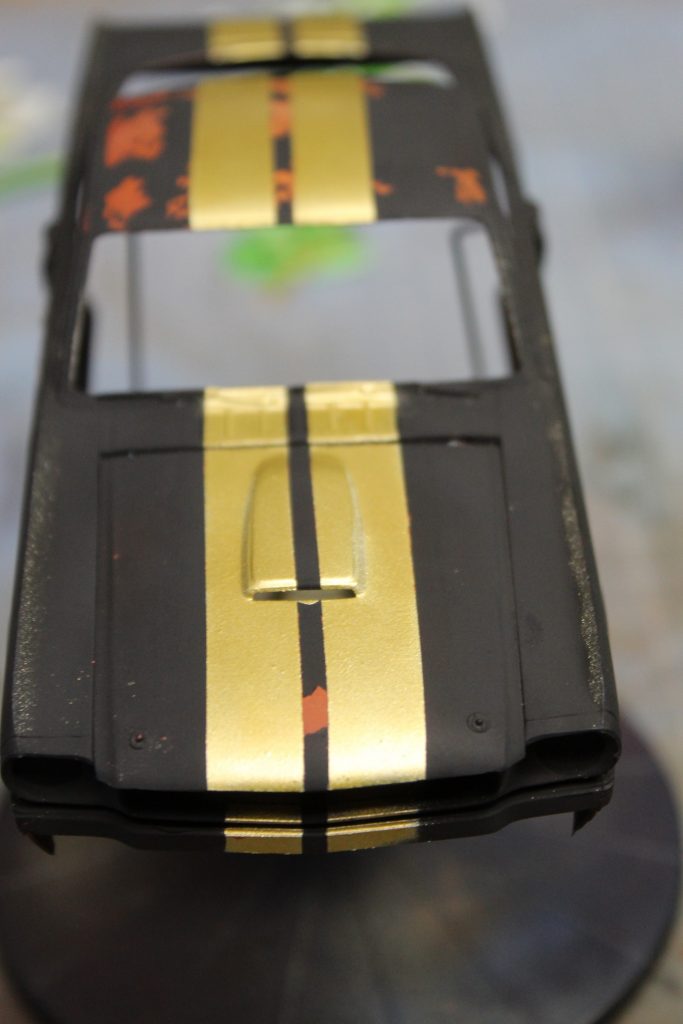
Done with the chipping. I’m super, super happy with how this has turned out. I have achieved a really nice effect. Next to start with the pigments.
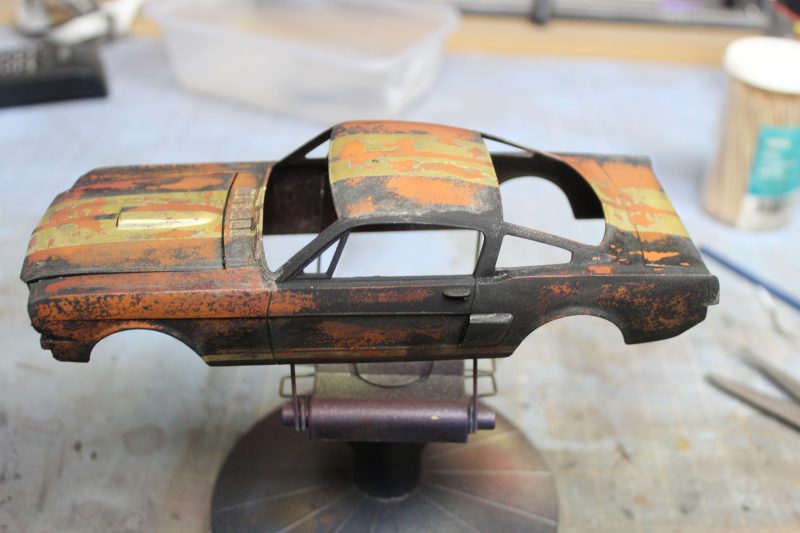
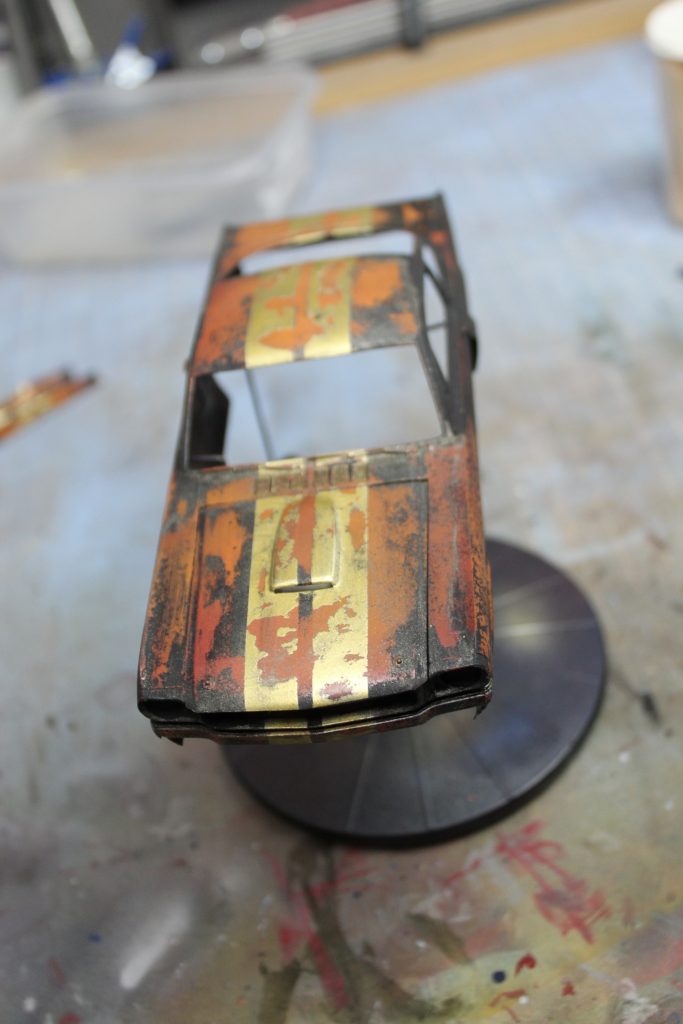
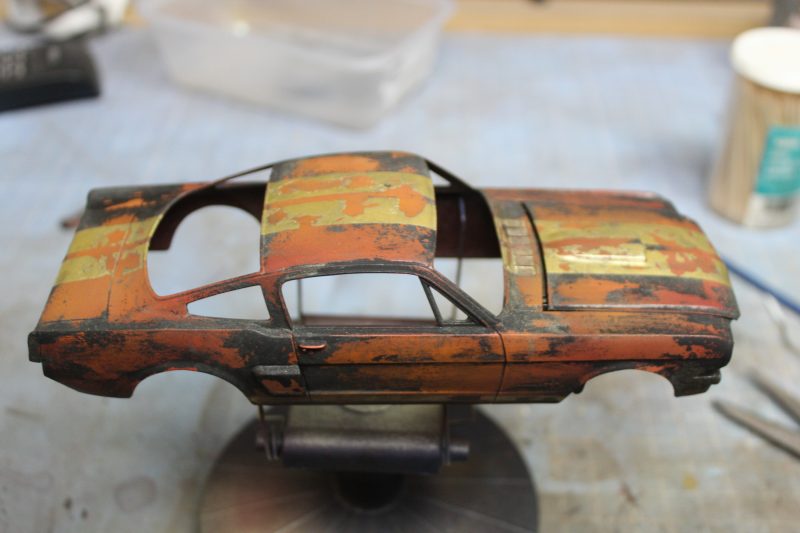
Before the pigments I have used a little of this Vallejo Environment paint to give a nice bit of rust texture to some of the bodywork.
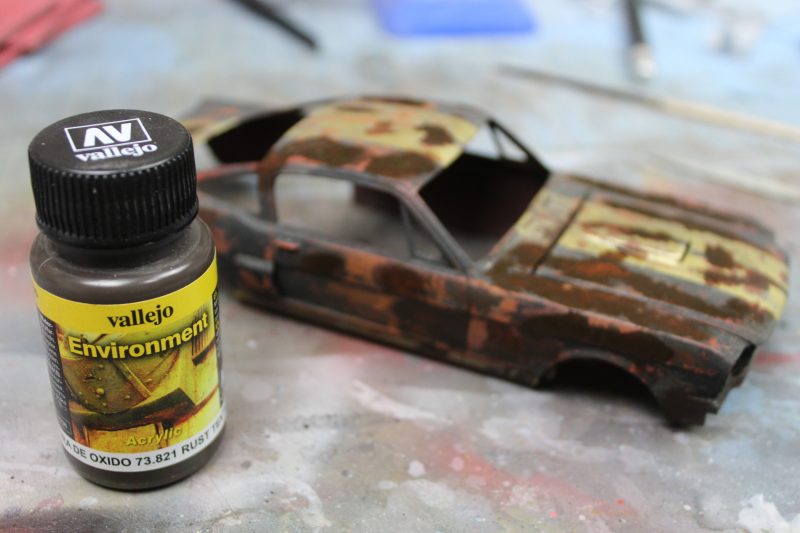
While the texture paint is drying it has given me the chance to fit the engine to the chassis.
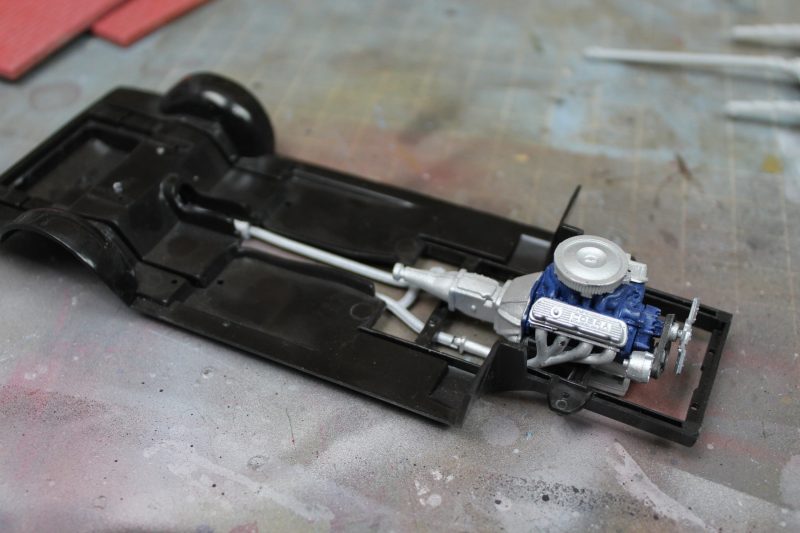
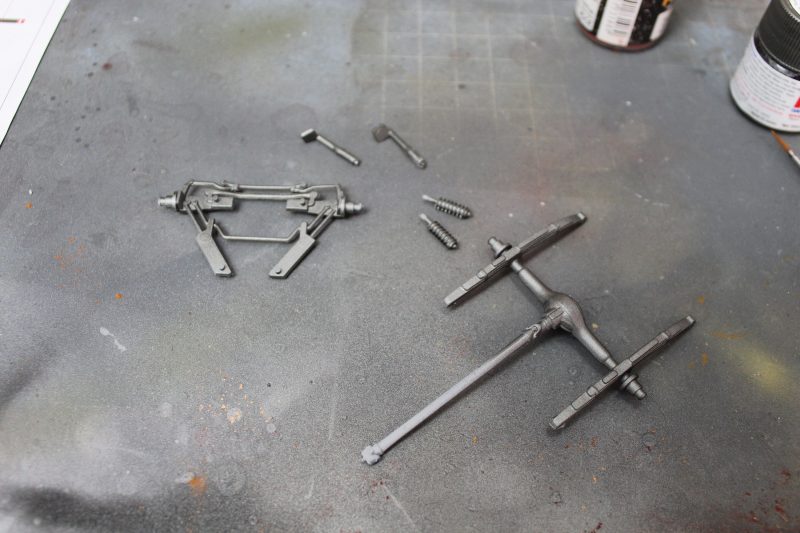
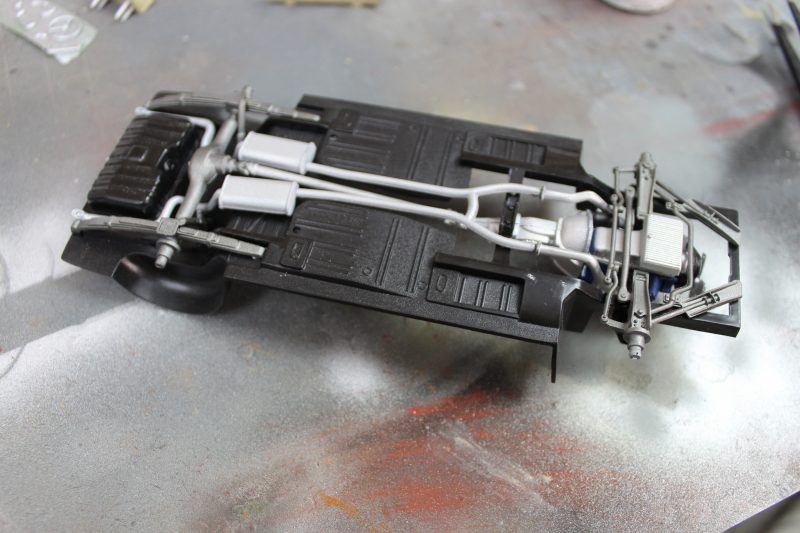
Transmission and suspension all fitted to the Mustang’s chassis, starting to look like a car. Now to concentrate on the bodywork.
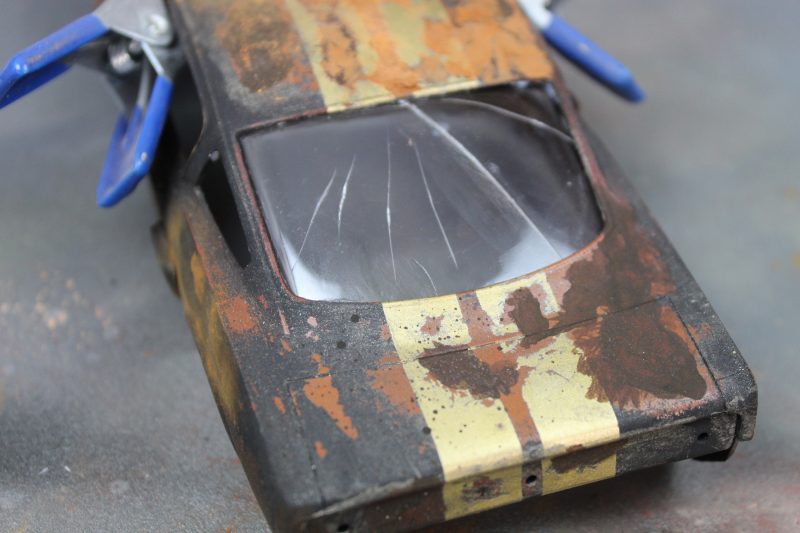
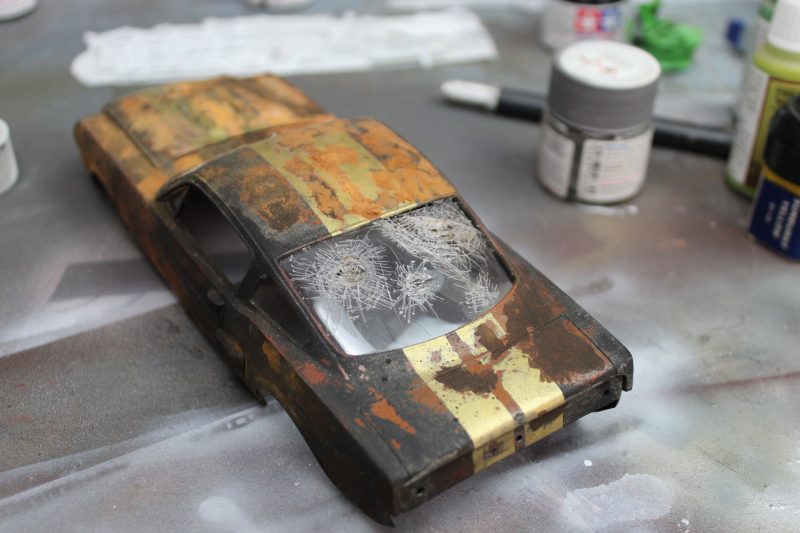
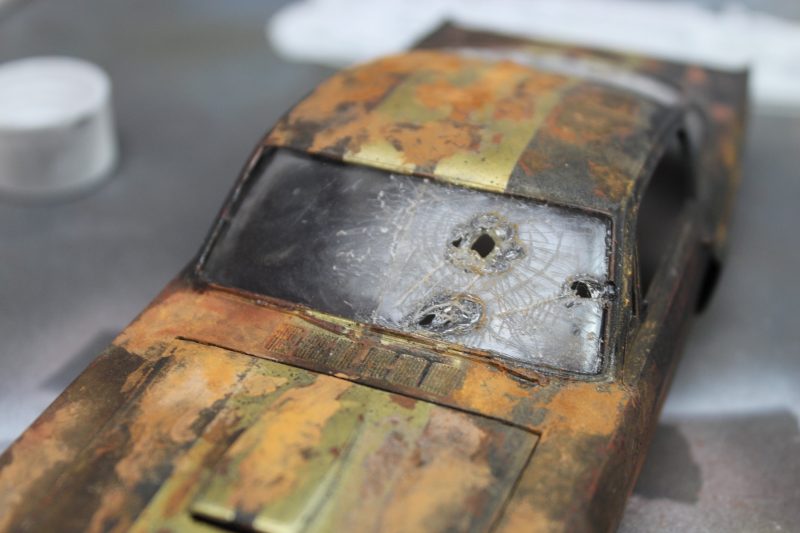
I wanted to do a cracked windshield. To start with I tried using some pliers. This split the screen but didn’t give the effect I wanted. I ended up using a scribing tool and a soldering iron. I managed to get the spiderweb effect that glass can get after an impact.
Using the crackle medium on the upholstery to varying result.
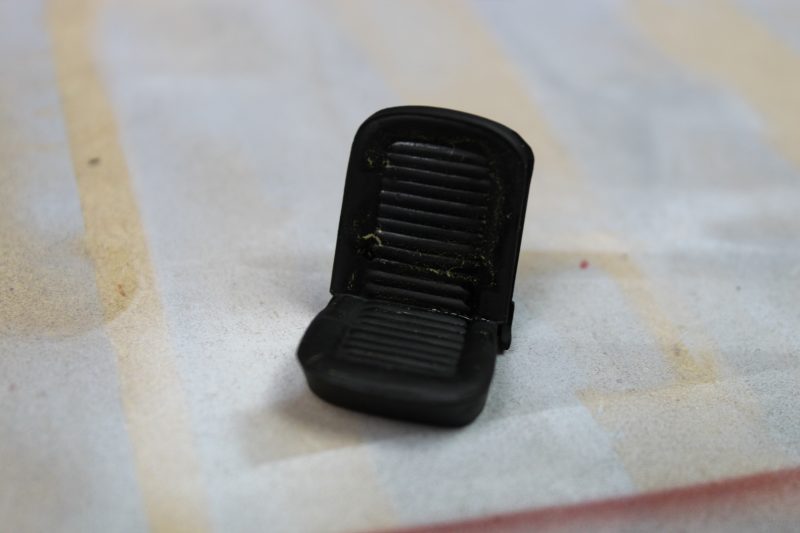
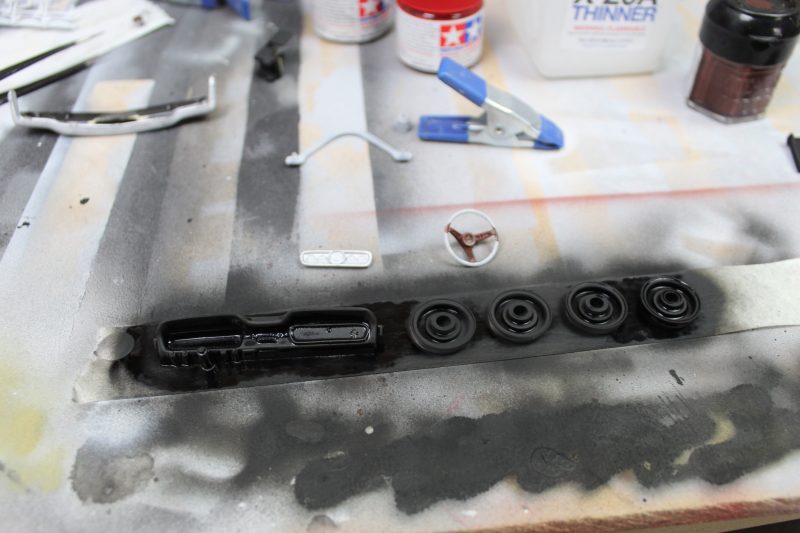
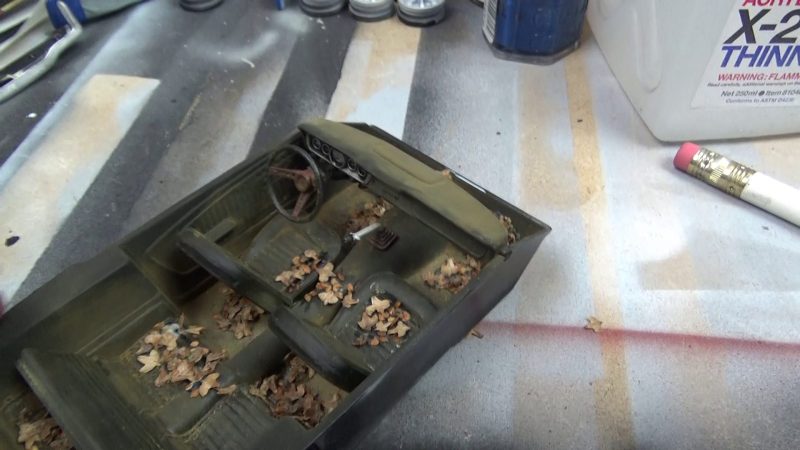
The Interior of the 66 Mustang Scale Model. I’m happy with this, I got a good worn effect. The crackle medium has done its job and I have added lots of pigment and some leaves. All in all, I’m very pleased with how the interior of the car has come together.
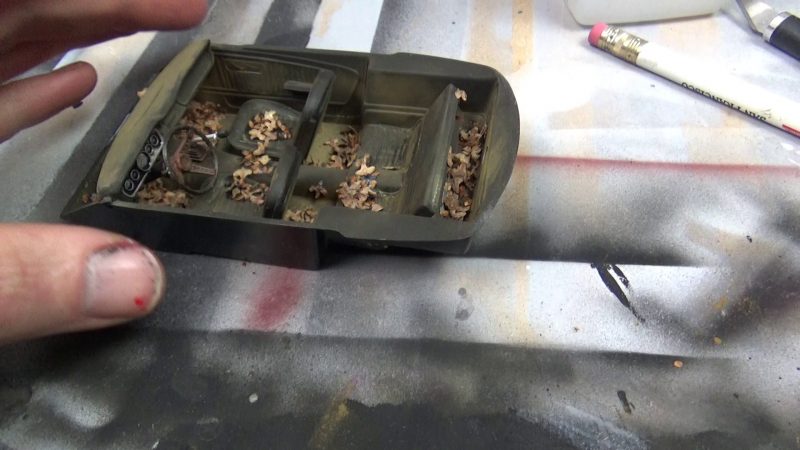
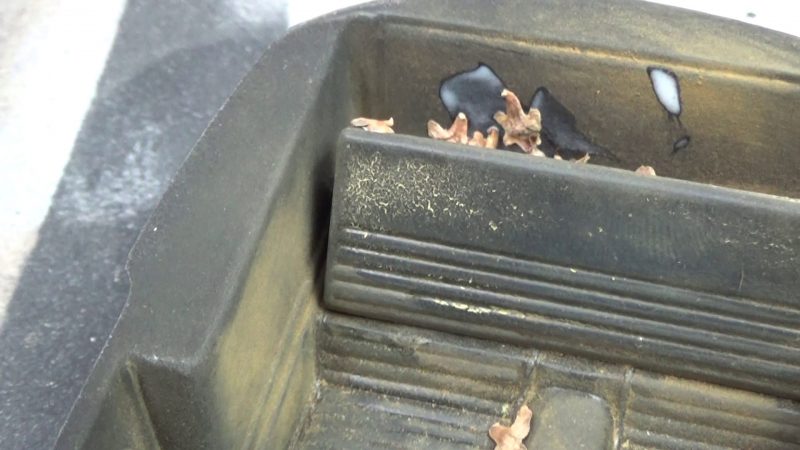
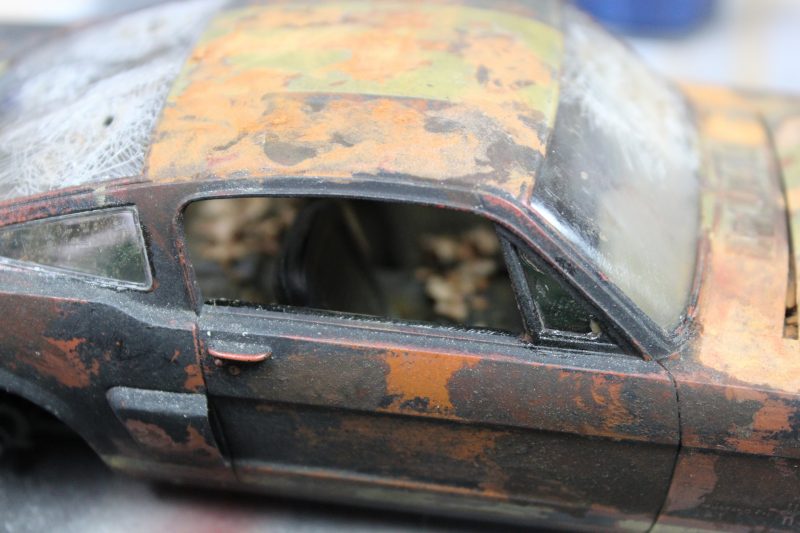
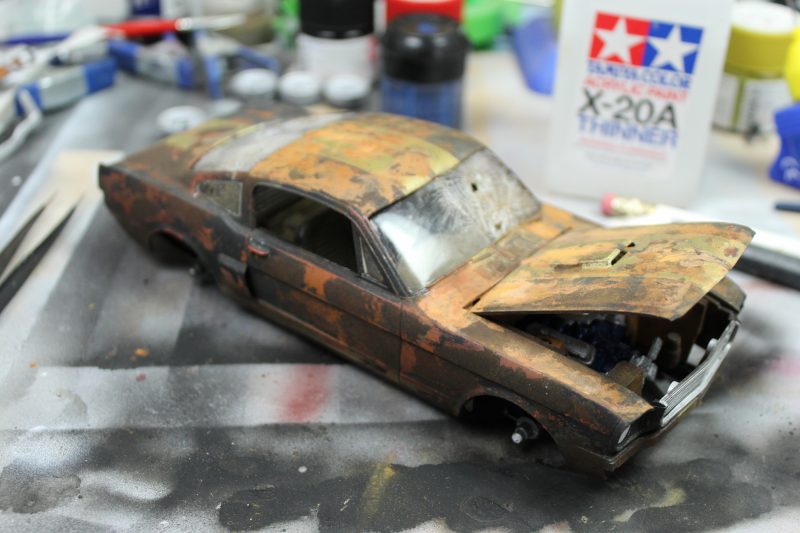
Now the interior is fitted and the body and chassis is joined it is time to get on with the rust pigments on teh bodywork.
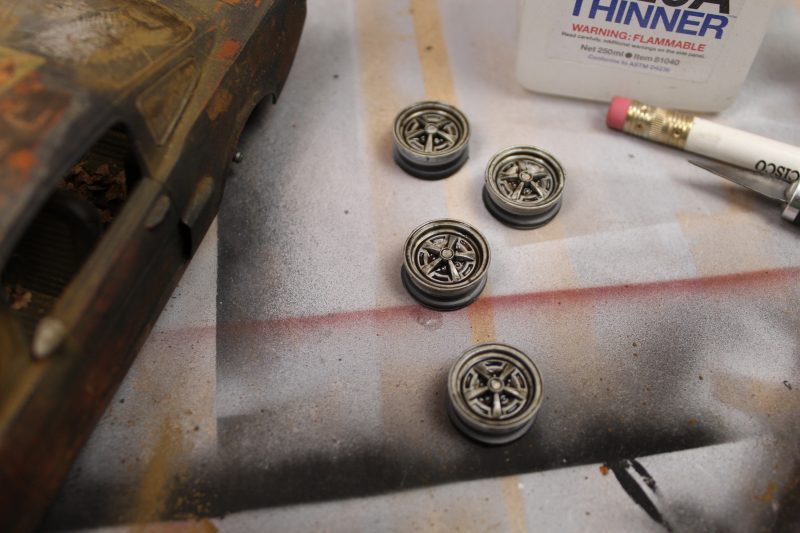
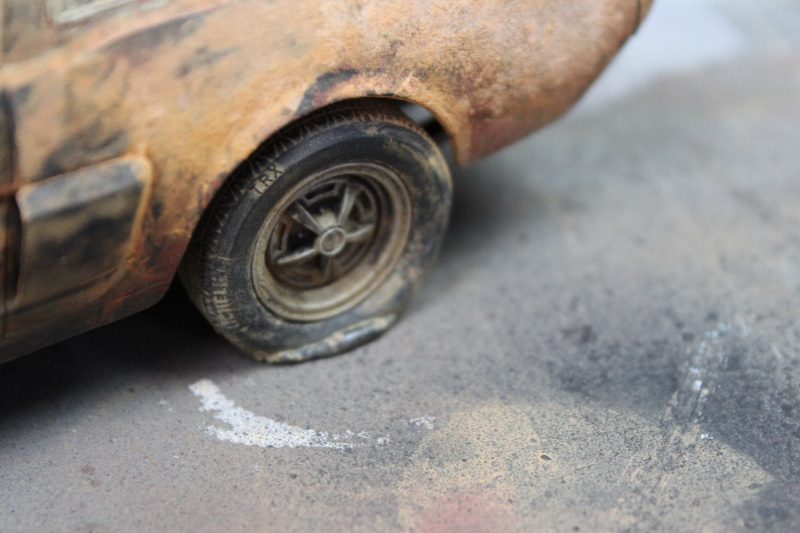
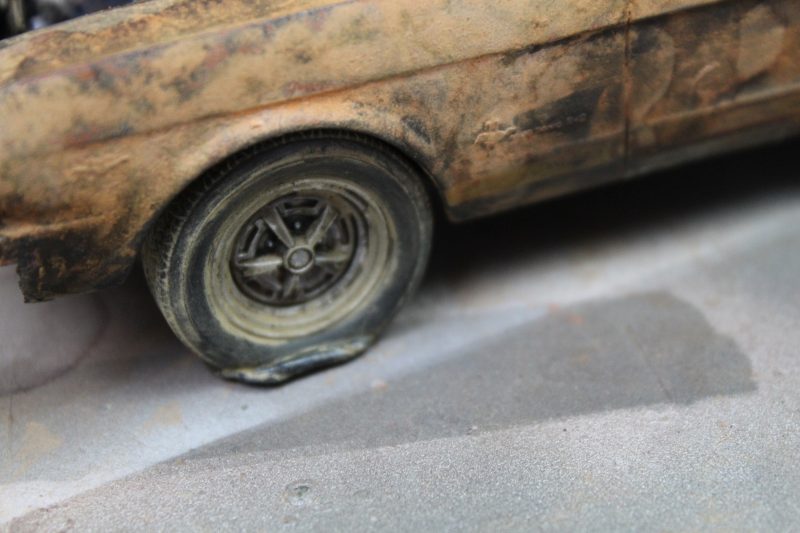
Final job is the wheels. I found a great wash that replicates old oil, I used it on the chrome wheels as well as the engine. Finley I wanted to give the appearance of flat tyres and I think I have done that quite well. Heating the rubber tyres and moulding them as they cool.
So here is a short little video of the build.
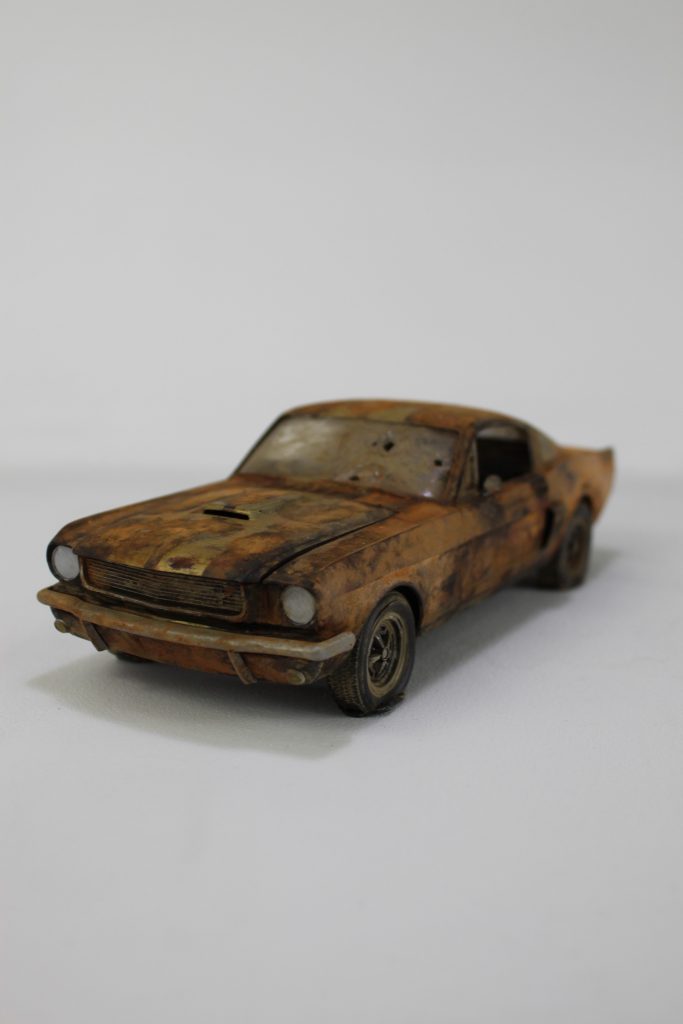
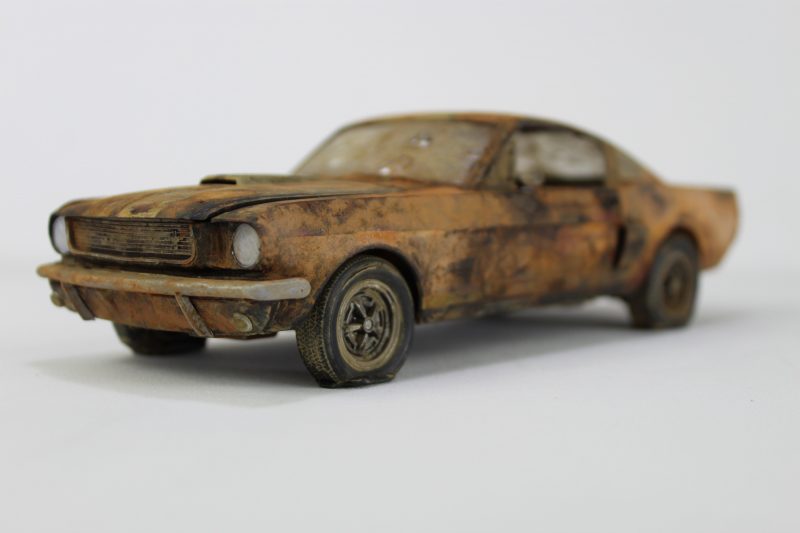
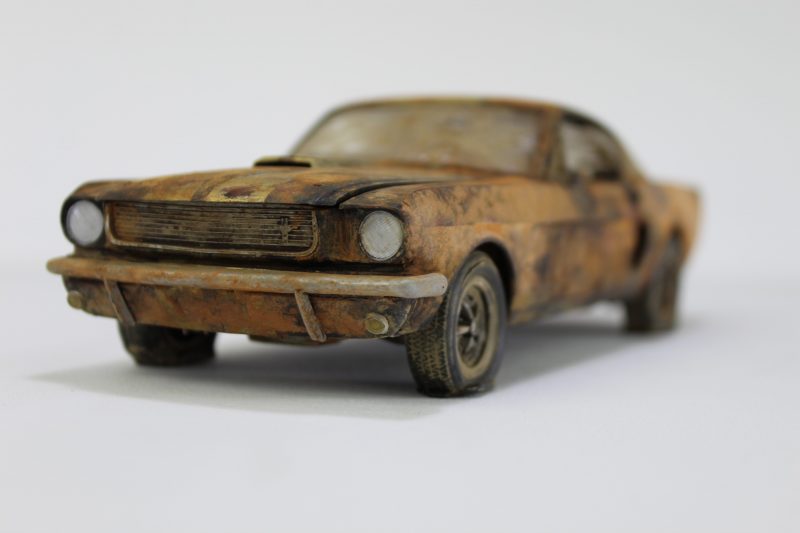
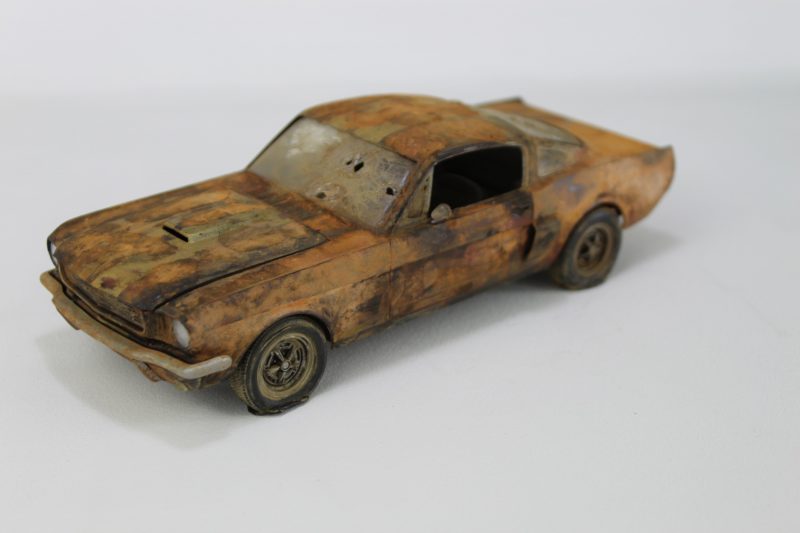
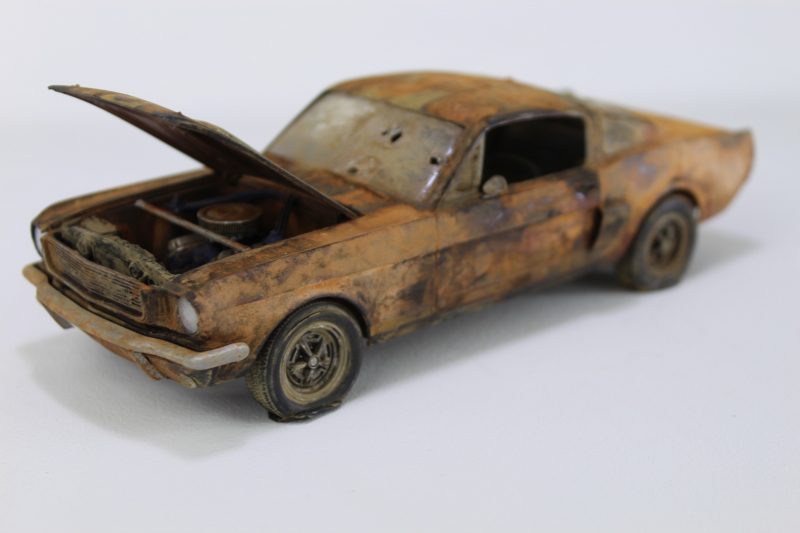
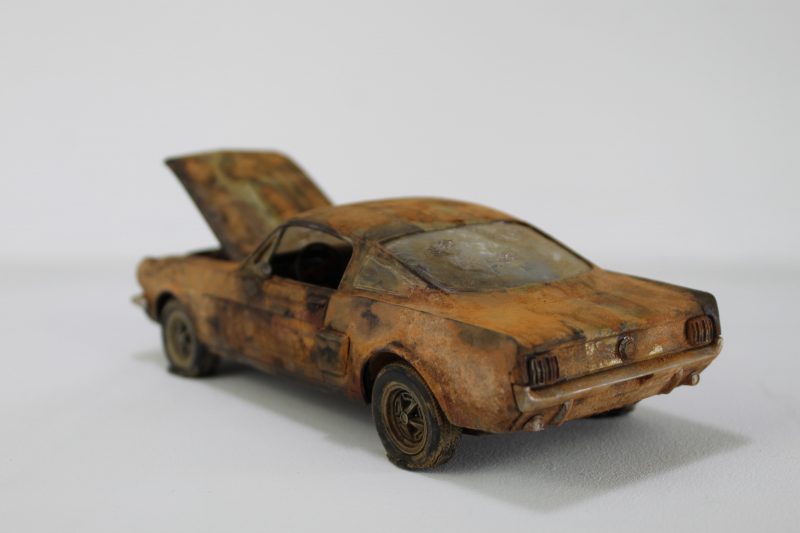
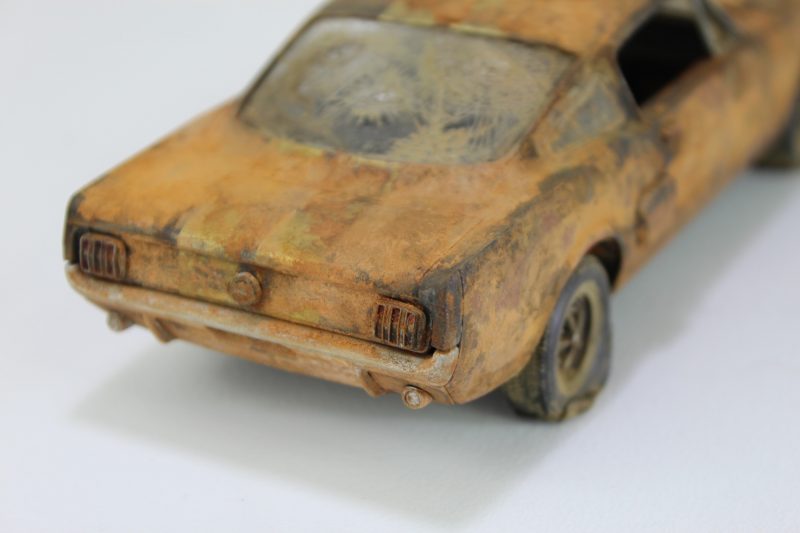
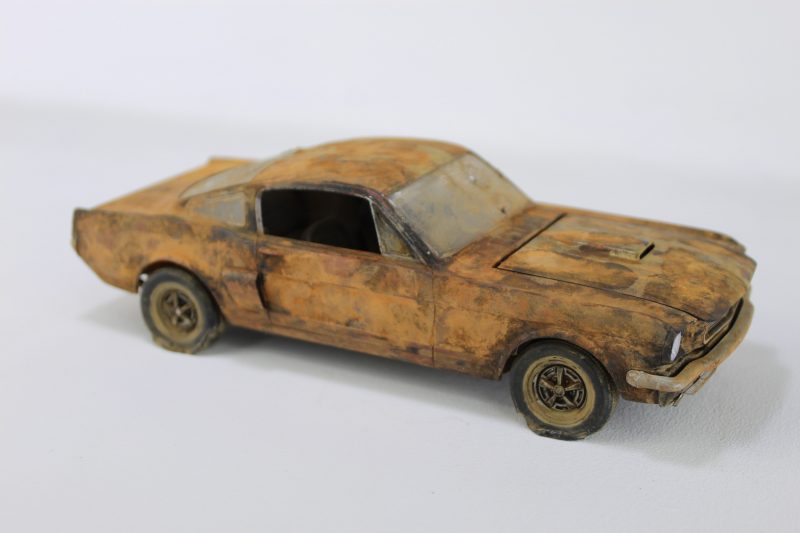
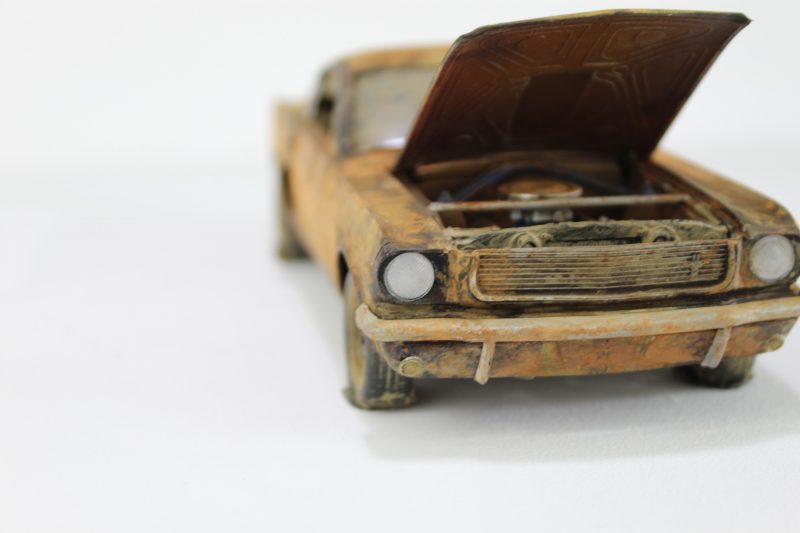
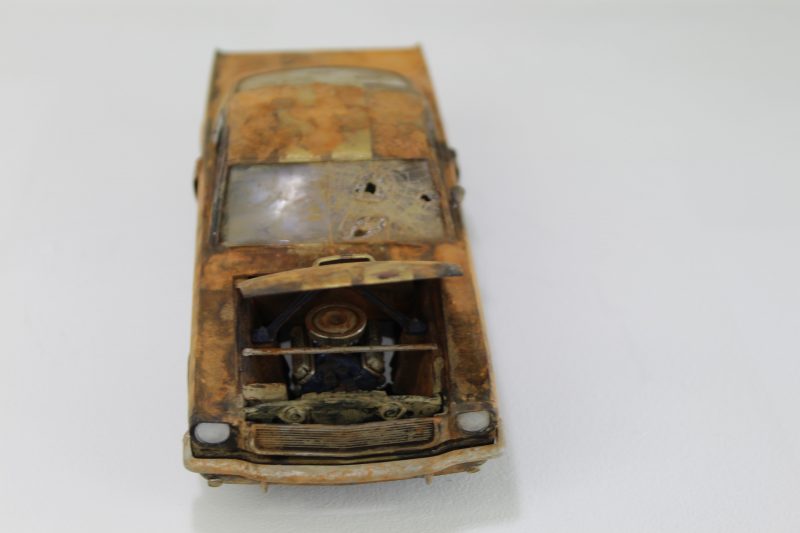
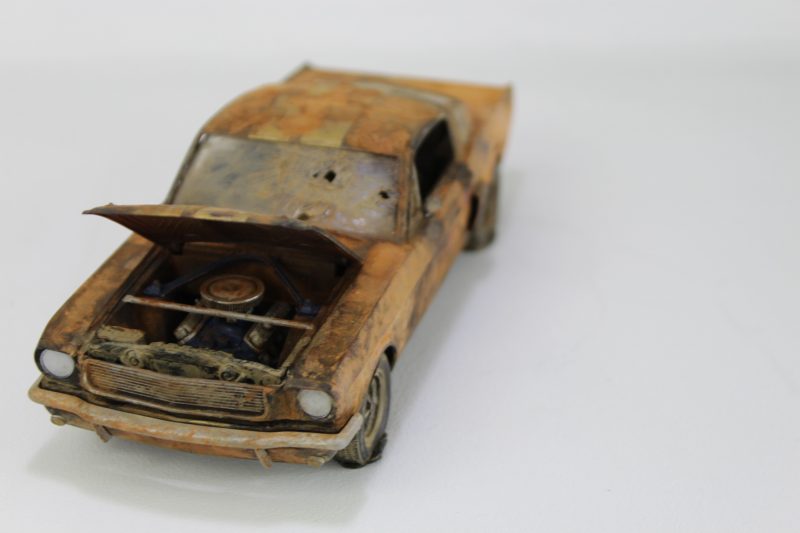
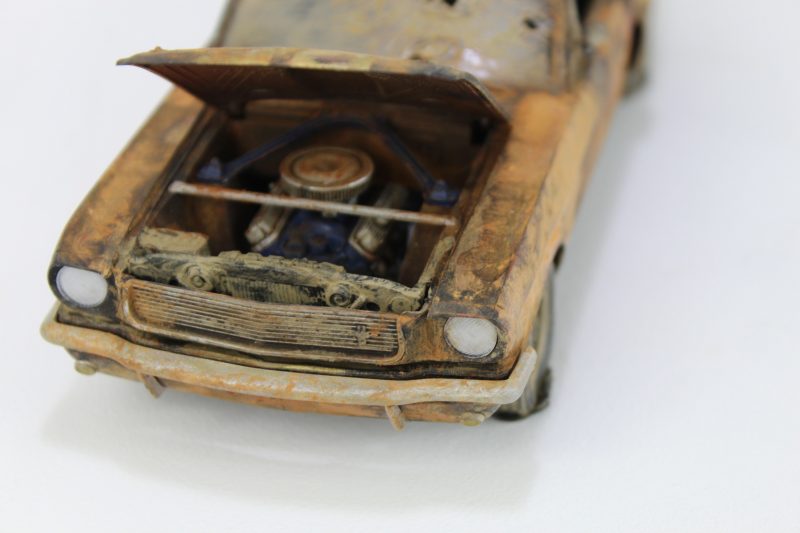
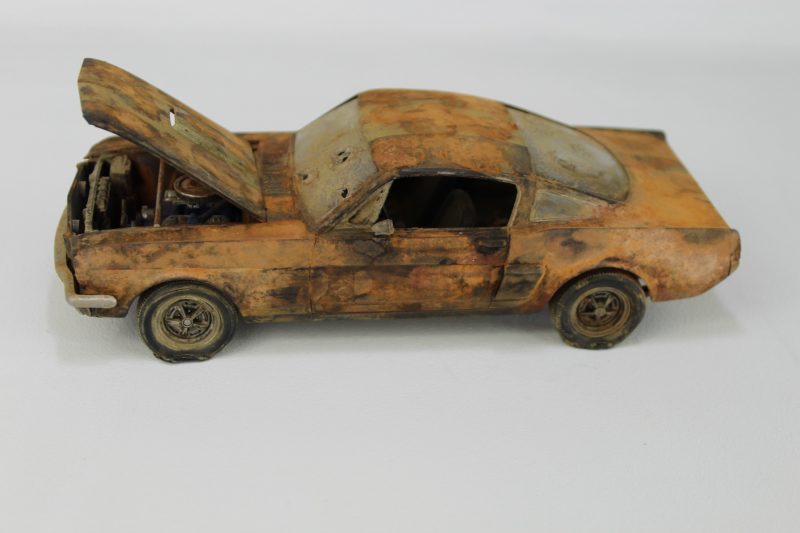
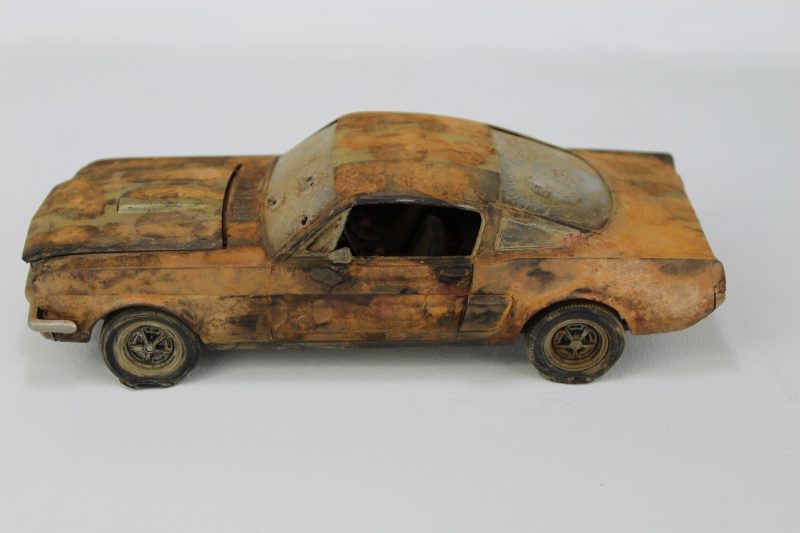
Finally a video of the finished abandoned rusty 66 Ford Mustang Scale Model Car. Hope you enjoyed this build as much as I have.
