
Cargo vehicles are another subject that fascinates me during a war. Logistic in the warzone in general I guess. An army can only advance as fast as it resupplies. I actually know a guy who drives for the army and it is a serious undertaking. I also love flatbed trucks. No idea why! Just do! So for this military models project, I’m building the GMC 6×6 Cargo truck
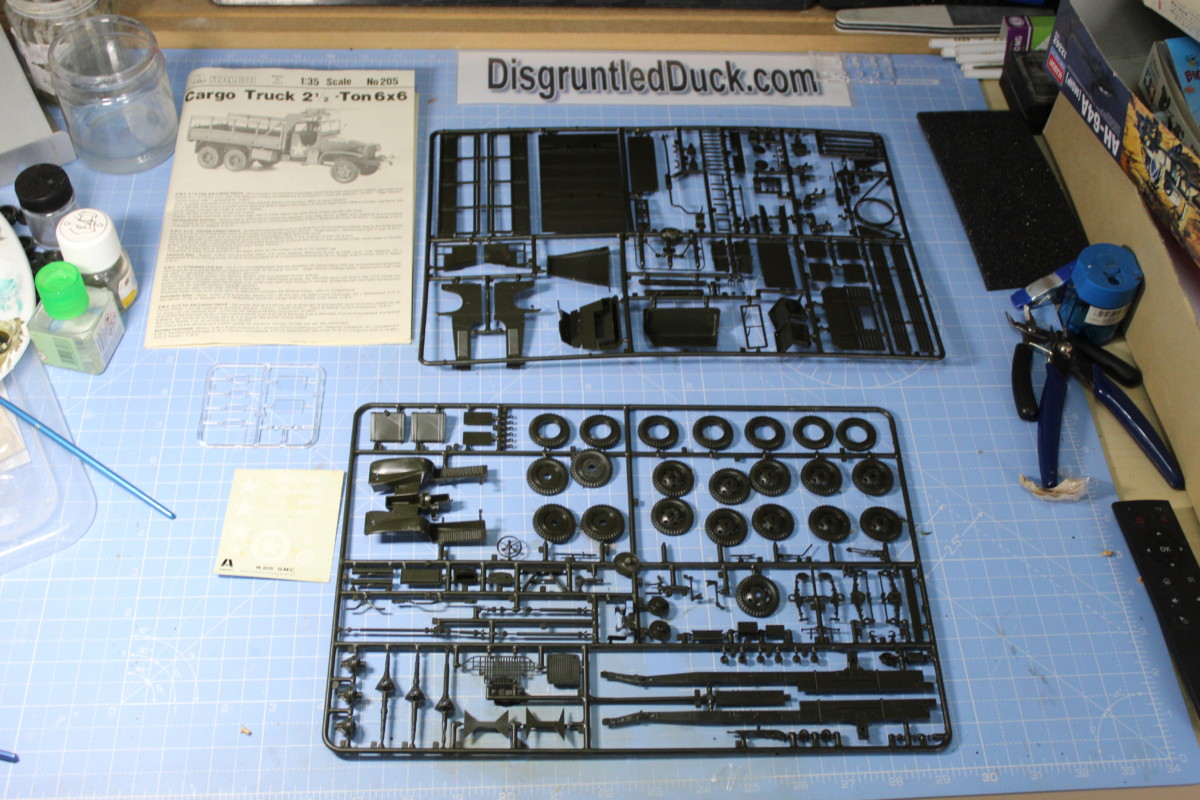
So, on my little eBay shopping spree, I picked up this cargo truck for just under £15. Very happy with that price, and thought it would be a fun, quick build where I could concentrate on the painting and weathering.

It’s a bit of an old model, but the main thing is all the parts and instructions are there.
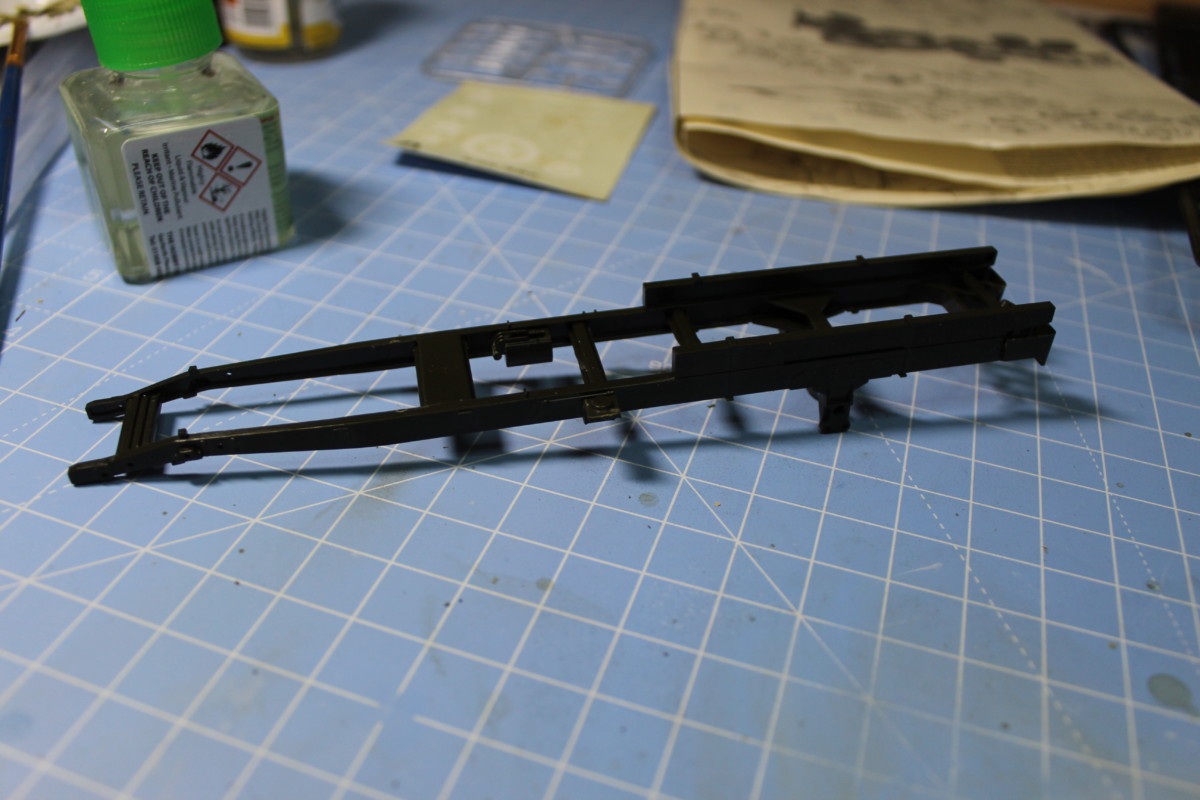
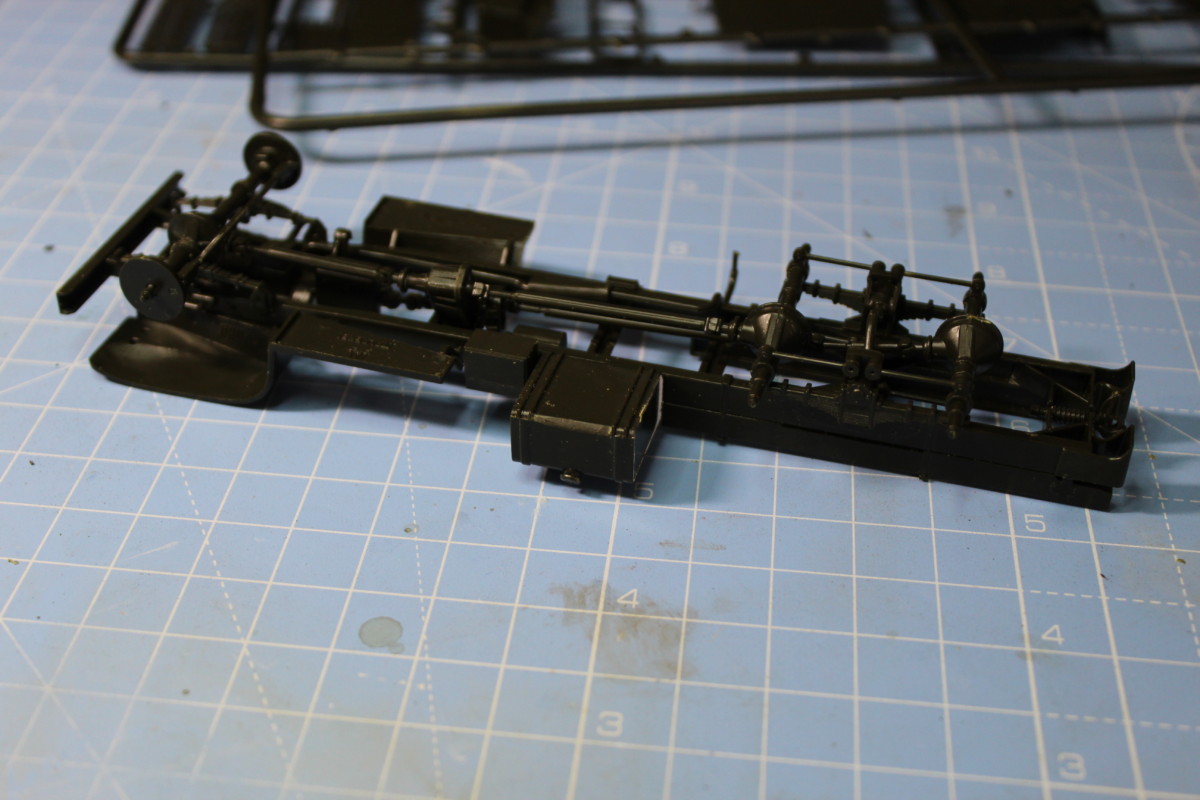
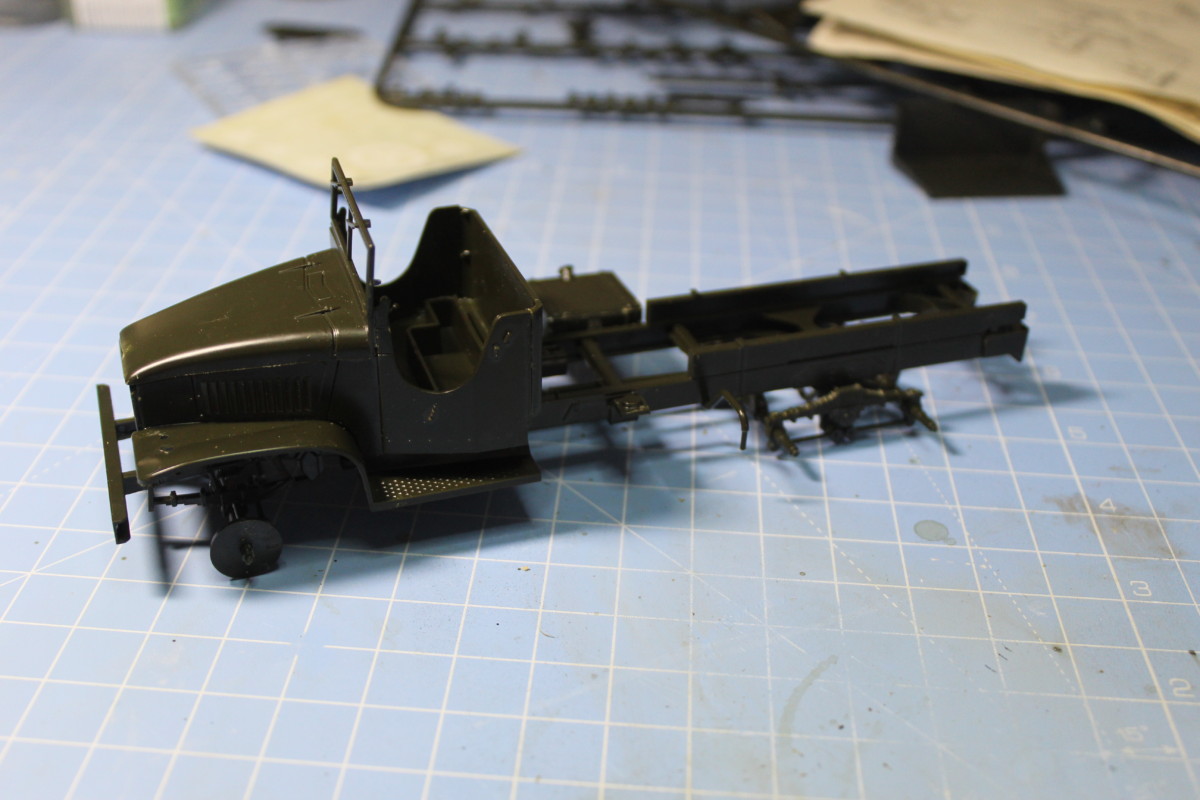
The first job was the chassis. The parts fit together very well and the instructions, seem to be pretty easy to follow so far.
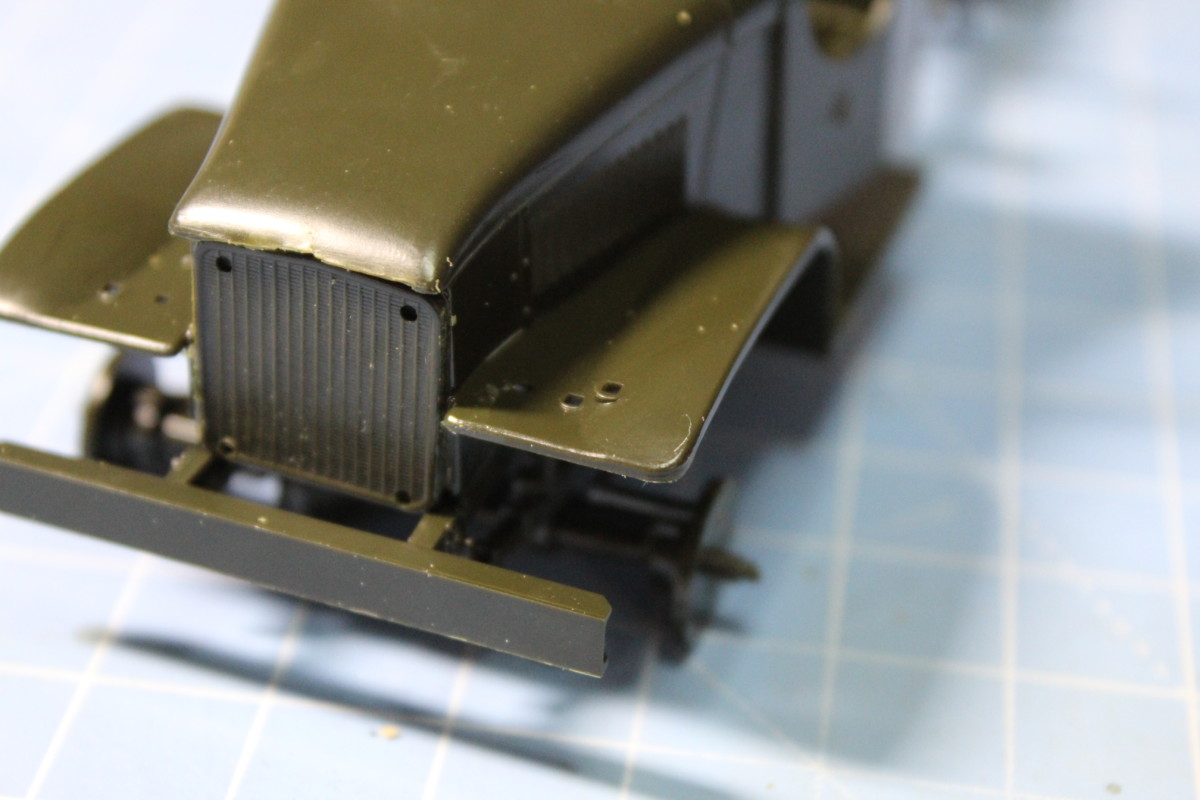
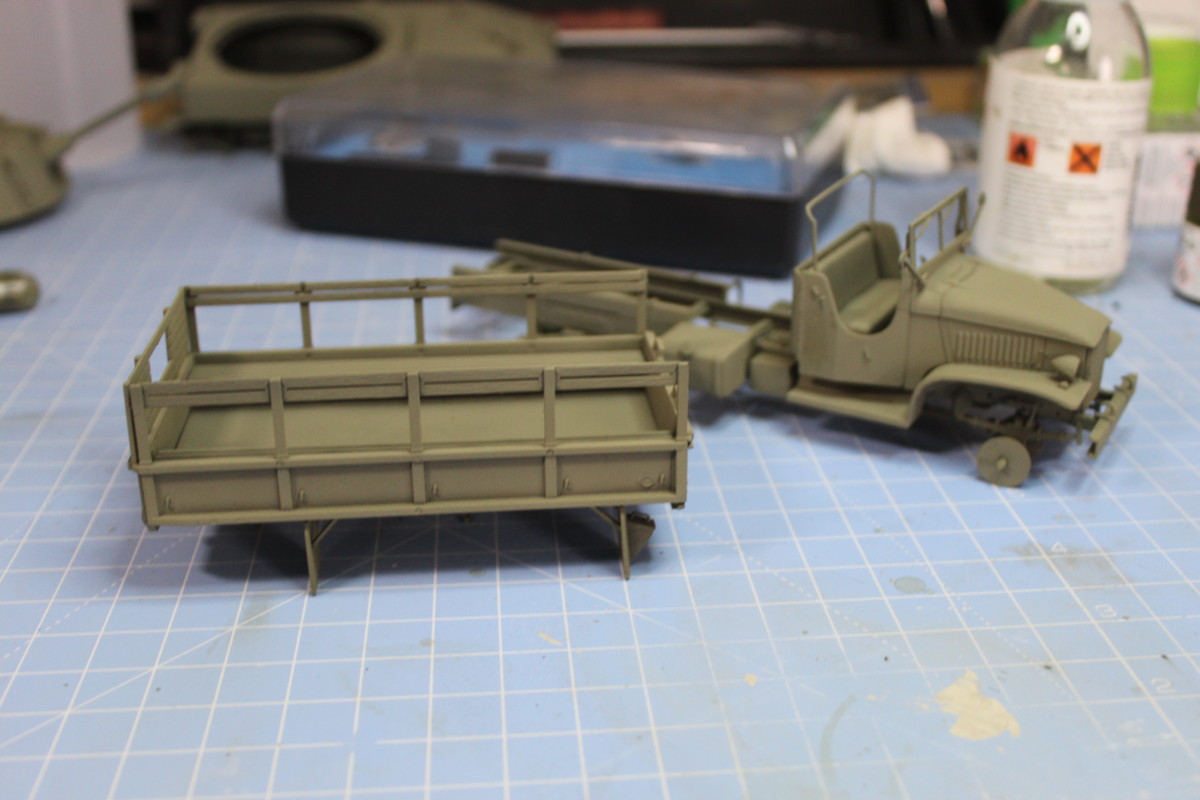
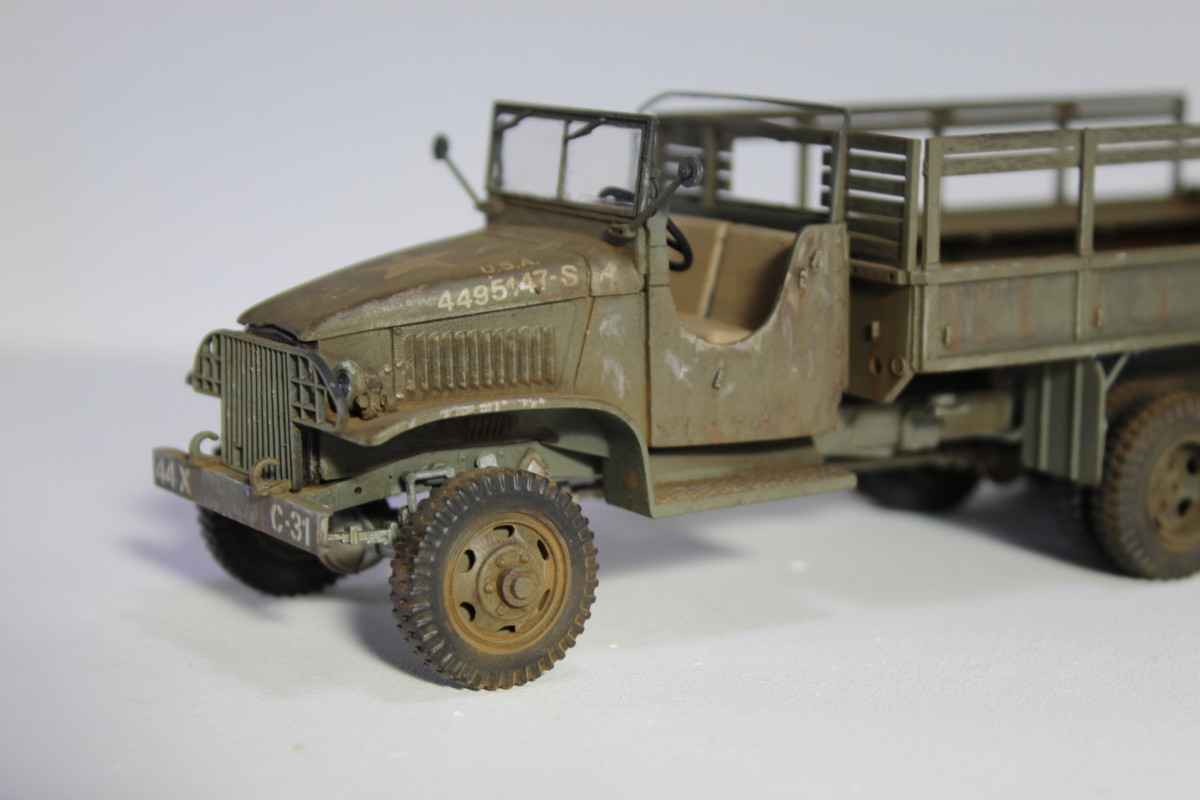
Now the chassis is completed and the drivetrain and suspension attached I can get on with the cab. A little bit trickier with the fit here, but patience prevailed and it’s starting to look like a truck. I need to fit the headlight but I will wait until it is painted before I stick the grill over the radiator,
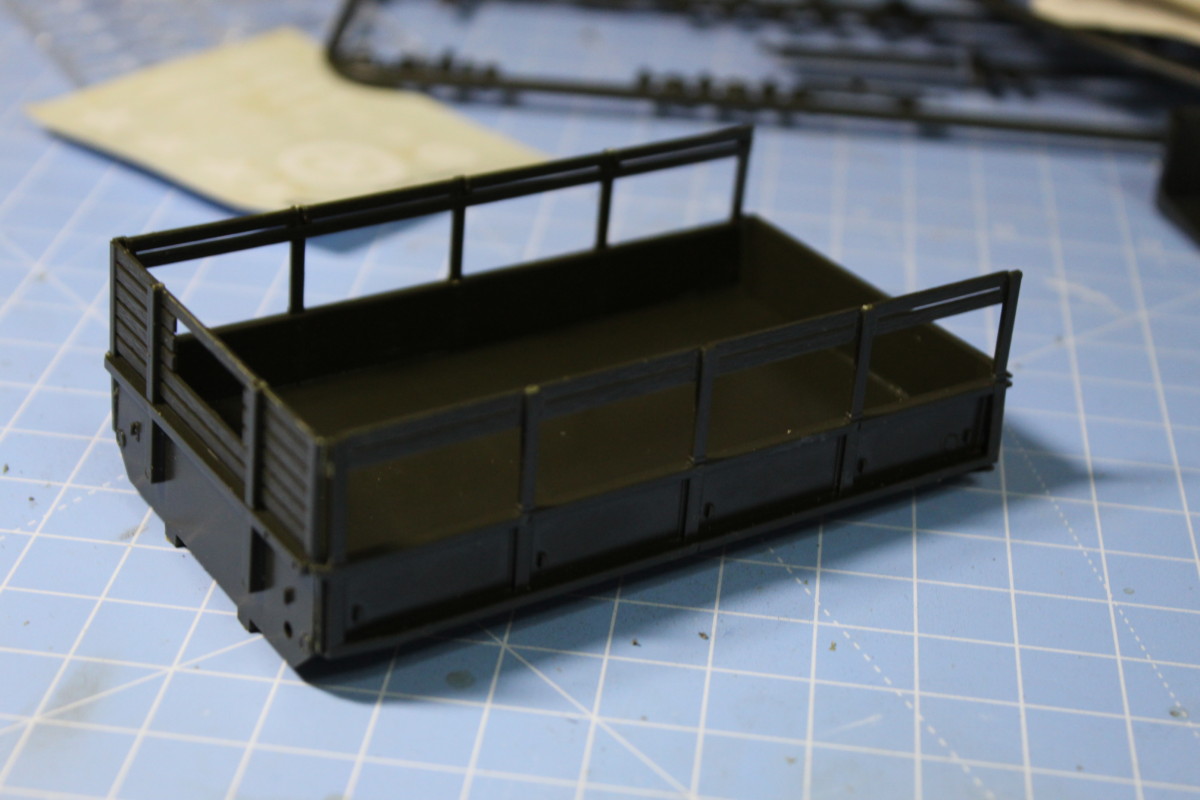
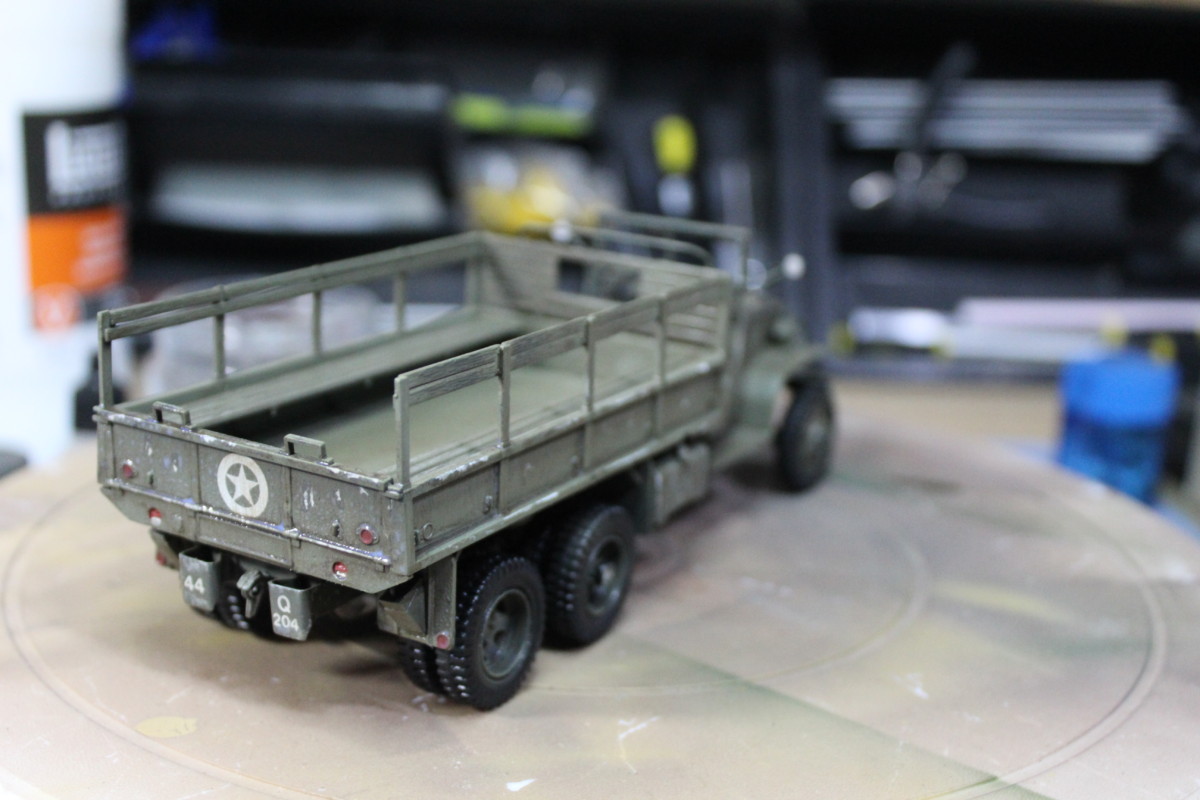
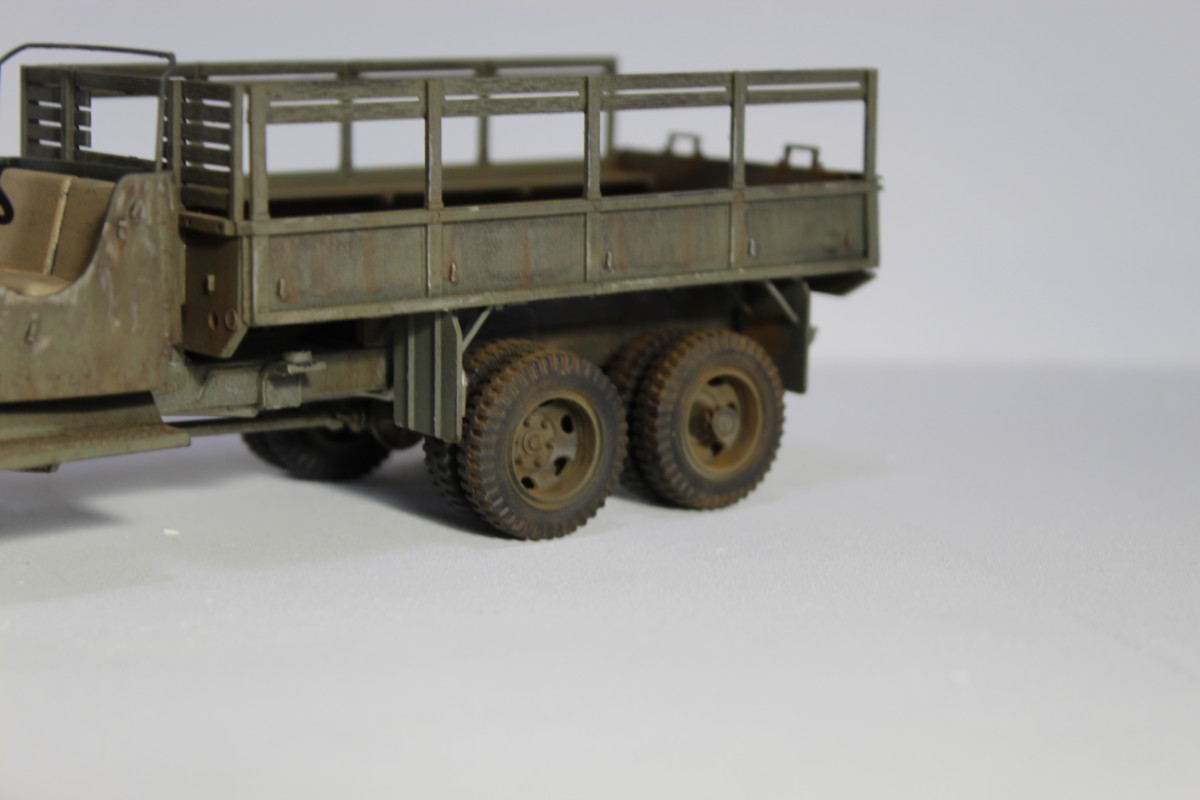
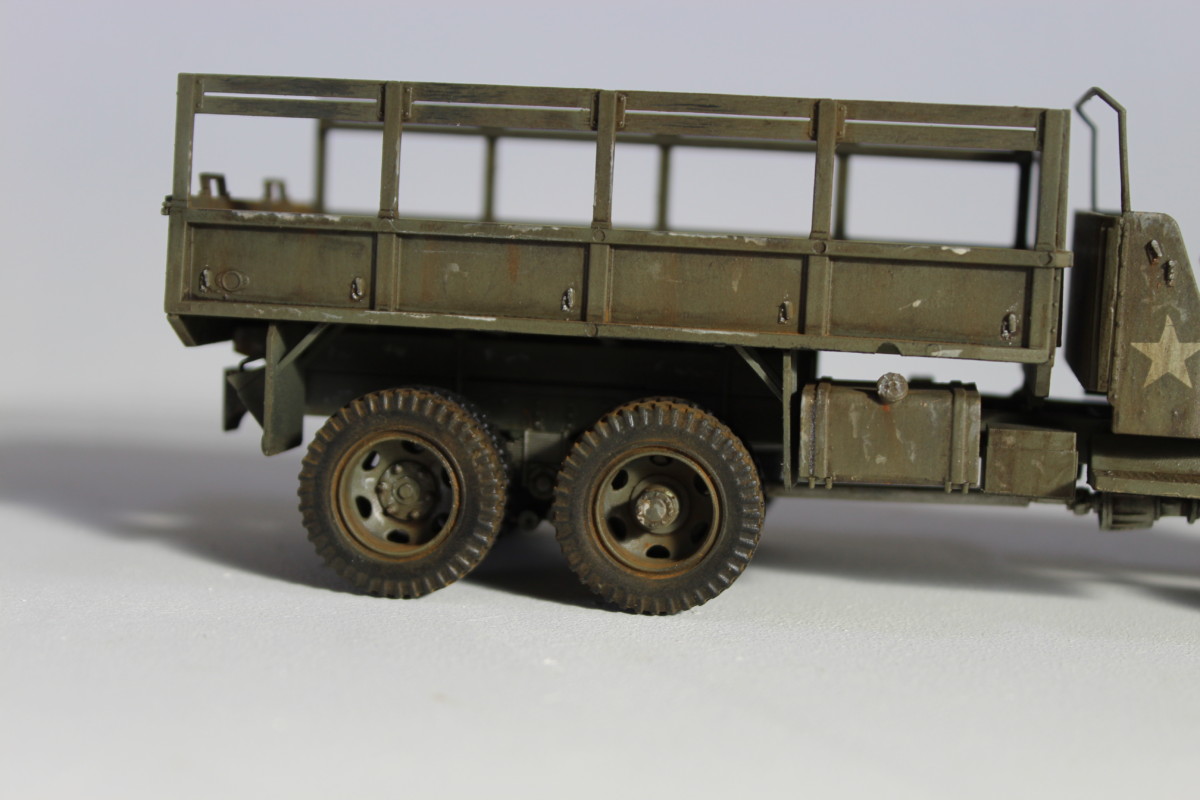
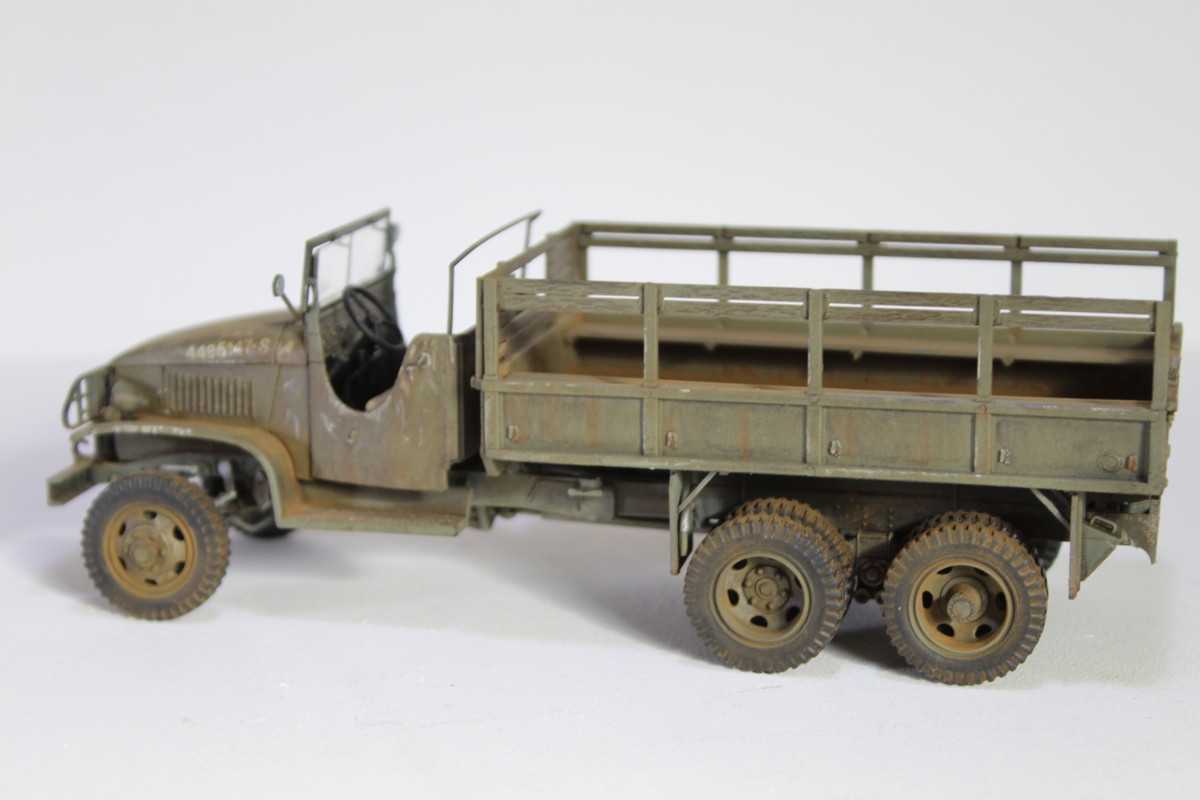
While the cab is setting I can move my attention to the flatbed part of the truck. It has fitted together really nicely, I’m going to let this set overnight and then fit in the seating tomorrow.
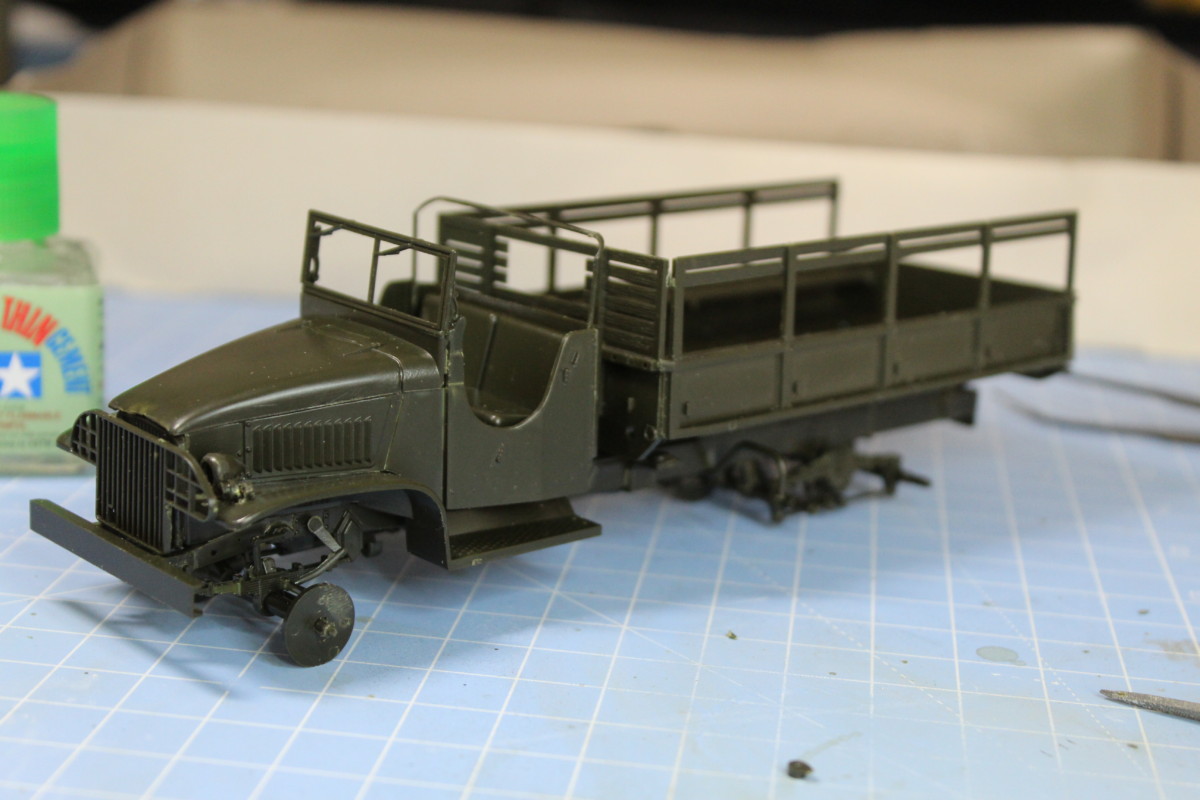
So I have let everything dry overnight, I have fitted the seating in the flatbed so now I’m just doing a dry fit of the body and radiator before I continue. Next, I need to fit the mud flaps and a couple of other pieces to the flatbed and the wing mirrors to the cab then I should be about ready to lay down some paint.
So I made the ultimate error and tried to get a bit of the model done when I was exhausted, I tried to fit the headlights and messed them up a little, will just need a bit of sanding to get them back but I have learnt my lesson on this one.
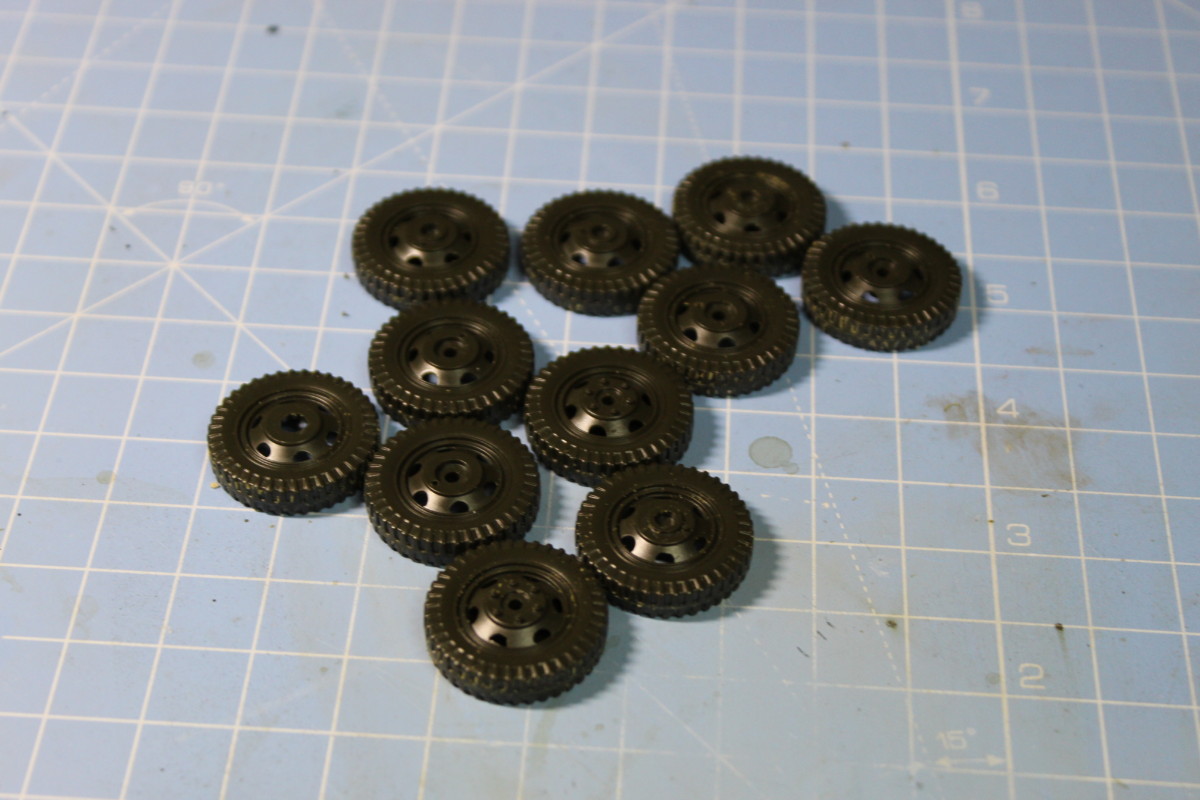
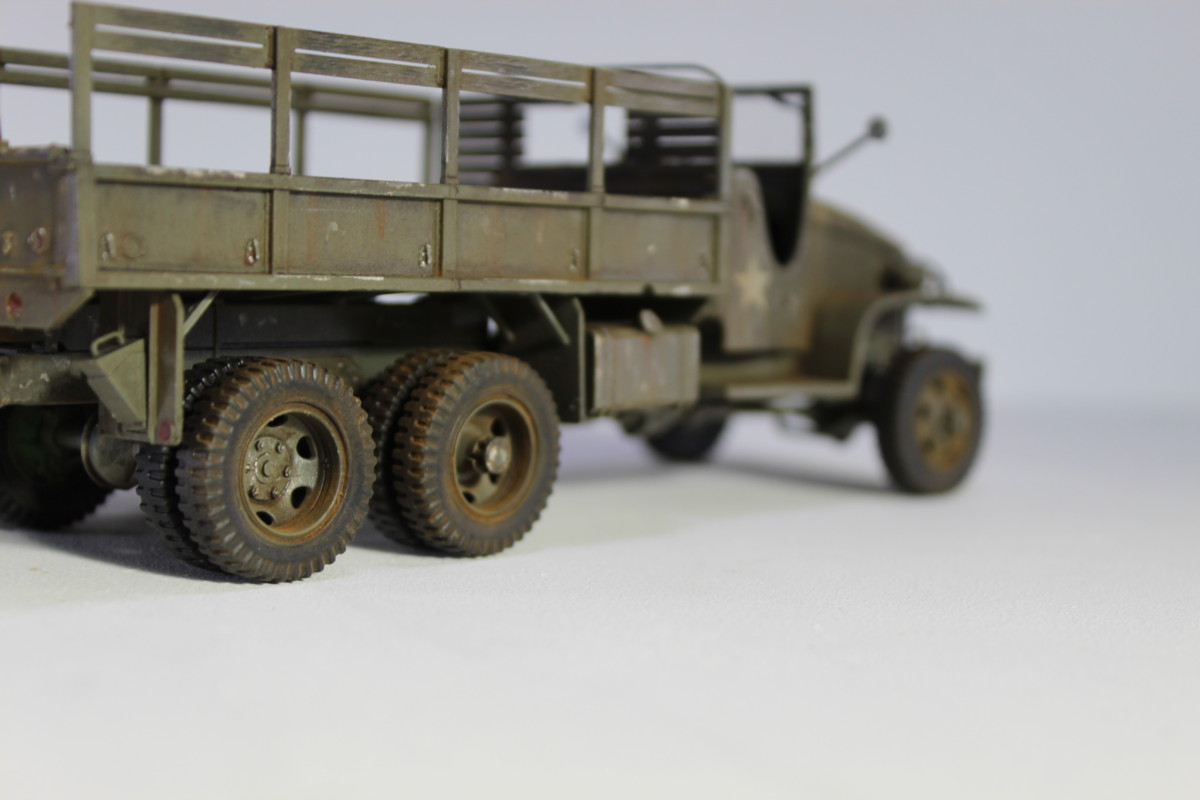
Now on to the wheels, I am finding this quite a relaxing job now. Just sort of sit back and do a bit of sanding and trimming while I watch some Star Trek. I will be honest. I do prefer rubber tyres, but beggars can’t be choosers! Anyway, I got this plastic stencil off eBay and am trying it out as a painting mask for airbrushing. The results are not too bad at all so far. I will need a little bit of practice but with it being reusable I am very happy.

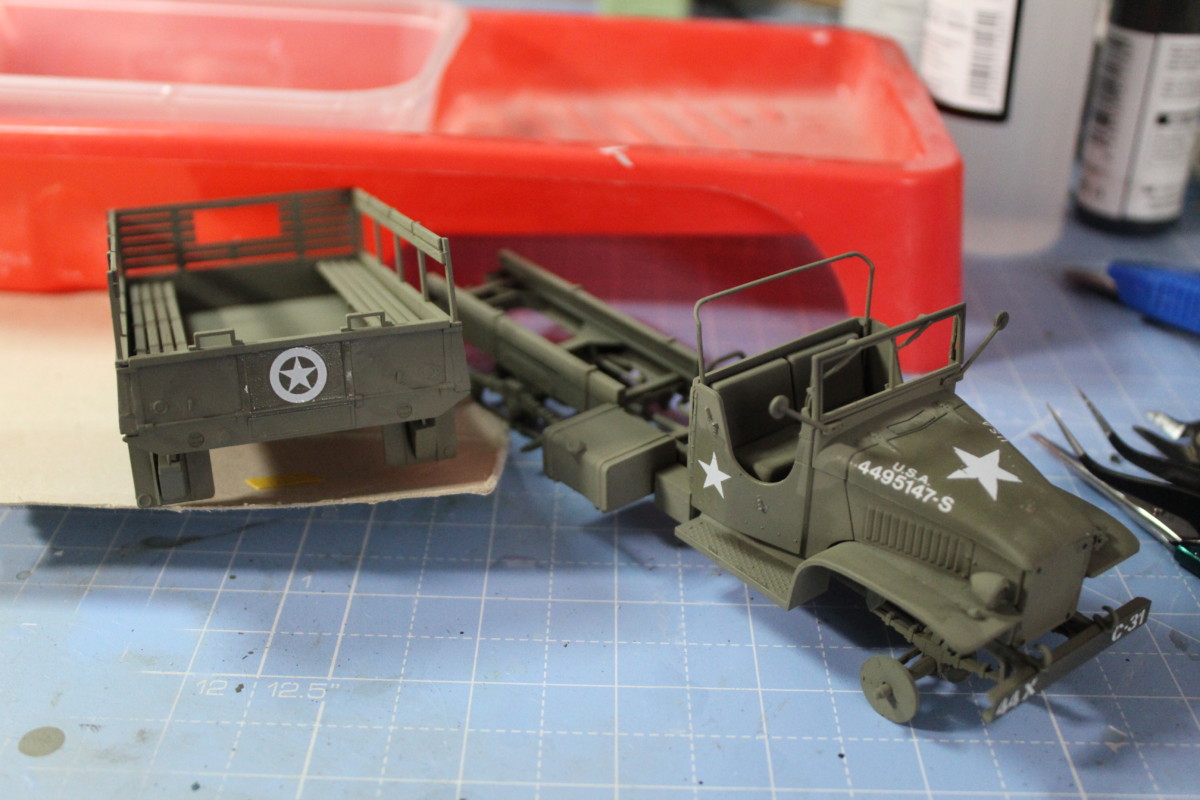
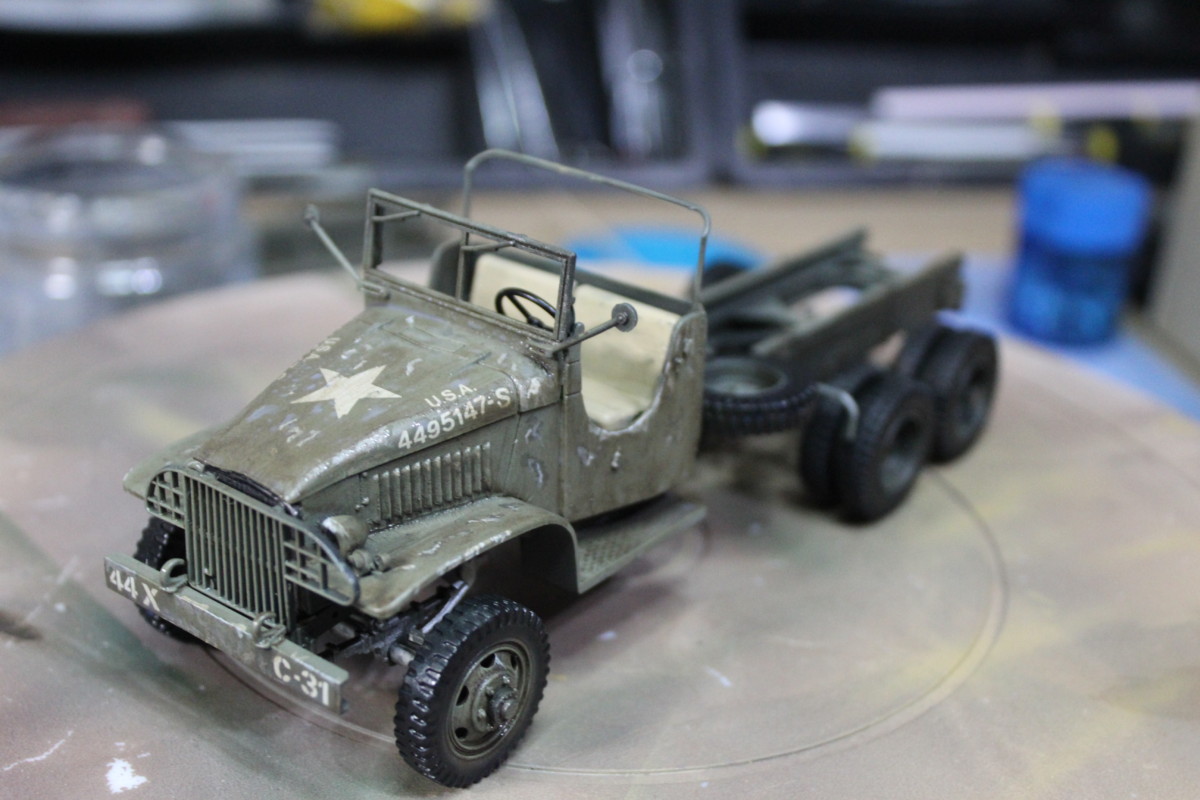
Now the fun part…painting! So I have lightened up some Olive Drab, after seeing how dark the paint got on the Towed Howitzer after varnish and washes. So a quick airbrushing of basecoat and it looks good, I can’t really see any major imperfections.
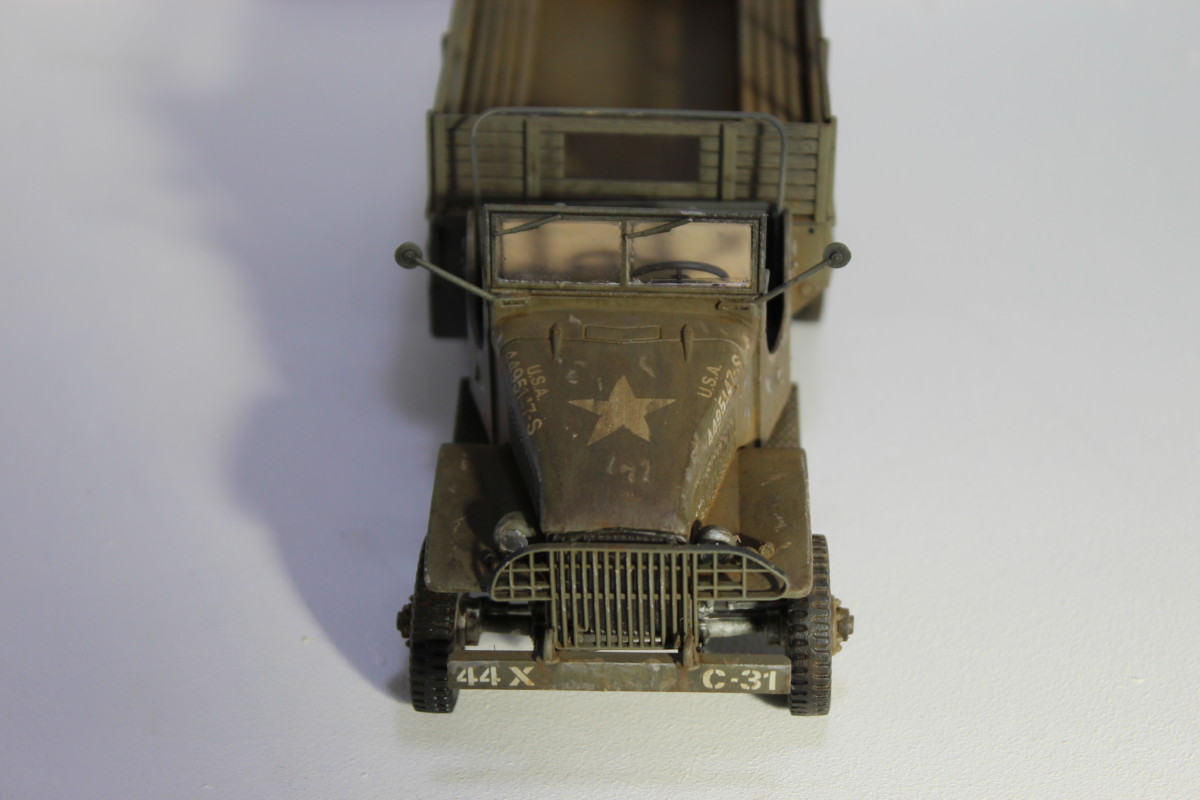
So now to apply the decals and paint in the small details like the headlights and drivetrain. With it being an old model some of the decals had begun to deteriorate and a couple of them broke down in the water. So I had to take a fair bit of care with them, but with some patience and a steady hand, I managed to salvage the rest.
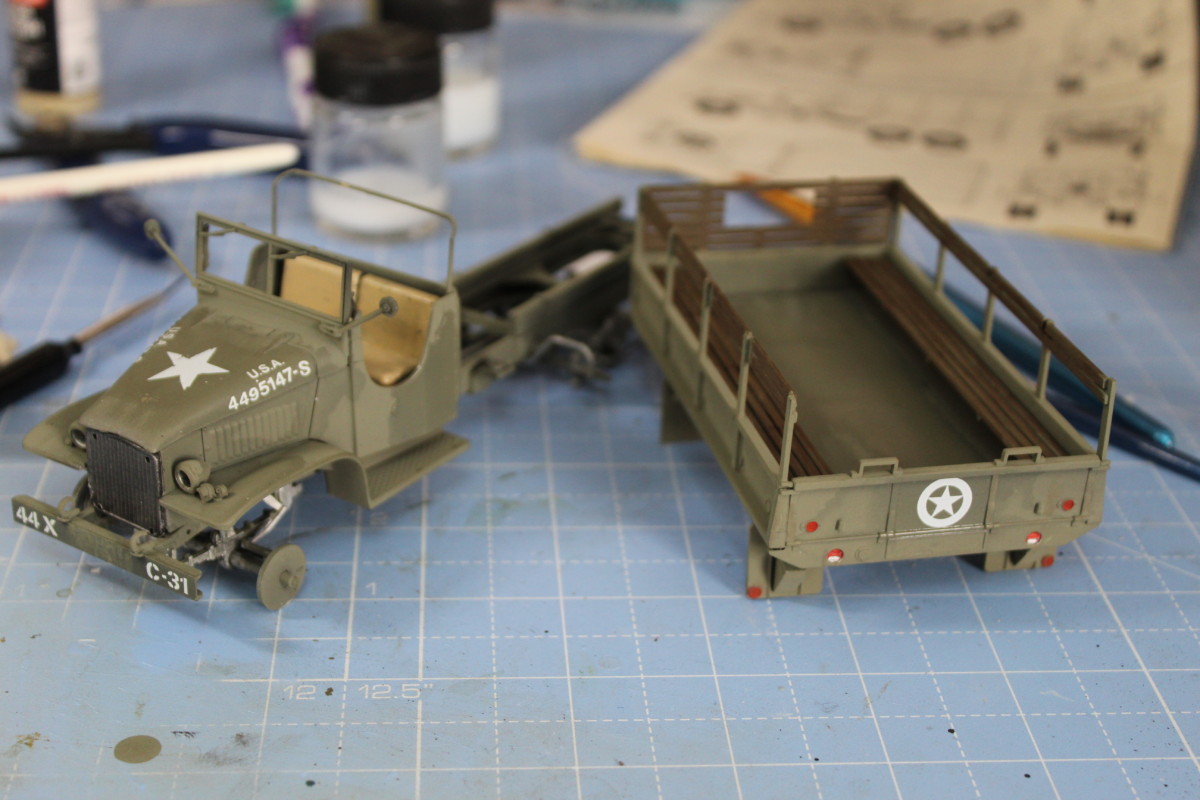
After all of that work is done a quick coat of satin varnish and then start with the weathering. For this model, I am hand painting on some chipping and using aftermarket weathering products, AK Washes and Vallejo Pigment.

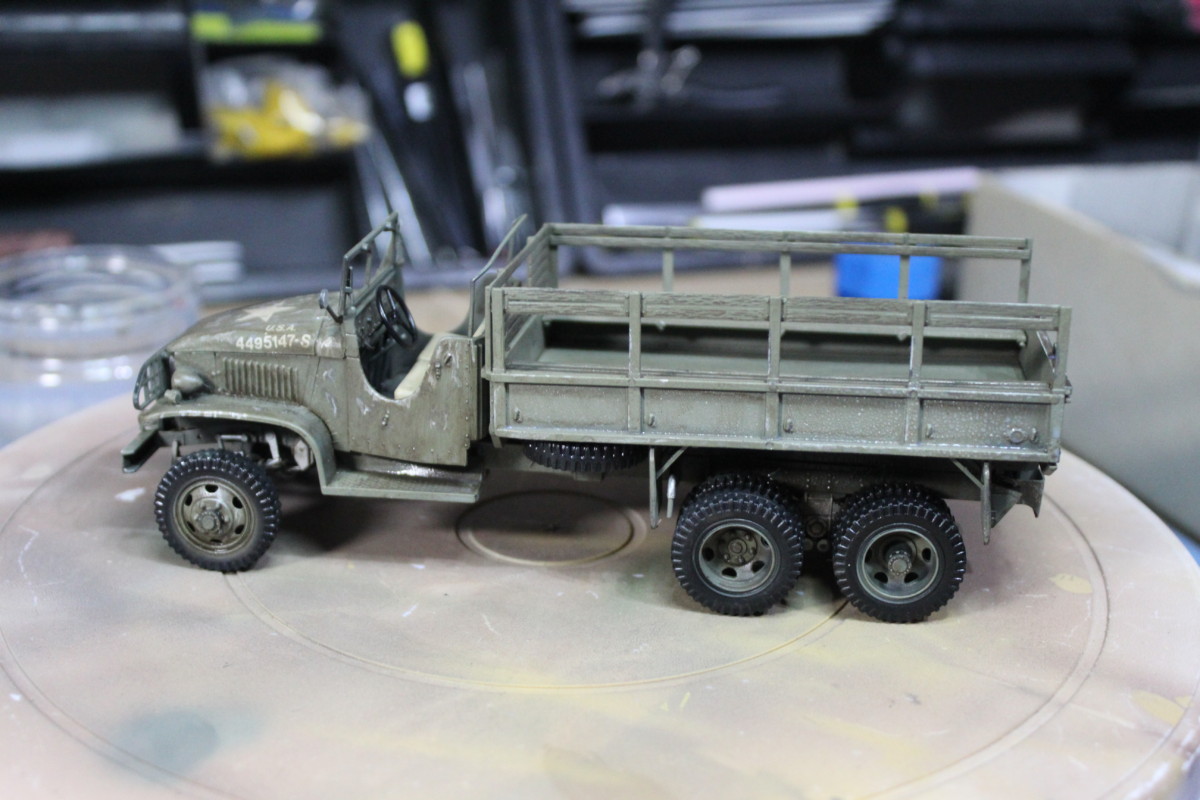
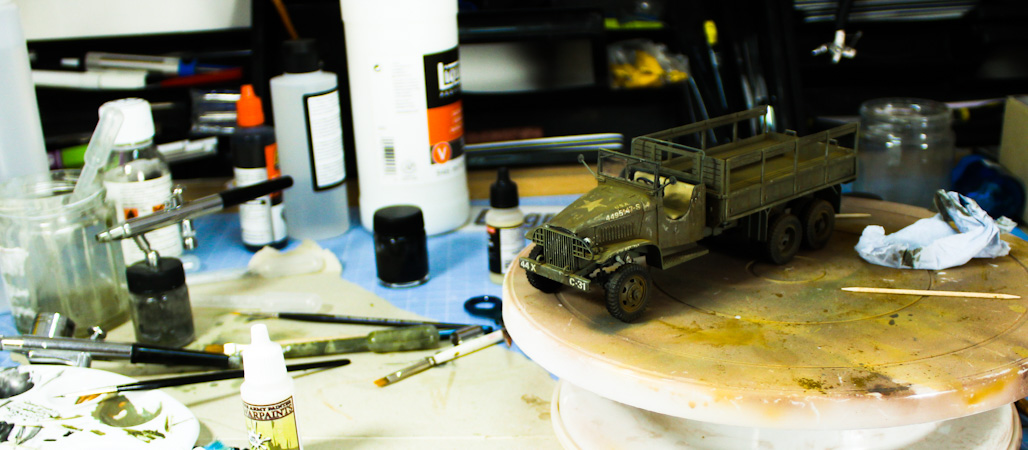
All in all, I have done 3 washes, A pin wash, some grime streaks and a couple of rust streaks. Now I have laid down a coat of matt varnish and fitted the clear parts and brushed on some earth pigment. I did remove the steering wheel and headlamps to aid in fitting the clear parts so just need to refit them and then I can call it a day on this one.


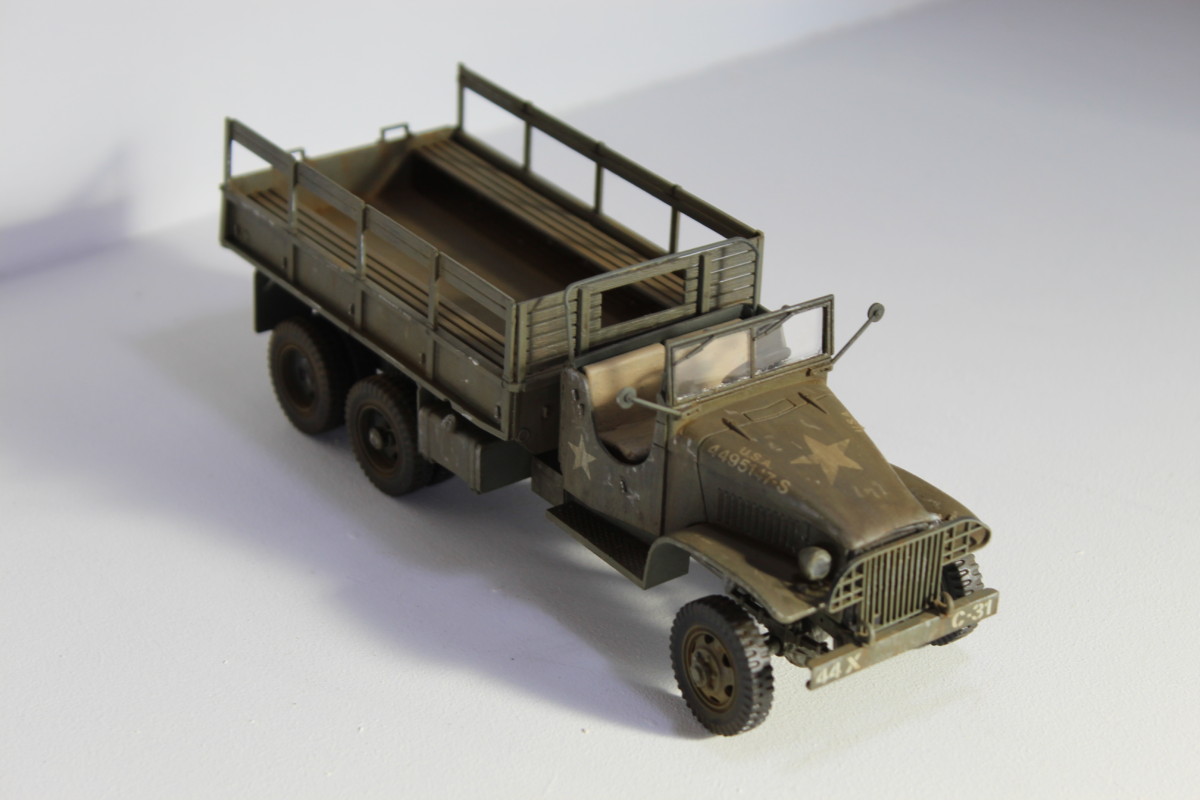
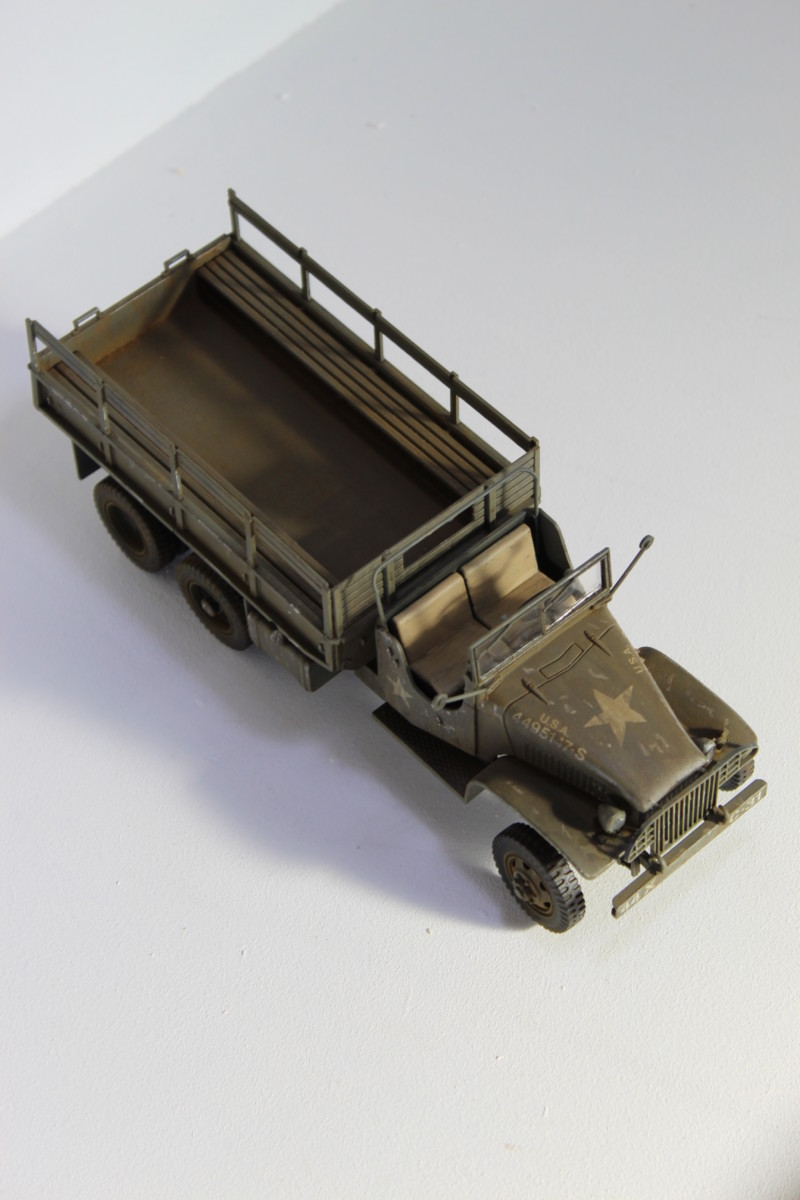

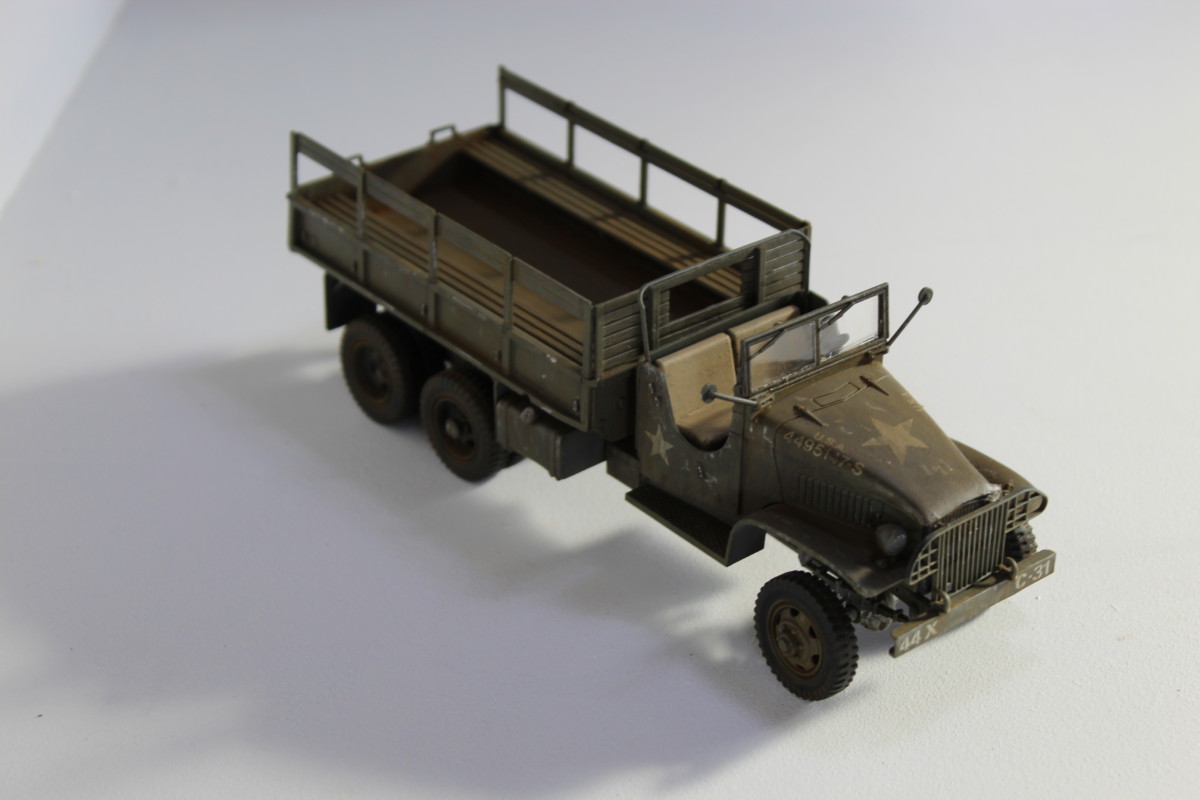


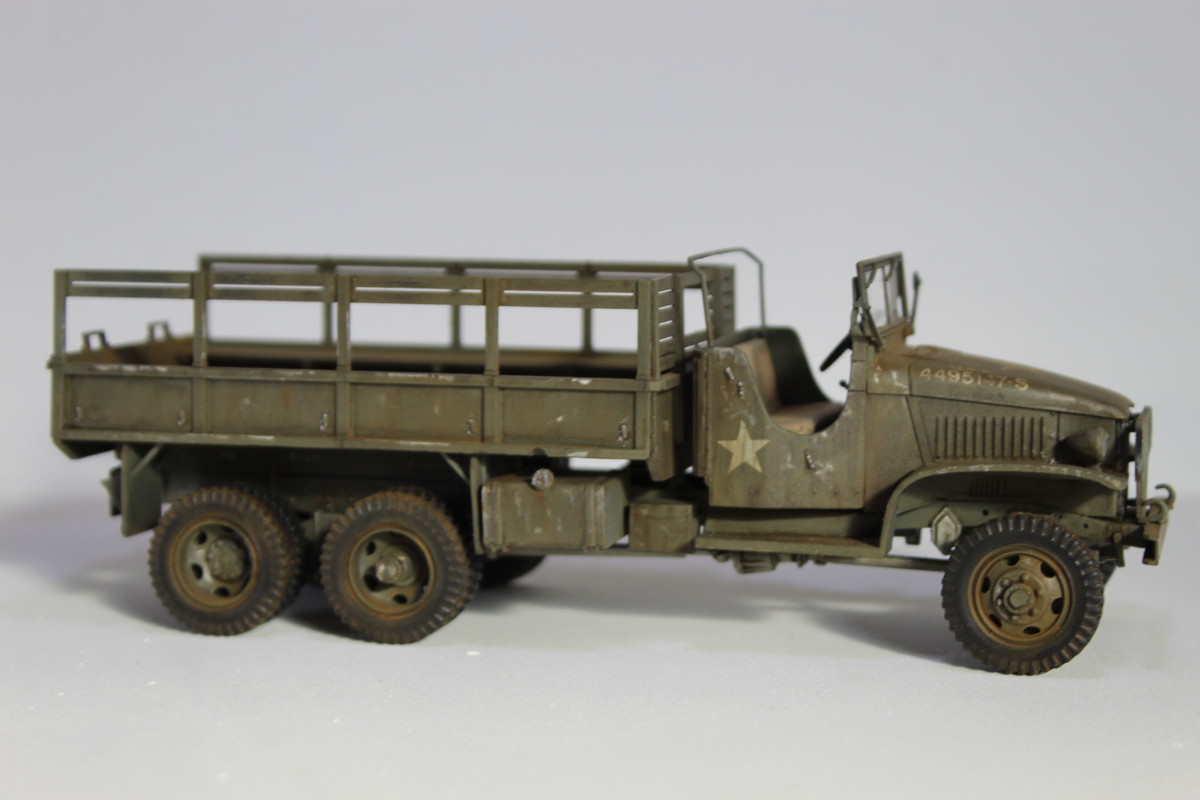

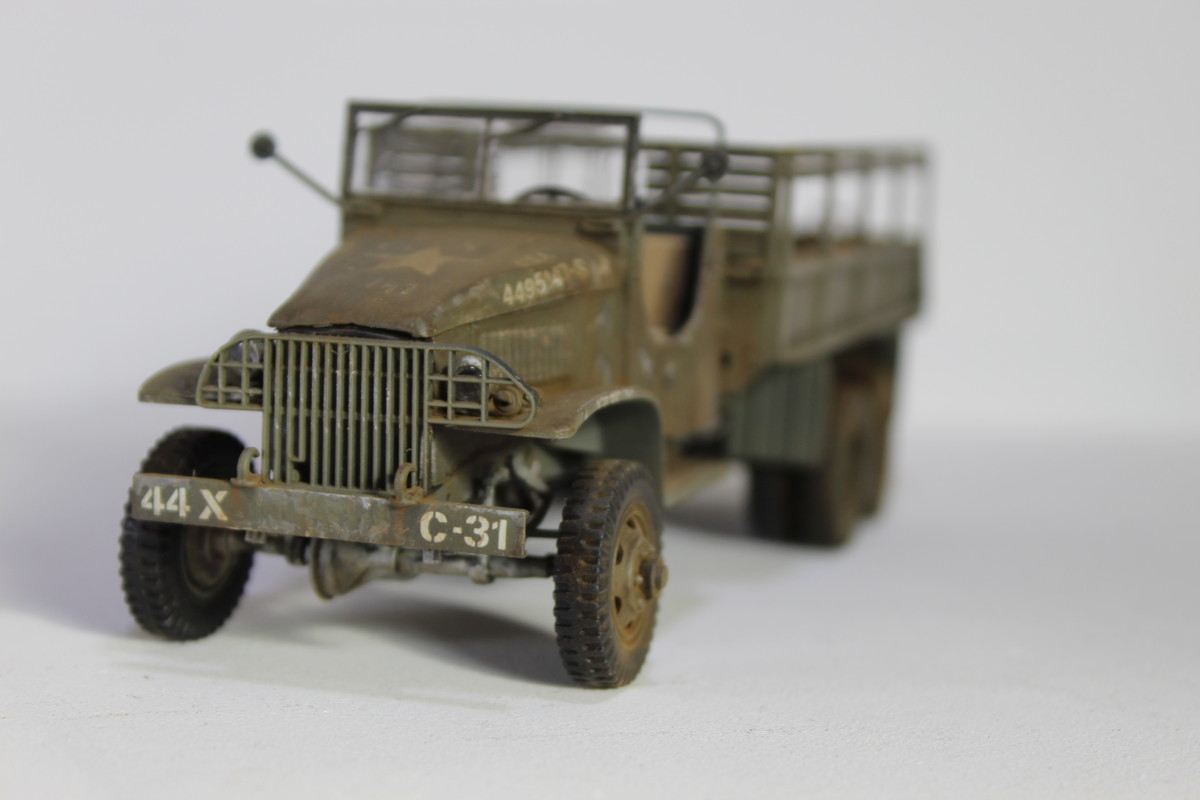
What did we learn from this one then? All in all a nice build. Need to work on the chipping effect, this one I painted with a brush. I should have put the radiator cover on last, however, that wasn’t a major issue. A bit more working with clear parts and the glue ‘n’ glaze. Apart from that, I am pretty happy with the end result.
One thought on “Italeri 135th Cargo Truck GMC 6X6 Step By Step Full Build”
Comments are closed.