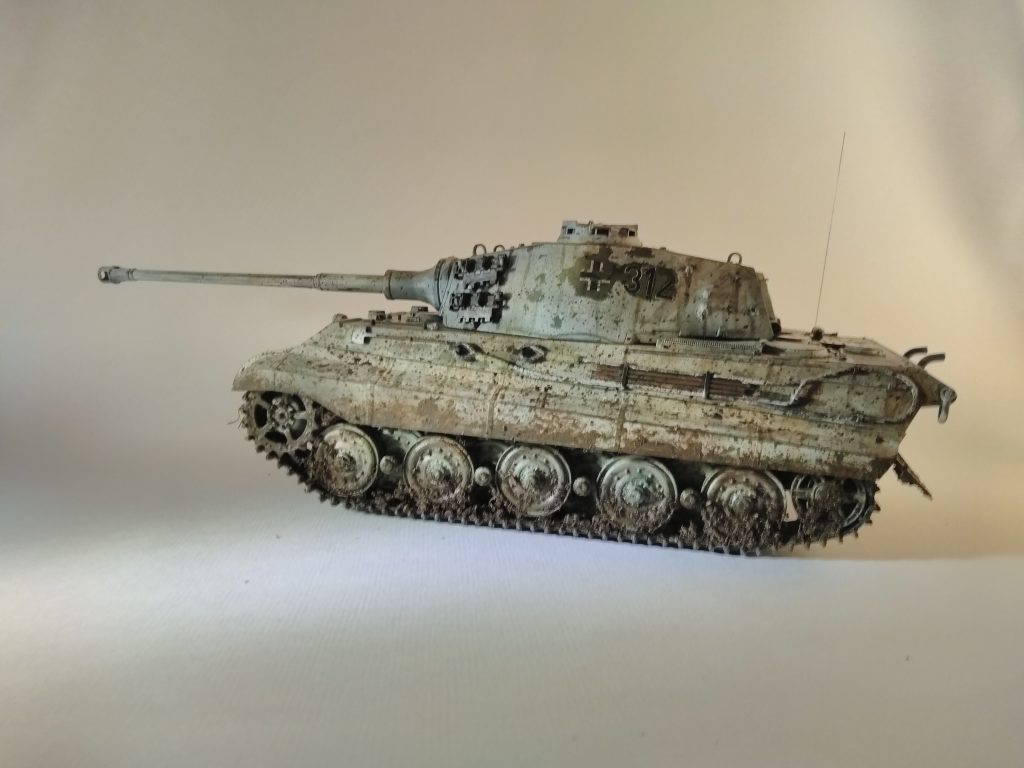
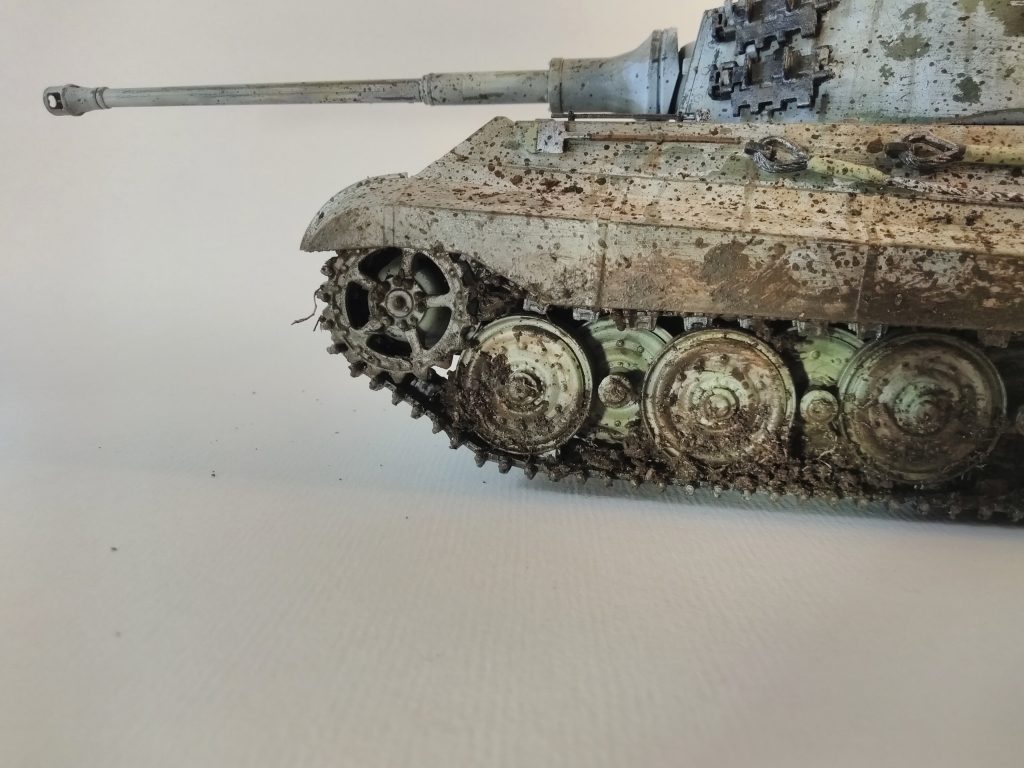
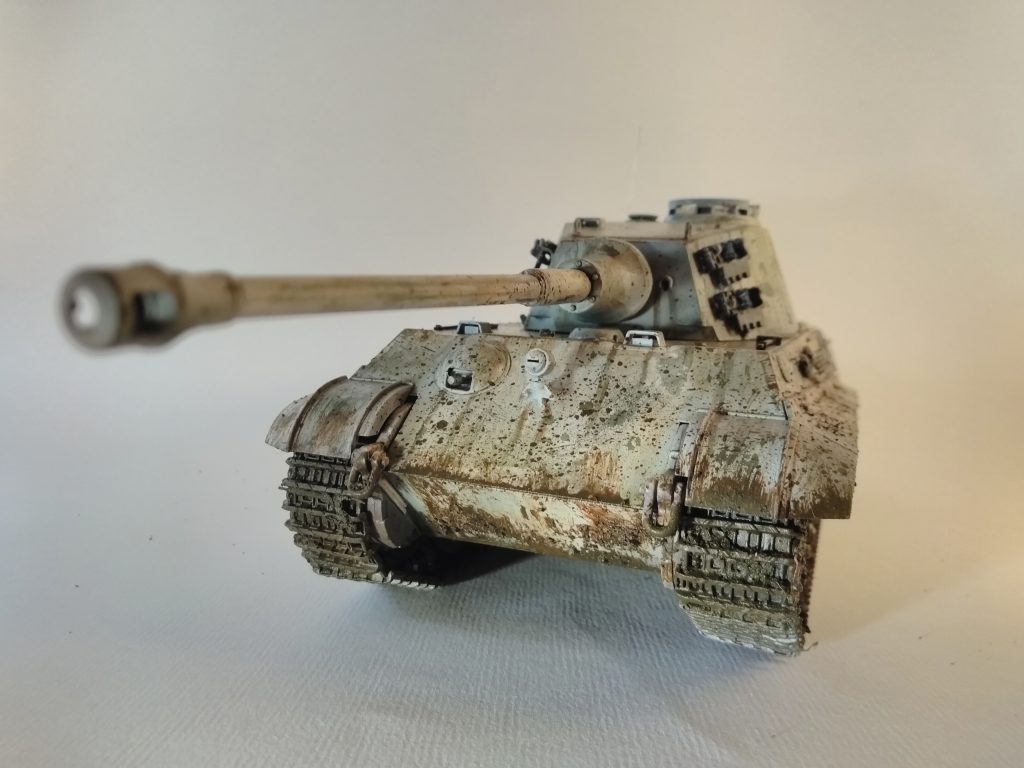
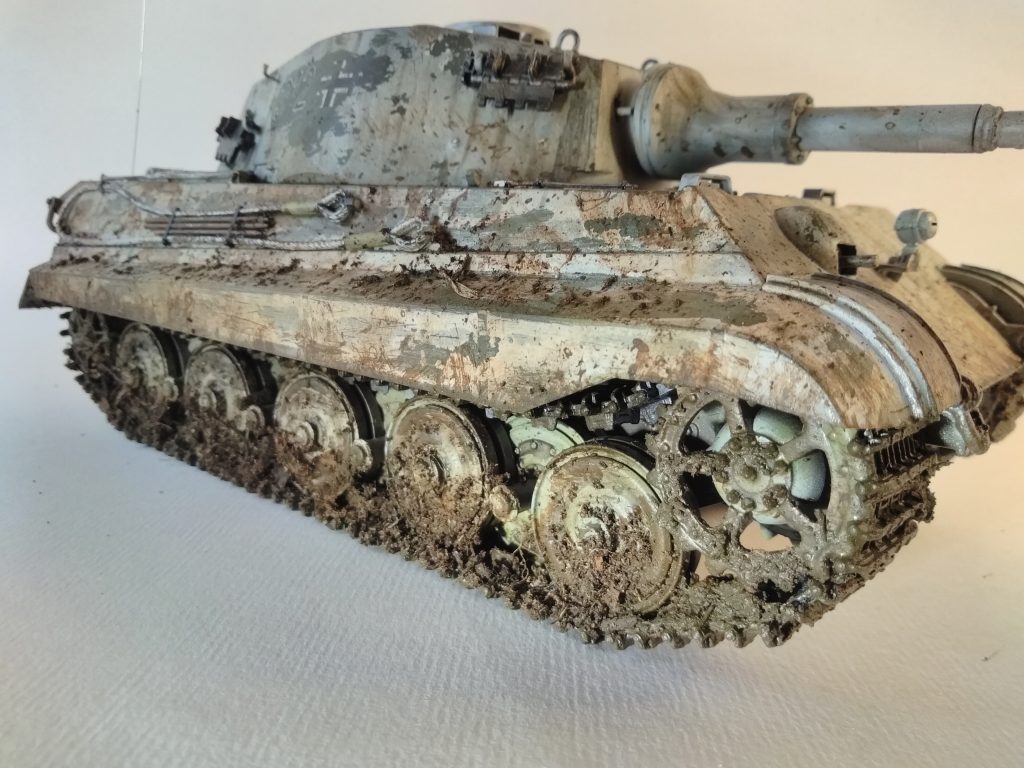
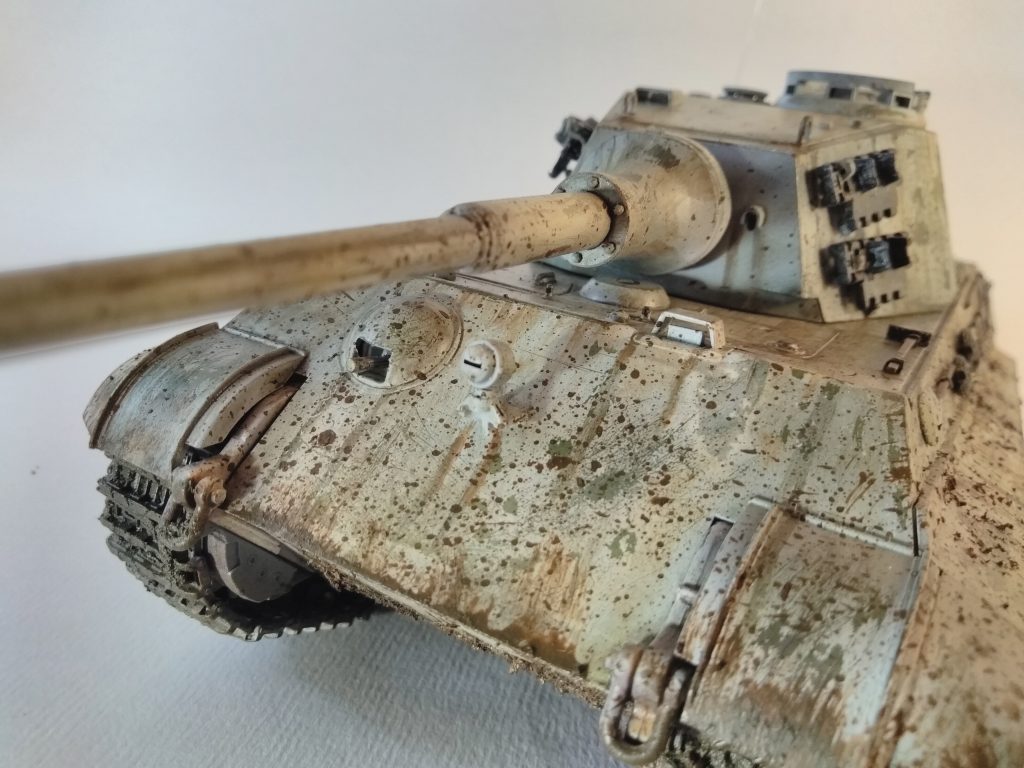
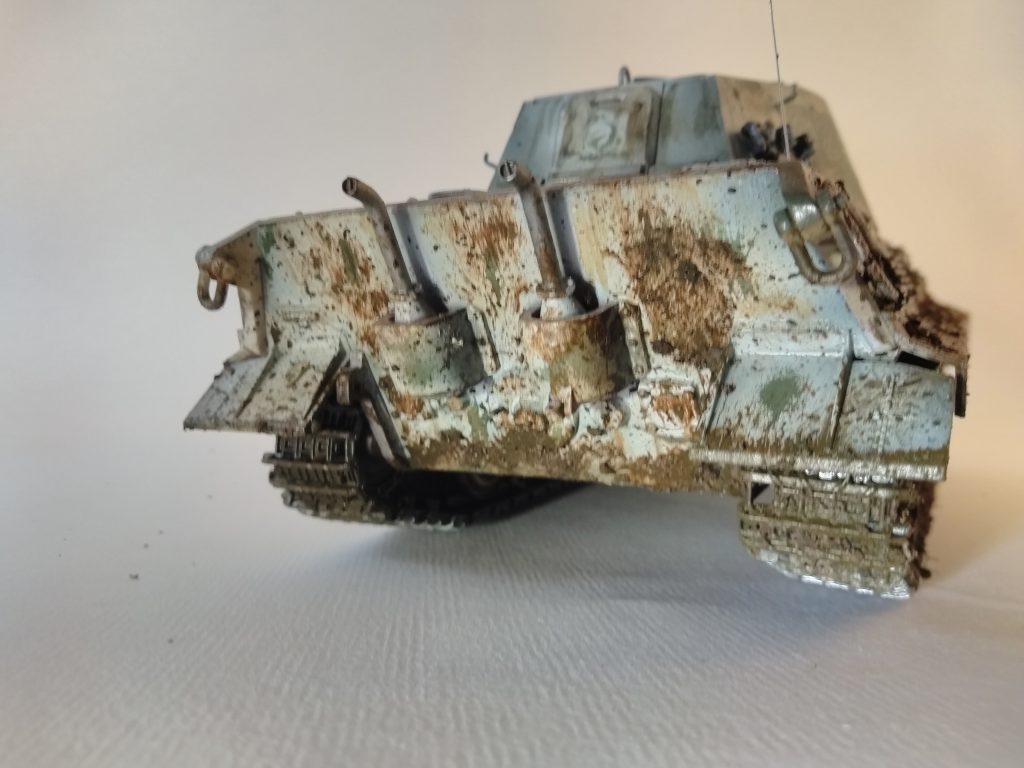
So a few years ago I picked up a couple of these King Tiger models for an absolute song. So I haven’t taken any pictures of the build as I didn’t know I would be blogging when I started it, but now it’s finished there are a few below. I did enjoy this build. A lot of complex parts, individual tracks which were a new thing for me. To be honest it is a very nice looking tank. I have gone for a distressed winter camo look with this one. The first time I really used an airbrush, I started to learn about the effects of air pressure and paint thinning. Also played around with some weathering. Only had to deal with a couple of pieces of photo-etch, which were grills for the engine. In the end, I went for a winter finish. Here are the results, let me know what you think.
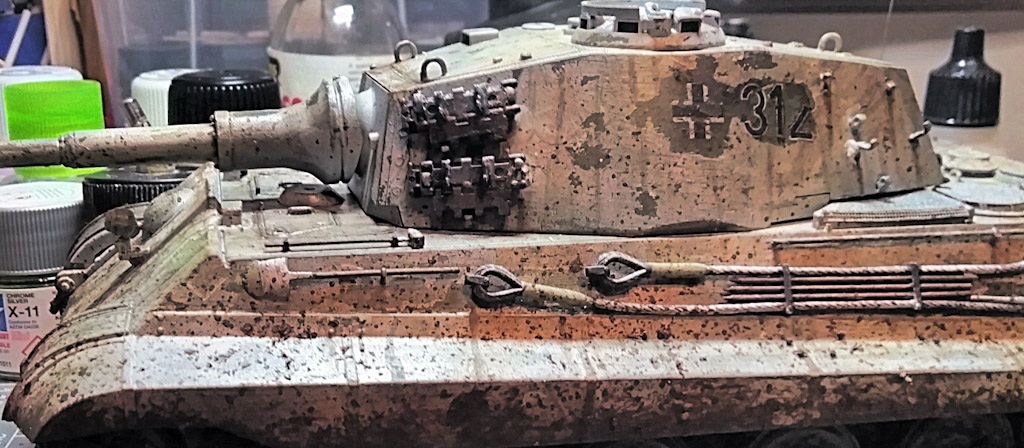
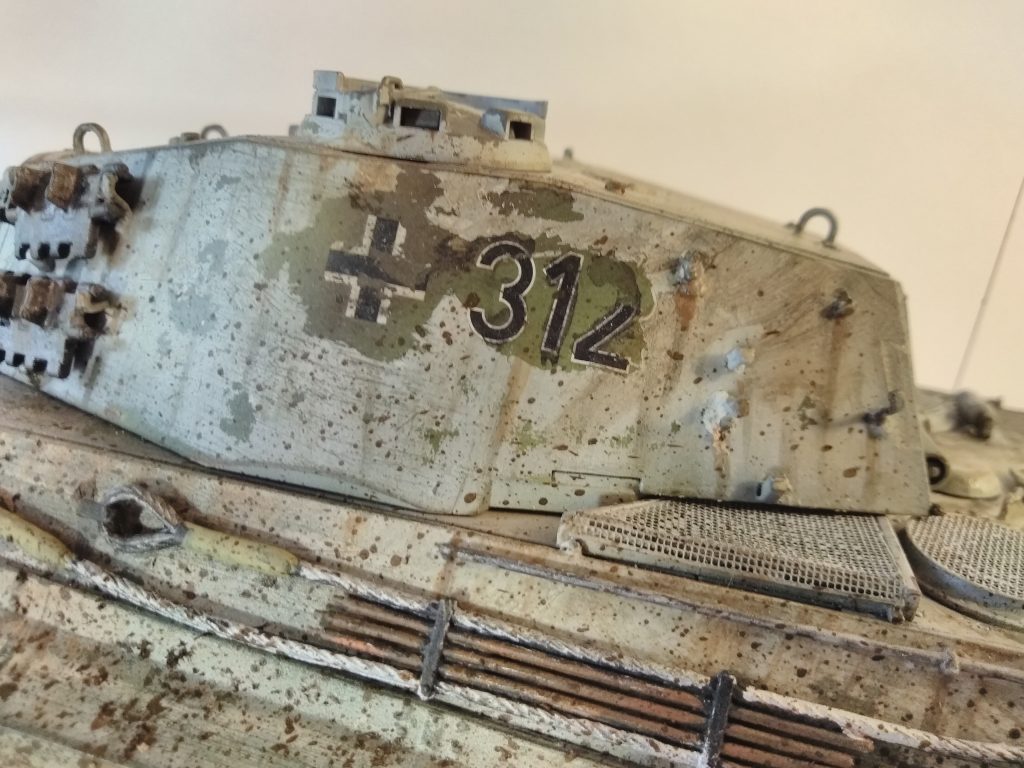
So a few things I have picked up on this build. First I tried the hair spray technique for chipping. I started out using the Humbrol maskol to cover the insignia and the turret number. It smells like copydex so would be interested to see if that would do the same job. I went over with a thinned Humbrol white paint. Now I don’t know if it was my technique, the paint or I didn’t let it dry long enough, but I found the flakes came off quite big. I will have to do some research to see if a Tamiya paint has the same effect.
Also, I got to have a little play with washes. I wasn’t mad keen on the pin wash I used, it was an enamel AK Interactive OIF wash. However, I did like the AK Interactive grim streaks. I have also managed to amass 2 rust effect washes so guess I will be using them as much as possible. This is a Humbrol product. I have used it a little on a Submarine and like the effect. I used it sparingly and really liked it. Once I had gone over with the weathering, I just wasn’t happy with the depth. So digging into my paint box I found some Games Workshop Ink in Delvan Mud. I really do love the GW Washes and Inks, back from my days painting minis.
On another note, you can still pick up the paints from the mid-’90s under the brand name cote-d-arms. They are a lovely consistency, cover well and thin well. Excellent for brush painting and are also quick drying.
So going over some of the panel line and bolts the ink really made some of the details pop.
A couple of other things to note. I have cans of spray varnish from eBay, both a Matt and a gloss. In trials, the gloss works fine but going over with the Matt doesn’t dull the effect. So I have used a product that is new to me by Liquitex, their matt varnish. The problem I’m finding is the slightest drop of cellulose thinner reacts with the varnish and makes it congeal. Meaning it really clogged up my airbrush. I do have an older cheap airbrush that I think will be perfect for this. I just need to get a connector that converts the valve size so it will attach to my compressor. But that being said for under £20 for just under 1L it gives a great dull finish as you can see below.
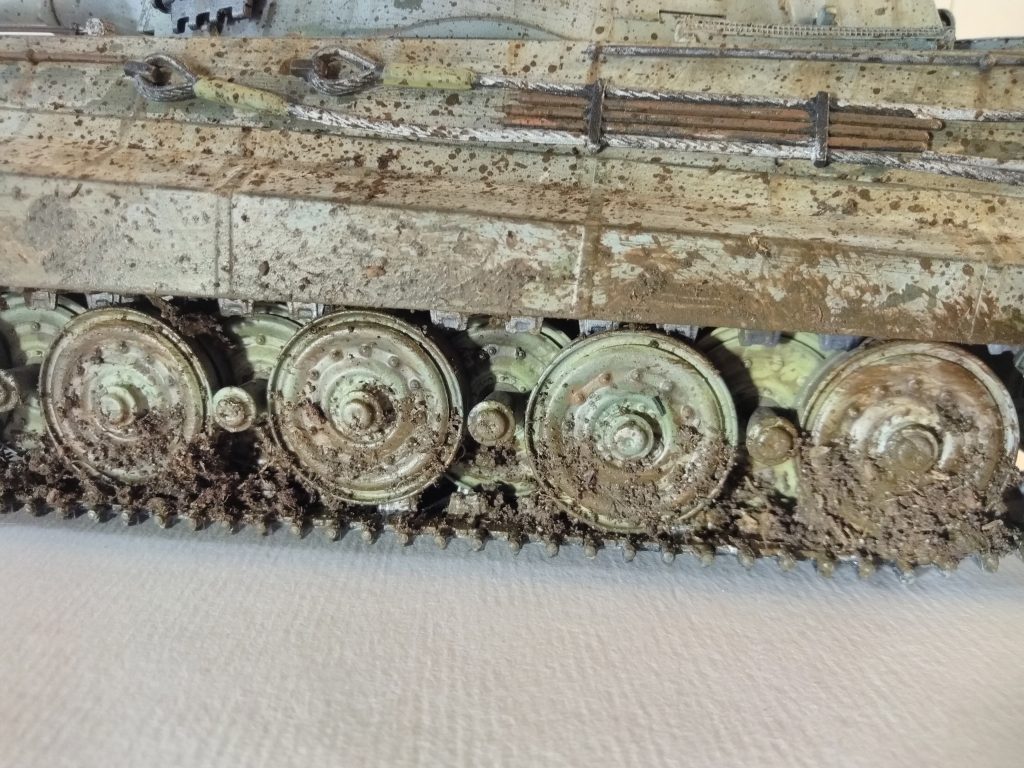
The last thing to do was some mud flecks and mud stuck to the track, this was another new thing and I’m quite happy with the finished look, by the time I had got to the second side I was much more comfortable with it.

All in all, there are some things I can take away from this project and some areas I still need to learn.
Comments are closed.