Italeri 135th Land Rover 109 LWB Step By Step Full Build

Italeri 135th Land Rover 109 LWB Step By Step Full Build

The Italeri 135th Land Rover 109 LWB is a kit I have been looking to make for a year or so. When It came up on sale I could resist picking it up. It is a really iconic vehicle! I’m not going to use a photo etch set so it should be quite a quick and simple build.

Italeri 135th Land Rover 109 LWB Step By Step Full Build
Italeri 135th Land Rover 109 LWB Step By Step Full Build.
Italeri 135th Land Rover 109 LWB Sprues With The Main Parts Of The Chassis
Italeri 135th Land Rover 109 LWB Sprues With The Main Parts Of The Chassis.
Italeri 135th Land Rover 109 LWB Sprue With Body Parts And Wheels
Italeri 135th Land Rover 109 LWB Sprue With Body Parts And Wheels.
Italeri 135th Land Rover 109 LWB Sprues For The Canopy, Windows And Transfers
Italeri 135th Land Rover 109 LWB Sprues For The Canopy, Windows And Transfers.

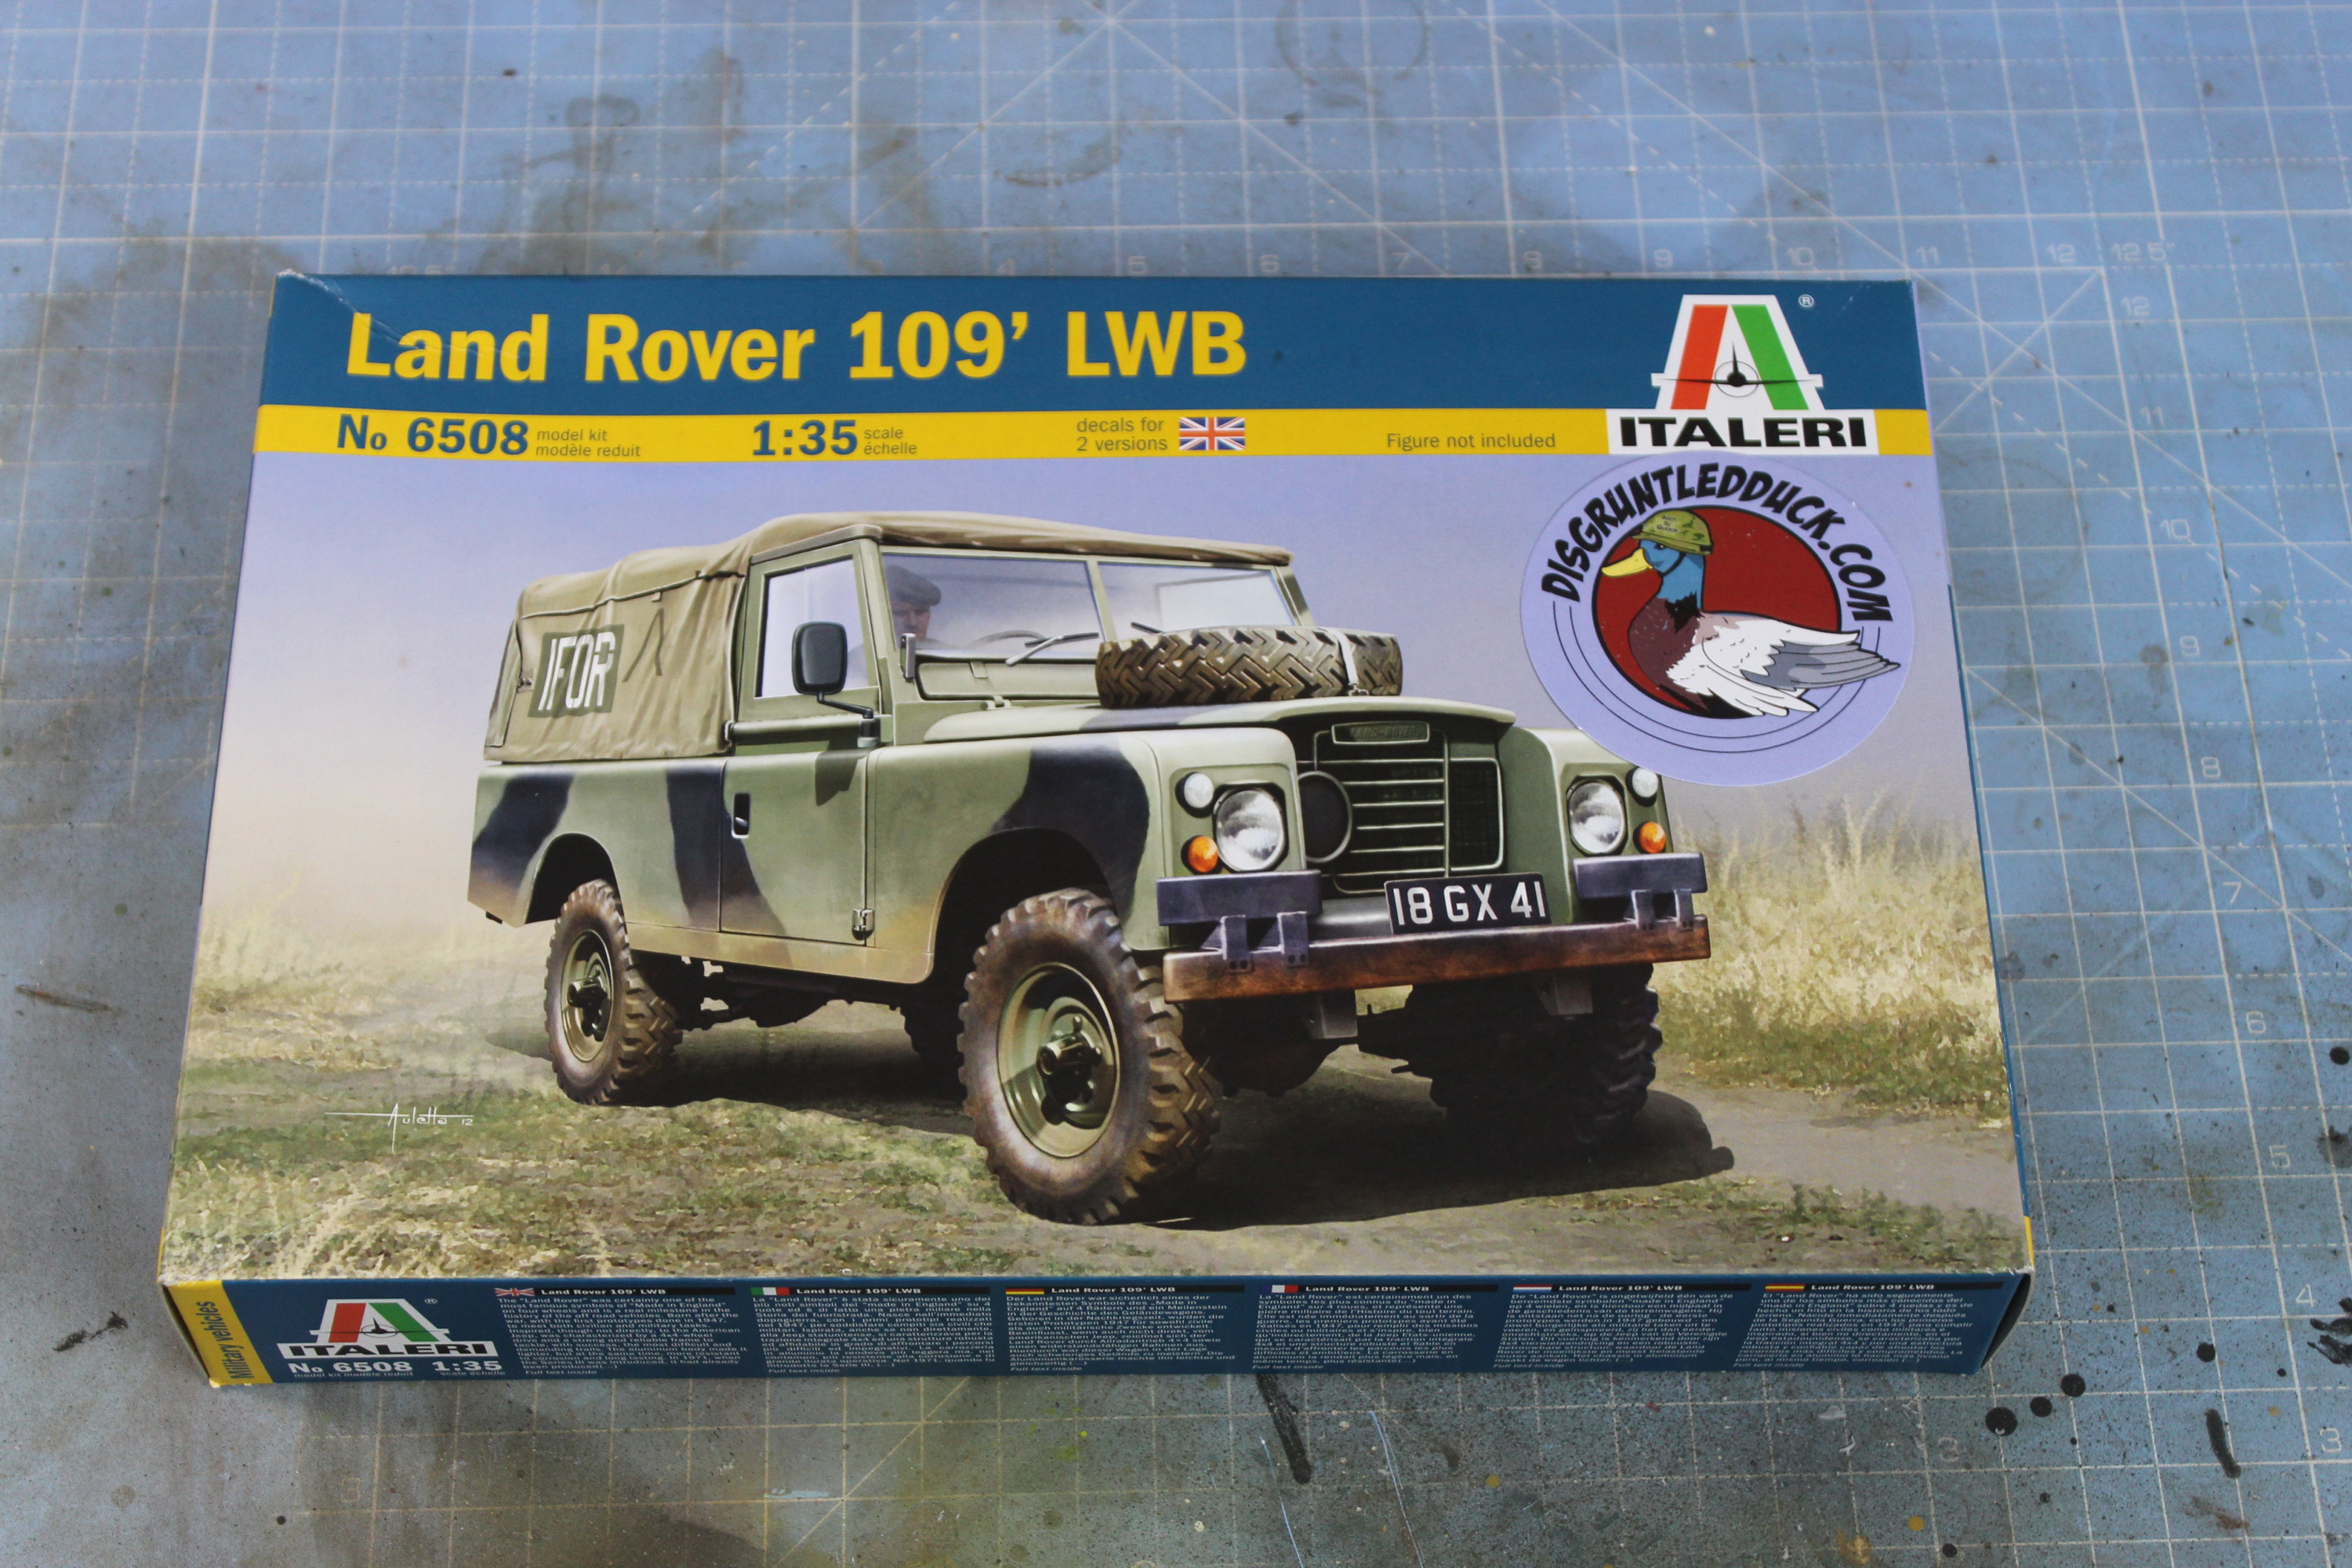
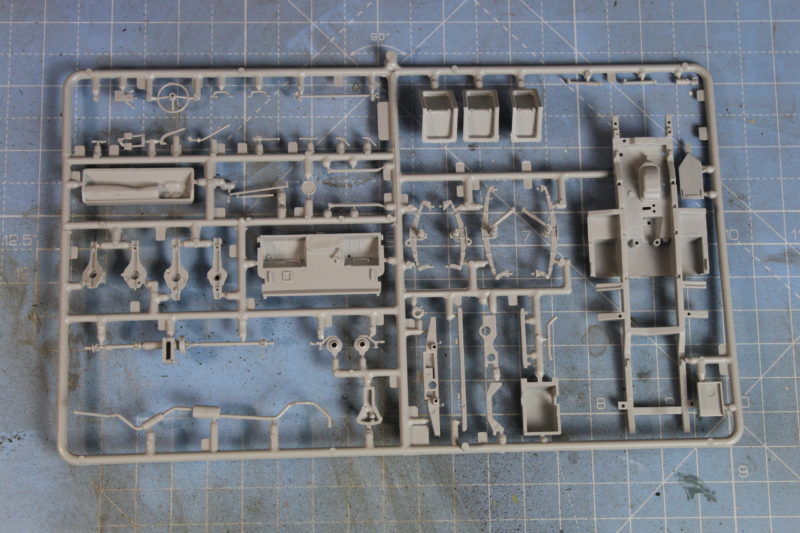
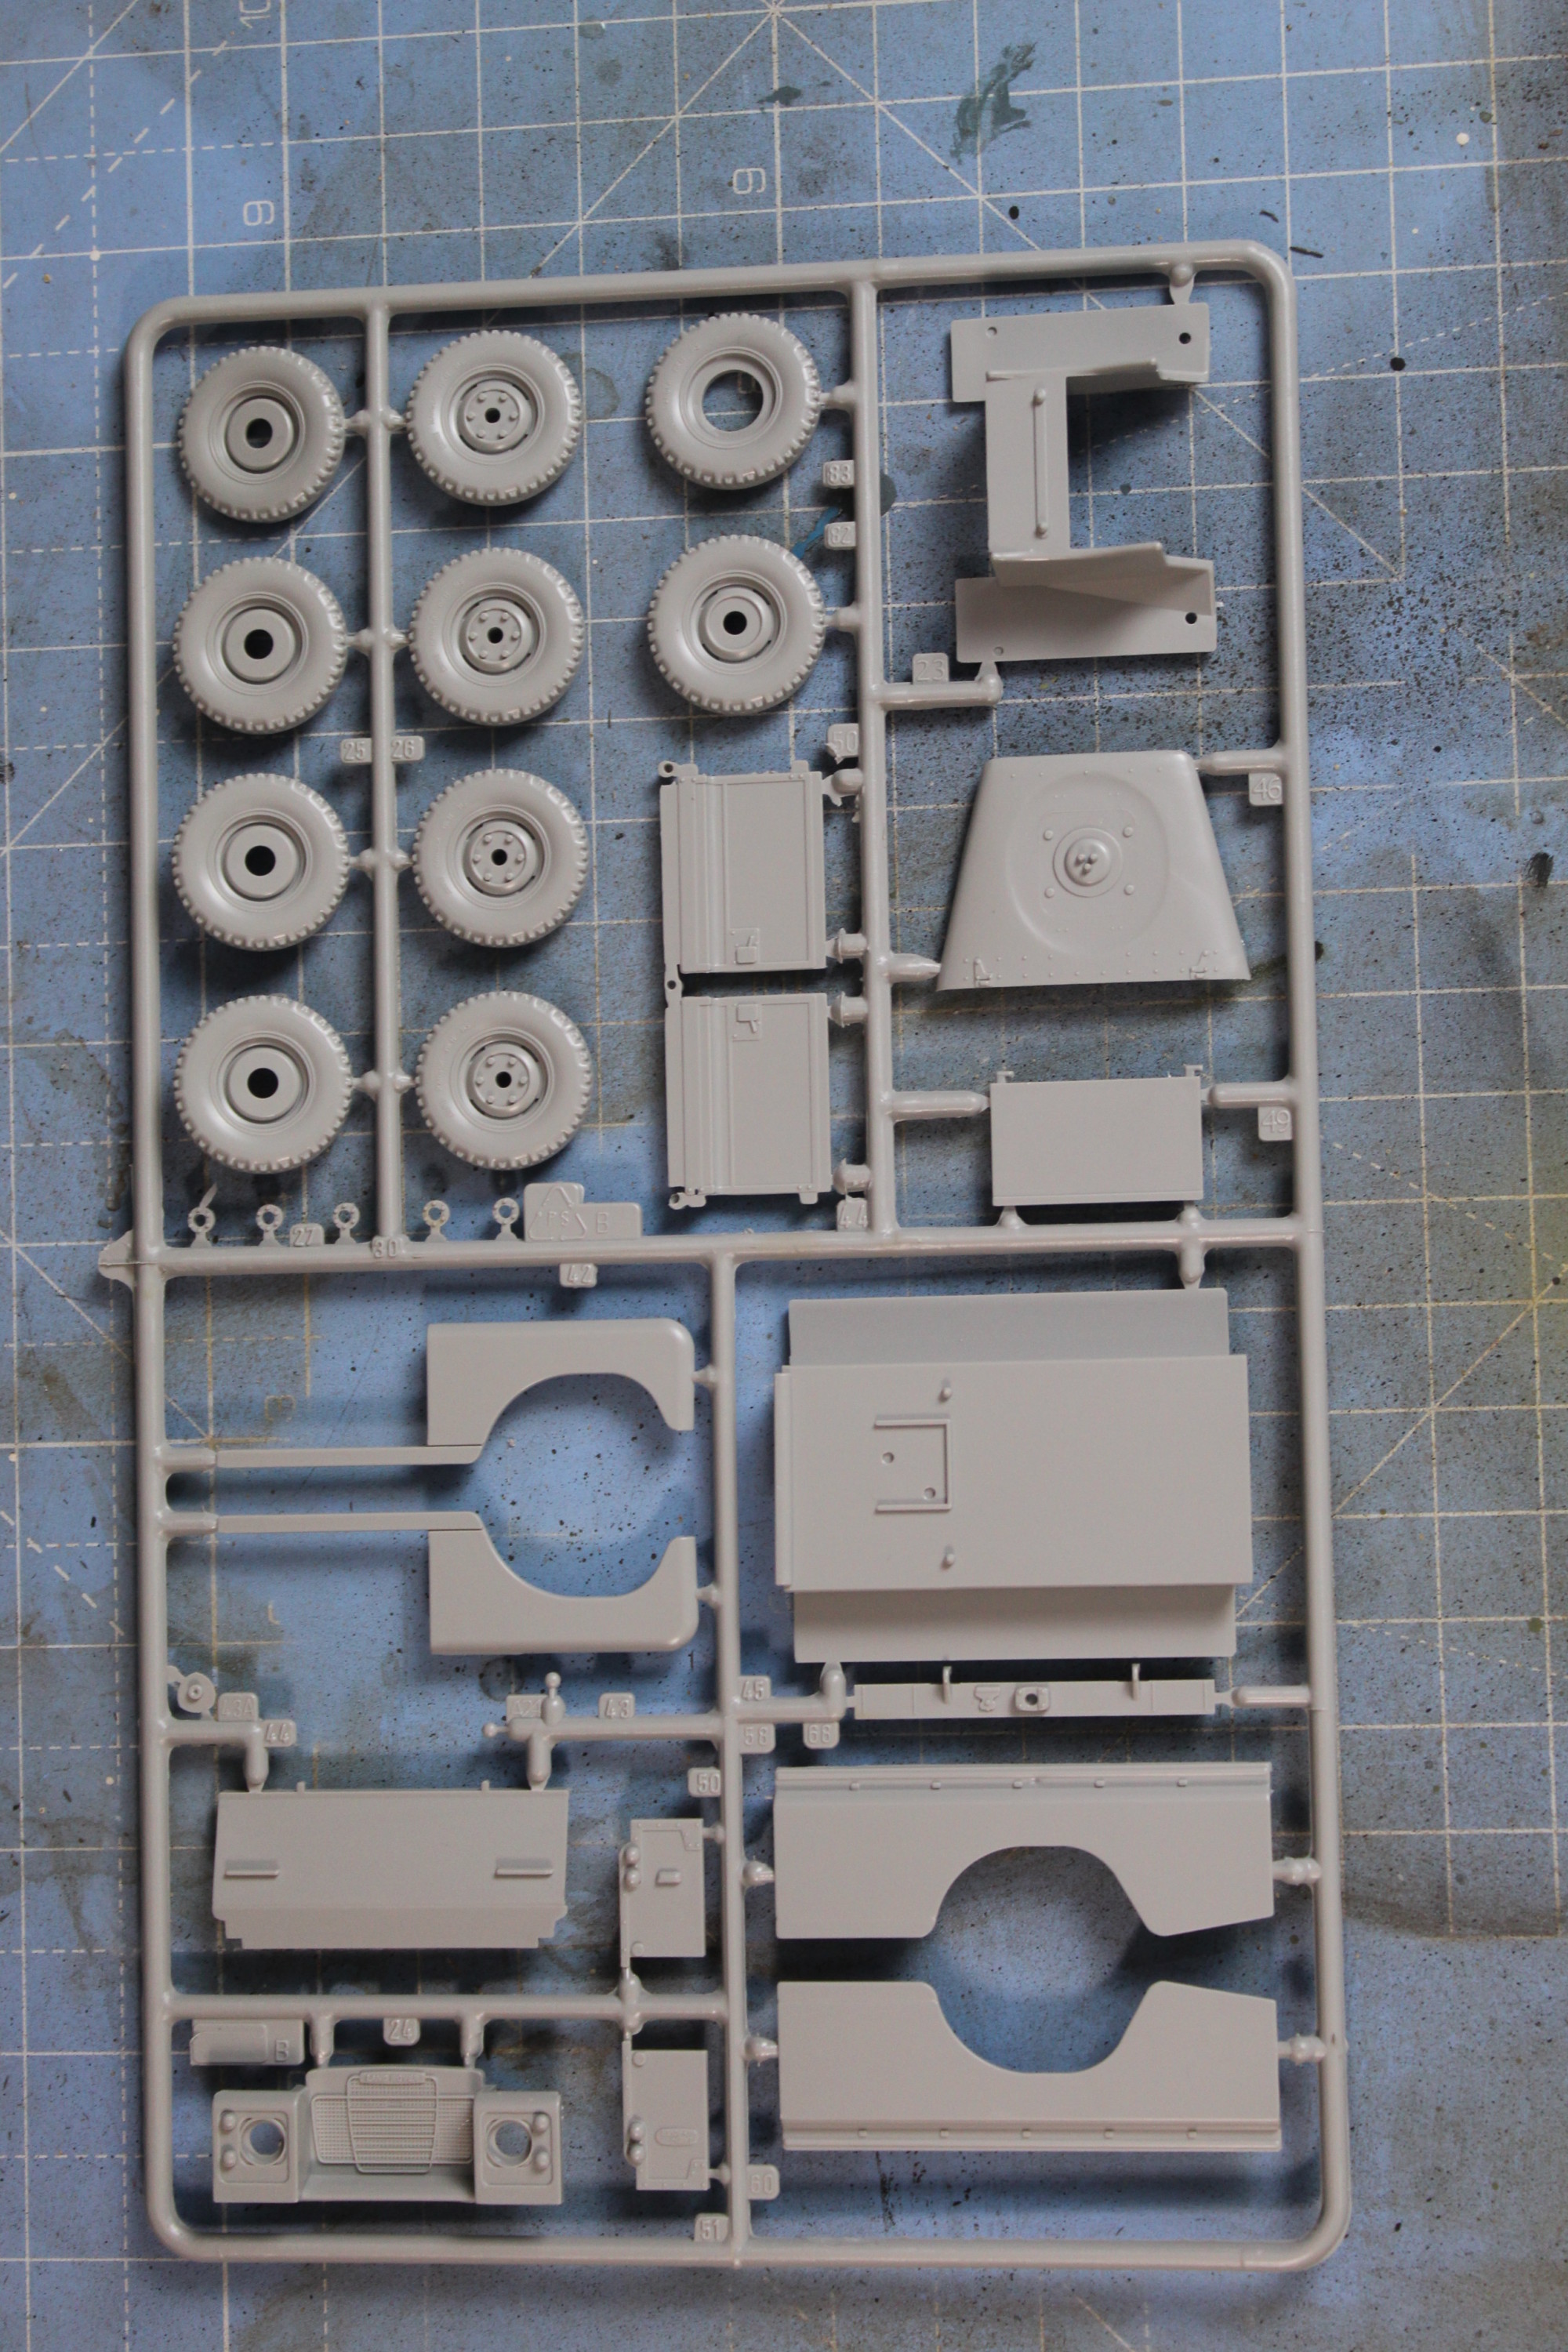
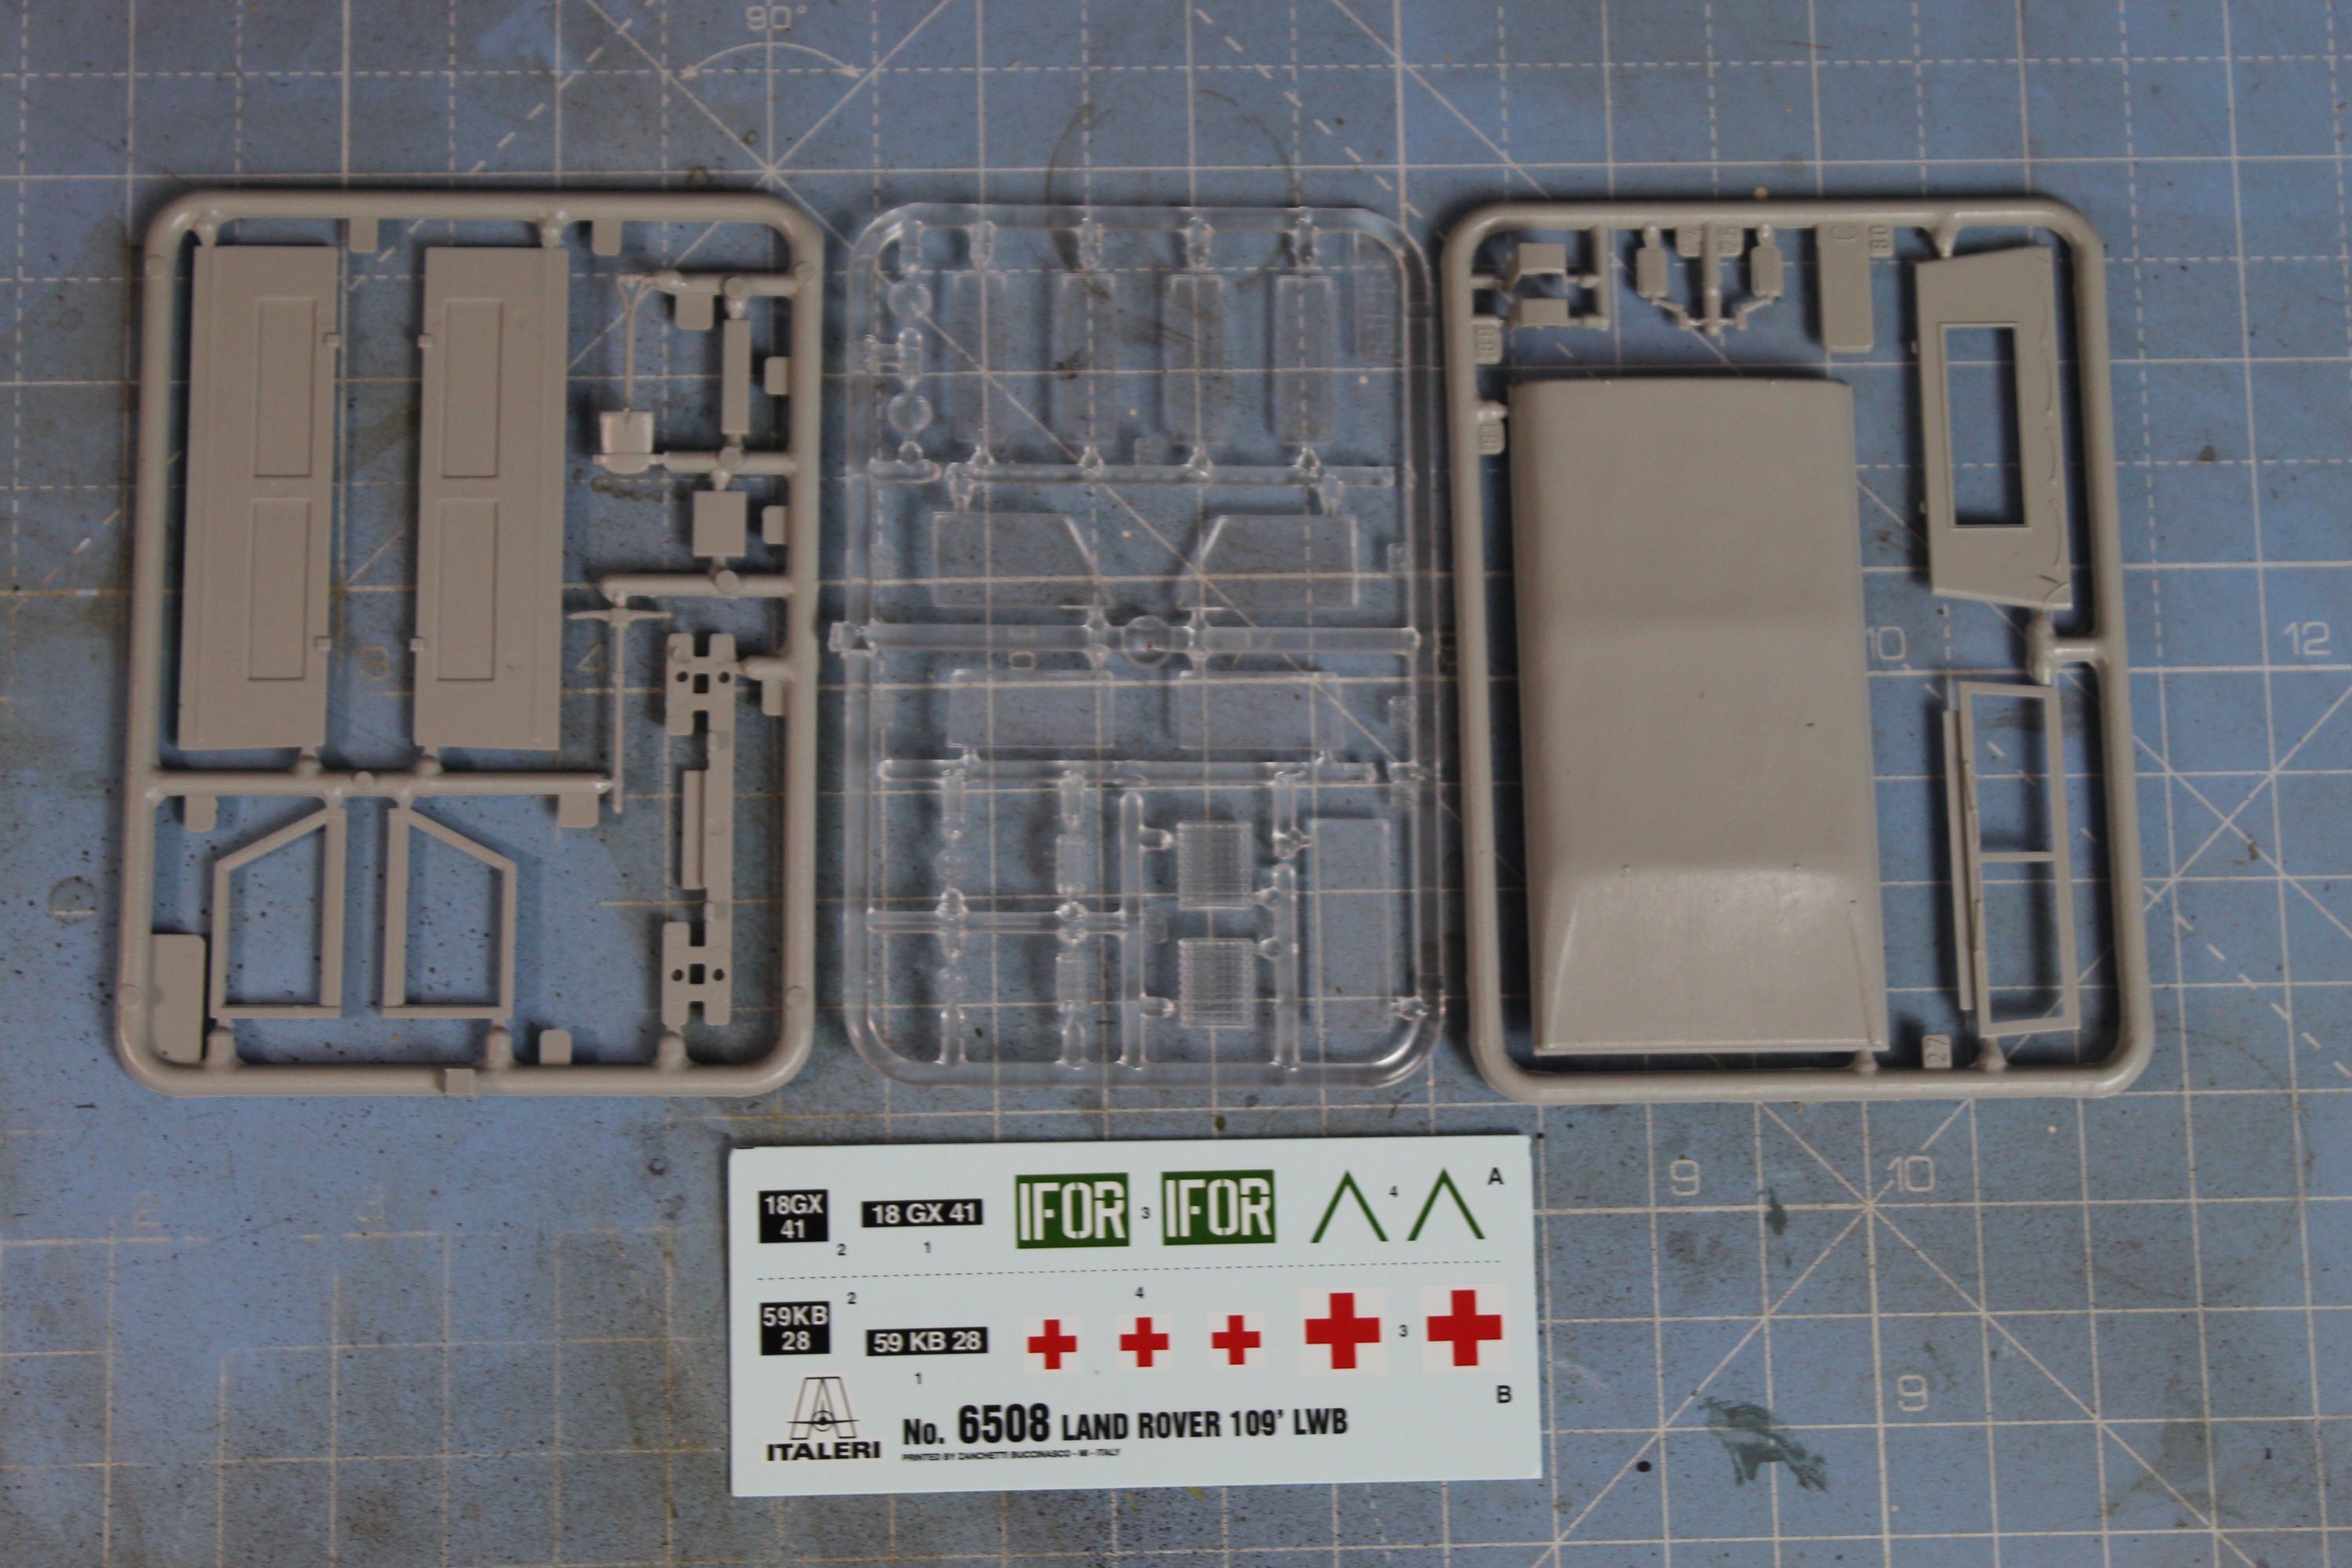
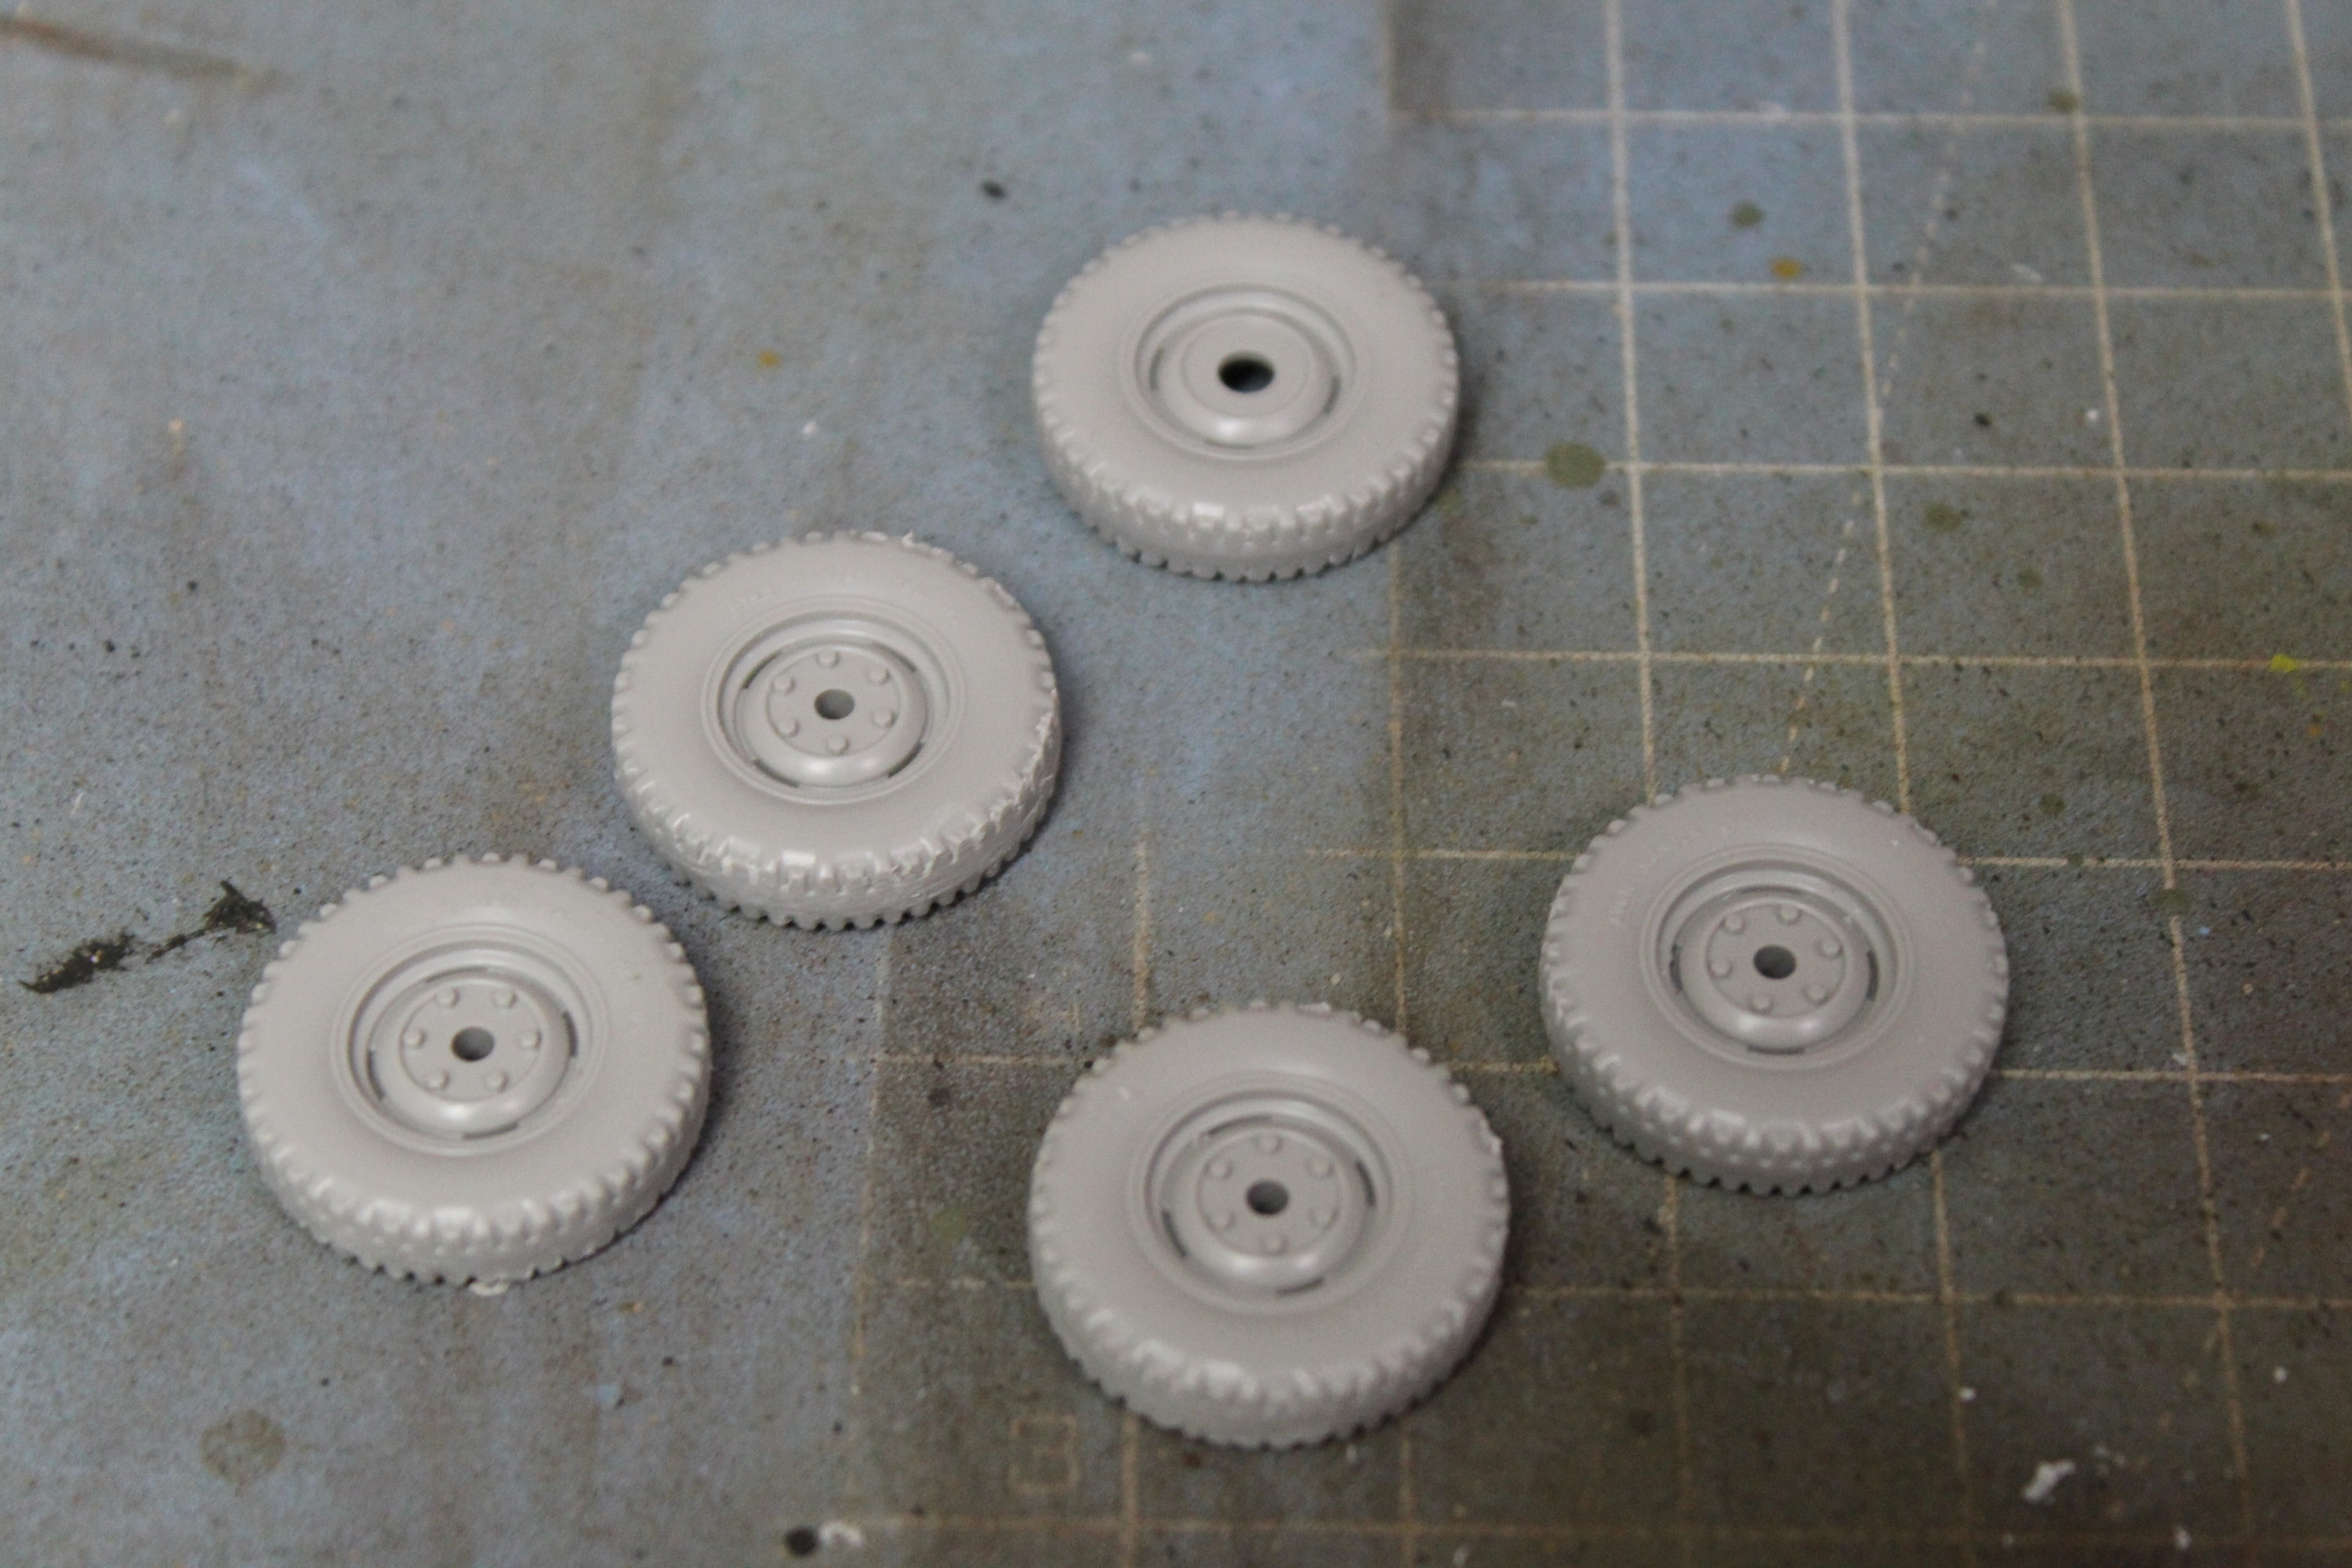
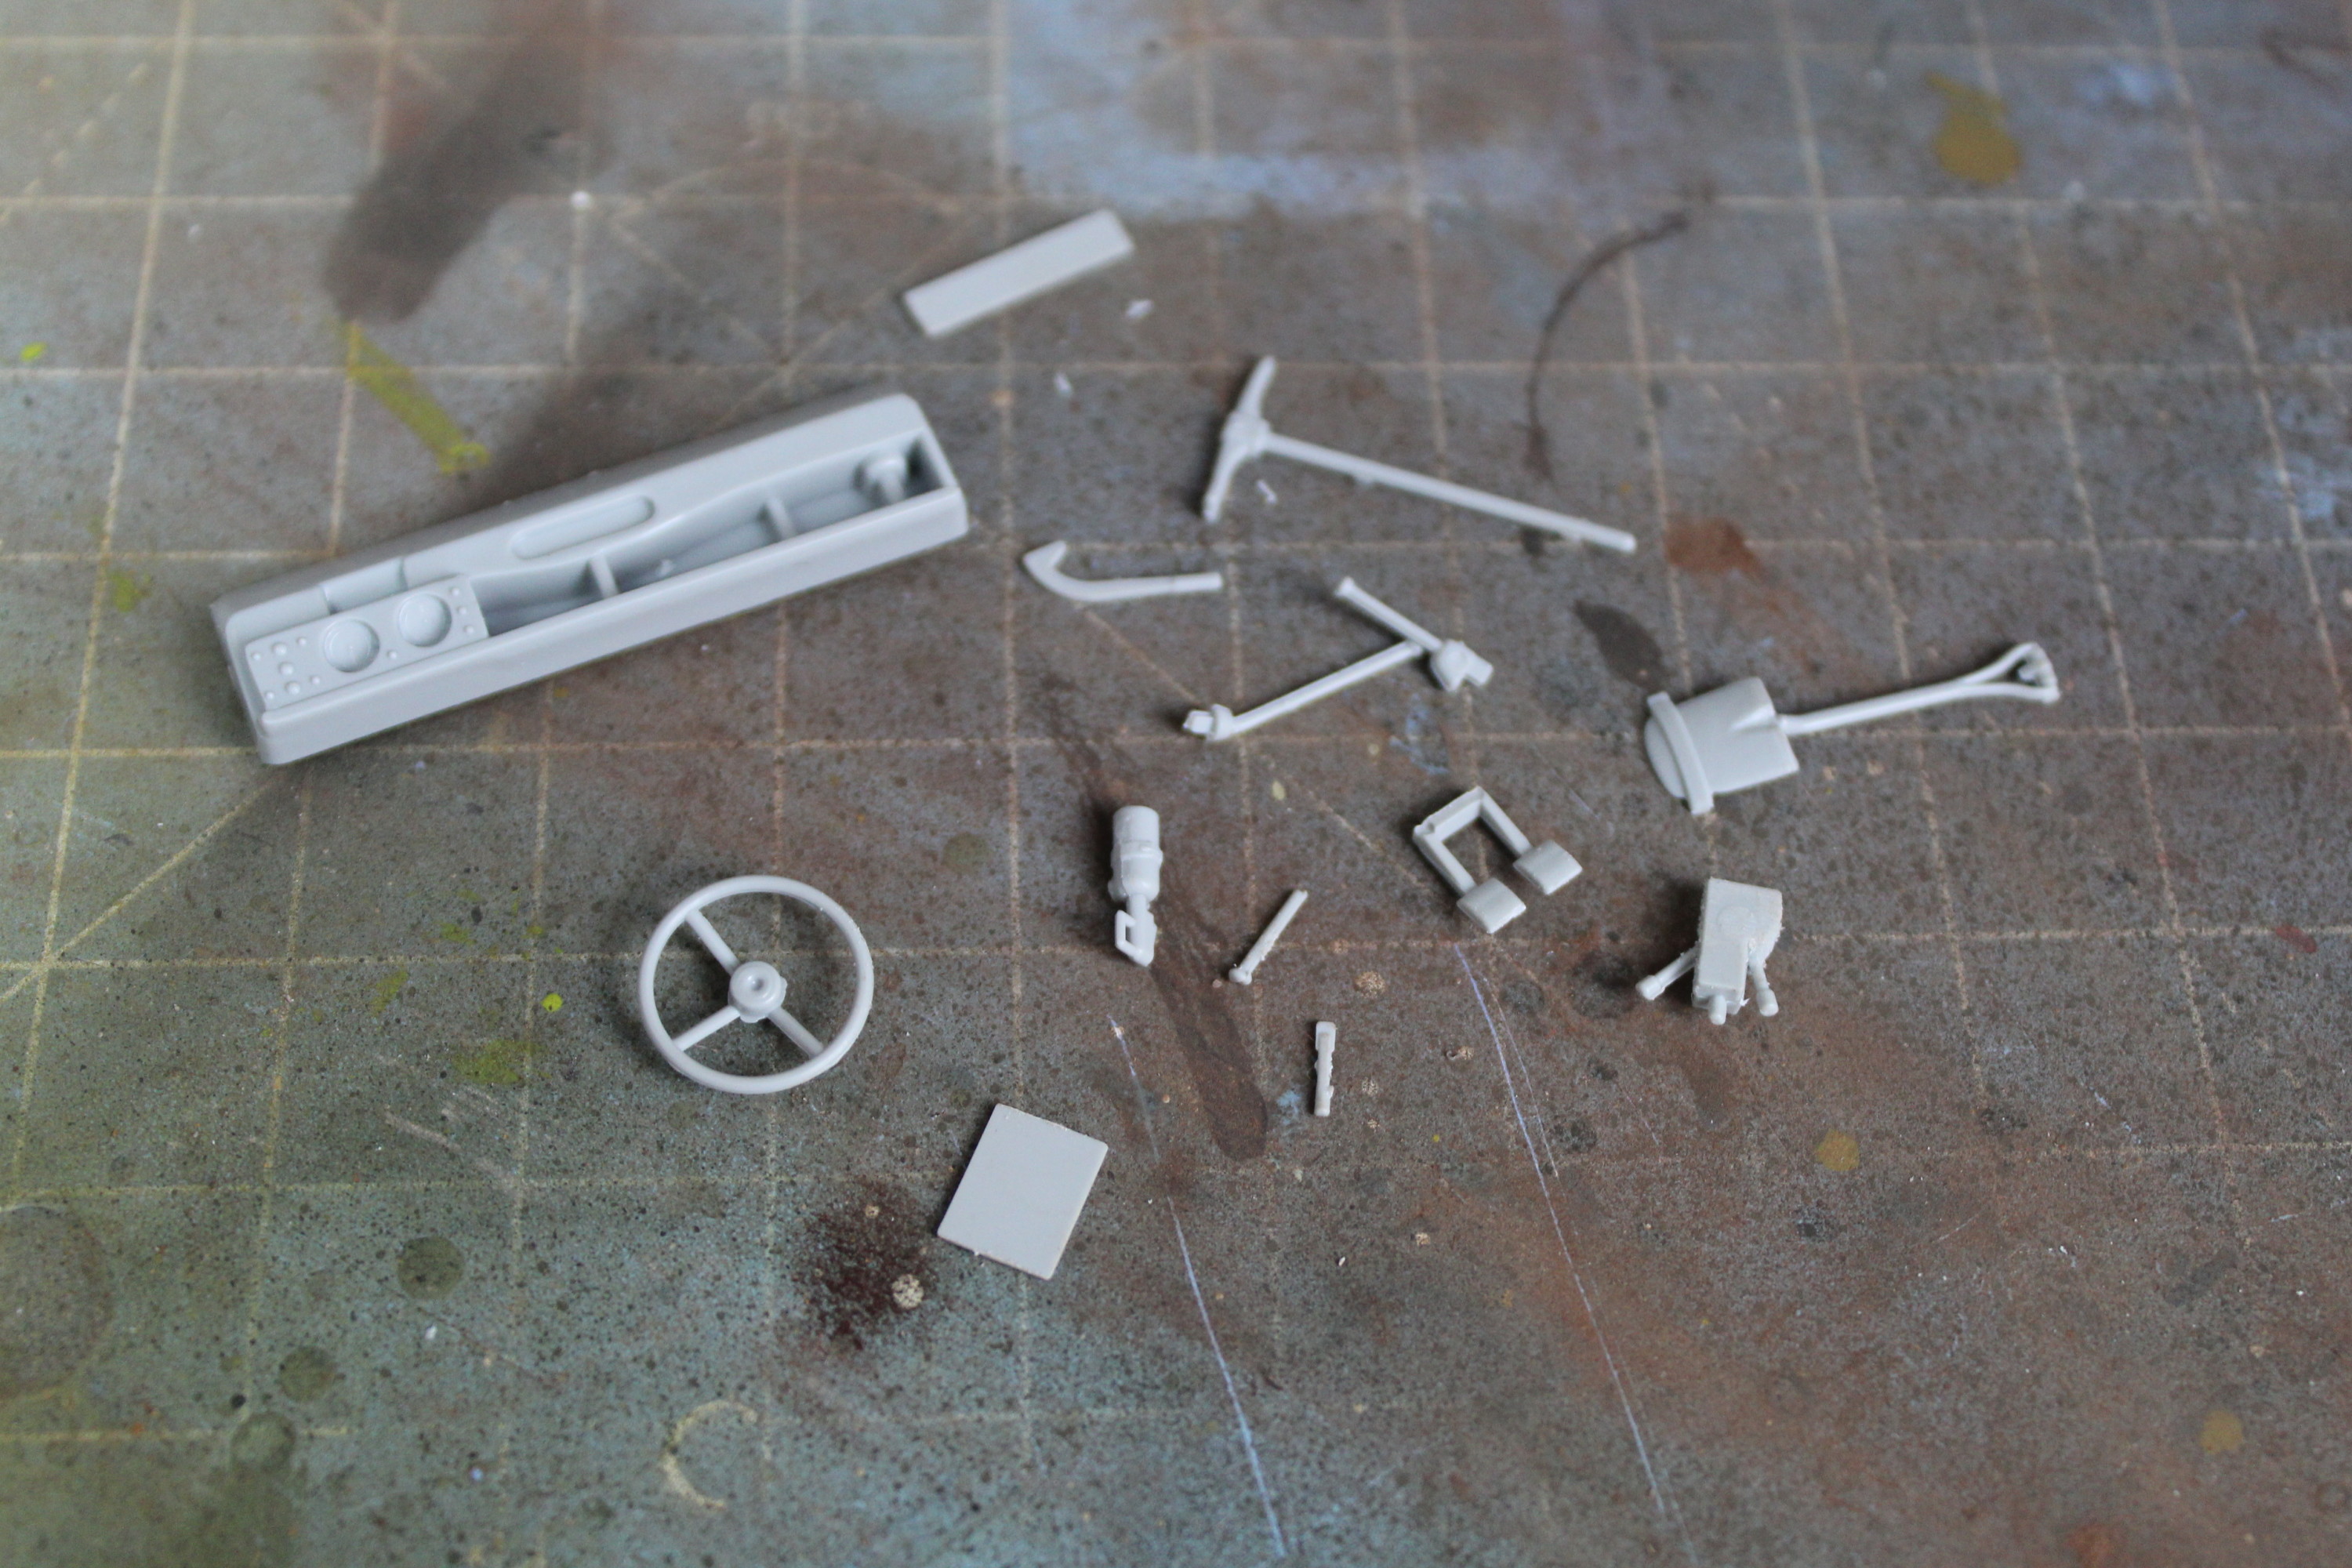
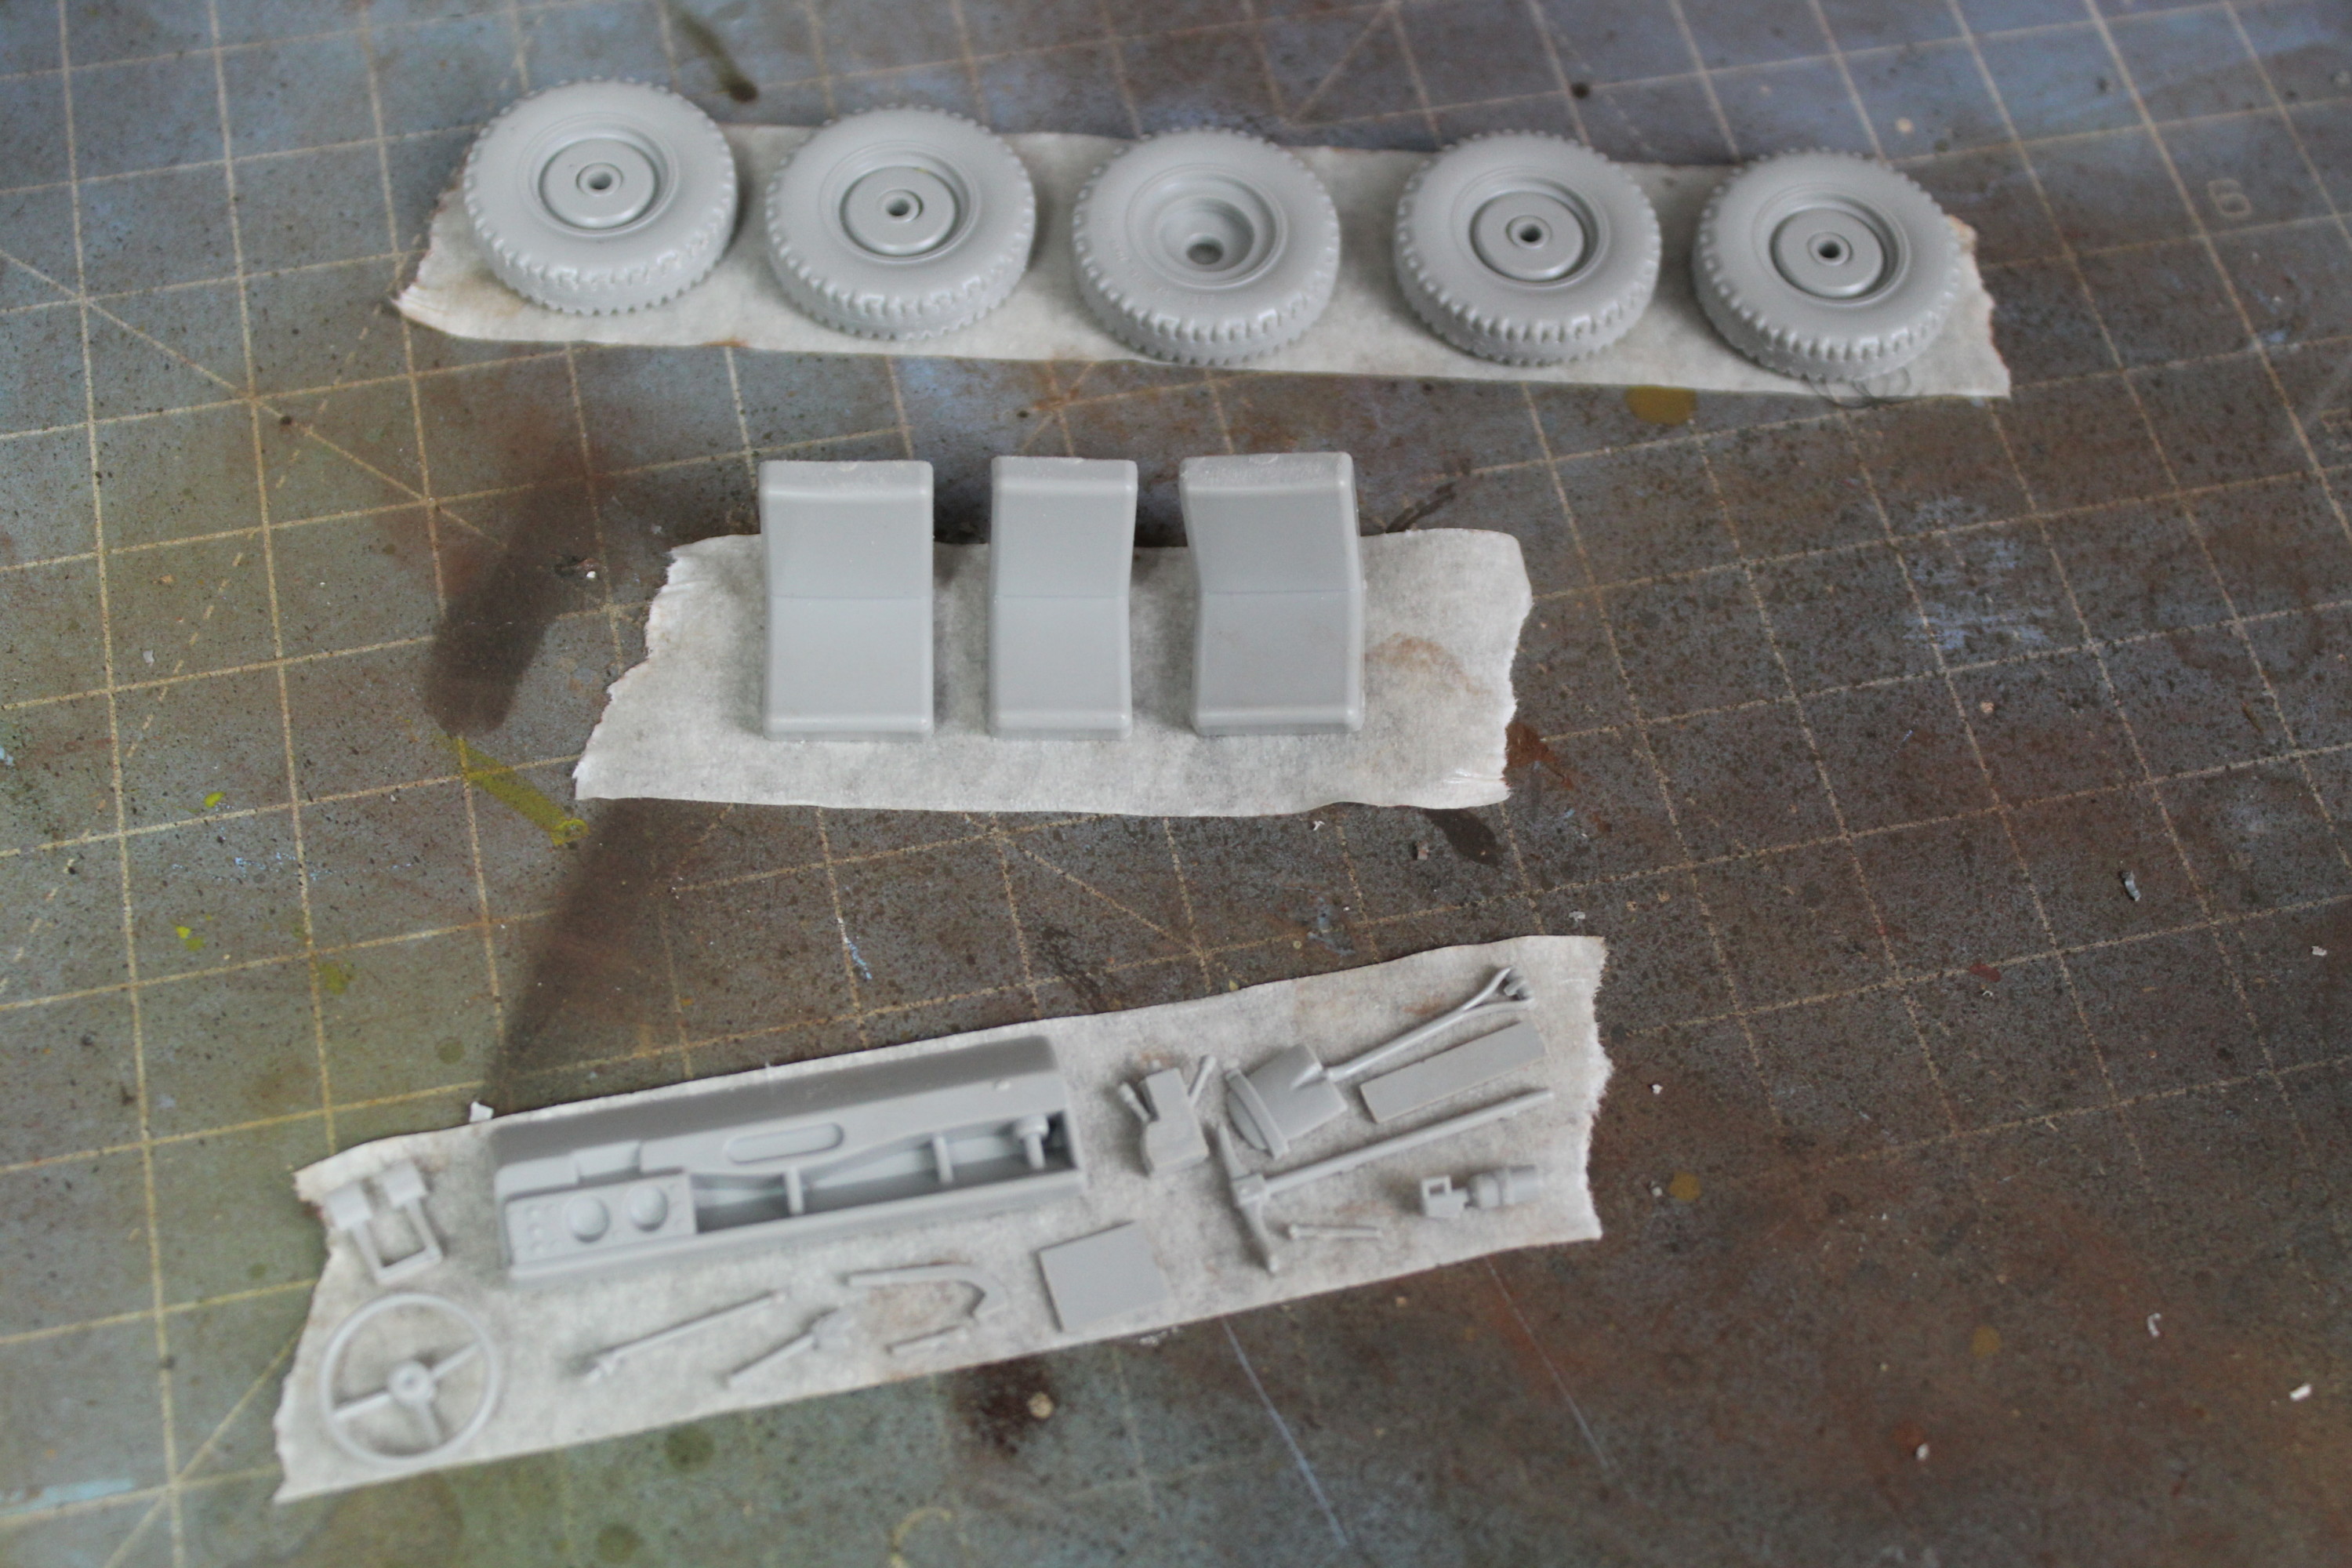
So the parts and quite nicely detailed as you expect from an Italeri kit. You get two sets of transfers to mark it up as a first-aid vehicle or a combat vehicle.

Started Work On Transmission And Suspension On The Land Rover Scale Model
First Part Of The Suspension And Transmission For The Land Rover.
Drive Shaft And Exhaust Fitted On The Model Land Rover
The Main Part Of The Transmission Joining The Driveshaft And The Exhaust.

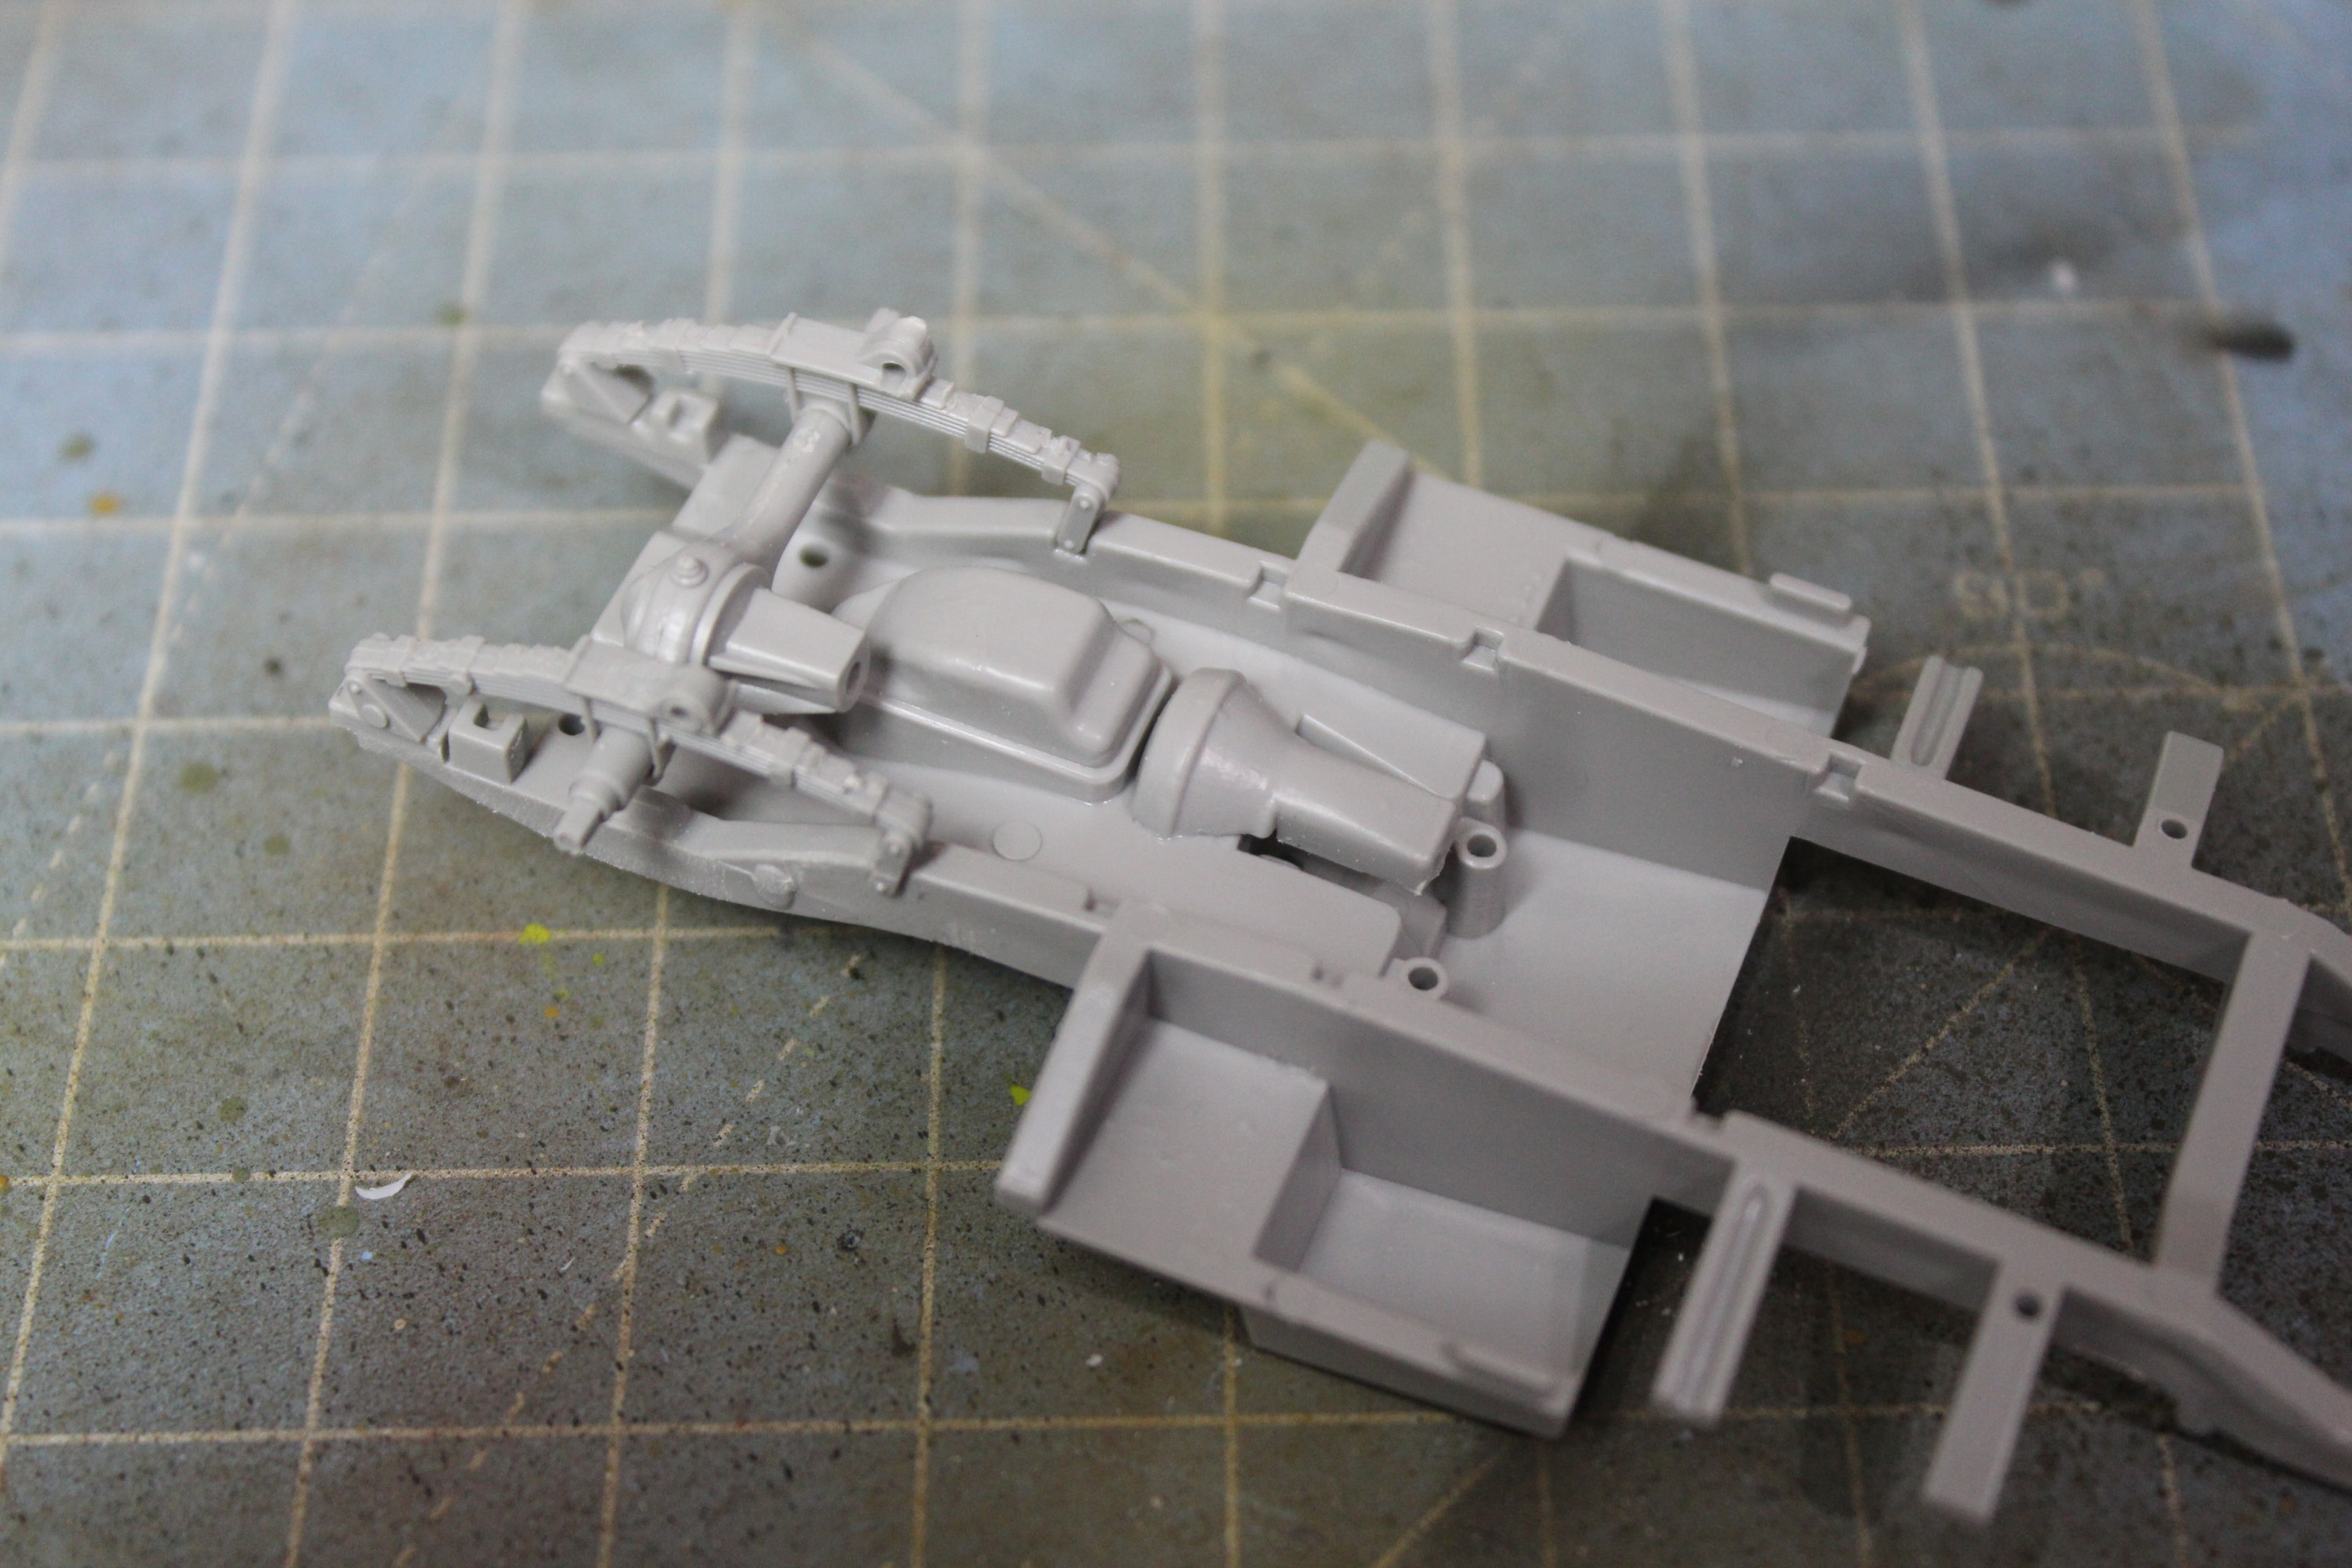
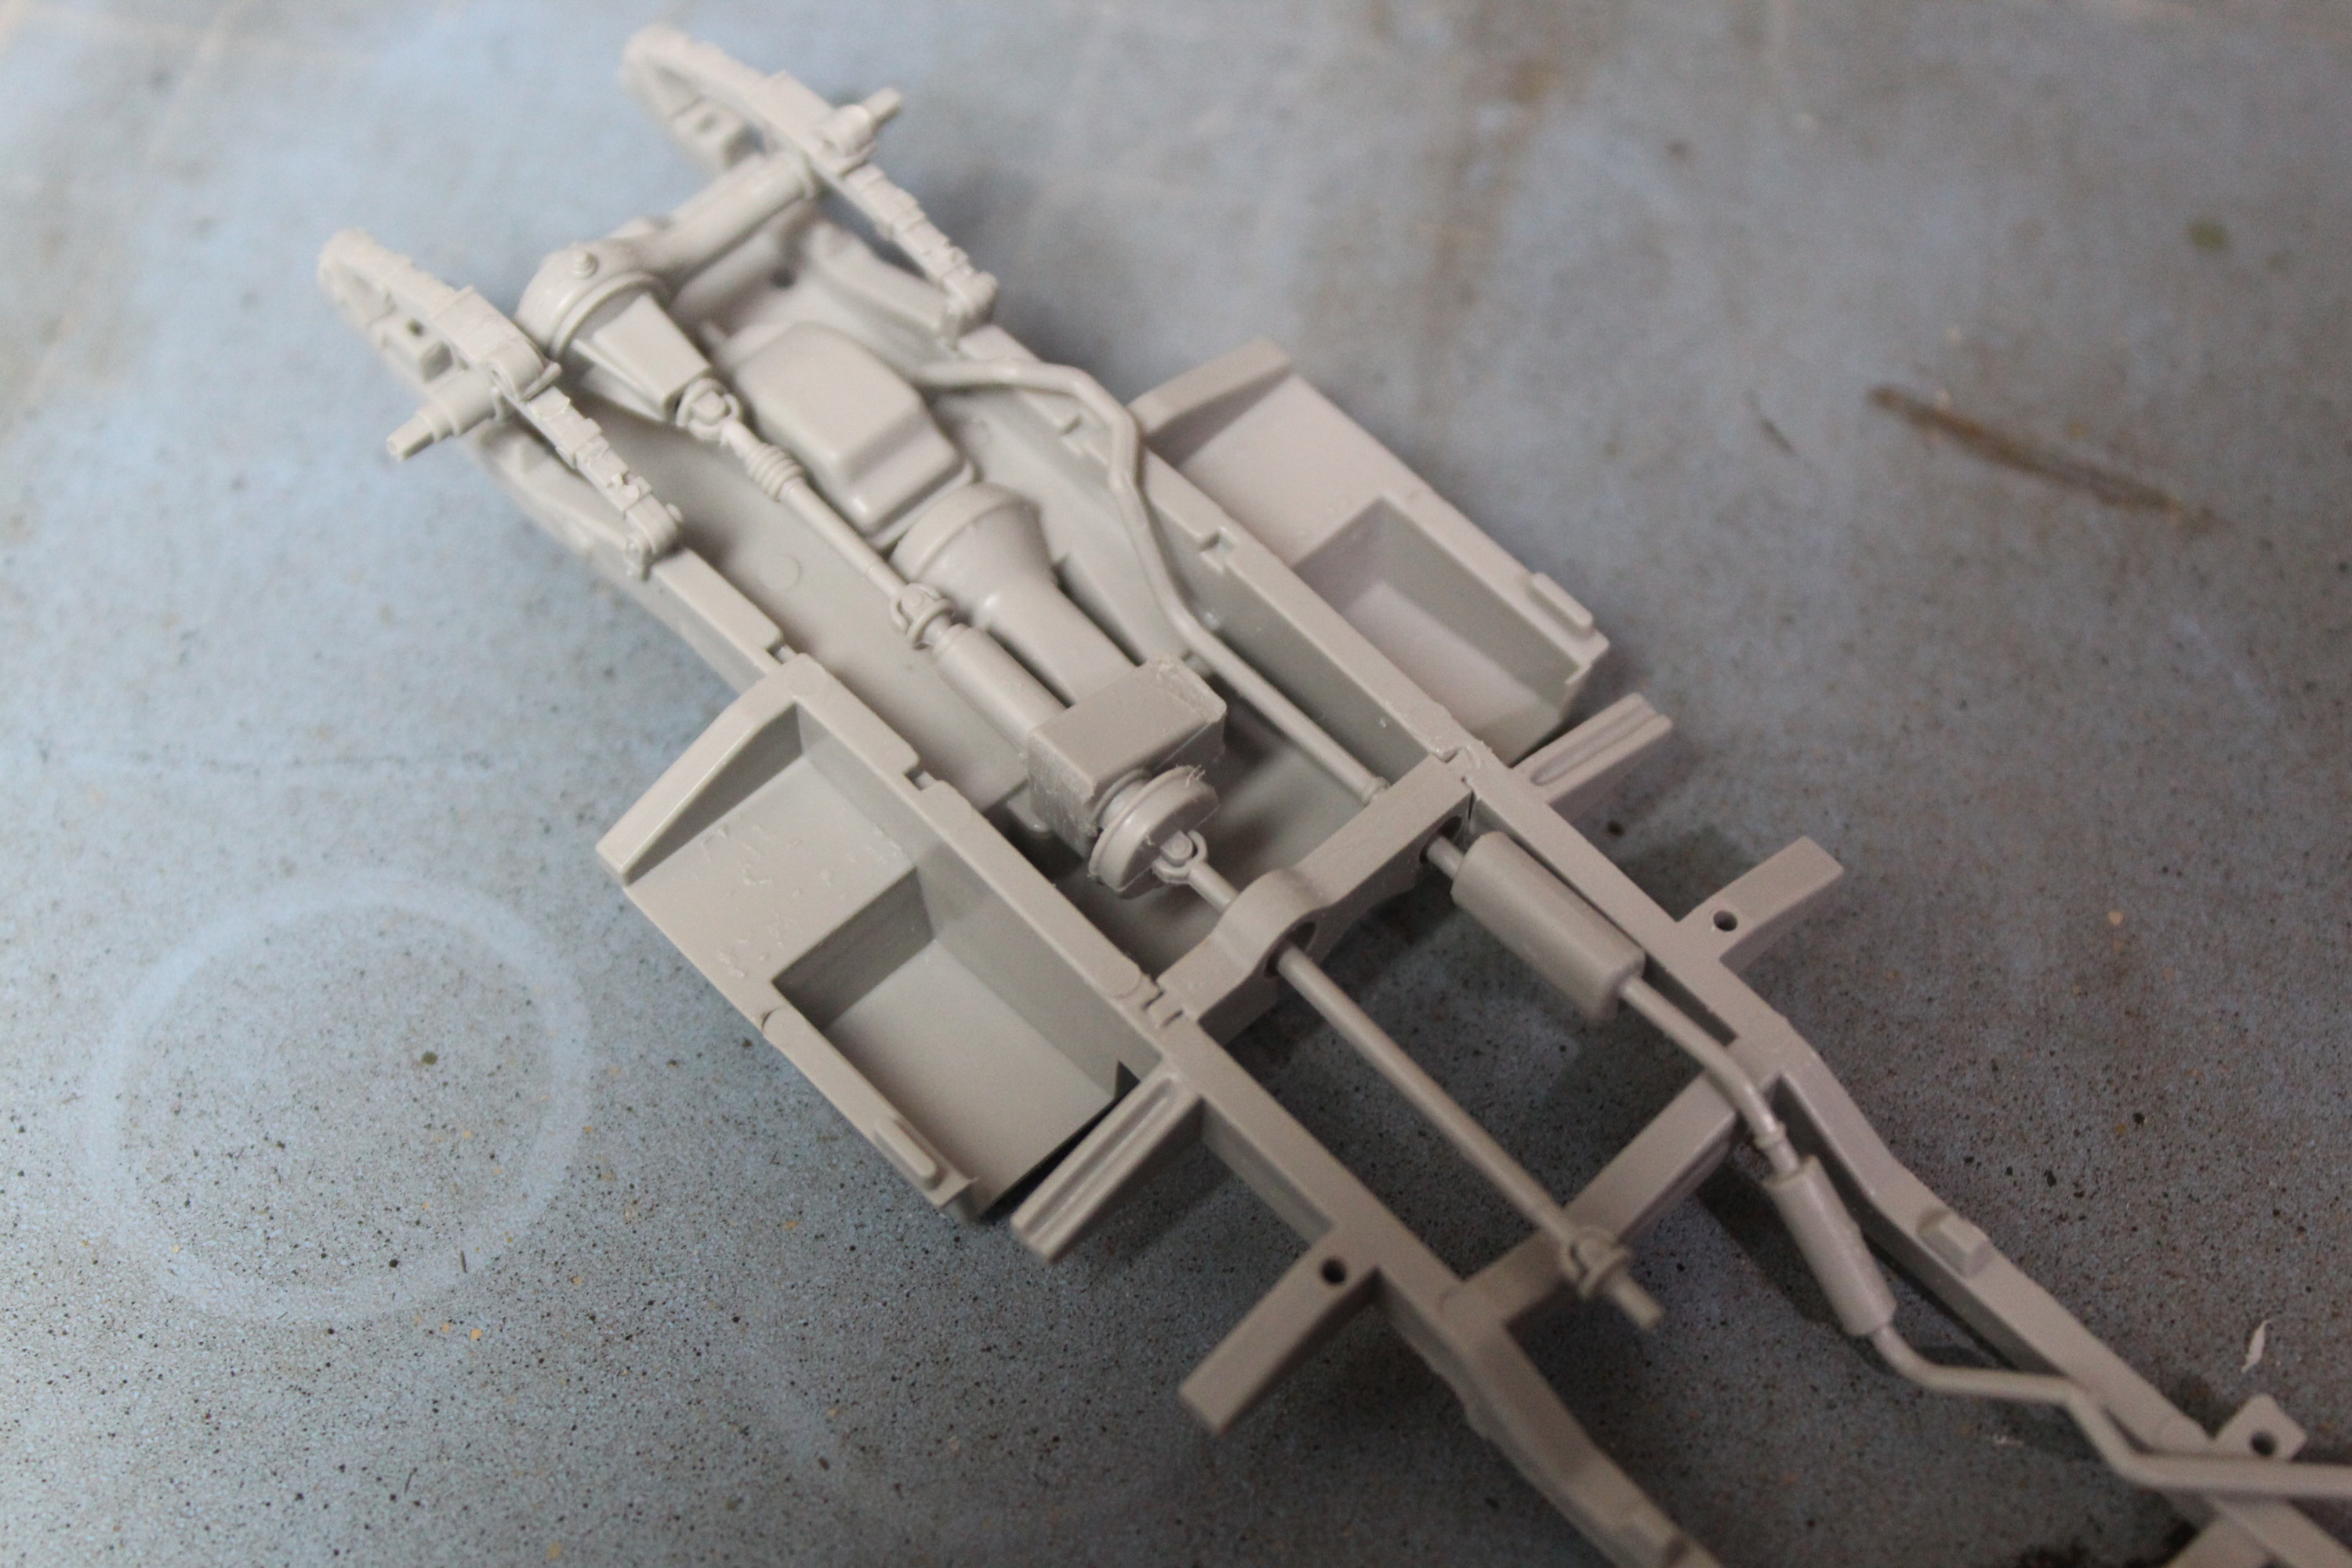
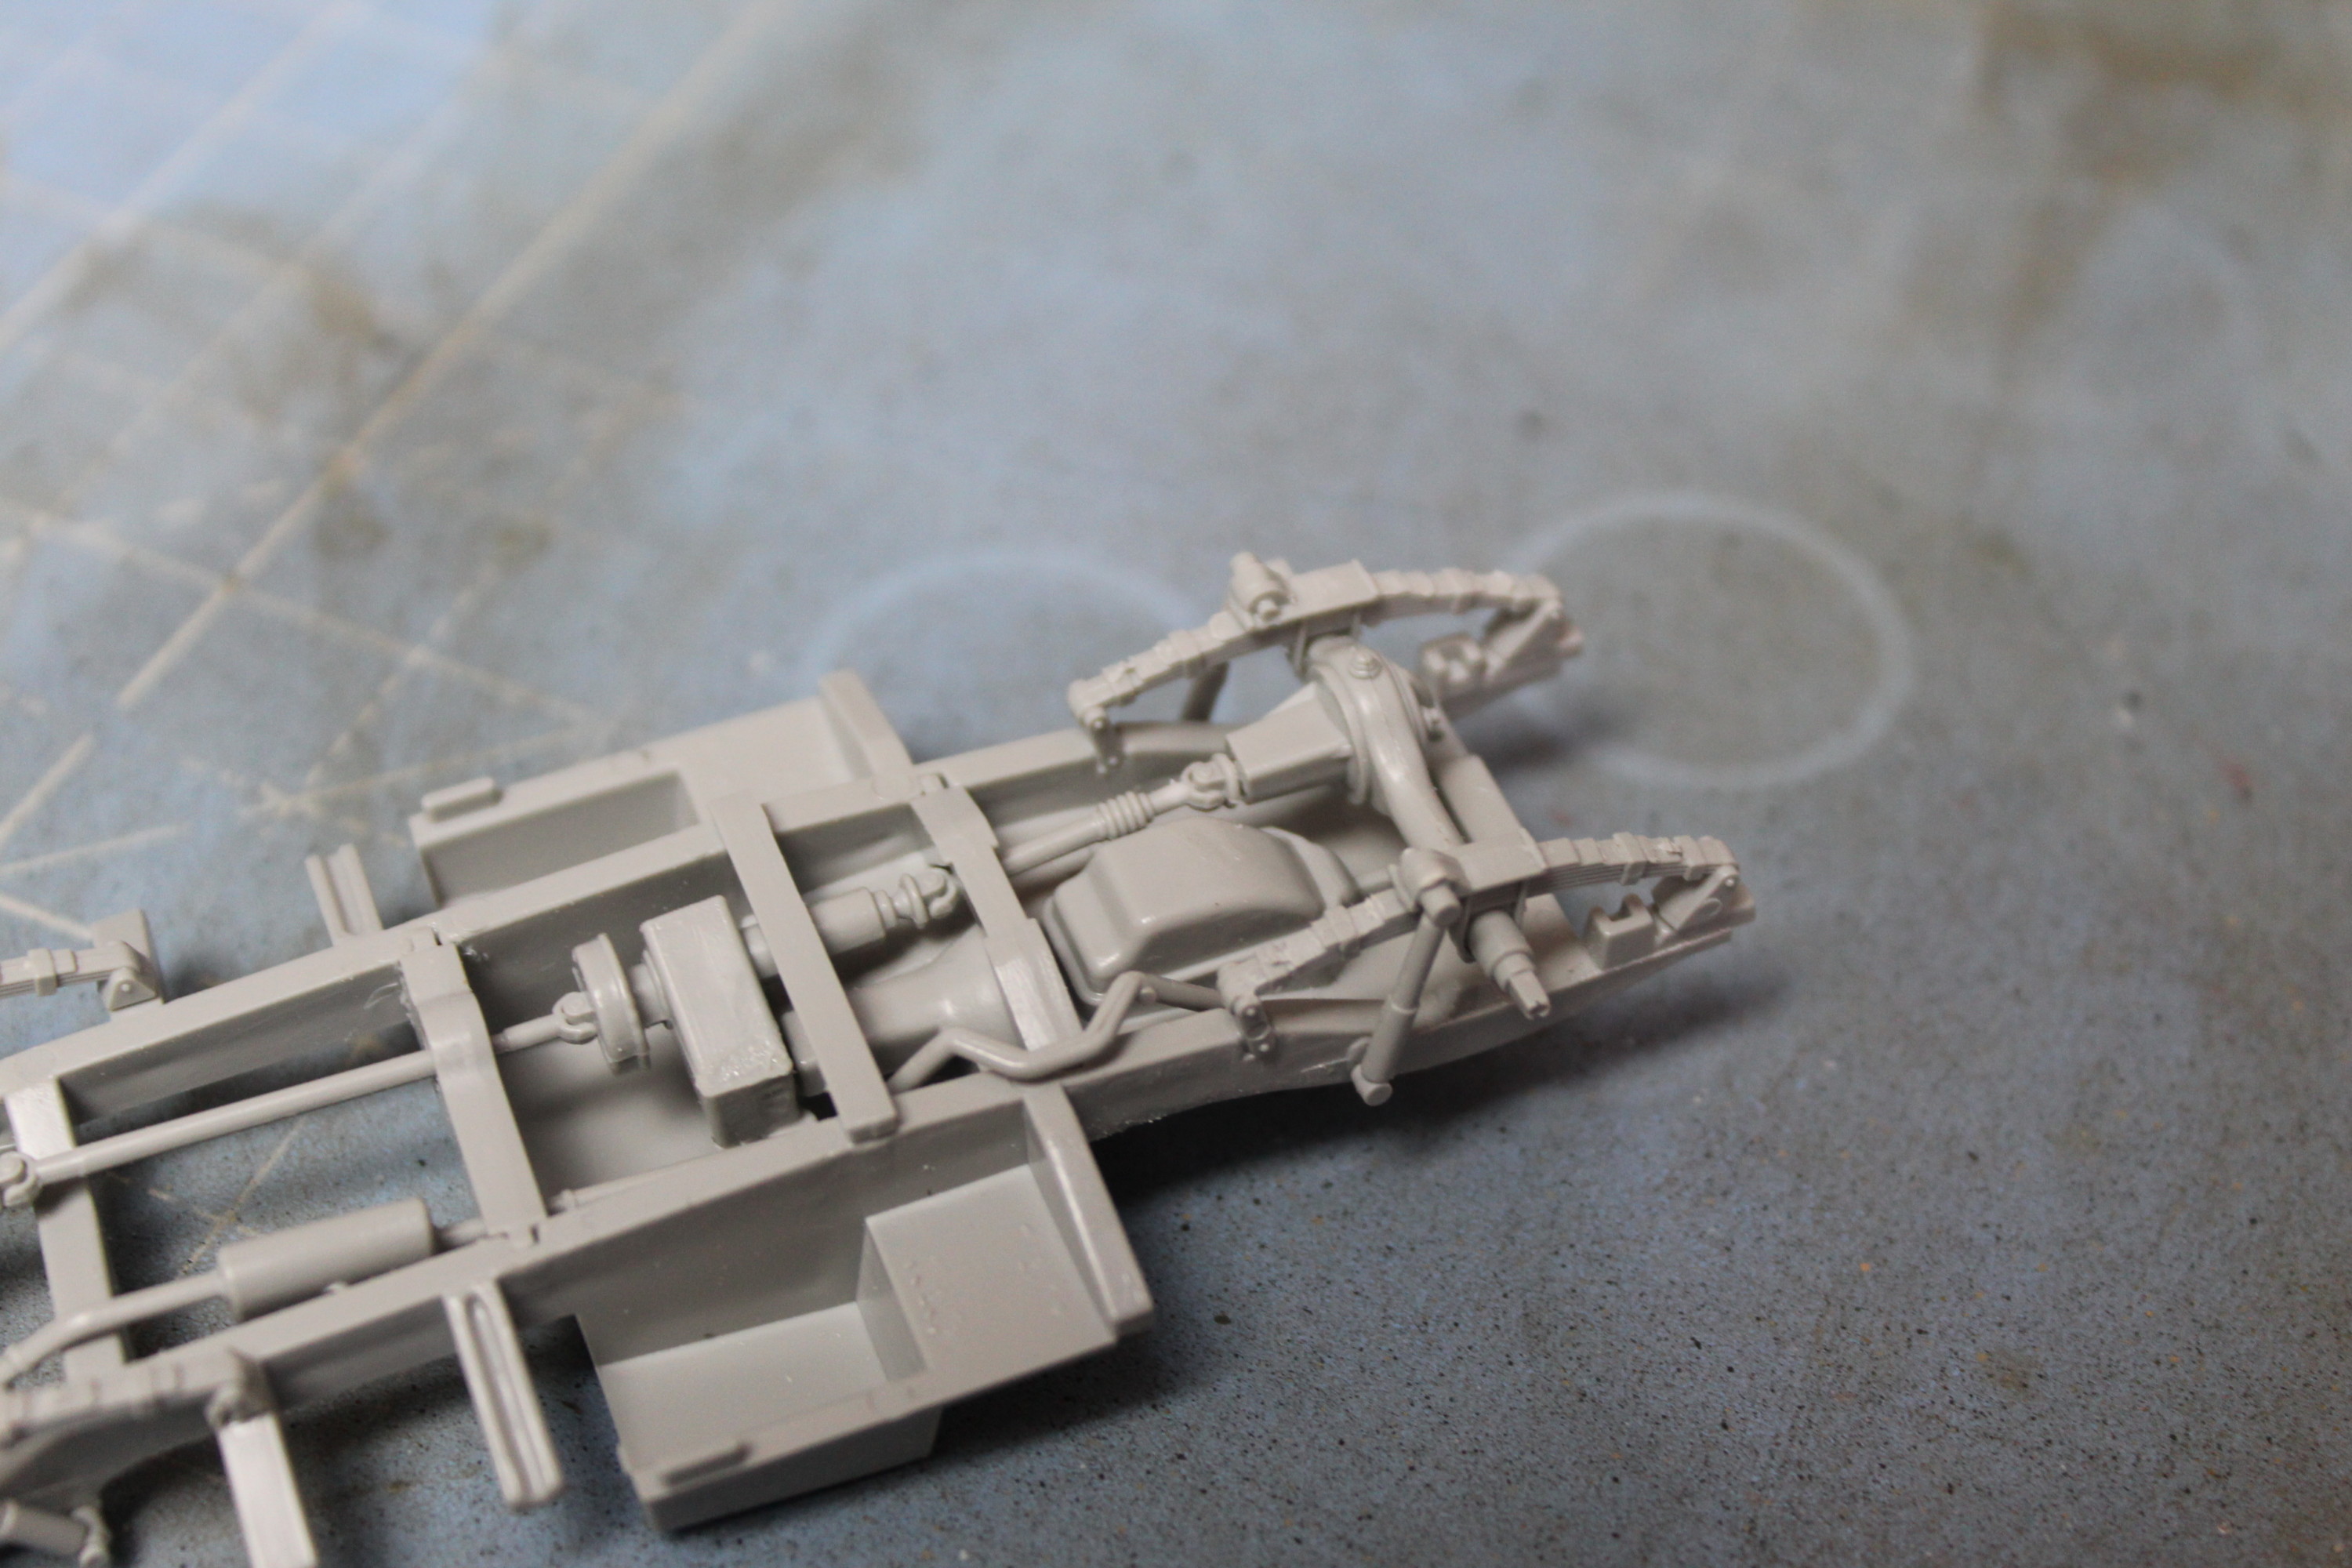
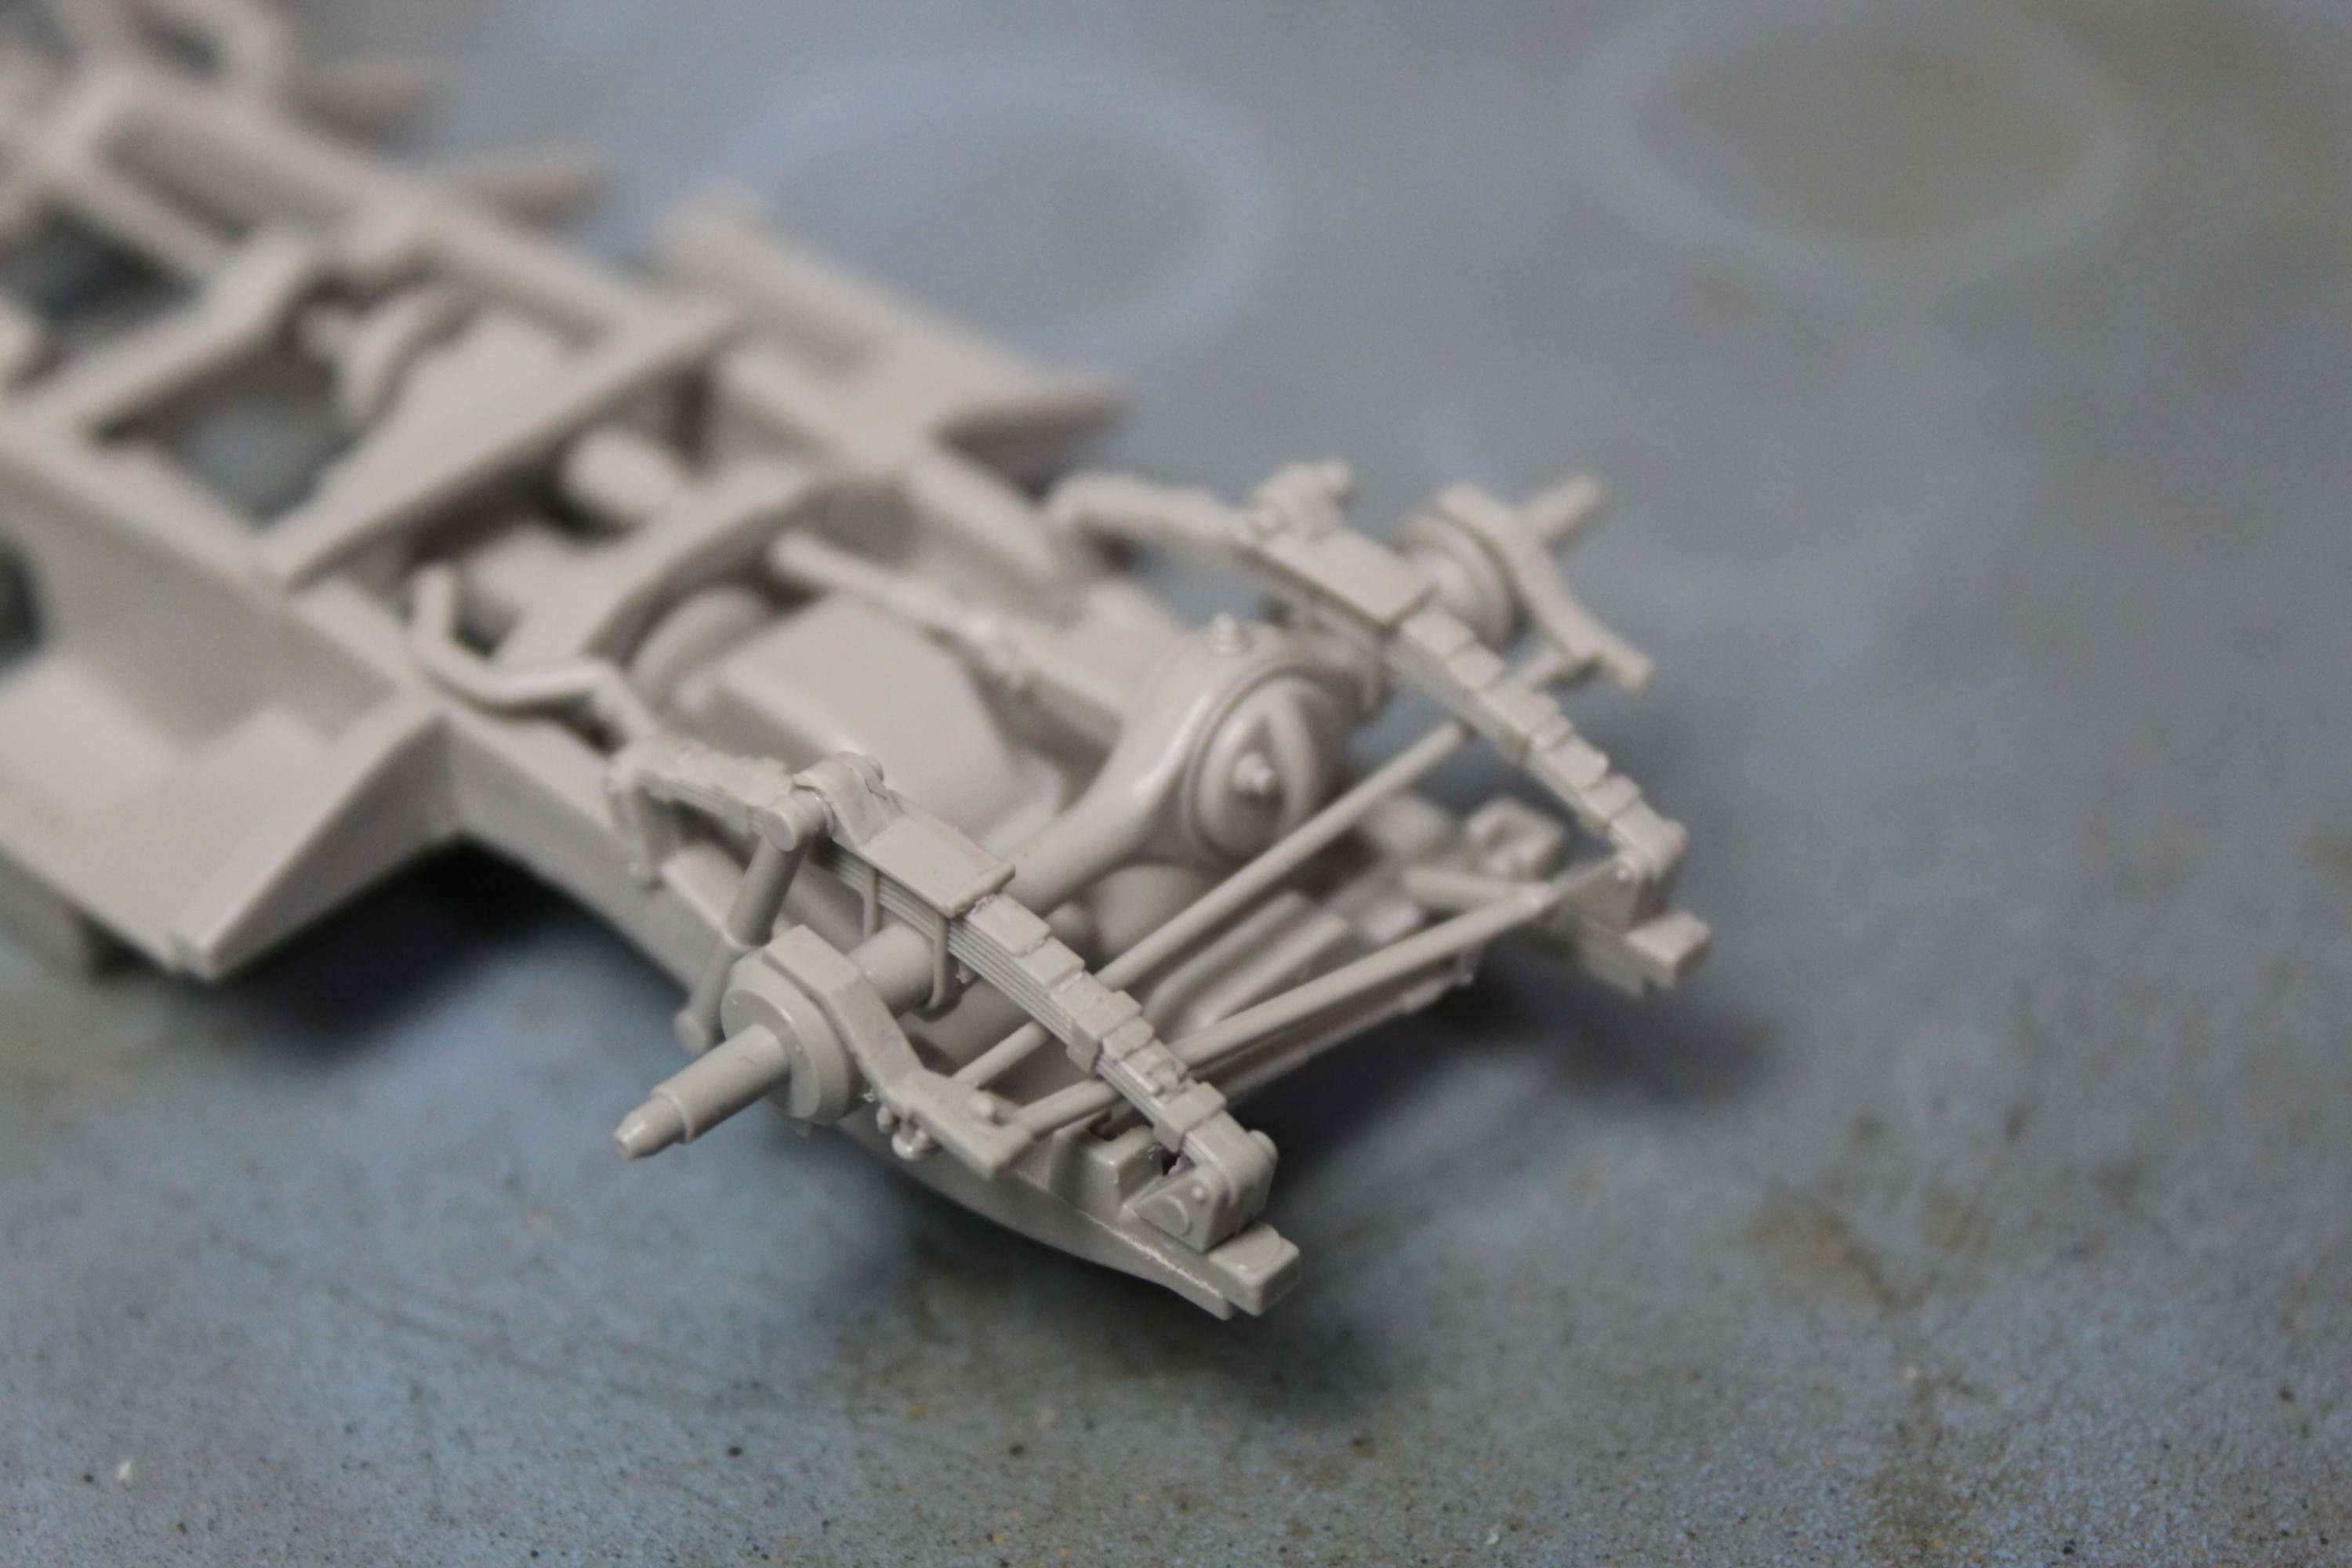
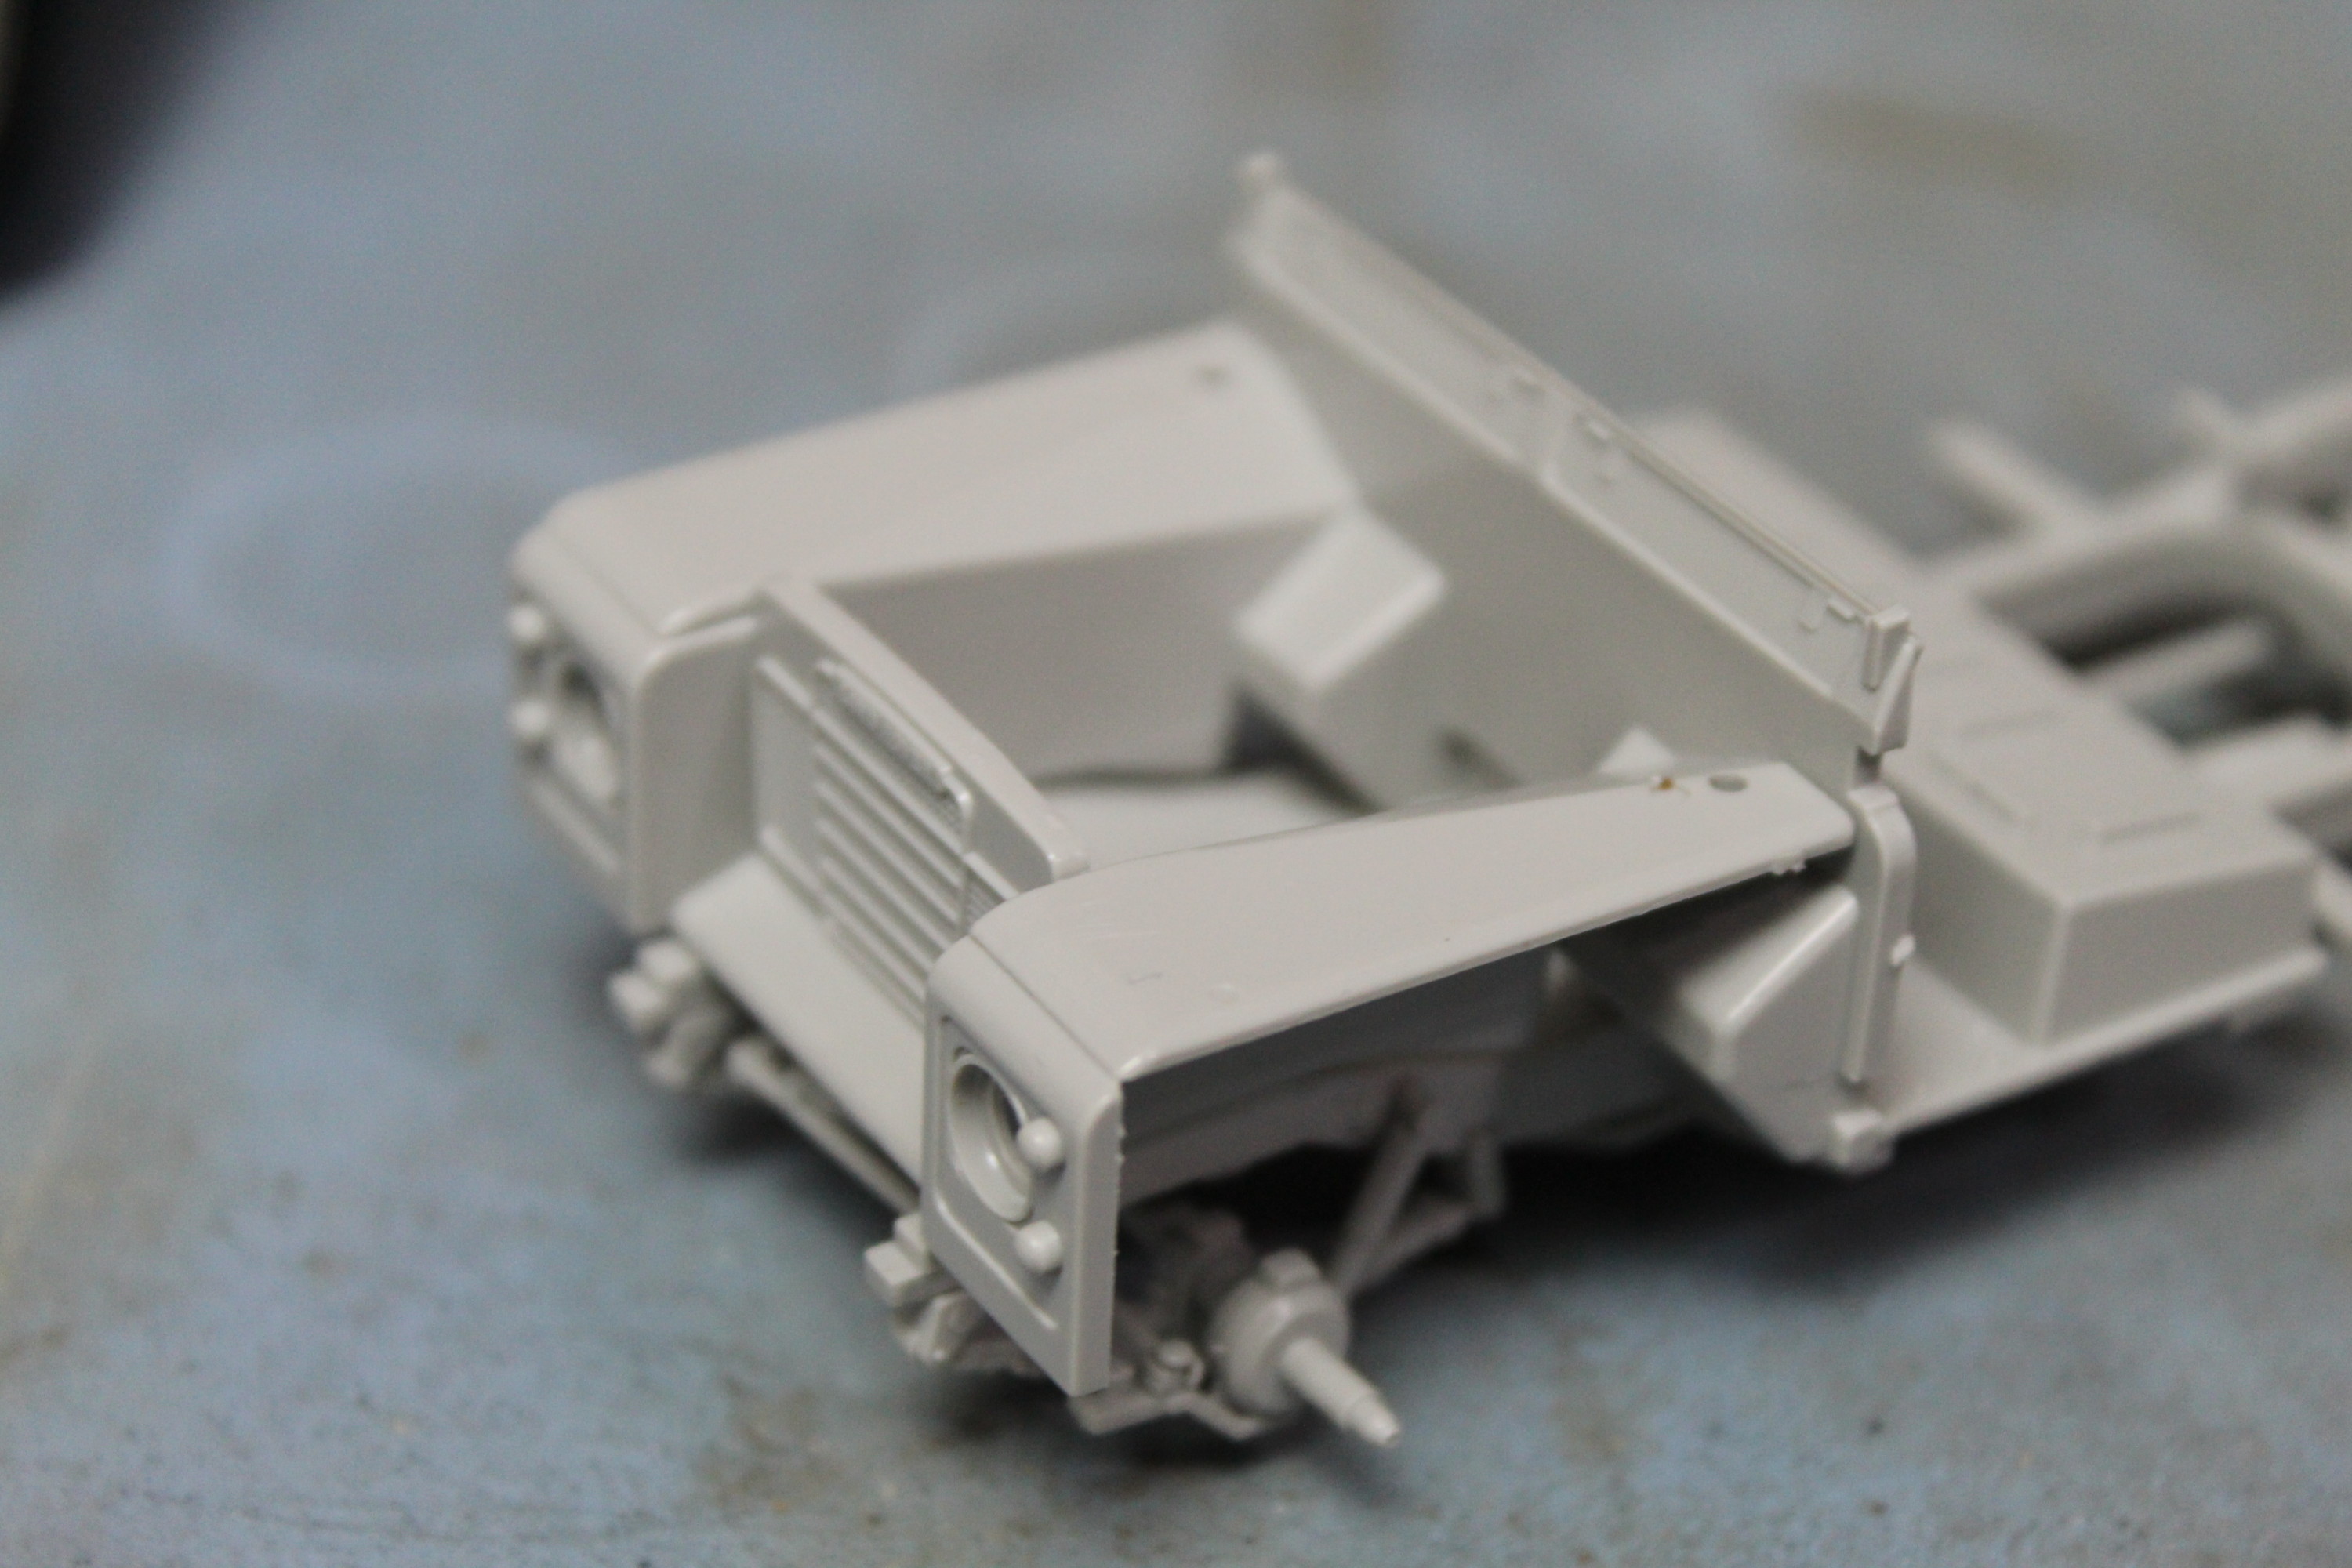
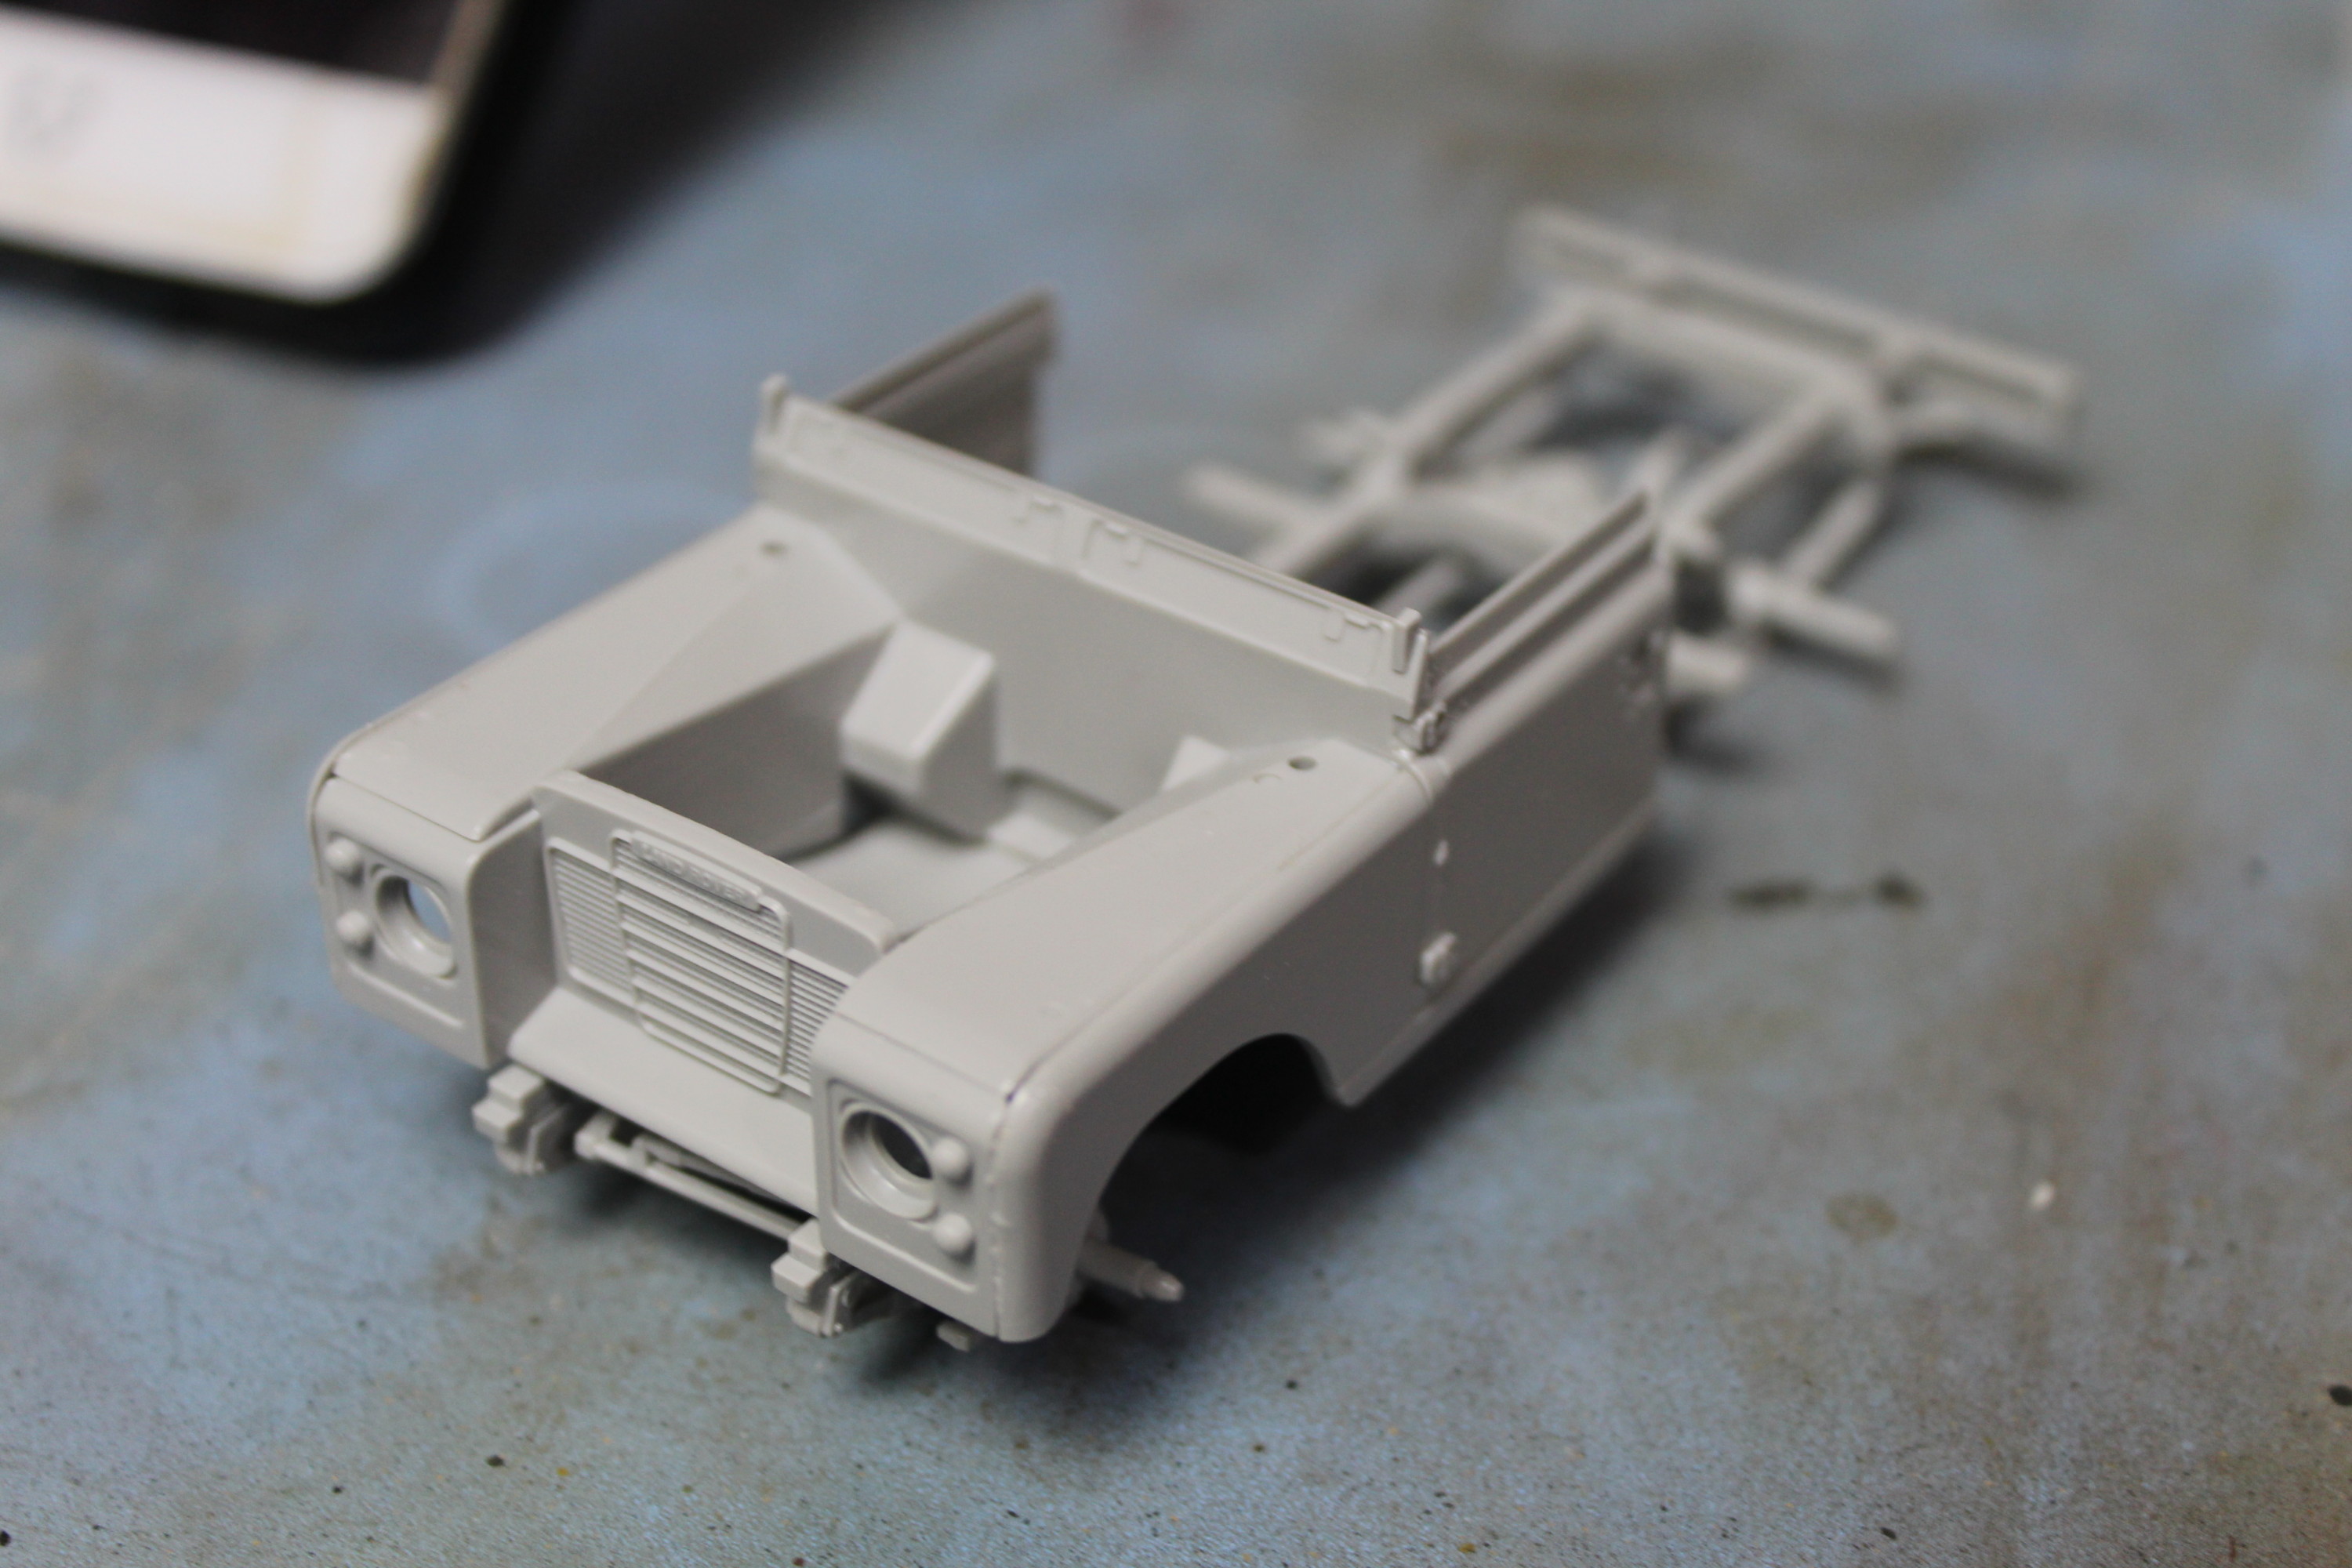
There isn’t a ton of work to do on the underside of the chassis and some of the details are pre-moulded, It seems to be coming together pretty cleanly so far. The driveshaft and exhaust are a little tricky but nothing major.

The Front Suspension Is Completed Now The Same Task On The Rear Of The Italeri Land Rover Model
The Front Suspension Is Completed, Now The Same Task On The Rear.
Completed Underside Of The Italeri Land Rover 109 LWB Scale Model
The Completed Underside Of The Car With Transmission, Drive Shaft, Suspension Differential And Steering Components.
First Parts Of The Body On The  Land Rover.
Starting On The Body Parts. Now It’s Starting To Look Like A Land Rover.
Fitting The Engine Bay On The Land Rover 135th Scale Plastic Model Kit
The Engine Bay And Front Grill Attached.
Front Side Panels And Doors On The Plastic Model Kit
Front Side Panels And Doors.
Rear Side Panels Fitted To The Land Rover Plastic Model Kit
Rear Side Panels Fitted To The Model.
Most Of The Body Work Complete On The Scale Model British Land Rover Kit By Italeri
Most Of The Body Work Complete On The Scale Model British Land Rover.
Window Frames, Rear Door And Bonnet Fitted On The Plastic Scale Model Land Rover Model
Window Frames, Rear Door And Bonnet Fitted.
Most Of The Body Work Is Now Done On The Land Rover Model
Most Of The Body Work Is Now Done.
Italeri Land Rover 109 LWB Test Fitting The Roof
Making The Canopy And Test Fitting It.
Test Fitting The Roof Of The British Army Land Rover Plastic Model Kit
Checking All Side Of The Model To Make Sure The Roof Is A Perfect Fit.
Completed The Roof For The 135th Scale Land Rover Plastic Model Kit
Completed The Roof For The Land Rover Model.
Putting Together The Wheels For The Land Rover Model
Putting Together The Wheels.
Final Test Fit With The Wheels And The Finished Bodywork On The British Army Land Rover
Test Fit With The Wheels And The Finished Bodywork And Seats.
The Land Rover Model Gets A Final Test Fir With All The External Components Before It Gets An Undercoat
Final Test Fir With All The External Components Before It Gets An Undercoat.
The Small Pieces For The Land Rover Model That Need Painting
All The Small Pieces For The Cab That Need Painting.
Final Bumpoers And Wing Mirrors Attached To The Land Rover Scale Model
Attached The Rear Bumpers Tow Hook And Wing Mirrors.

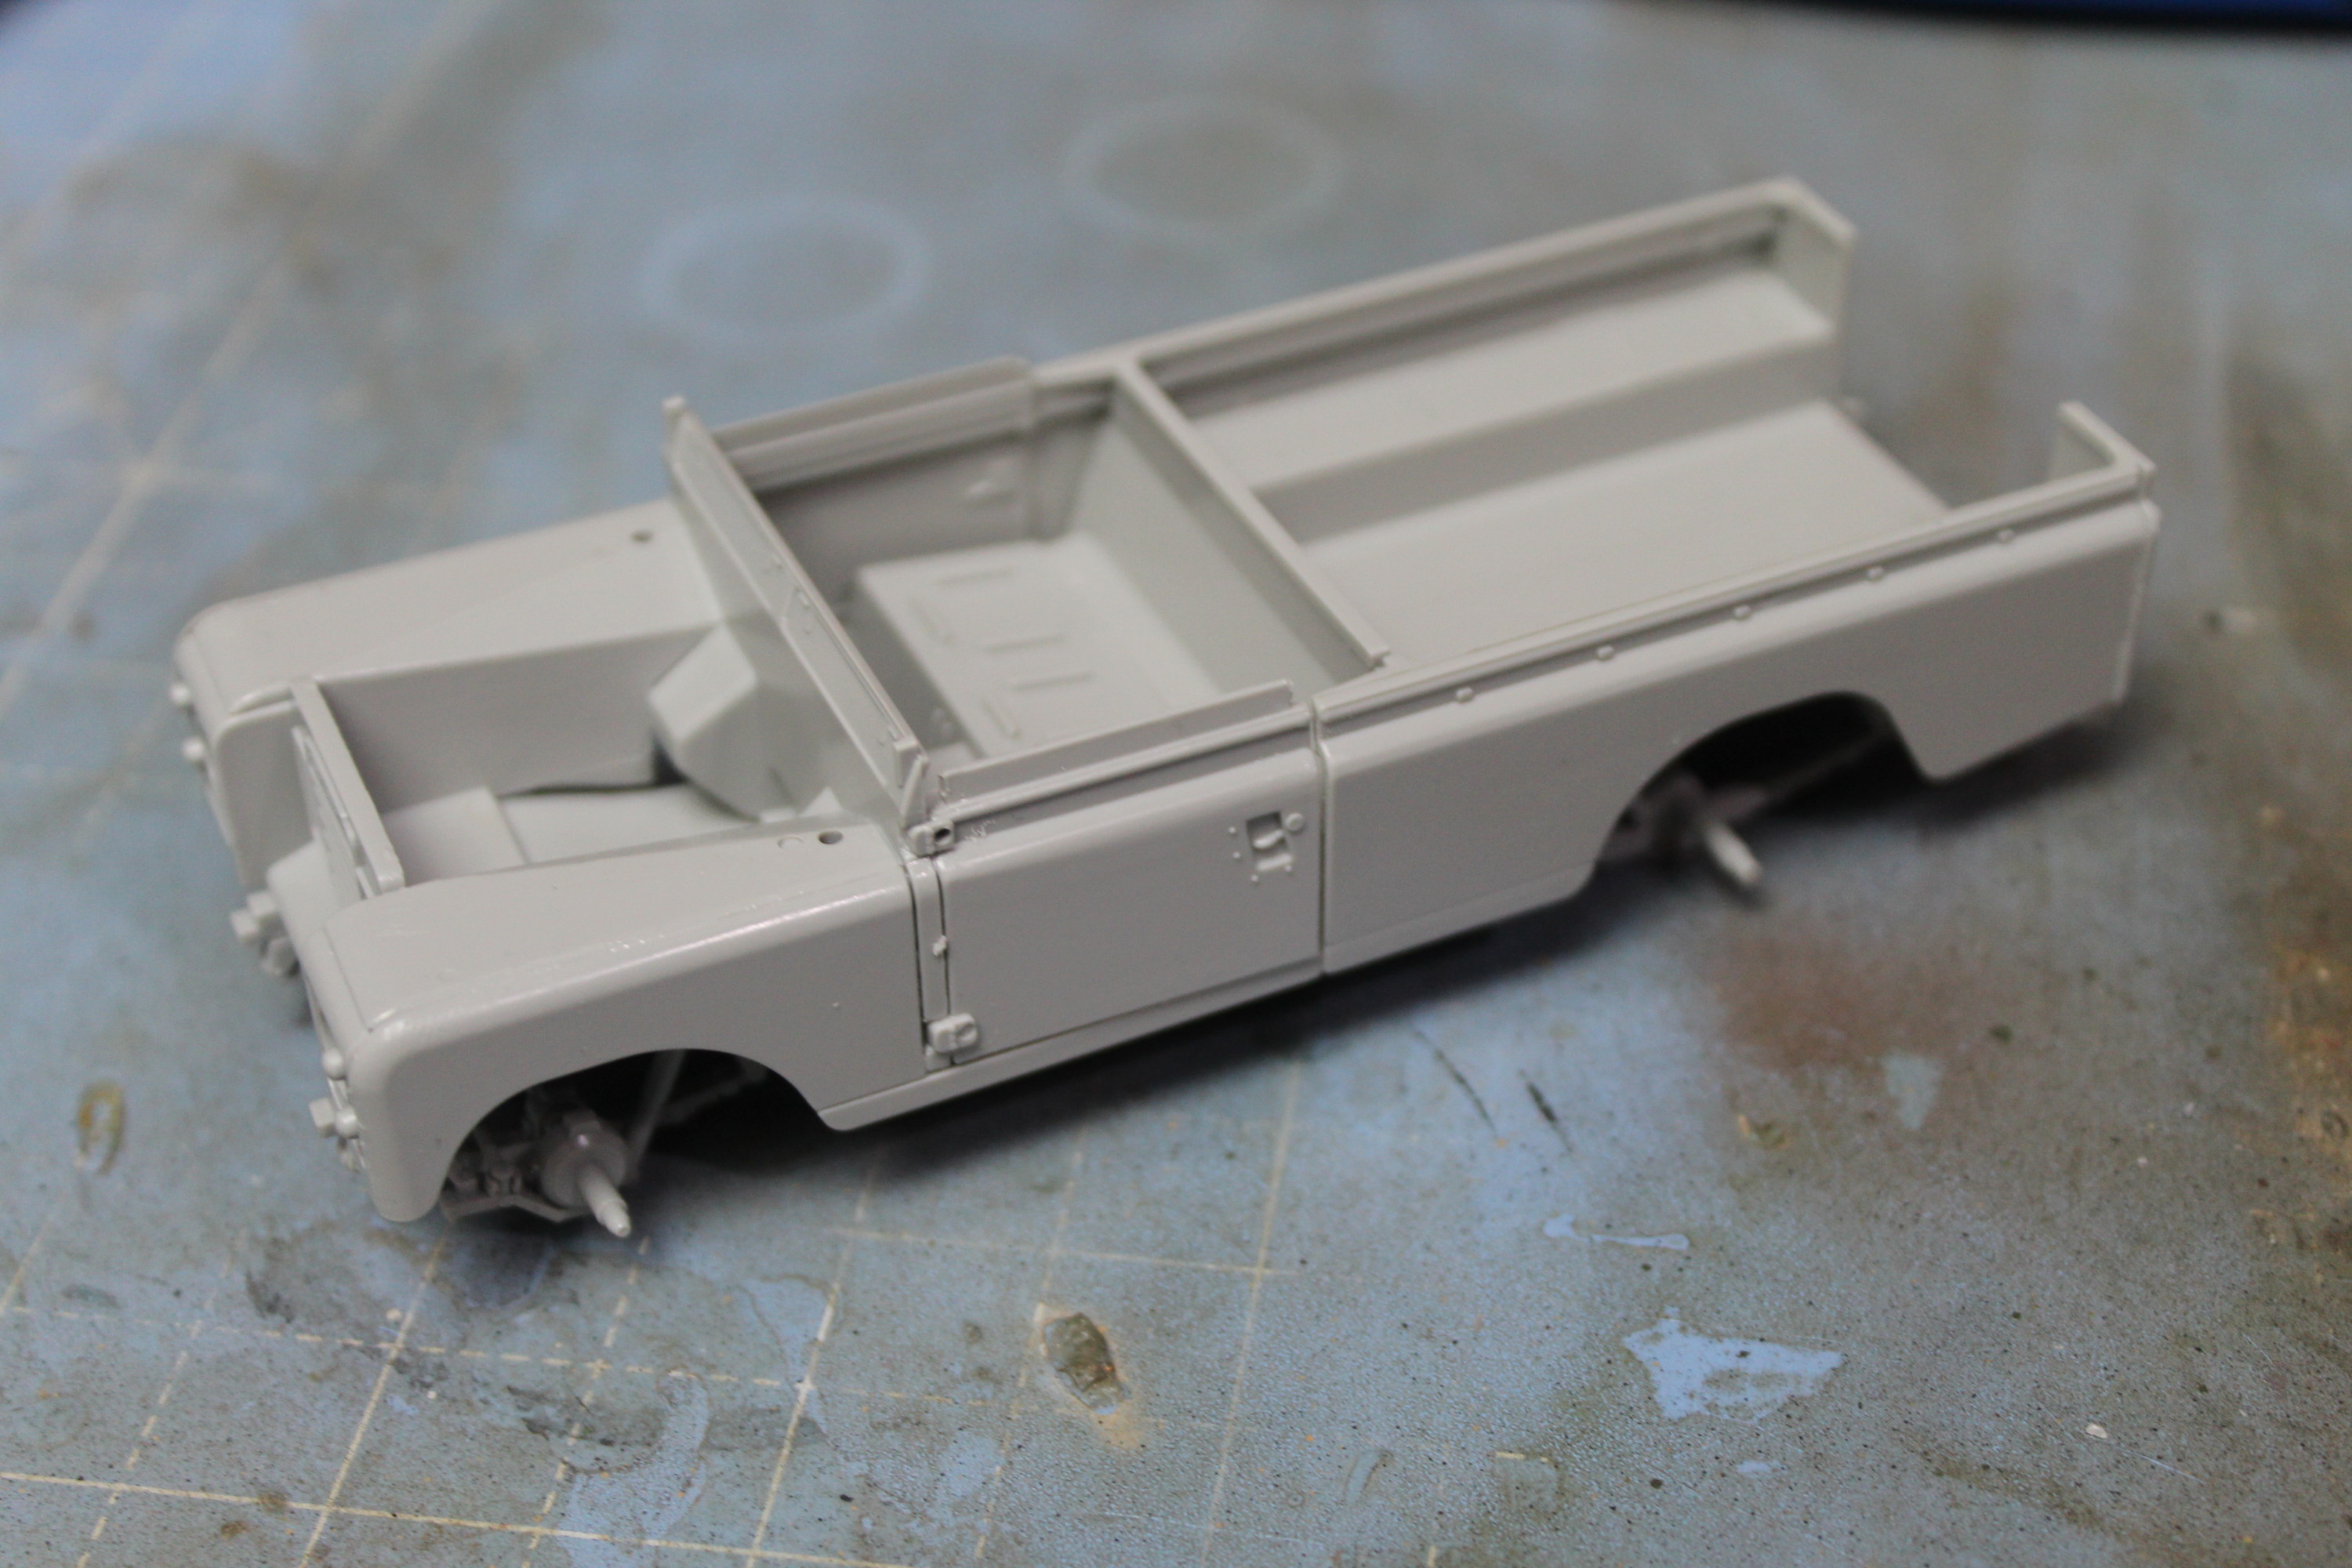
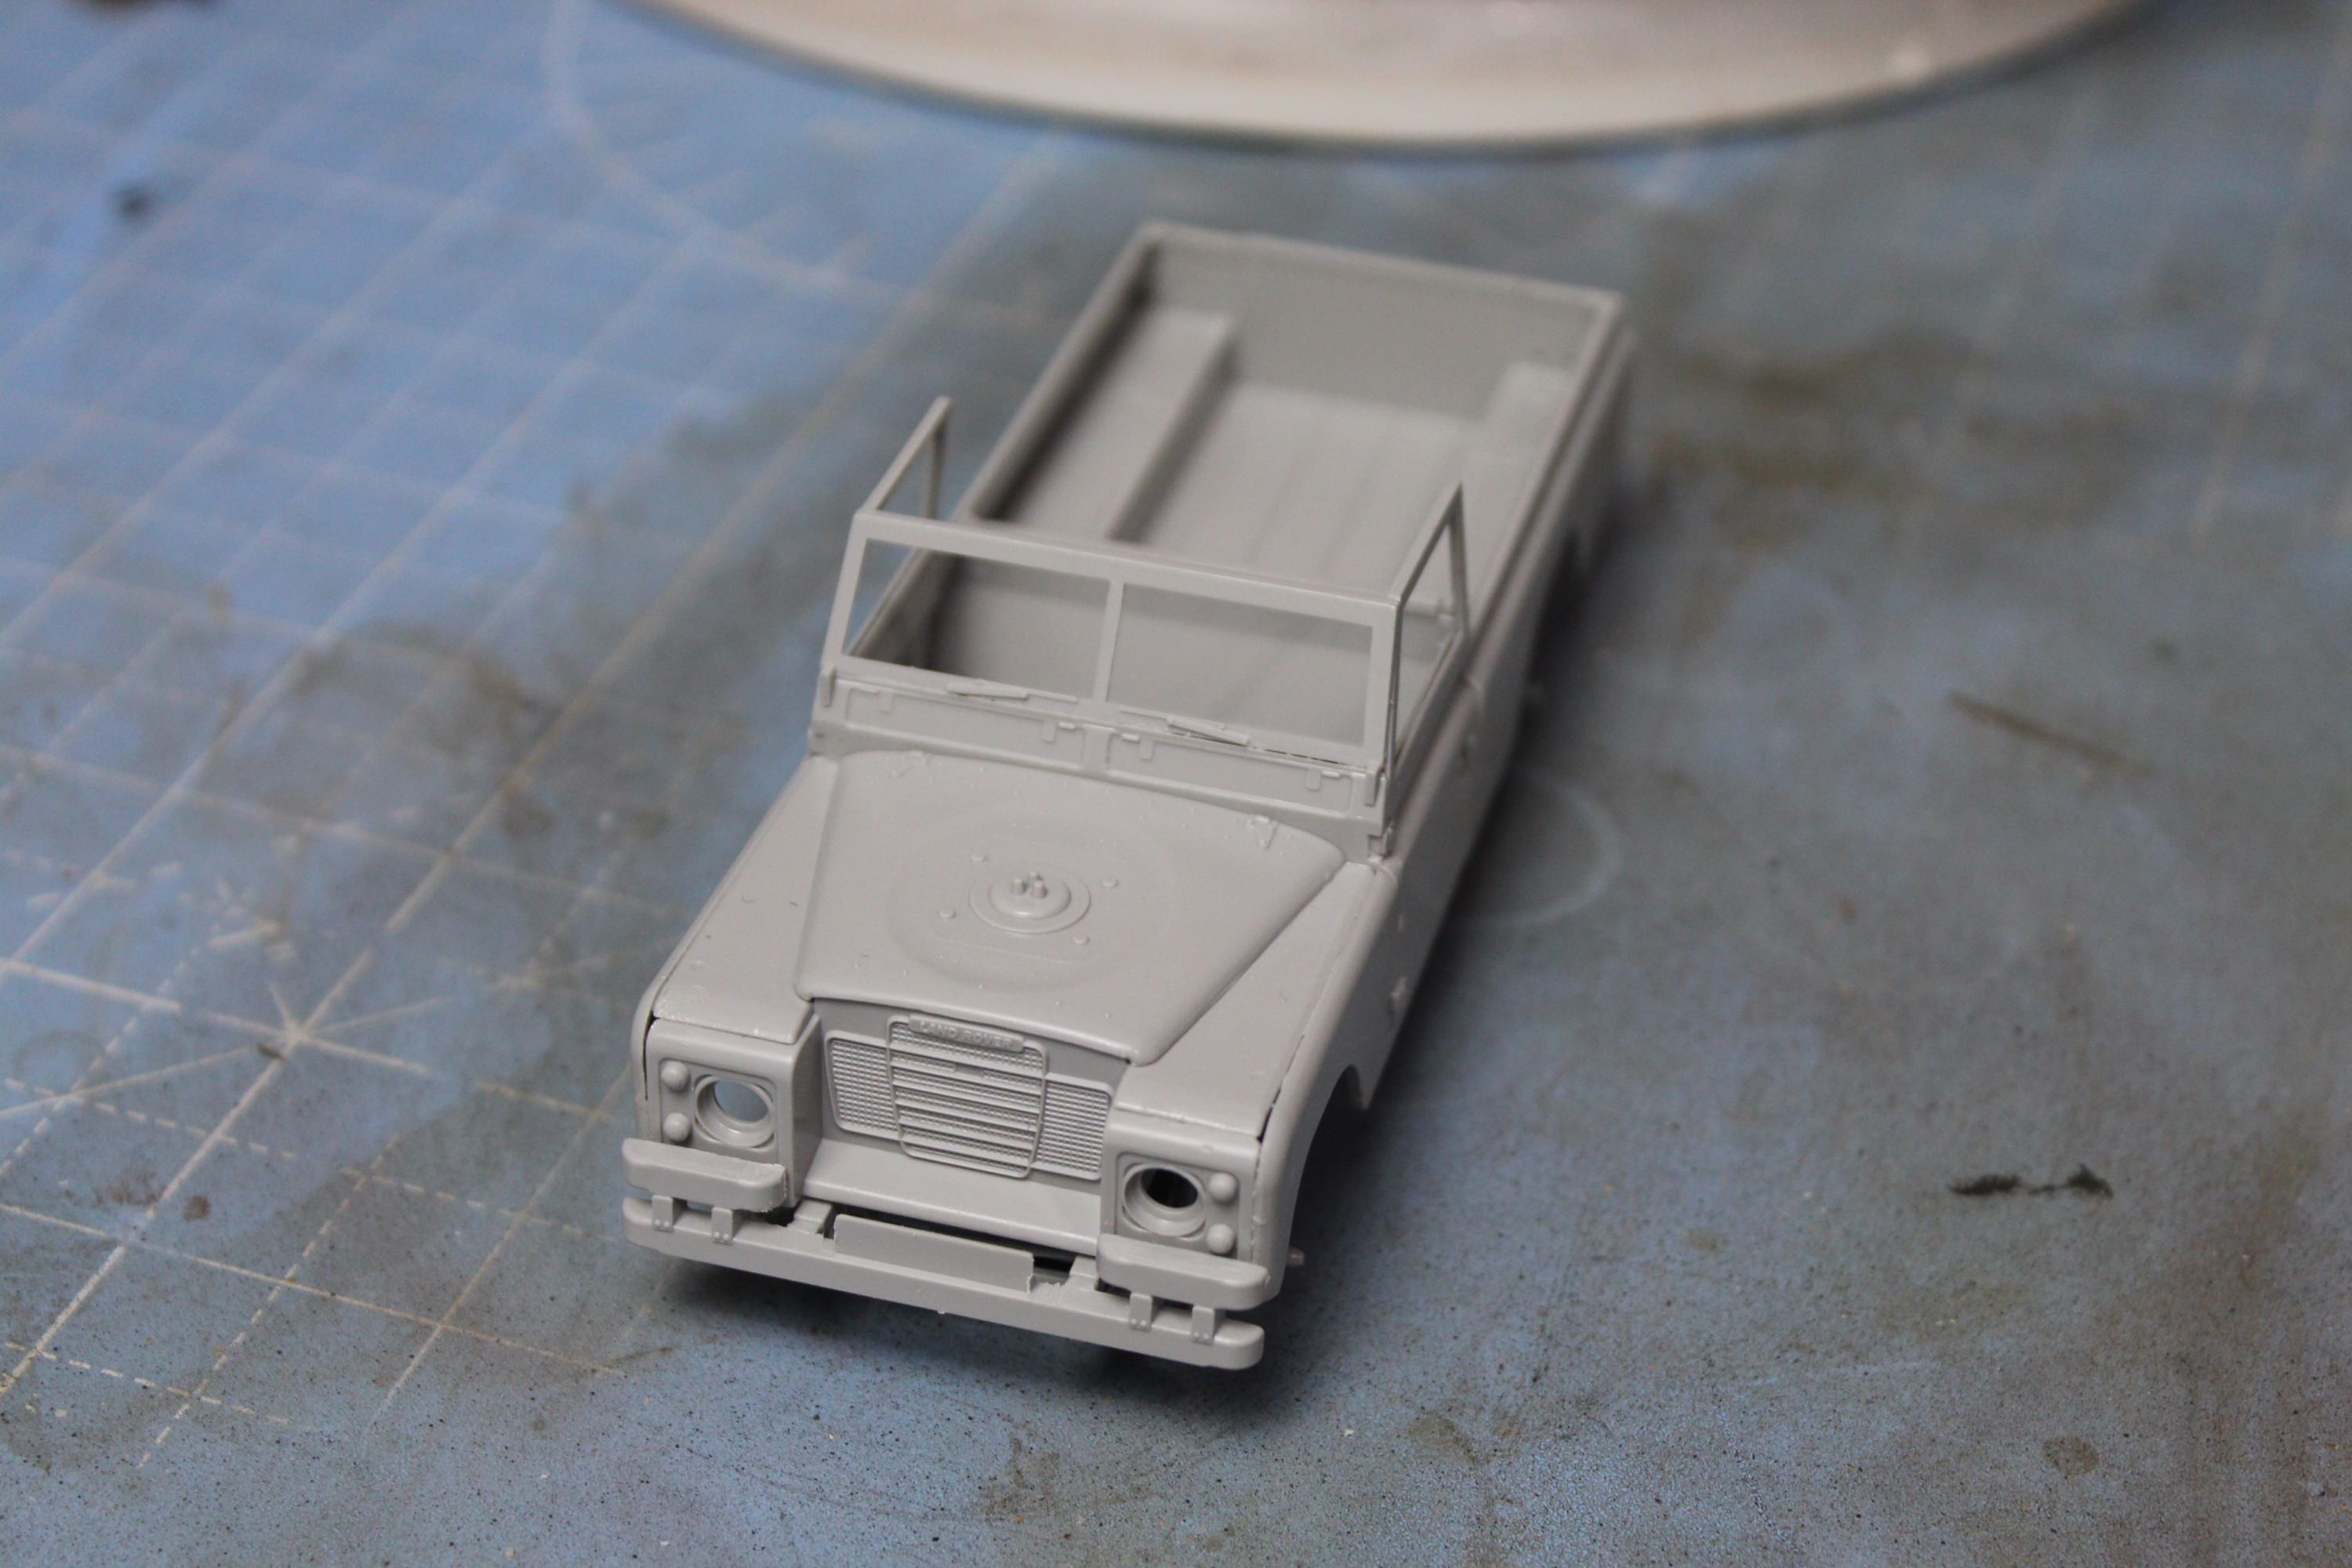
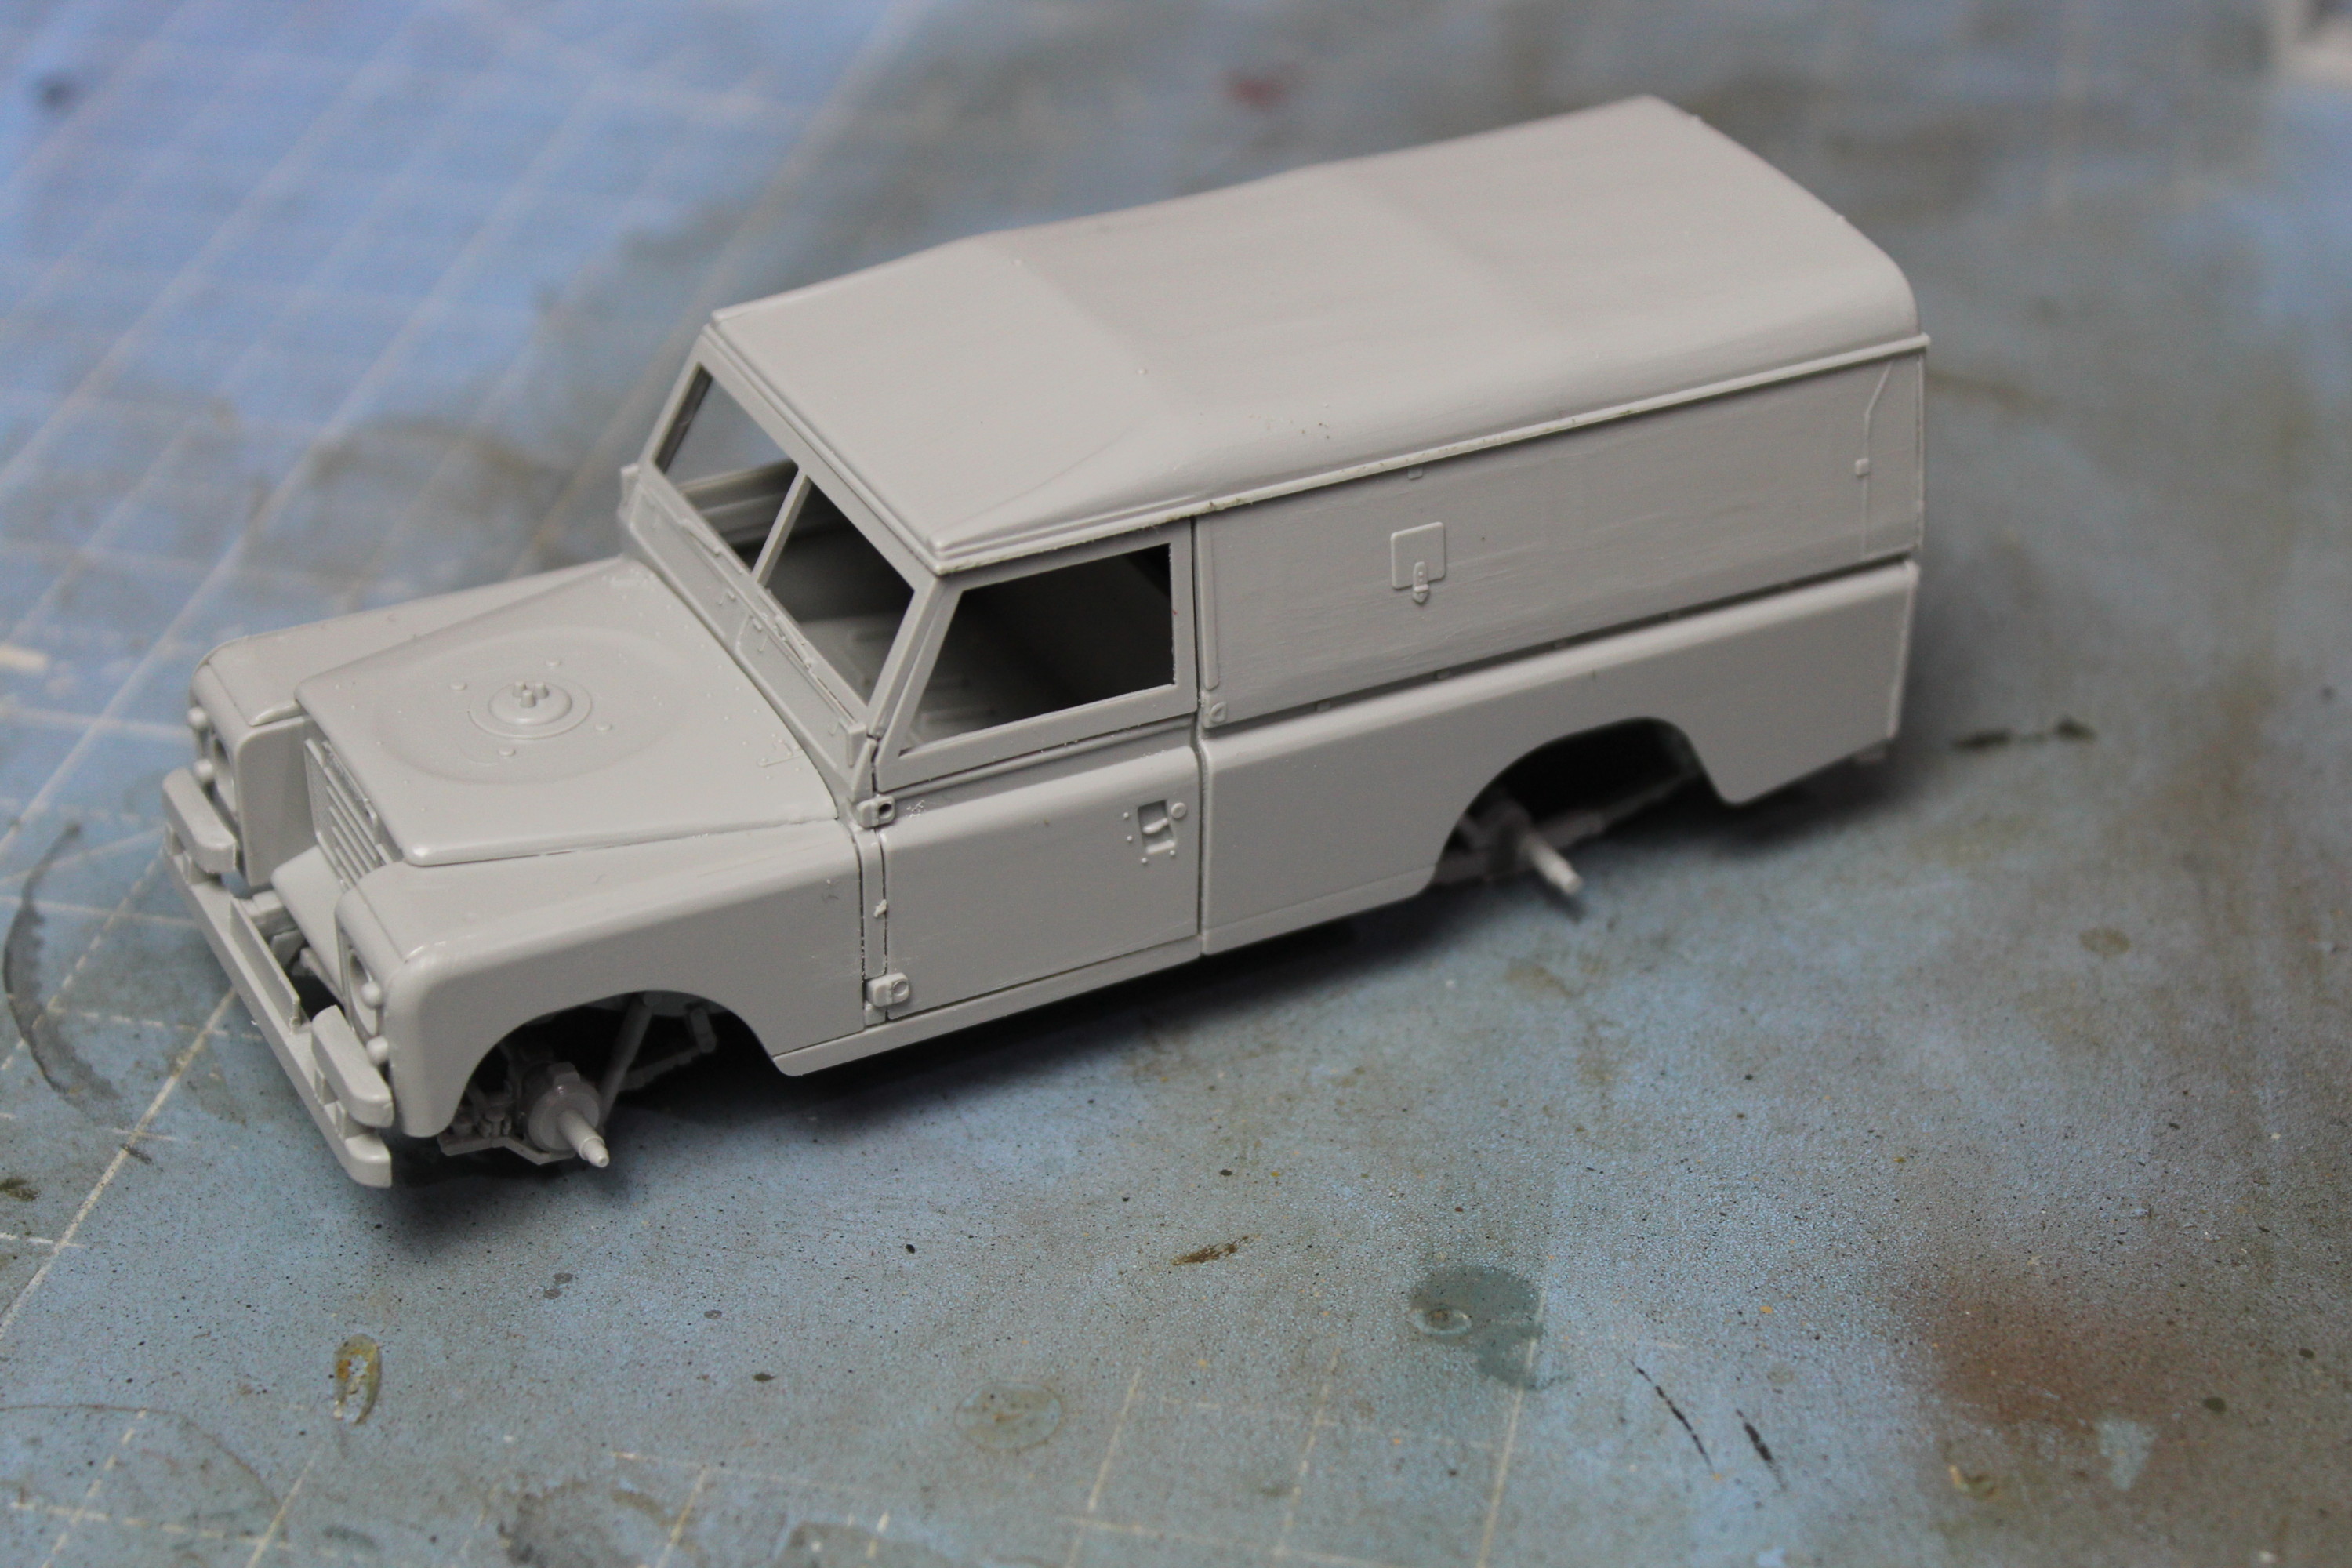
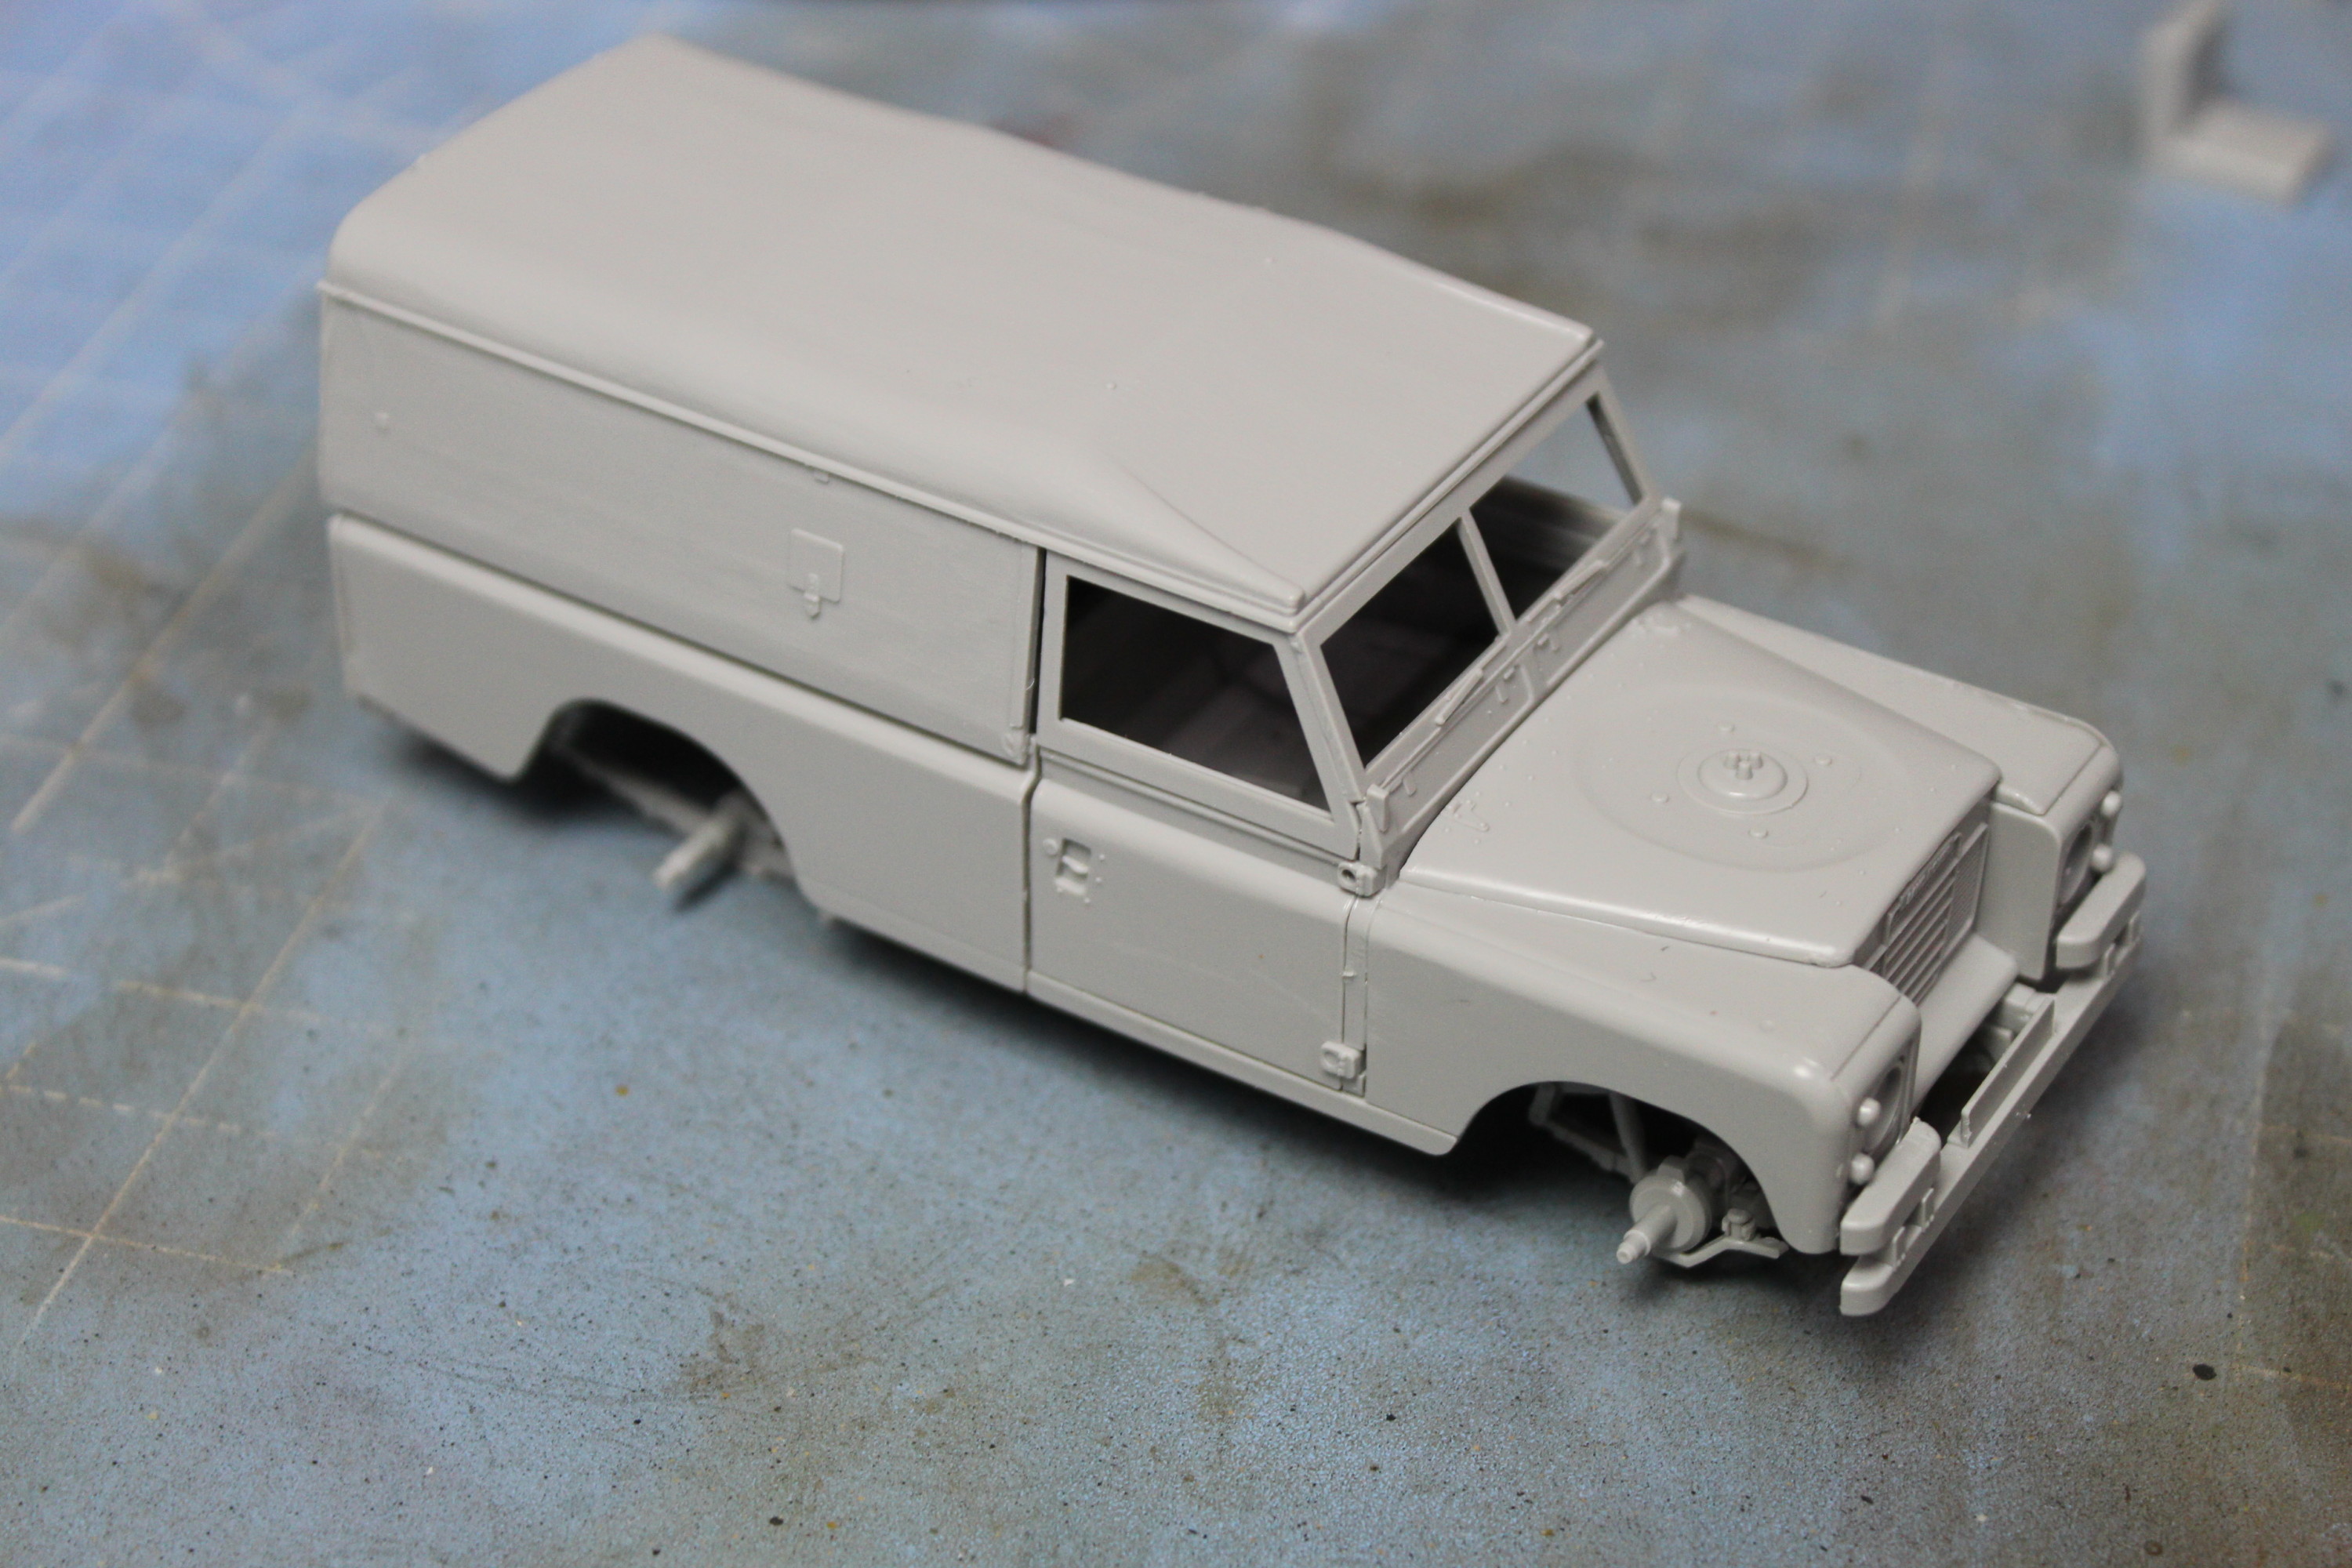
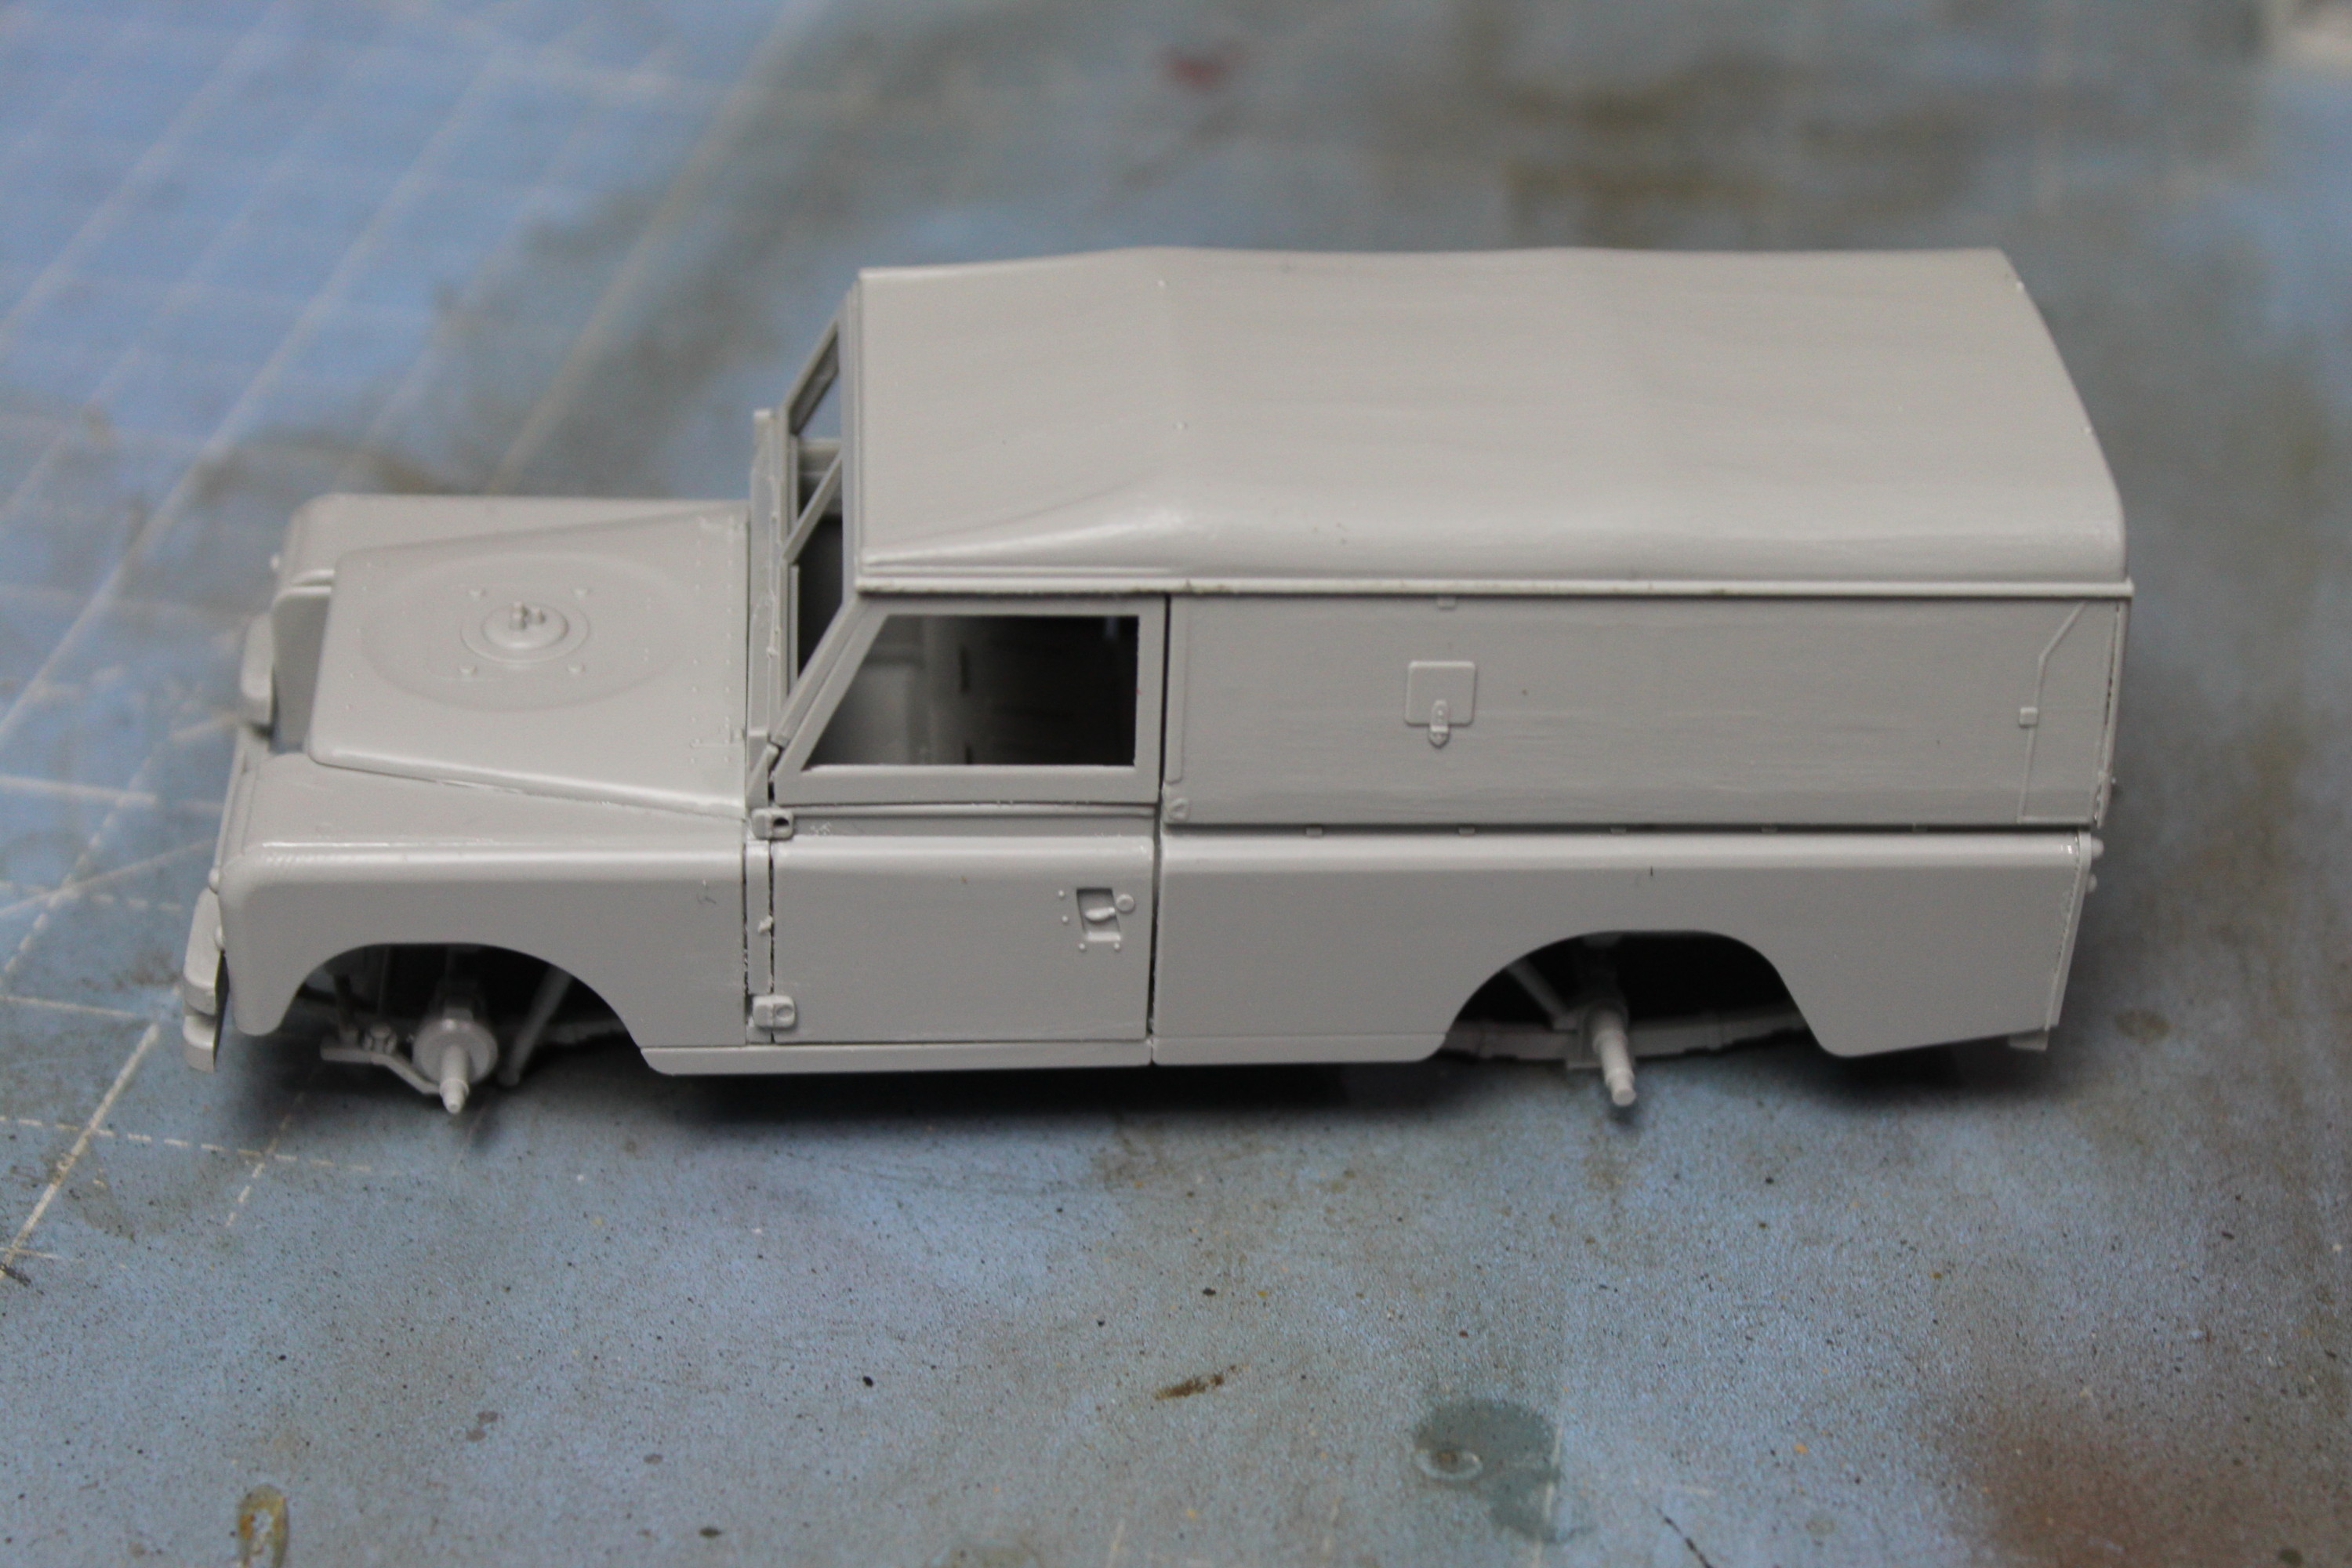
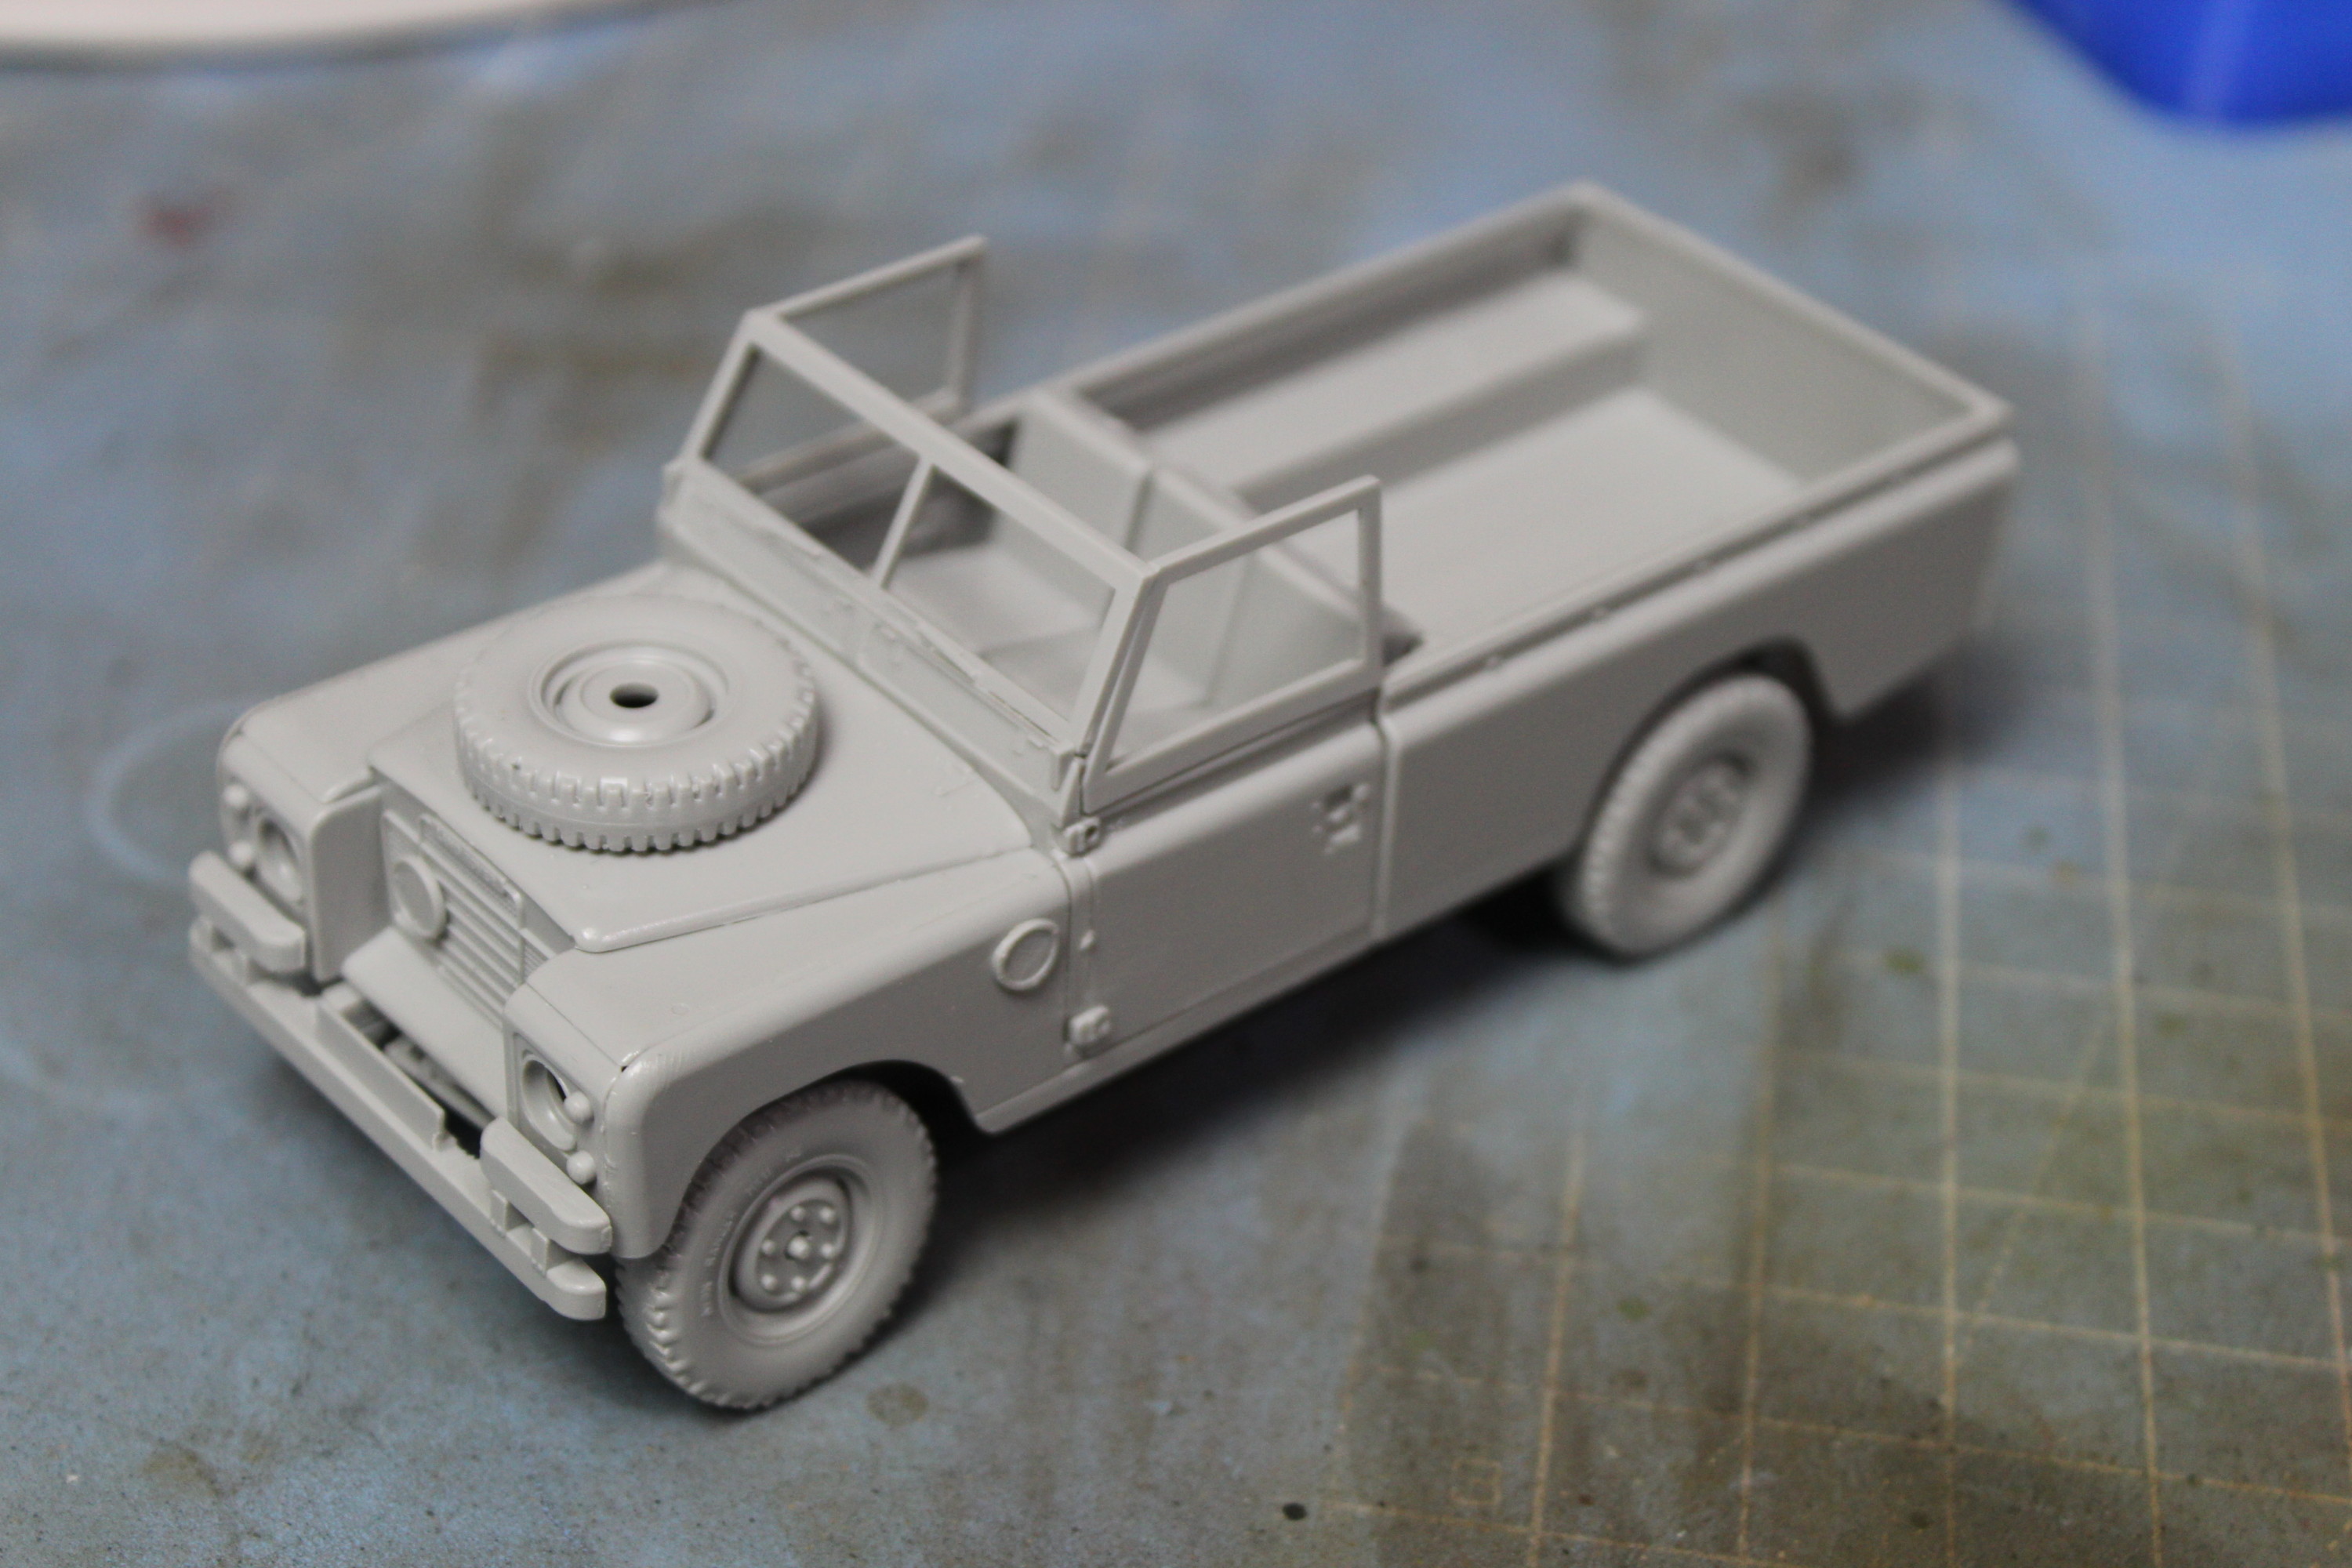
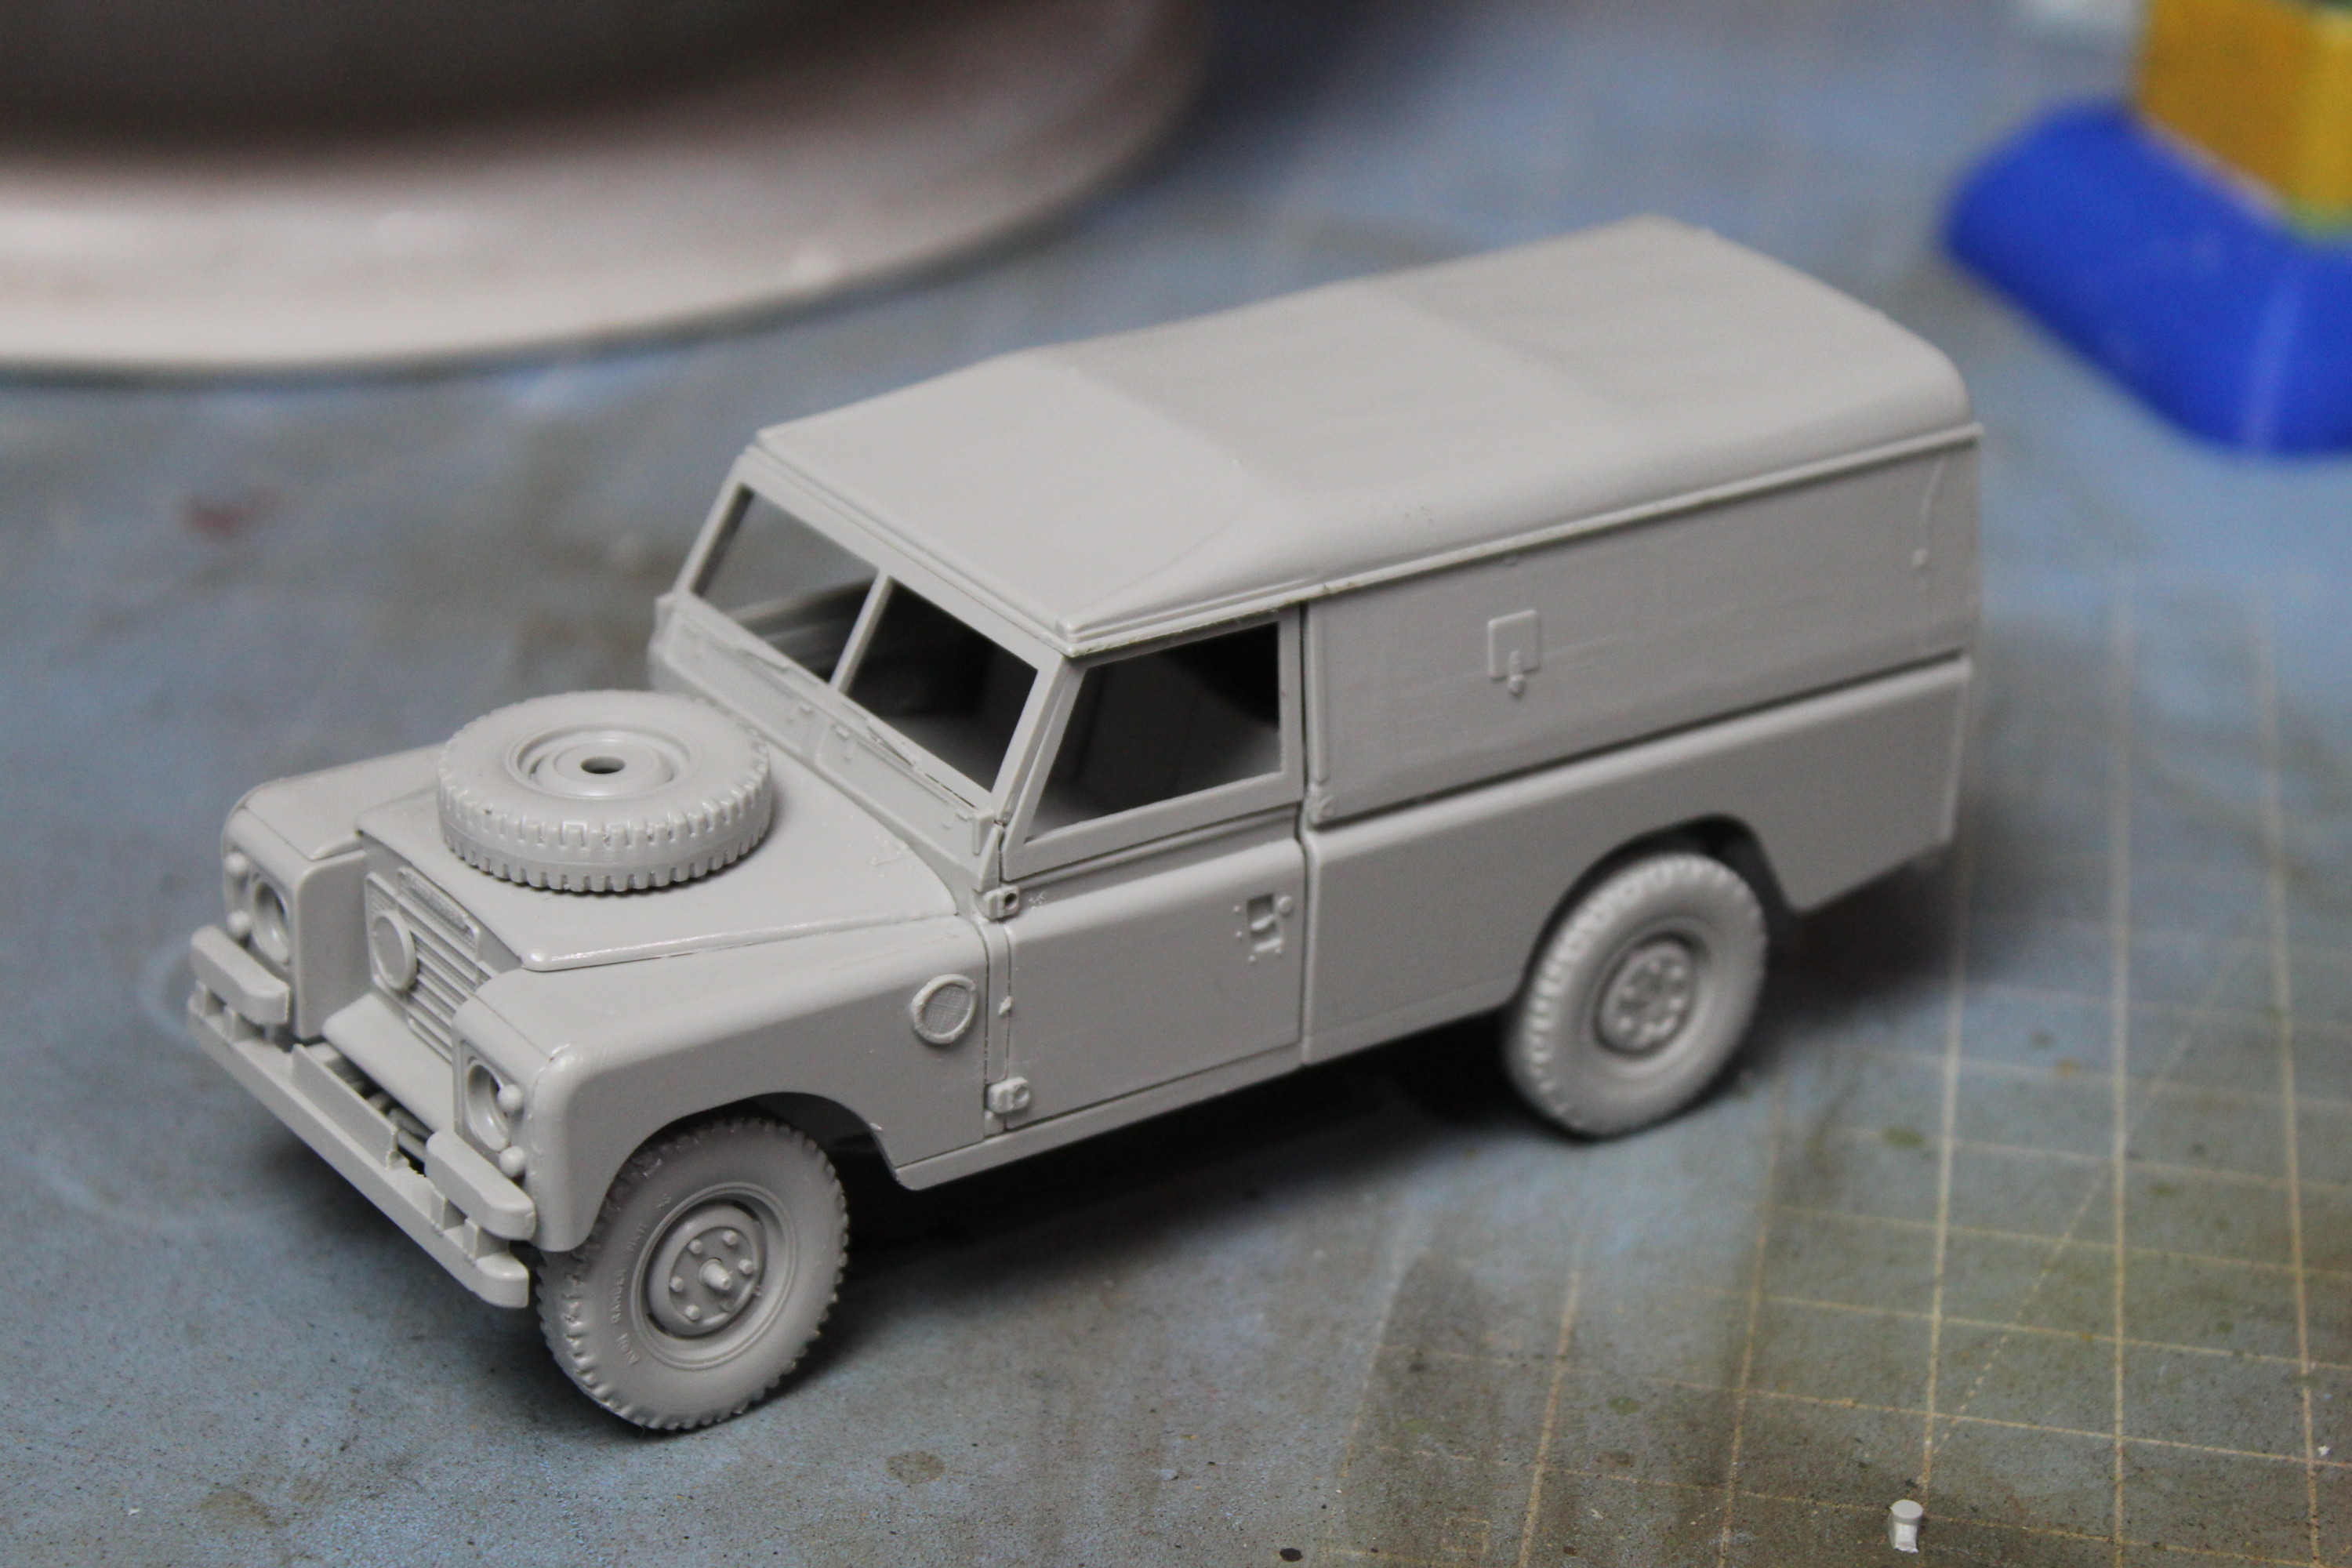
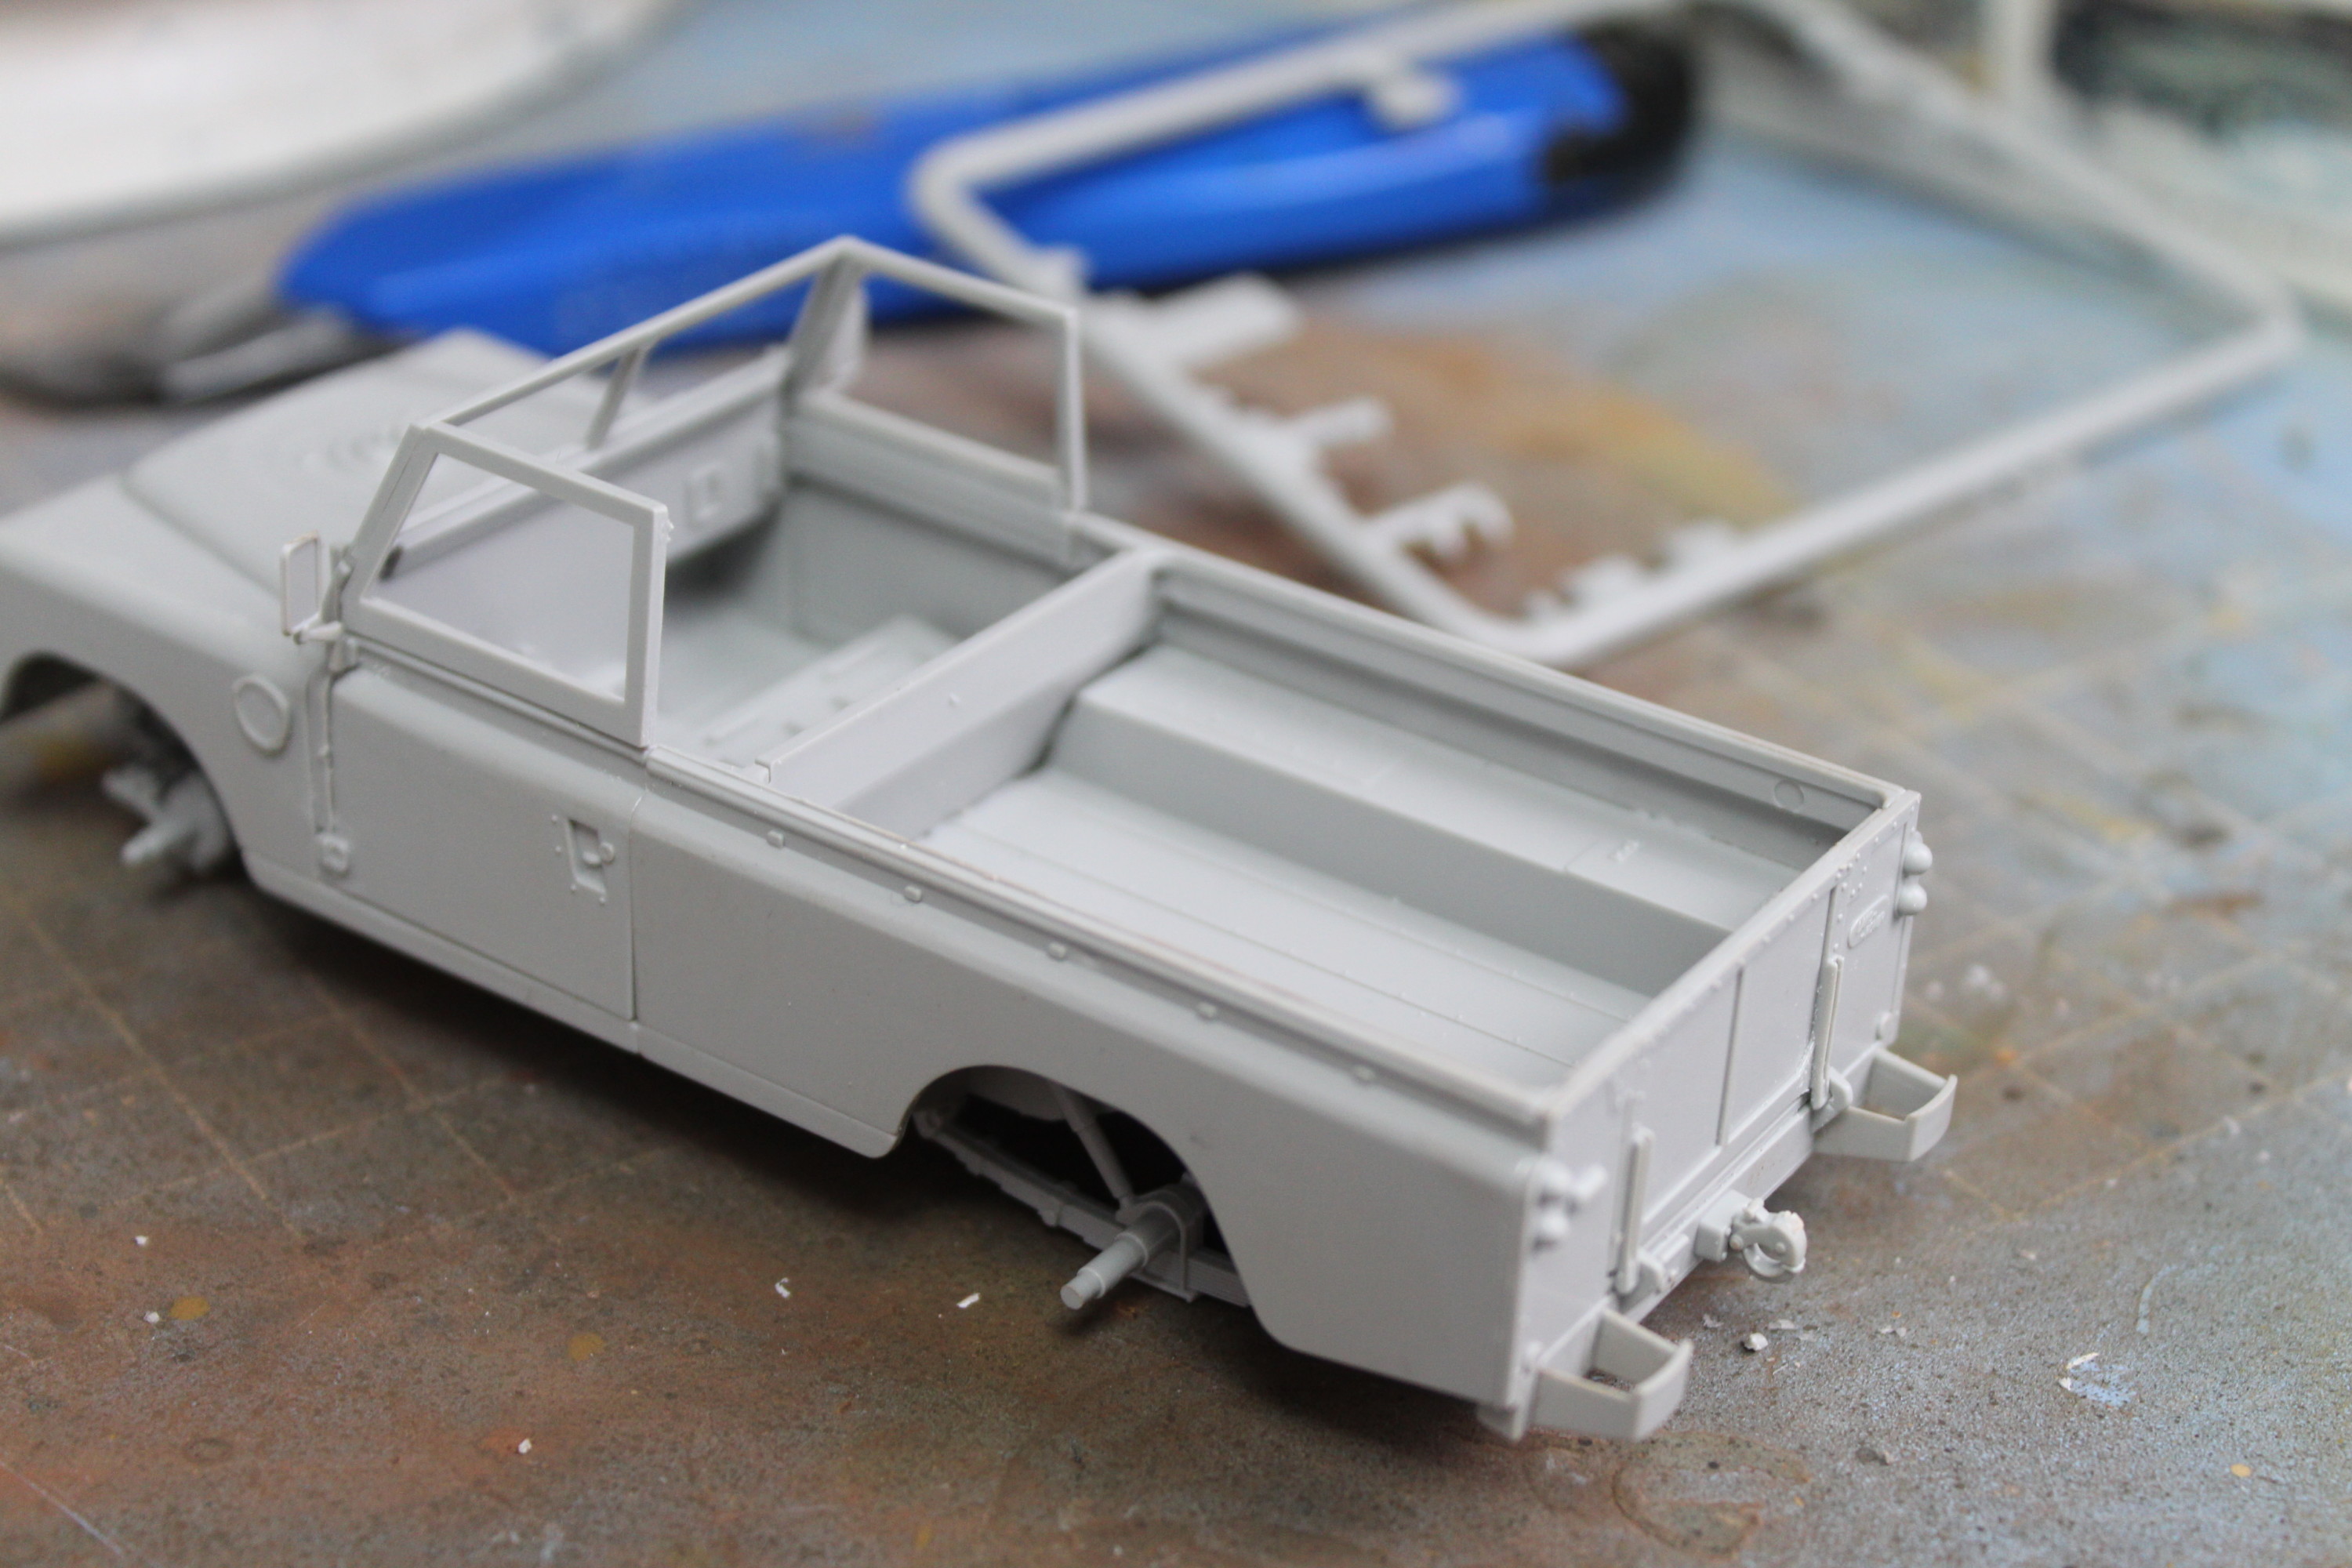
That’s the Land Rover built. Just to prime and paint all the parts and we can get on with finishing the build.

Small Parts Of The Land Rover Model Stuck To Masking Tape Ready For Undercoating
All The Parts Stuck On Masking Tape Ready For Undercoating.
Painted The Land Rover With Nato Green
Painted The Land Rover With Nato Green.
The Roof Has Been Painted Buff
The Roof Has Been Painted Buff.
Land Rover Wheels Painted And Wash Applied
Land Rover Wheels Painted And Wash Applied.

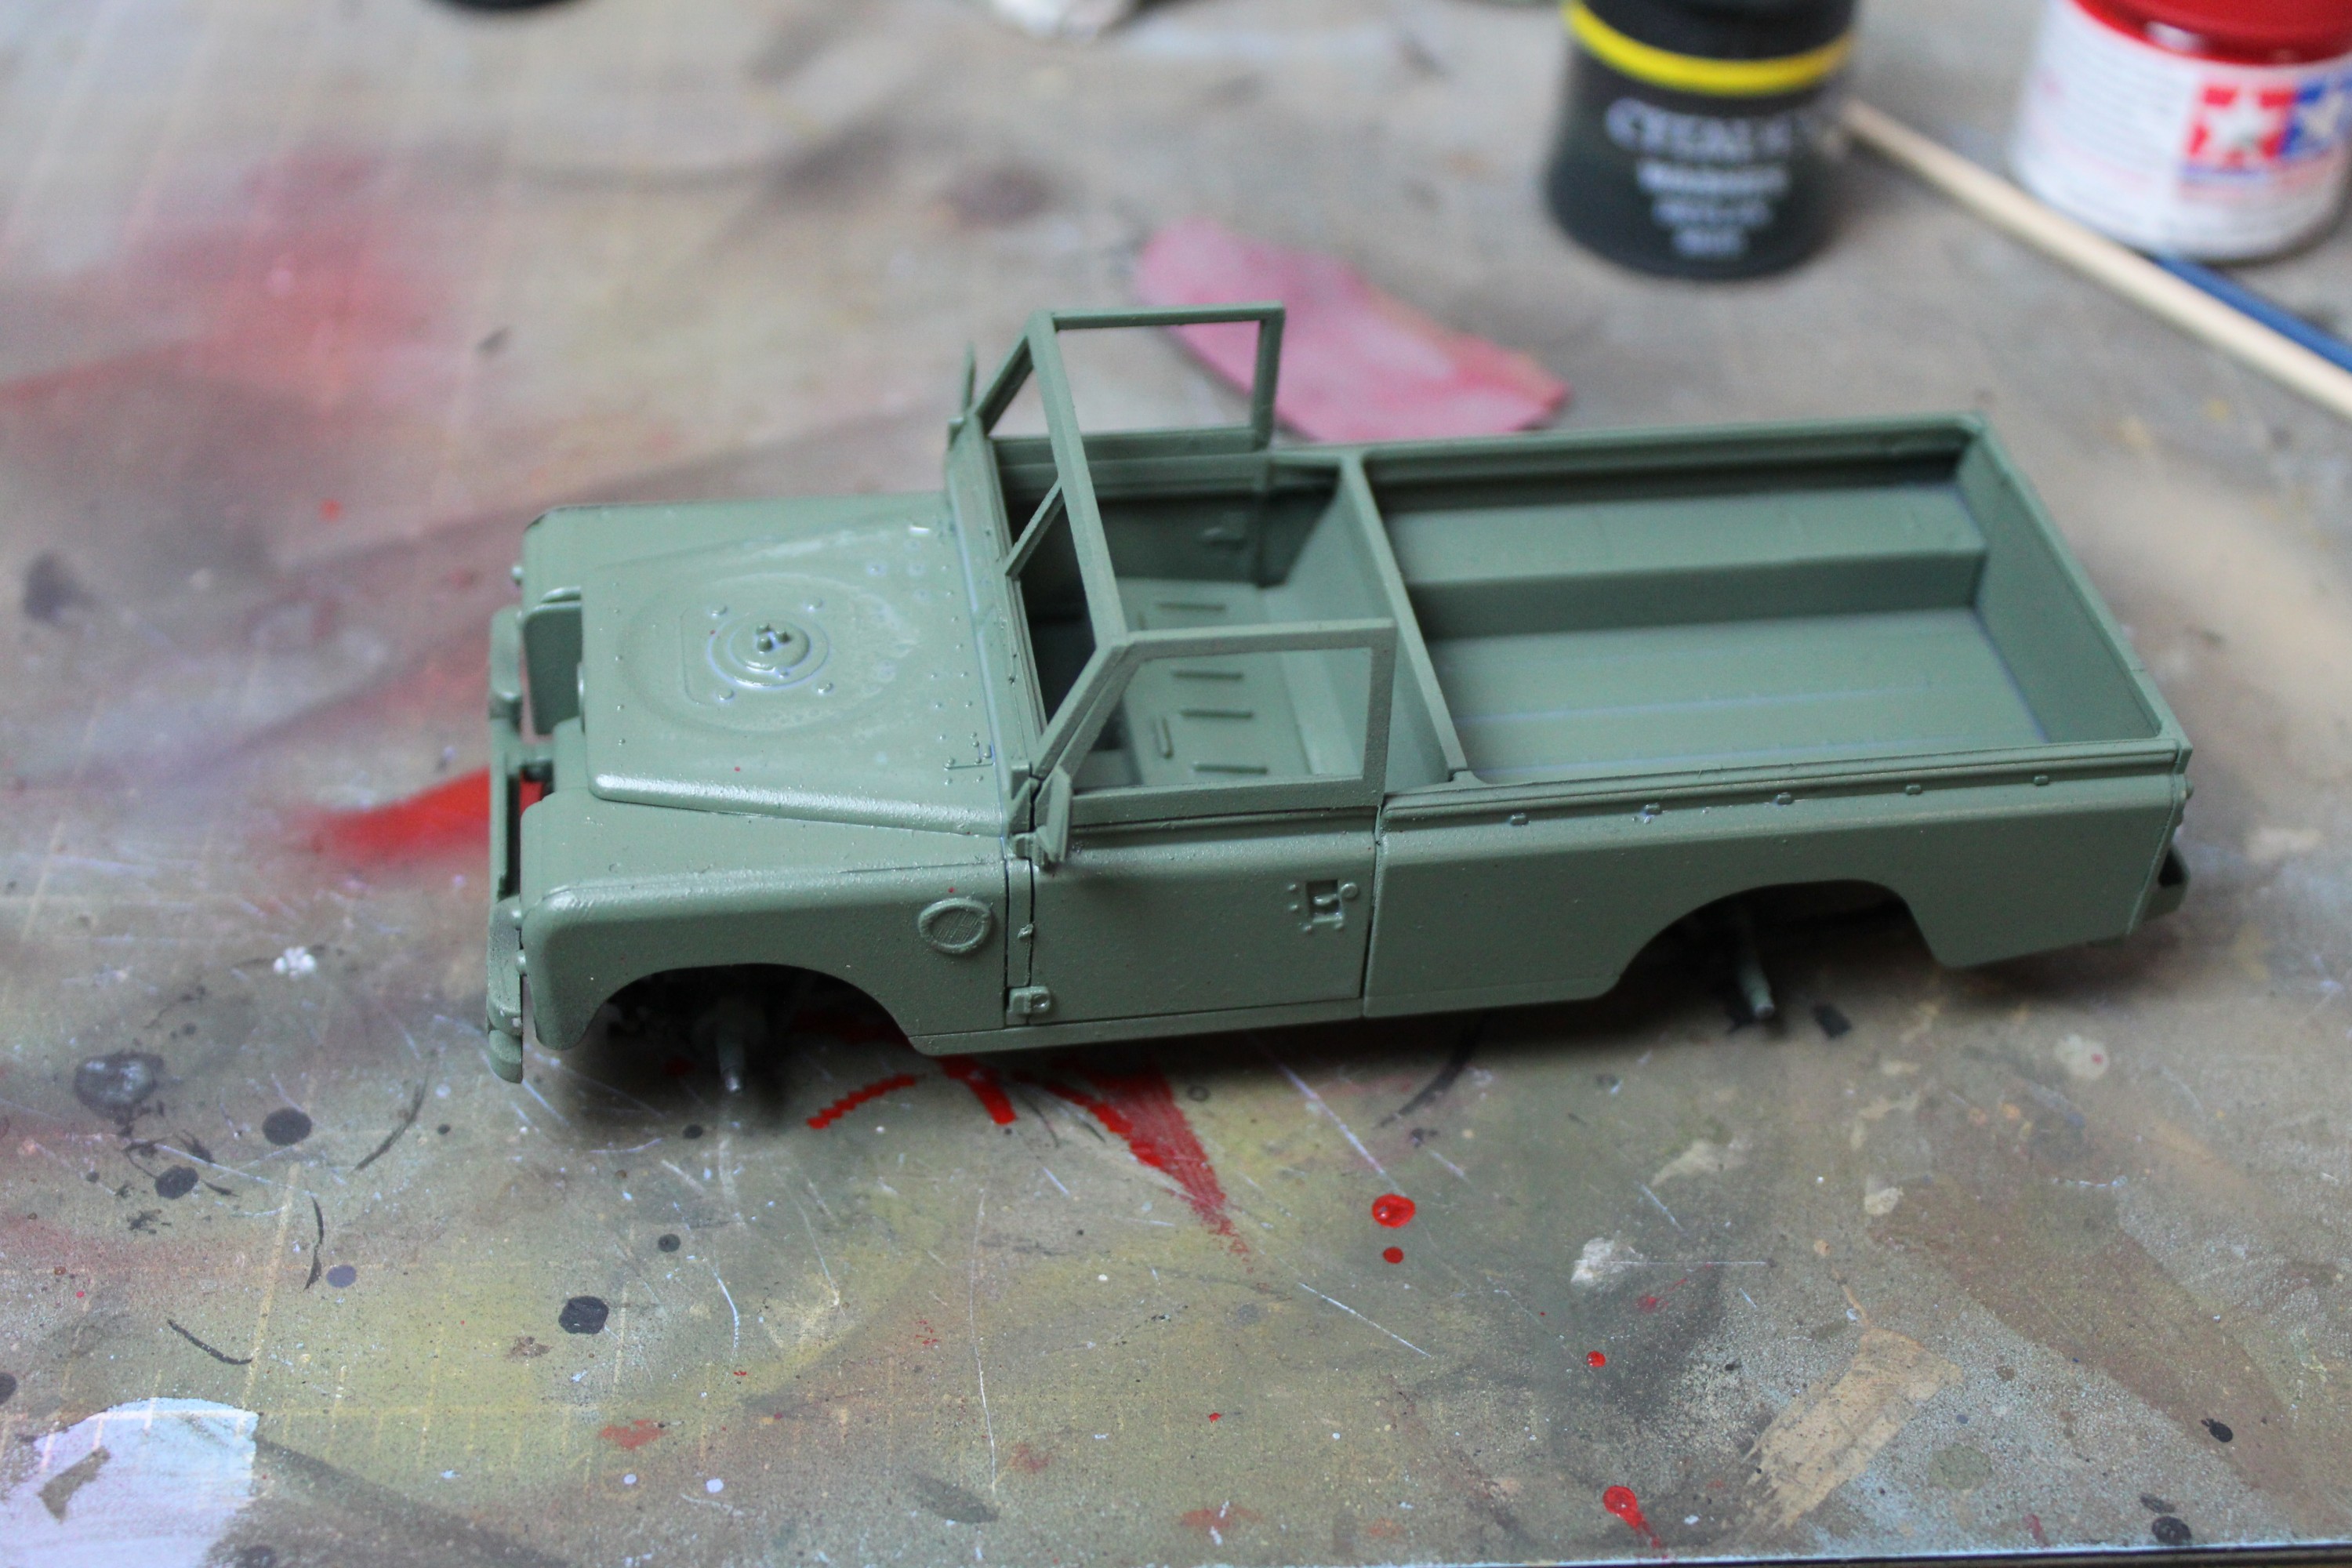
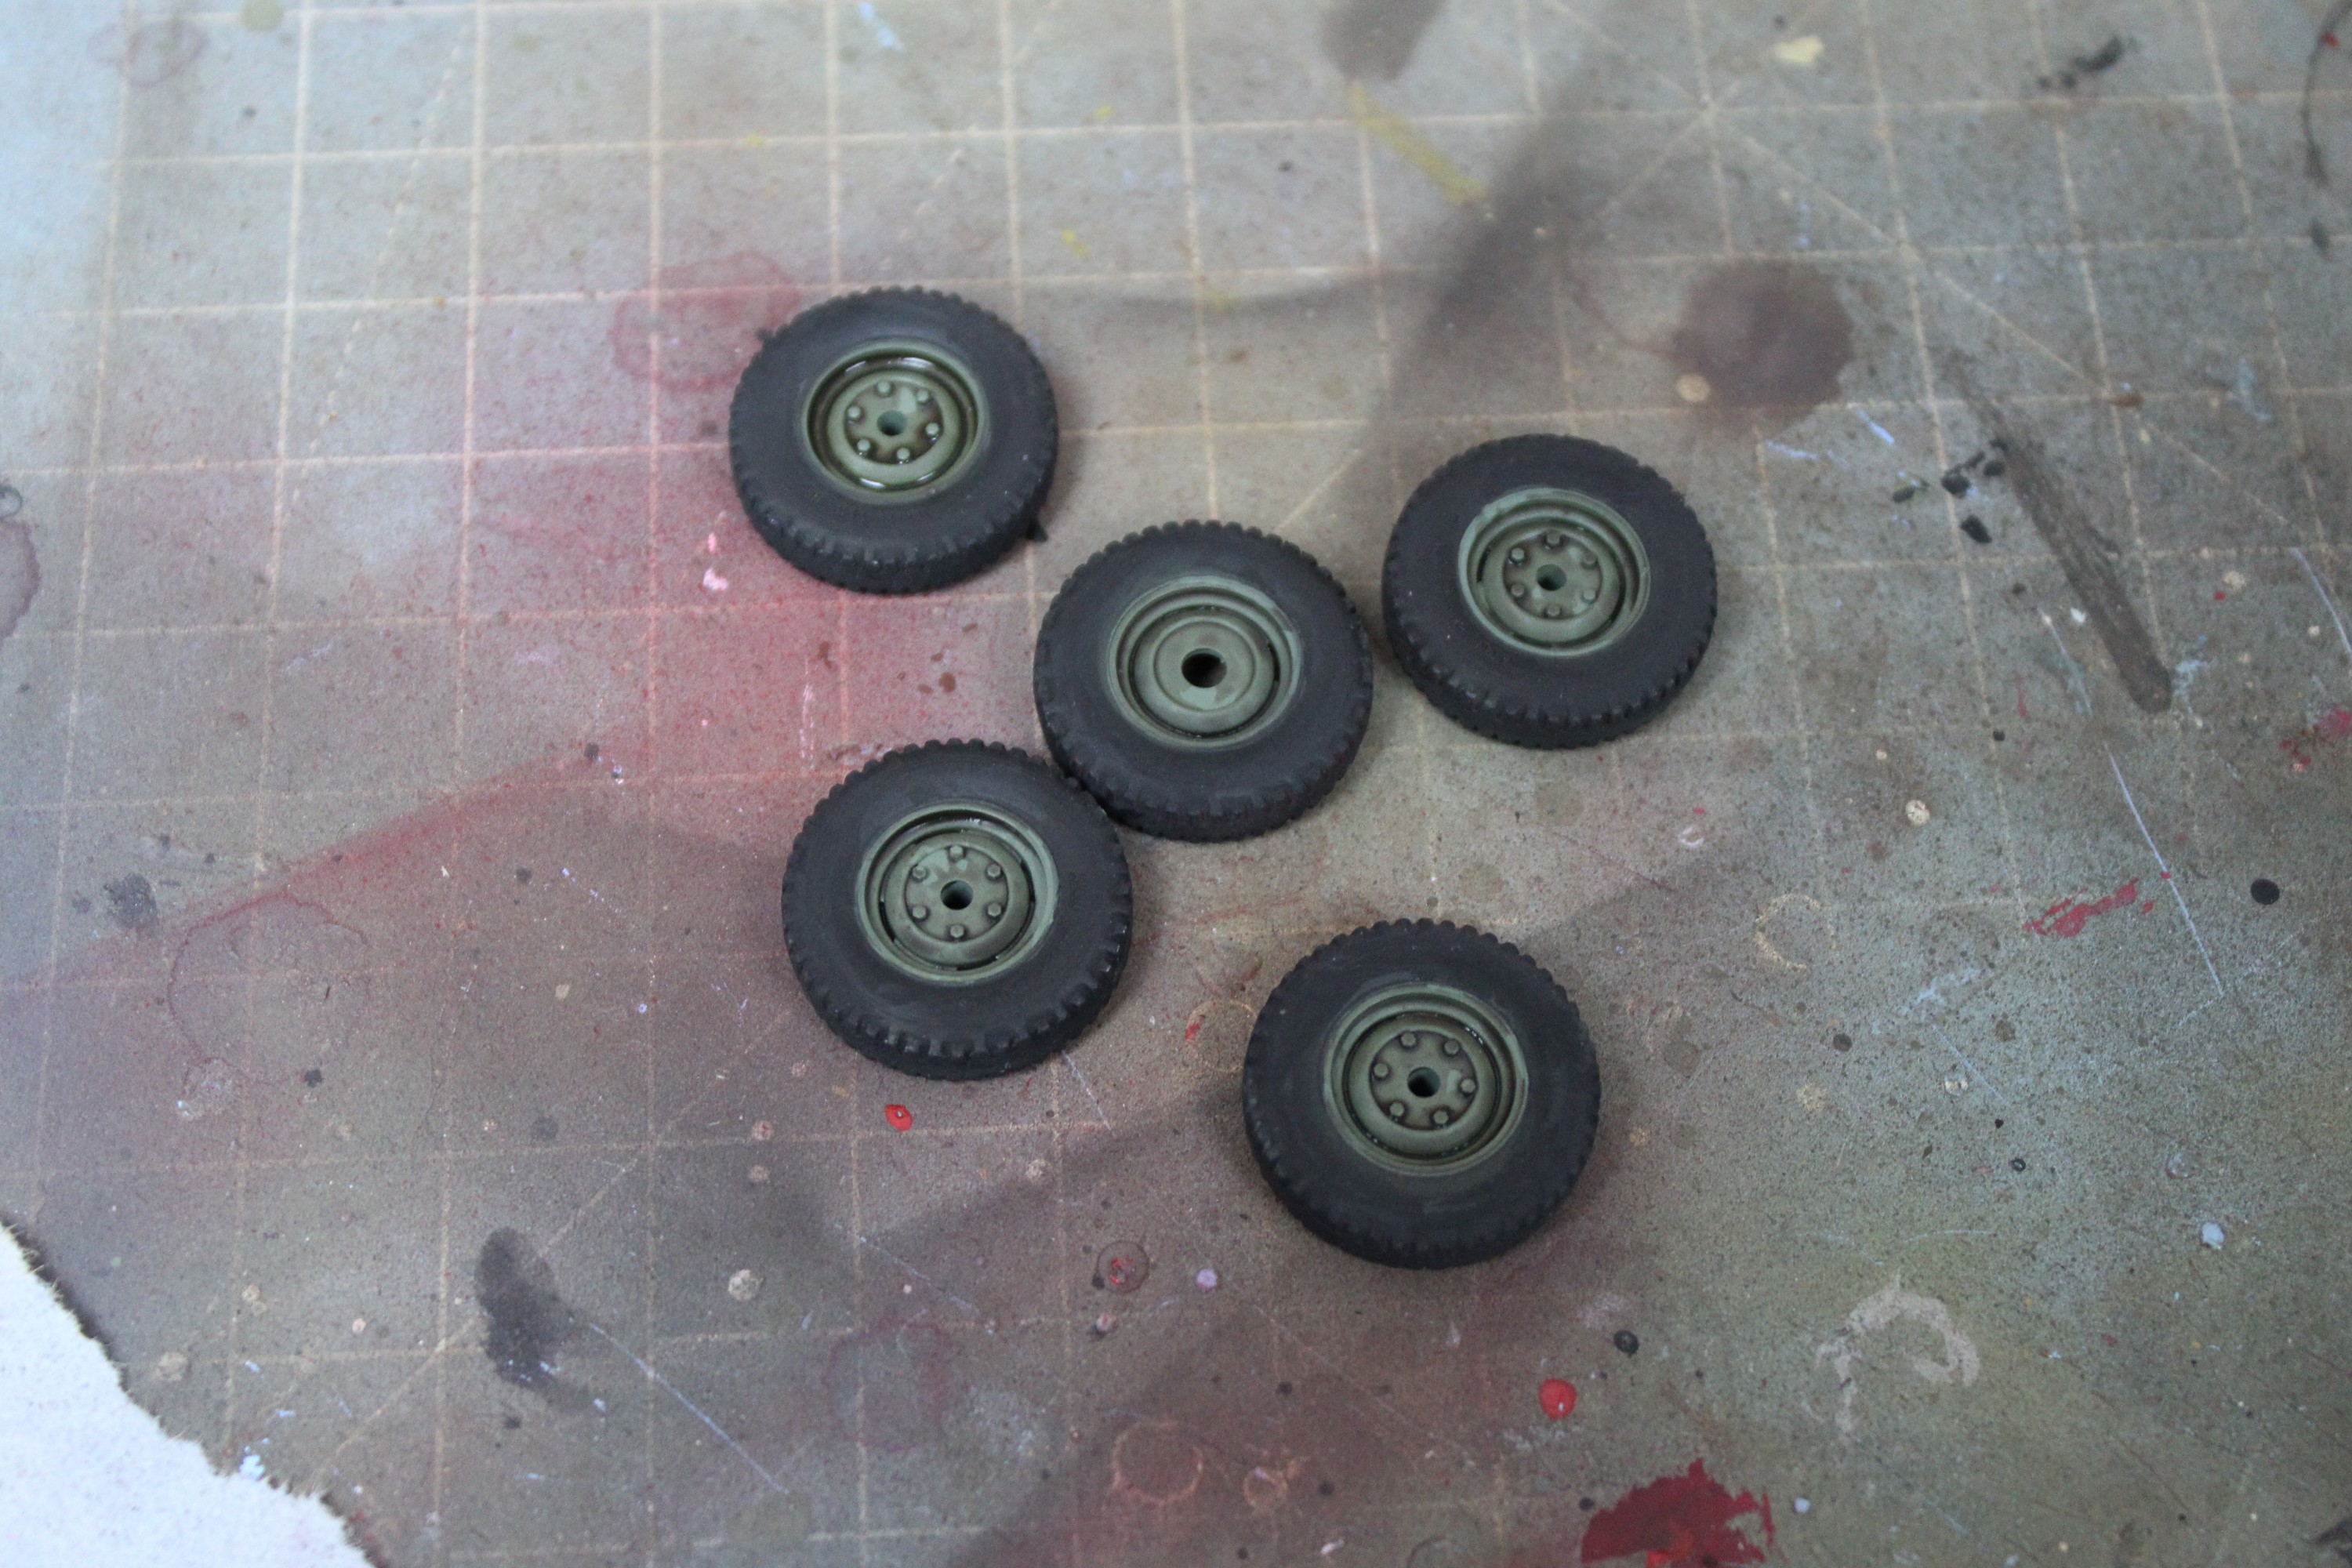
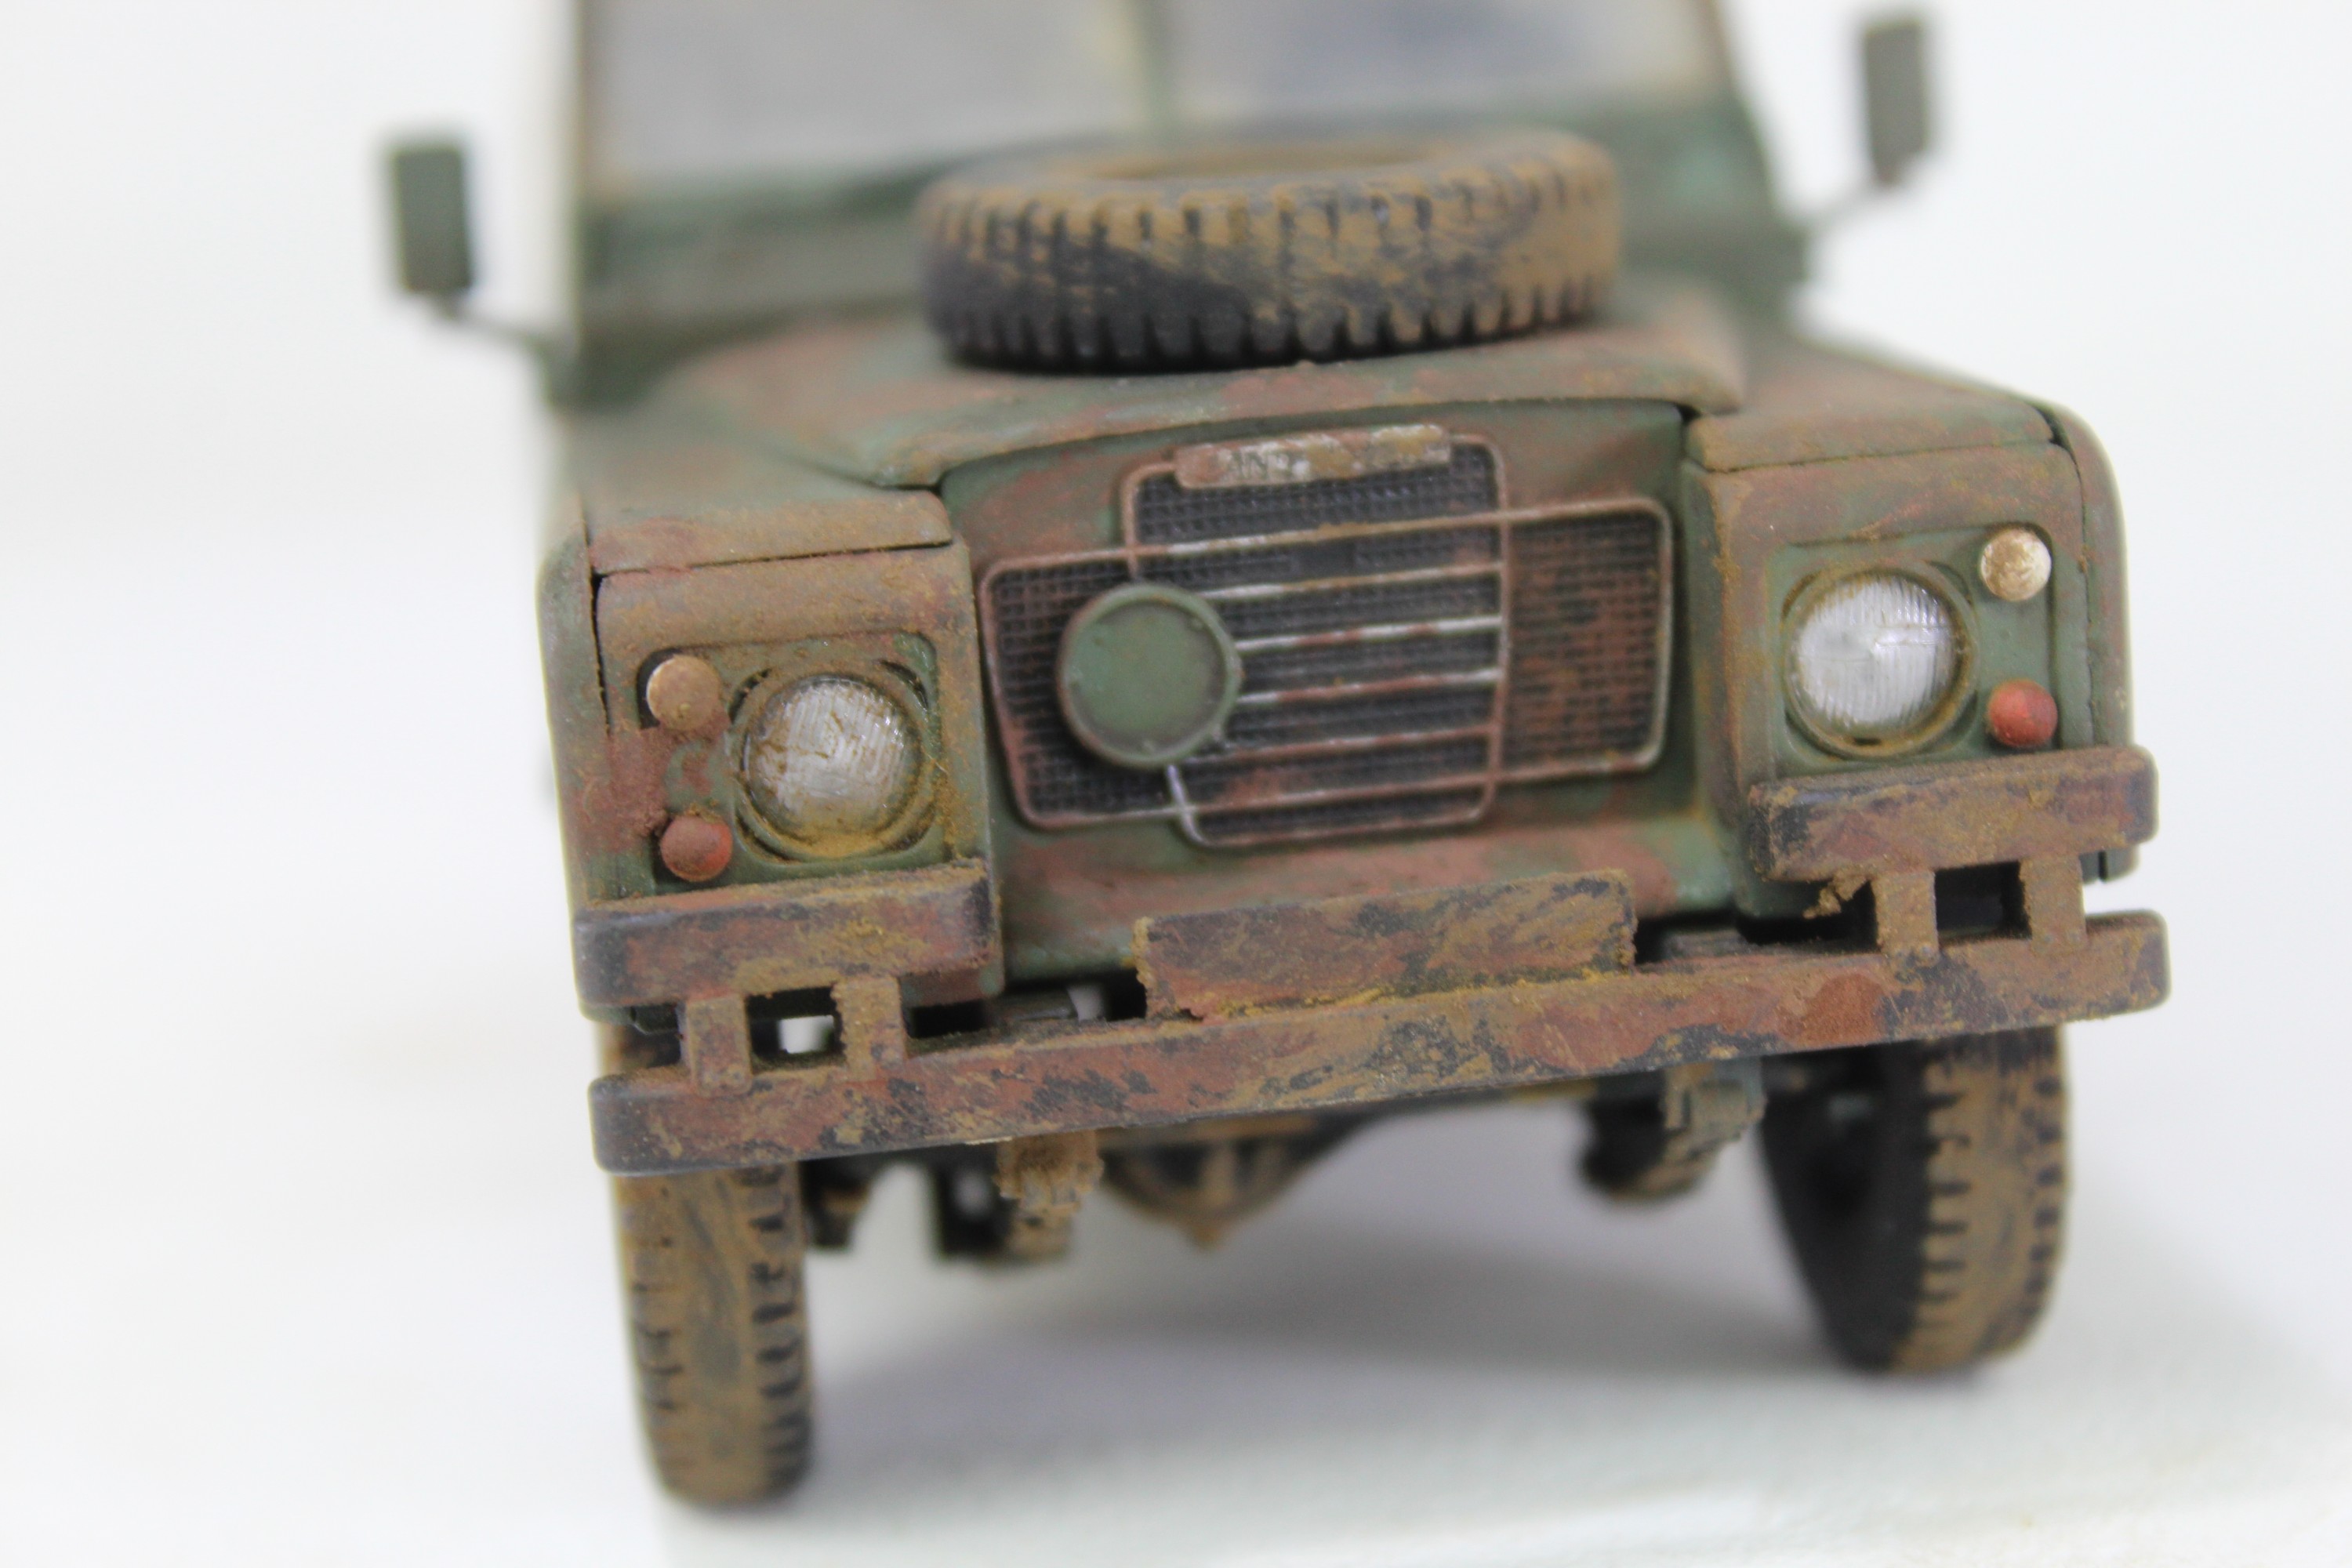
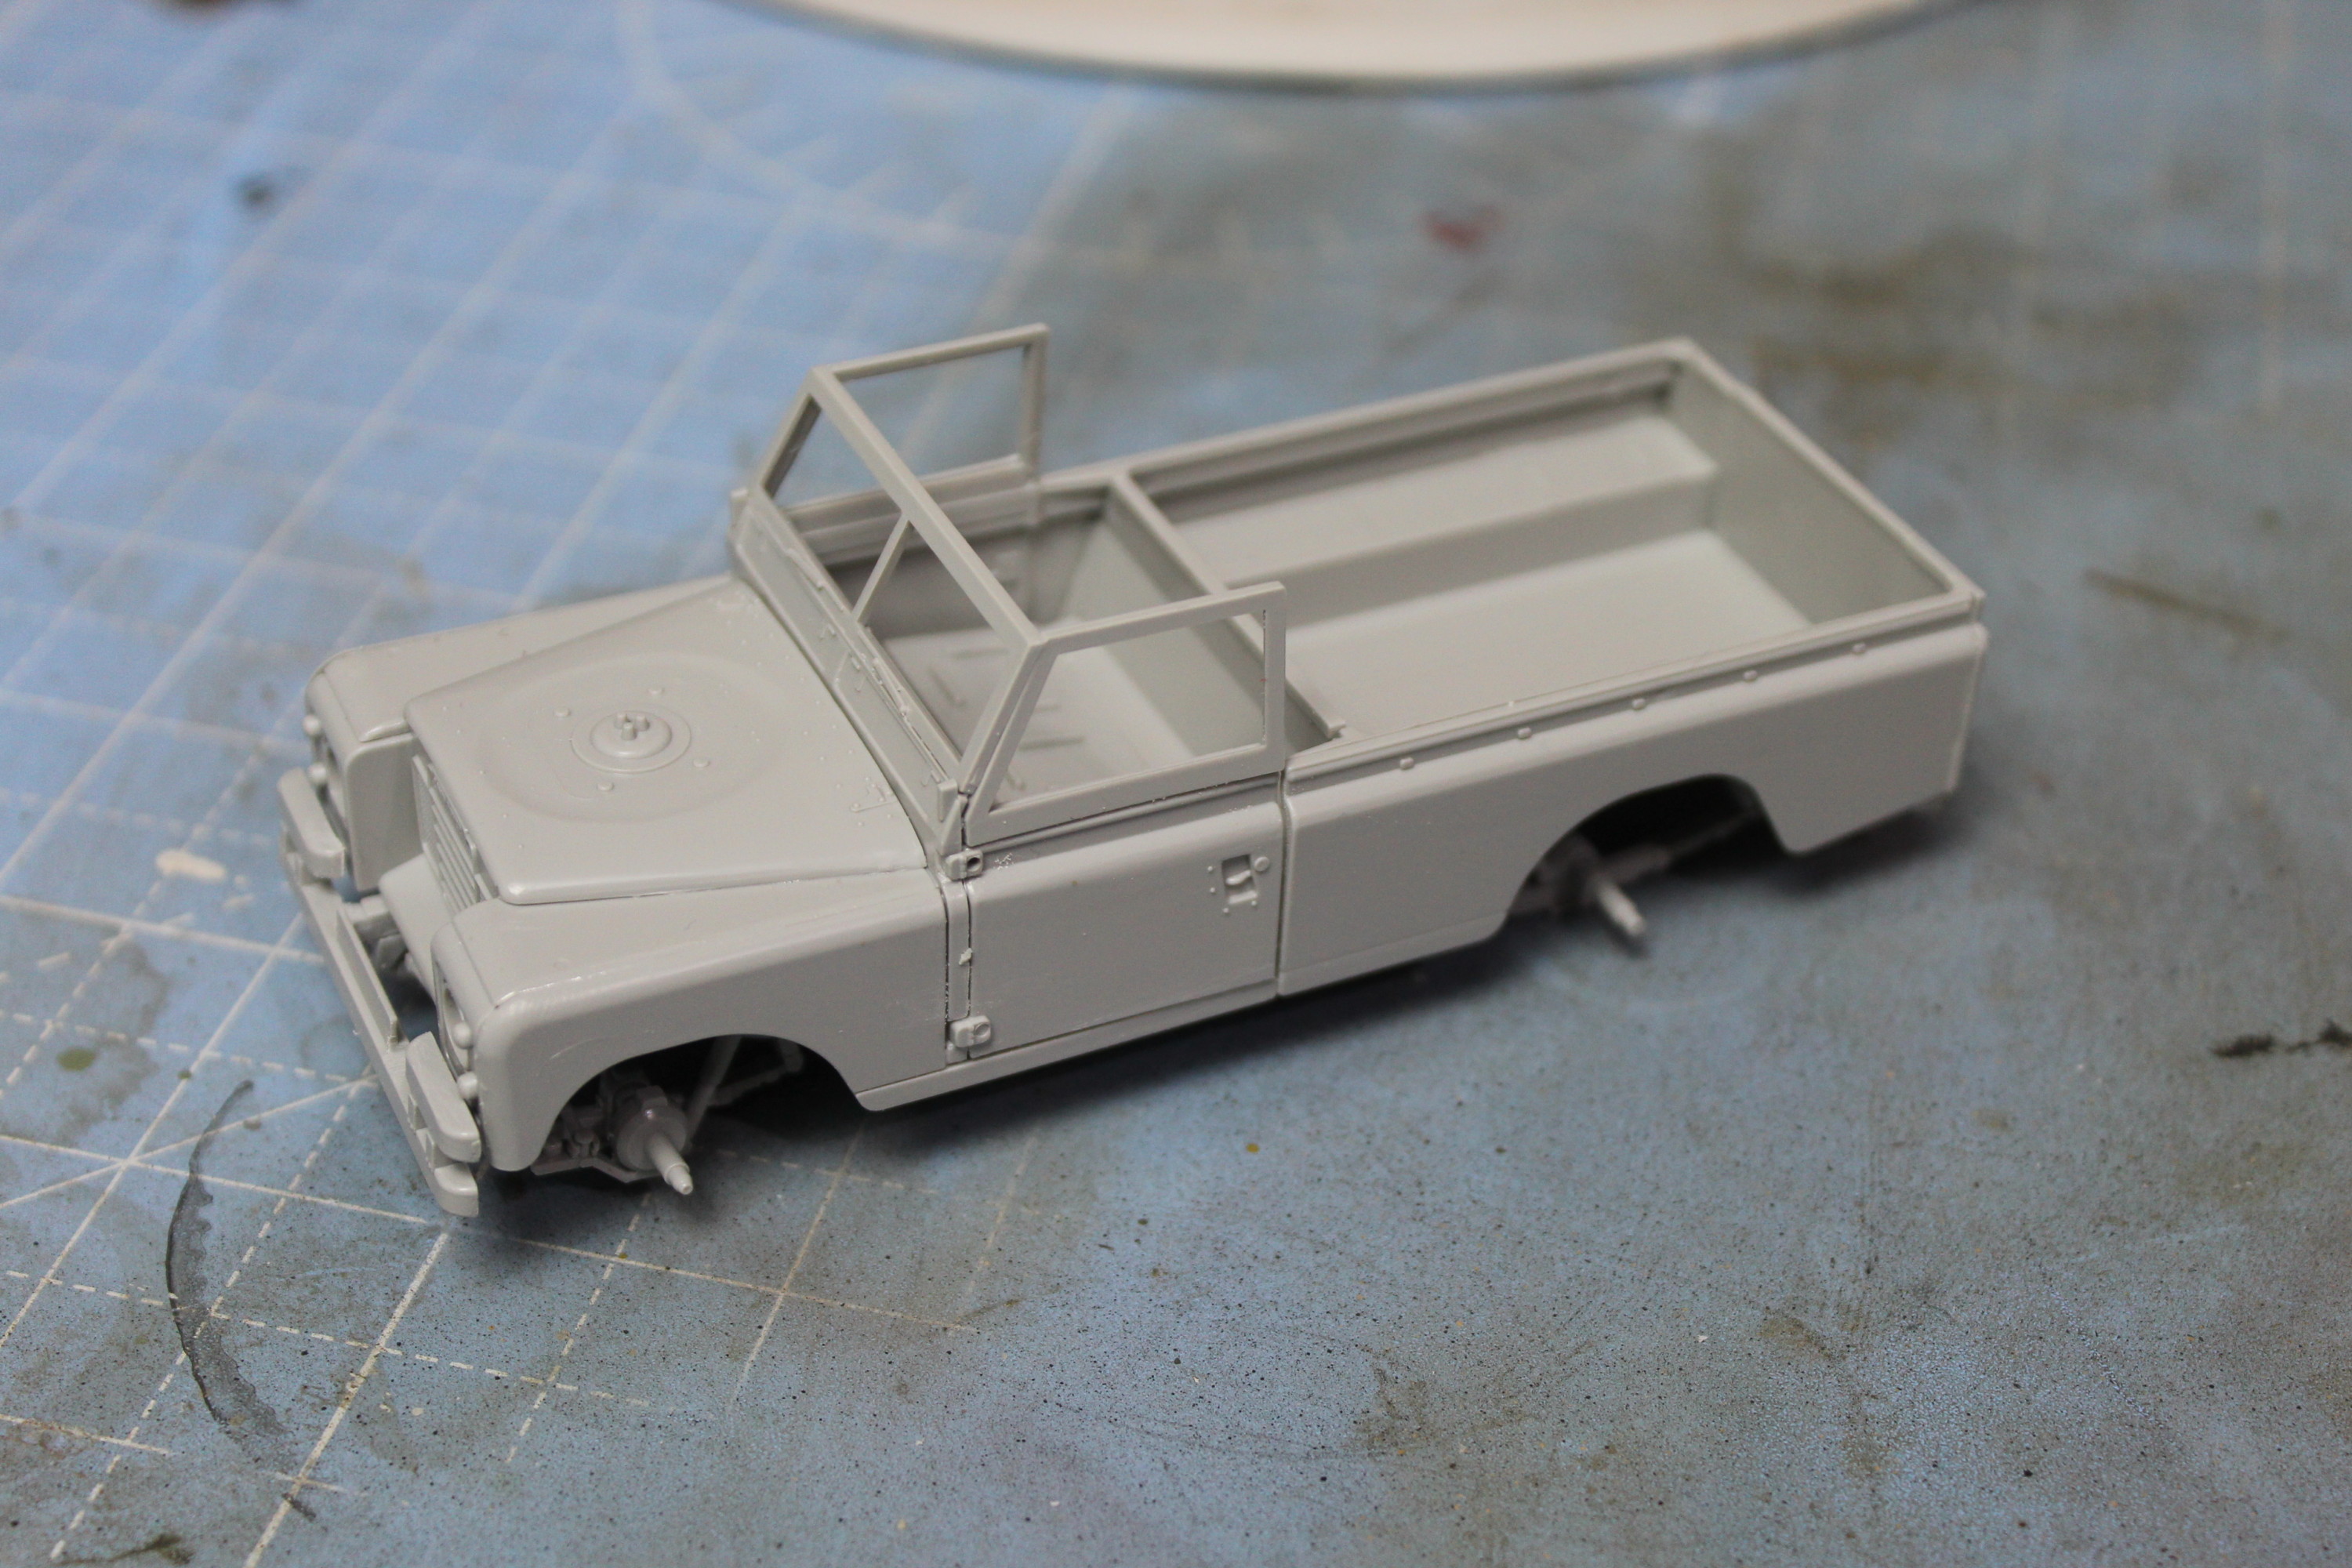
Now time to paint in all the small details on the body.

Painting In The Details On The Front Of The Land Rover Scale Model
Painting In The Details On The Front Of The Land Rover.
Rear Lights Painted On The Army Land Rover Model
Rear Lights Painted On The Army Land Rover Model.
The Cab Of The Land Rover Model
The Cab Of The Land Rover Model.
Wash Applied To The Body
Wash Applied To The Body.
Wash Applied To The Scale Model Land Rover
Wash Applied To The Model.

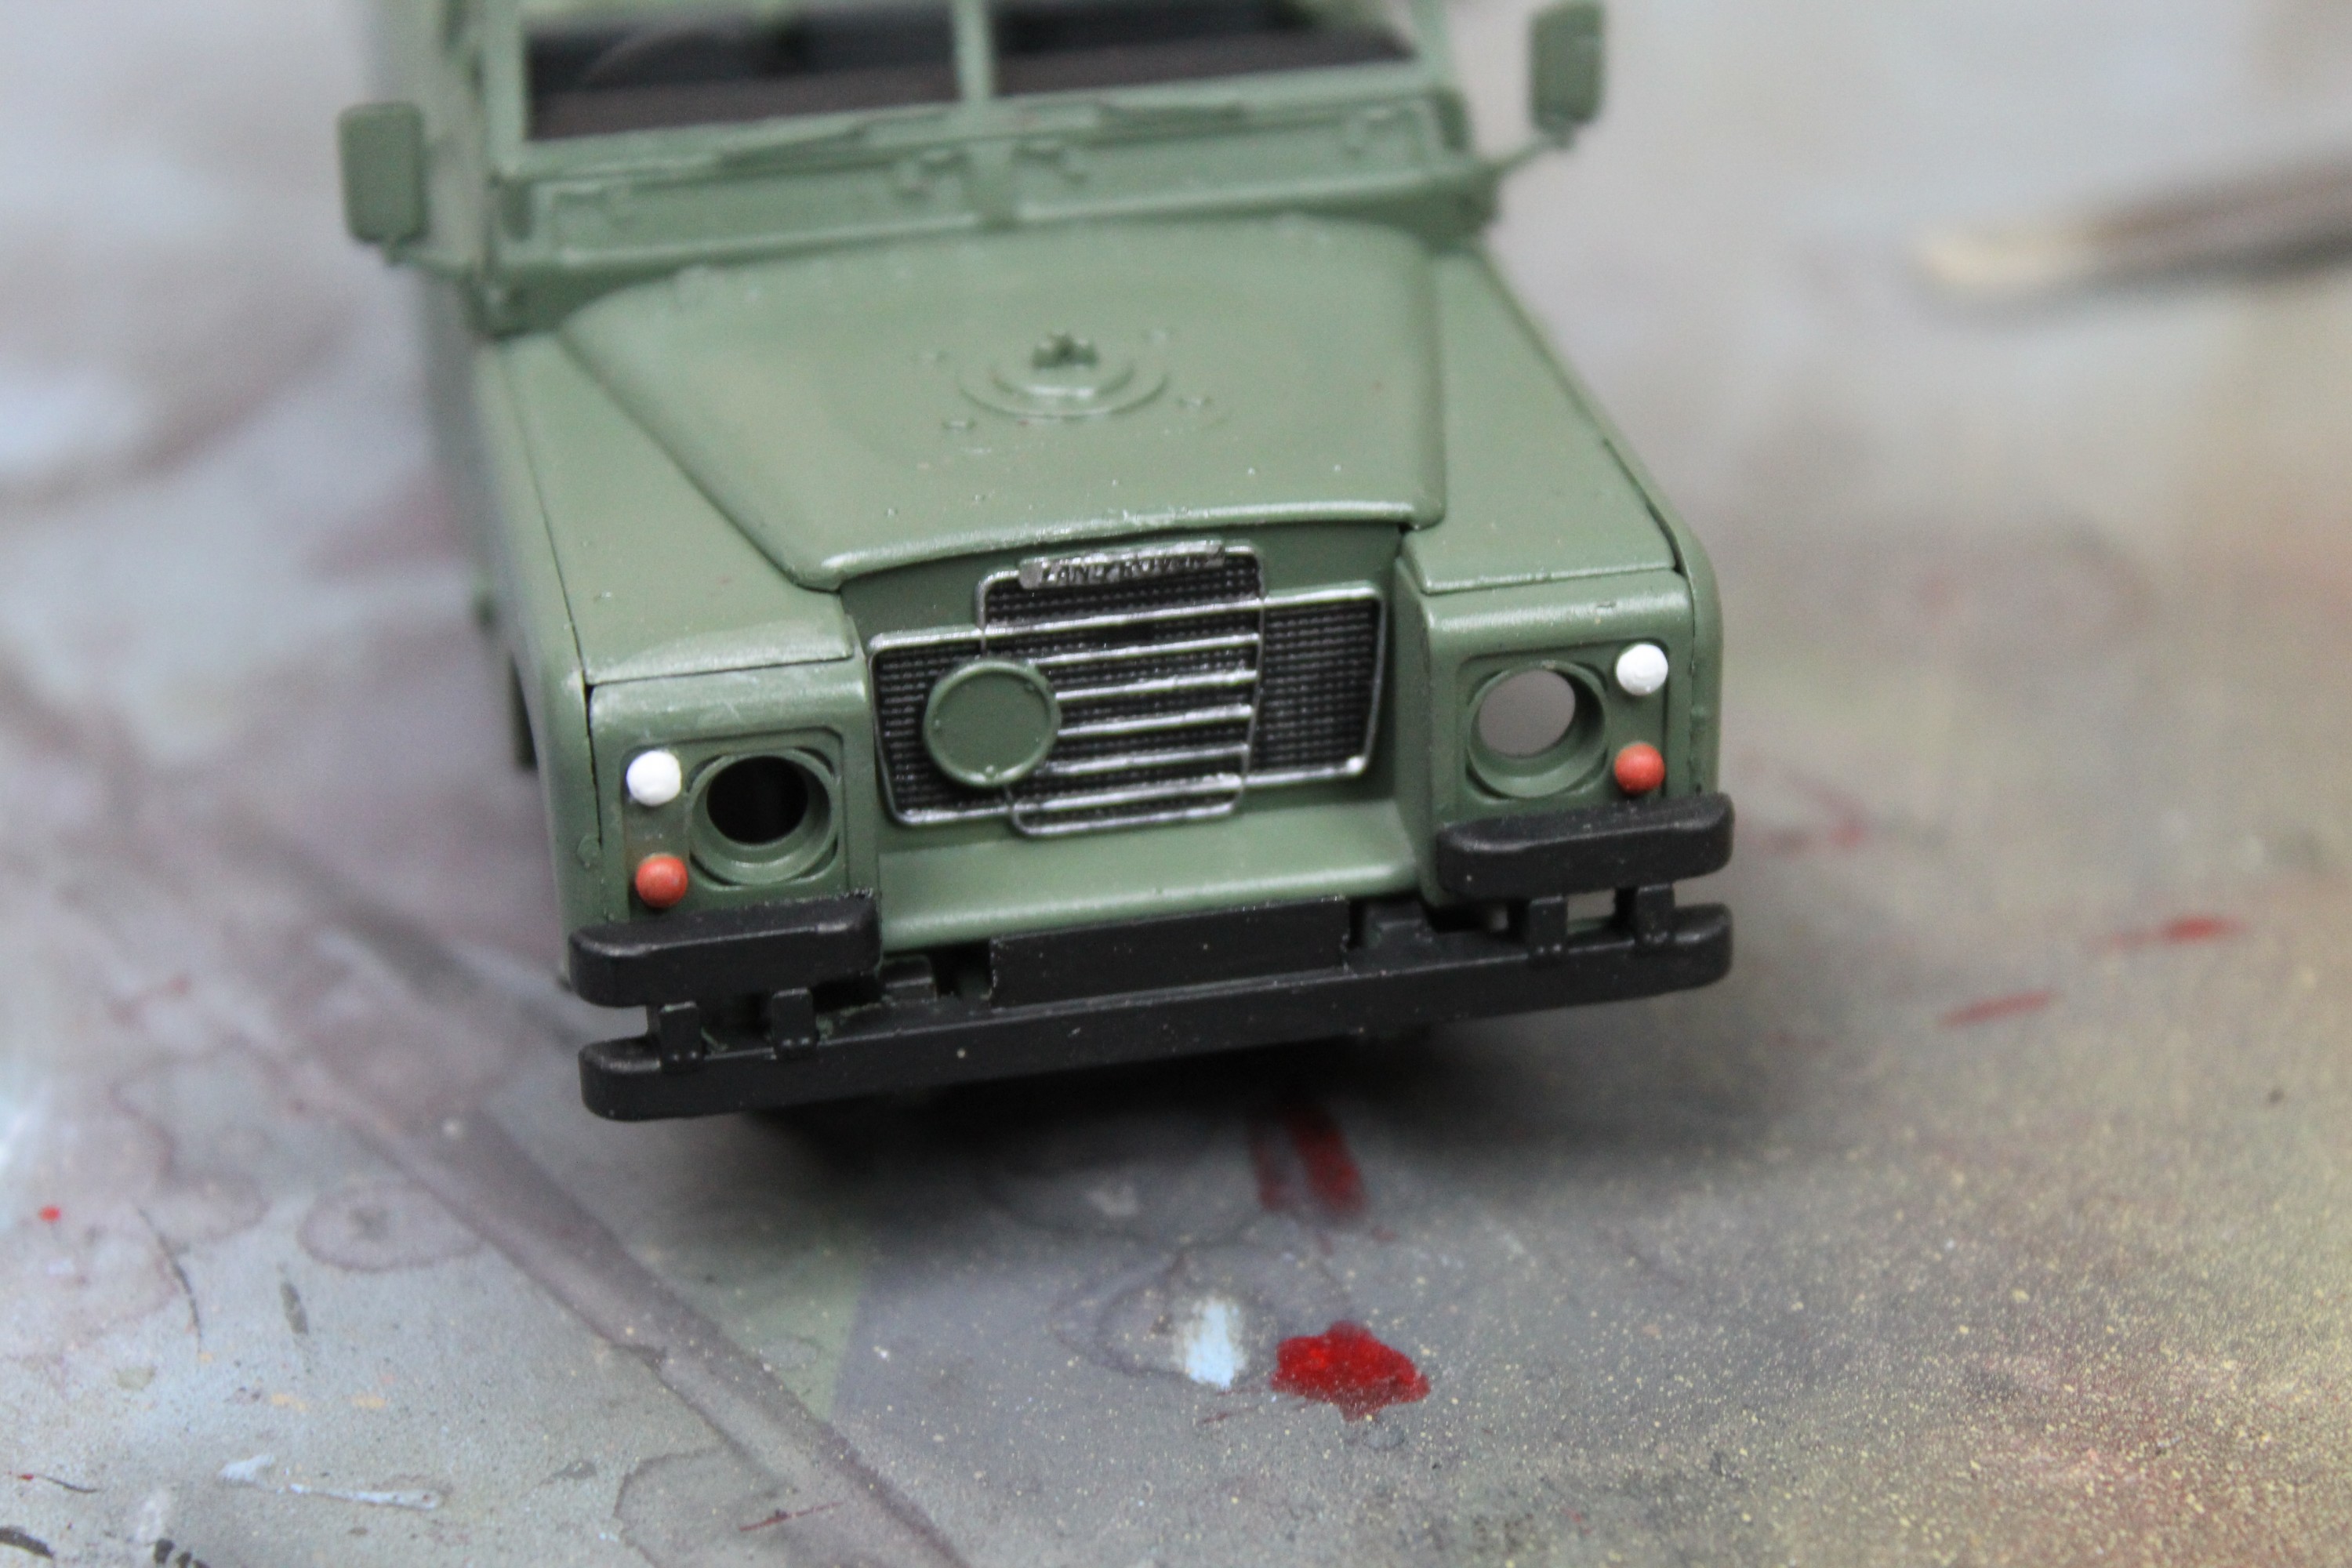
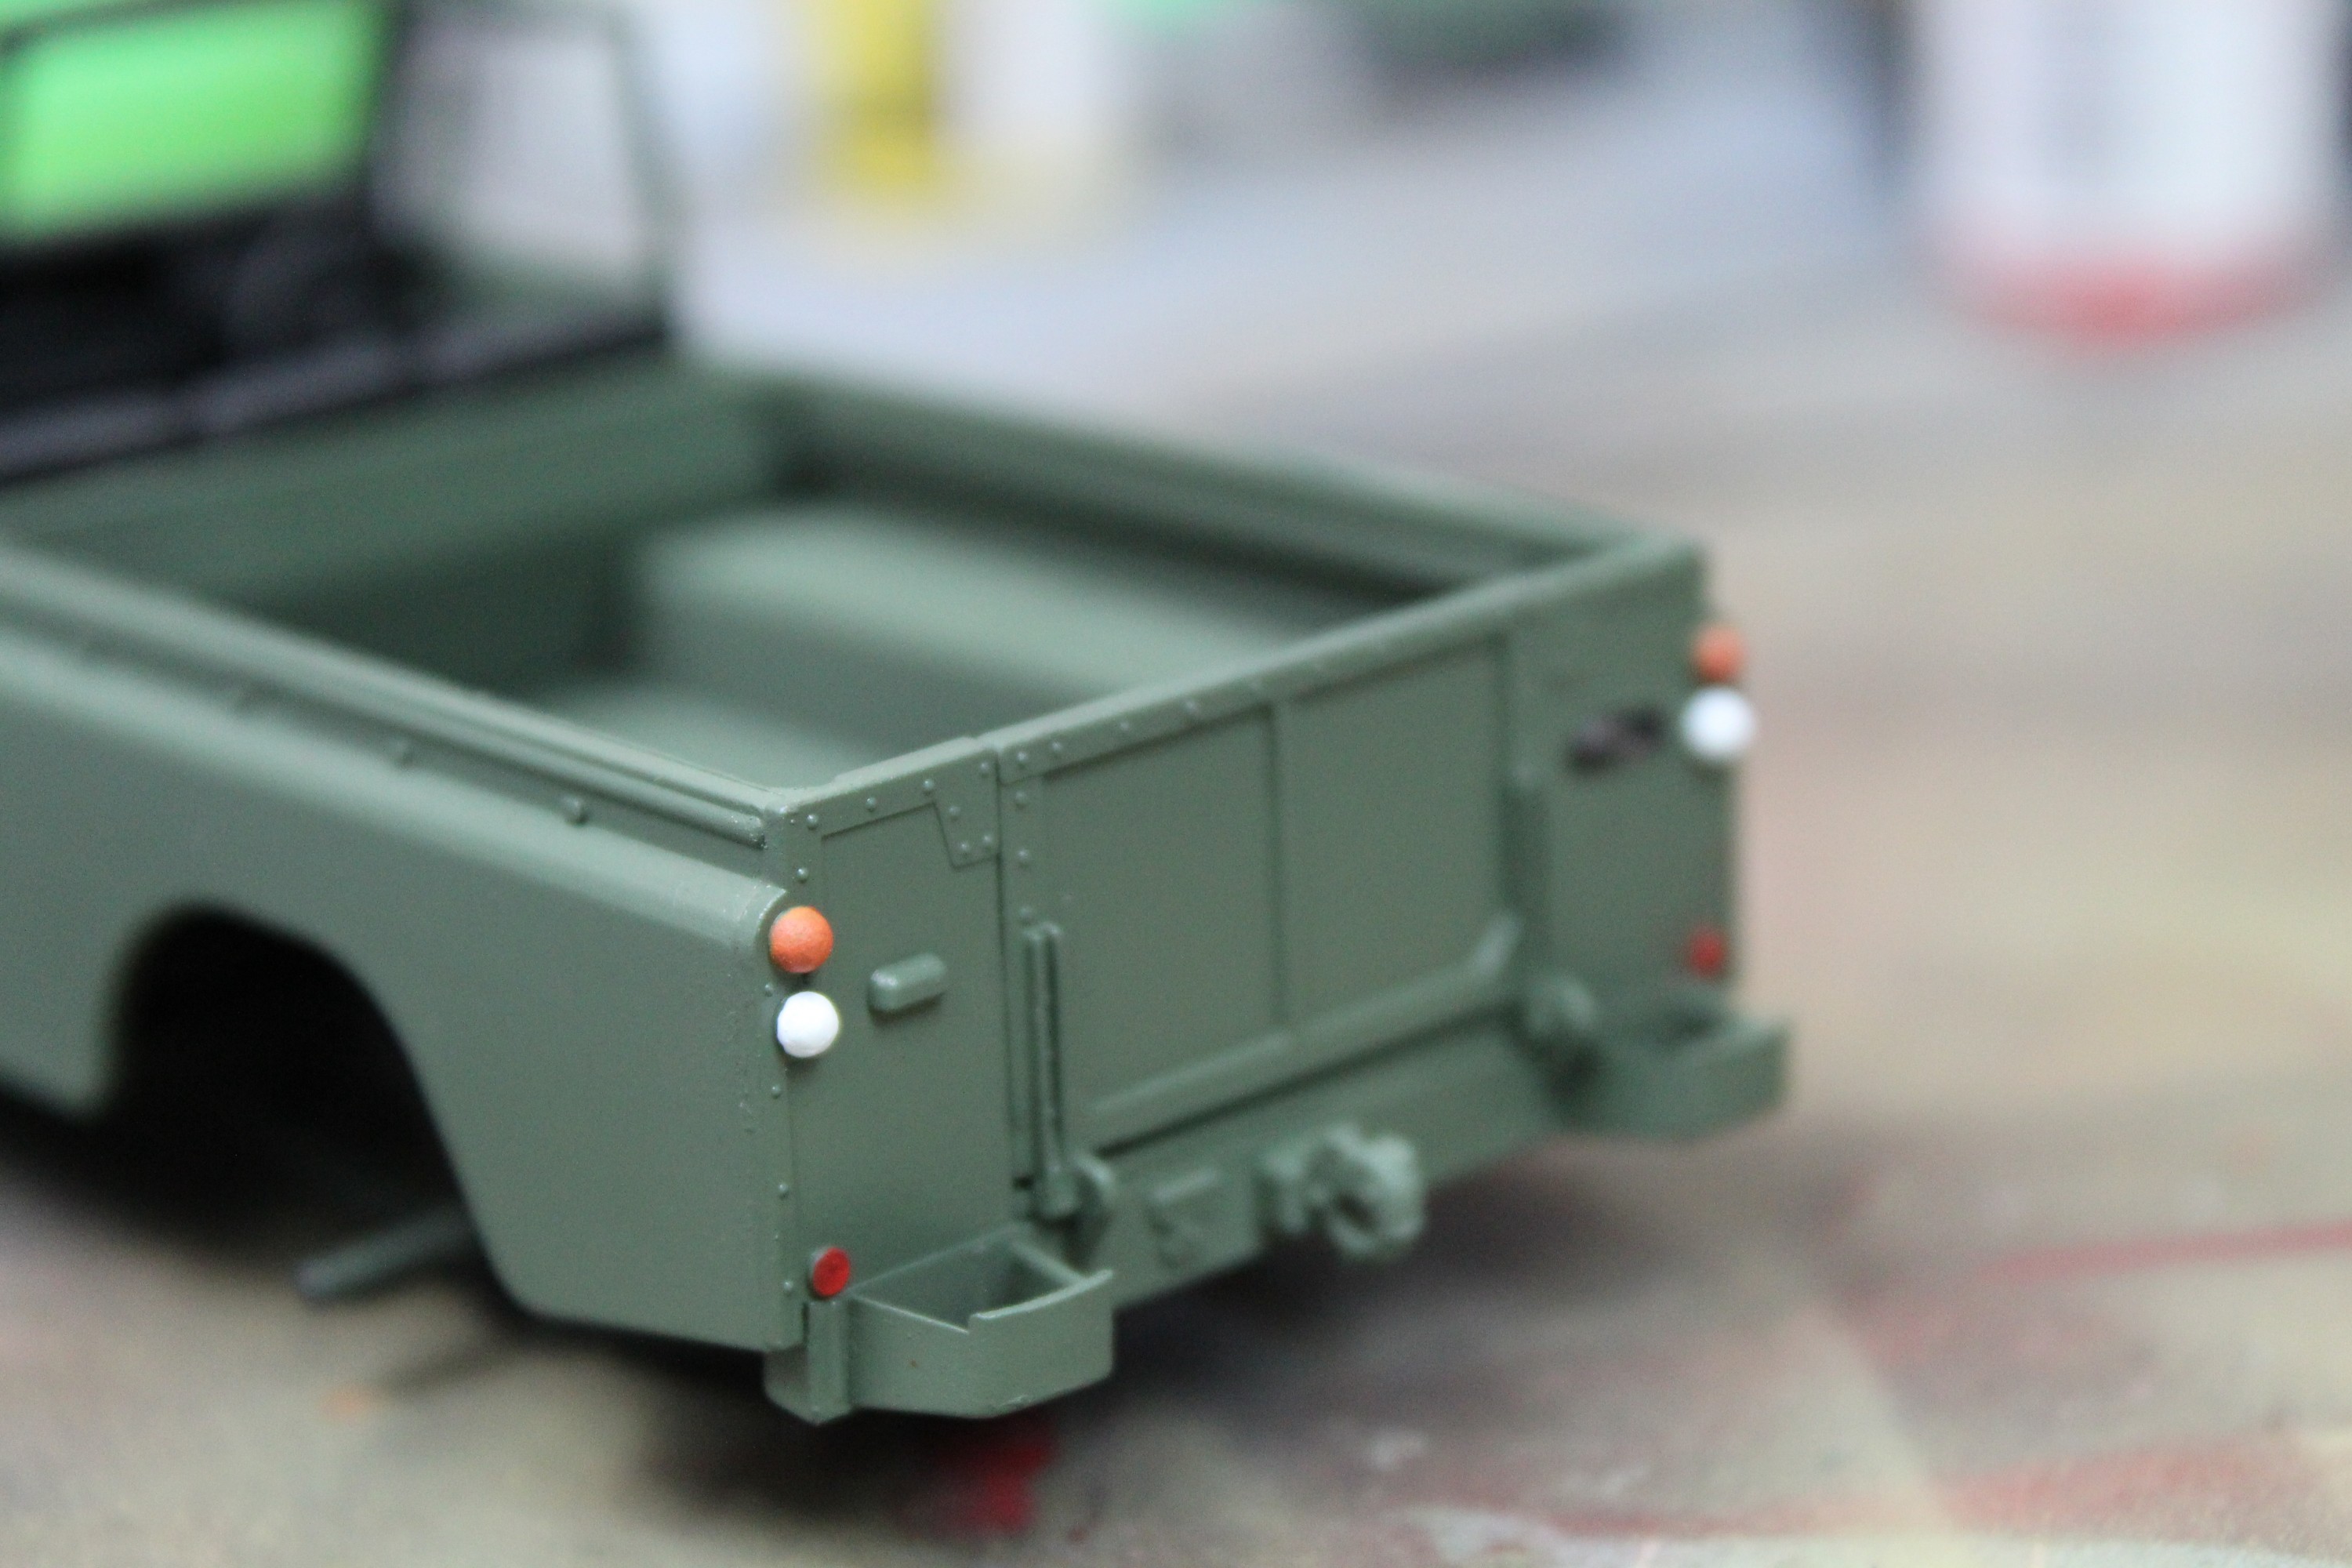
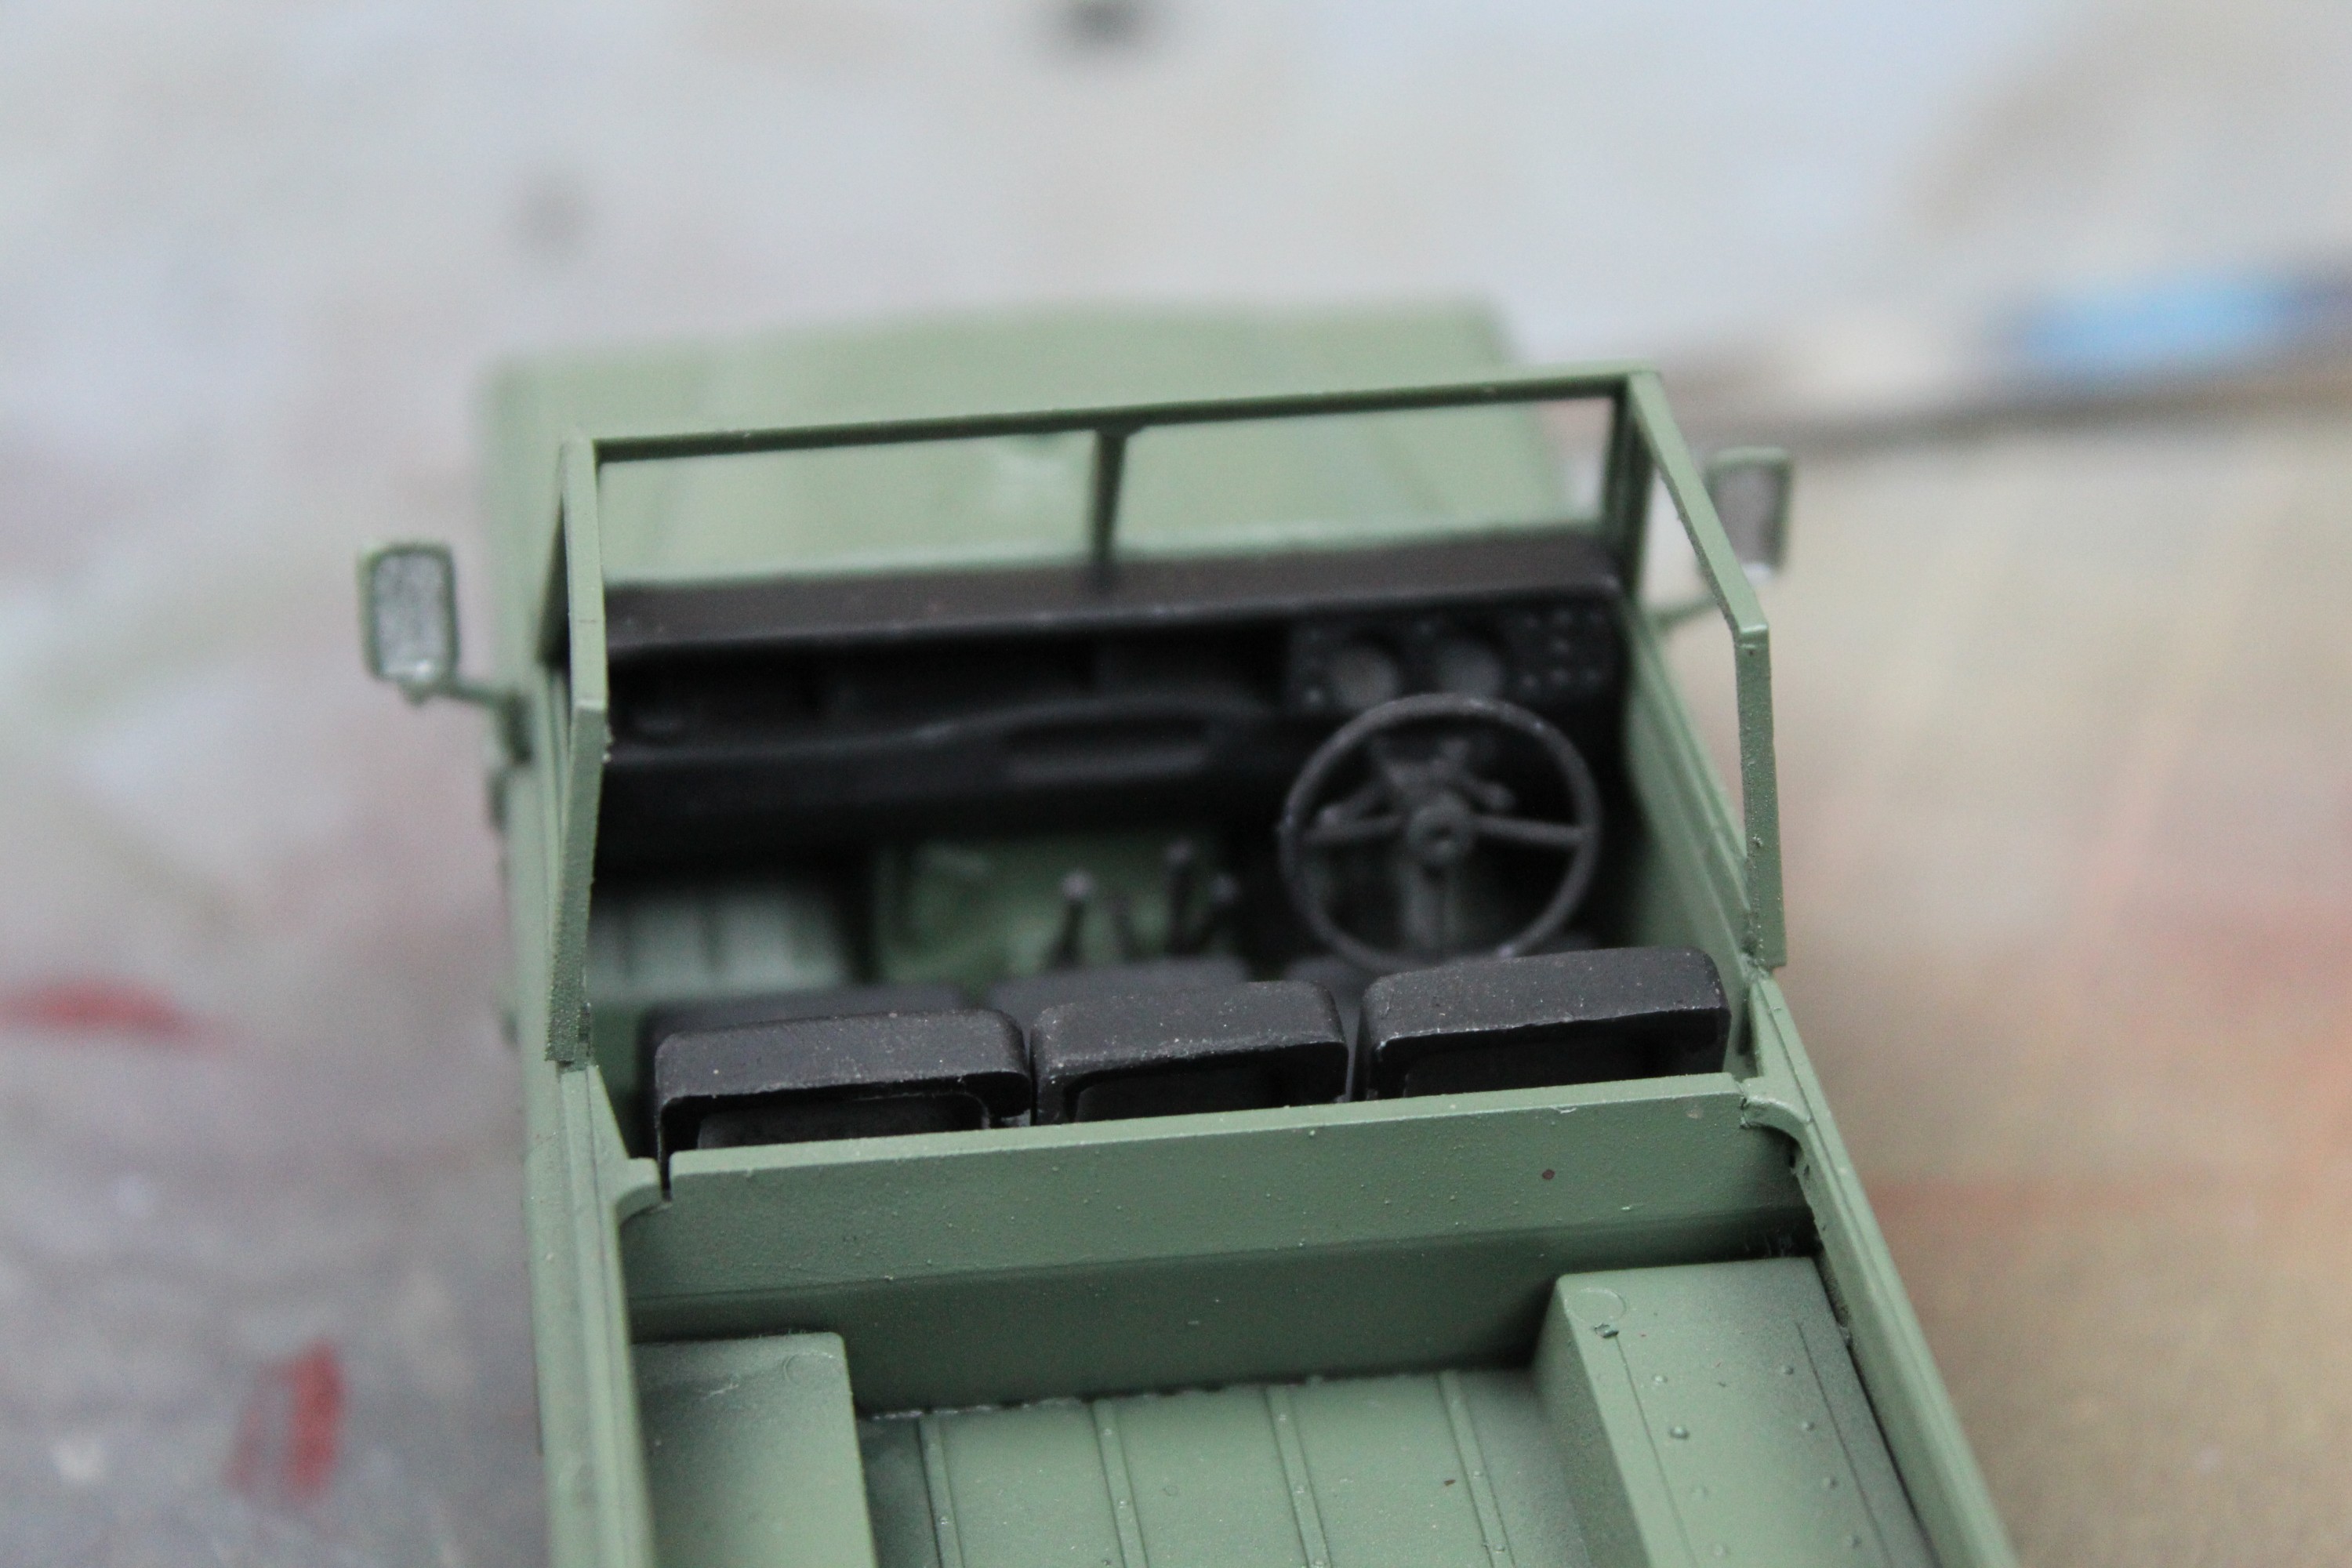
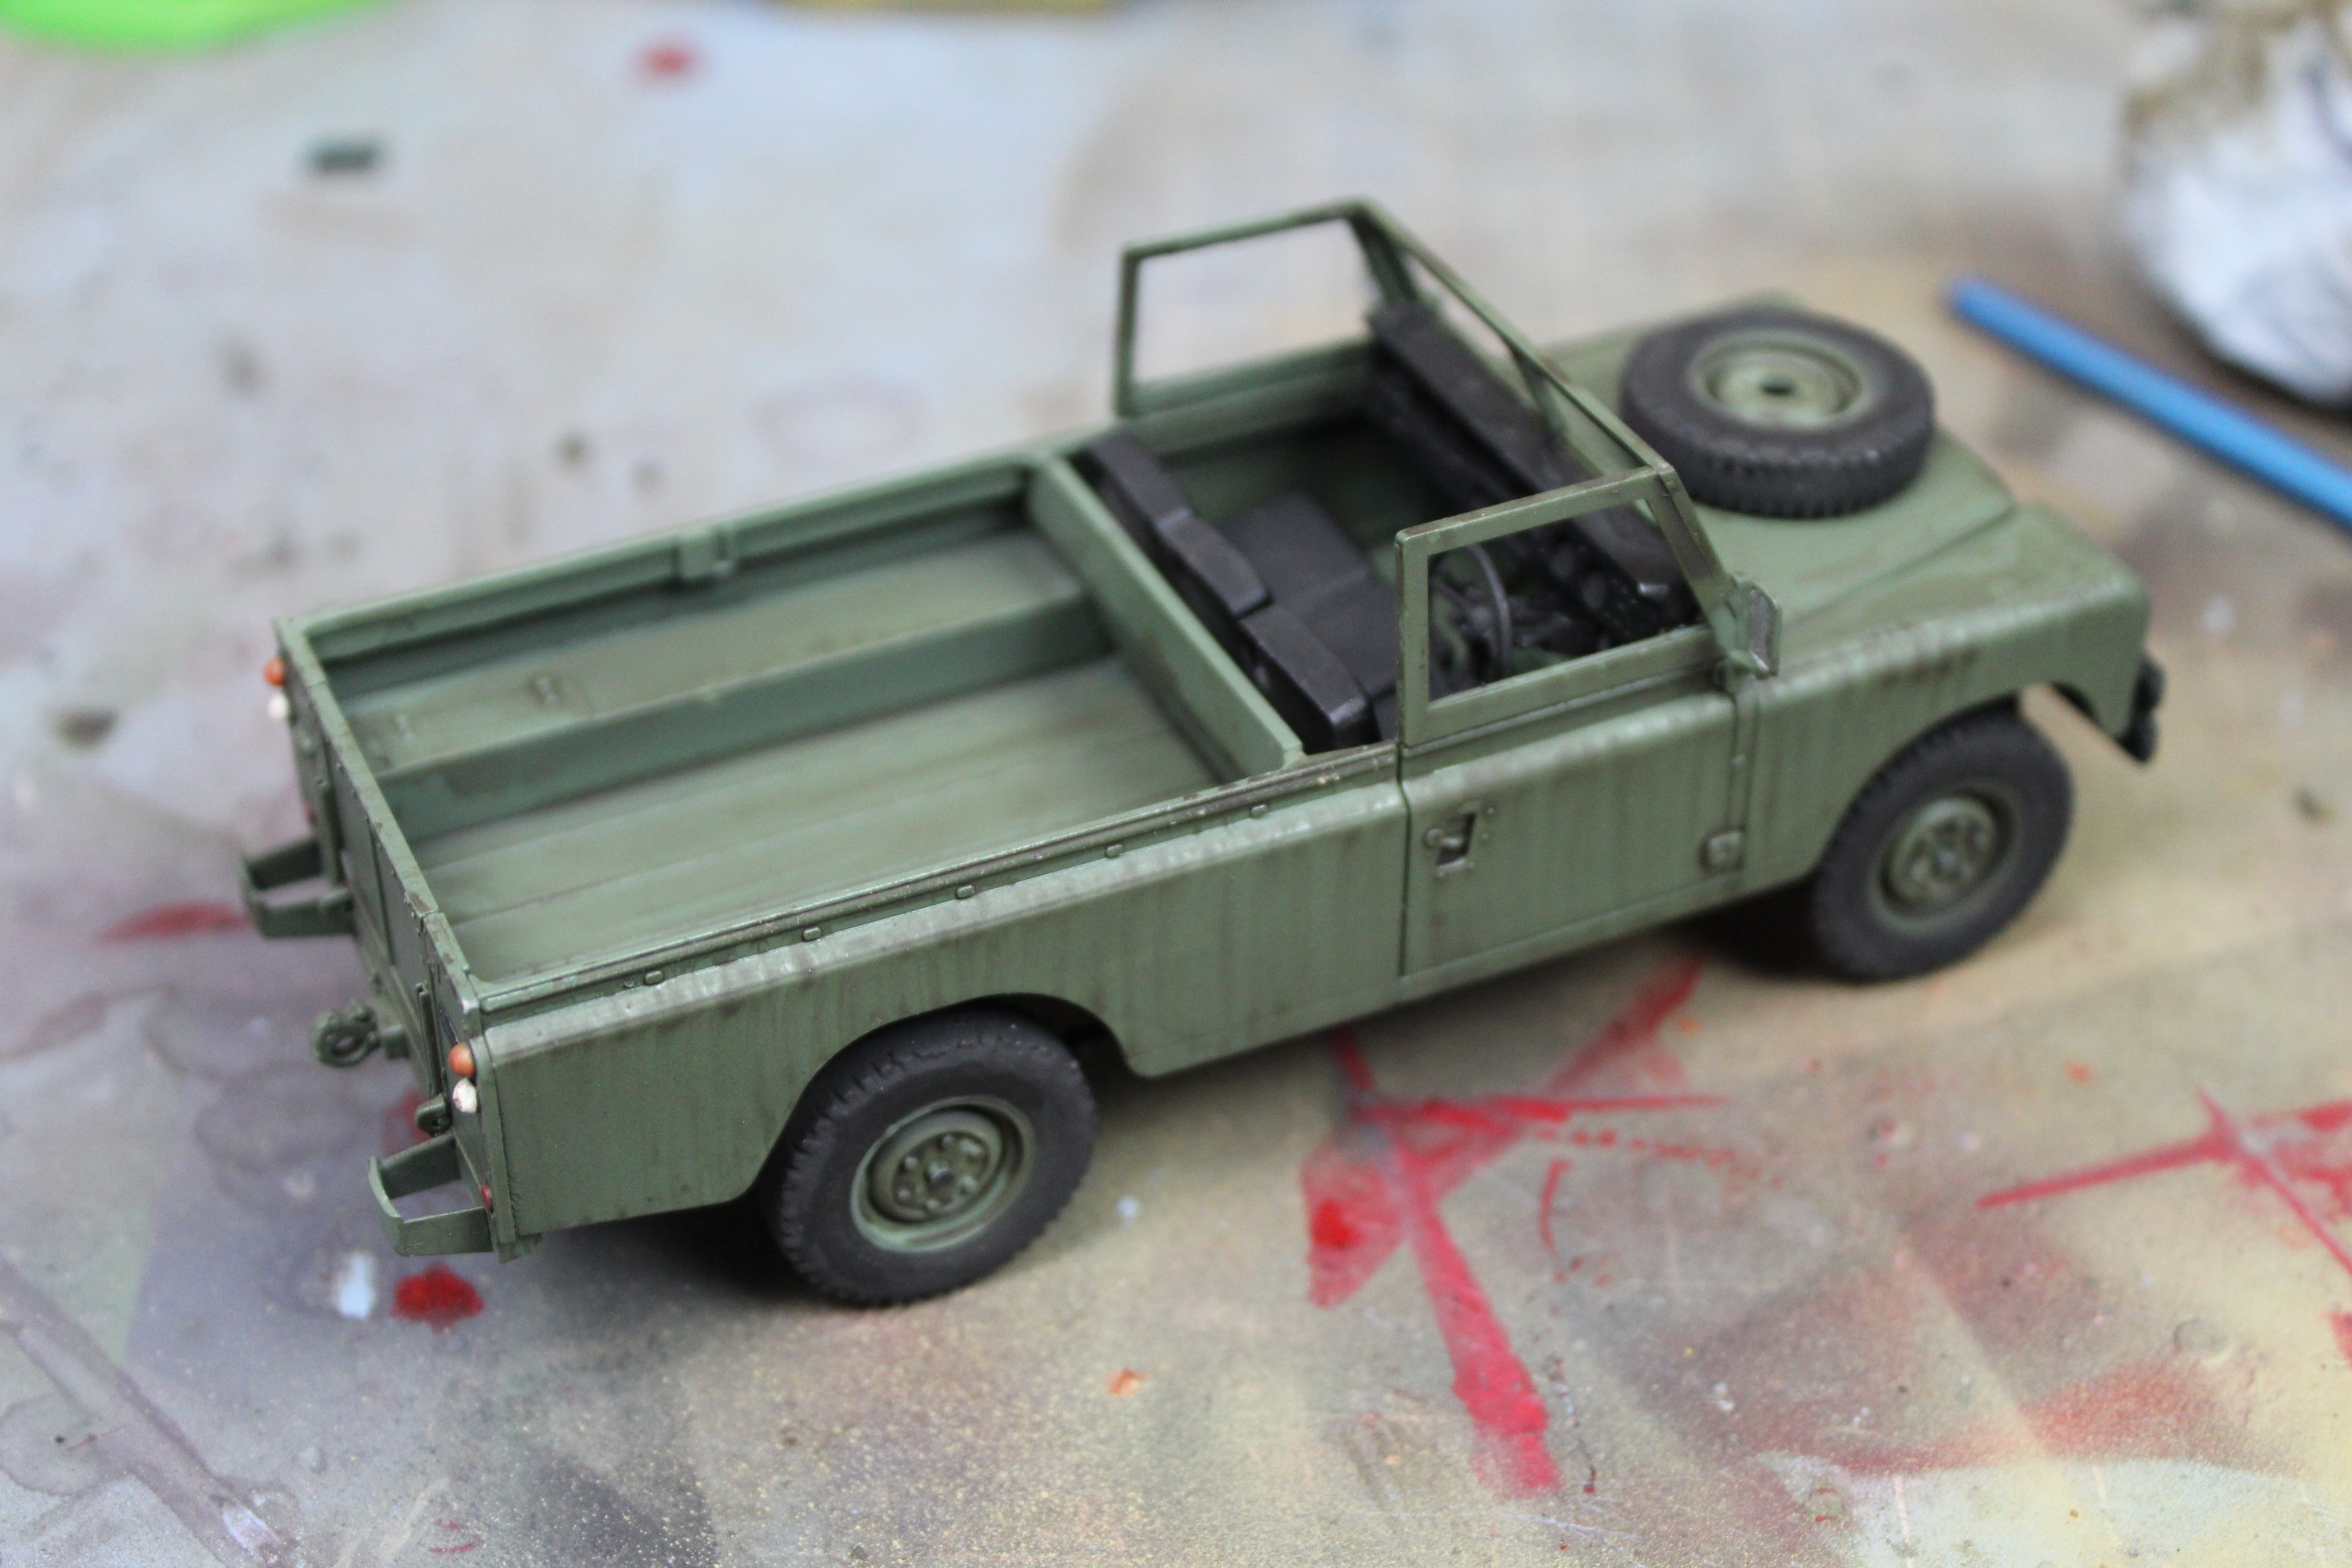
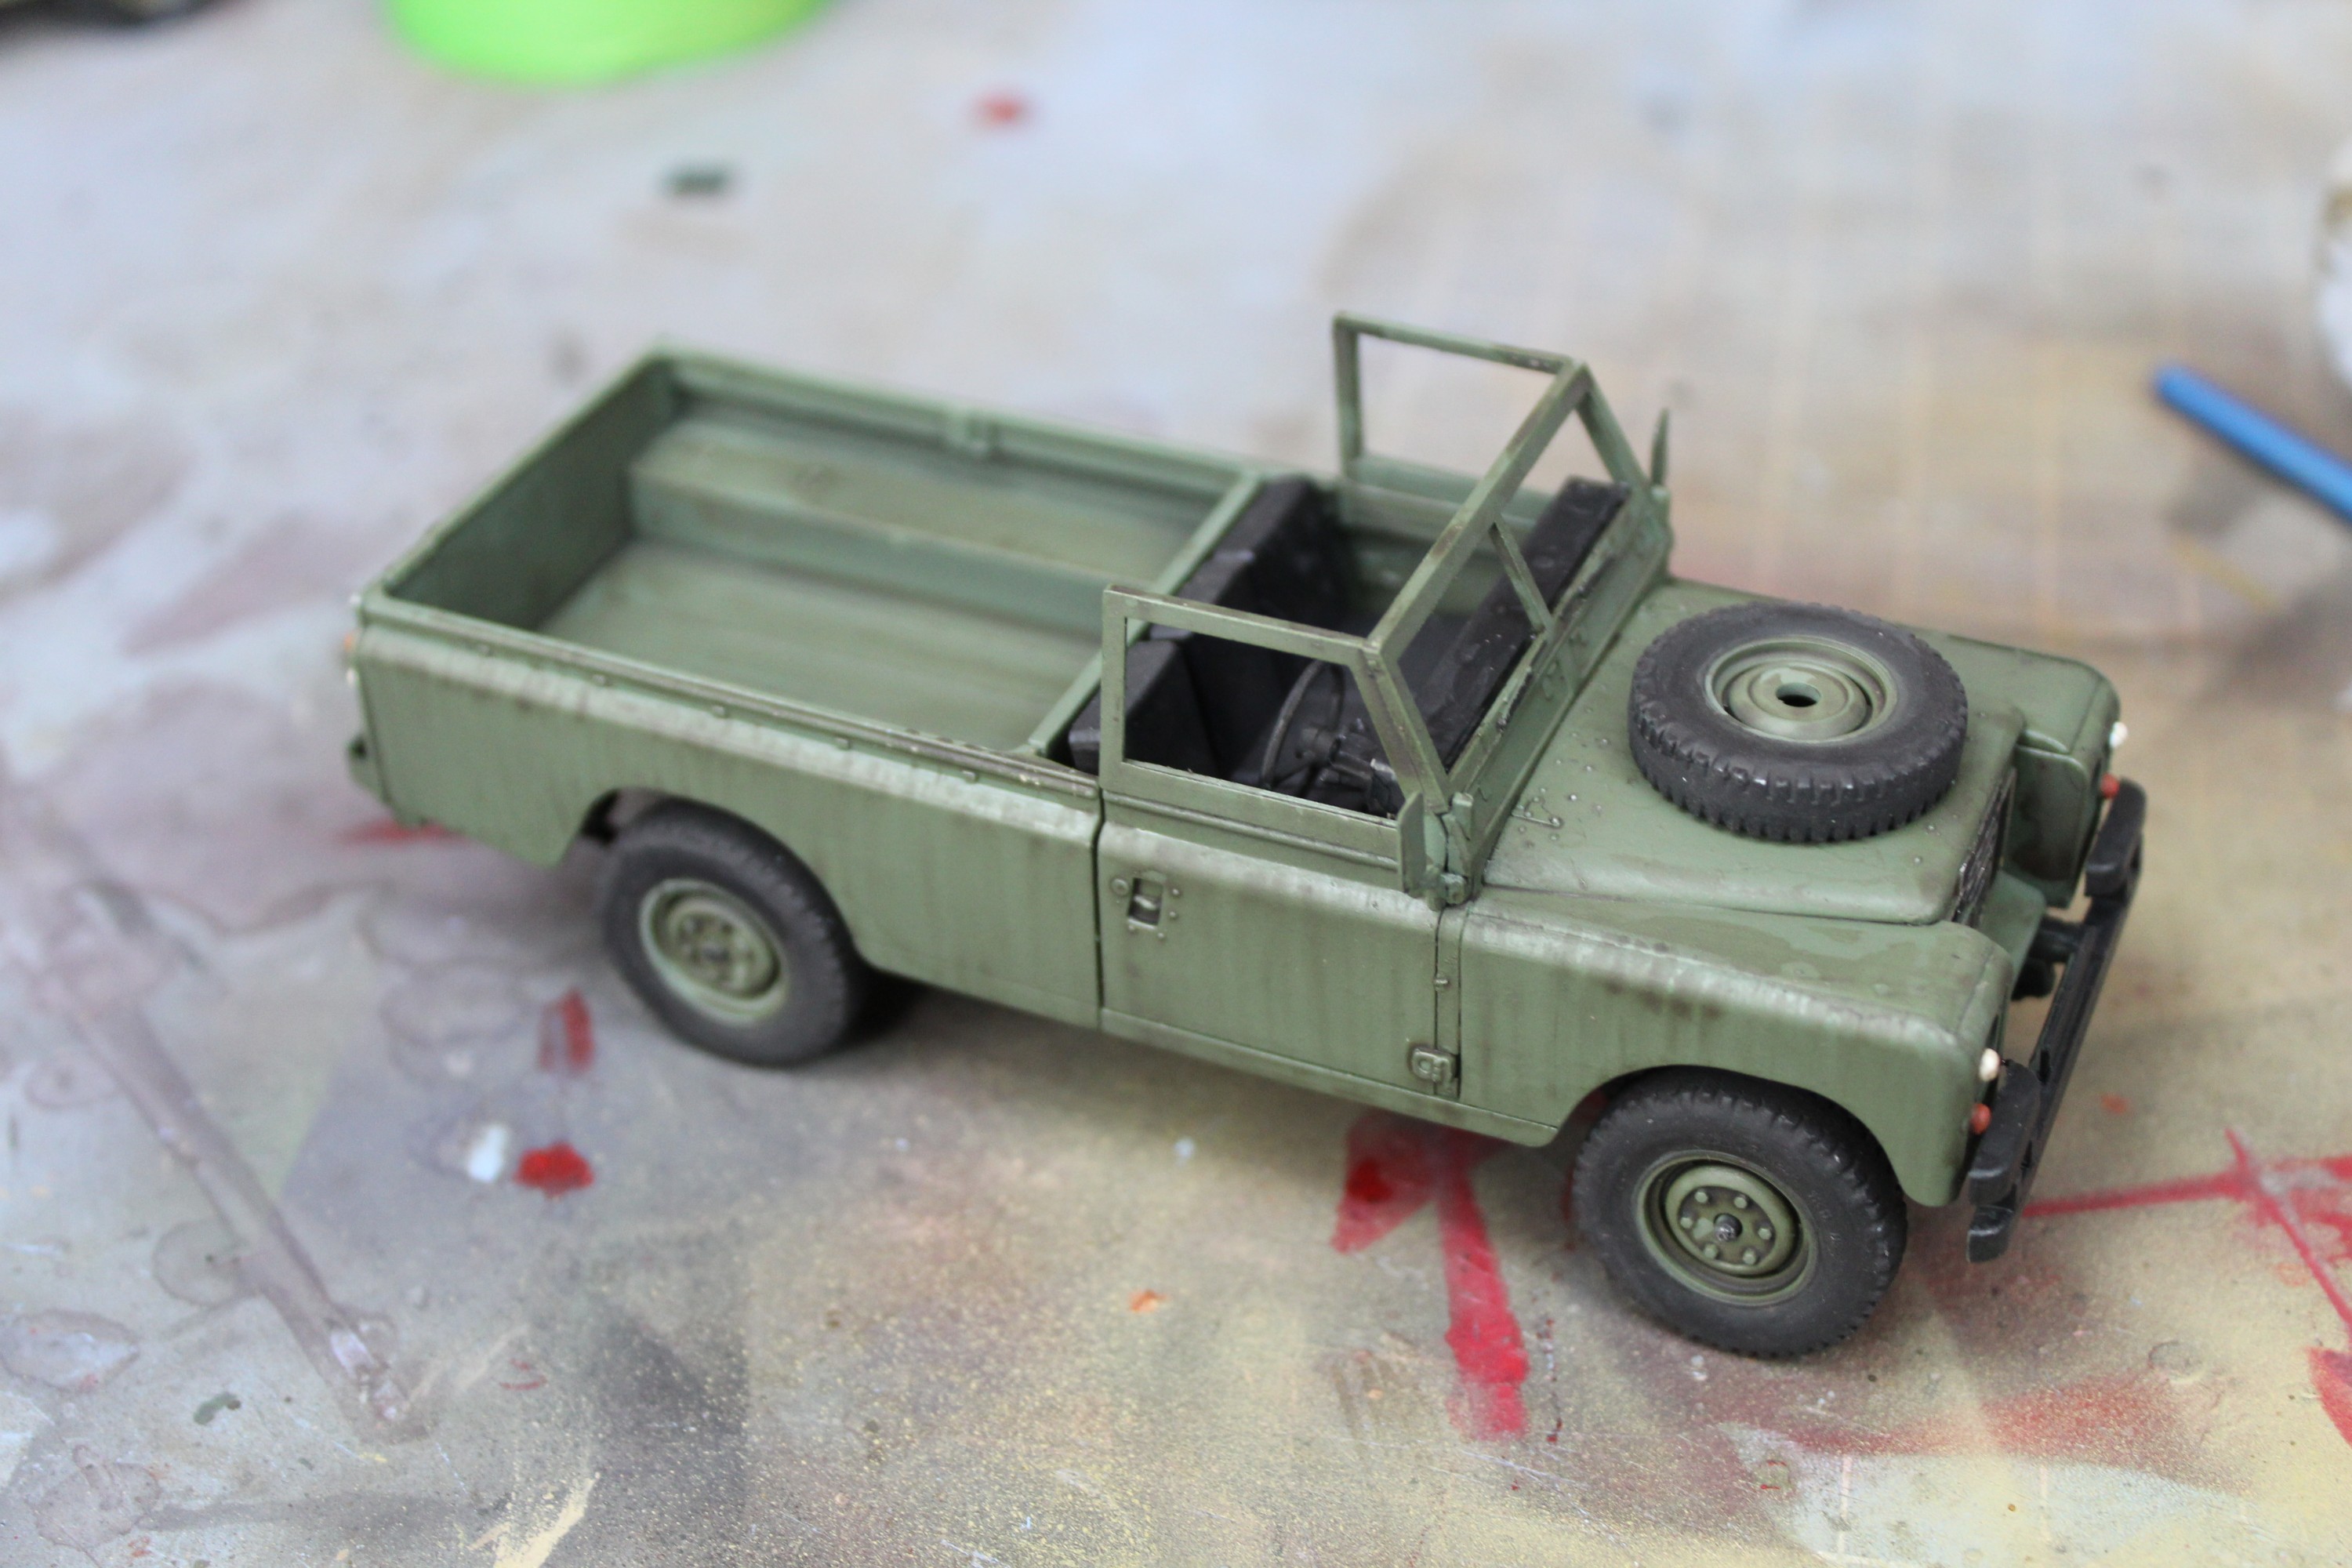
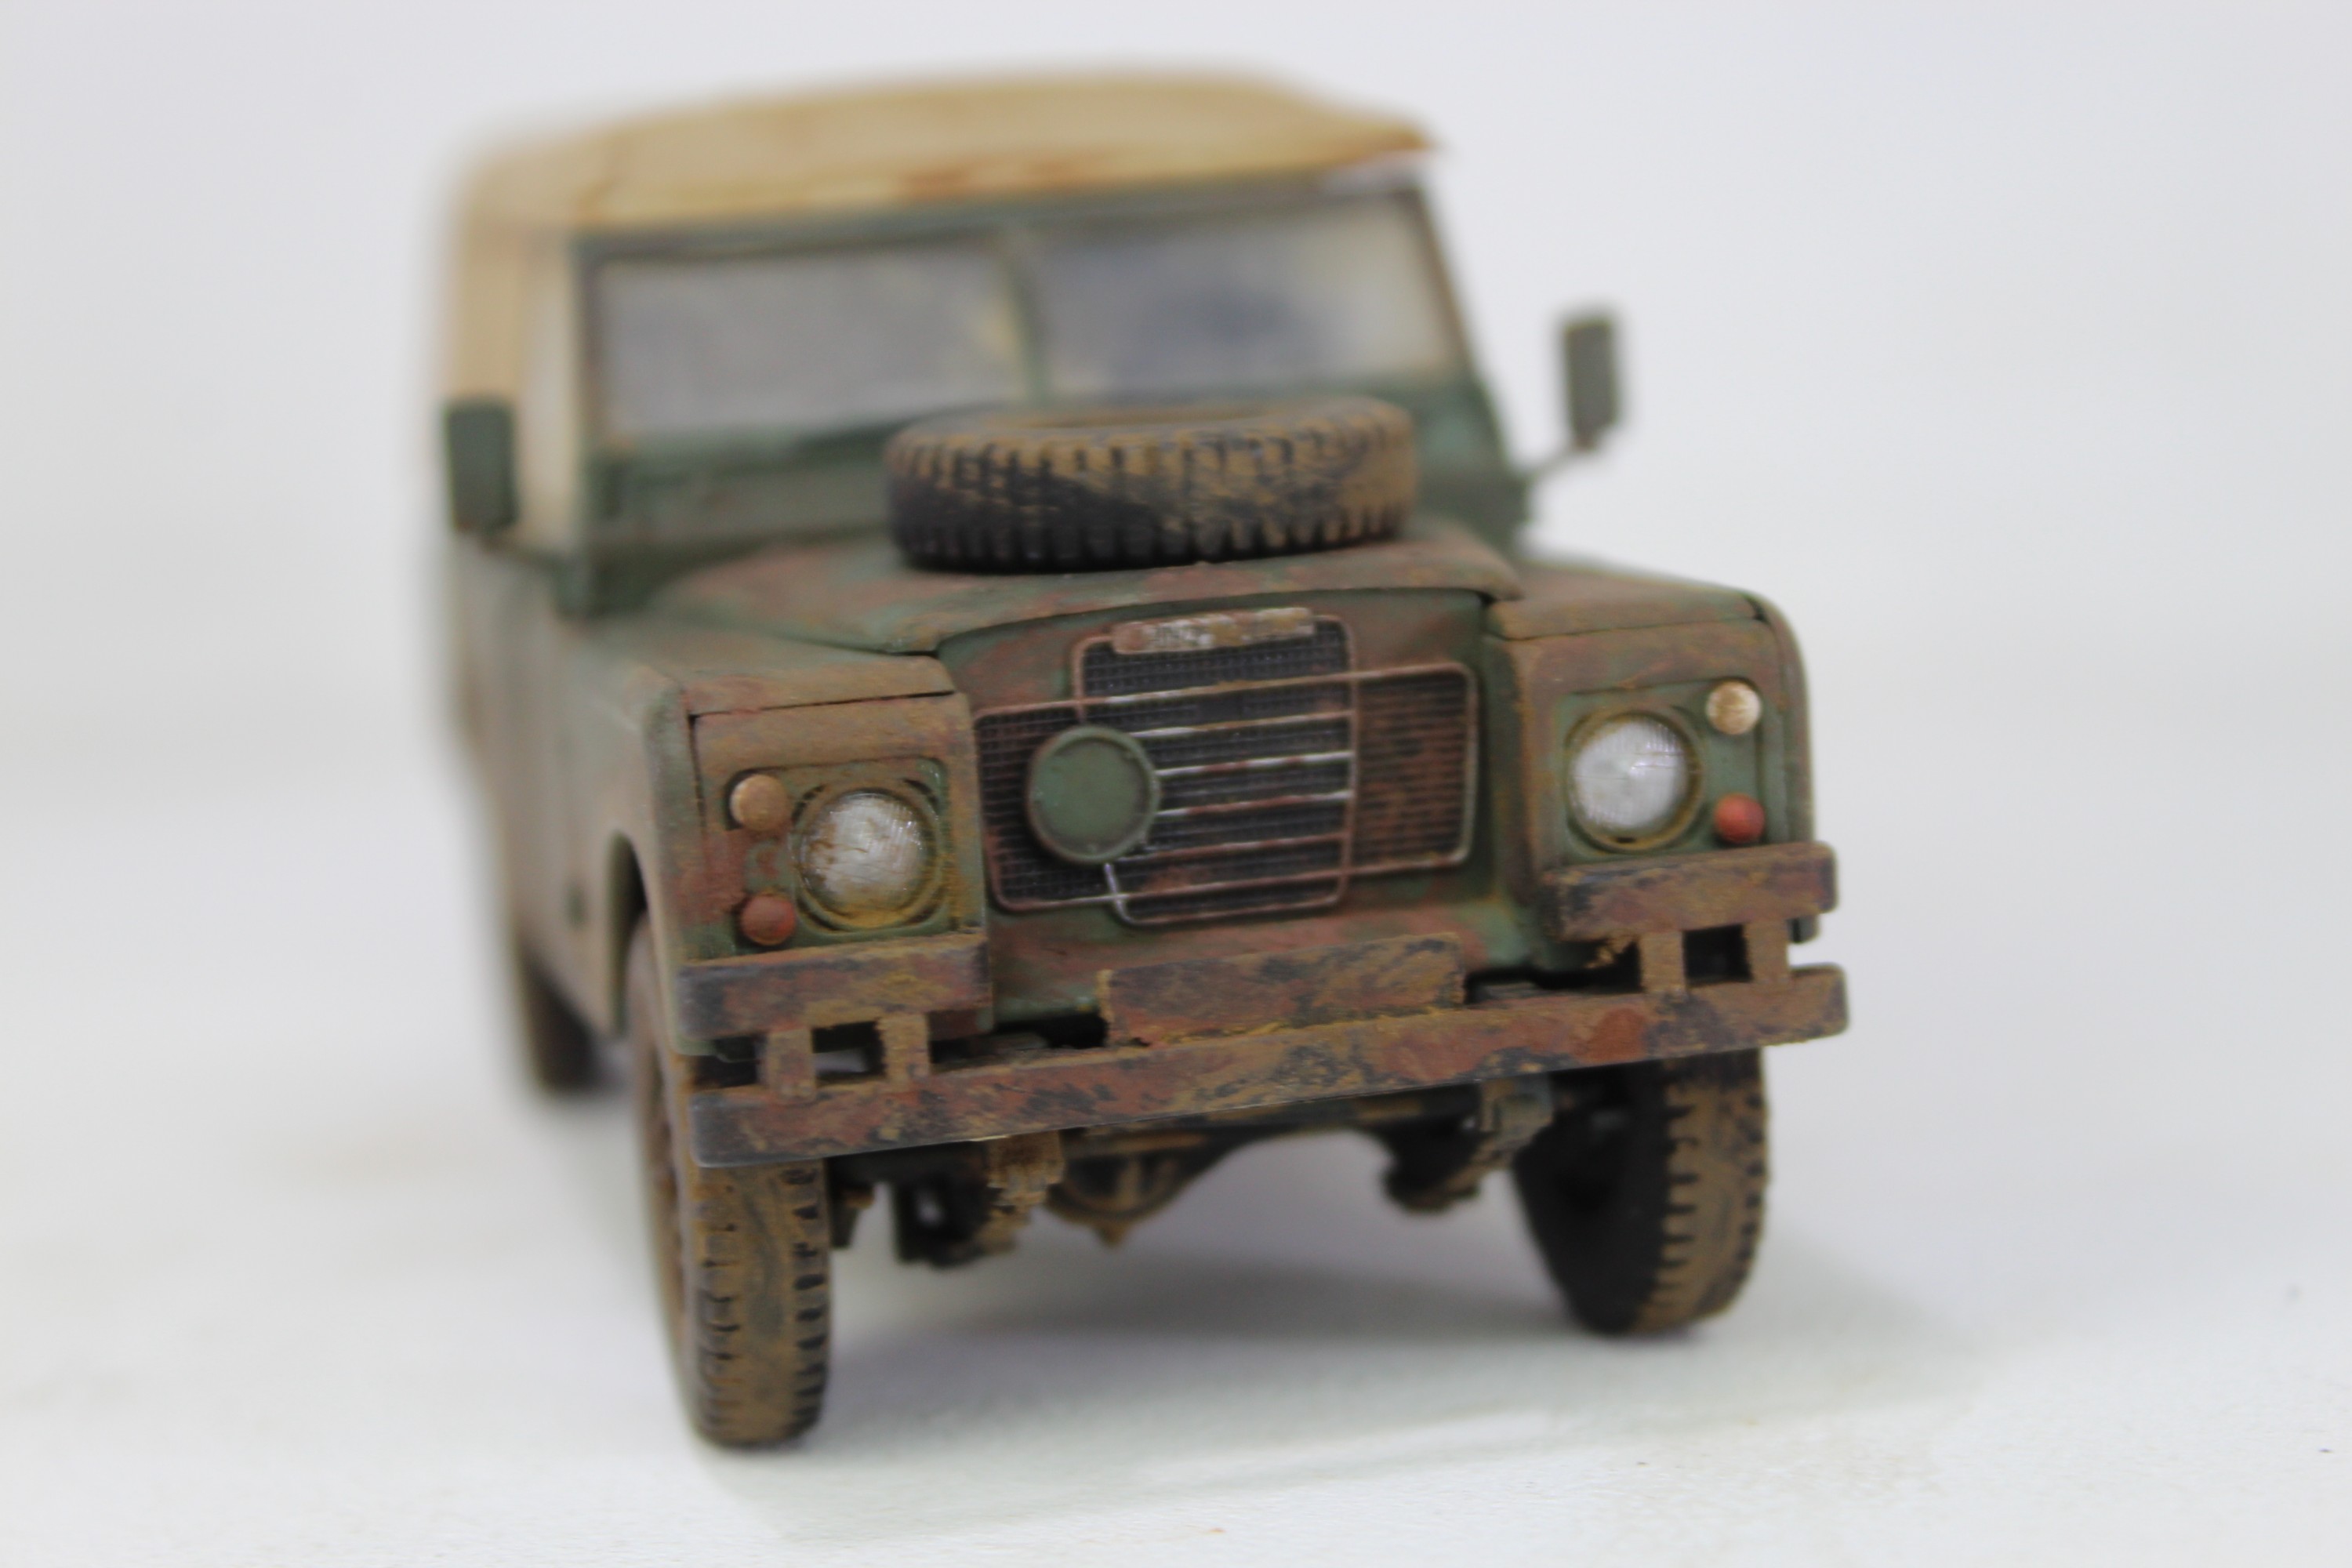
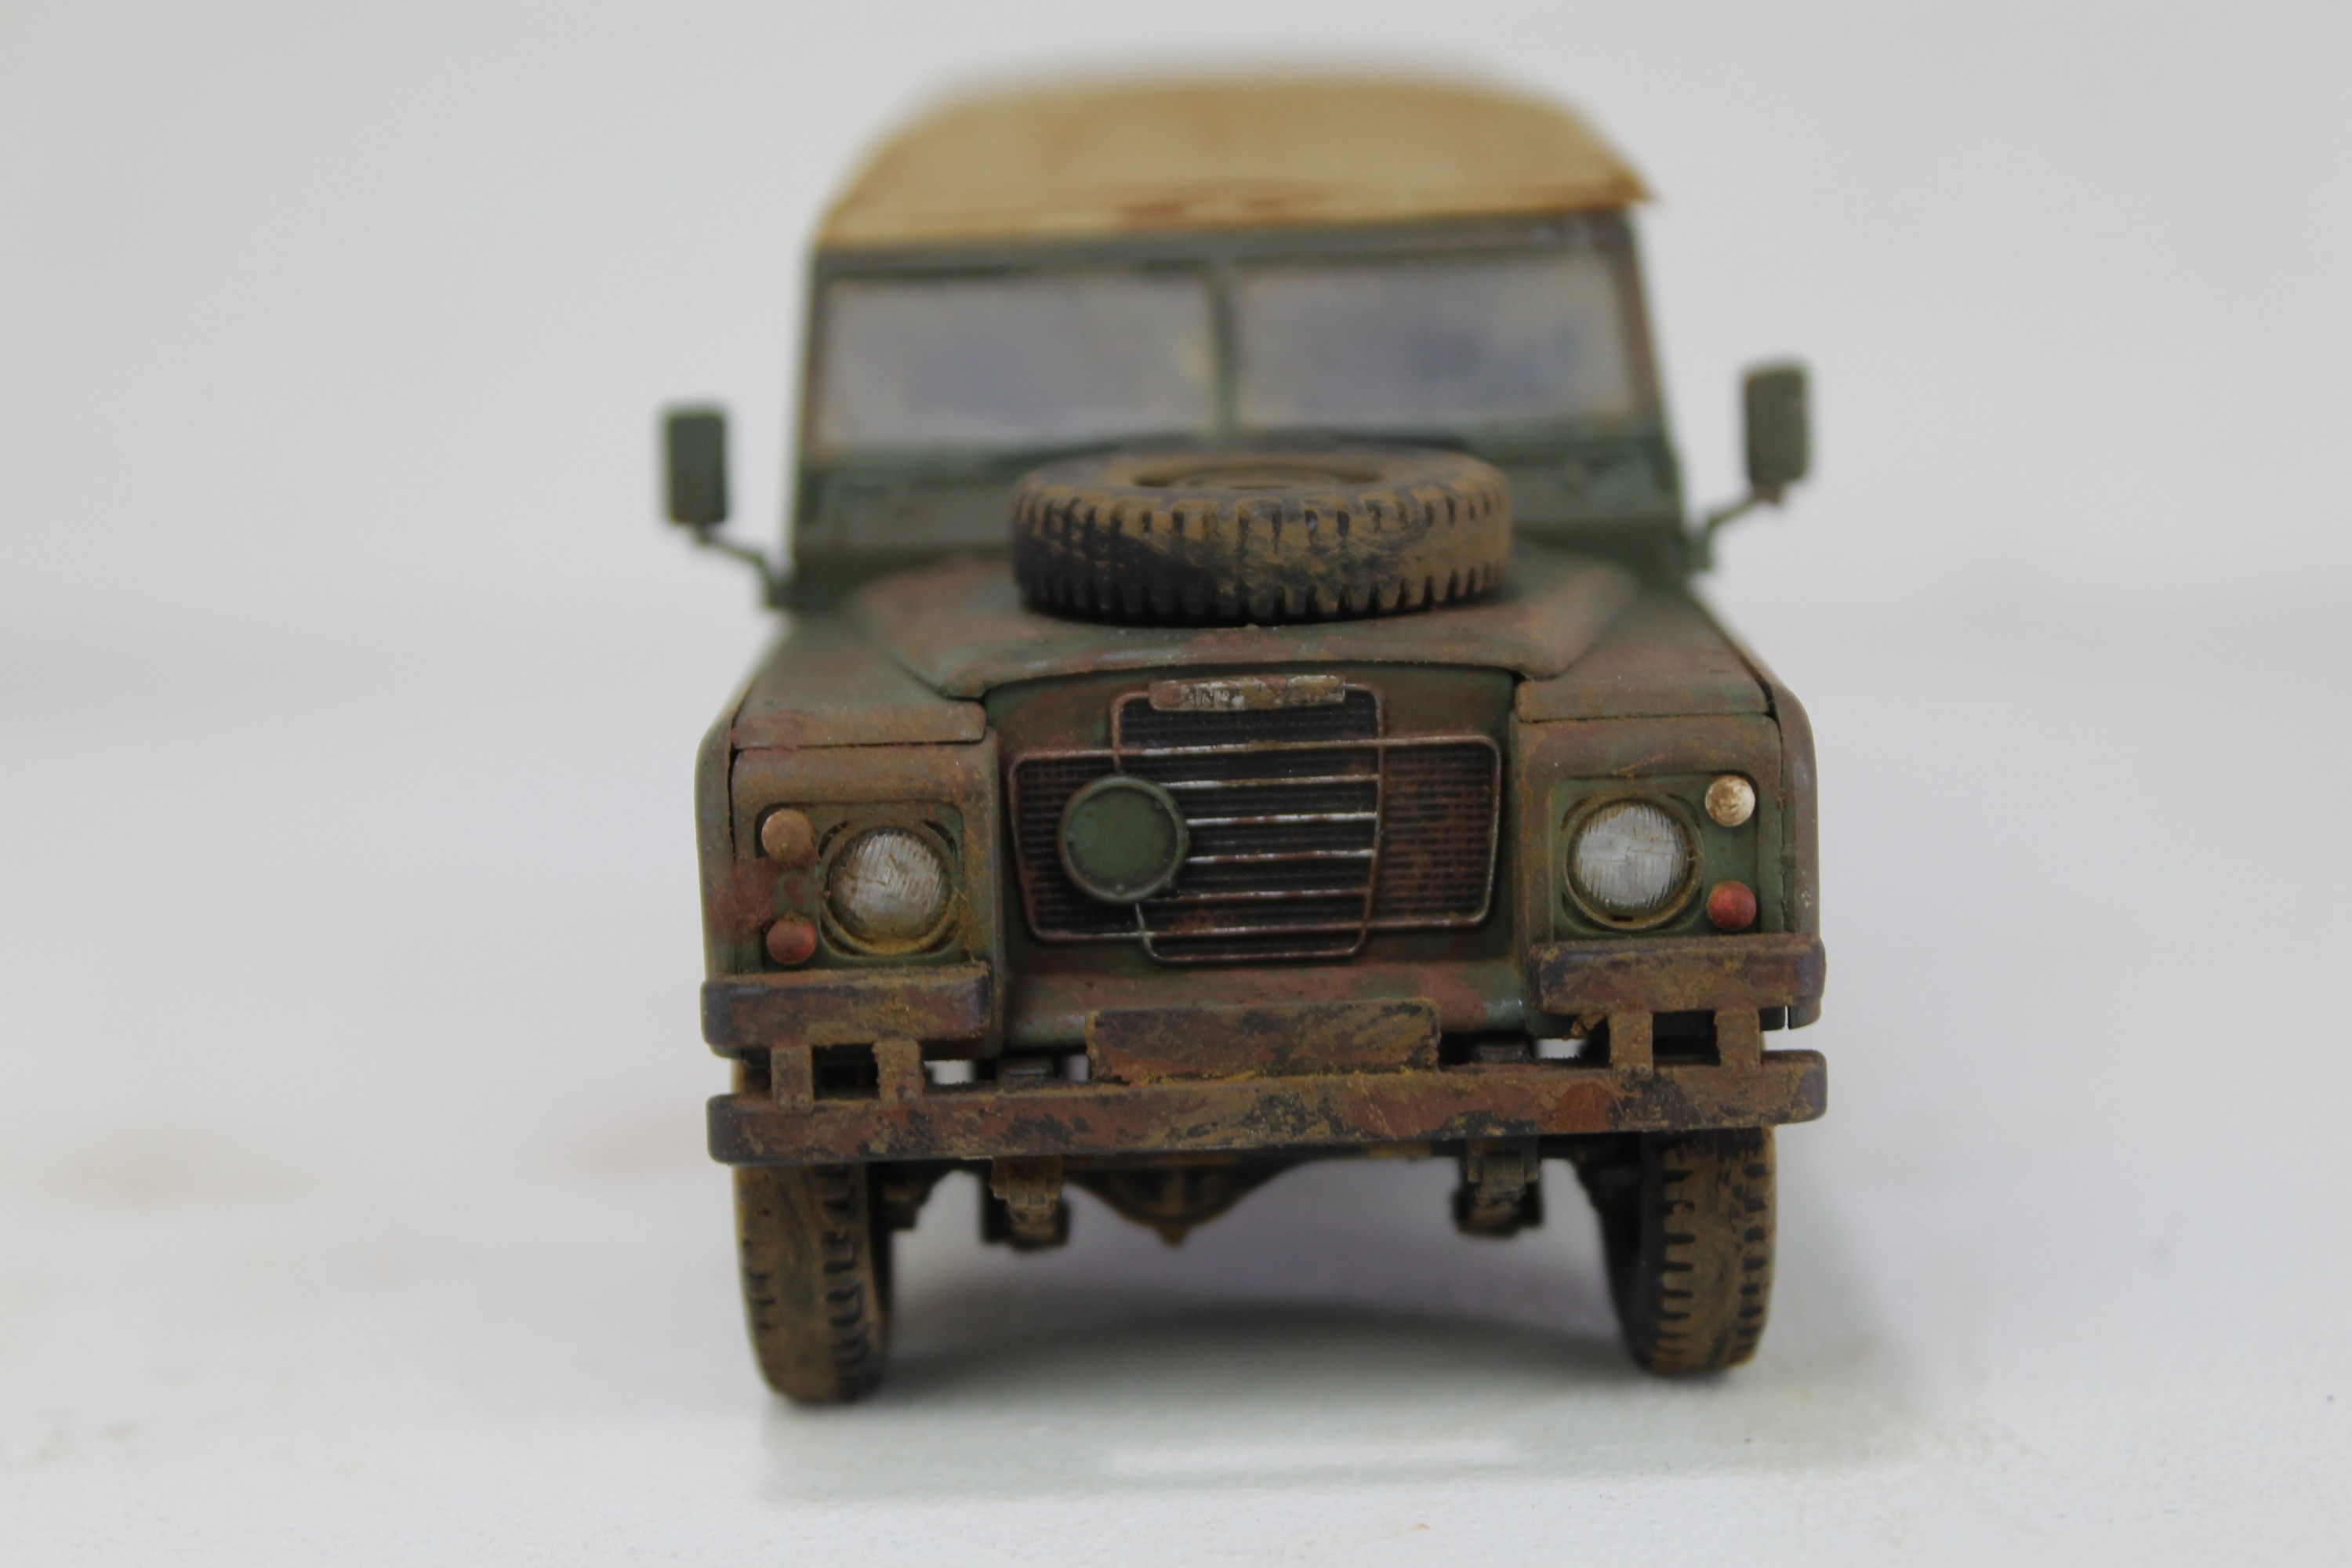
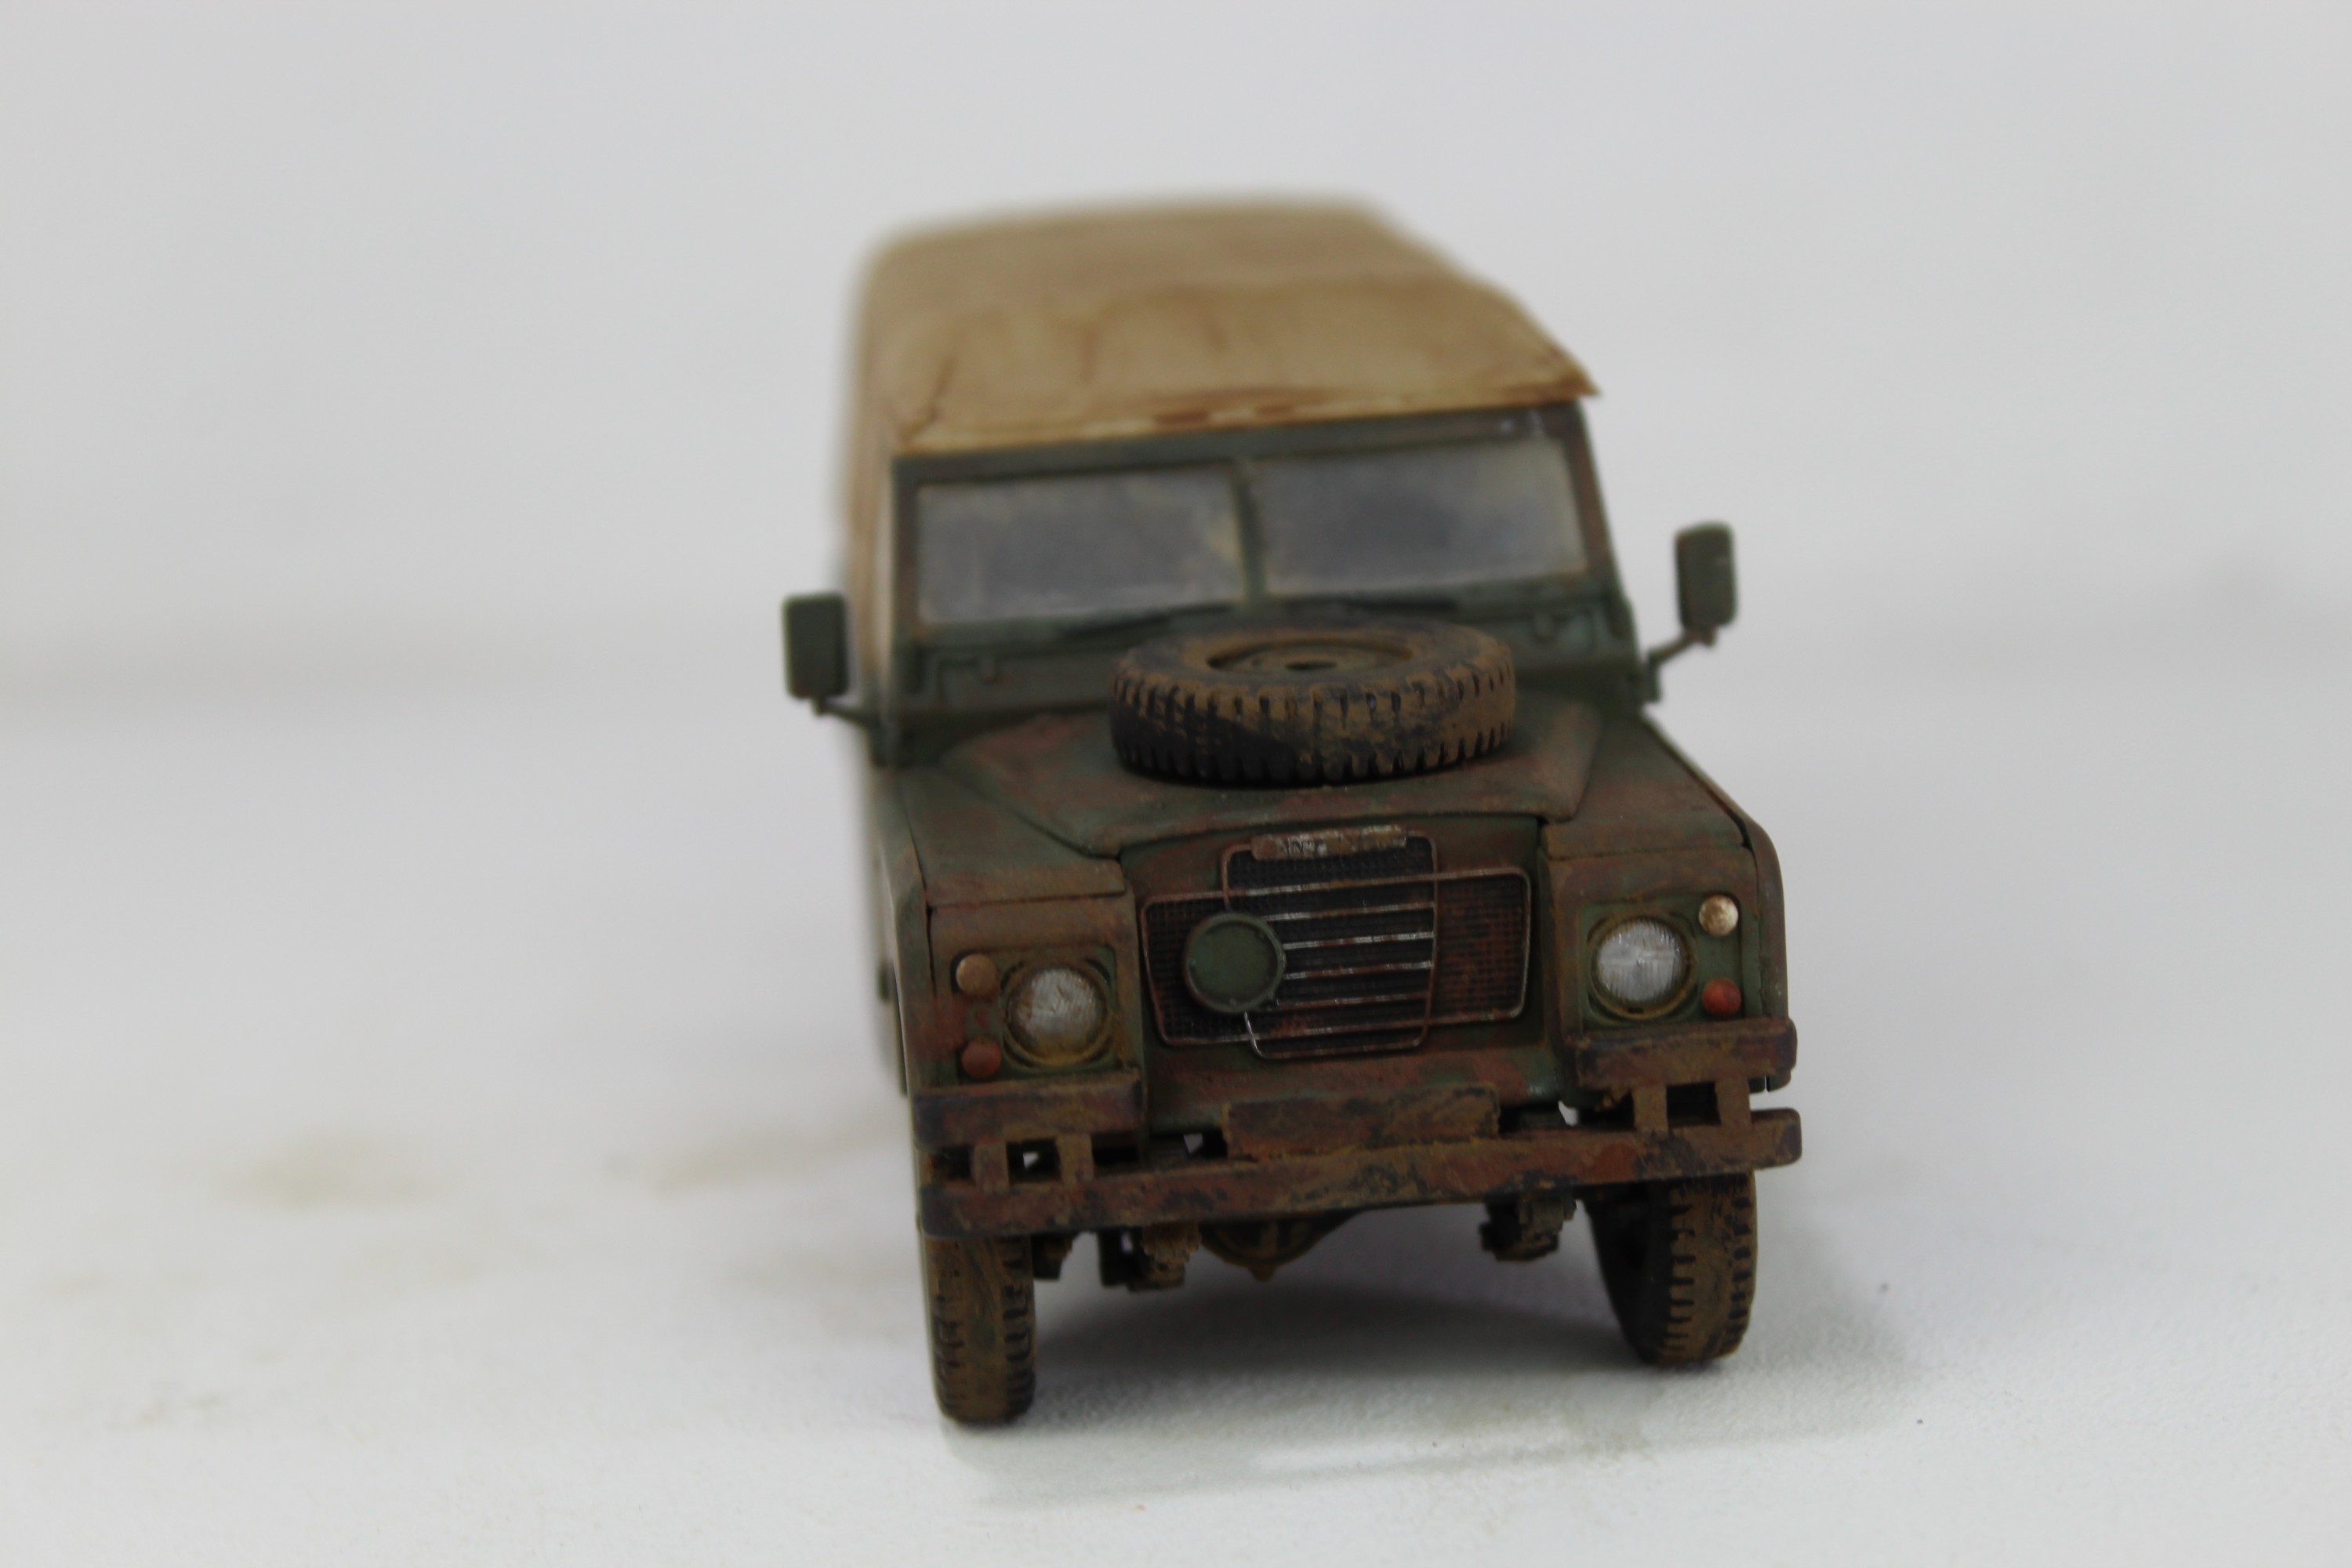
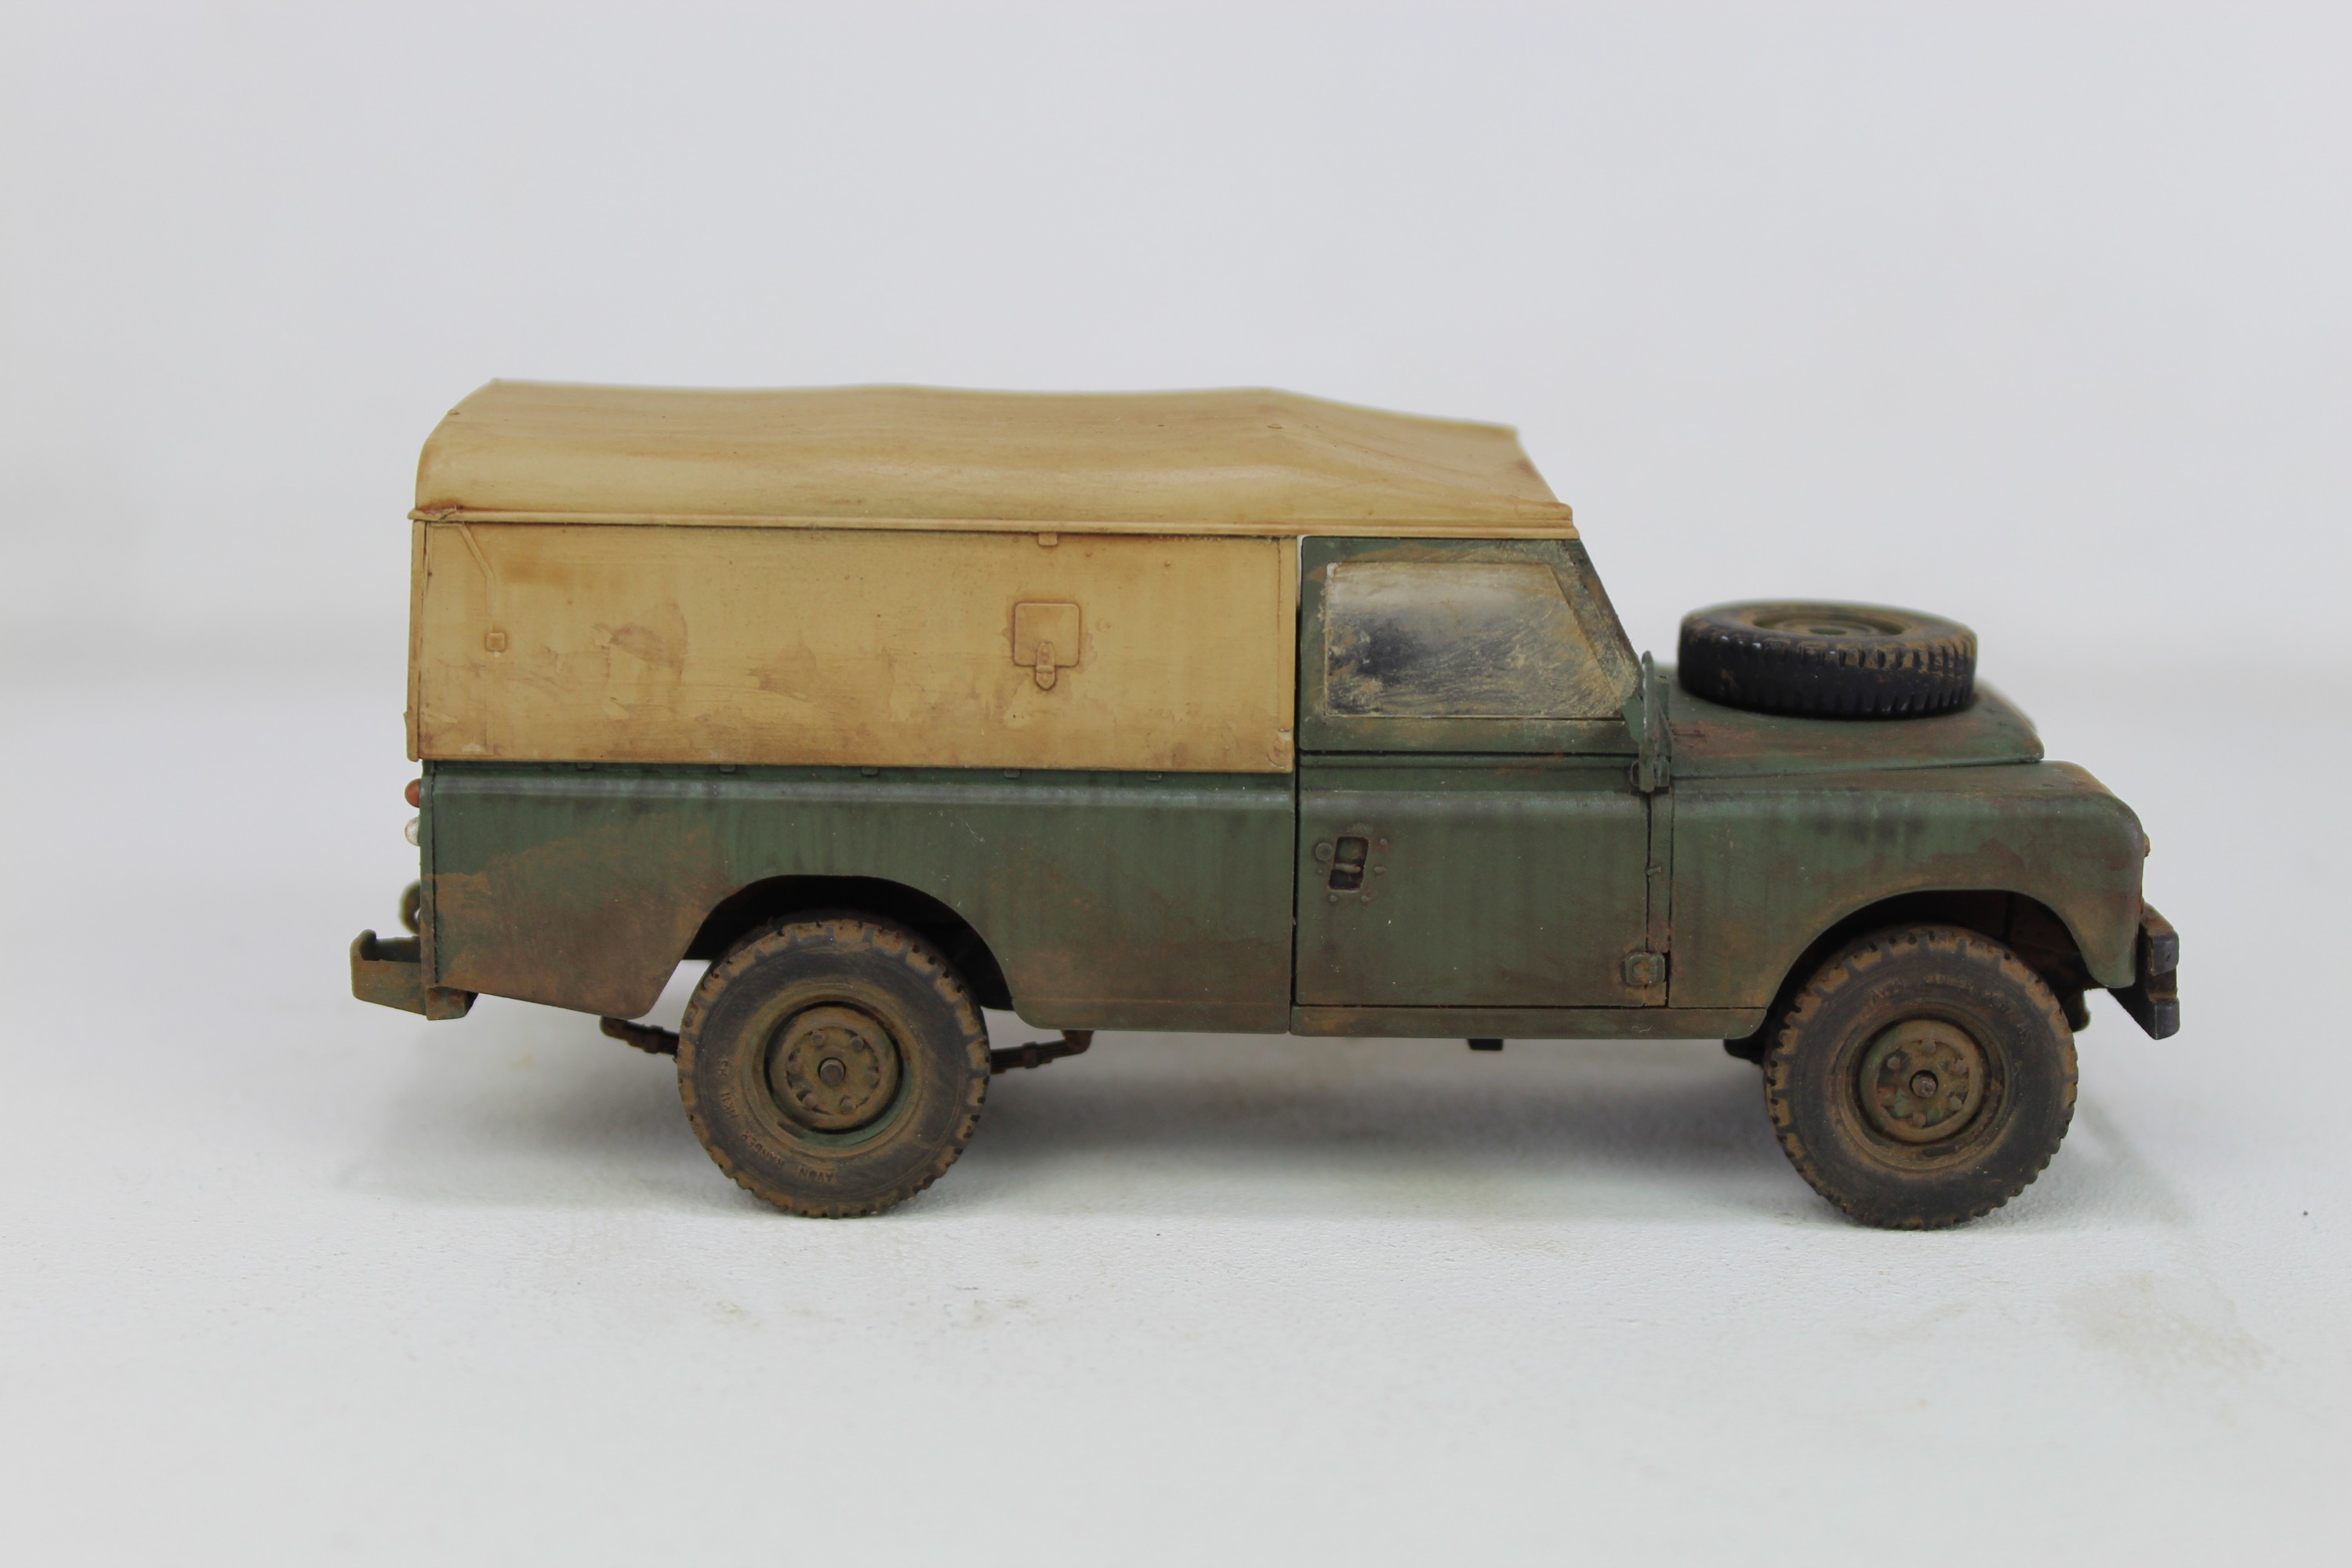
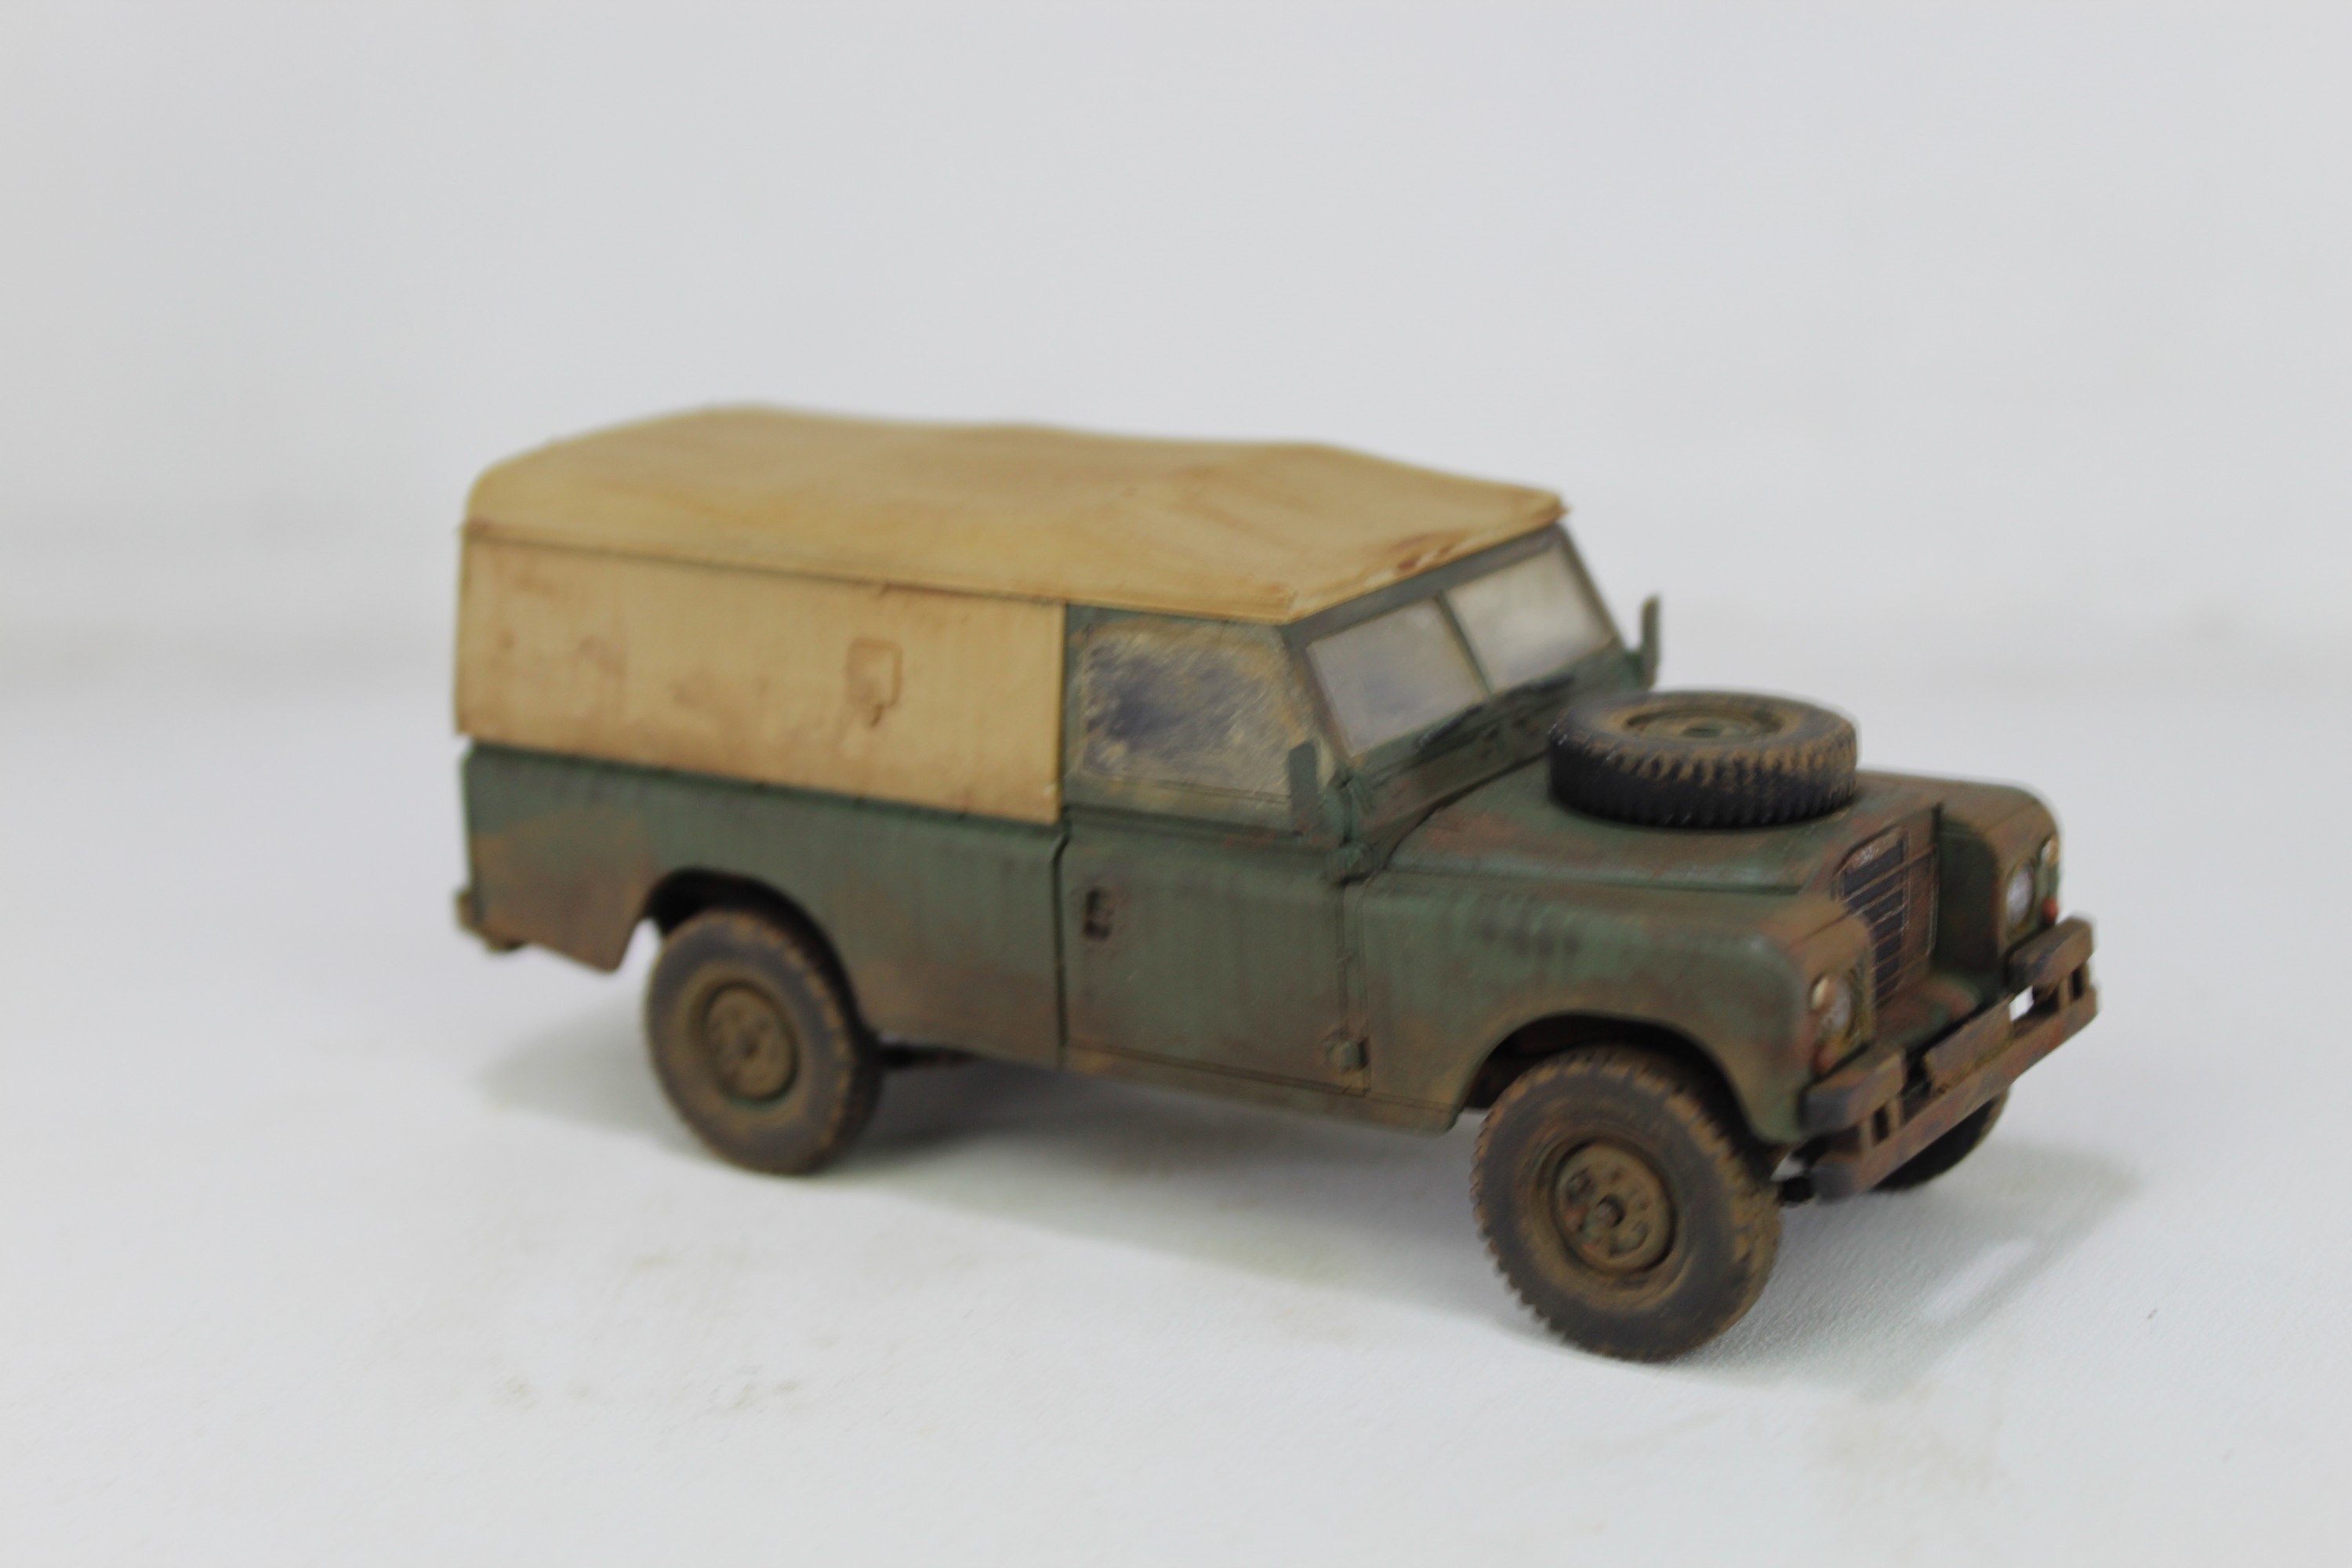
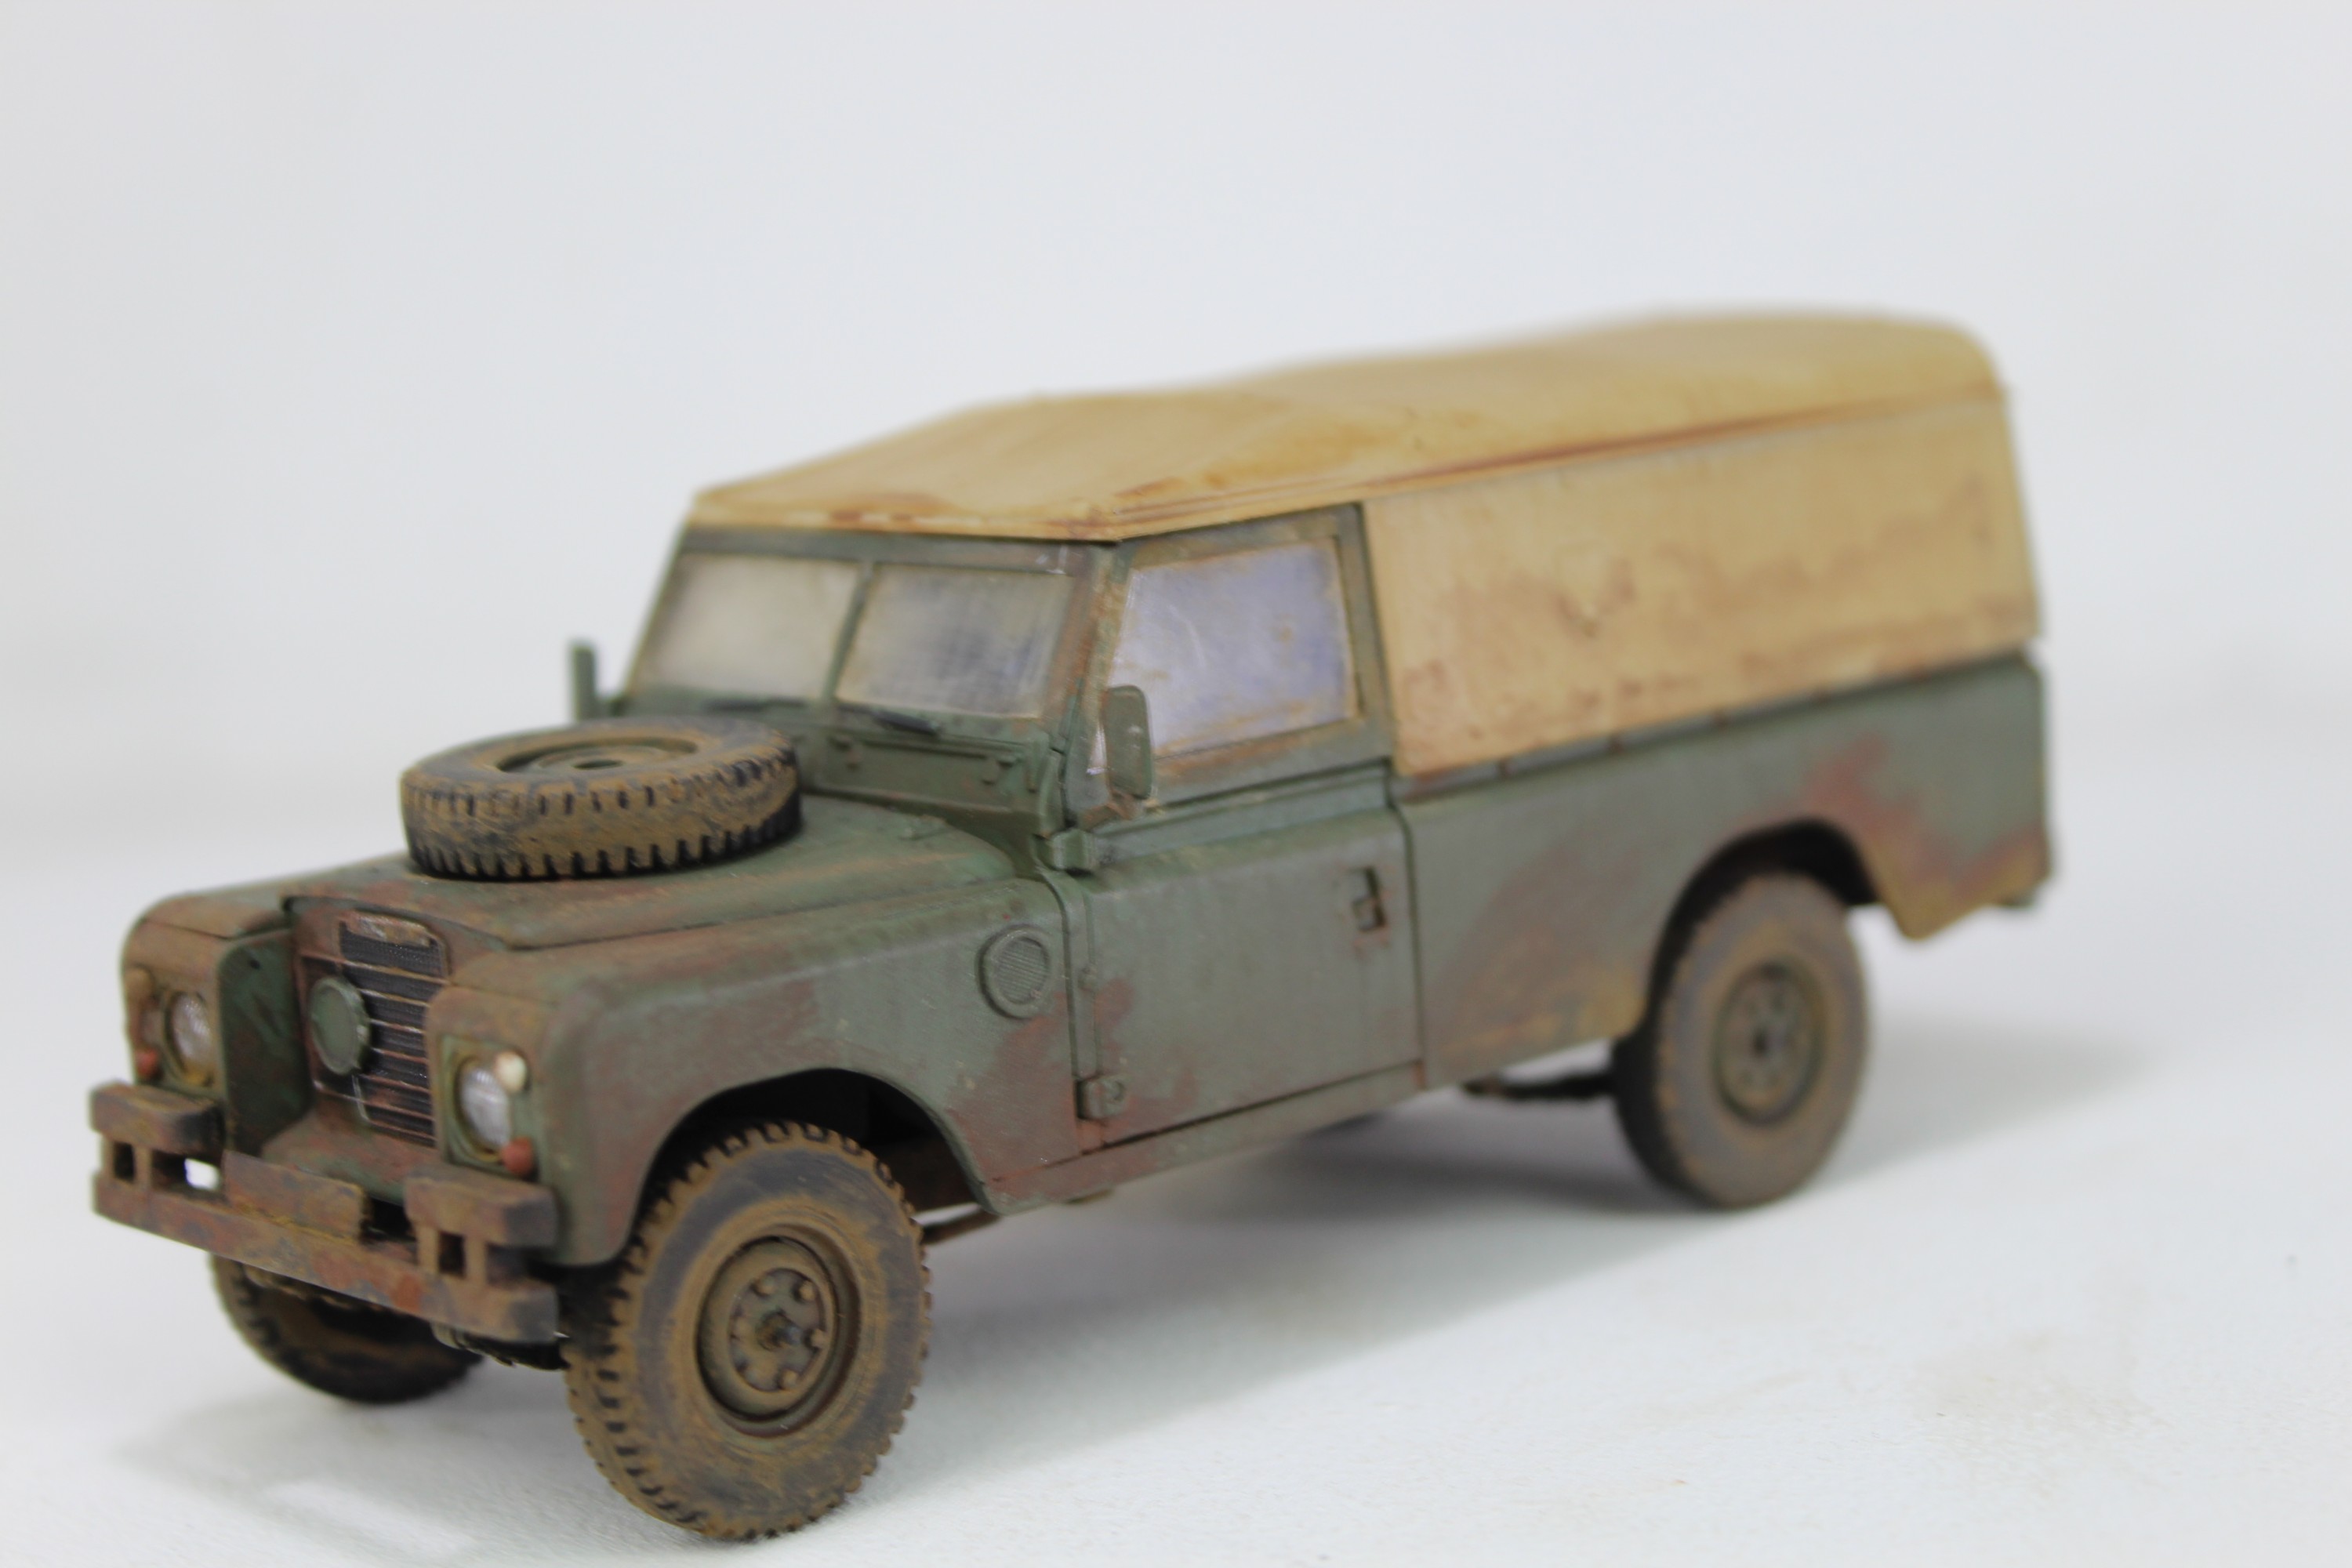
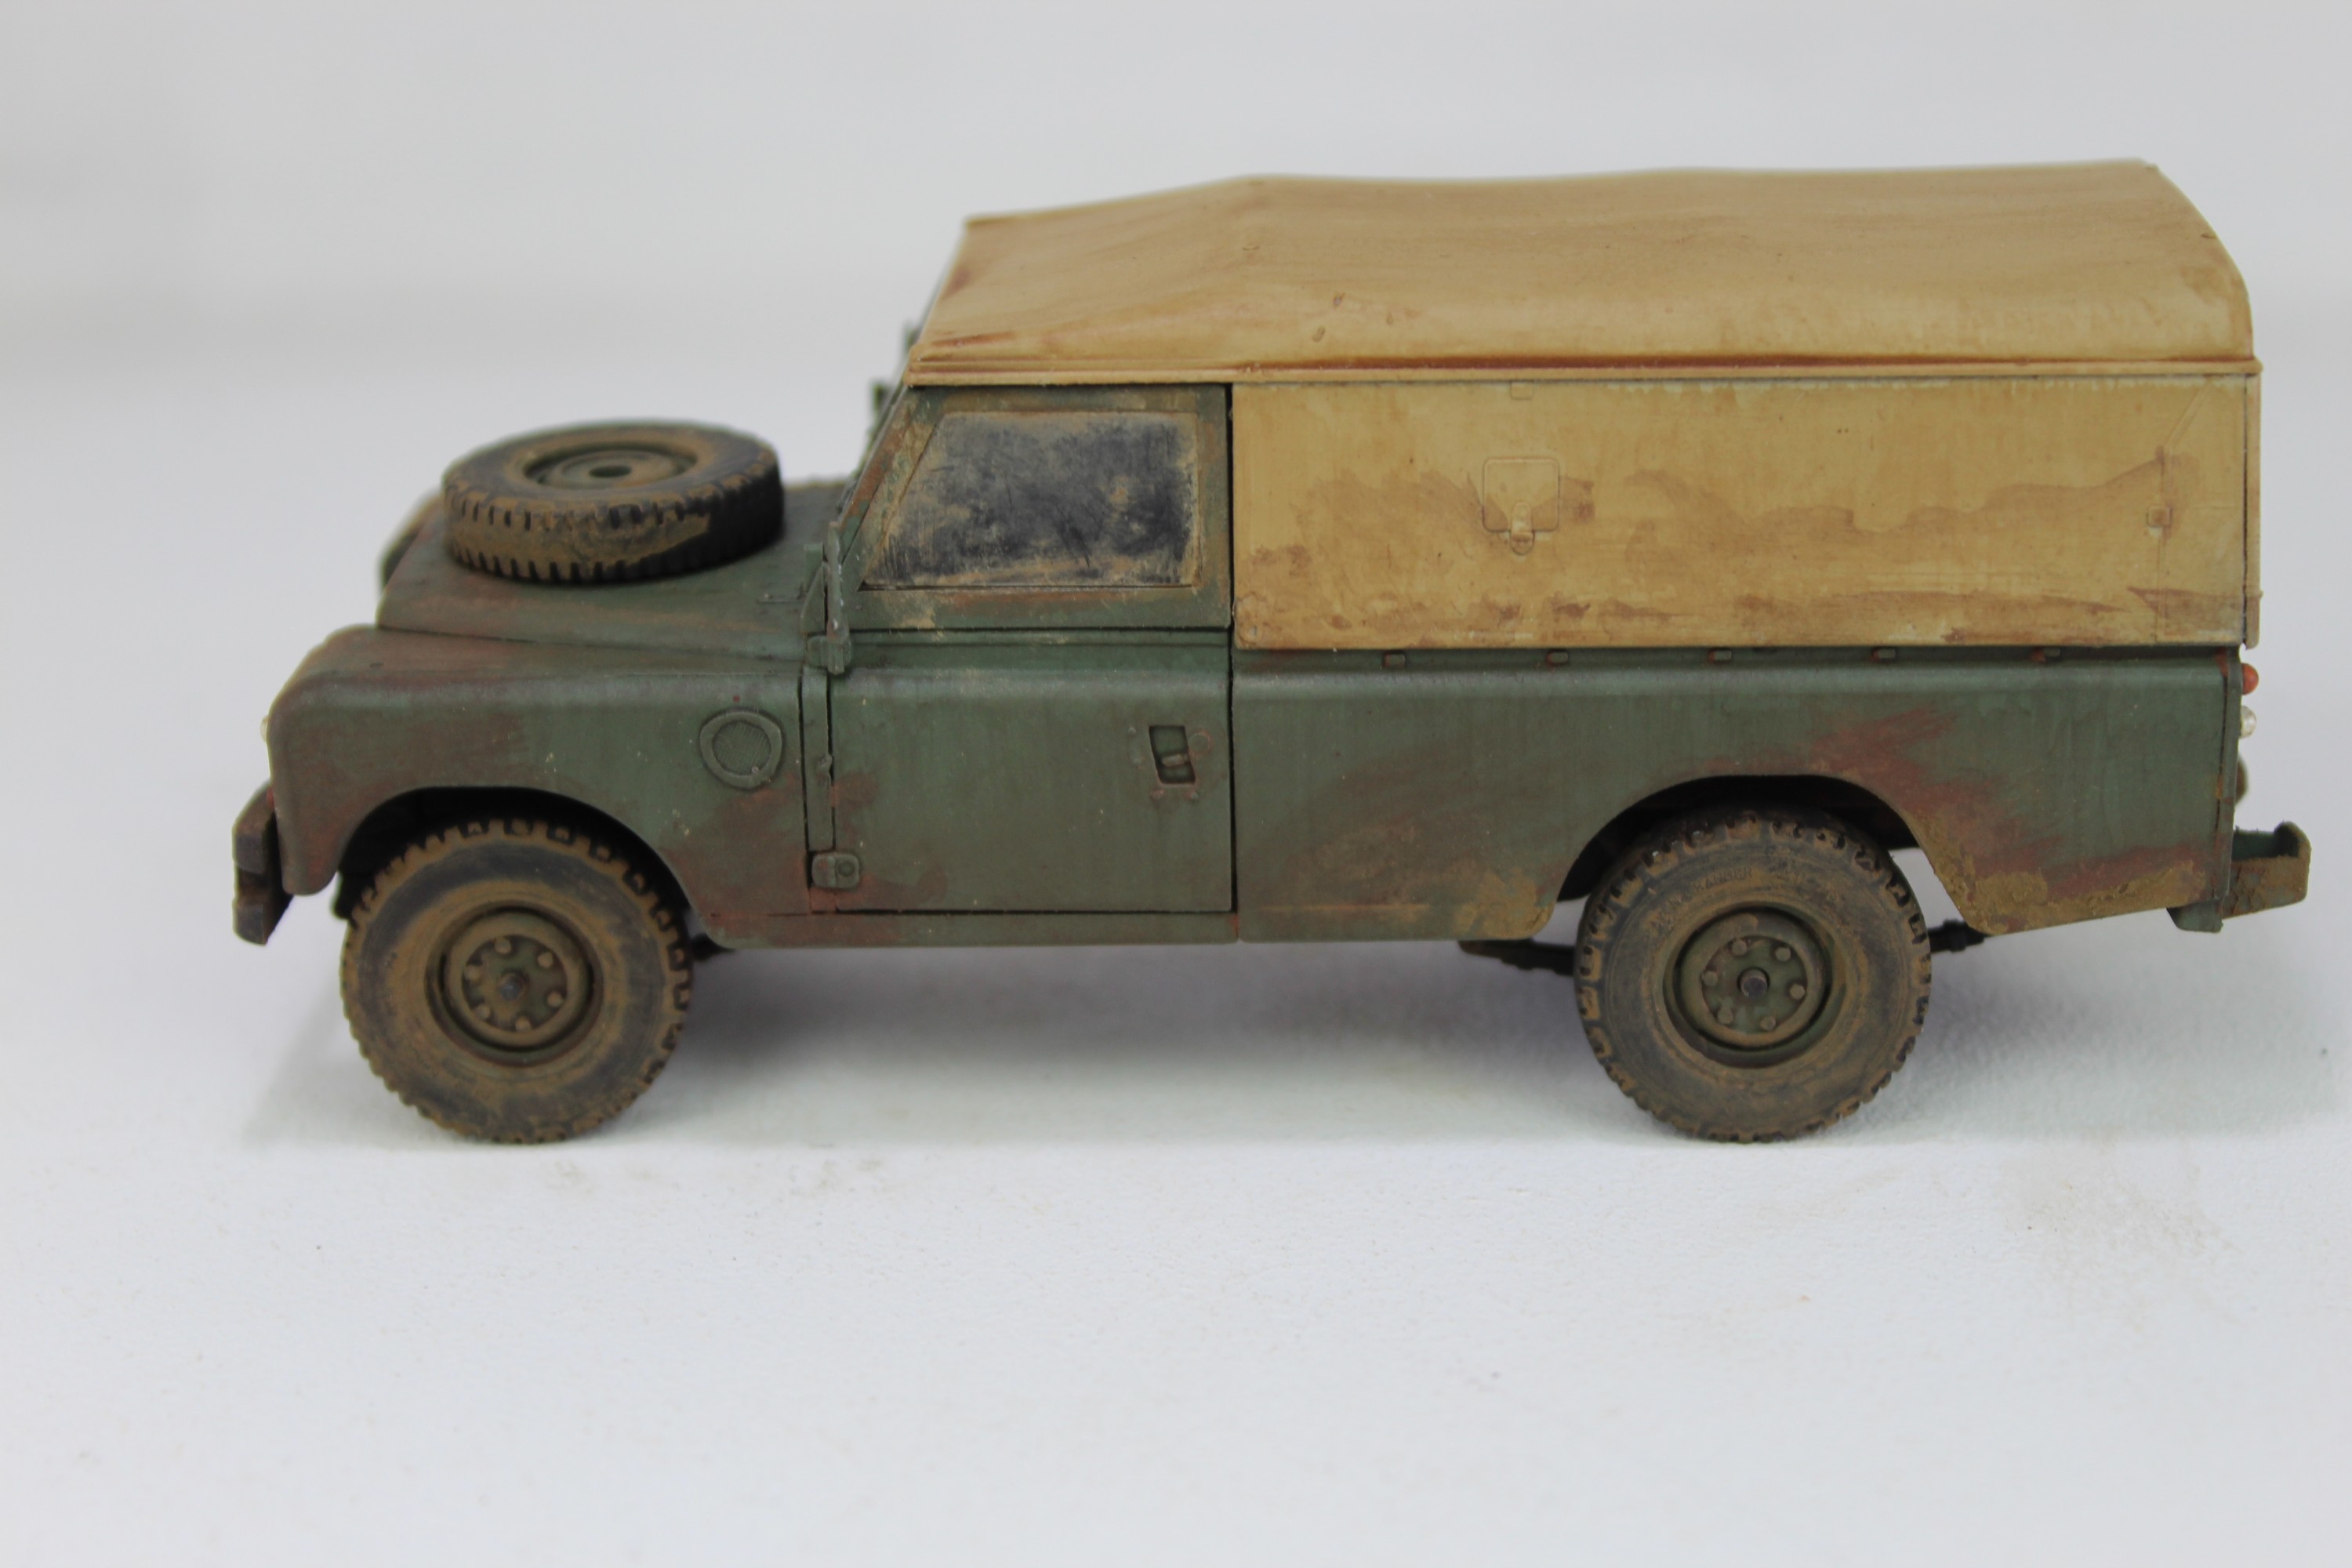
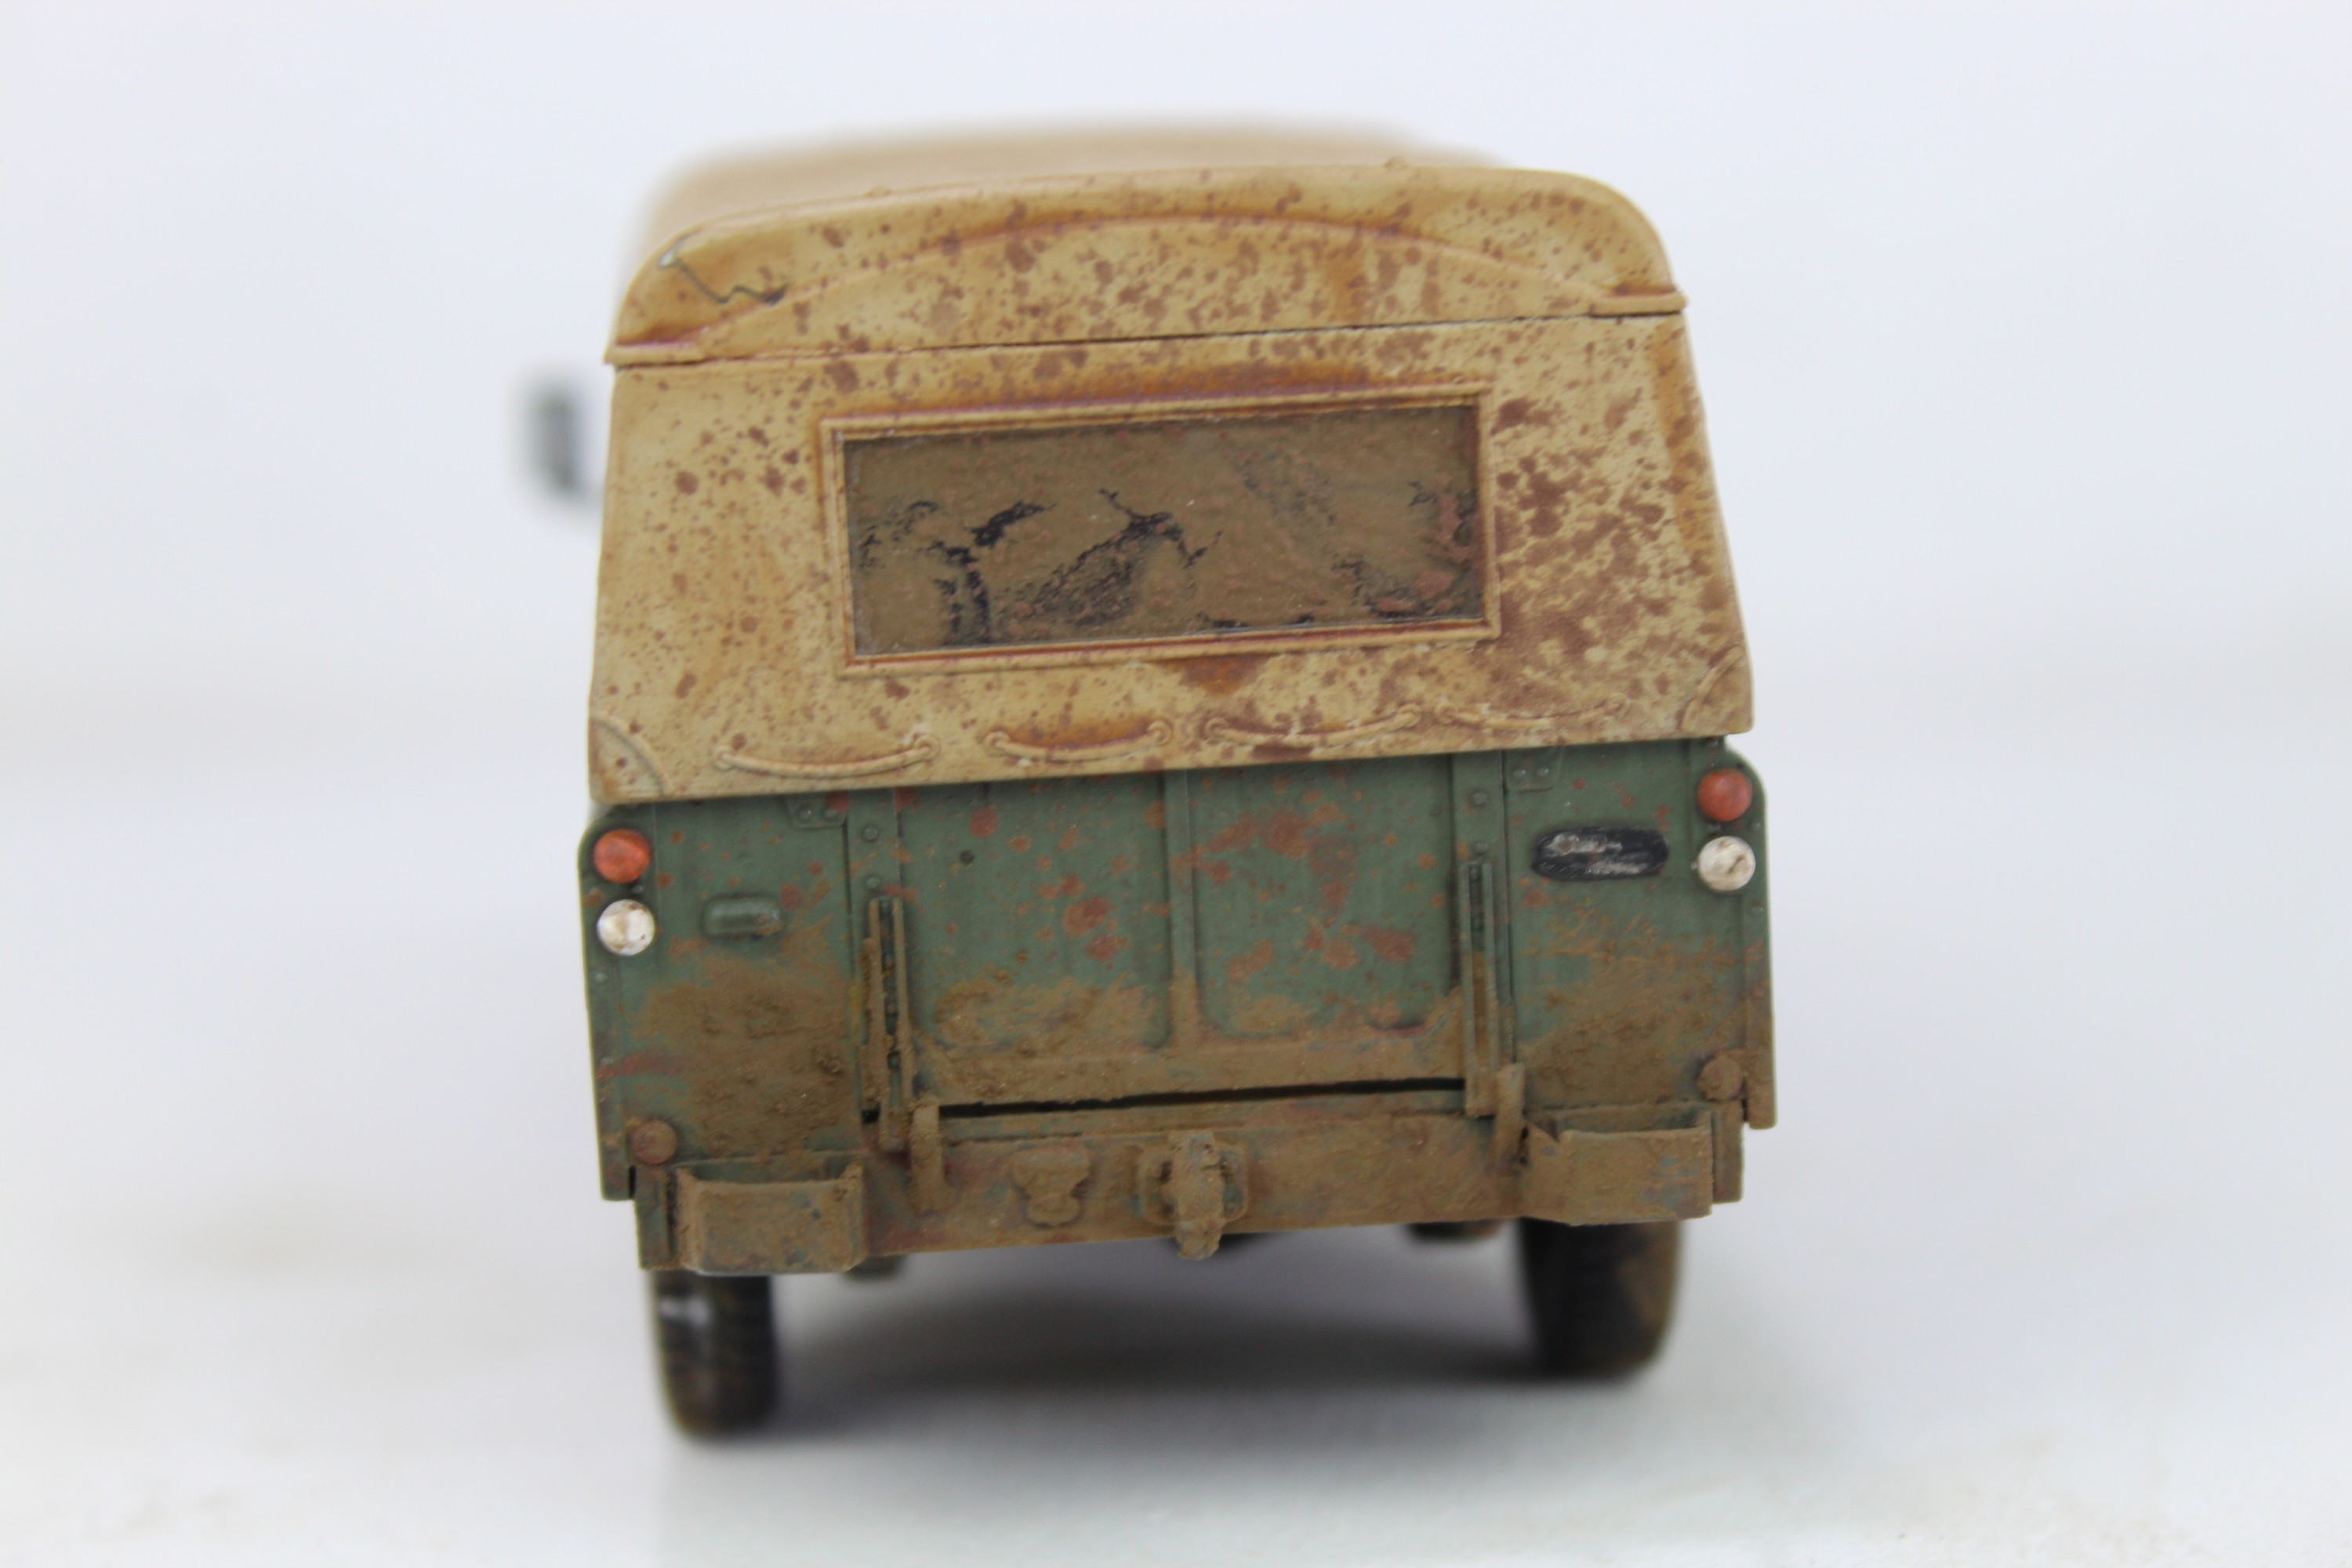
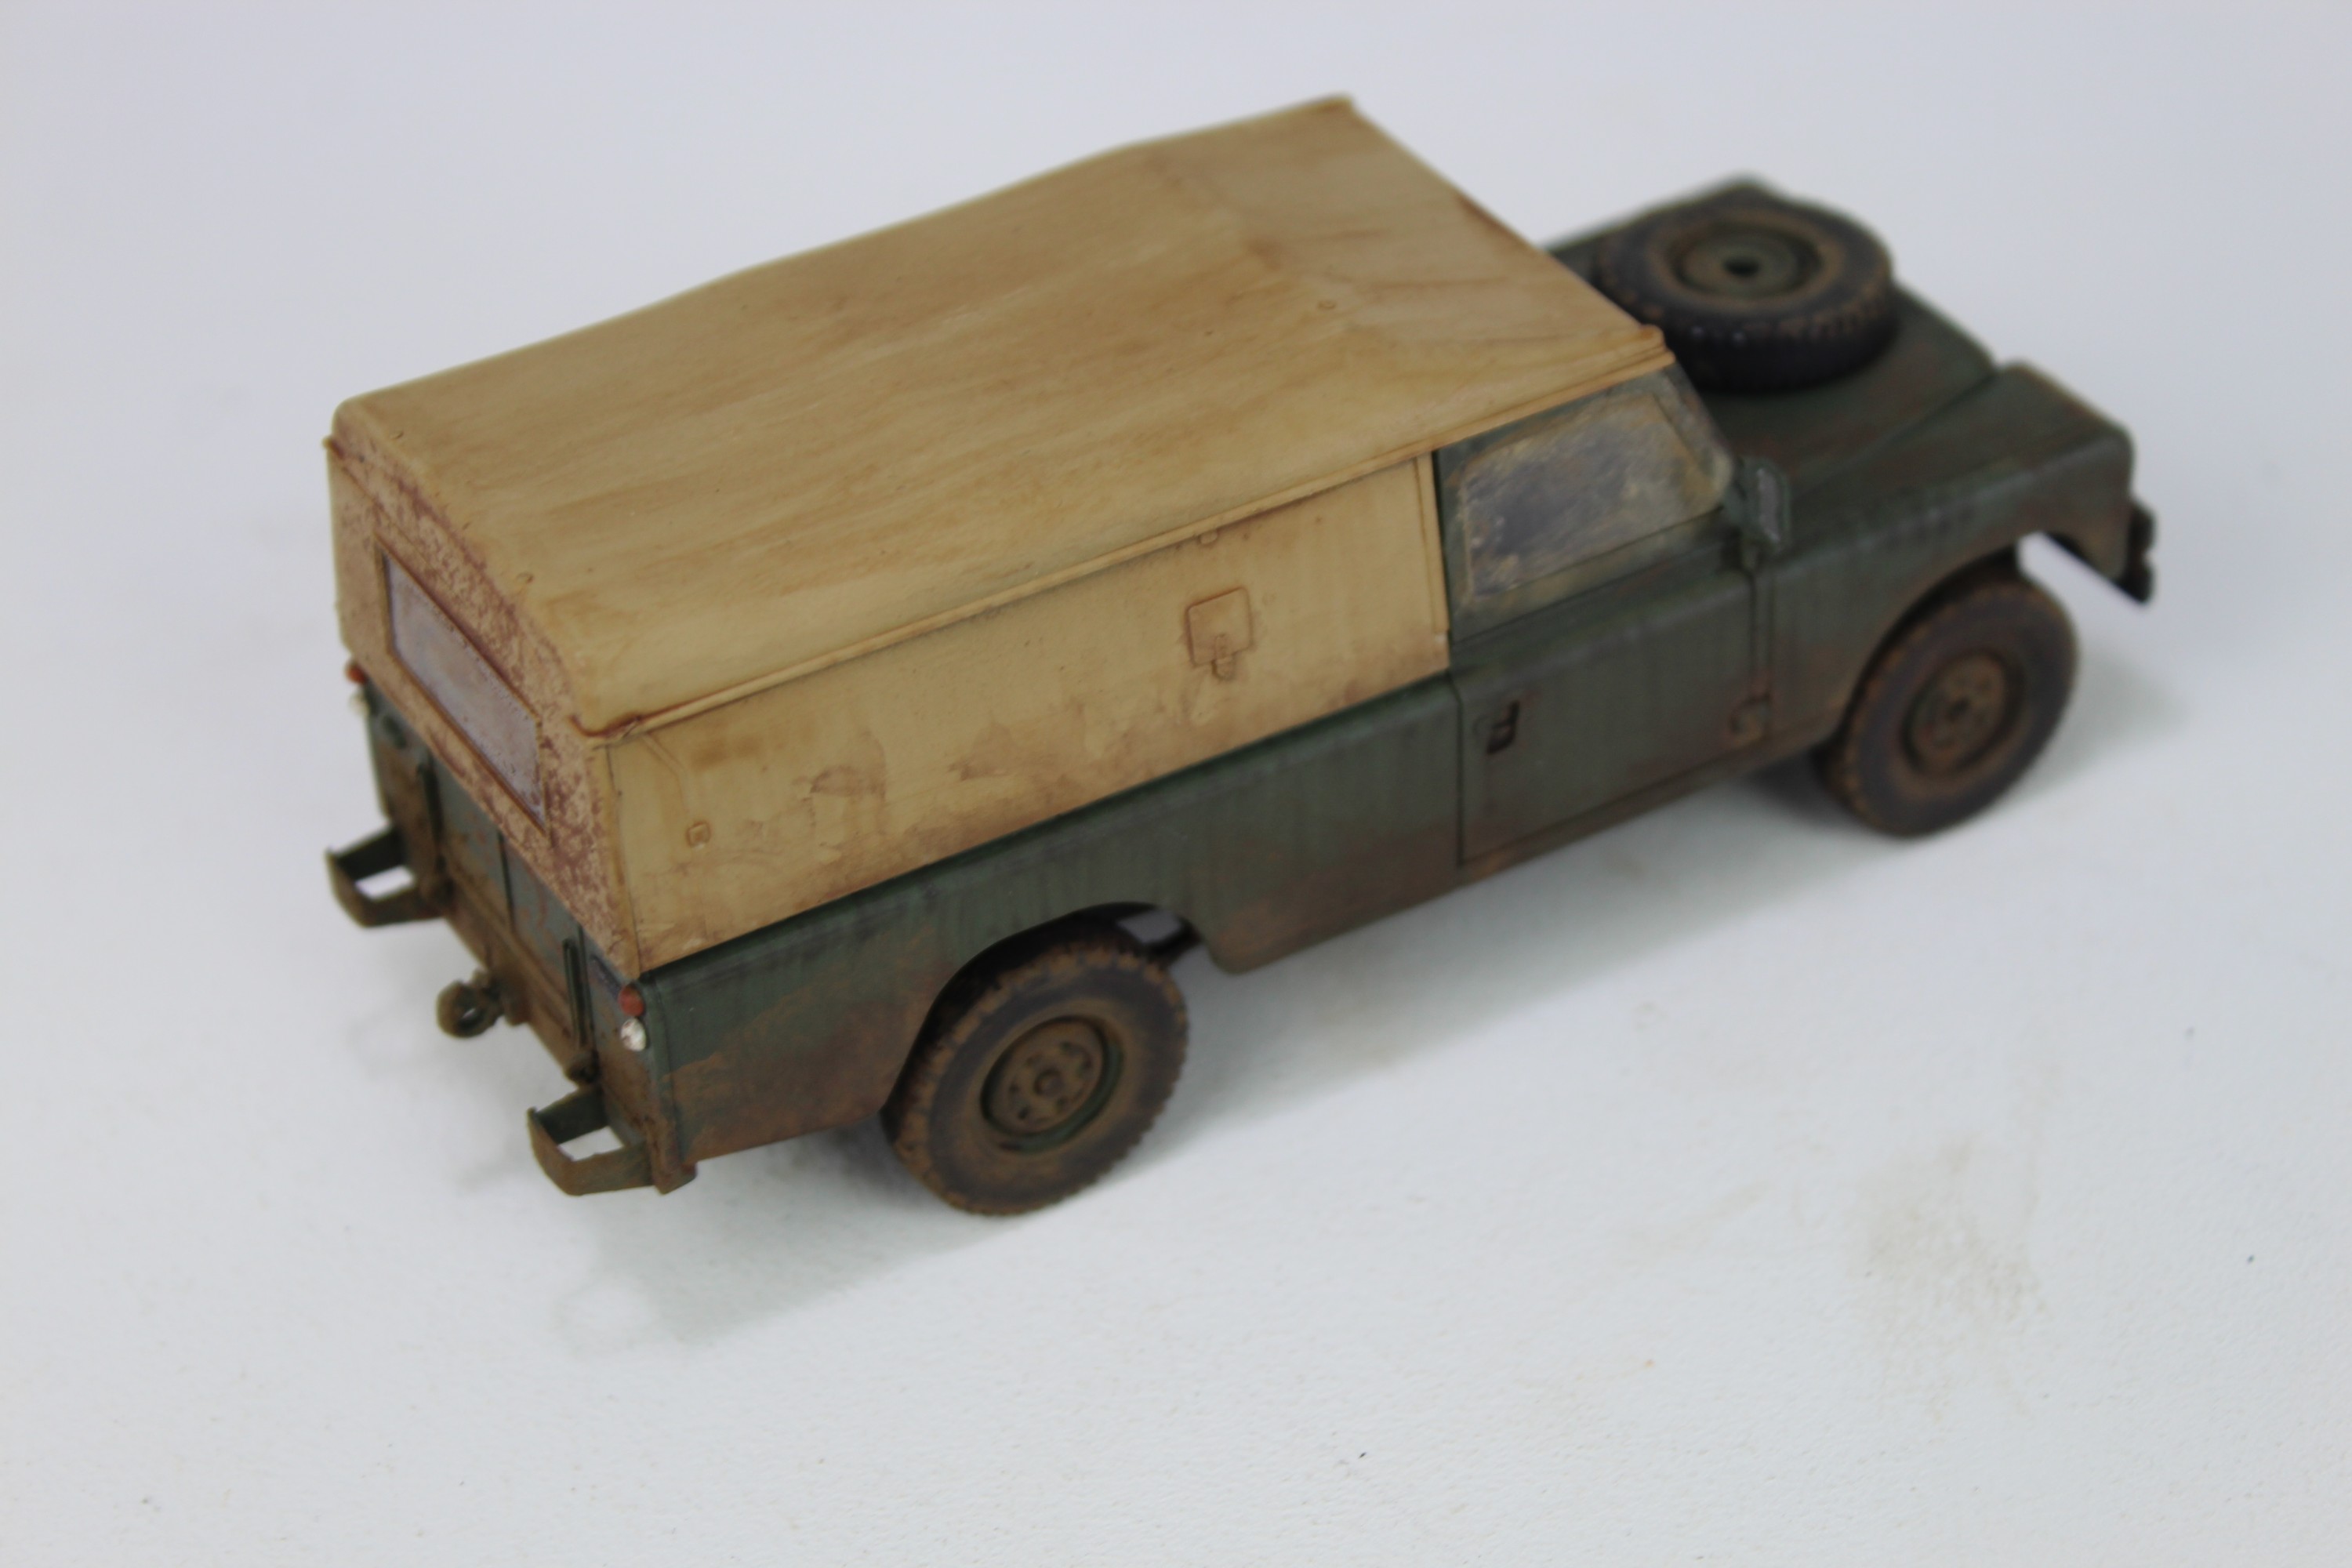
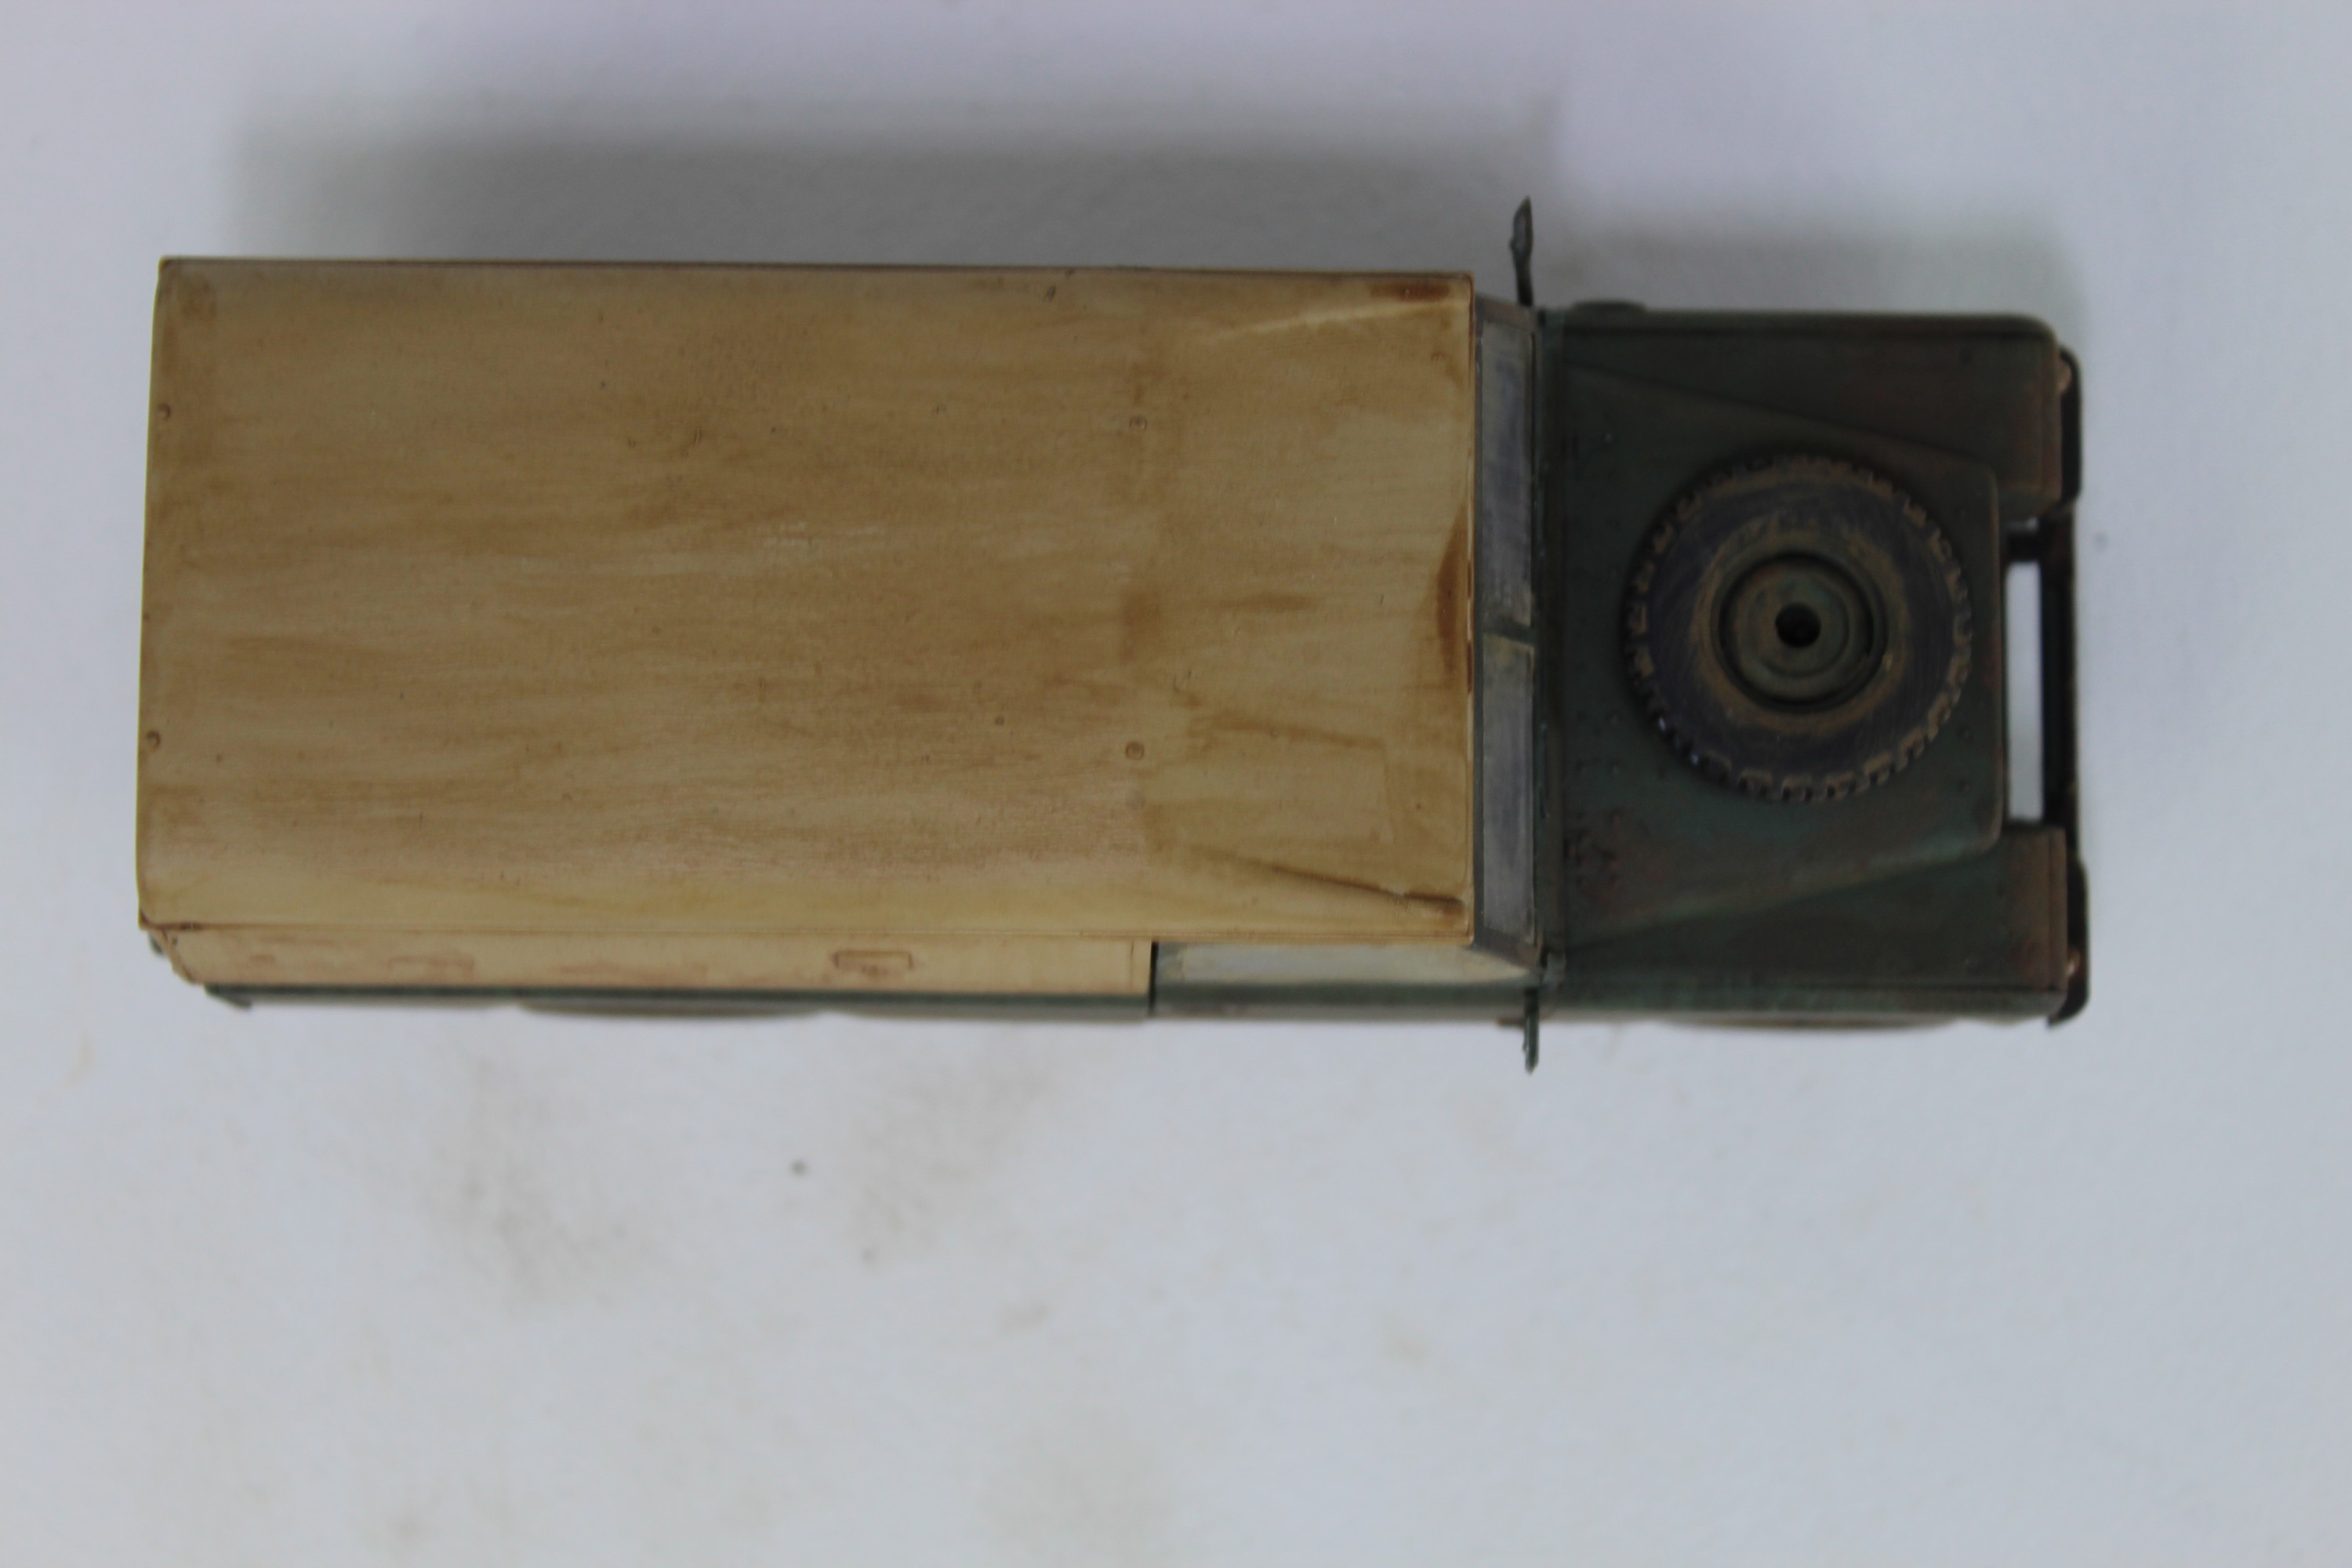
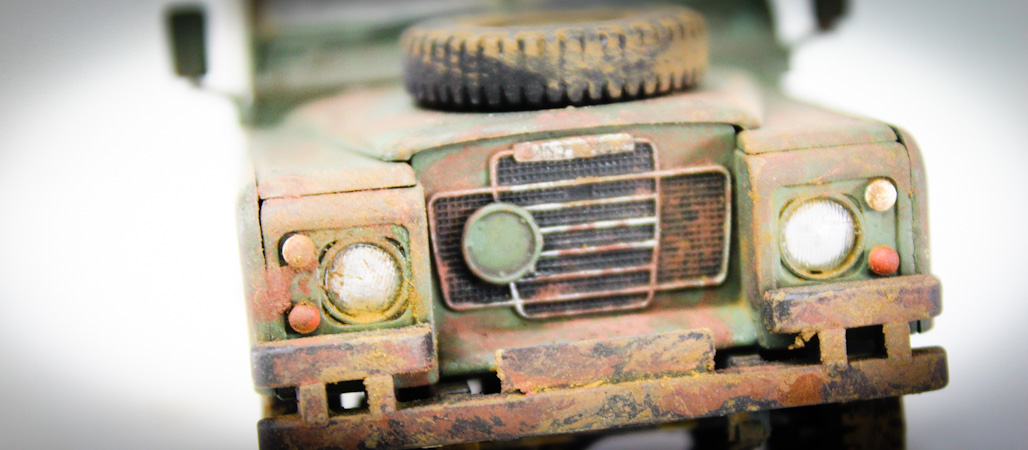
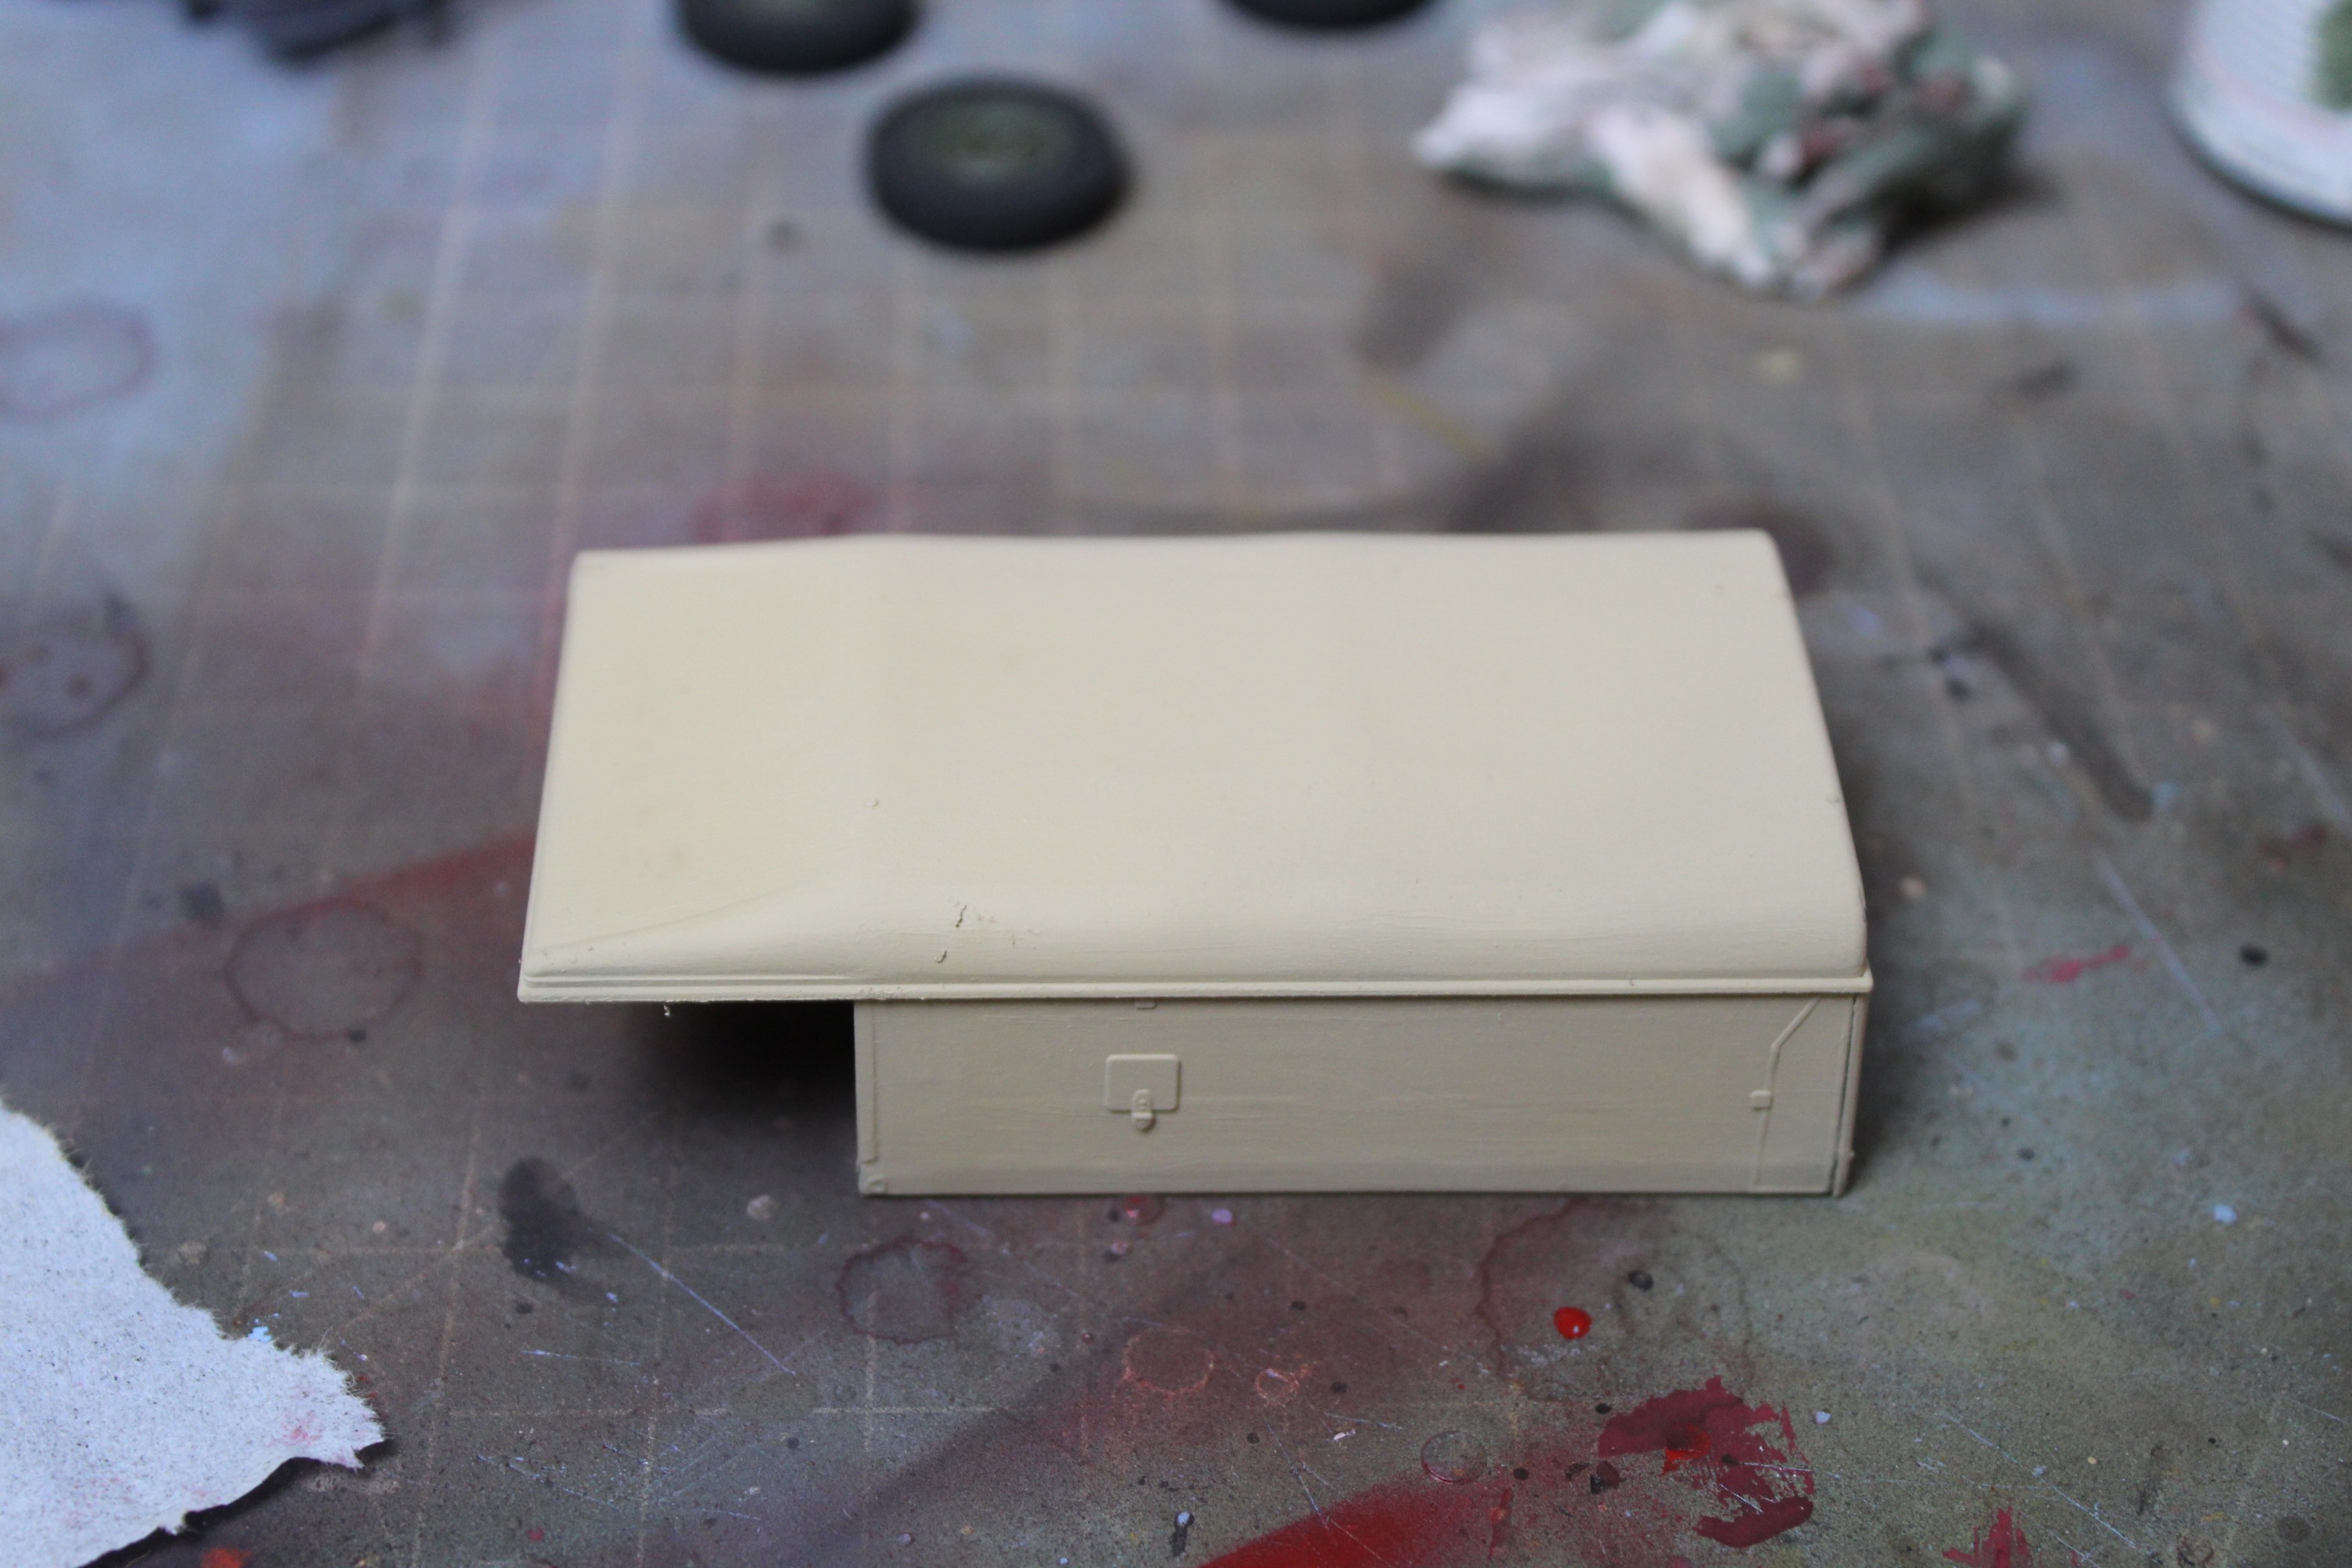
The time now for some weathering and piments and we can call this one done. All in all a very enjoyable build and I’m left with a classic model that I’m very happy with. Hope you have enjoyed the build as much as me.

135th Scale Land Rover 109 LWB Front Details
135th Scale Land Rover 109 LWB Front Details.
135th Scale Model Land Rover 109 LWB Front Details
135th Scale Model Land Rover 109 LWB Front Details.
Italeri 135th Land Rover 109 LWB Step By Step Full Build
Italeri Land Rover 109 LWB
Italeri Land Rover 109 LWB.
Land Rover 109 LWB
Land Rover 109 LWB.
135th Scale Land Rover 109 LWB
135th Scale Land Rover 109 LWB.
135th Scale Model Land Rover 109 LWB Front Wheel Close Up Details
135th Scale Model Land Rover 109 LWB Front Wheel Close Up Details.
135th Plastic Scale Model Land Rover 109 LWB By Italeri
135th Plastic Scale Model Land Rover 109 LWB By Italeri.
Land Rover 109 LWB 135th Plastic Scale Model Kit
Land Rover 109 LWB 135th Plastic Scale Model Kit.
Land Rover 109 LWB Mud Splashes On The Rear
Land Rover 109 LWB Mud Splashes On The Rear.
Land Rover 109 LWB Weathered Scale Model
Land Rover 109 LWB Weathered Scale Model.
Land Rover 109 LWB Weathered Scale Model Top View
Land Rover 109 LWB Weathered Scale Model Top View.

CLICK HERE TO BUY THE ITALERI LAND ROVER 109 LWB

Facebook Comments