New Garden Fence

New Garden Fence

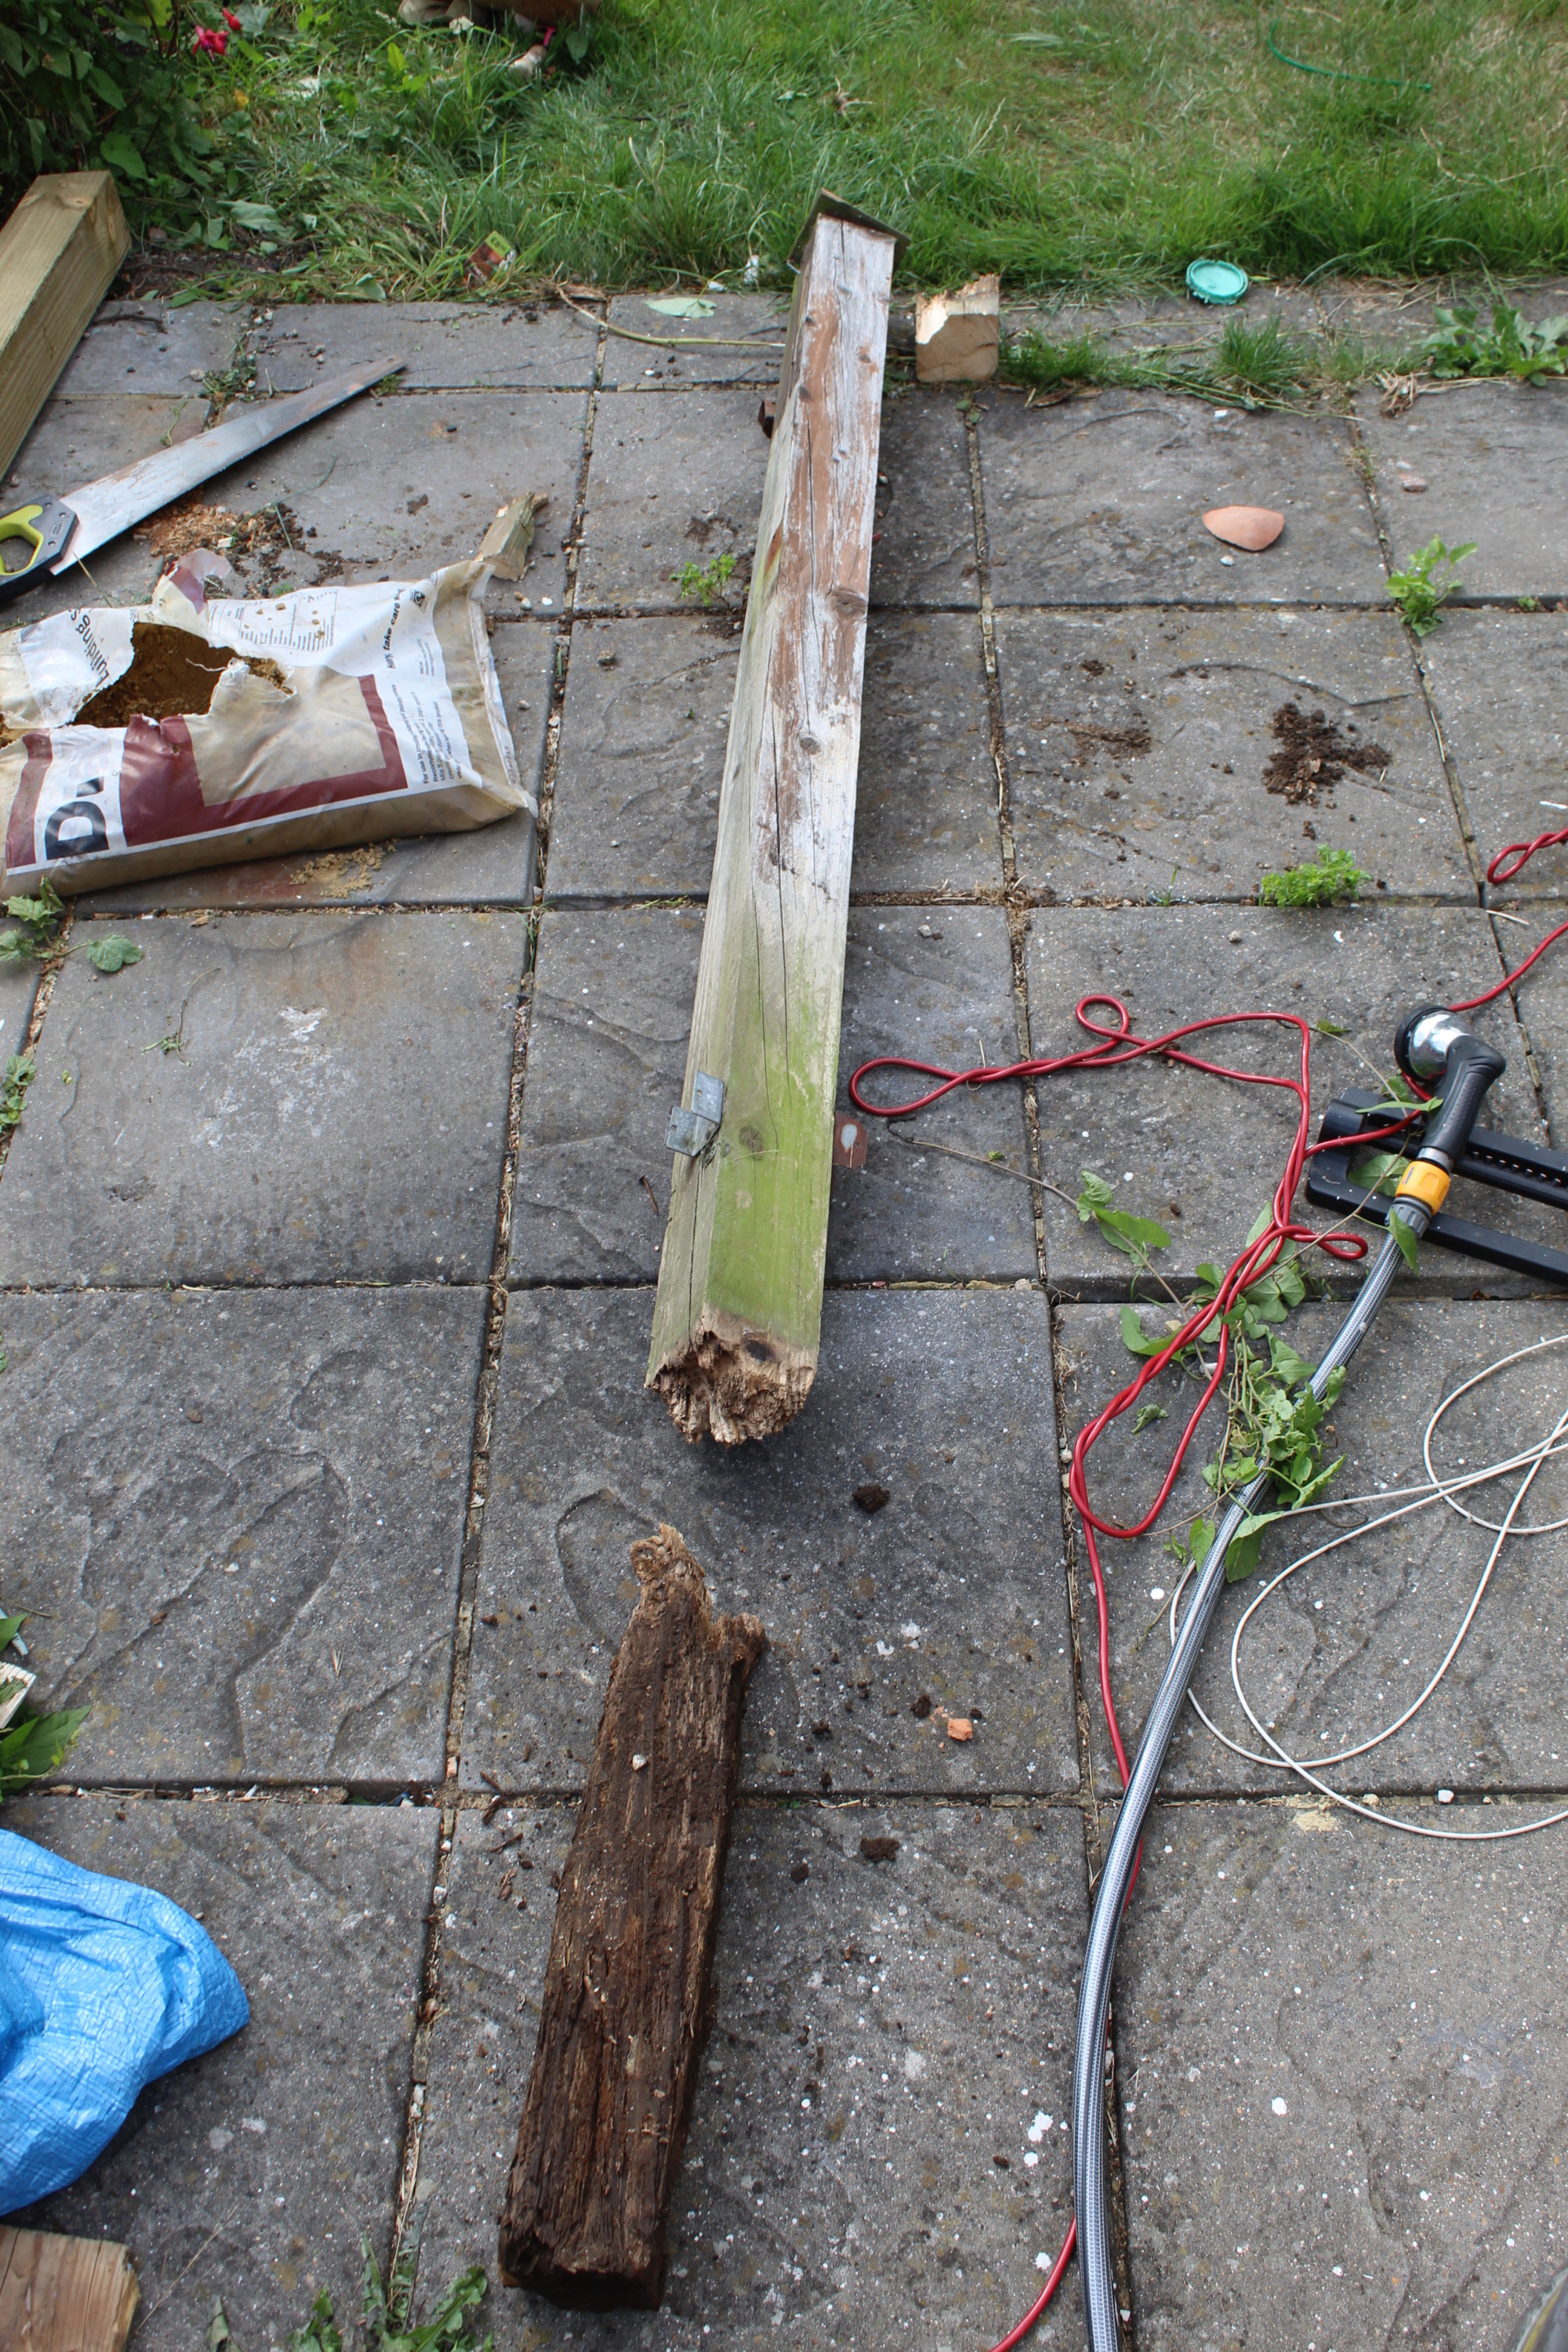
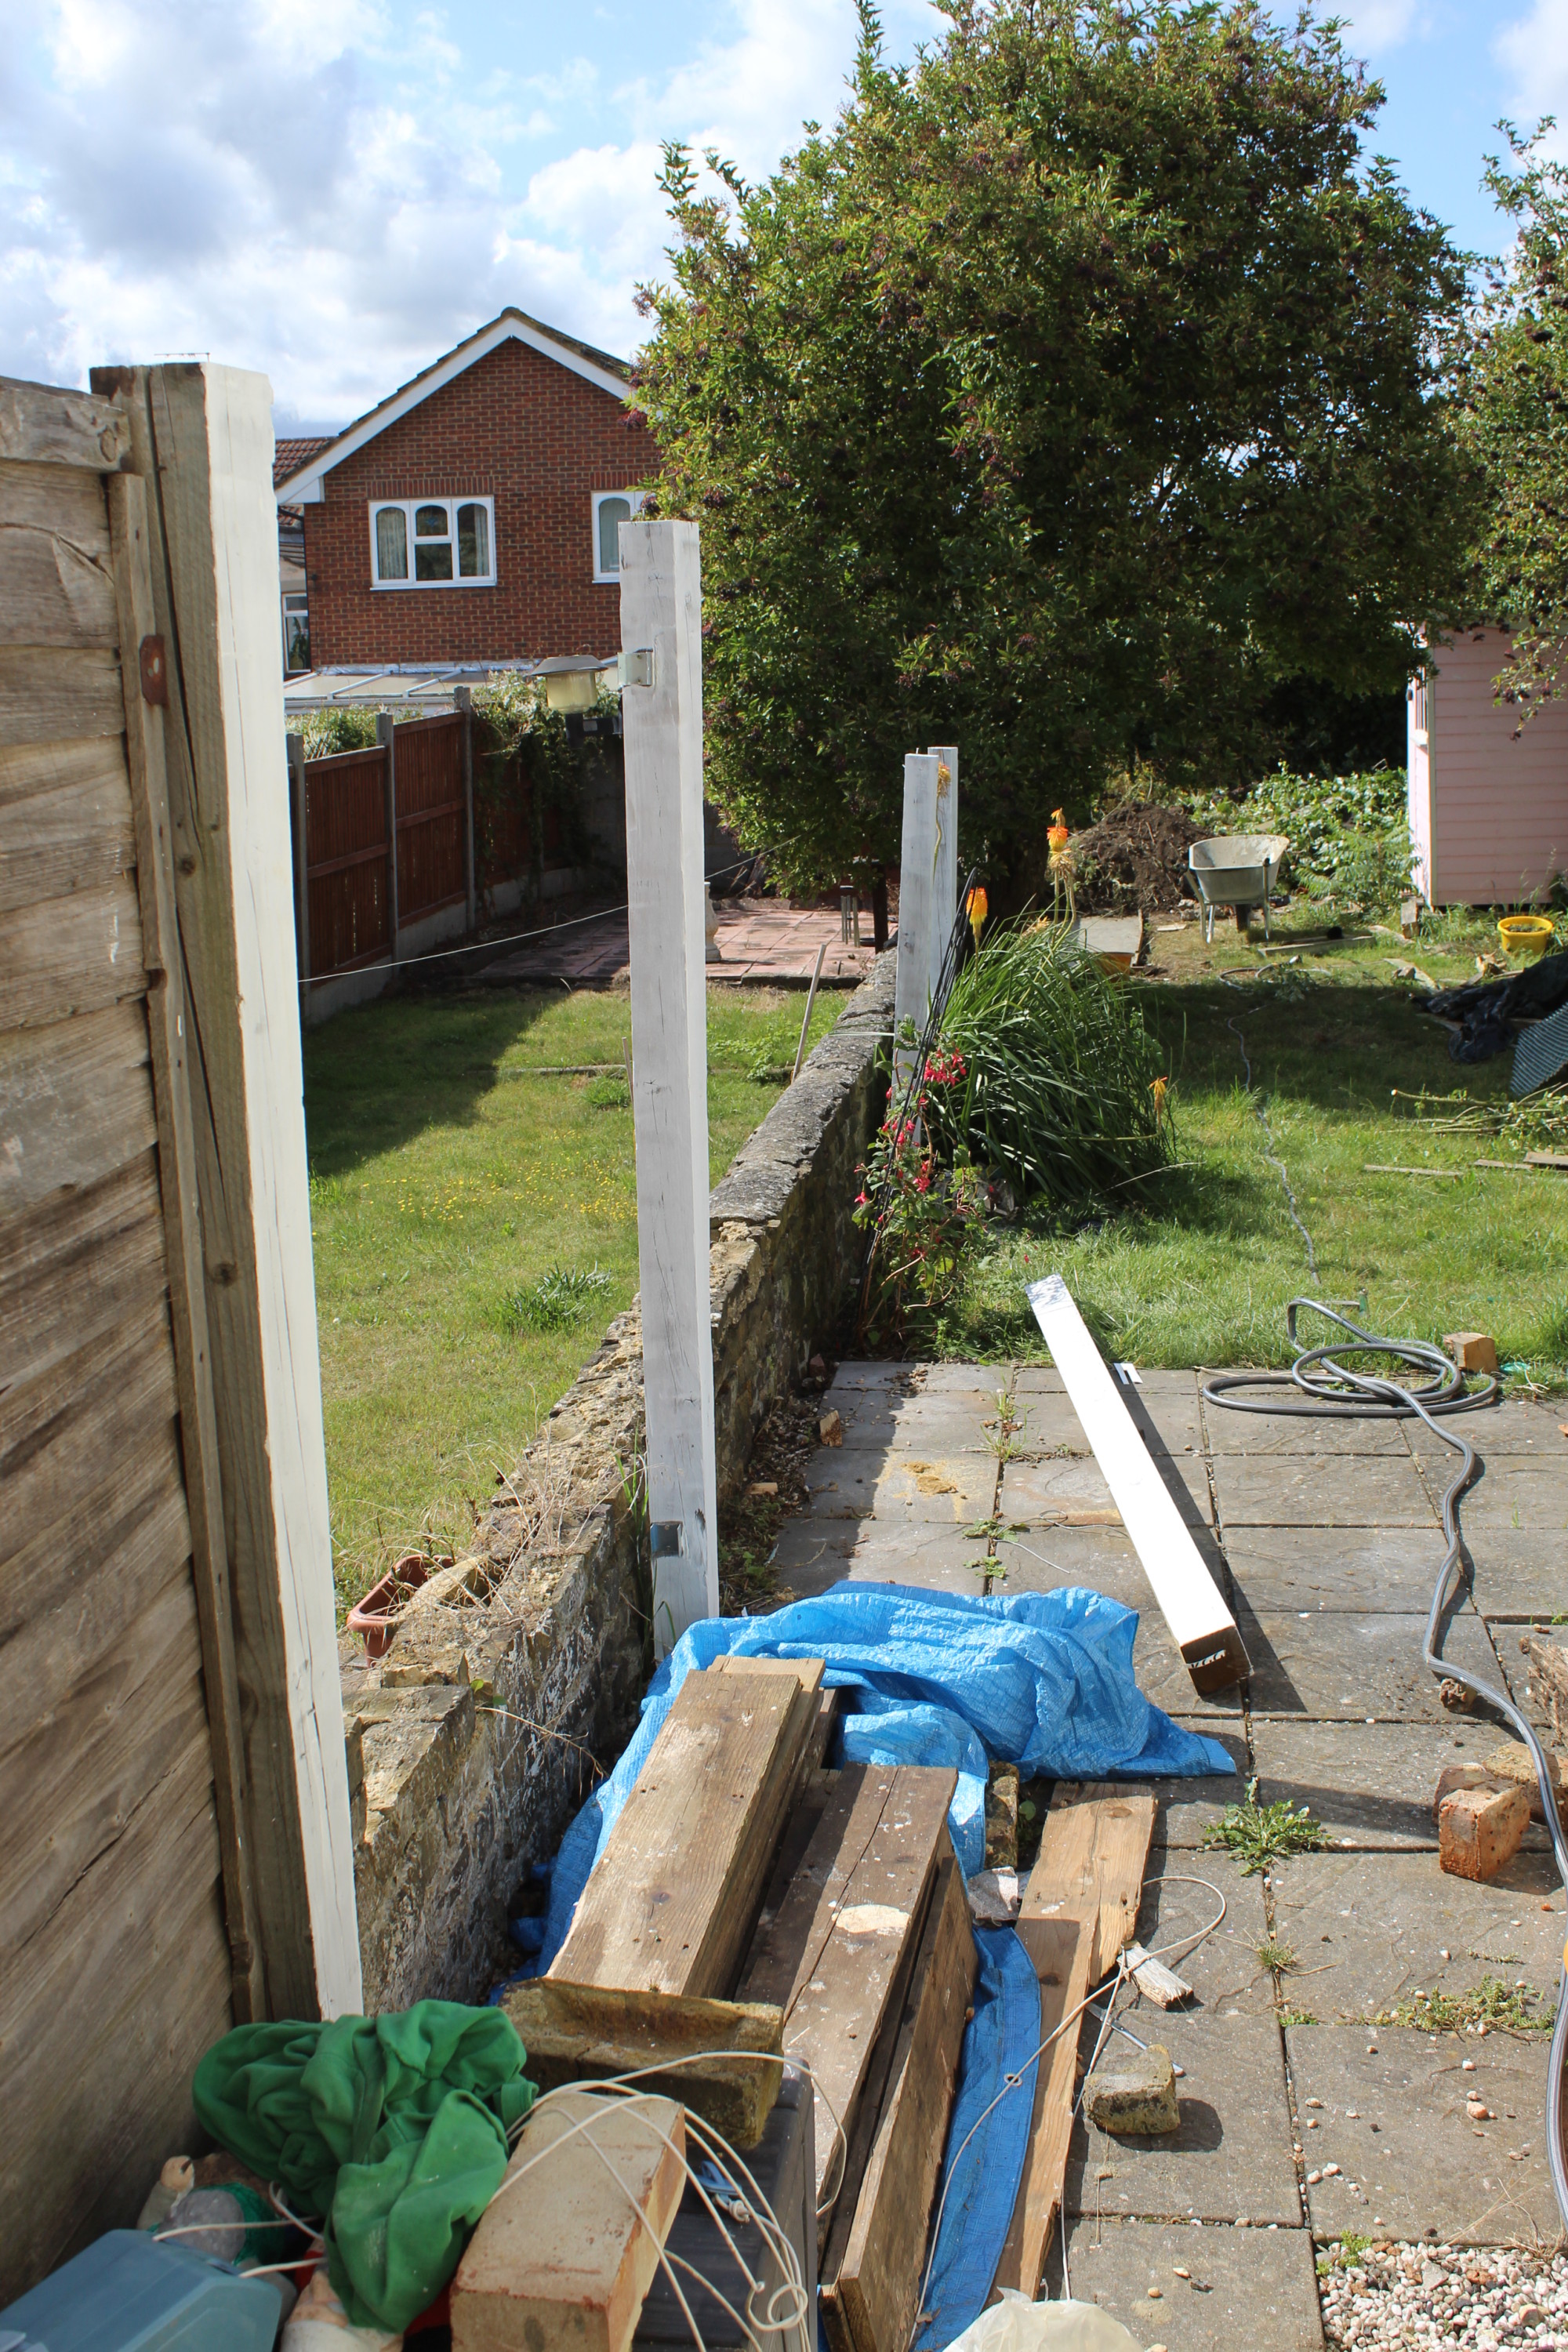
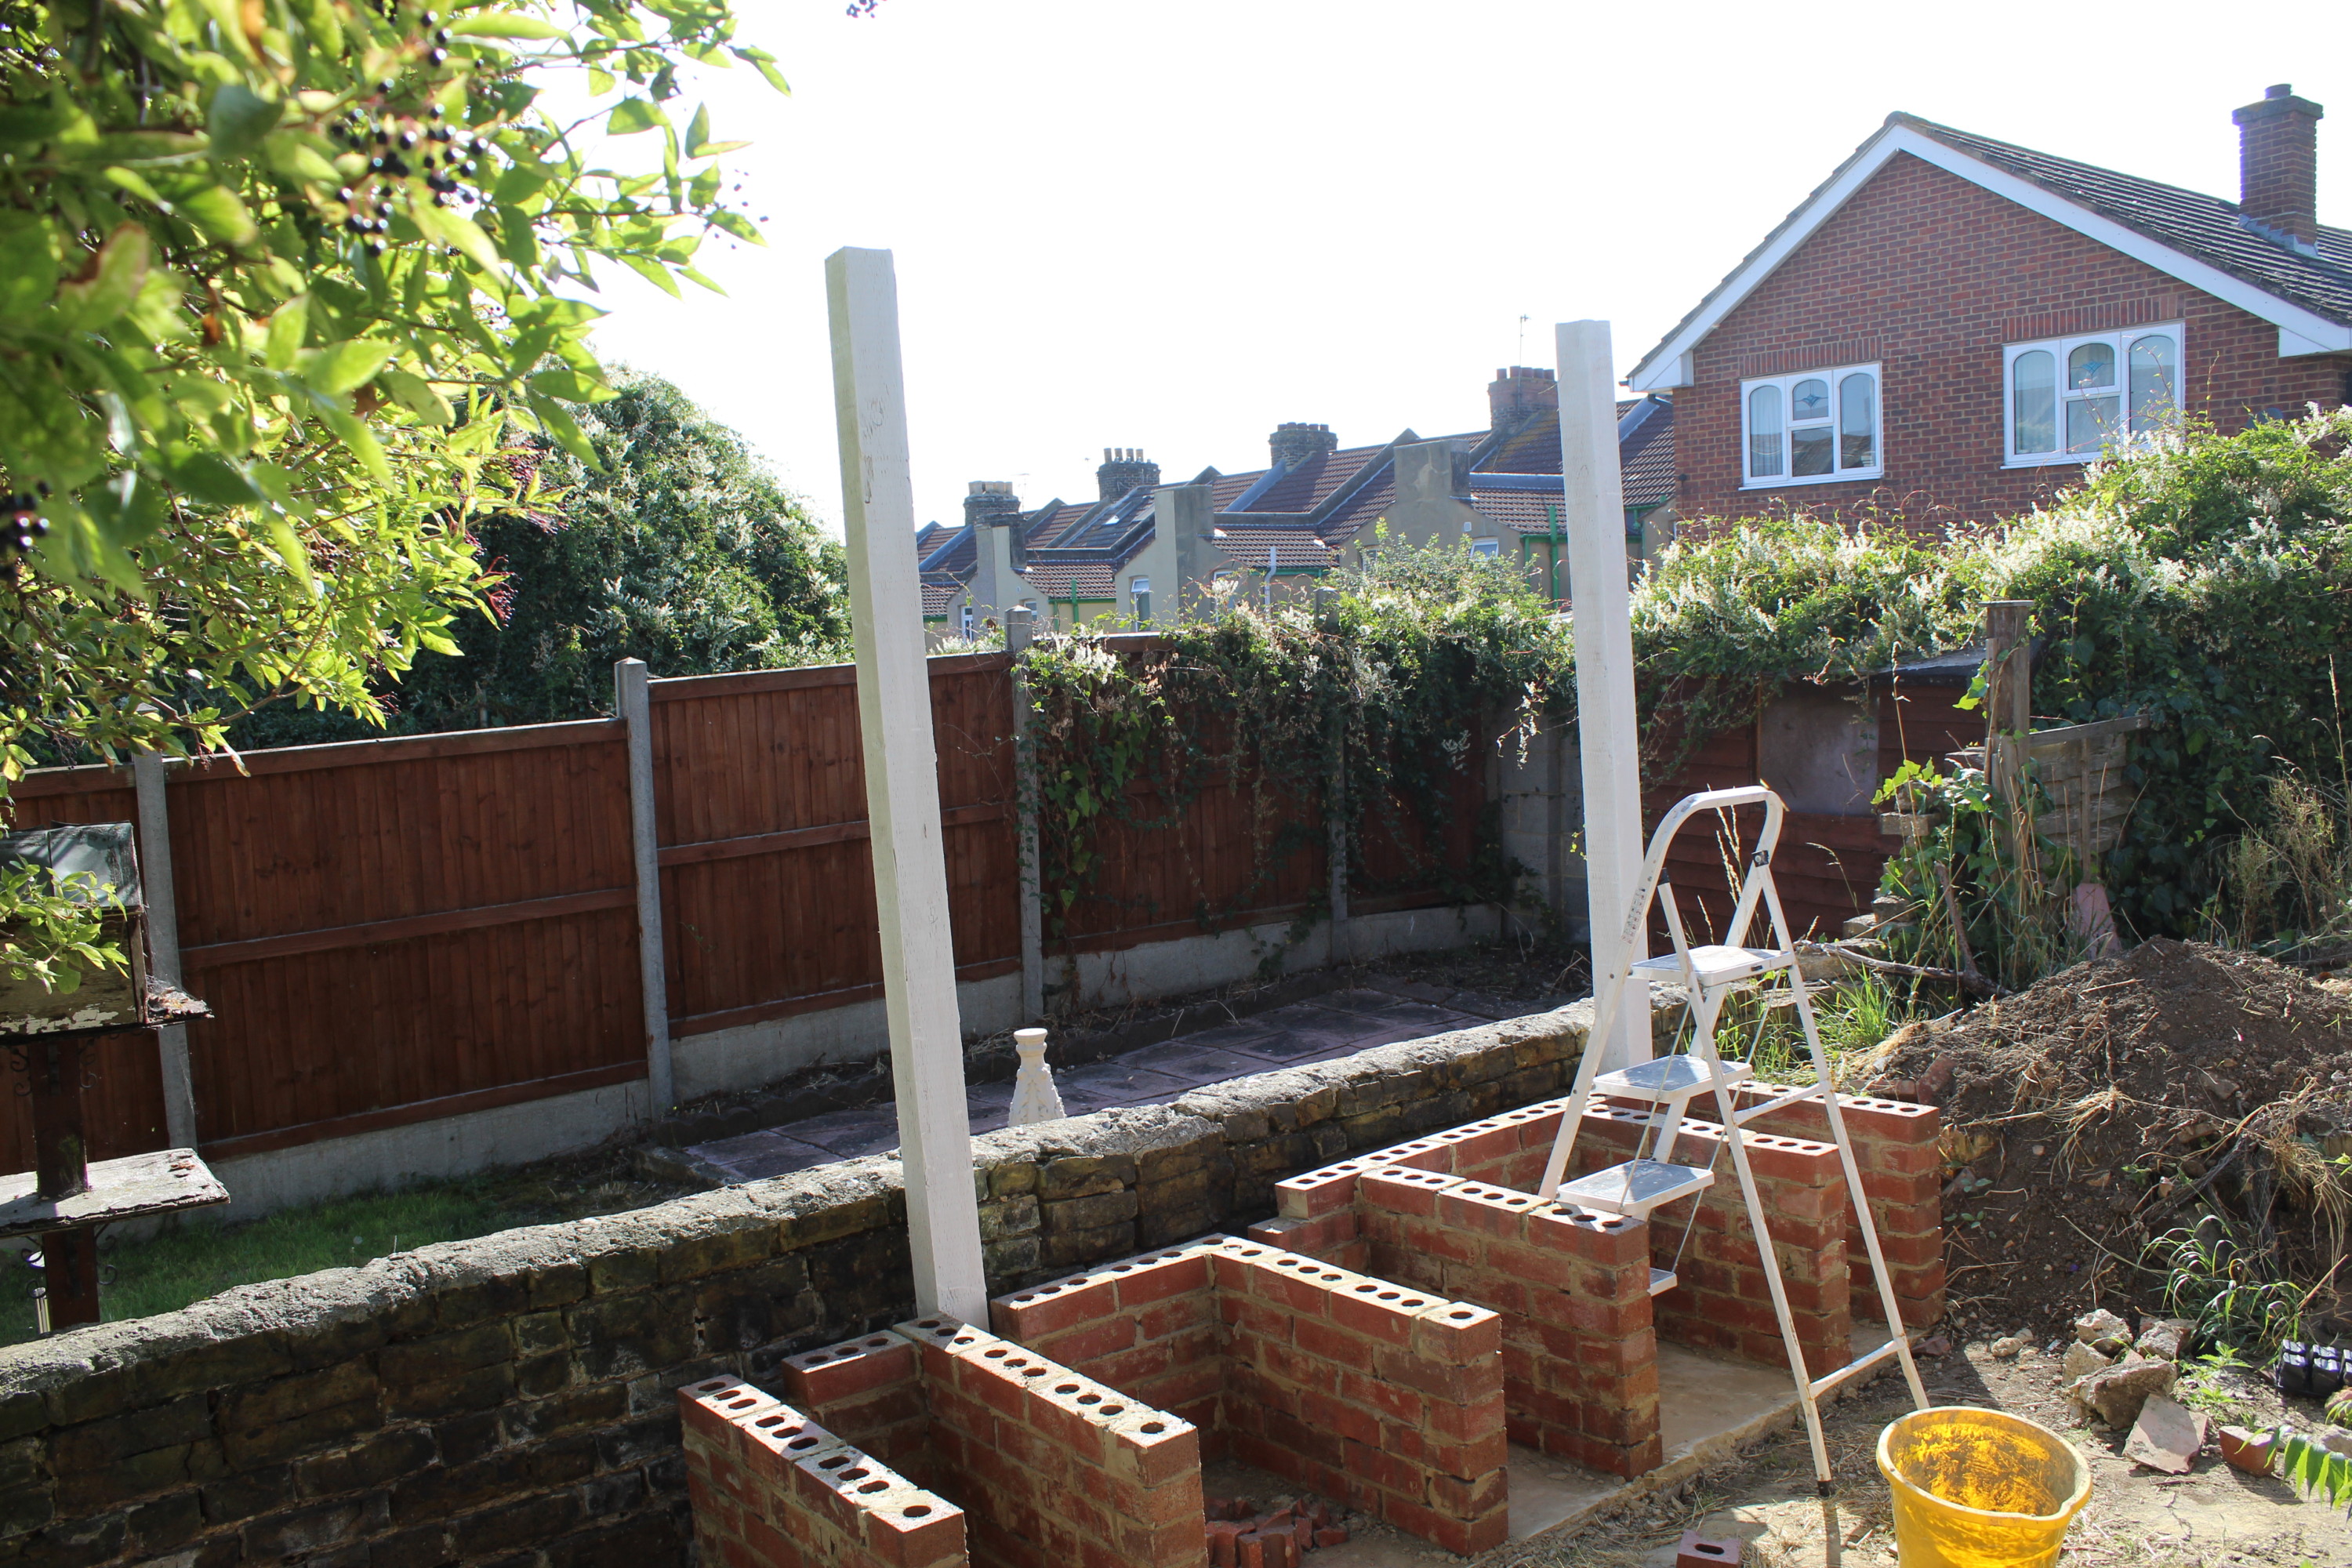
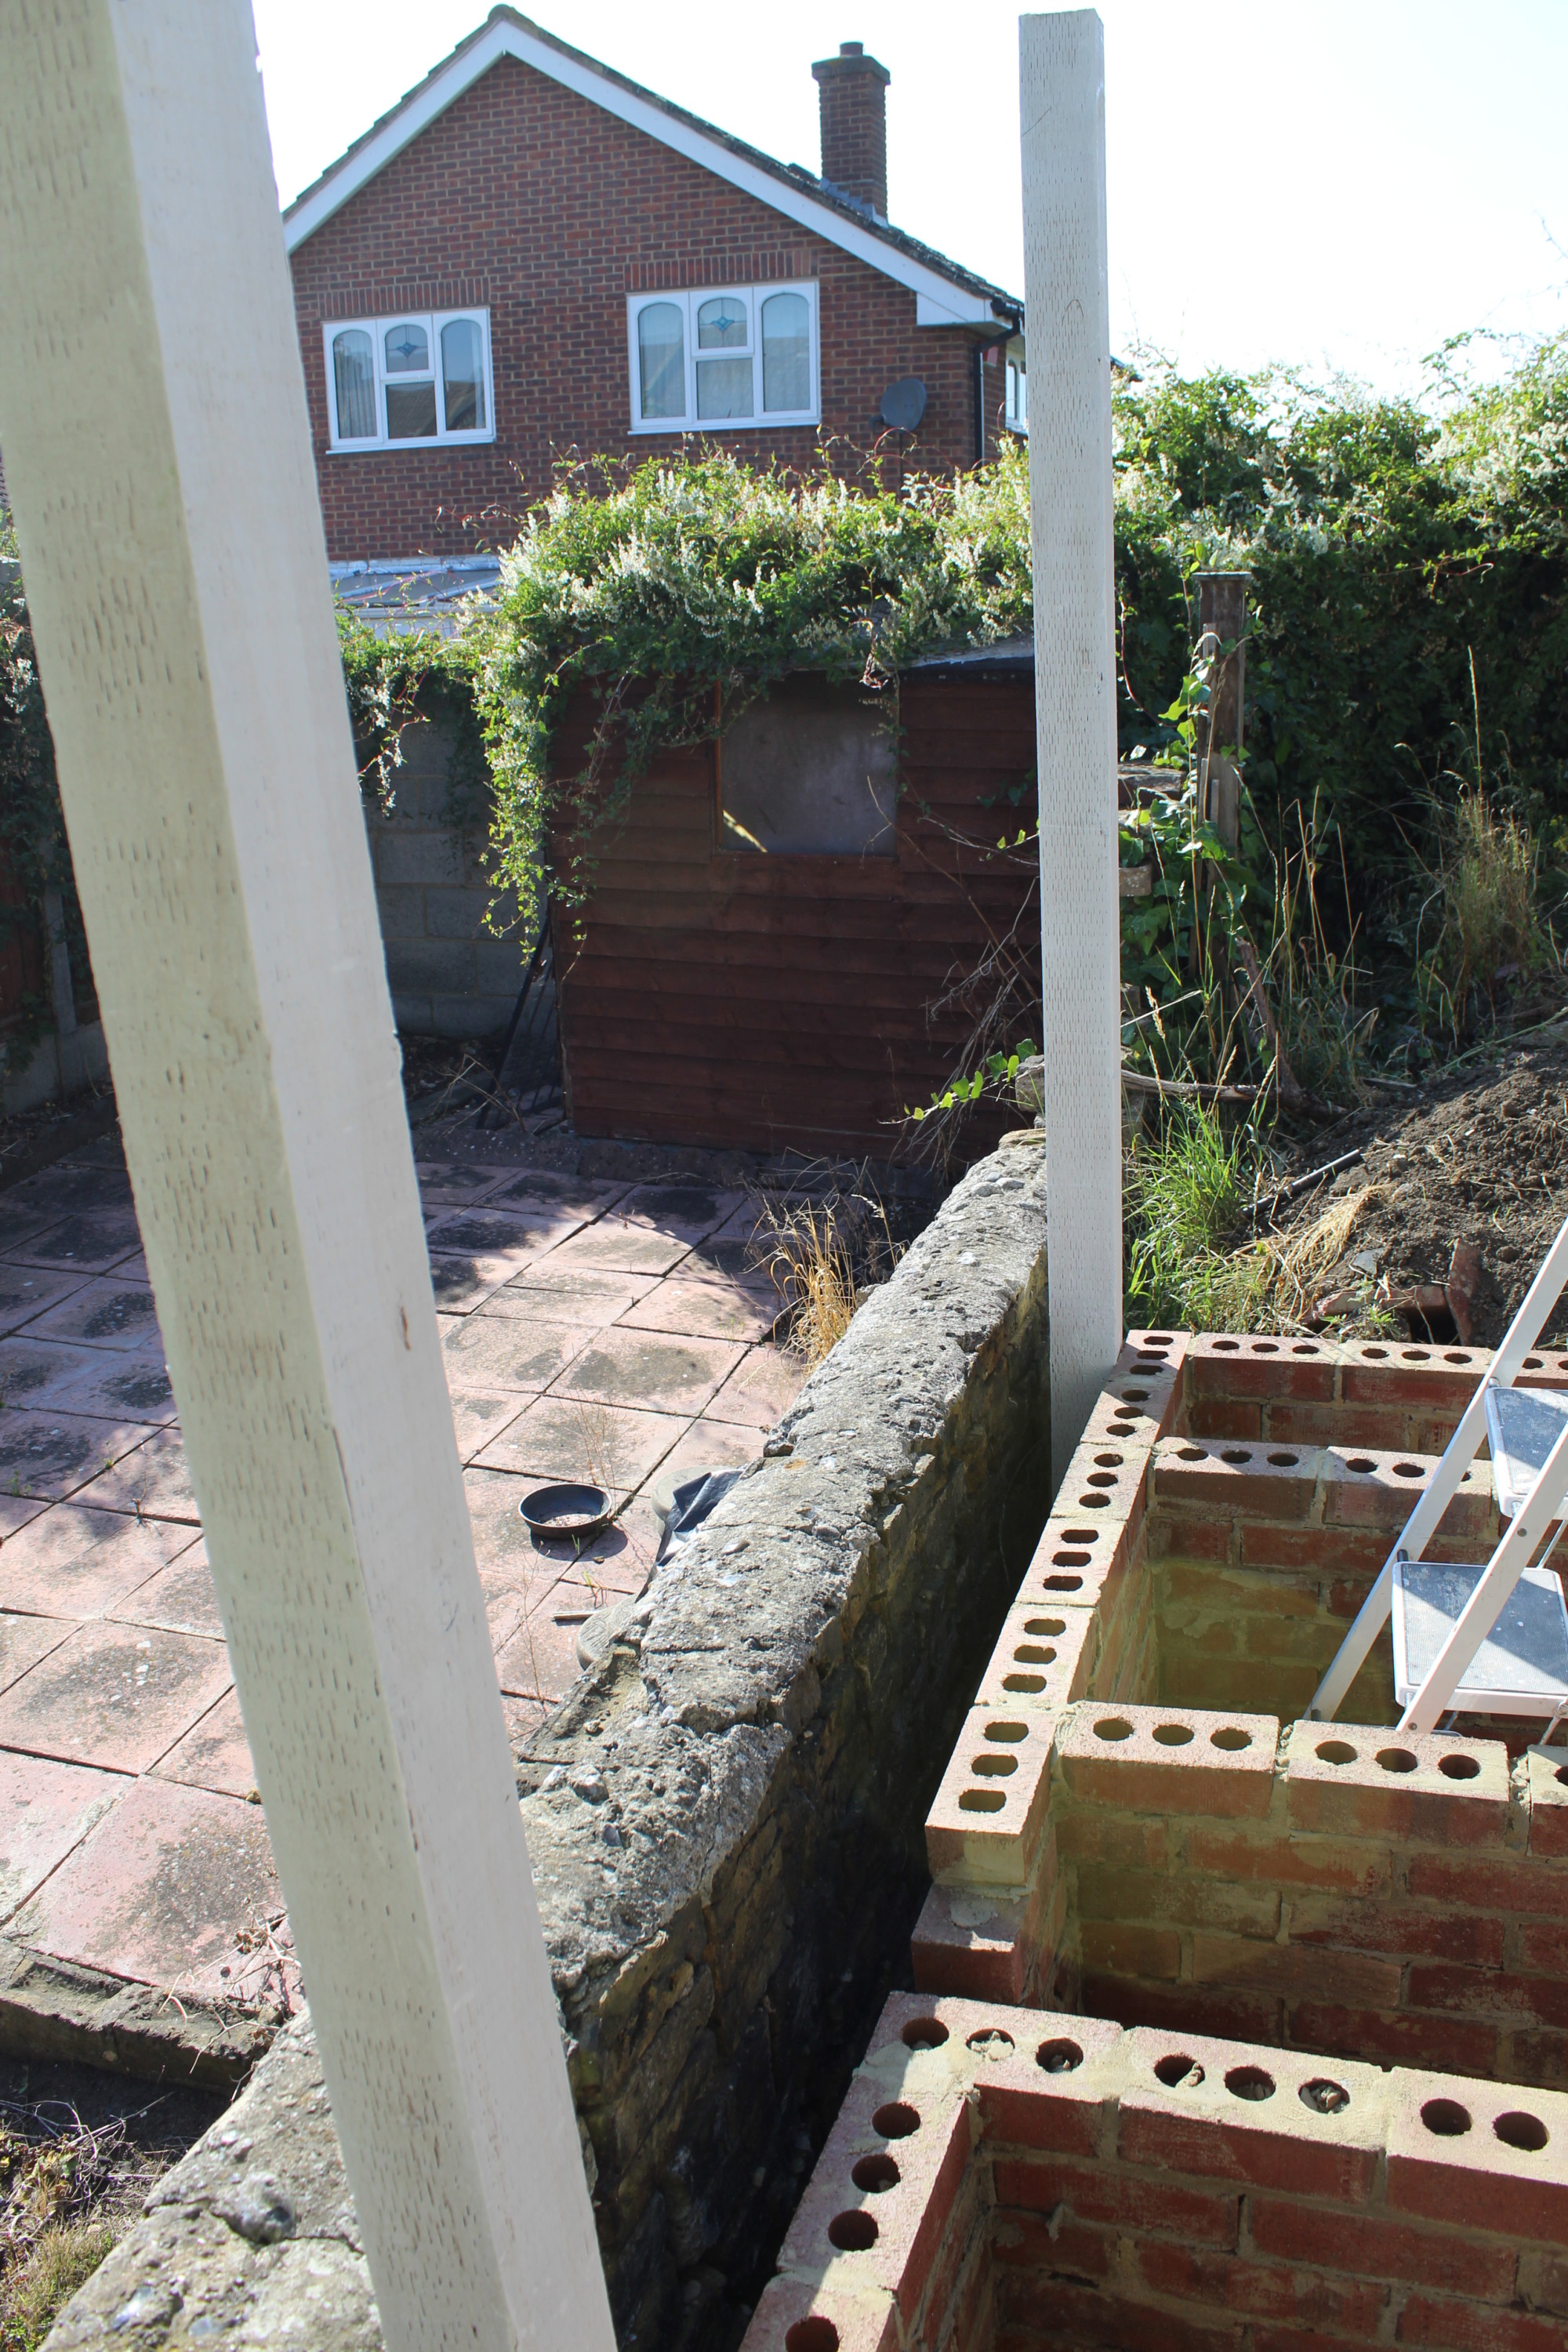
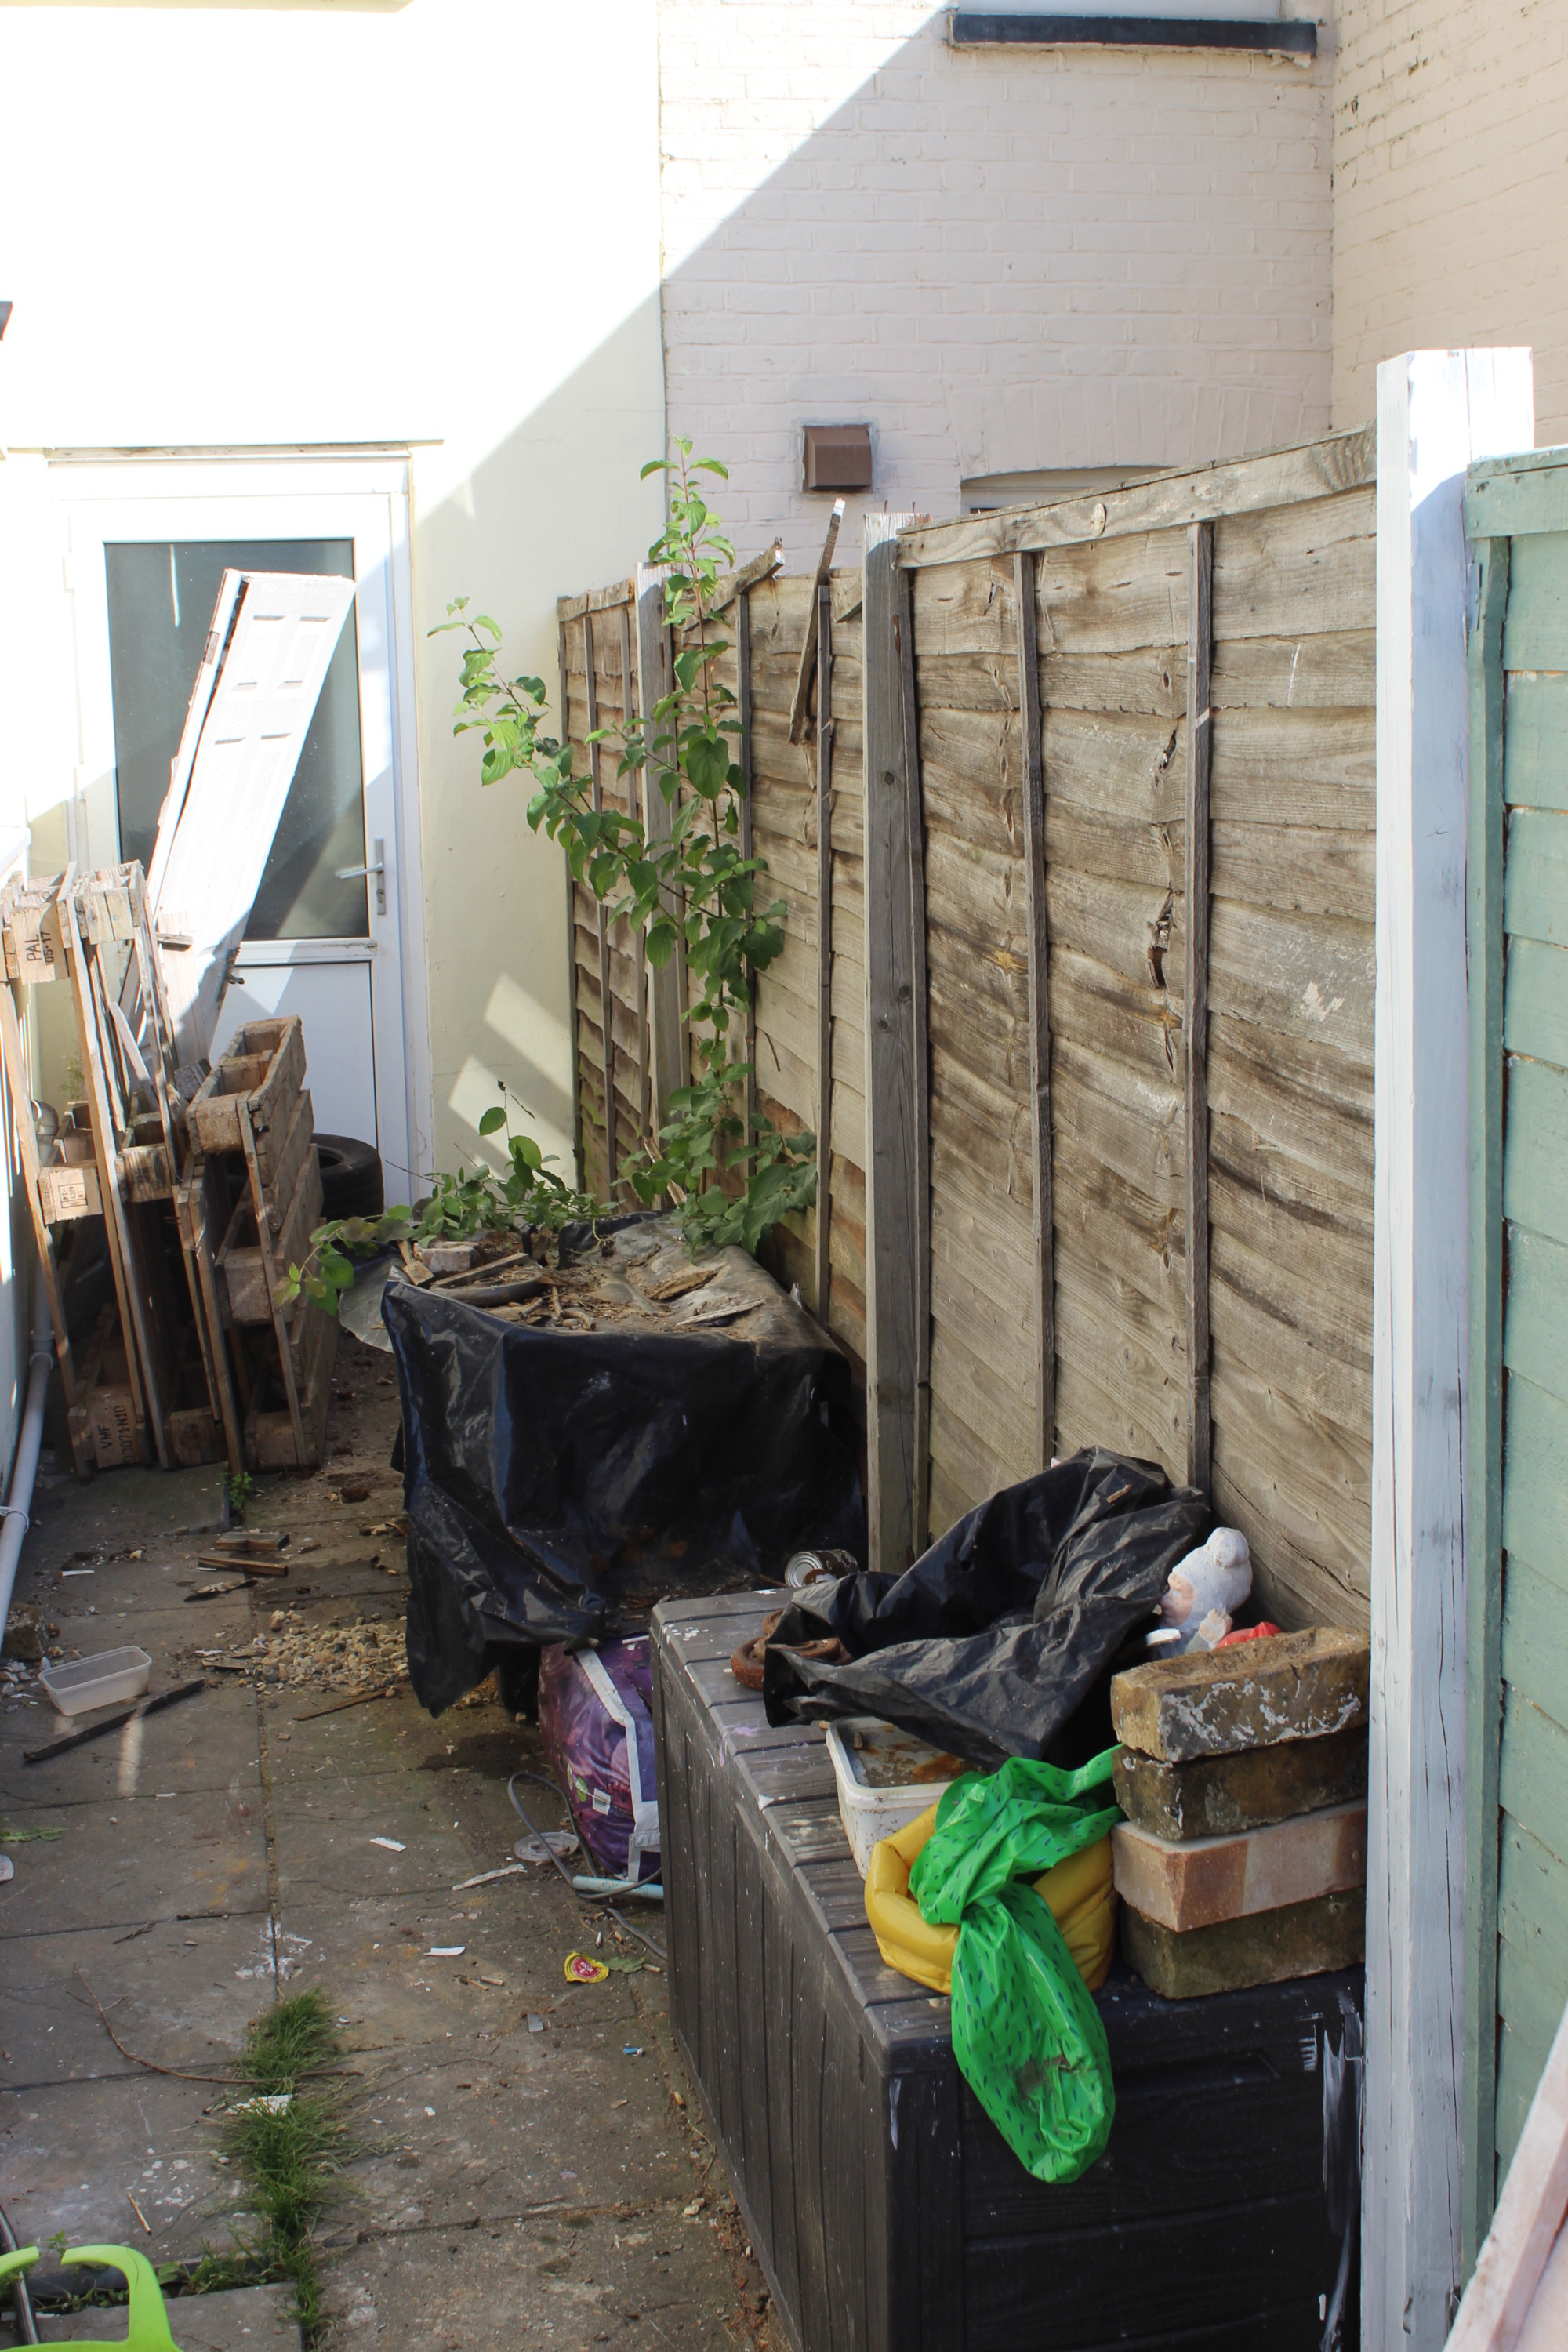
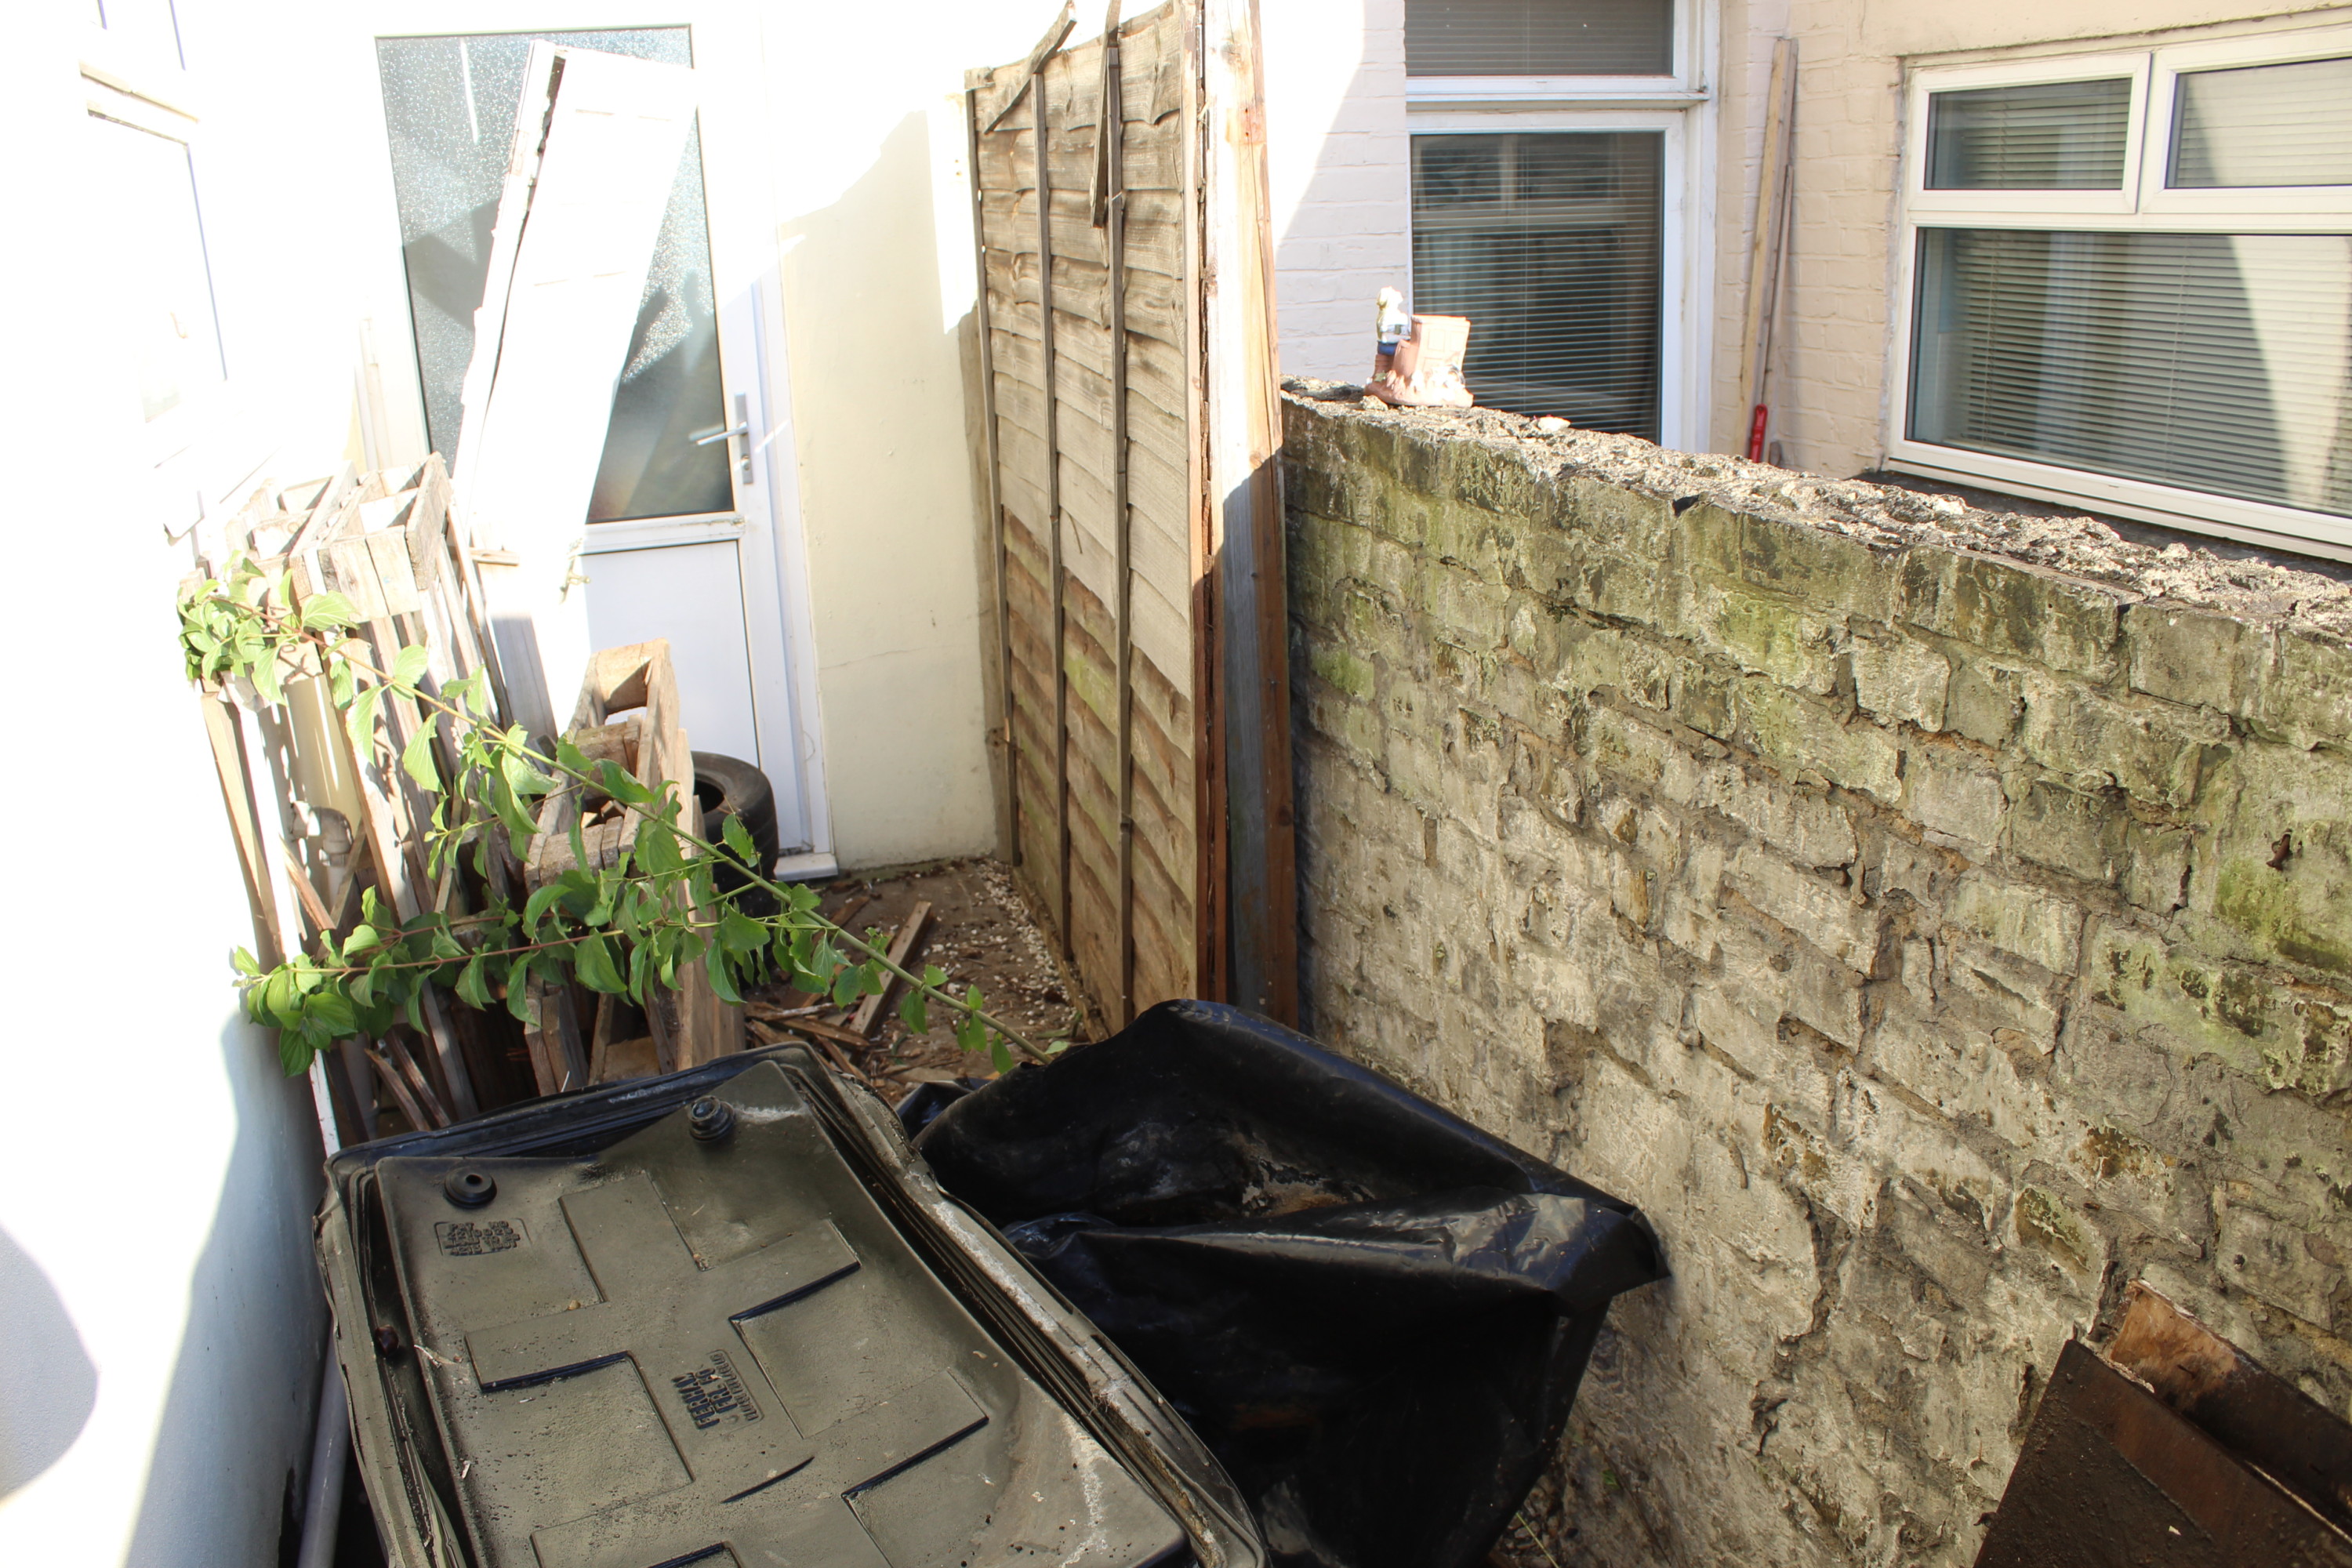
So since we moved in, we have never had a fence down one side of our garden. This was one of those jobs to get around to and now that some of the inside of the house is done, we can start to tackle the garden.

A Before Picture Where The Fence Is Missing
The Area With The Missing Fence Panels. Should Look A Lot Better When It Is Finished.

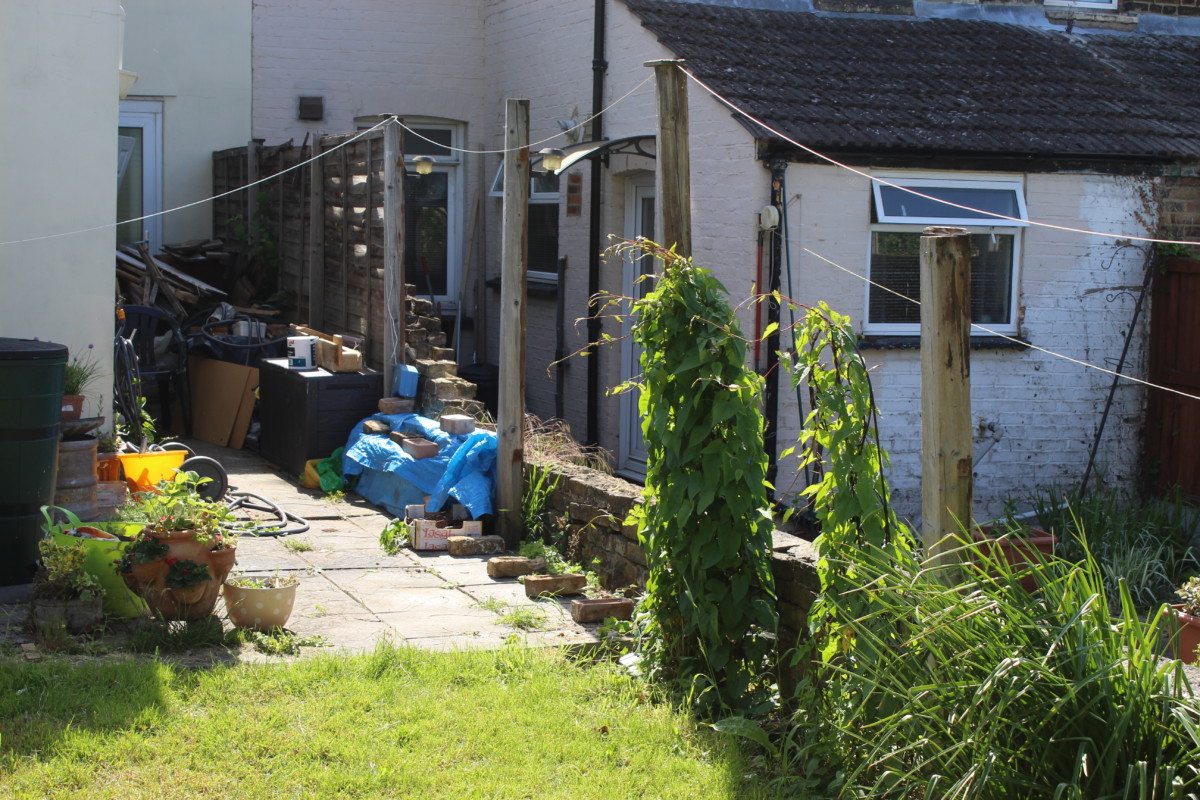
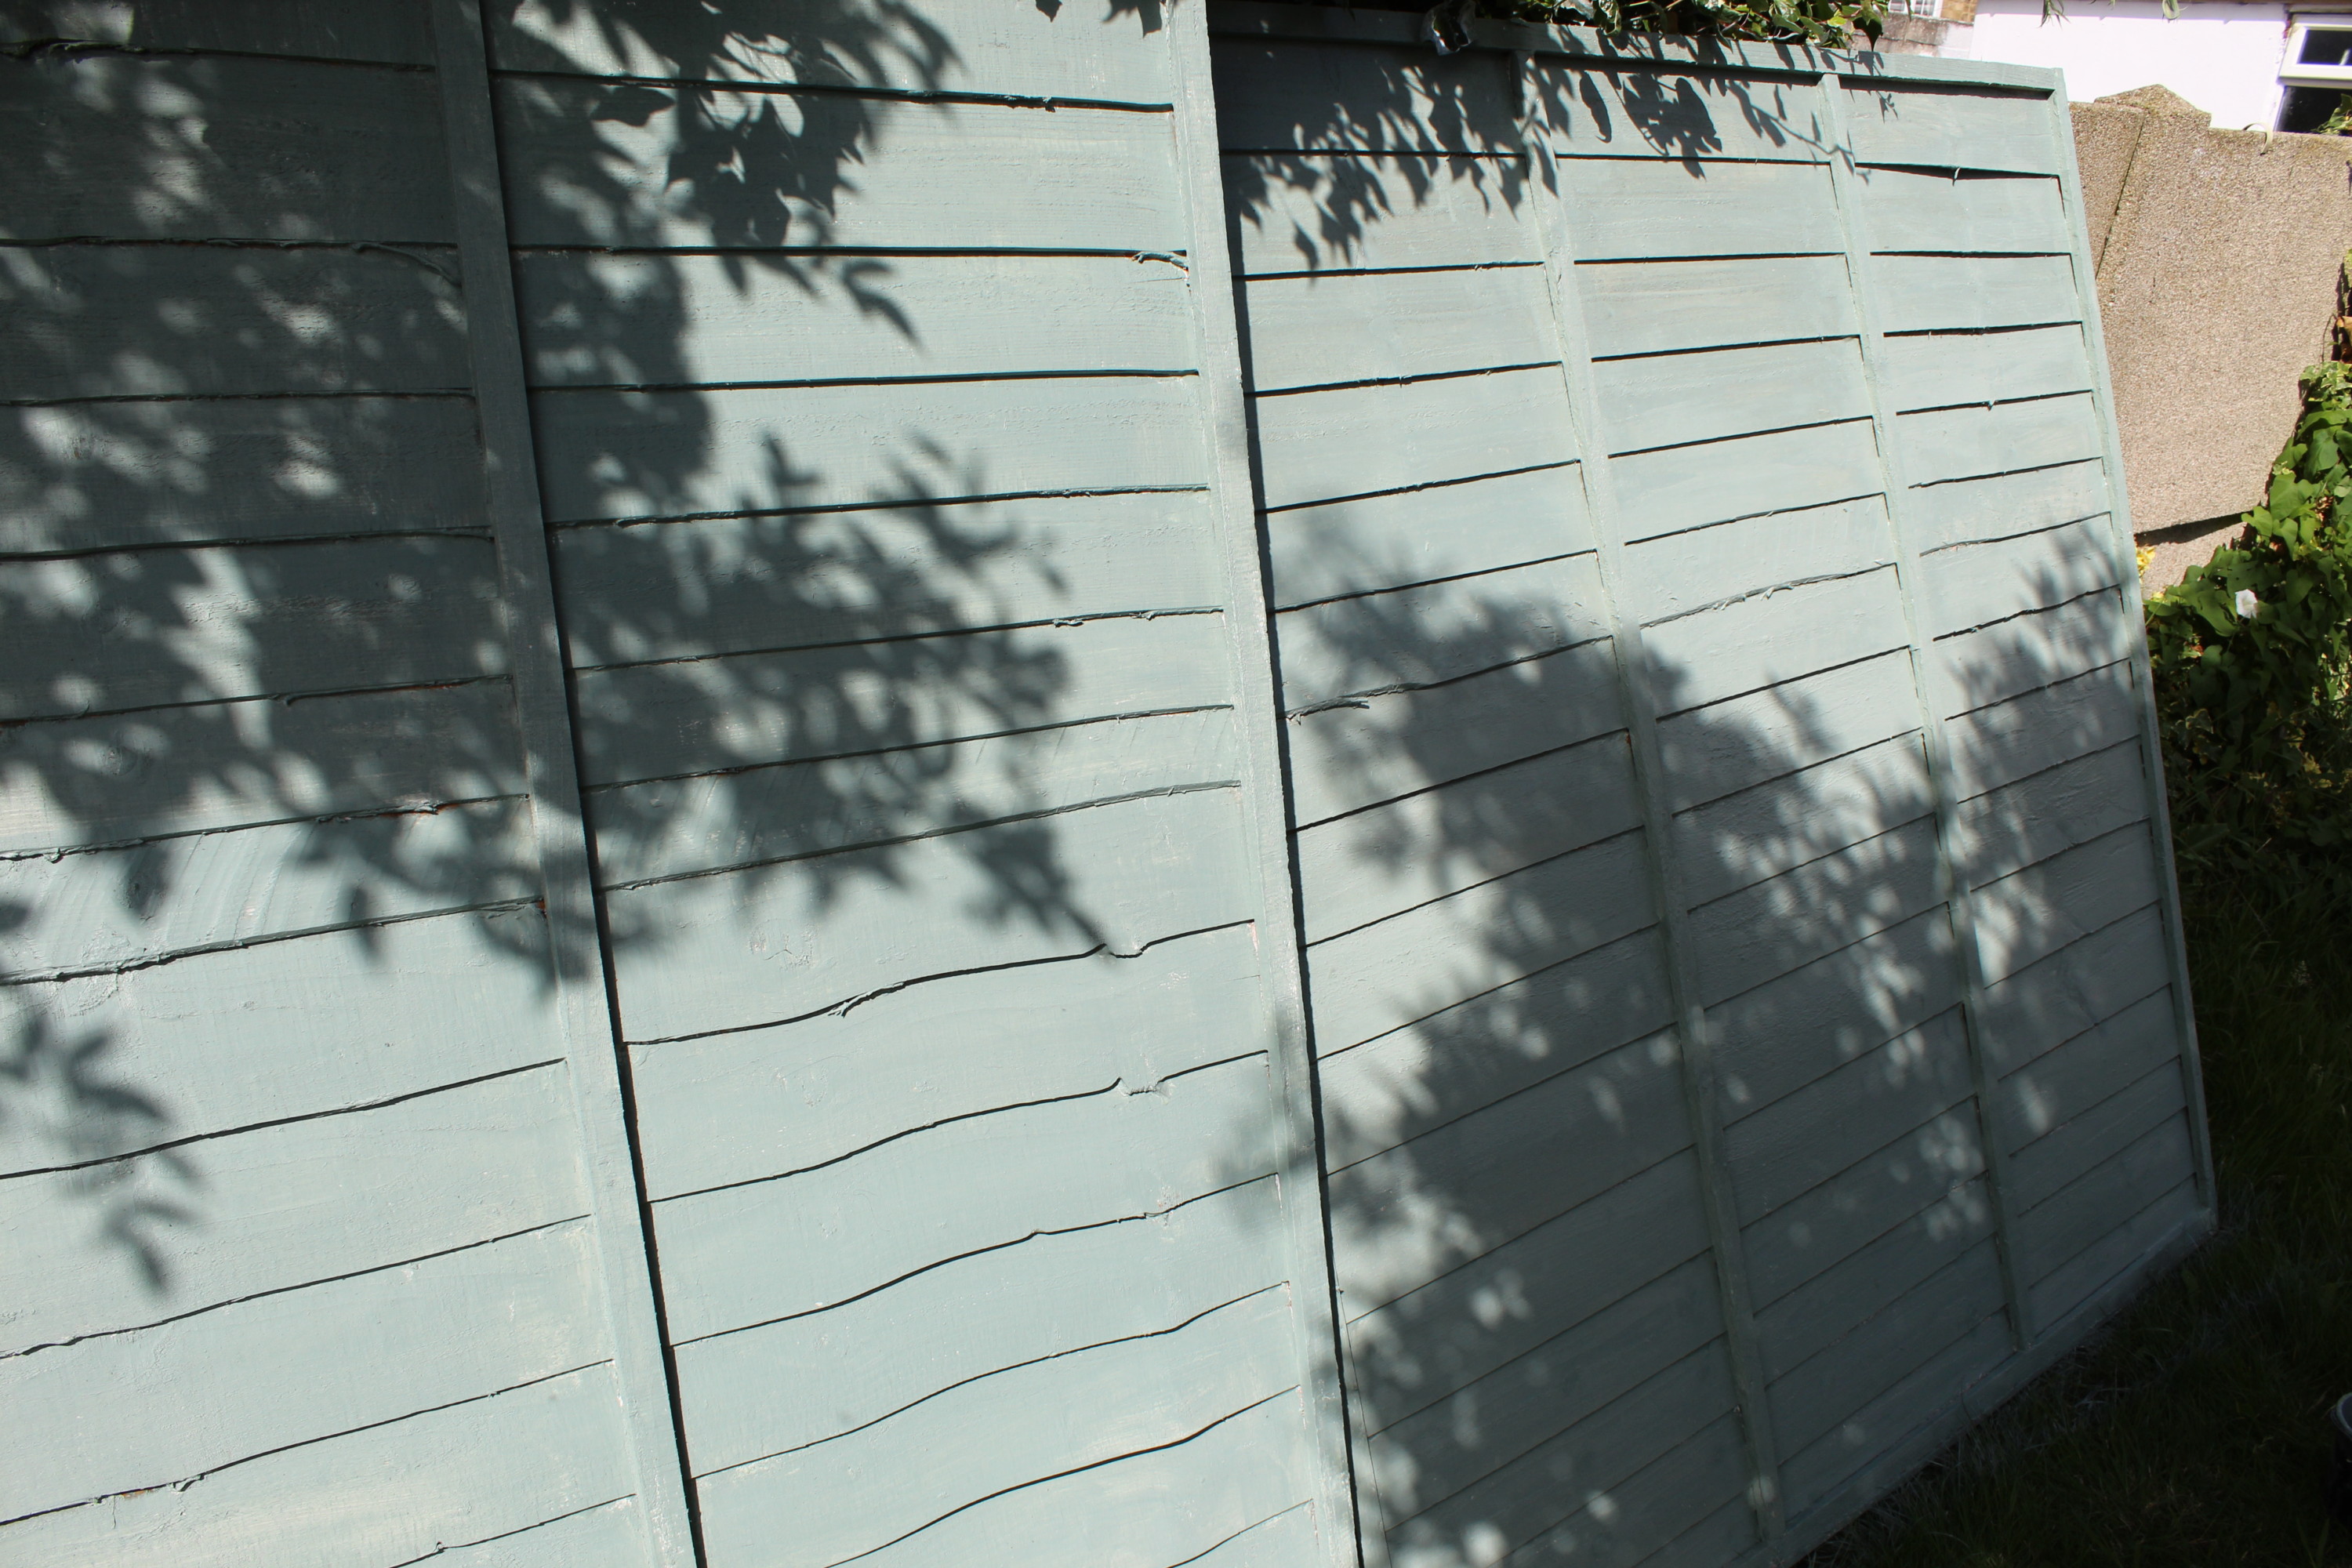
As you can see there are a few panels near to the house, but the rest is no longer there. So basically we are going to fit 2 fence panels and some trellis. The Sam has already started some climbing plants in preparation for the trellis and she has picked out a nice sage green garden paint by Ronseal.

The Missing Fence Panels
As You Can See There Are No Fence Panels Along This Part Of The Garden.

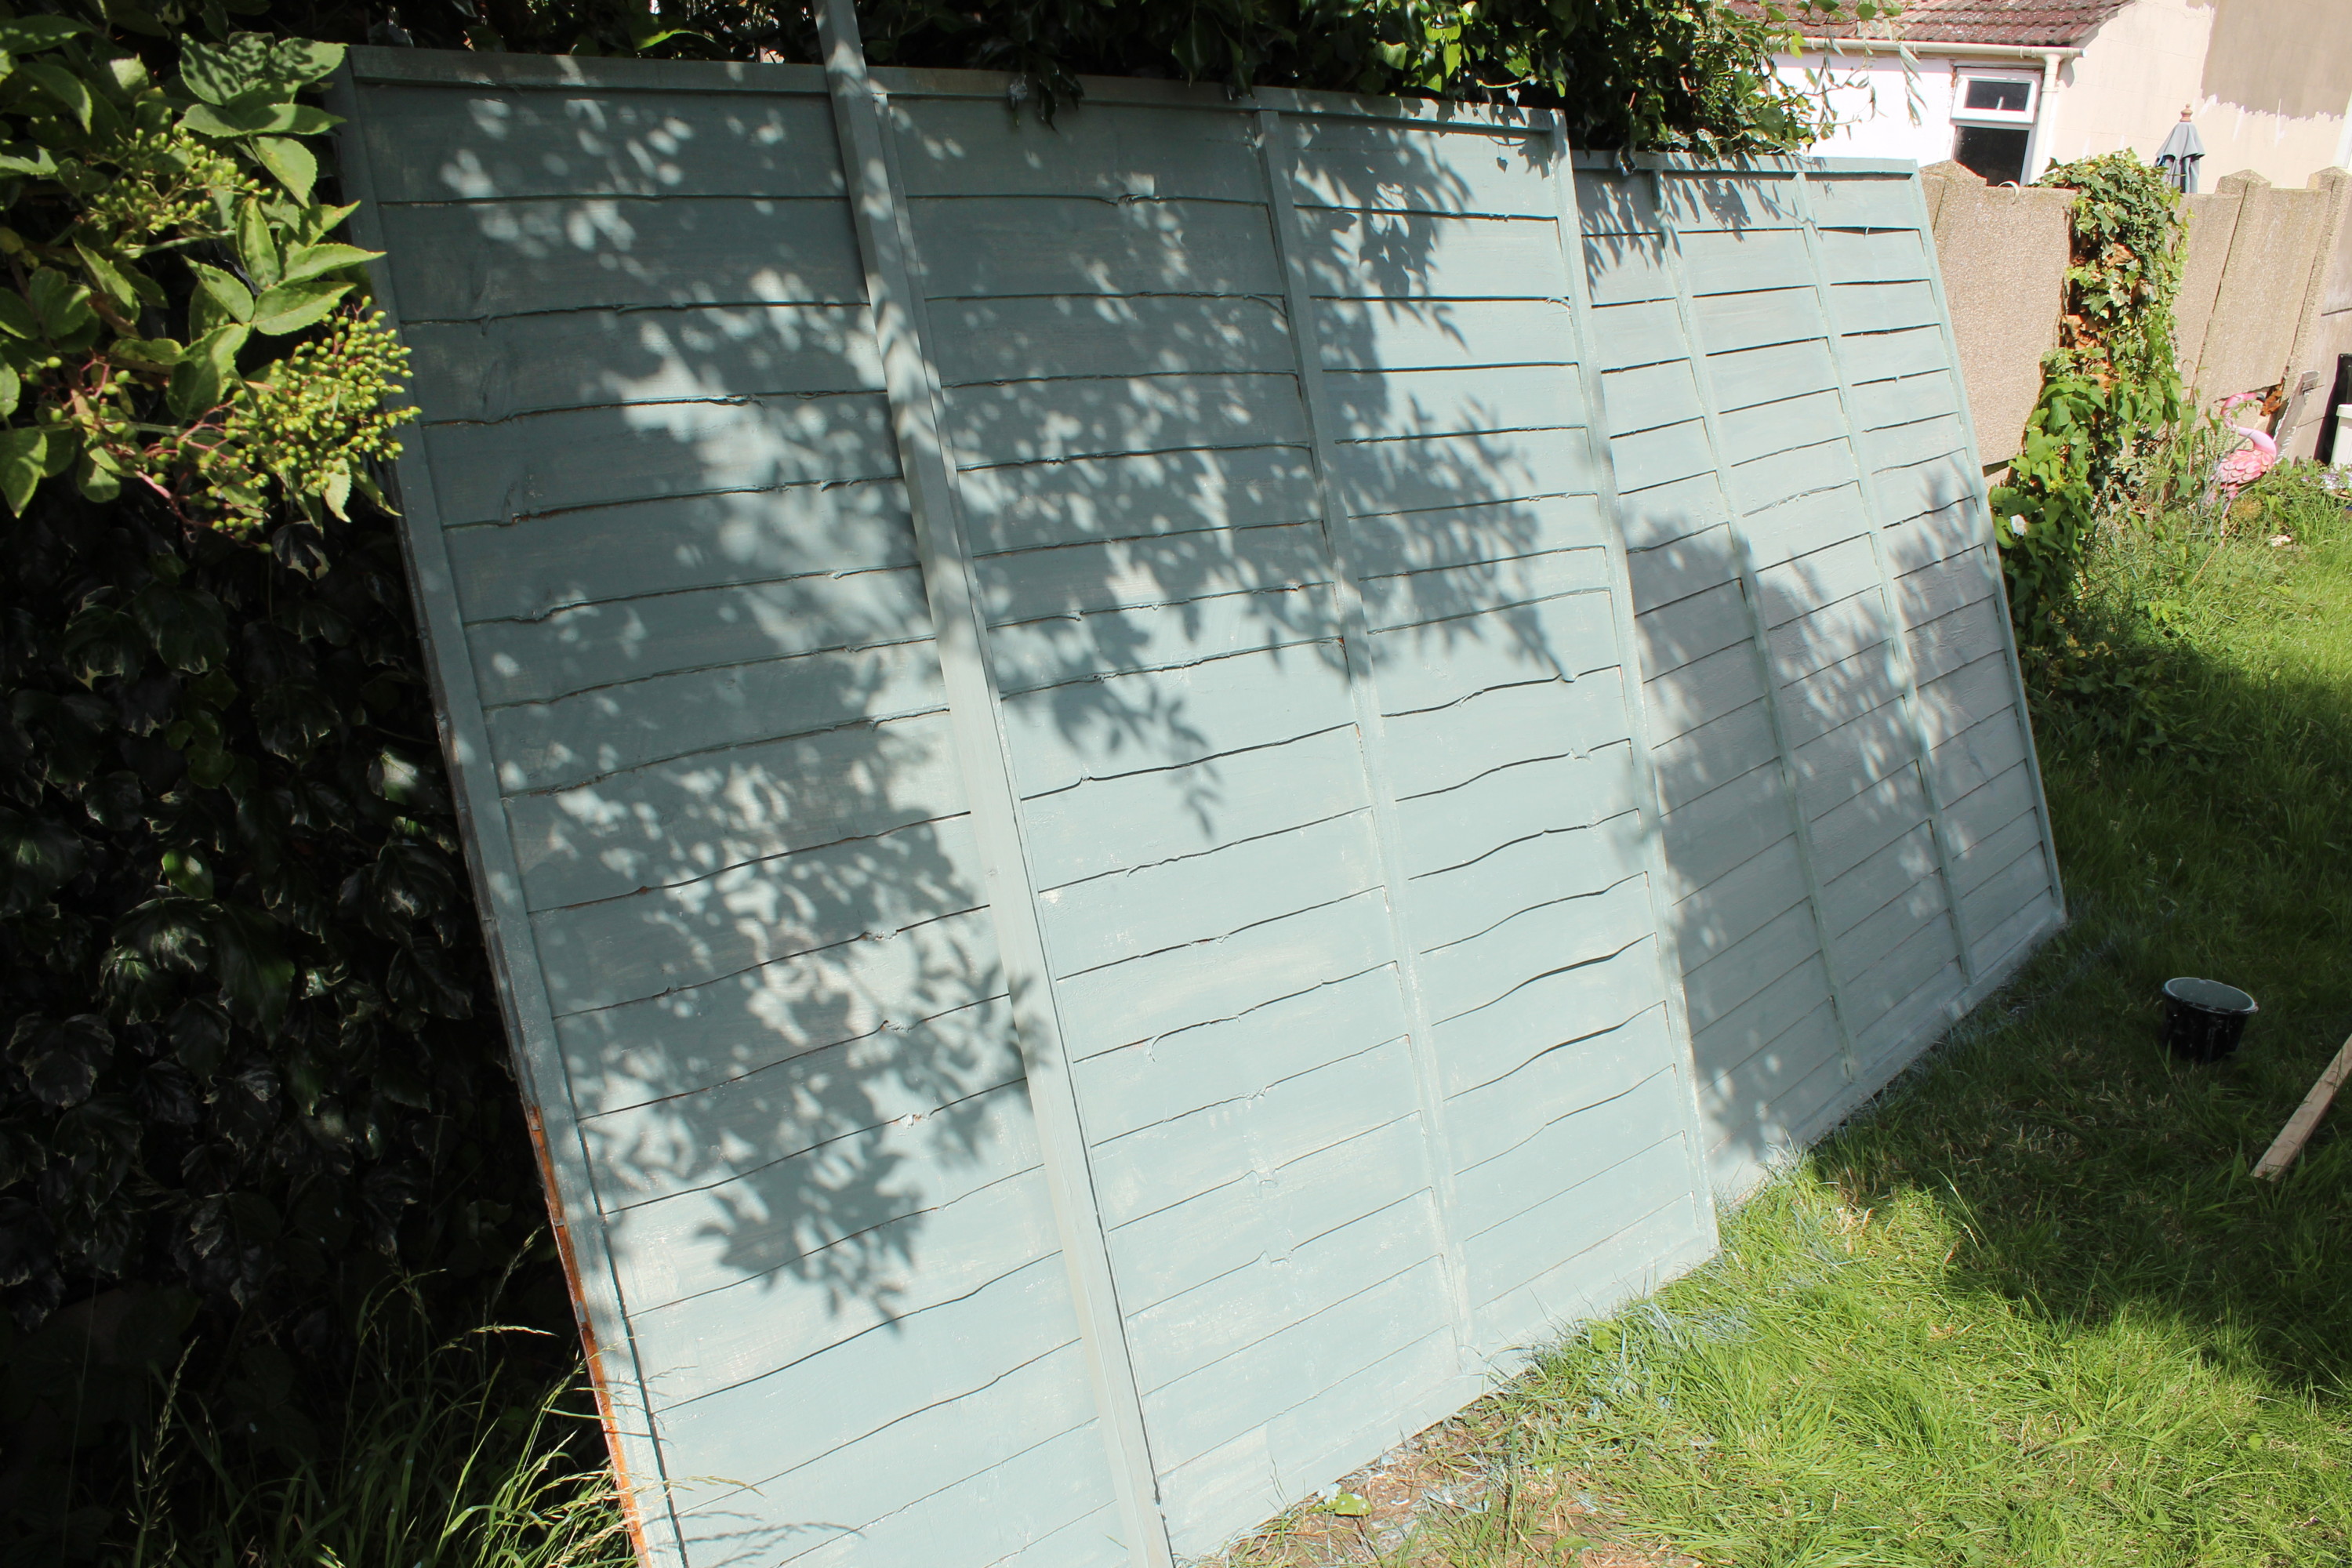
Just going to be using the cheapest fence panels from B&Q, They don’t look amazing but I think once they are all painted up they should look pretty good.

Quite A Bit Of Saw Dust That Needs To Be Cleaned Off
The New Fence Panels Have Quite A Lot Of Sawdust On Them That Will Need To Be Removed Before Painting.
Fence Panels Cleaned Up And Ready For Undercoat
Using A Dustpan Brush, I have Brushed Off All The Sawdust And The Fence Panels Are Now Ready To Be Painted With An Undercoat.

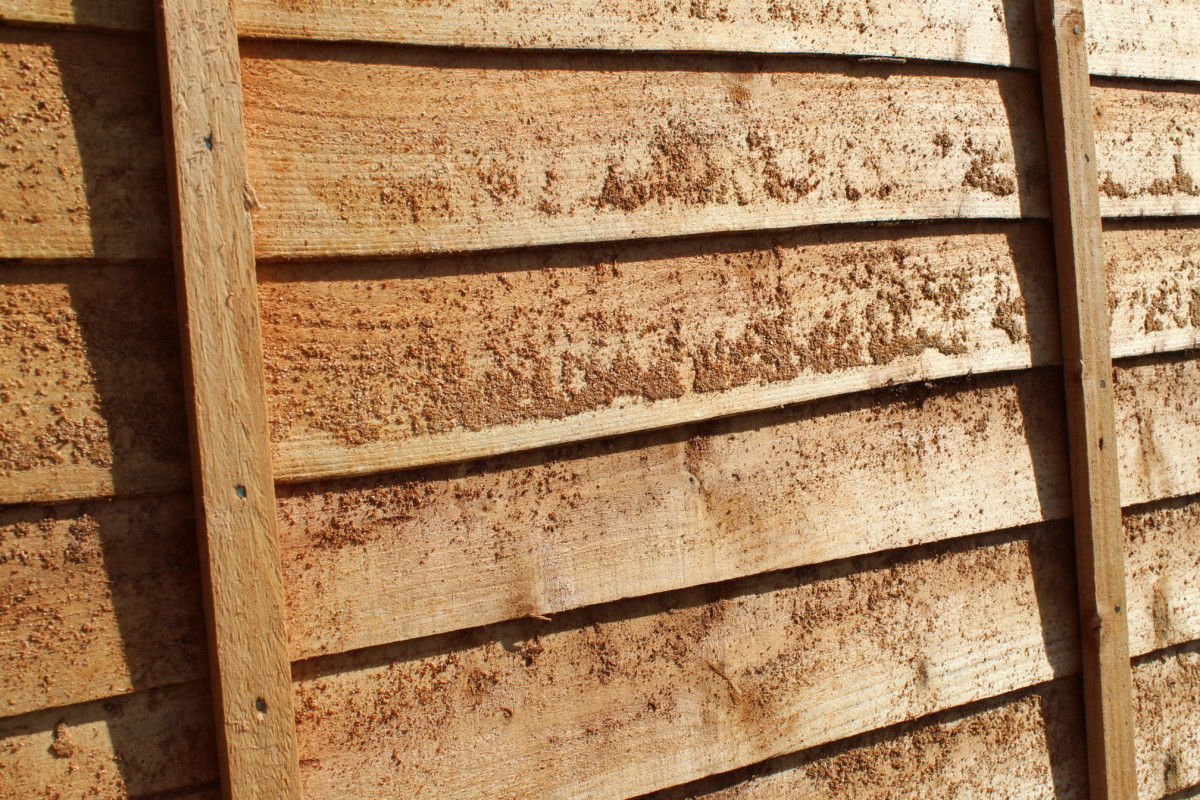
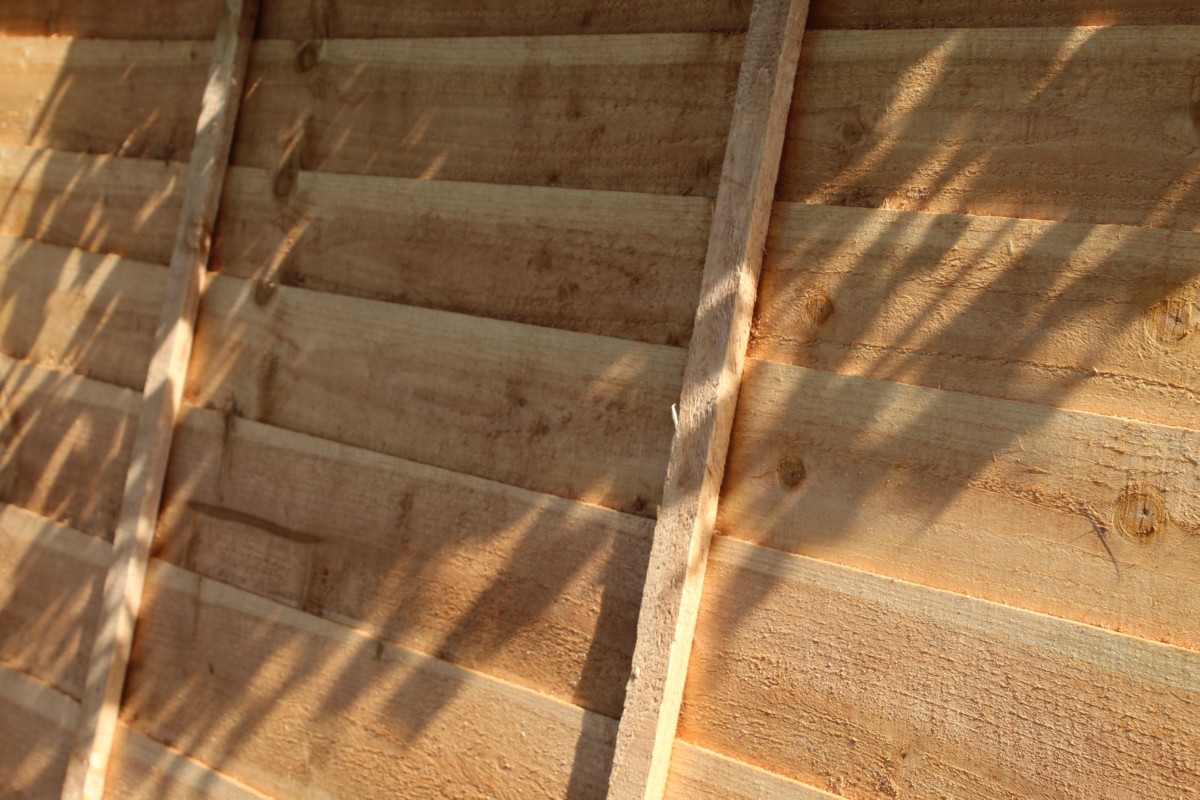
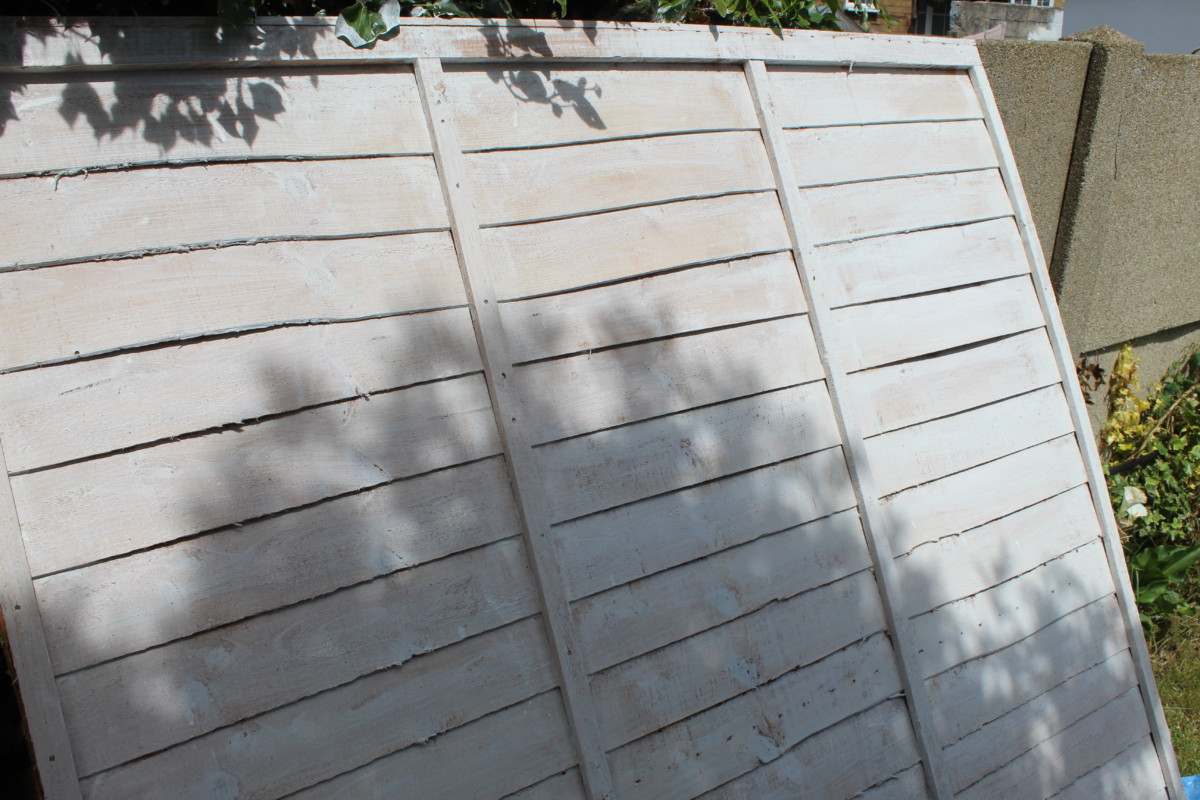
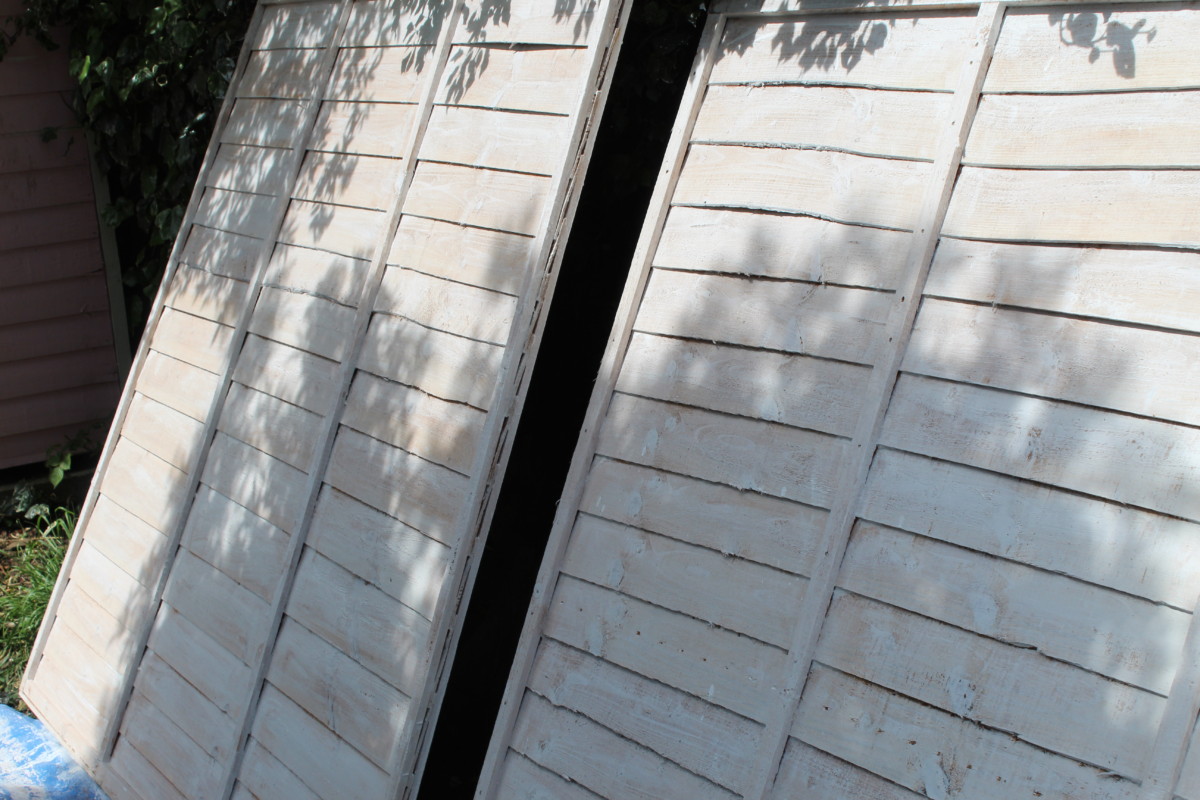
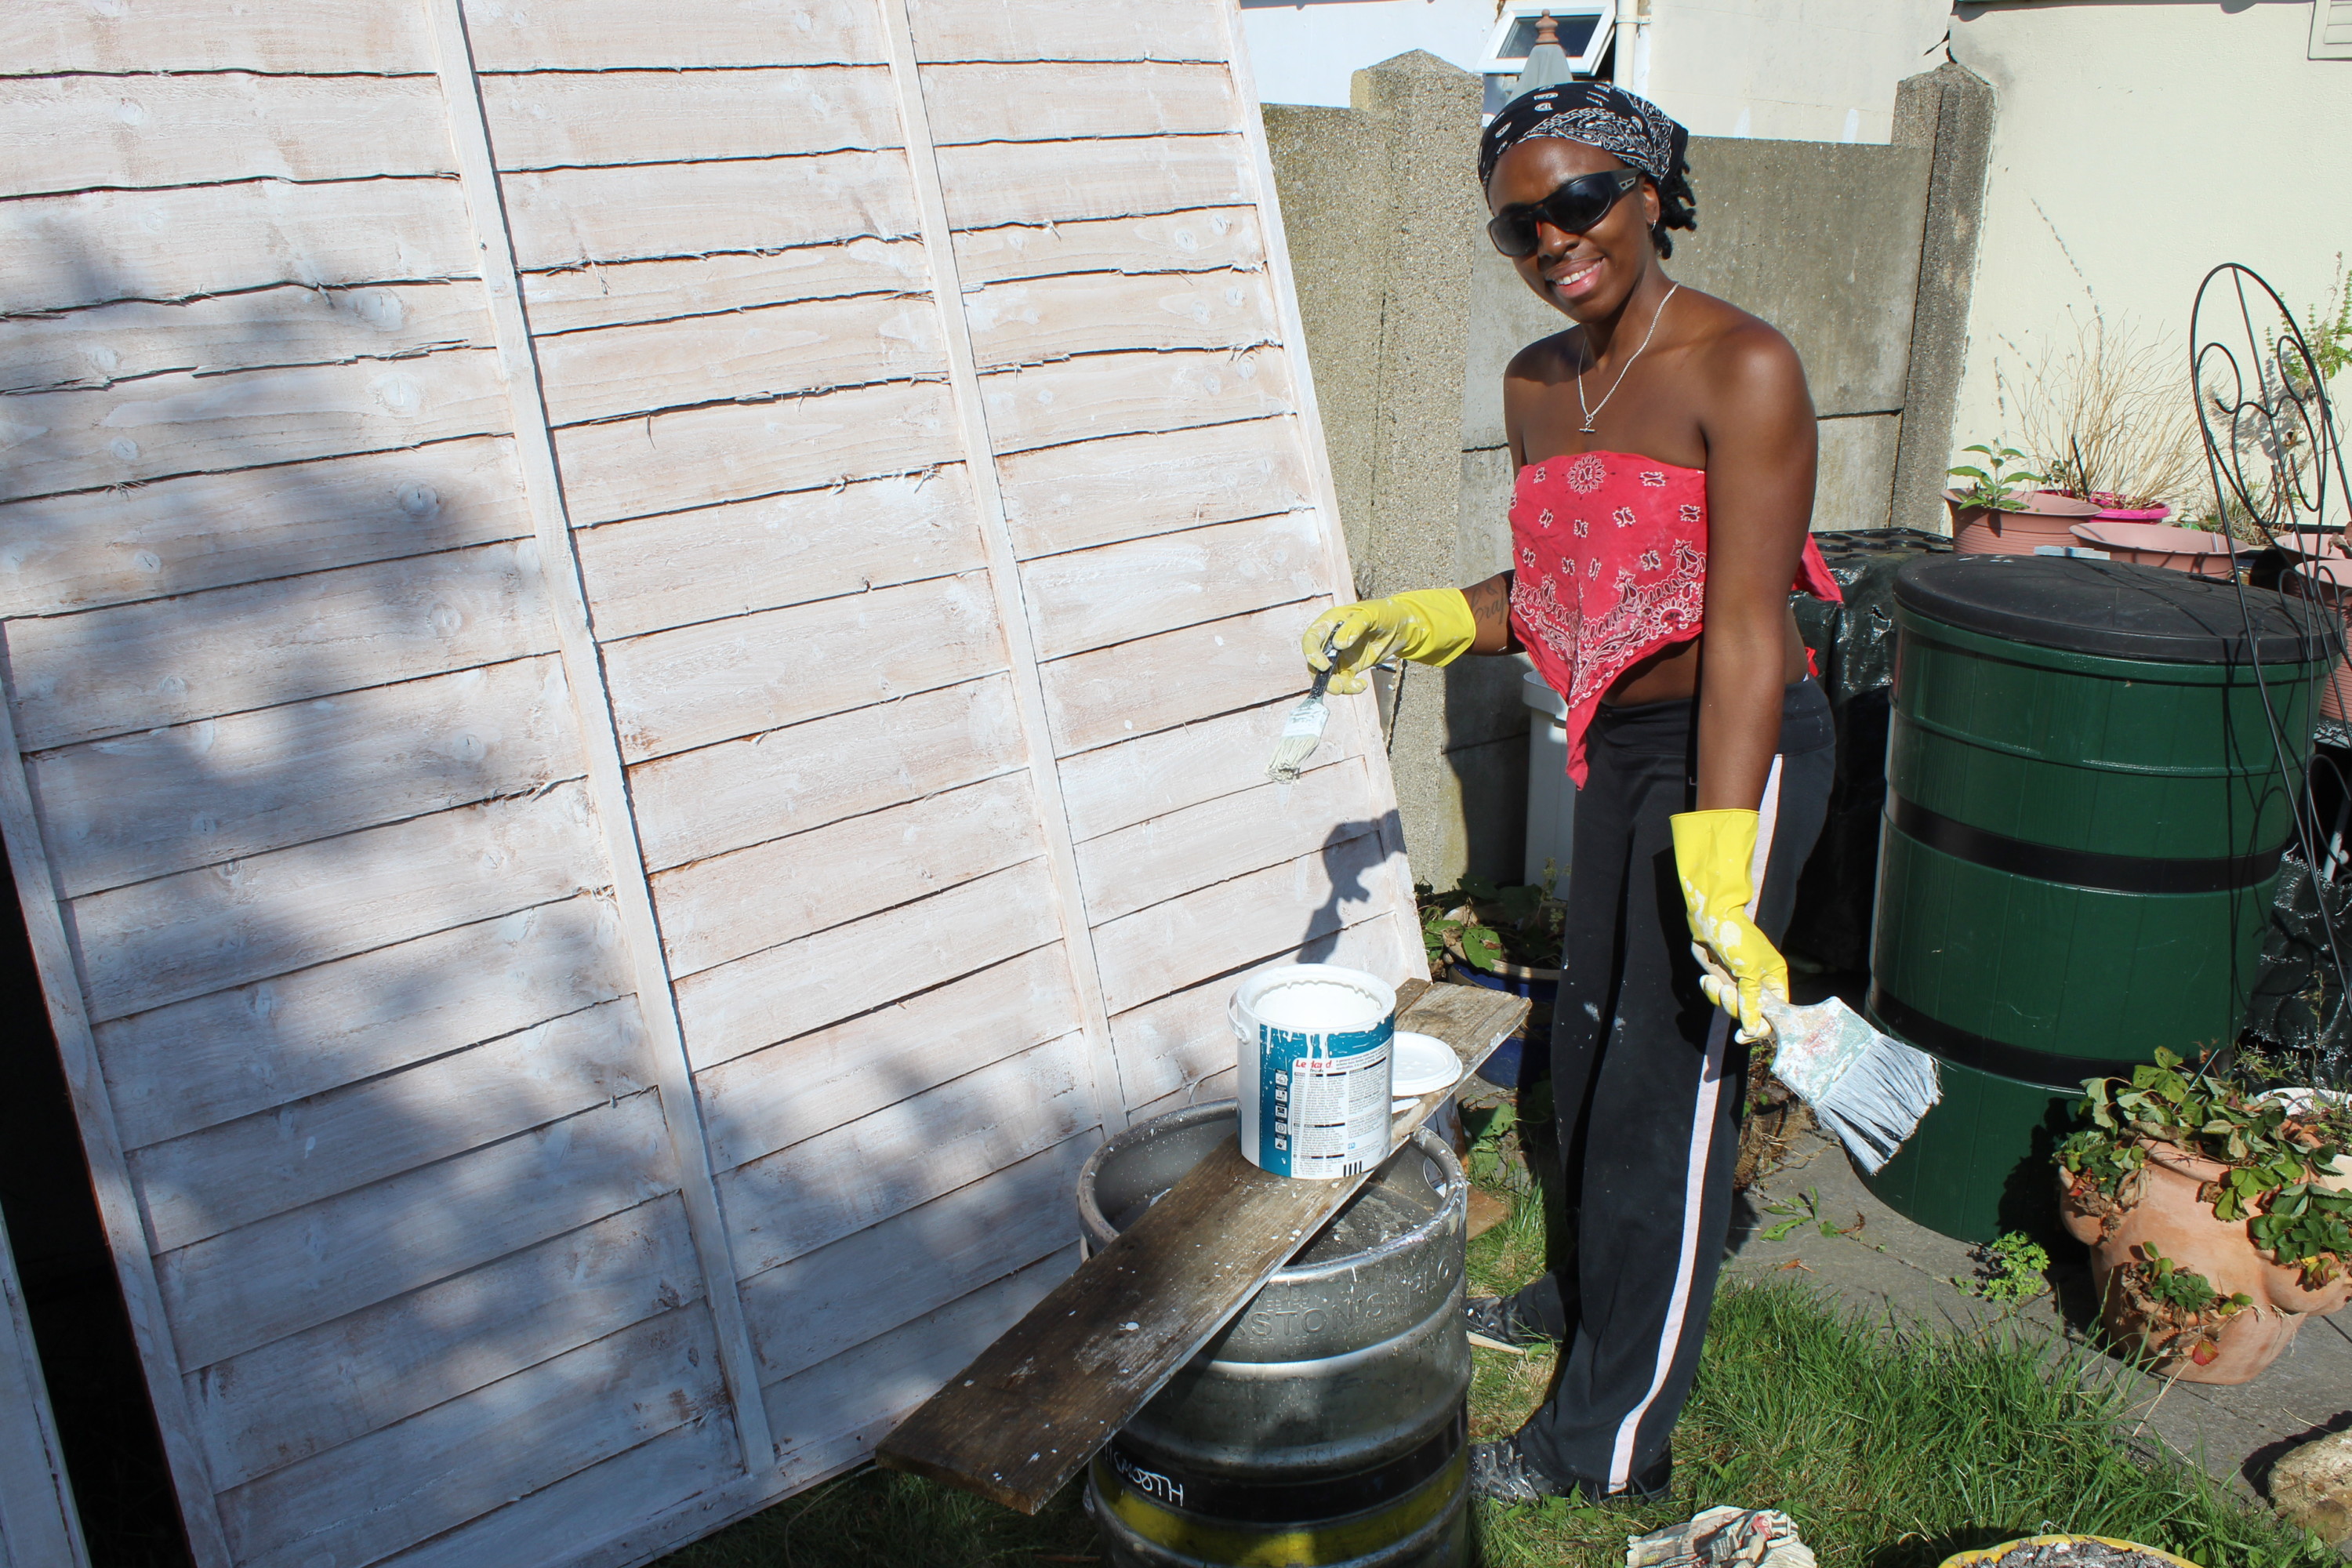
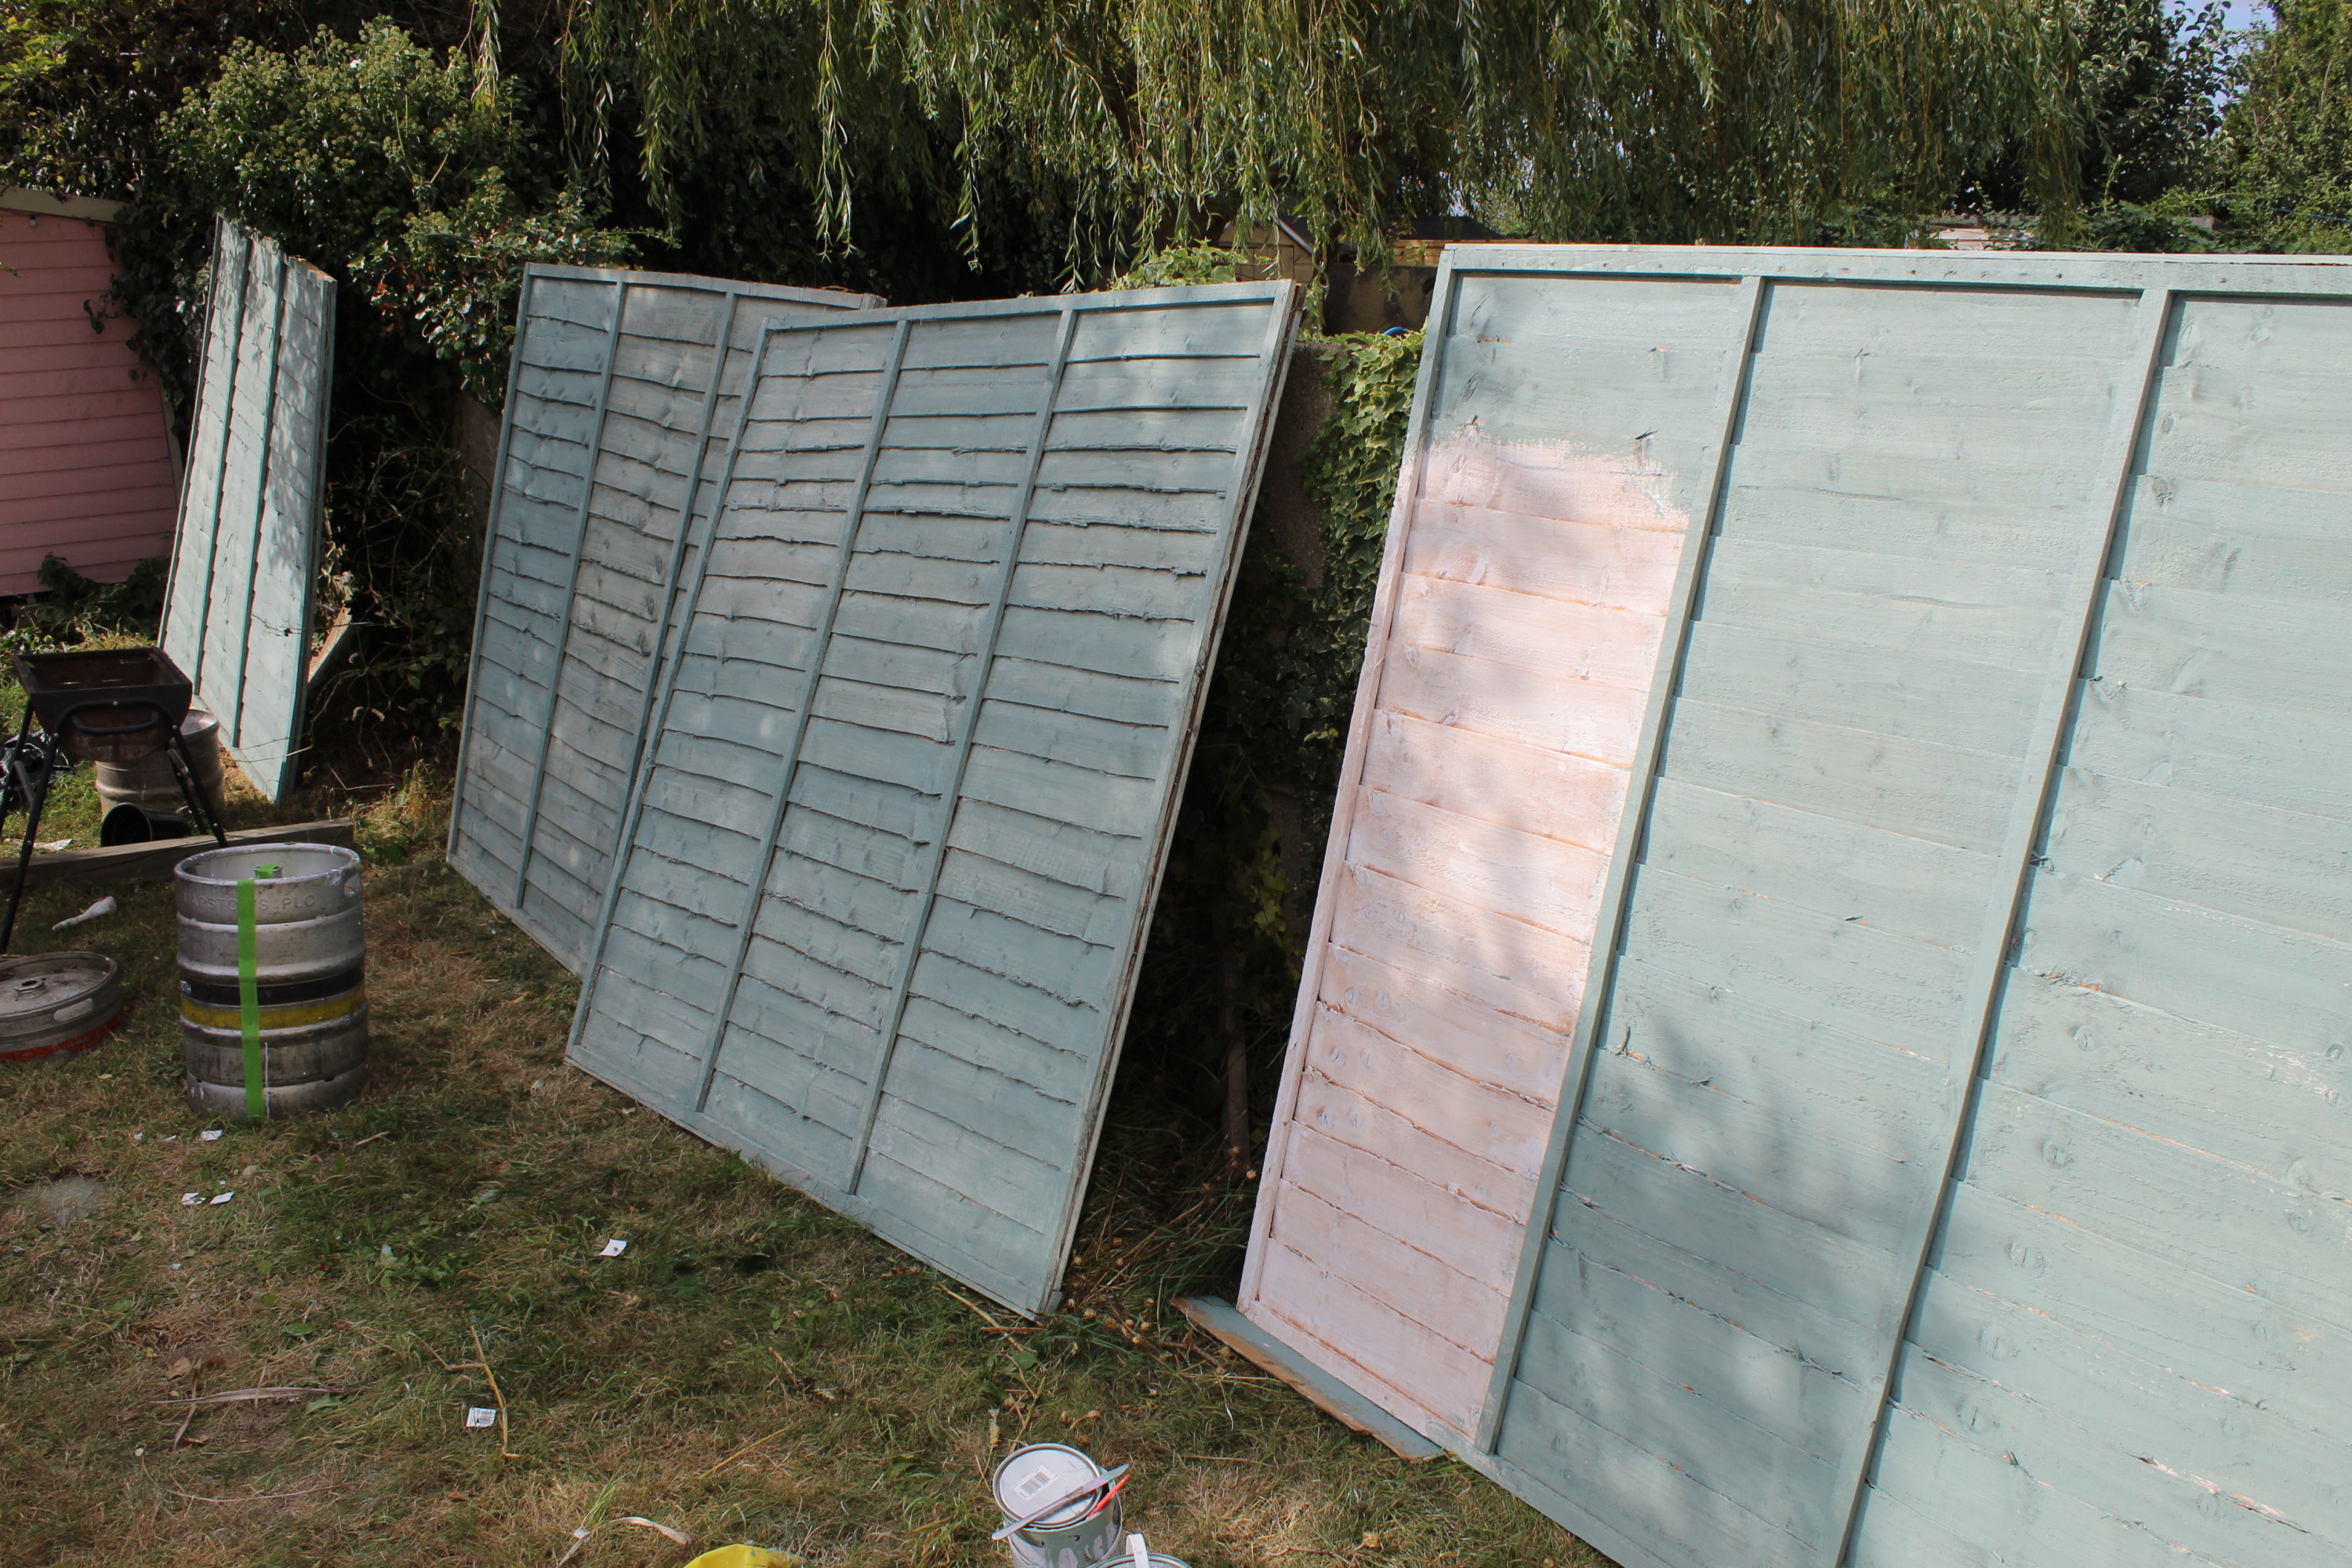
Now that all of the sawdust has been cleaned off the fence panels are starting to look pretty good. While the sun is shining I’m going to get them painted up with some undercoat. Reason being these unfinished wood just drink paint, so if I use the expensive garden paint I will probably be using one pot per panel. I have an acrylic-based undercoat that is good for both indoor and outdoor use. I have thinned it with water to get the coverage that I need.

The Fence Panel Painted With And Undercoat Of White Paint
The Fence Panels Have Now Been Undercoated. They Are Looking Pretty Nice Already.
Undercoating Of The Fence Panels Has Been Finished
Once The Undercoat On The Fence Dries I Can Start With The Green Garden Paint.

I have given them some time to dry, now on to the garden paint. Again I have thinned it with around 25% water just to help with the coverage. It has gone on quite nicely and has probably taken around one and a half to get these painted on both sides. I will leave them to dry and then go back and finish any parts that need touching up.

Painted The Fence Panels Green. They Are Looking Good.
Fence Panels Painted Are Ready To Be Fitted
The Fence Panels Have Been Painted Sage Green And Are Ready To Be Fitted

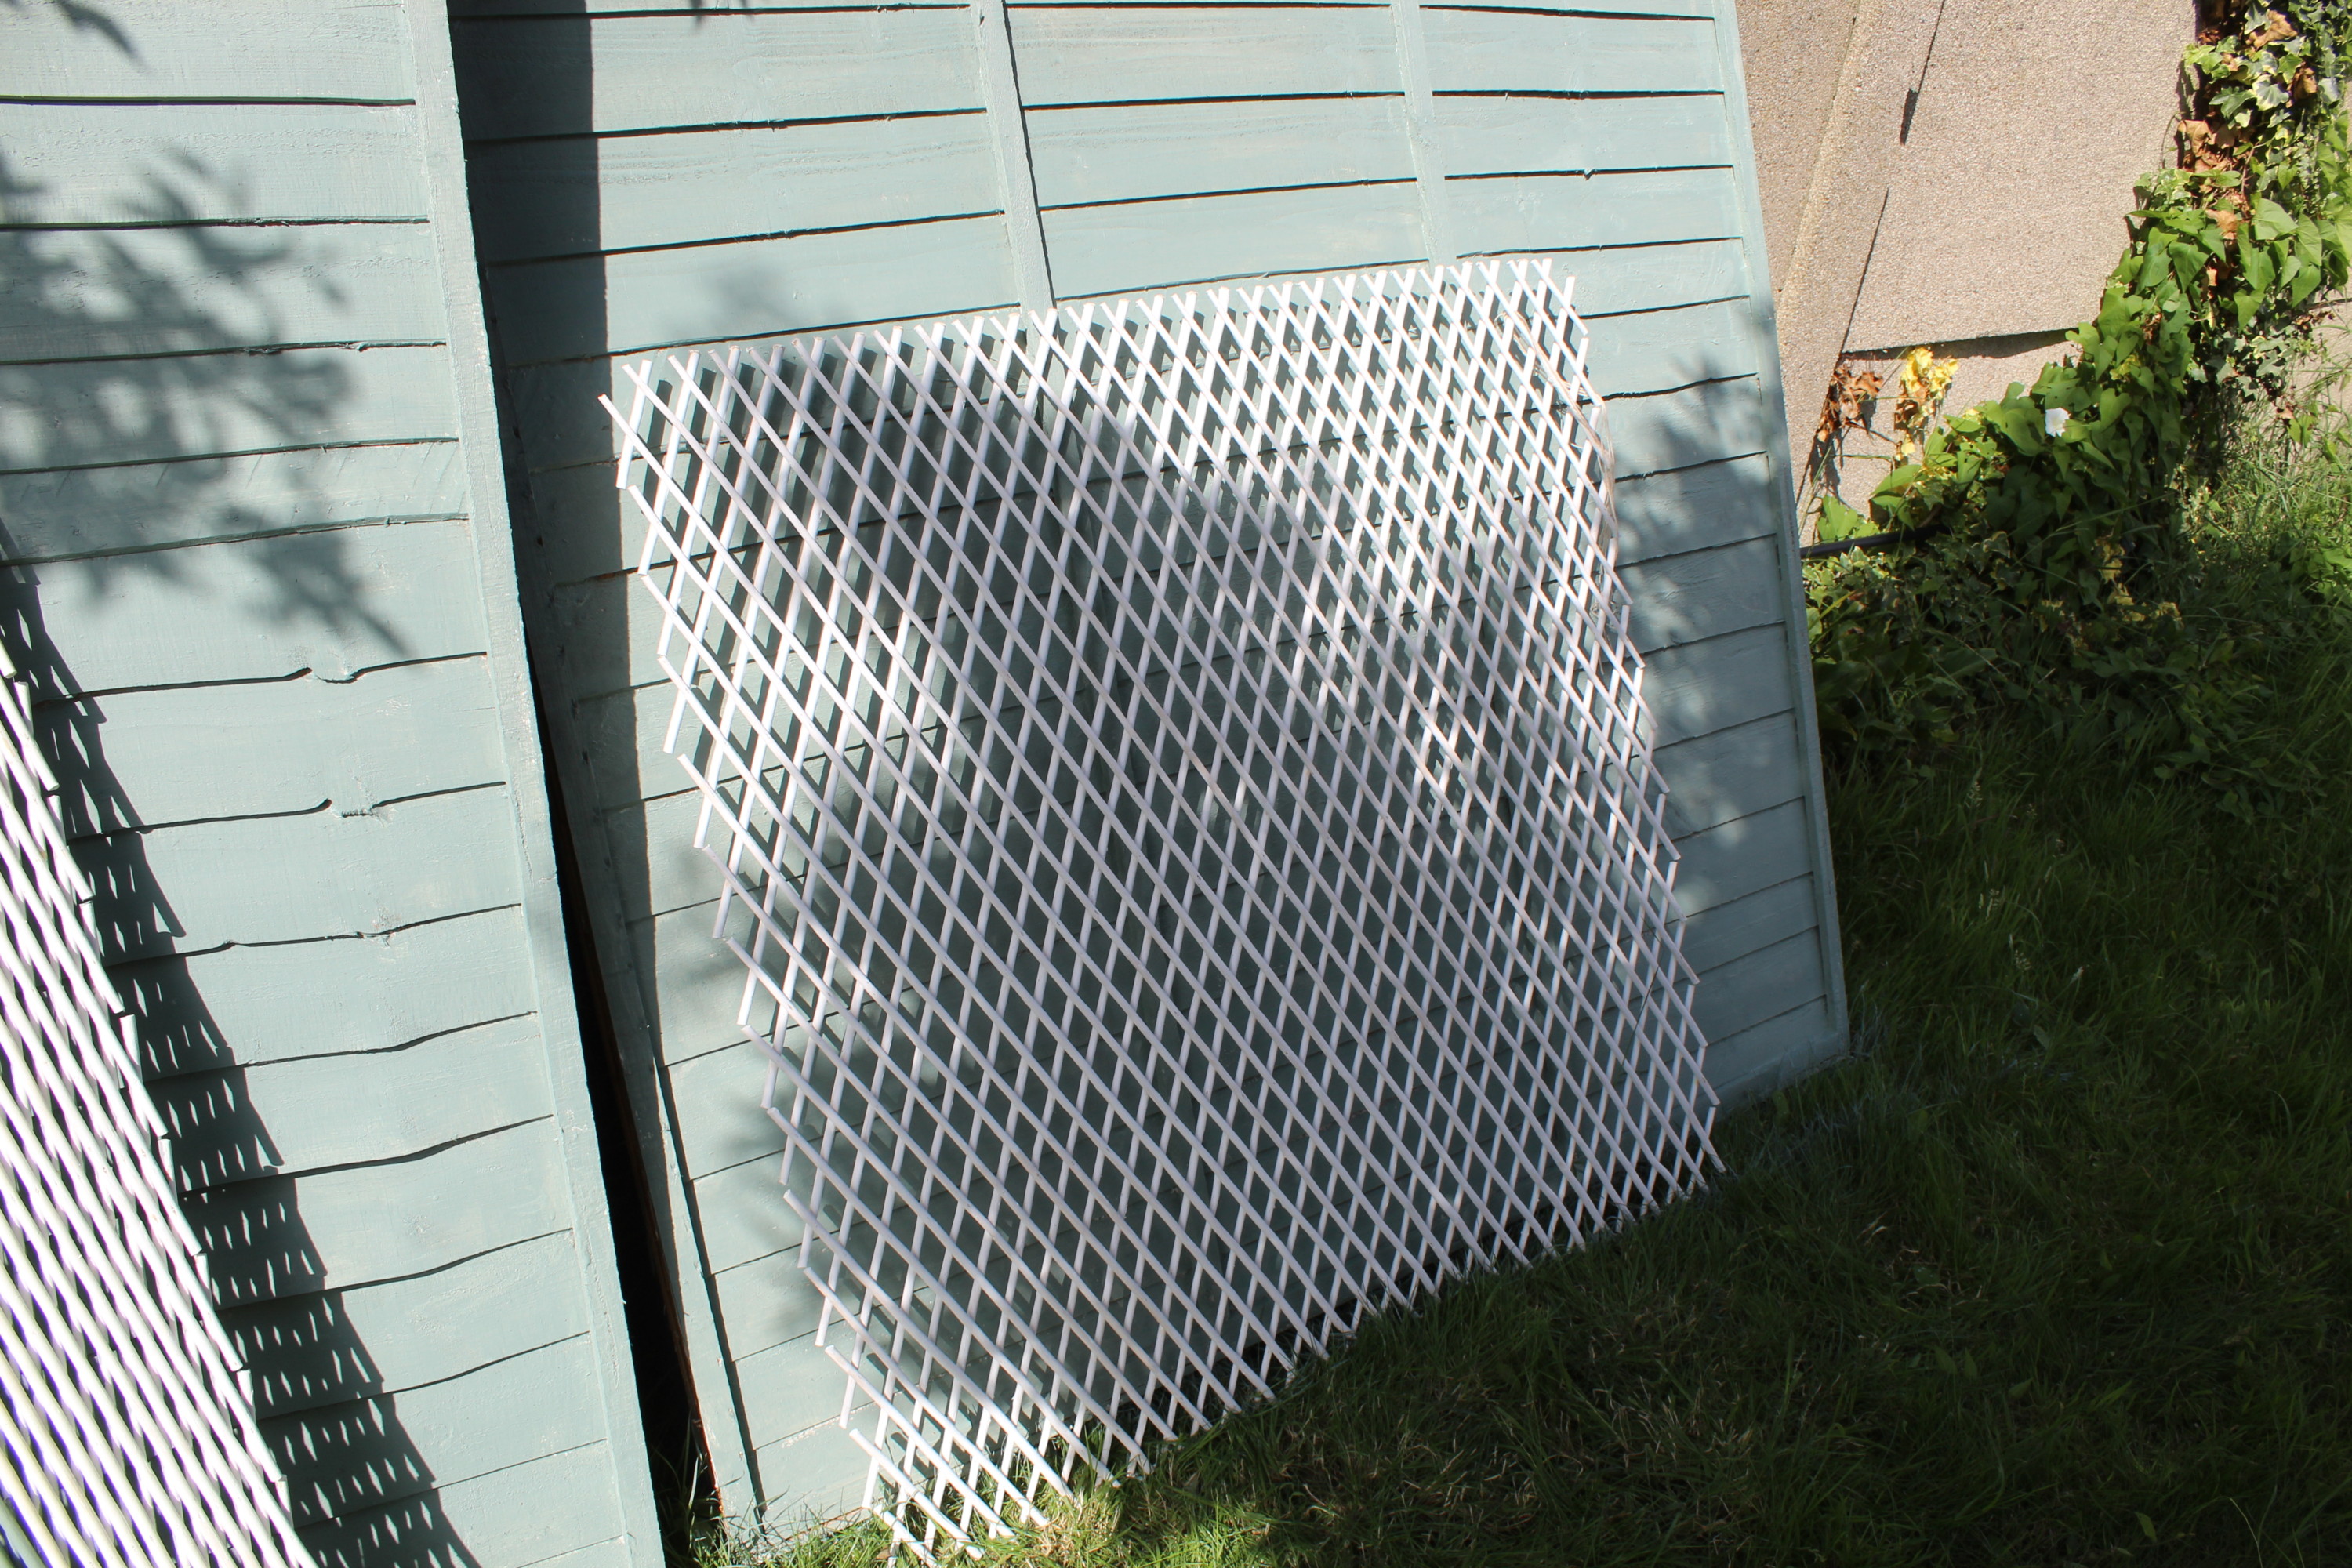
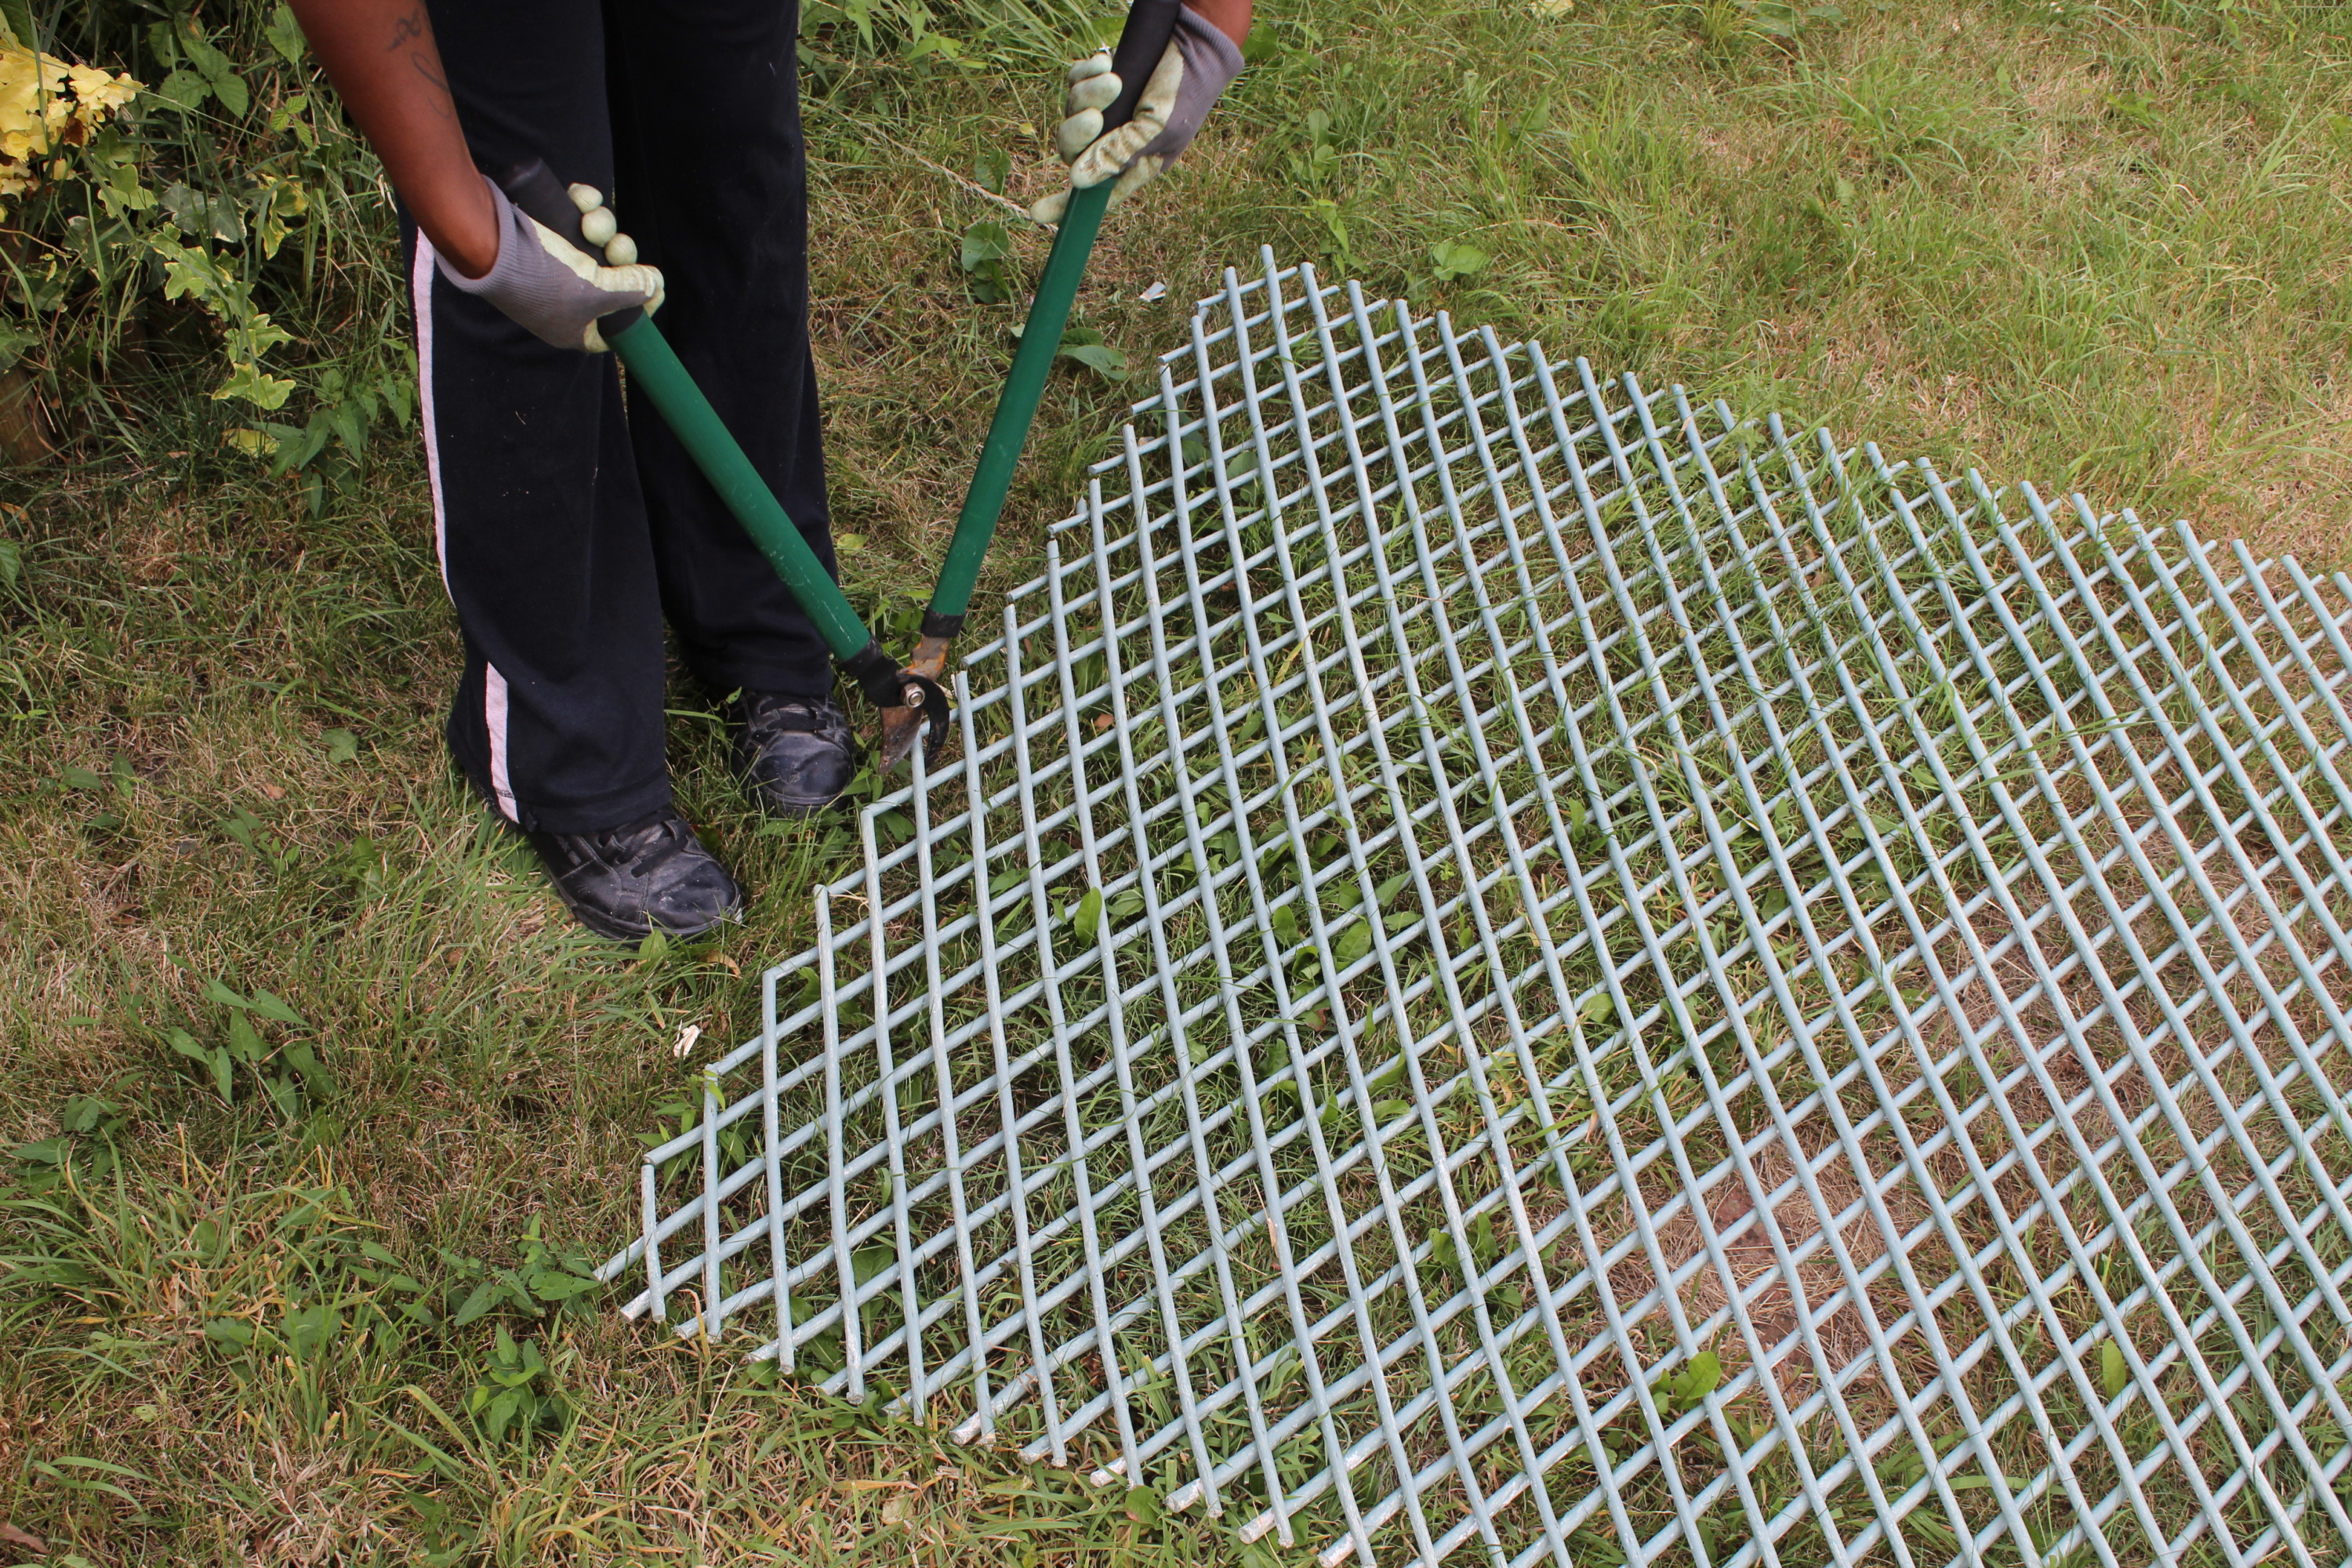
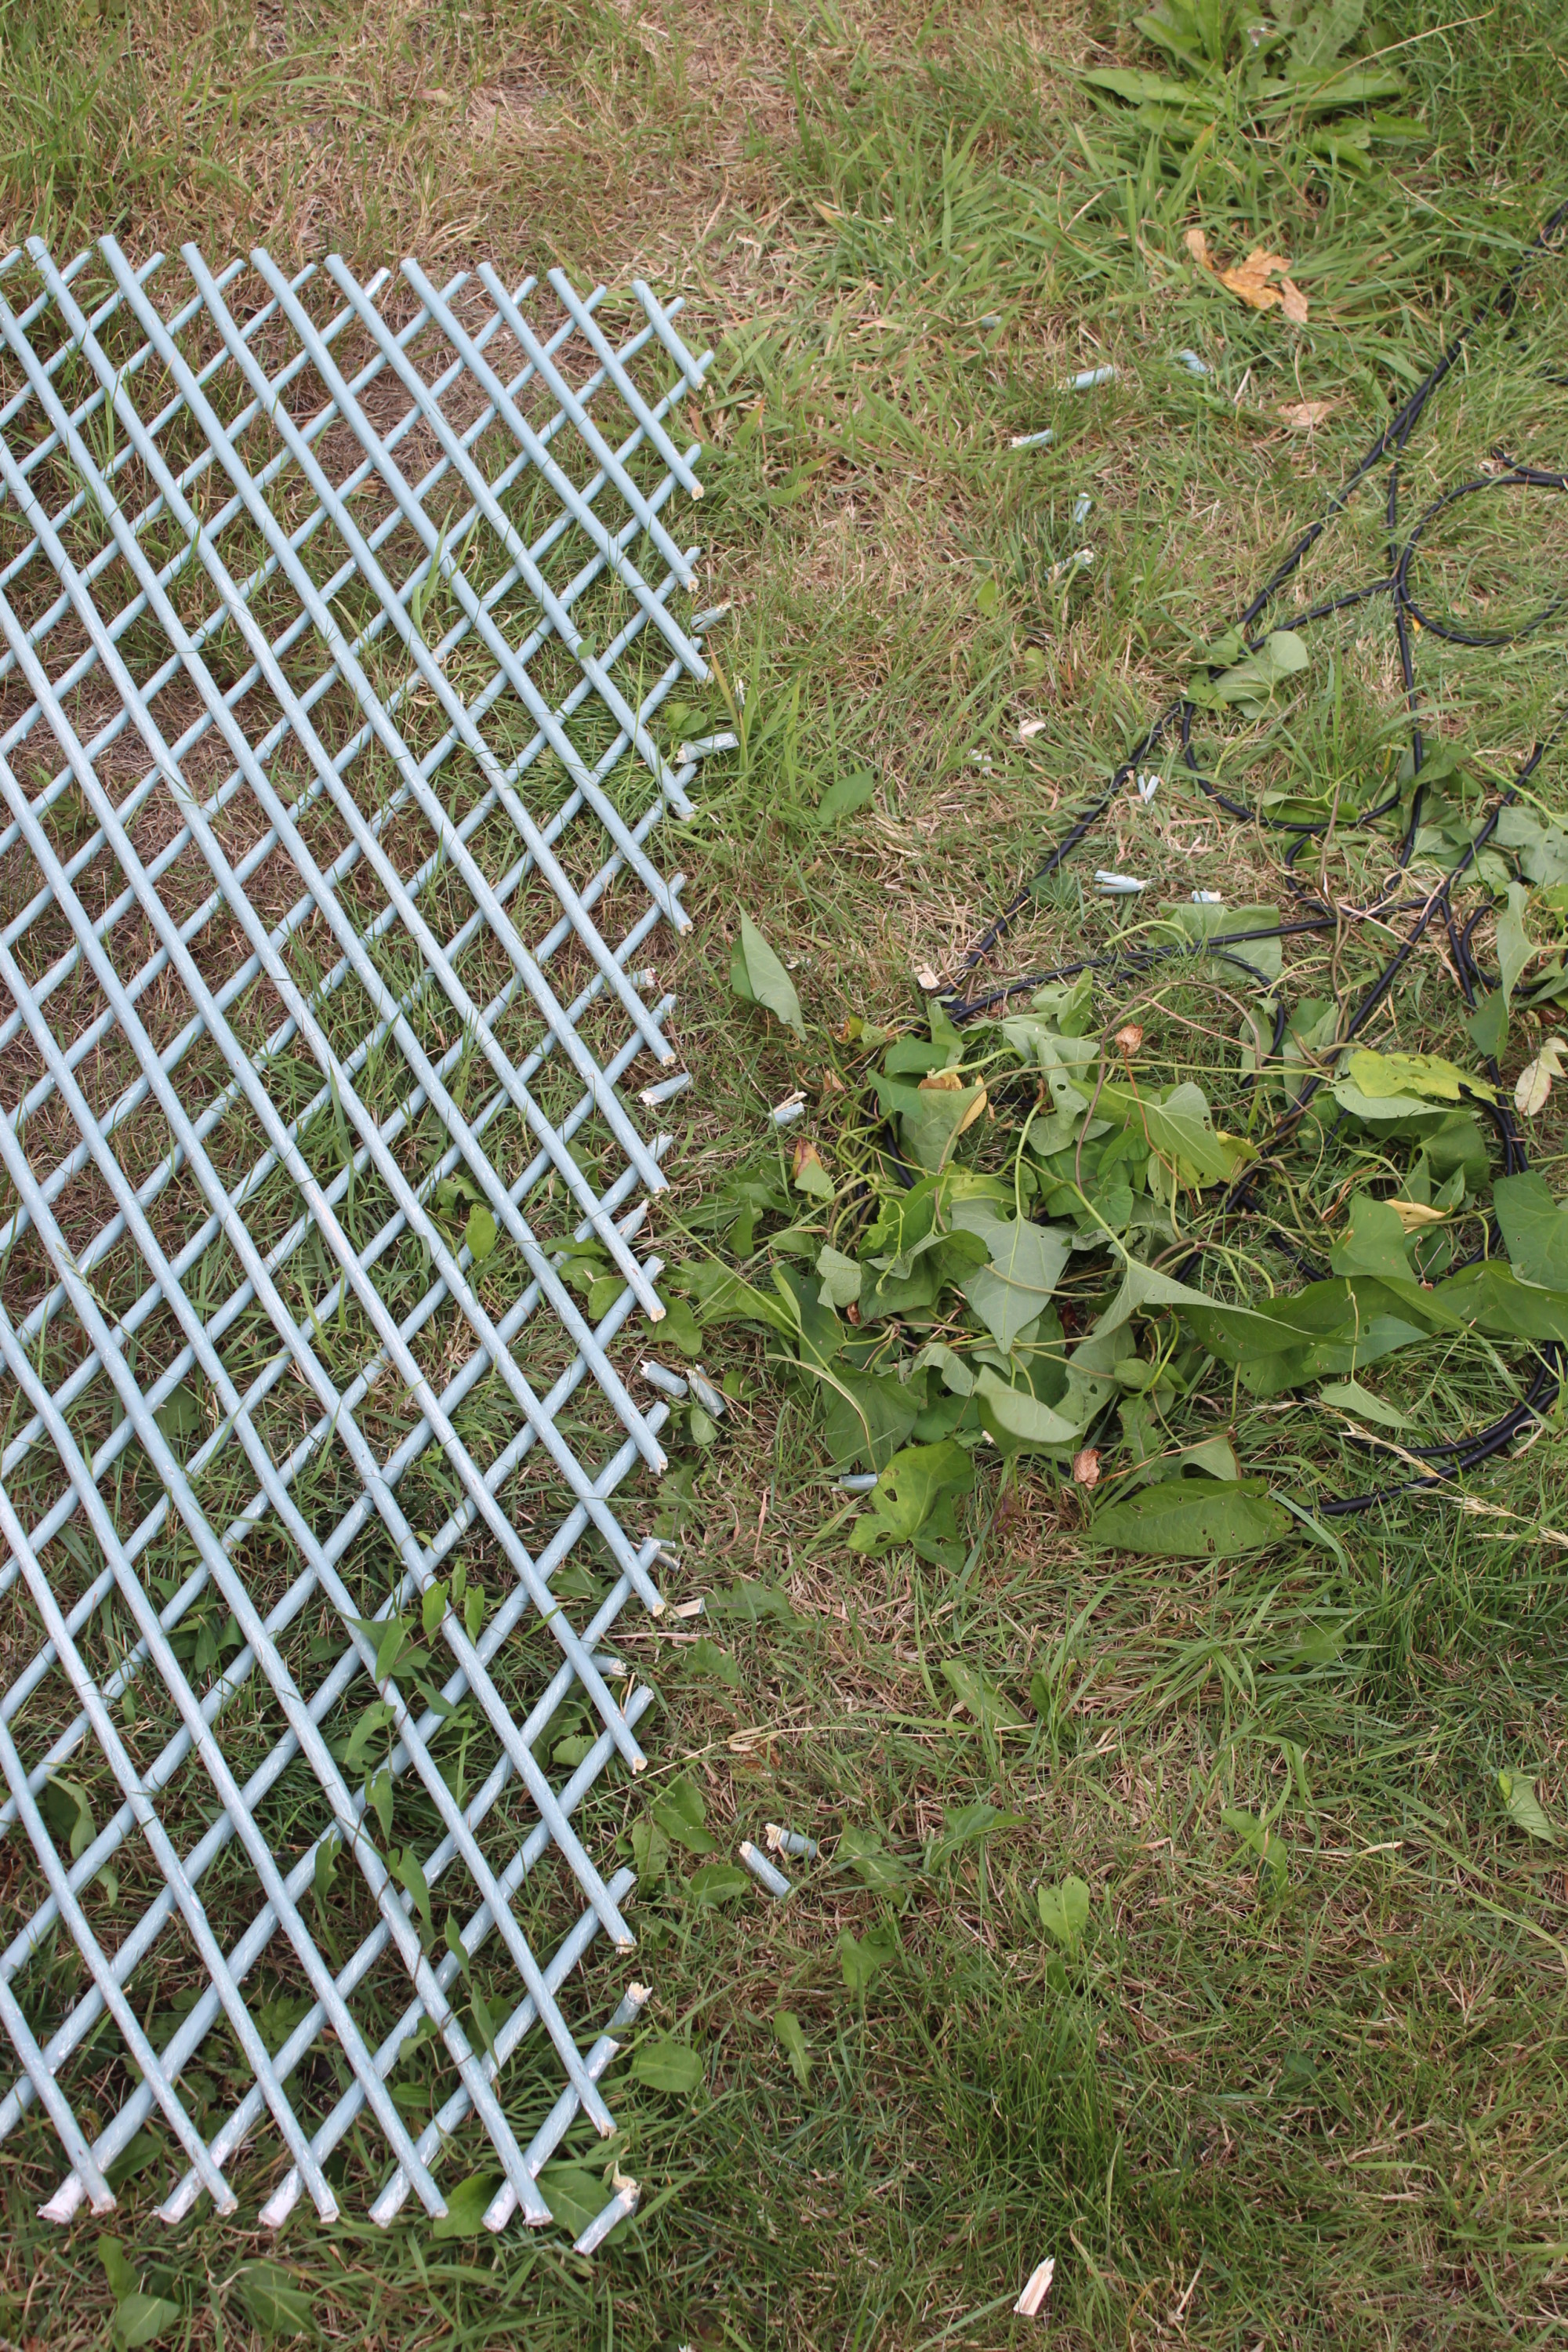
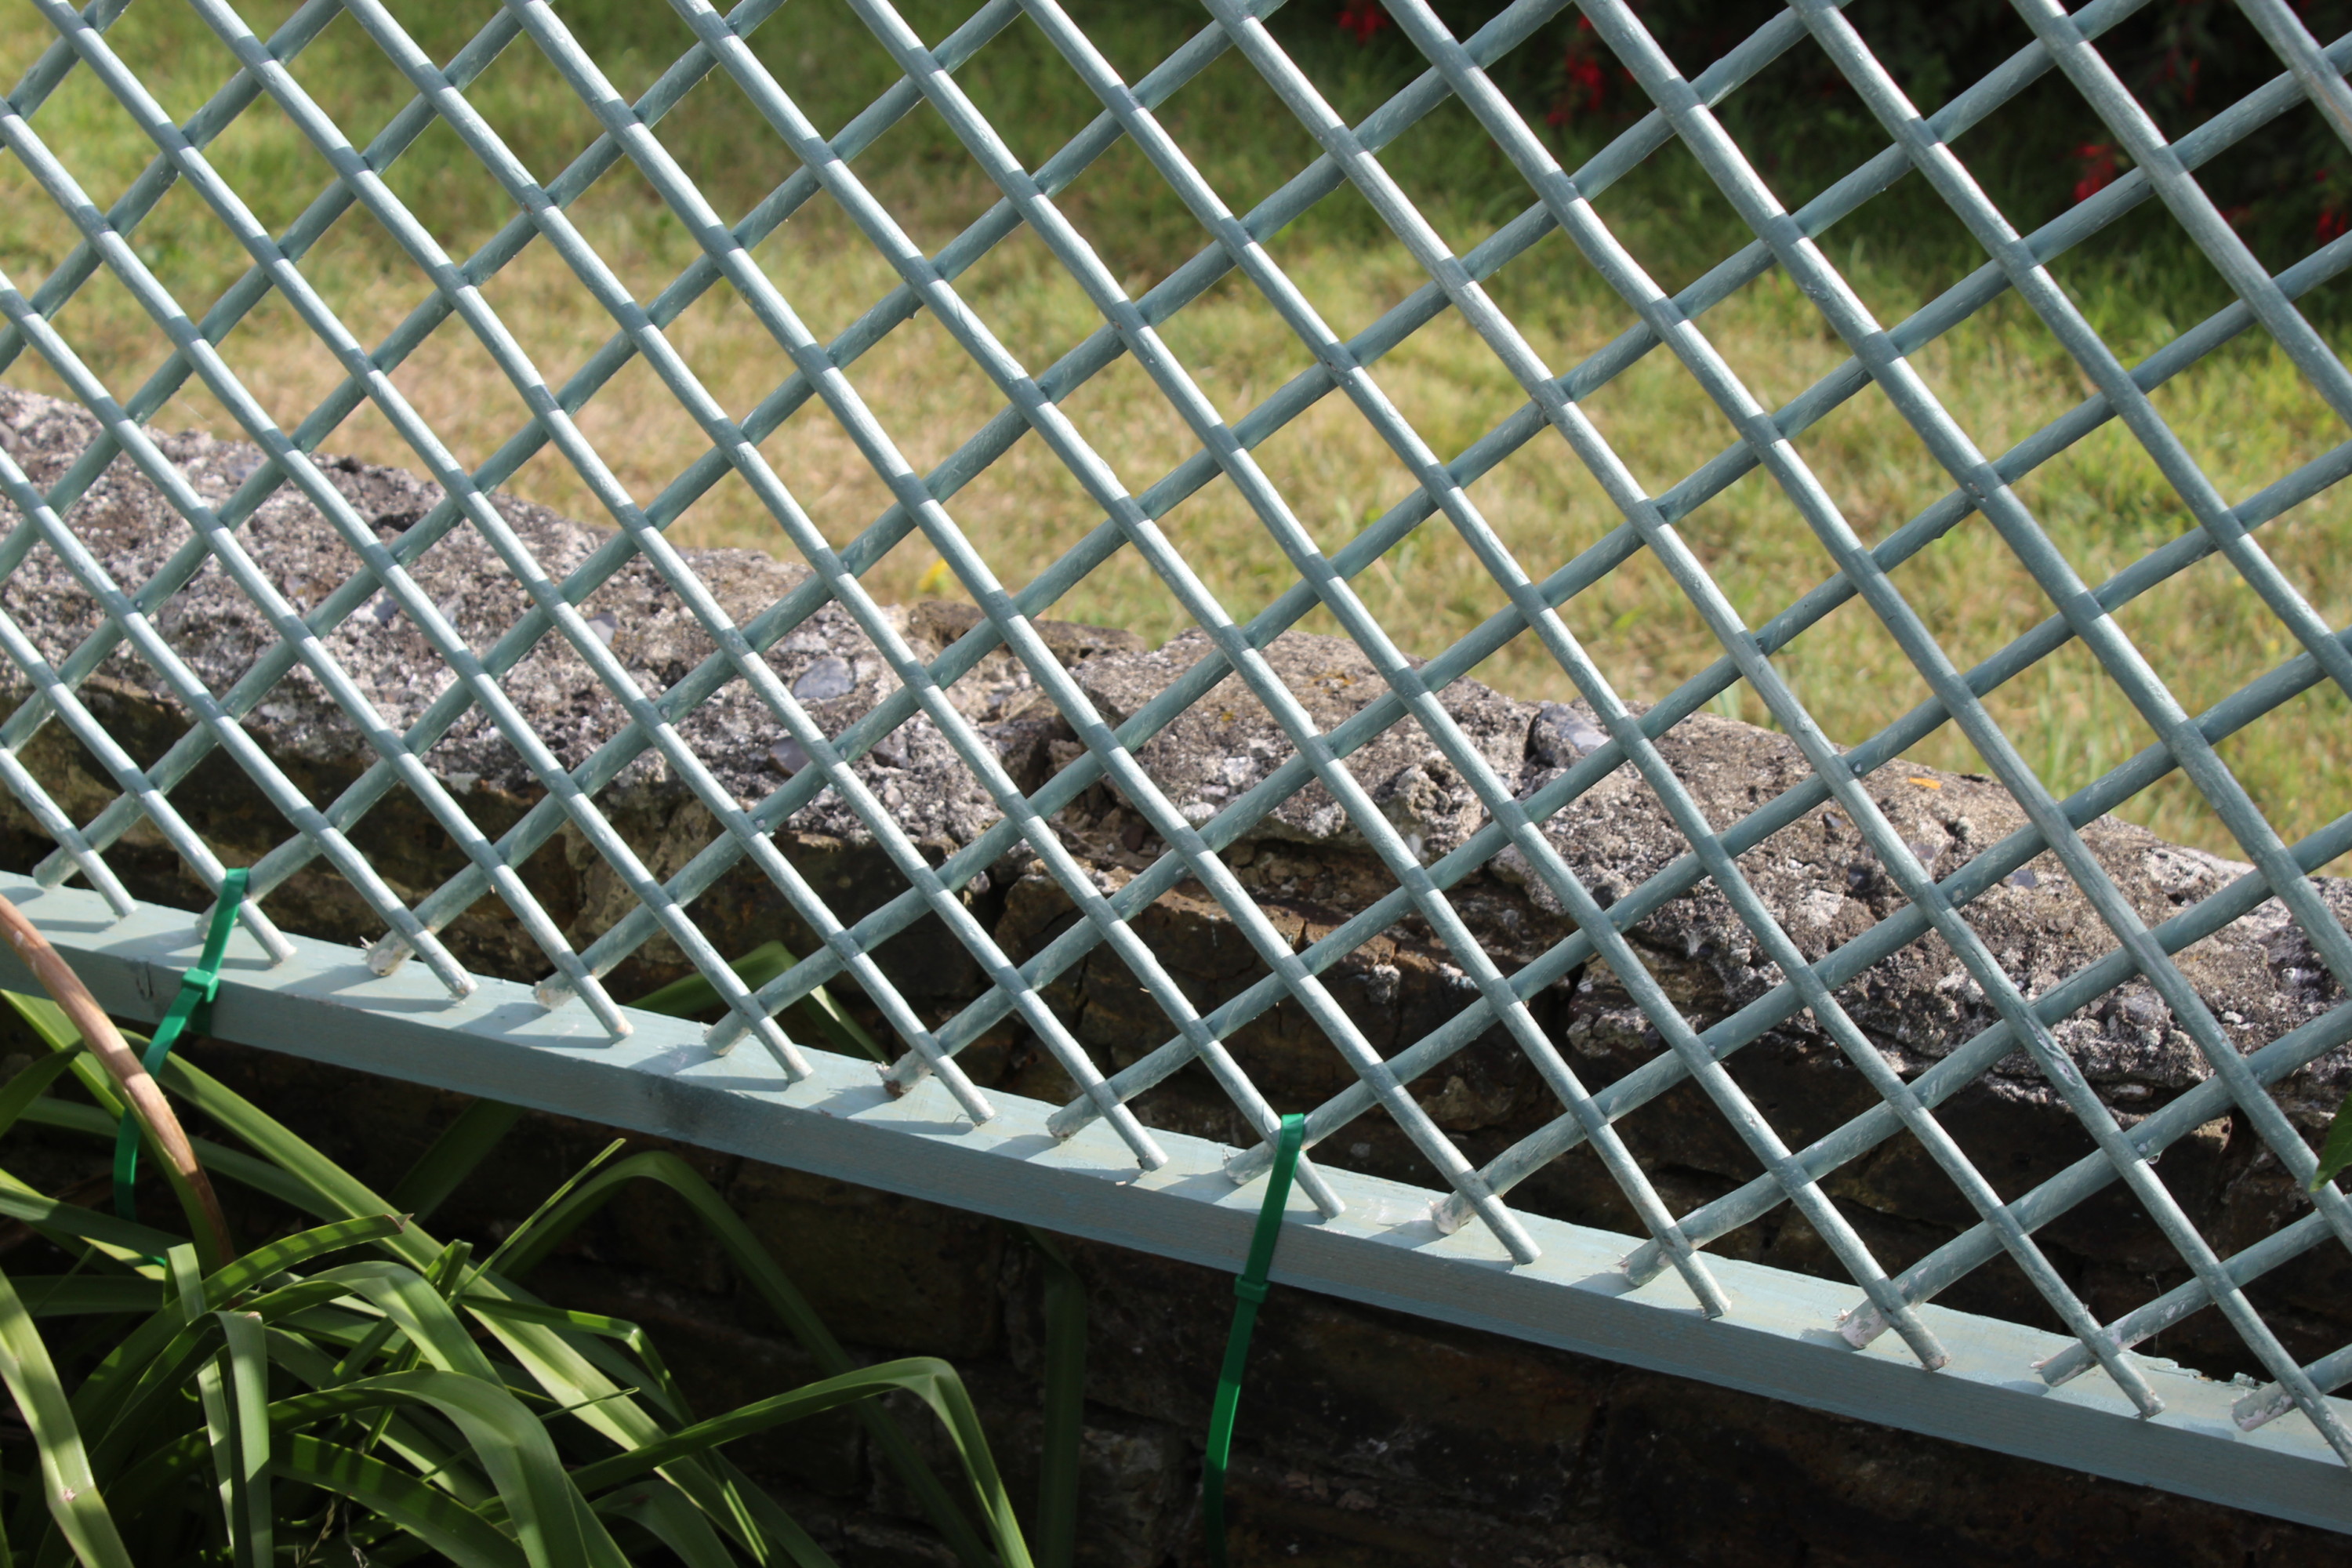
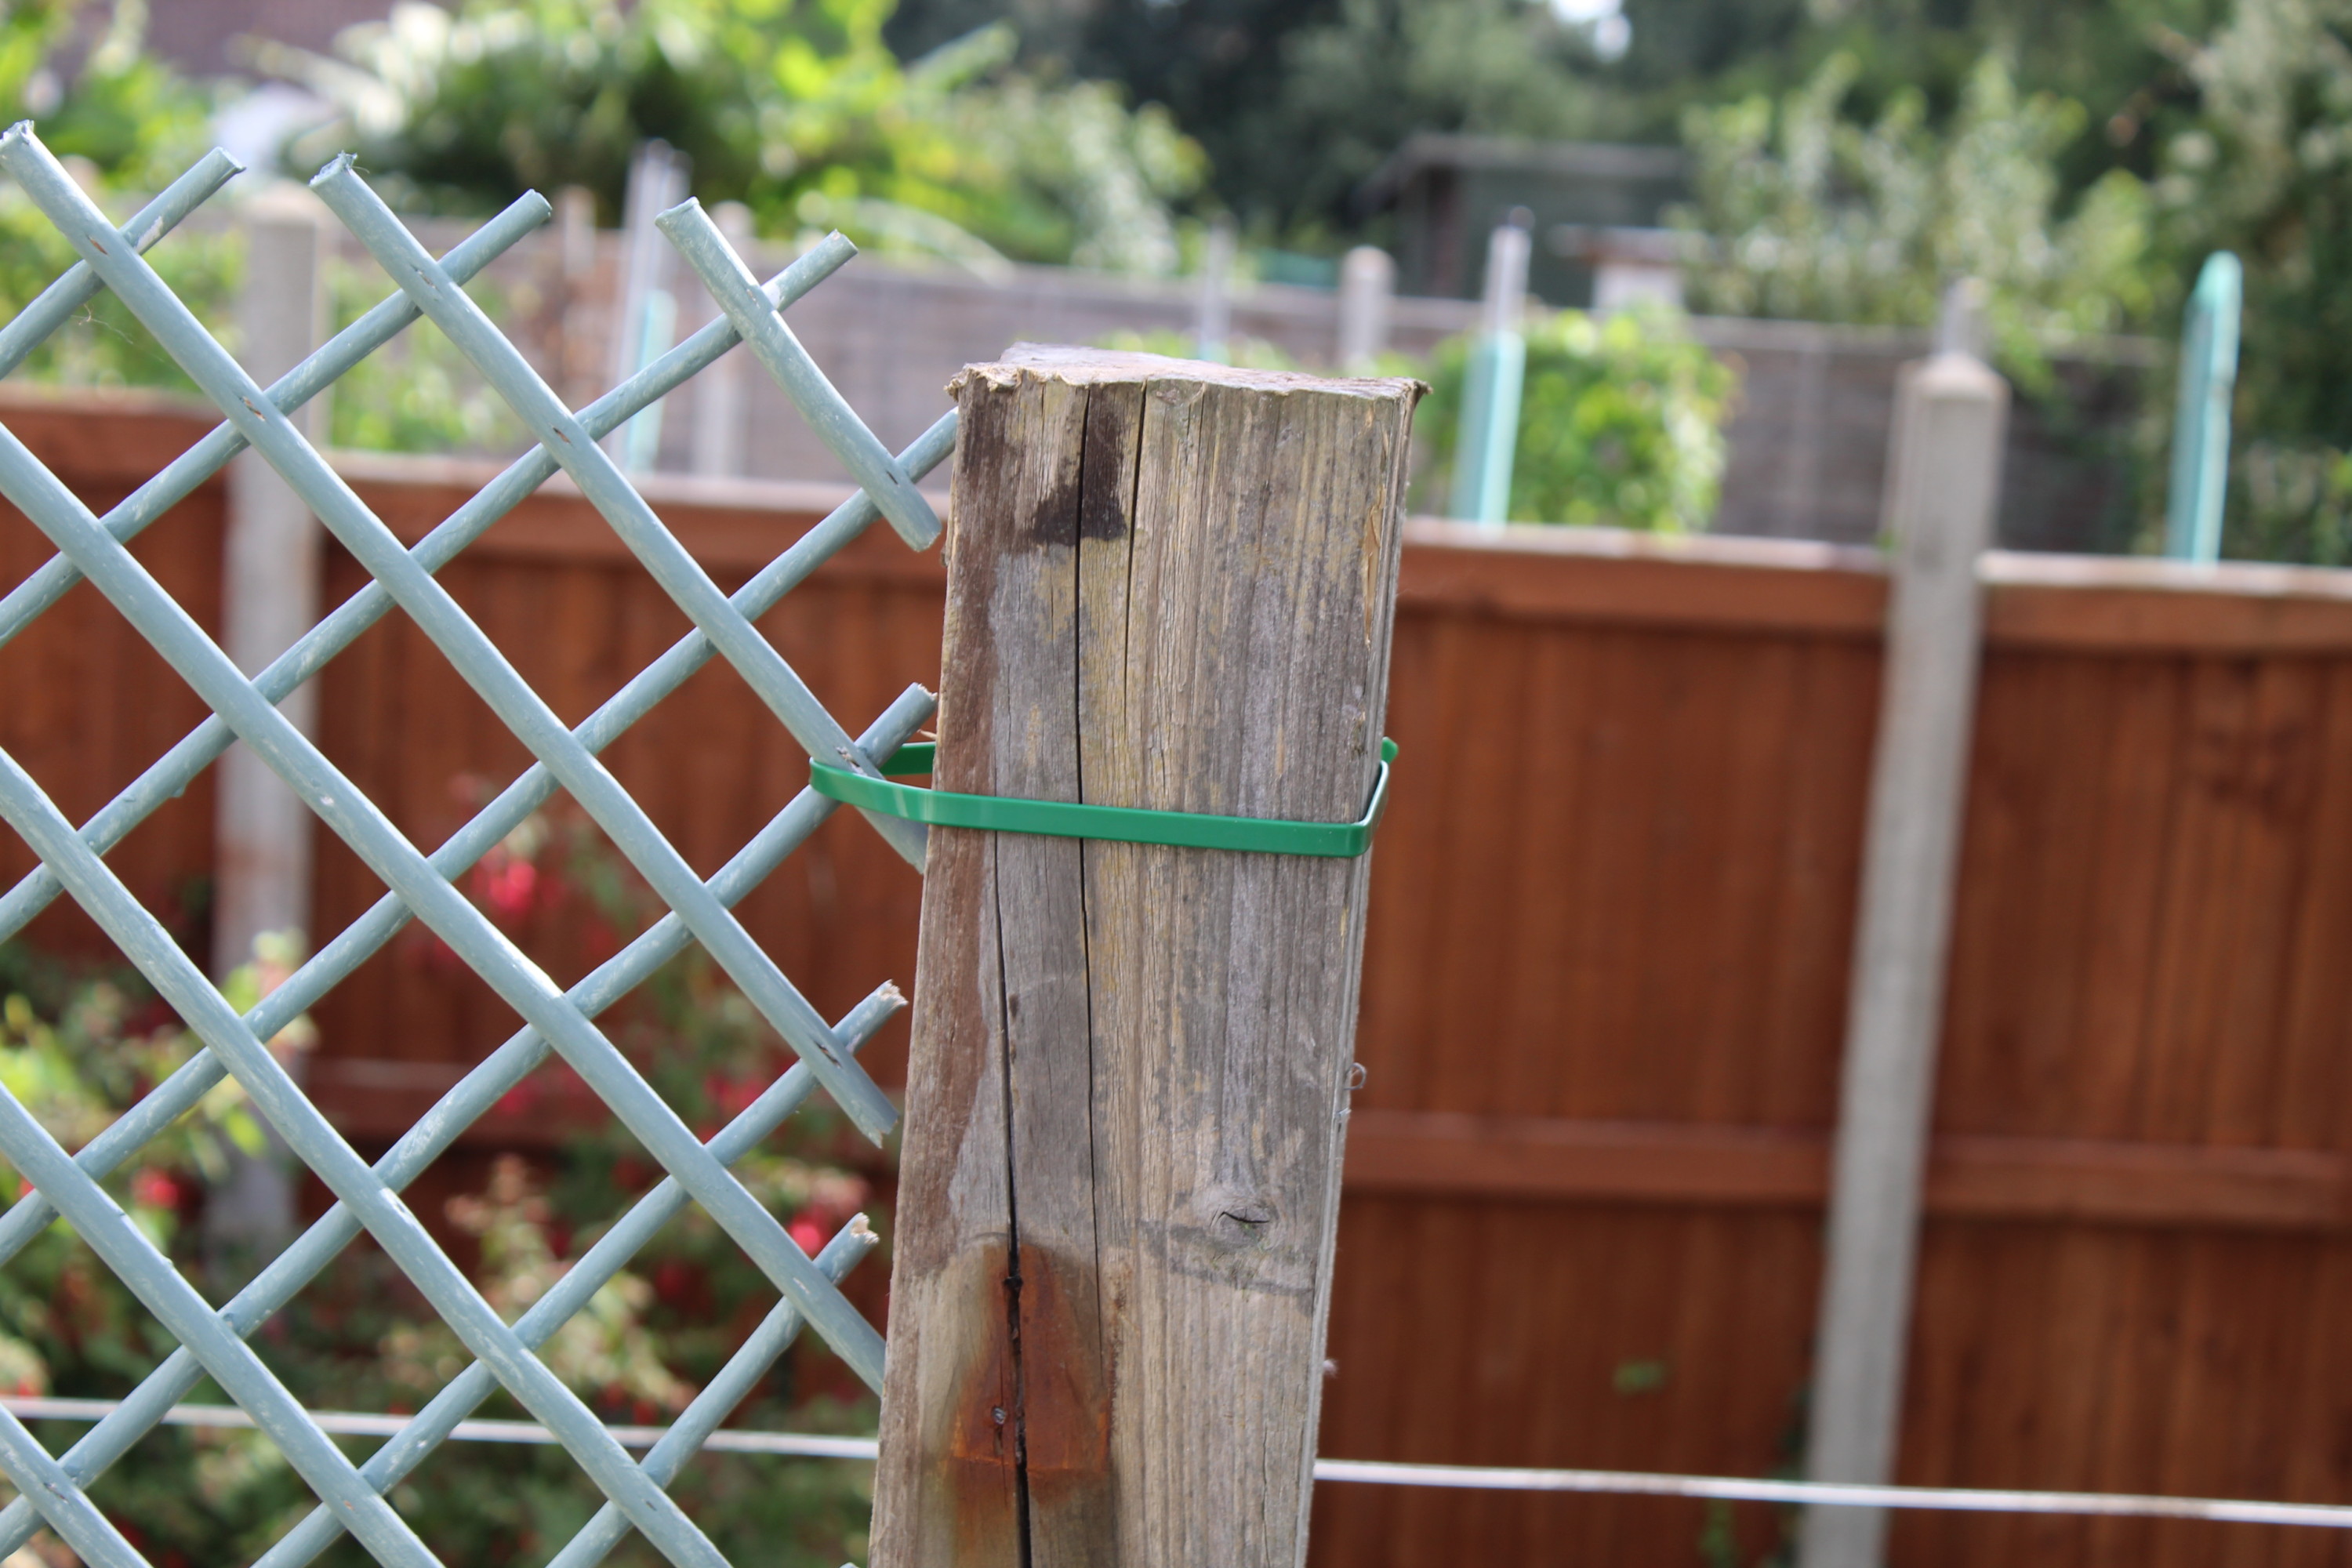
Now the fence panels are drying I can turn my attention to the Trellis. The Sam had already given them an undercoat so for me it was just a case of slapping on some of the garden paint. This wood isn’t as thirtsy so I haven’t thinned the paint, I just used it straight from the tin.

The Trellis Has Been Undercoated In White
The Trellis Has Been Undercoated In White.

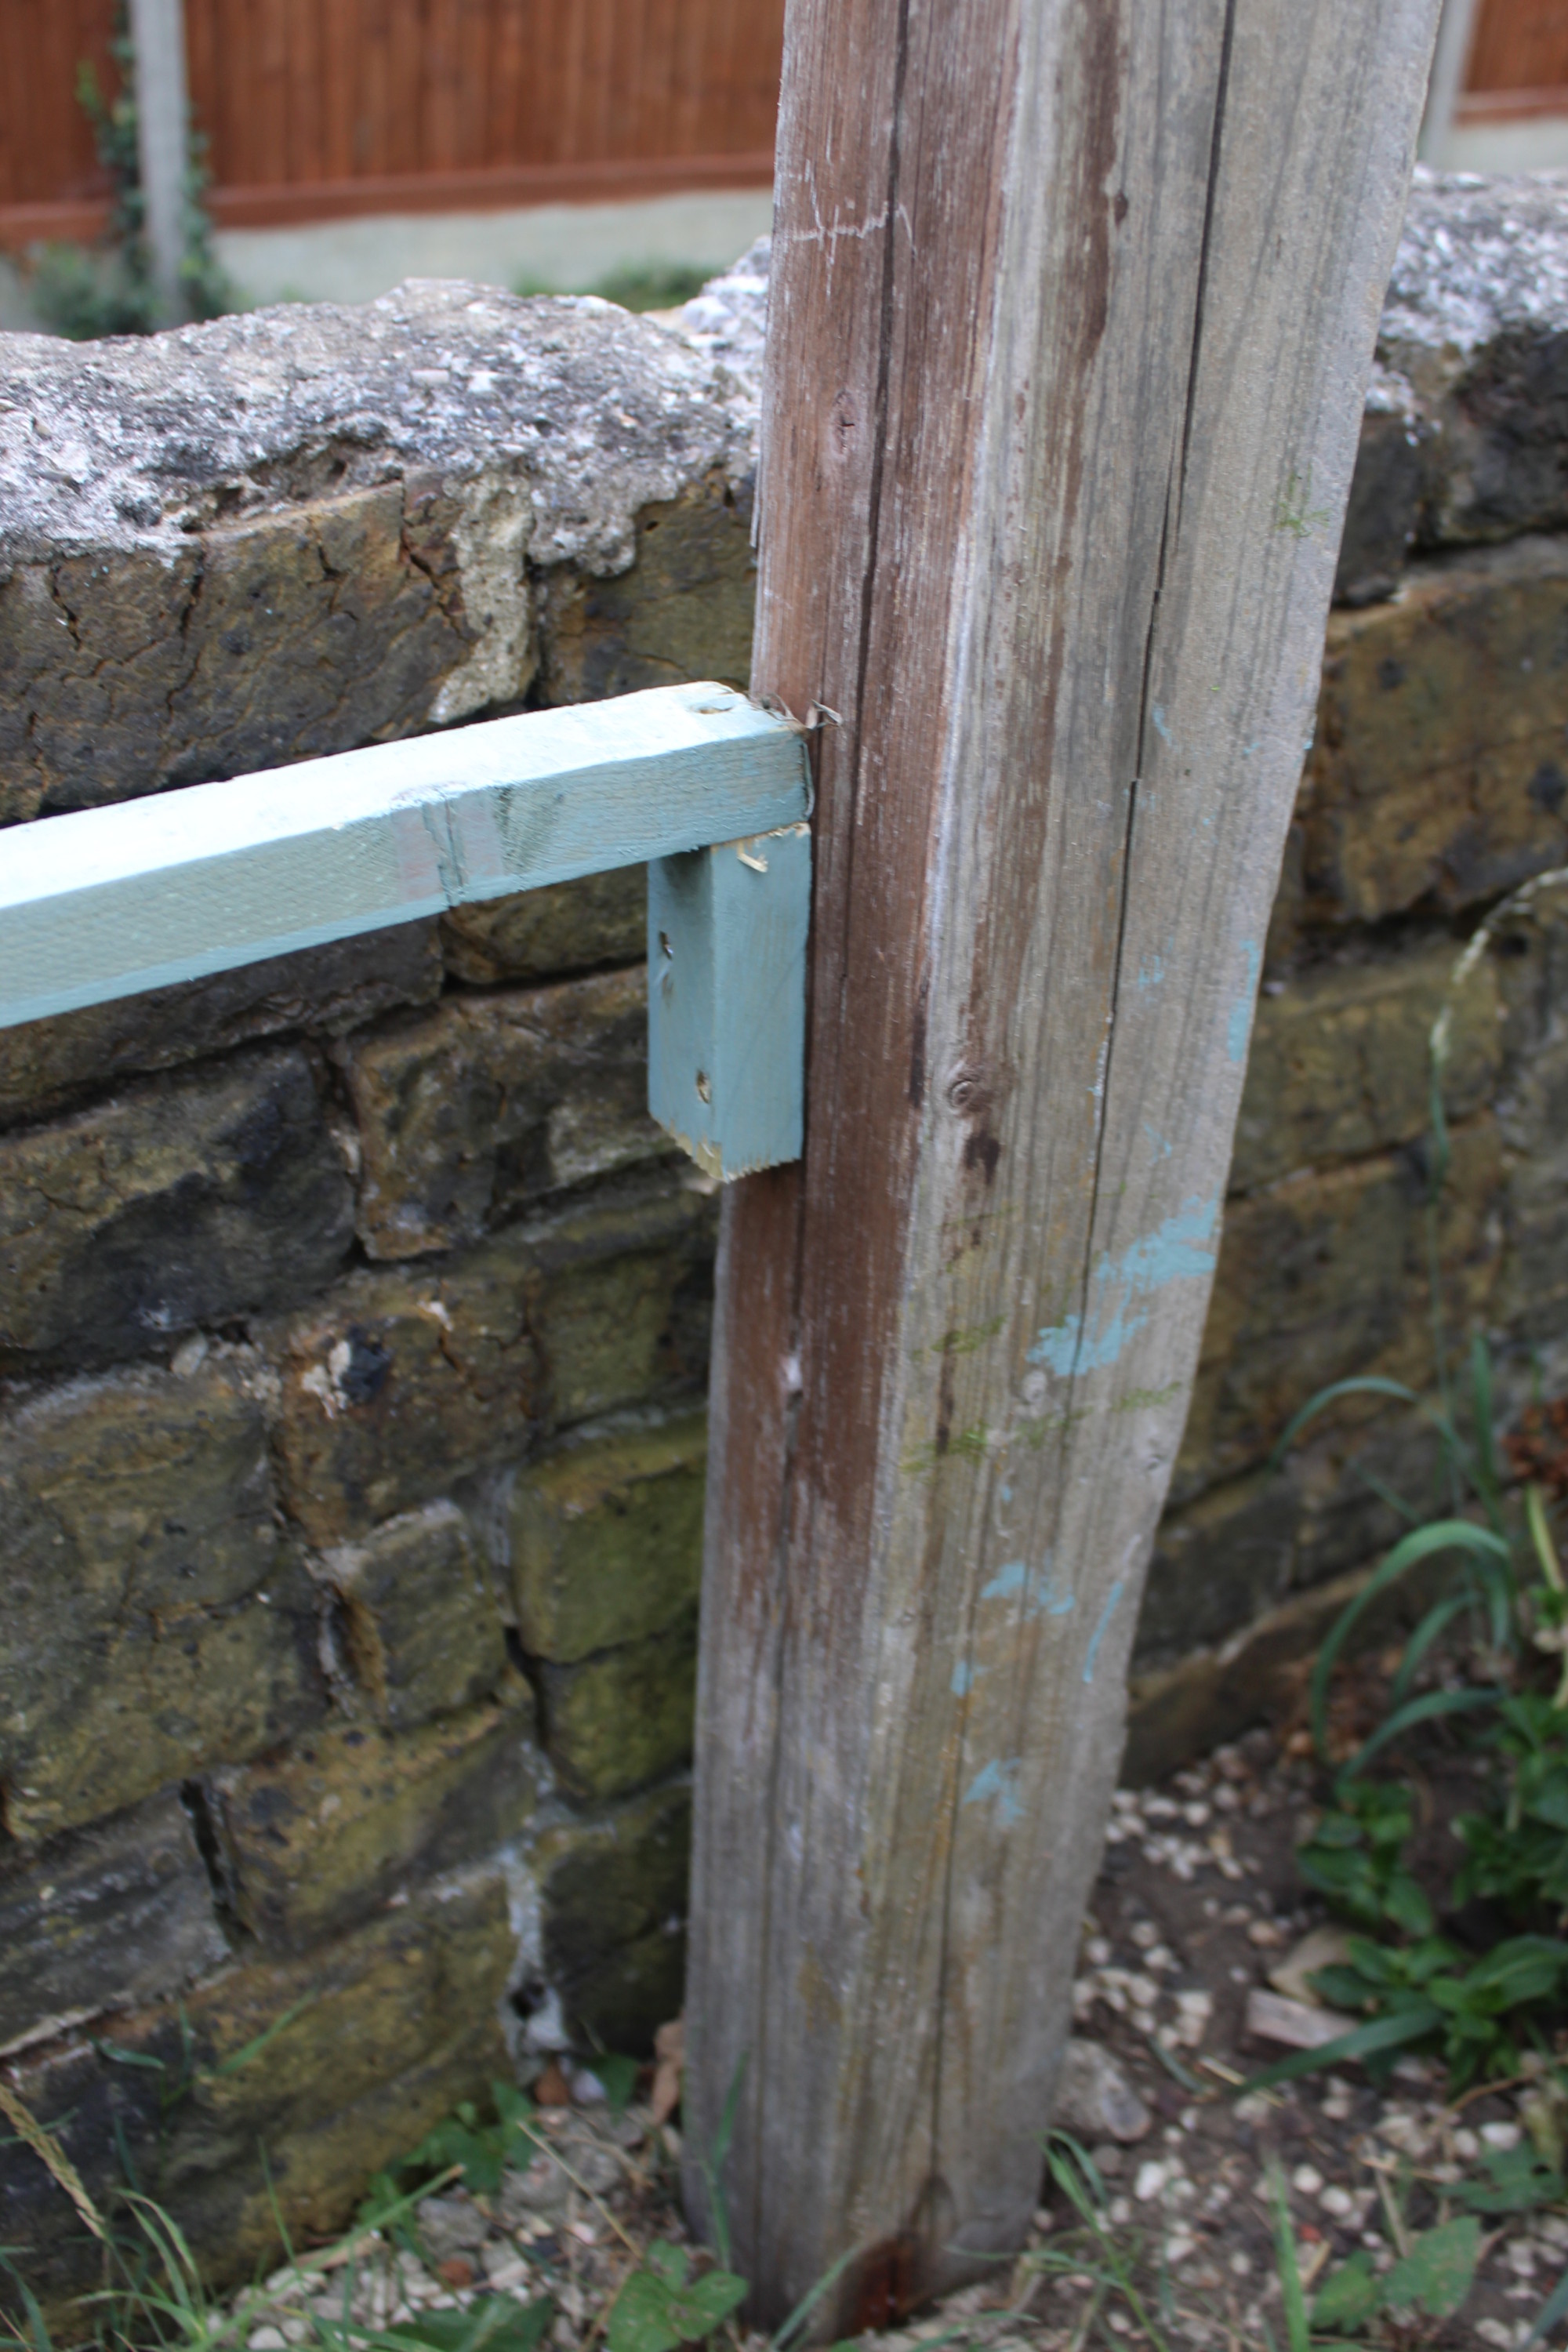
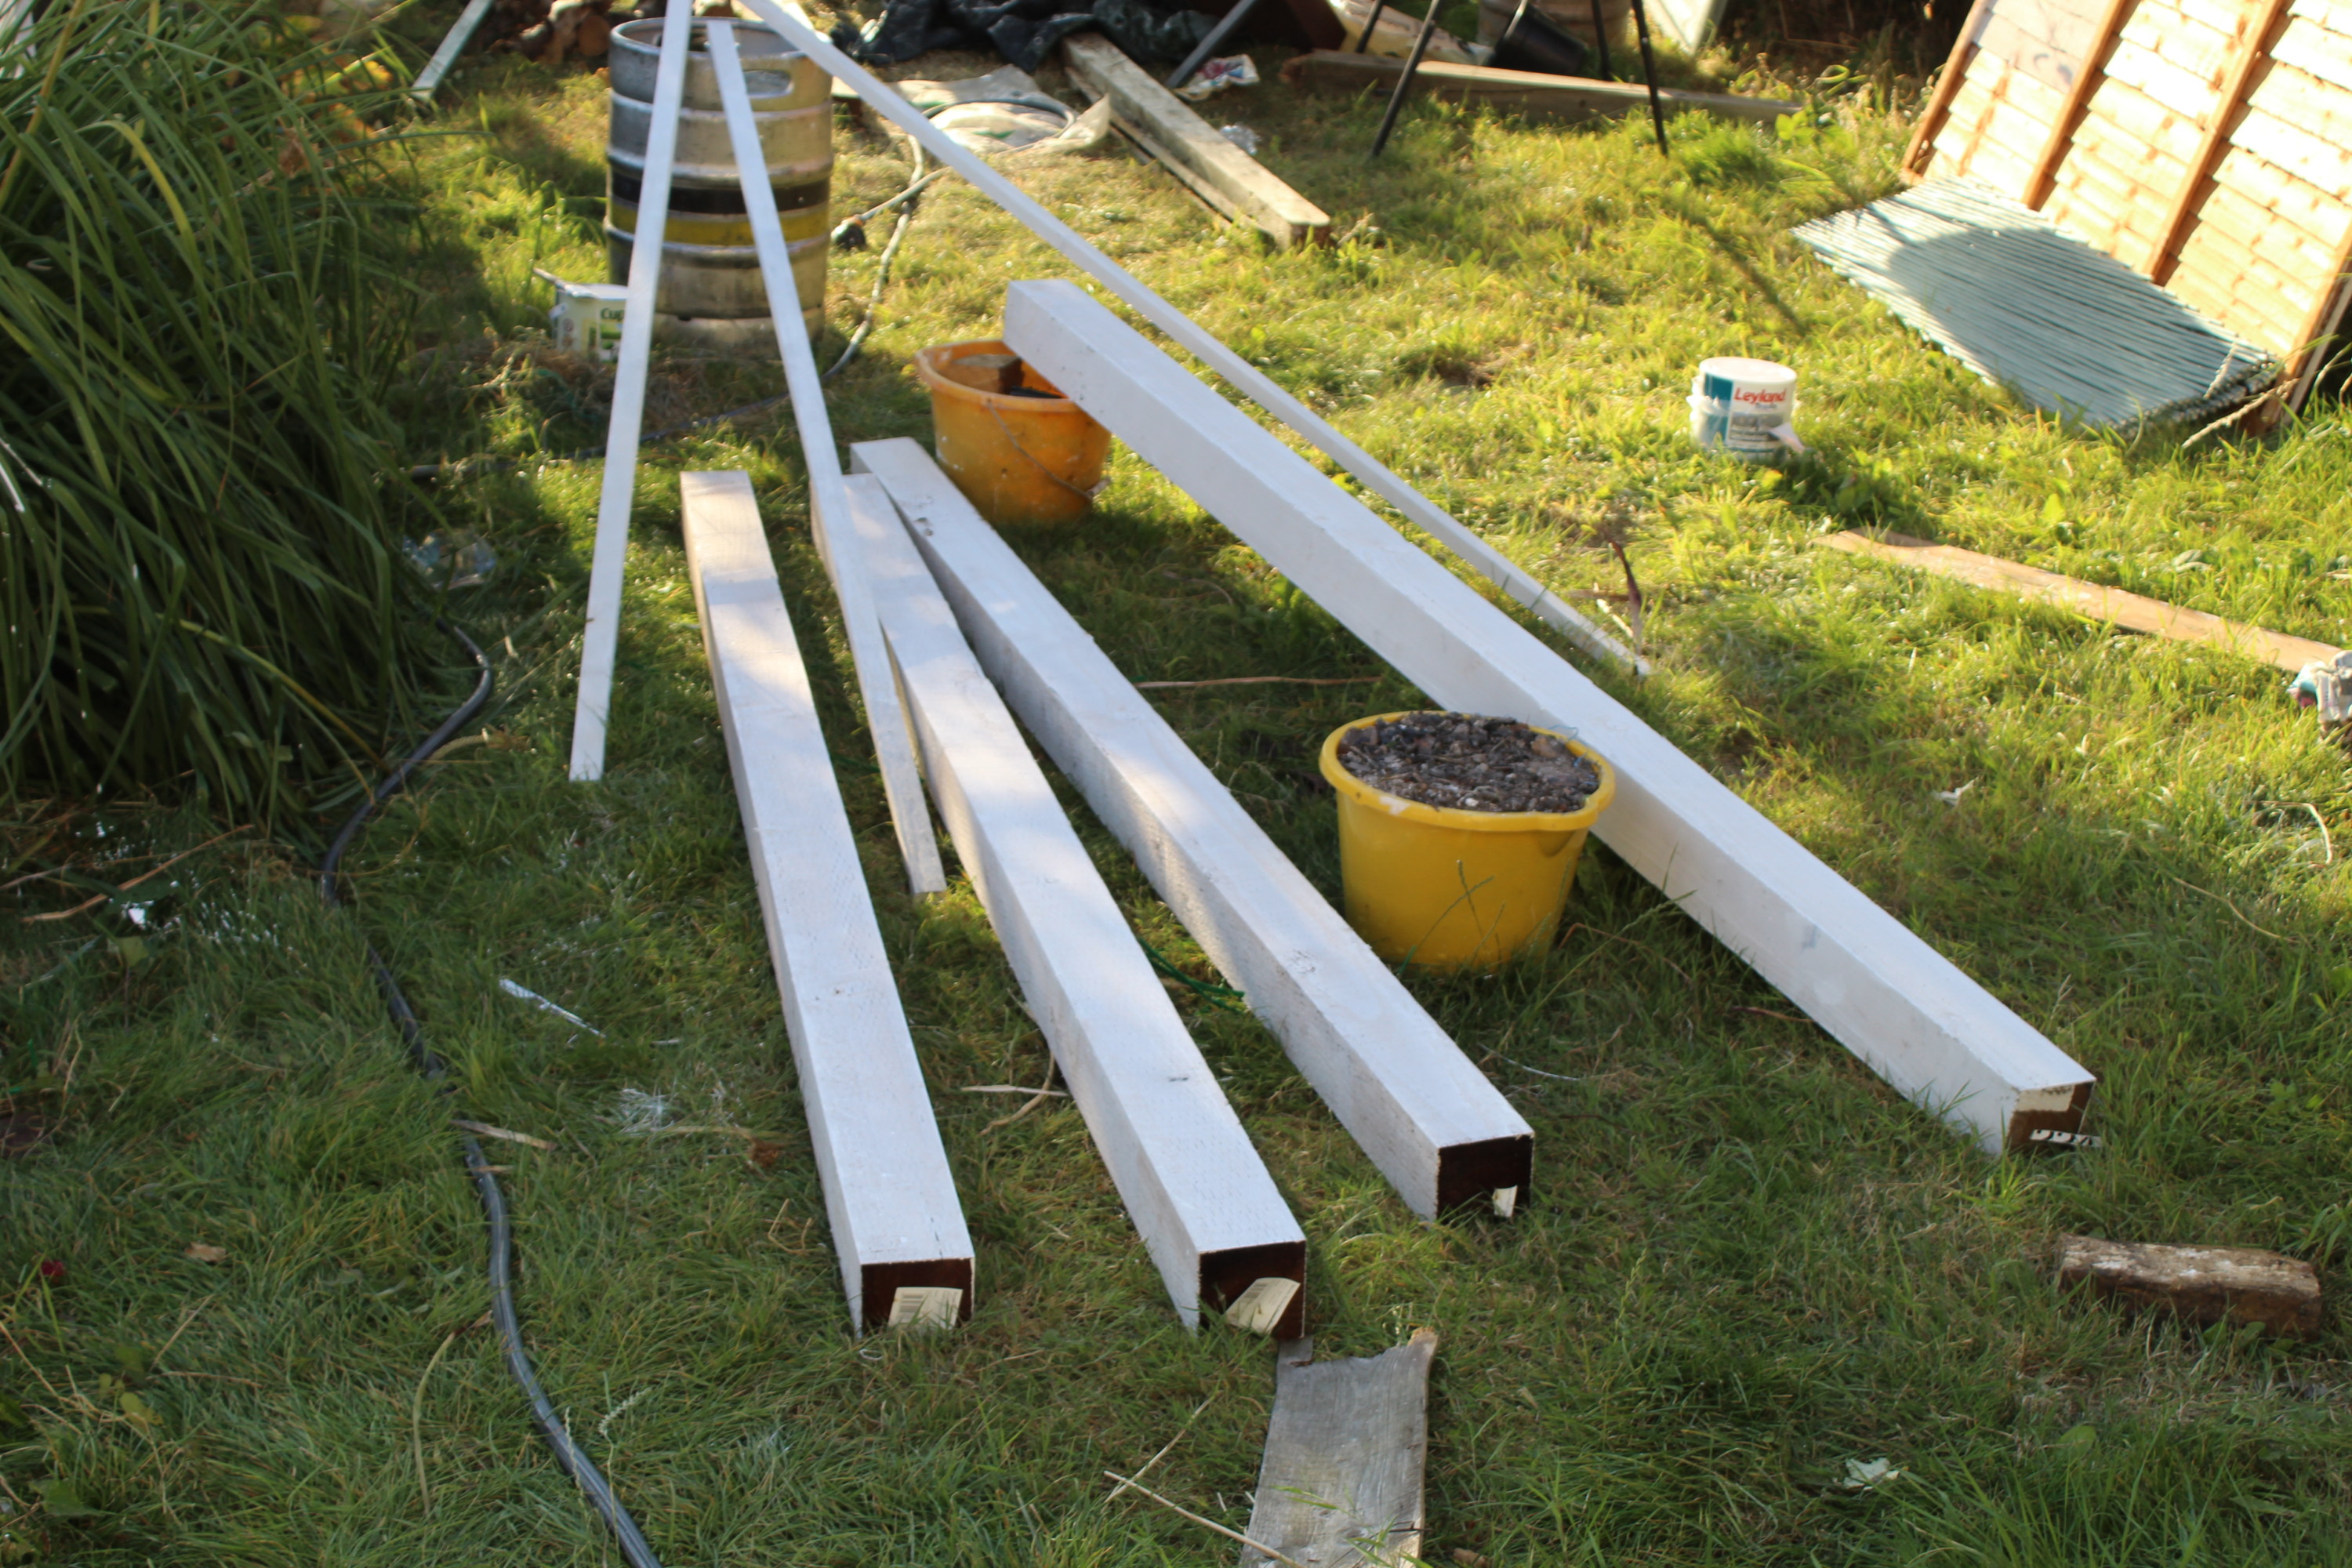
I want some support for the trellis so I picked up these 2 strips of timber So they are being painted directly with a couple of coats of the garden paint.

Timber Strip Wood For The Trellis Support

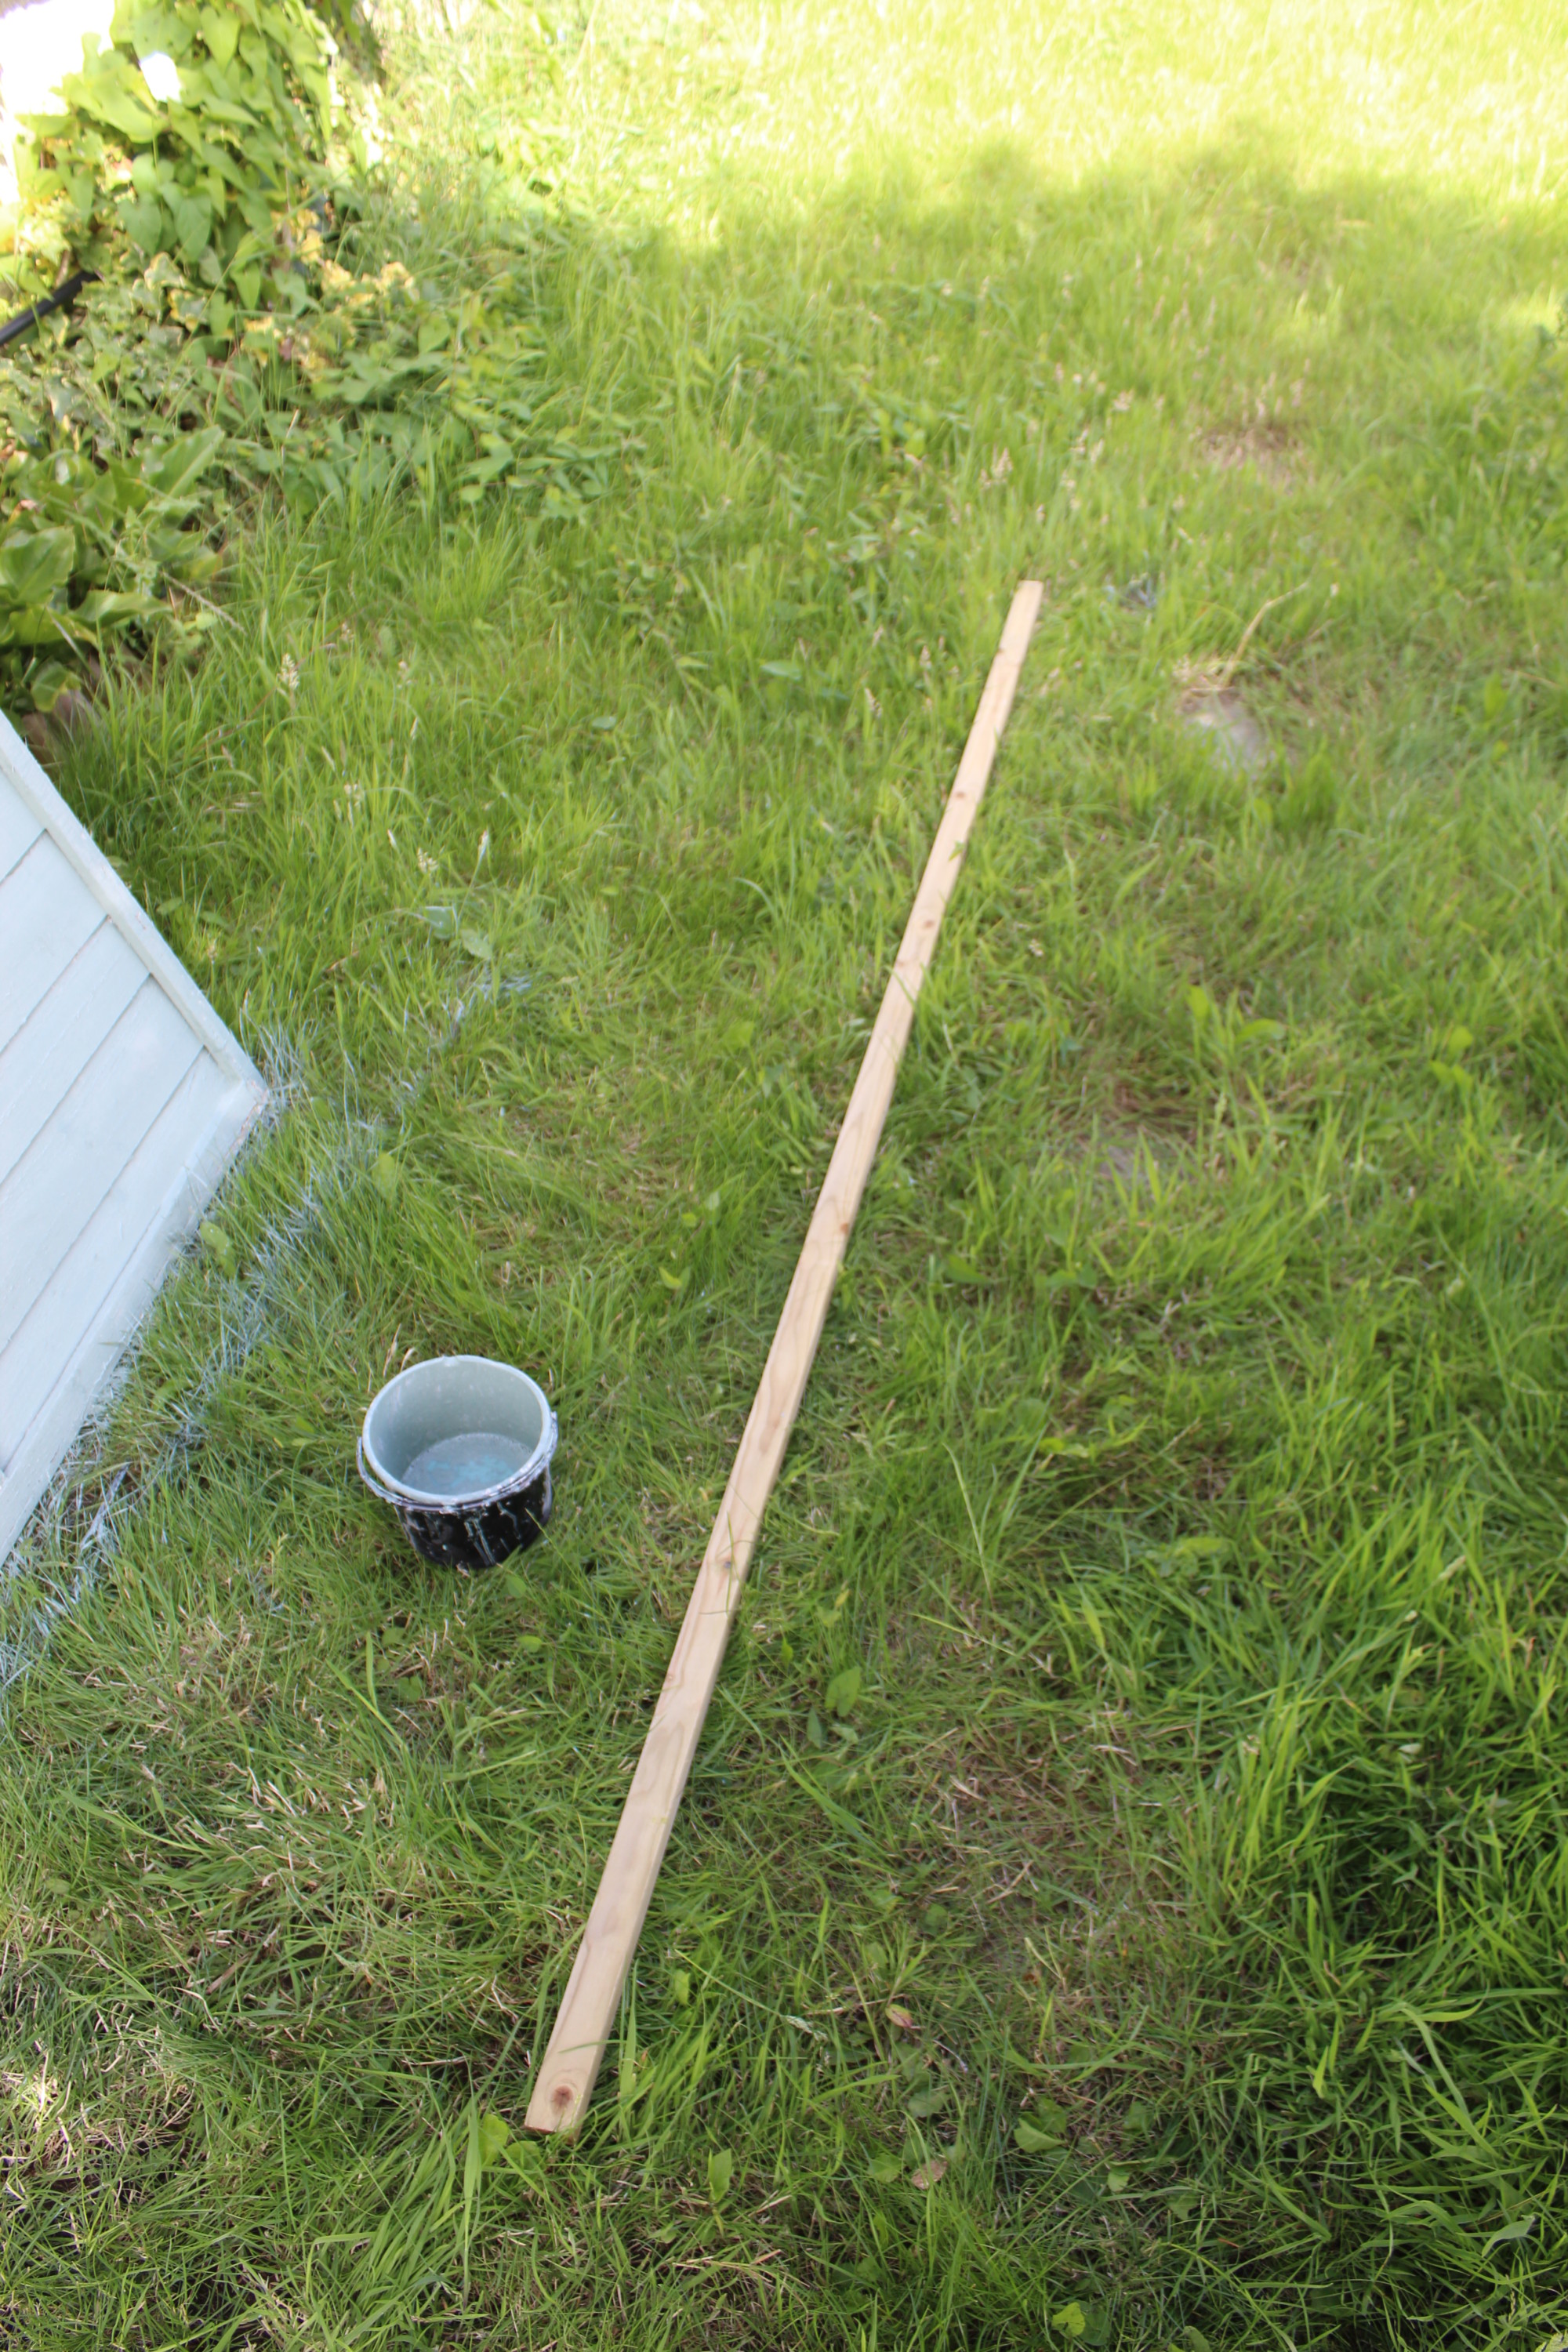
So there are the trellis supports painted up, trellis has had some touching up as have the fence panels. All looking good and ready to move onto the next stage.

Rotted Base Of The Fence Post
Bottom Of The Fence Post Completely Rotted.
Fence Post Had Rotted At The Base
So On Closer Inspection Two Of The Fence Posts Had Rotted.
Making The Frame For The Trellis.
Made The Frame To Hold The Trellis Up.
First Part Of The New Trellis Frame Fitted
Trellis Frame Between The Two Fence Posts.
Frame For The Trellis Squared Up
Looking Pretty Bob On To Me!

Trimming The Trellis For A Close Fit
Trimming The Edge Of The Trellis For A Clean Fit.
Trimmed Up The Trellis To Get Rid Of Any Excess Wood
The Trellis Trimmed So That Is Has A Close Fit To The Fence Post.
Fitted The First Piece Of Trellis
First Piece Of Trellis Fitted.
Trellis In Place And Attached With Plastic Ties
Trellis In Place Secured To The Fence Posts And Base Frame.
Trellis Attached To Frame With Plastic Ties.
Using Garden Ties To Secure The Trellis To The Frame.
Trellis Attached To The Fence Posts With Plastic Ties
Used Plastic Ties To Attach The Trellis To The Fence Posts.
The New Fence Posts Have Been Painted White
Painted The New Fence Posts White.
Painted The Fence Posts White
Painted The Fence Post White Think They Will Look Really Nice When The Fence Is Finished.
Fitting Some New Fence Posts Behind The BBQ
Fitted Some New Fence Posts Behind The BBQ.
The New Fence Posts Fitted Behind The BBQ
The New Fence Posts Have Been Slotted Into The Fence Post Spikes.
The Rest Of The Fence Panels That Are Going To Be Replaced
The Last Three Fence Panels That Need Replacing.
Removing The Fence Panels Near The Backdoor
Started Removing The Fence Panels By The House.
The Girlfriend Painting The Fence Panels
Put The Sam To Work Getting The Fence Panels Painted.
The Garden Halfway Through The Project.
One Week Until The Engagement Party.. Should Be Fine.
Nearly Finished Painting All The Fence Panels
Nearly Finished Painting All The Fence Panels.

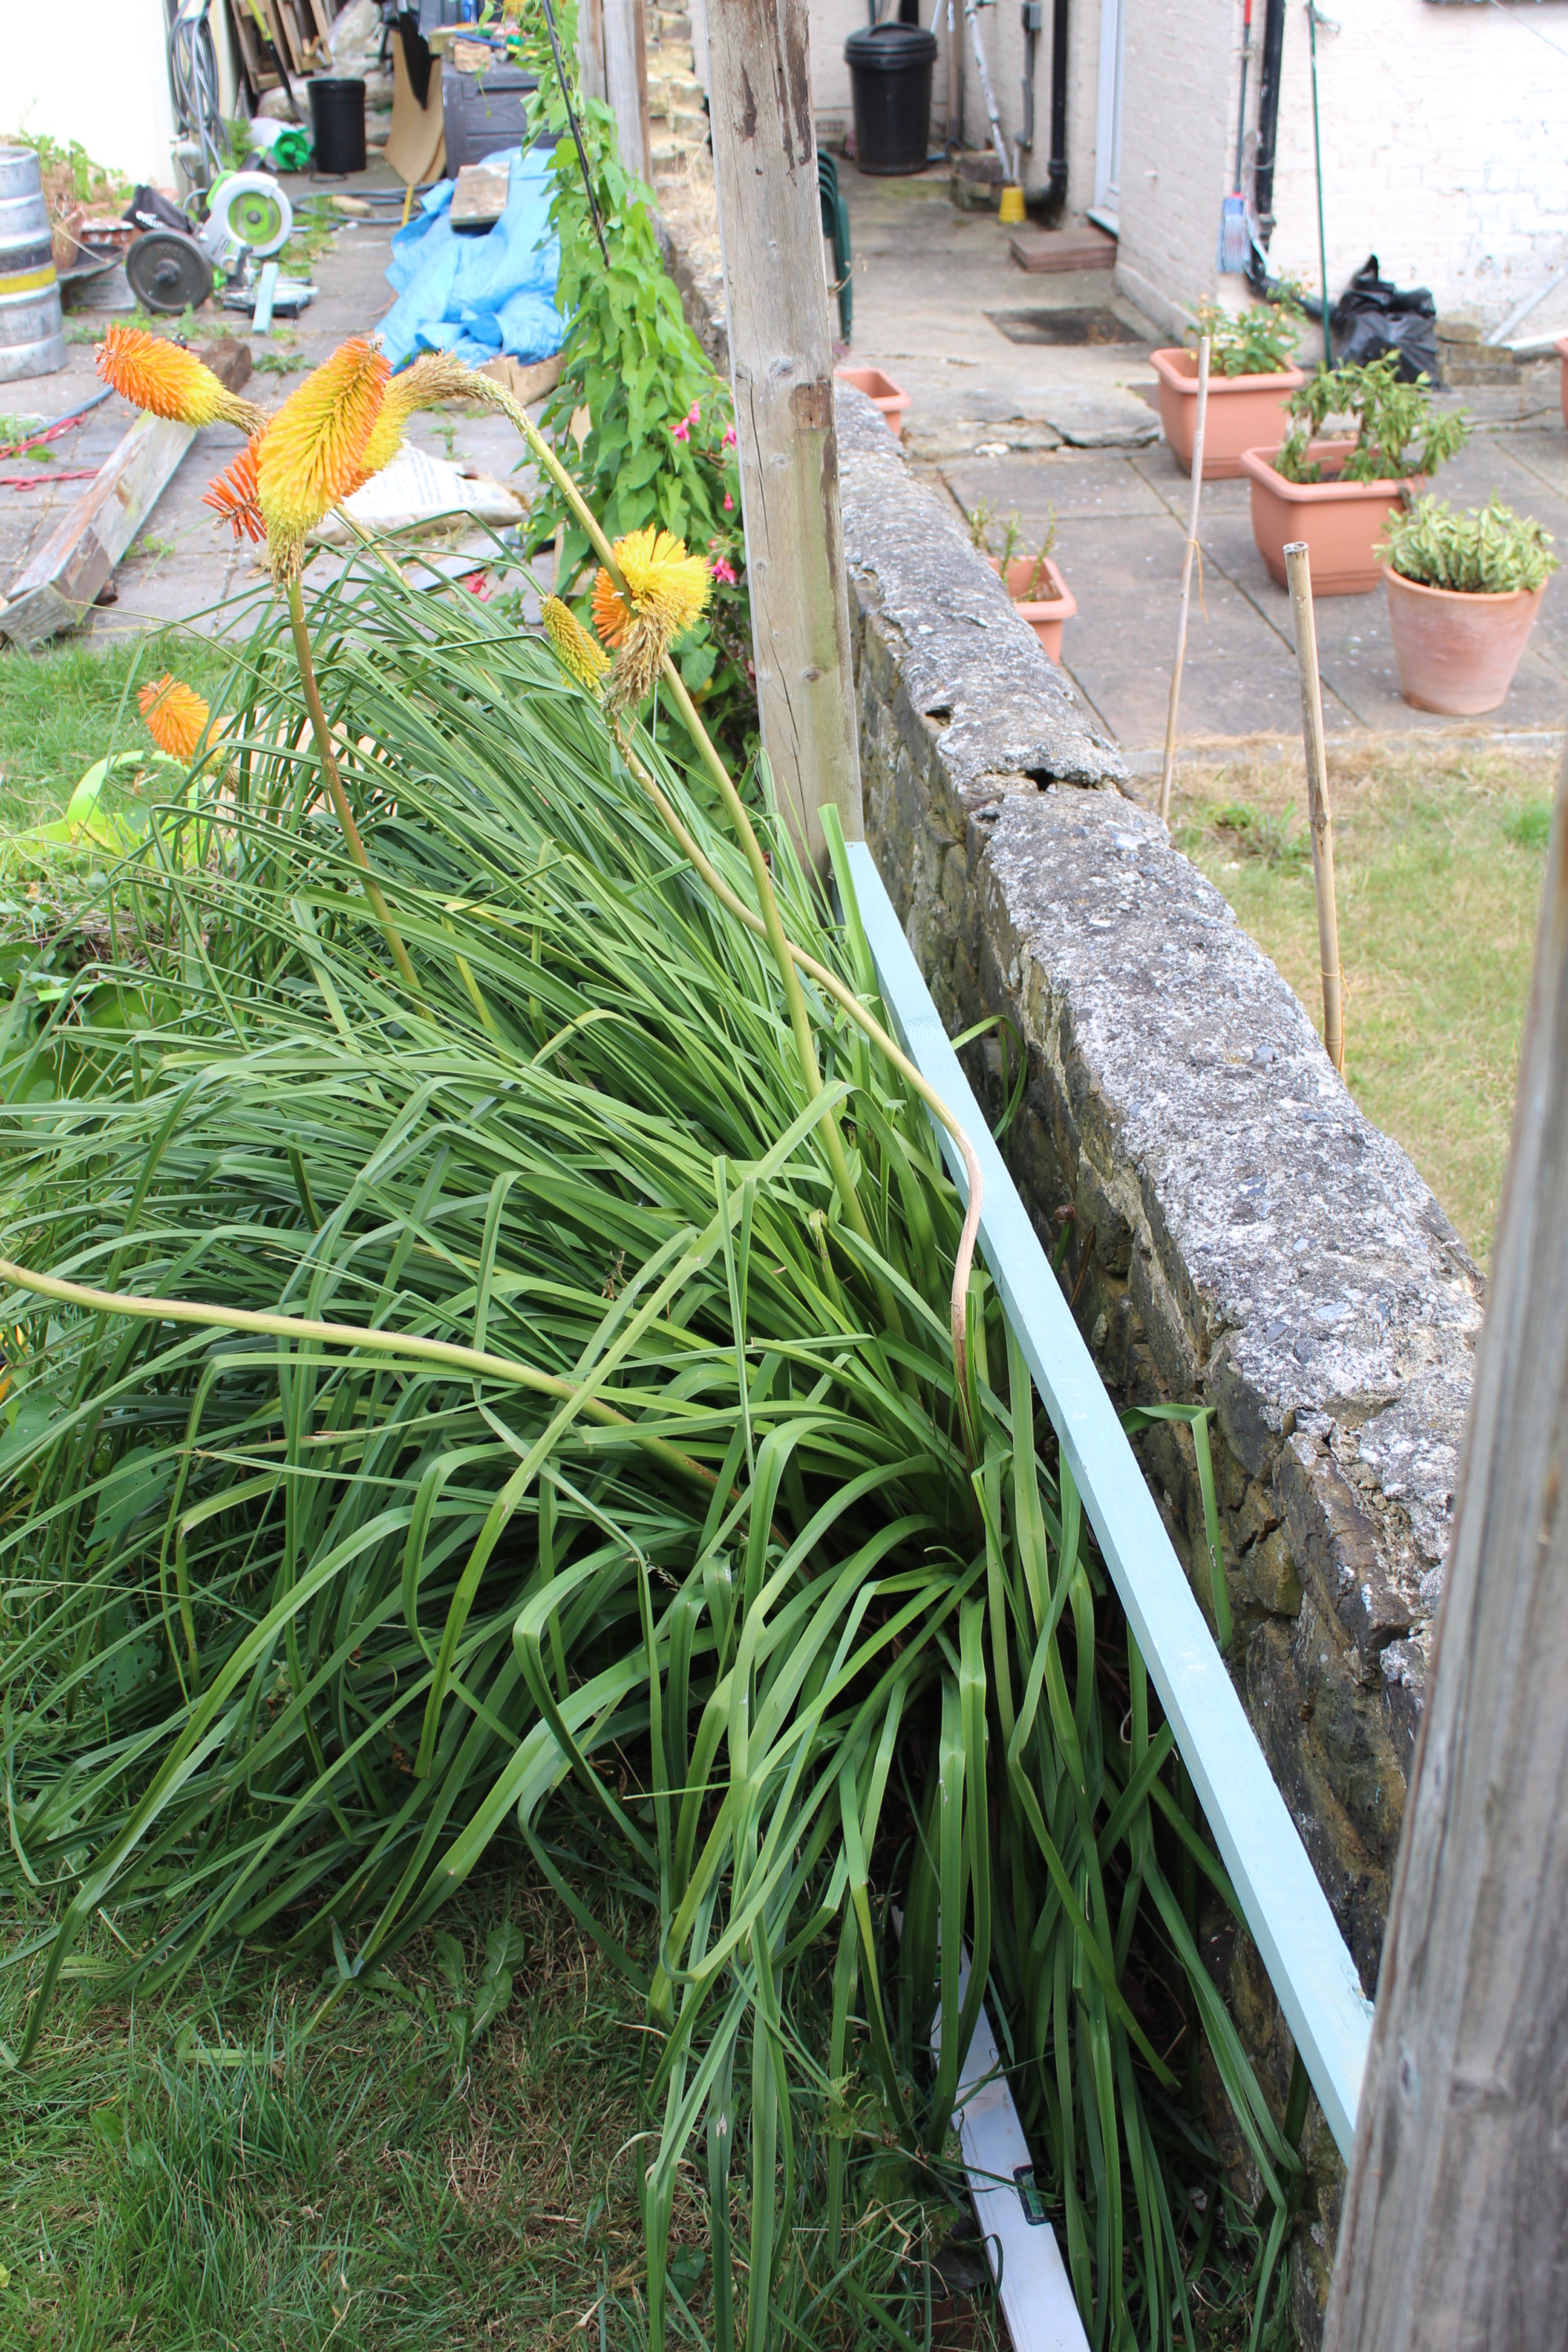
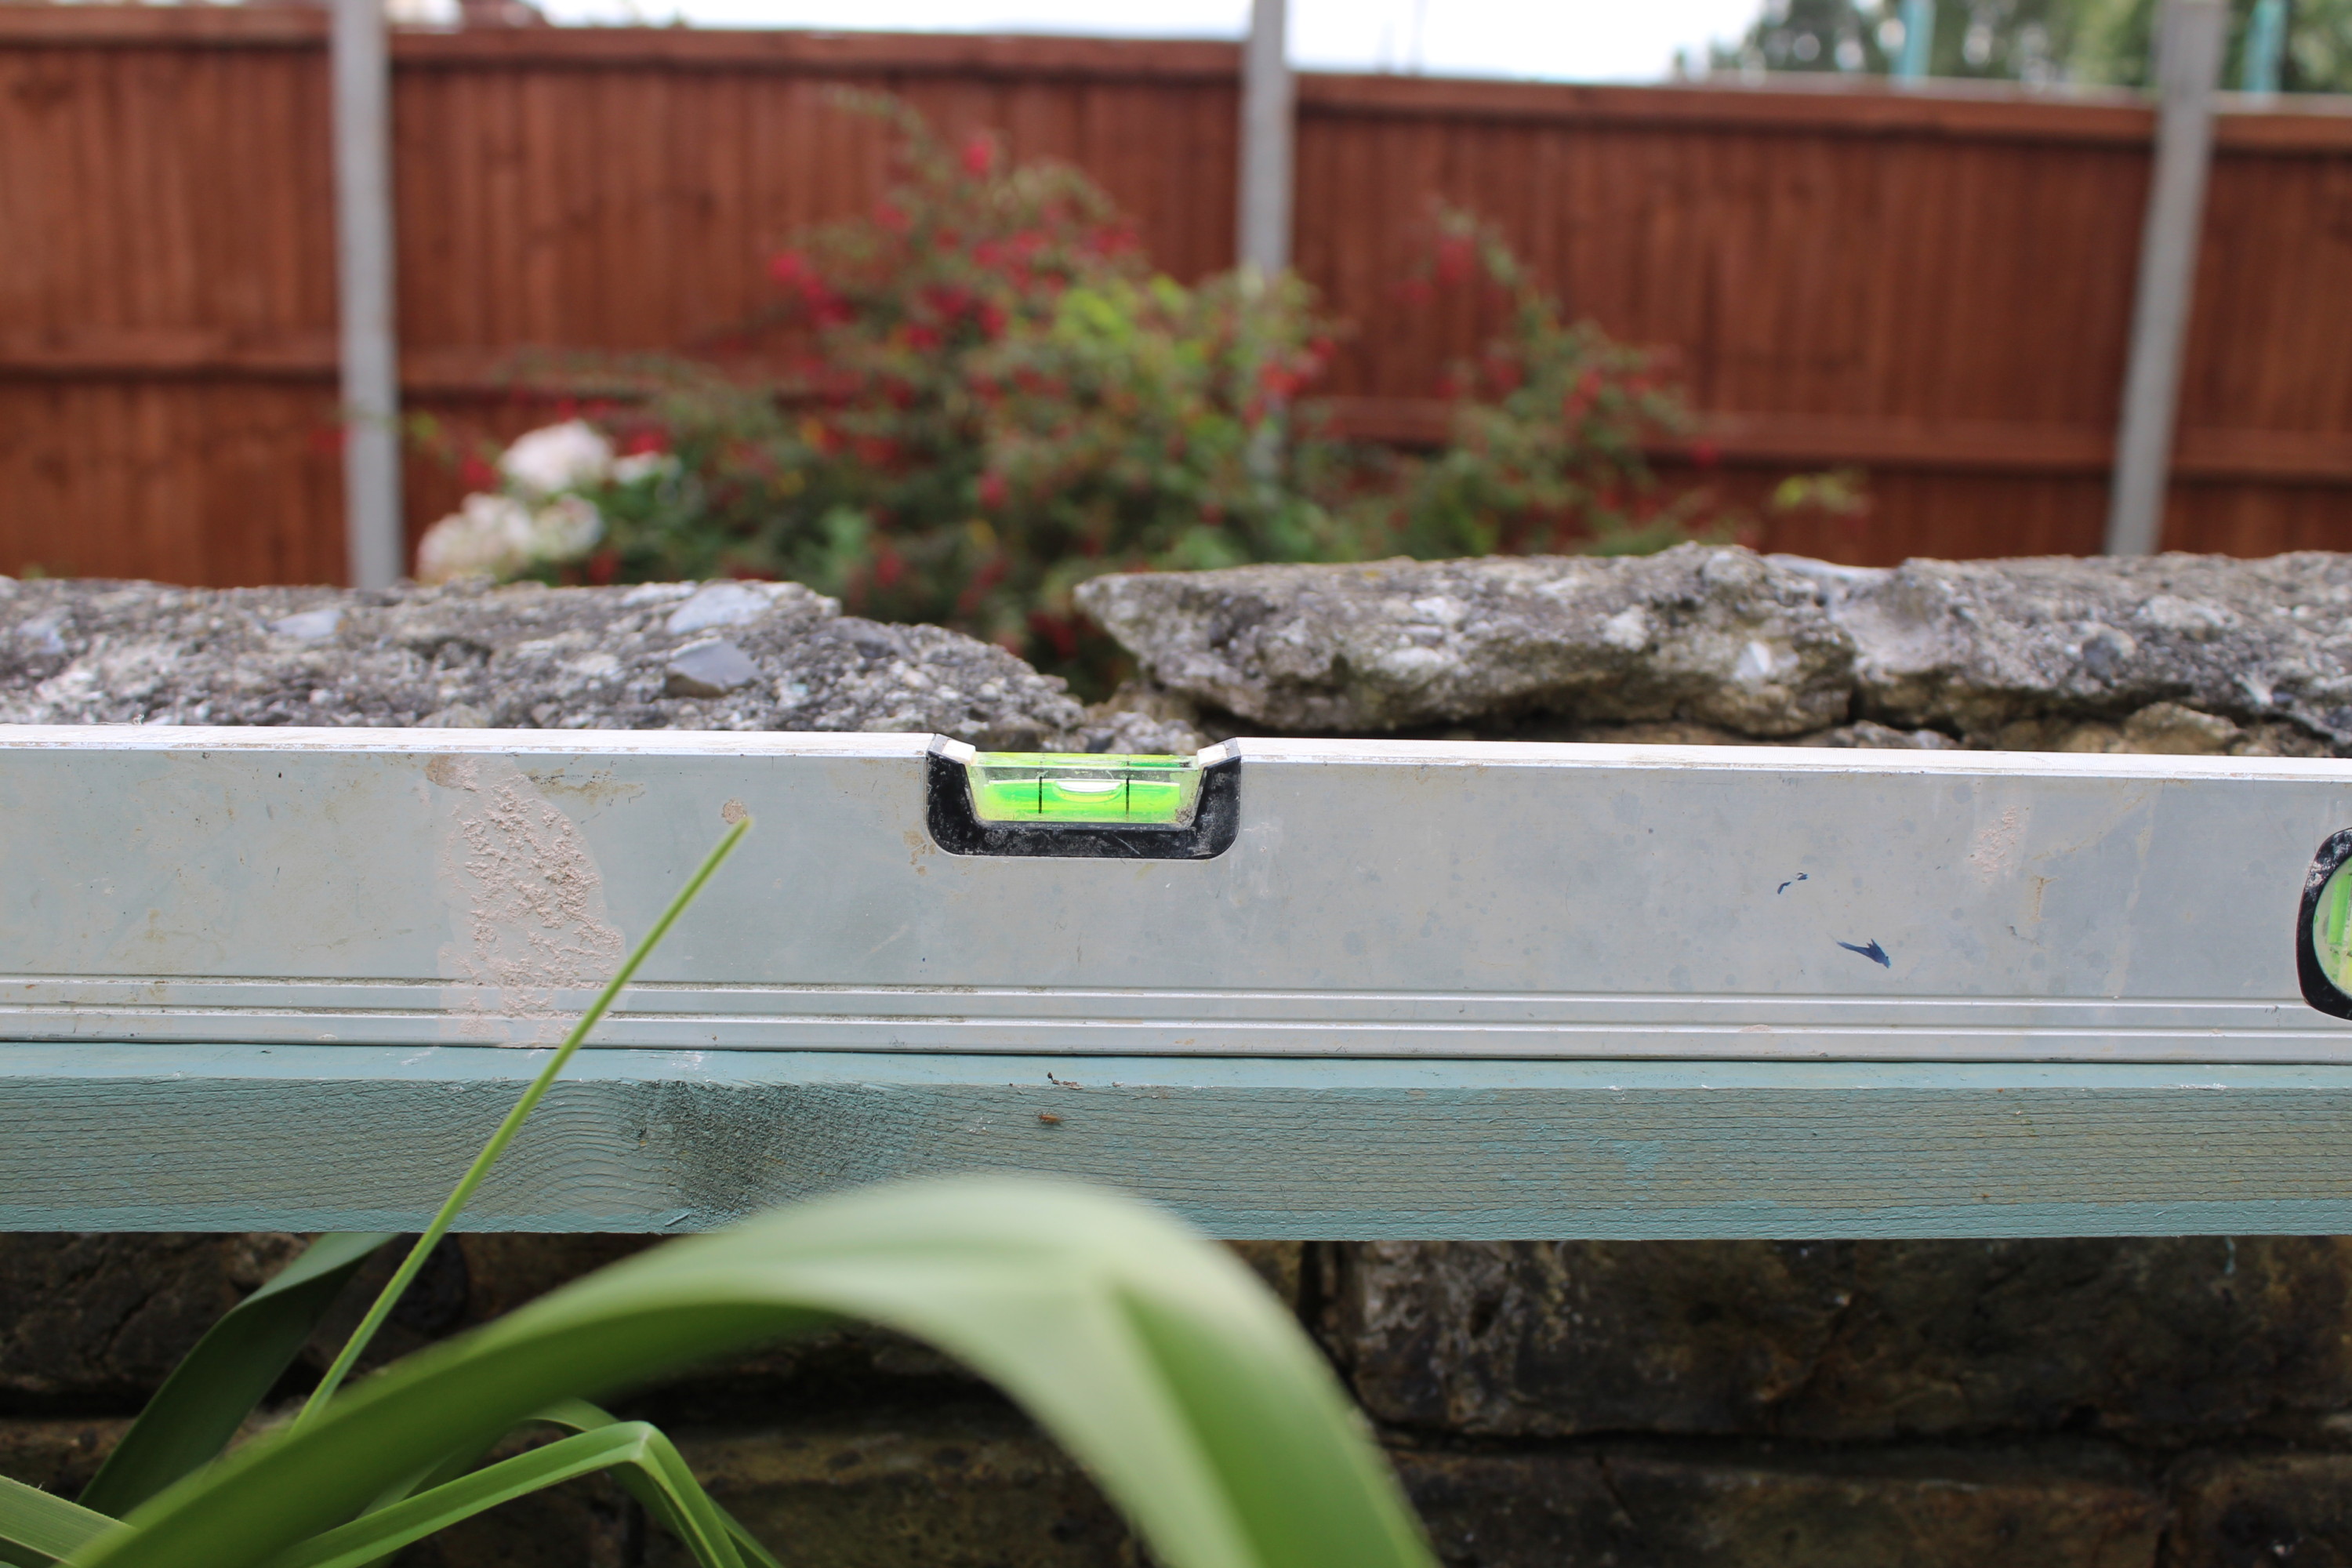
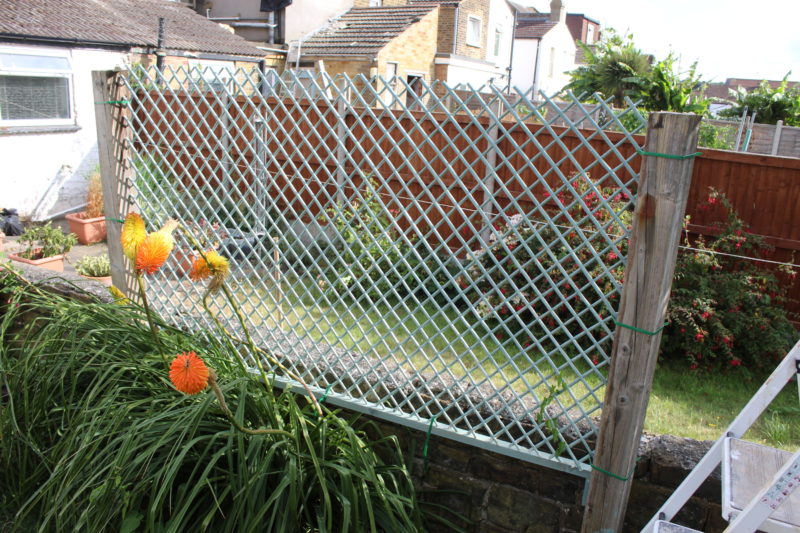
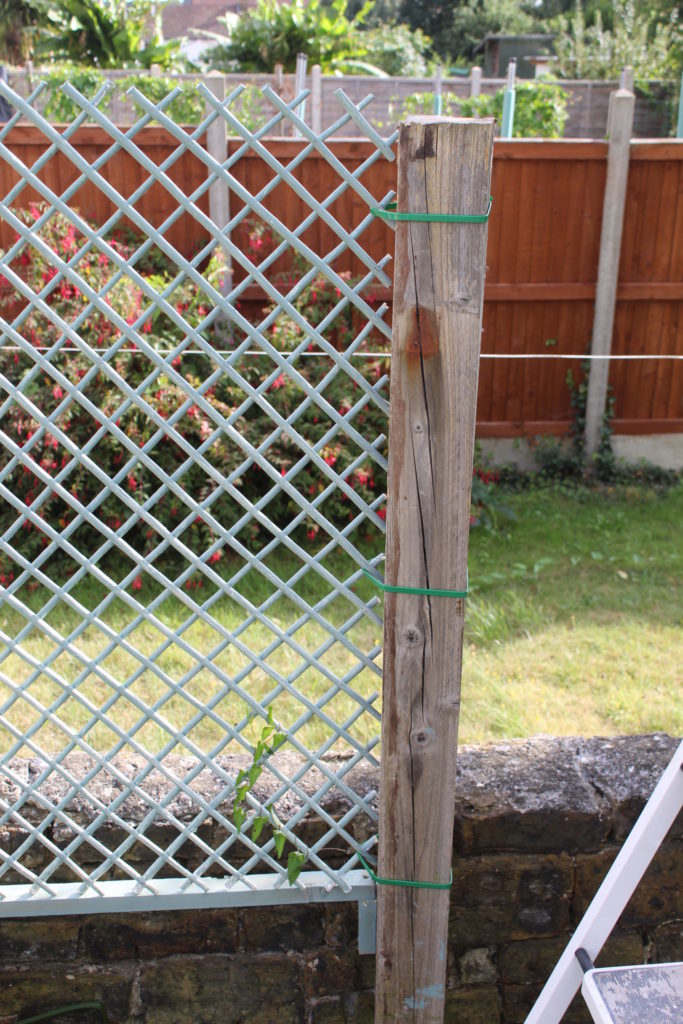
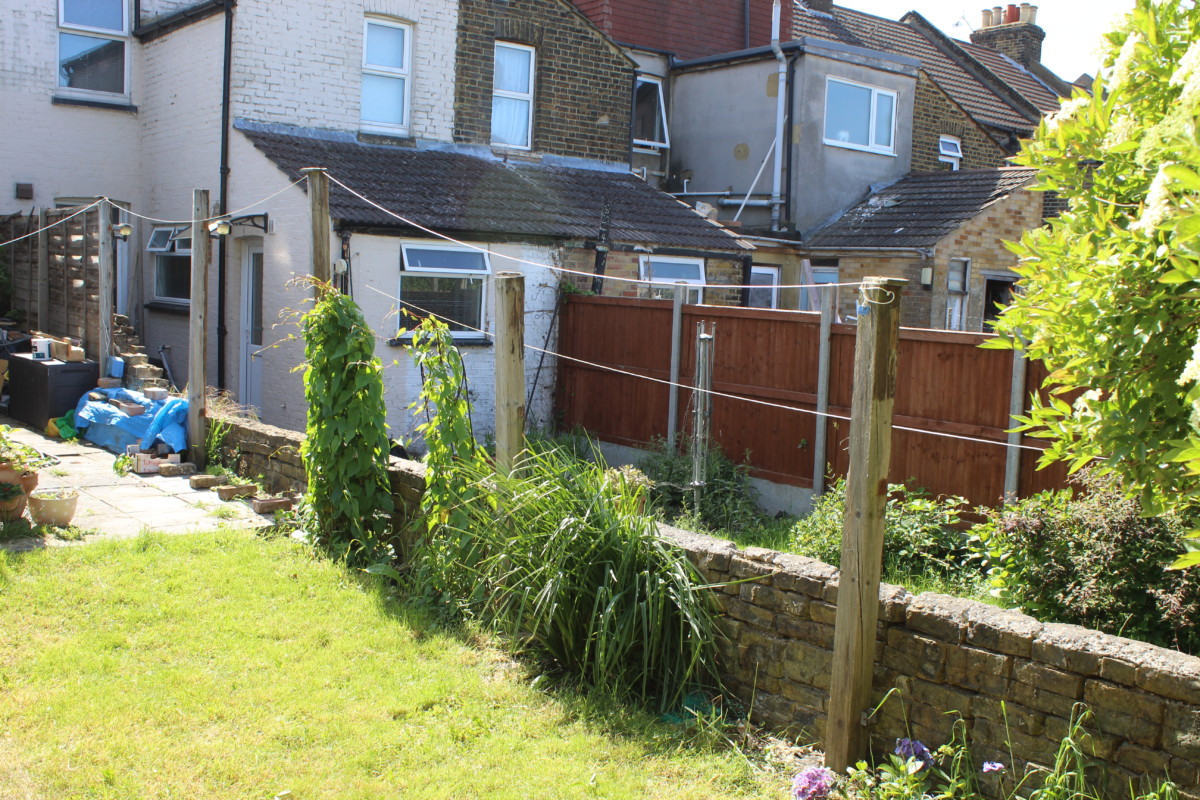
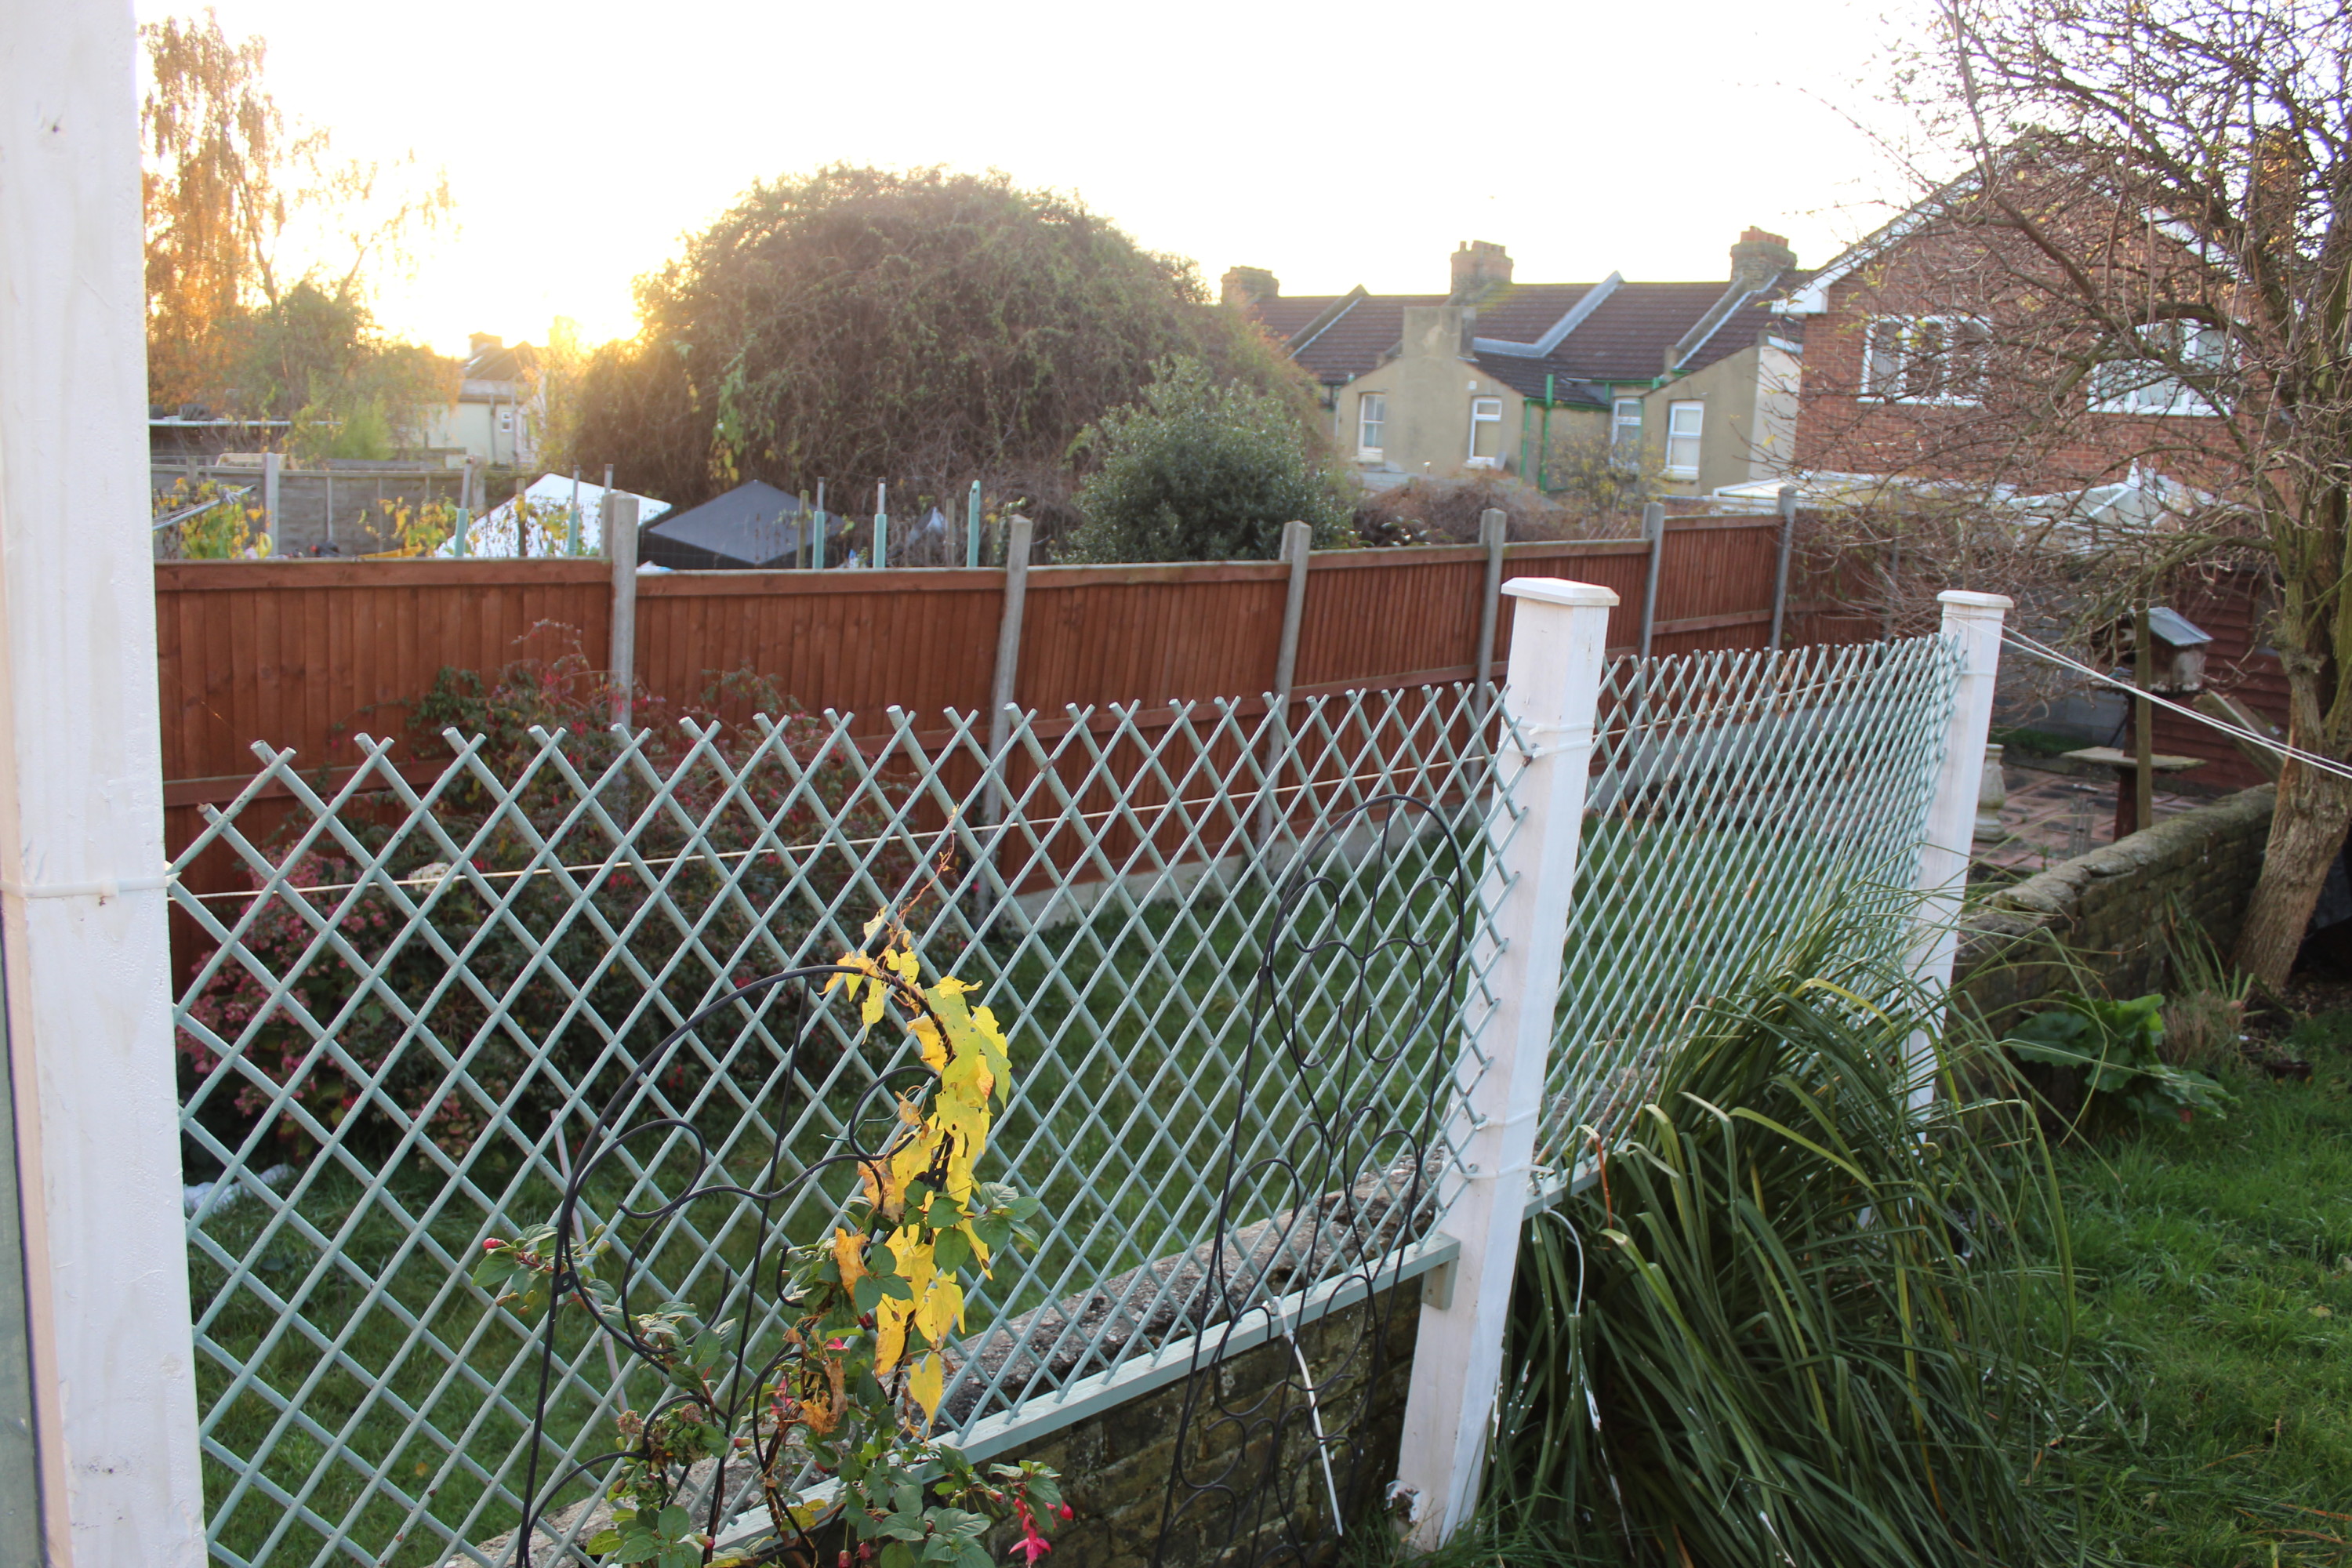
The morning of the barbeque and finally the fence is up. The garden has been tidied up. All the fence post has been painted, trimmed to size and topped off.

New Back Yard Fence
Finally Got The Fences Up On The Day Of The BBQ
New Fence Panels
The New Fence Panels
Garden Fence Panels Completed
The Completed Garden Fence.

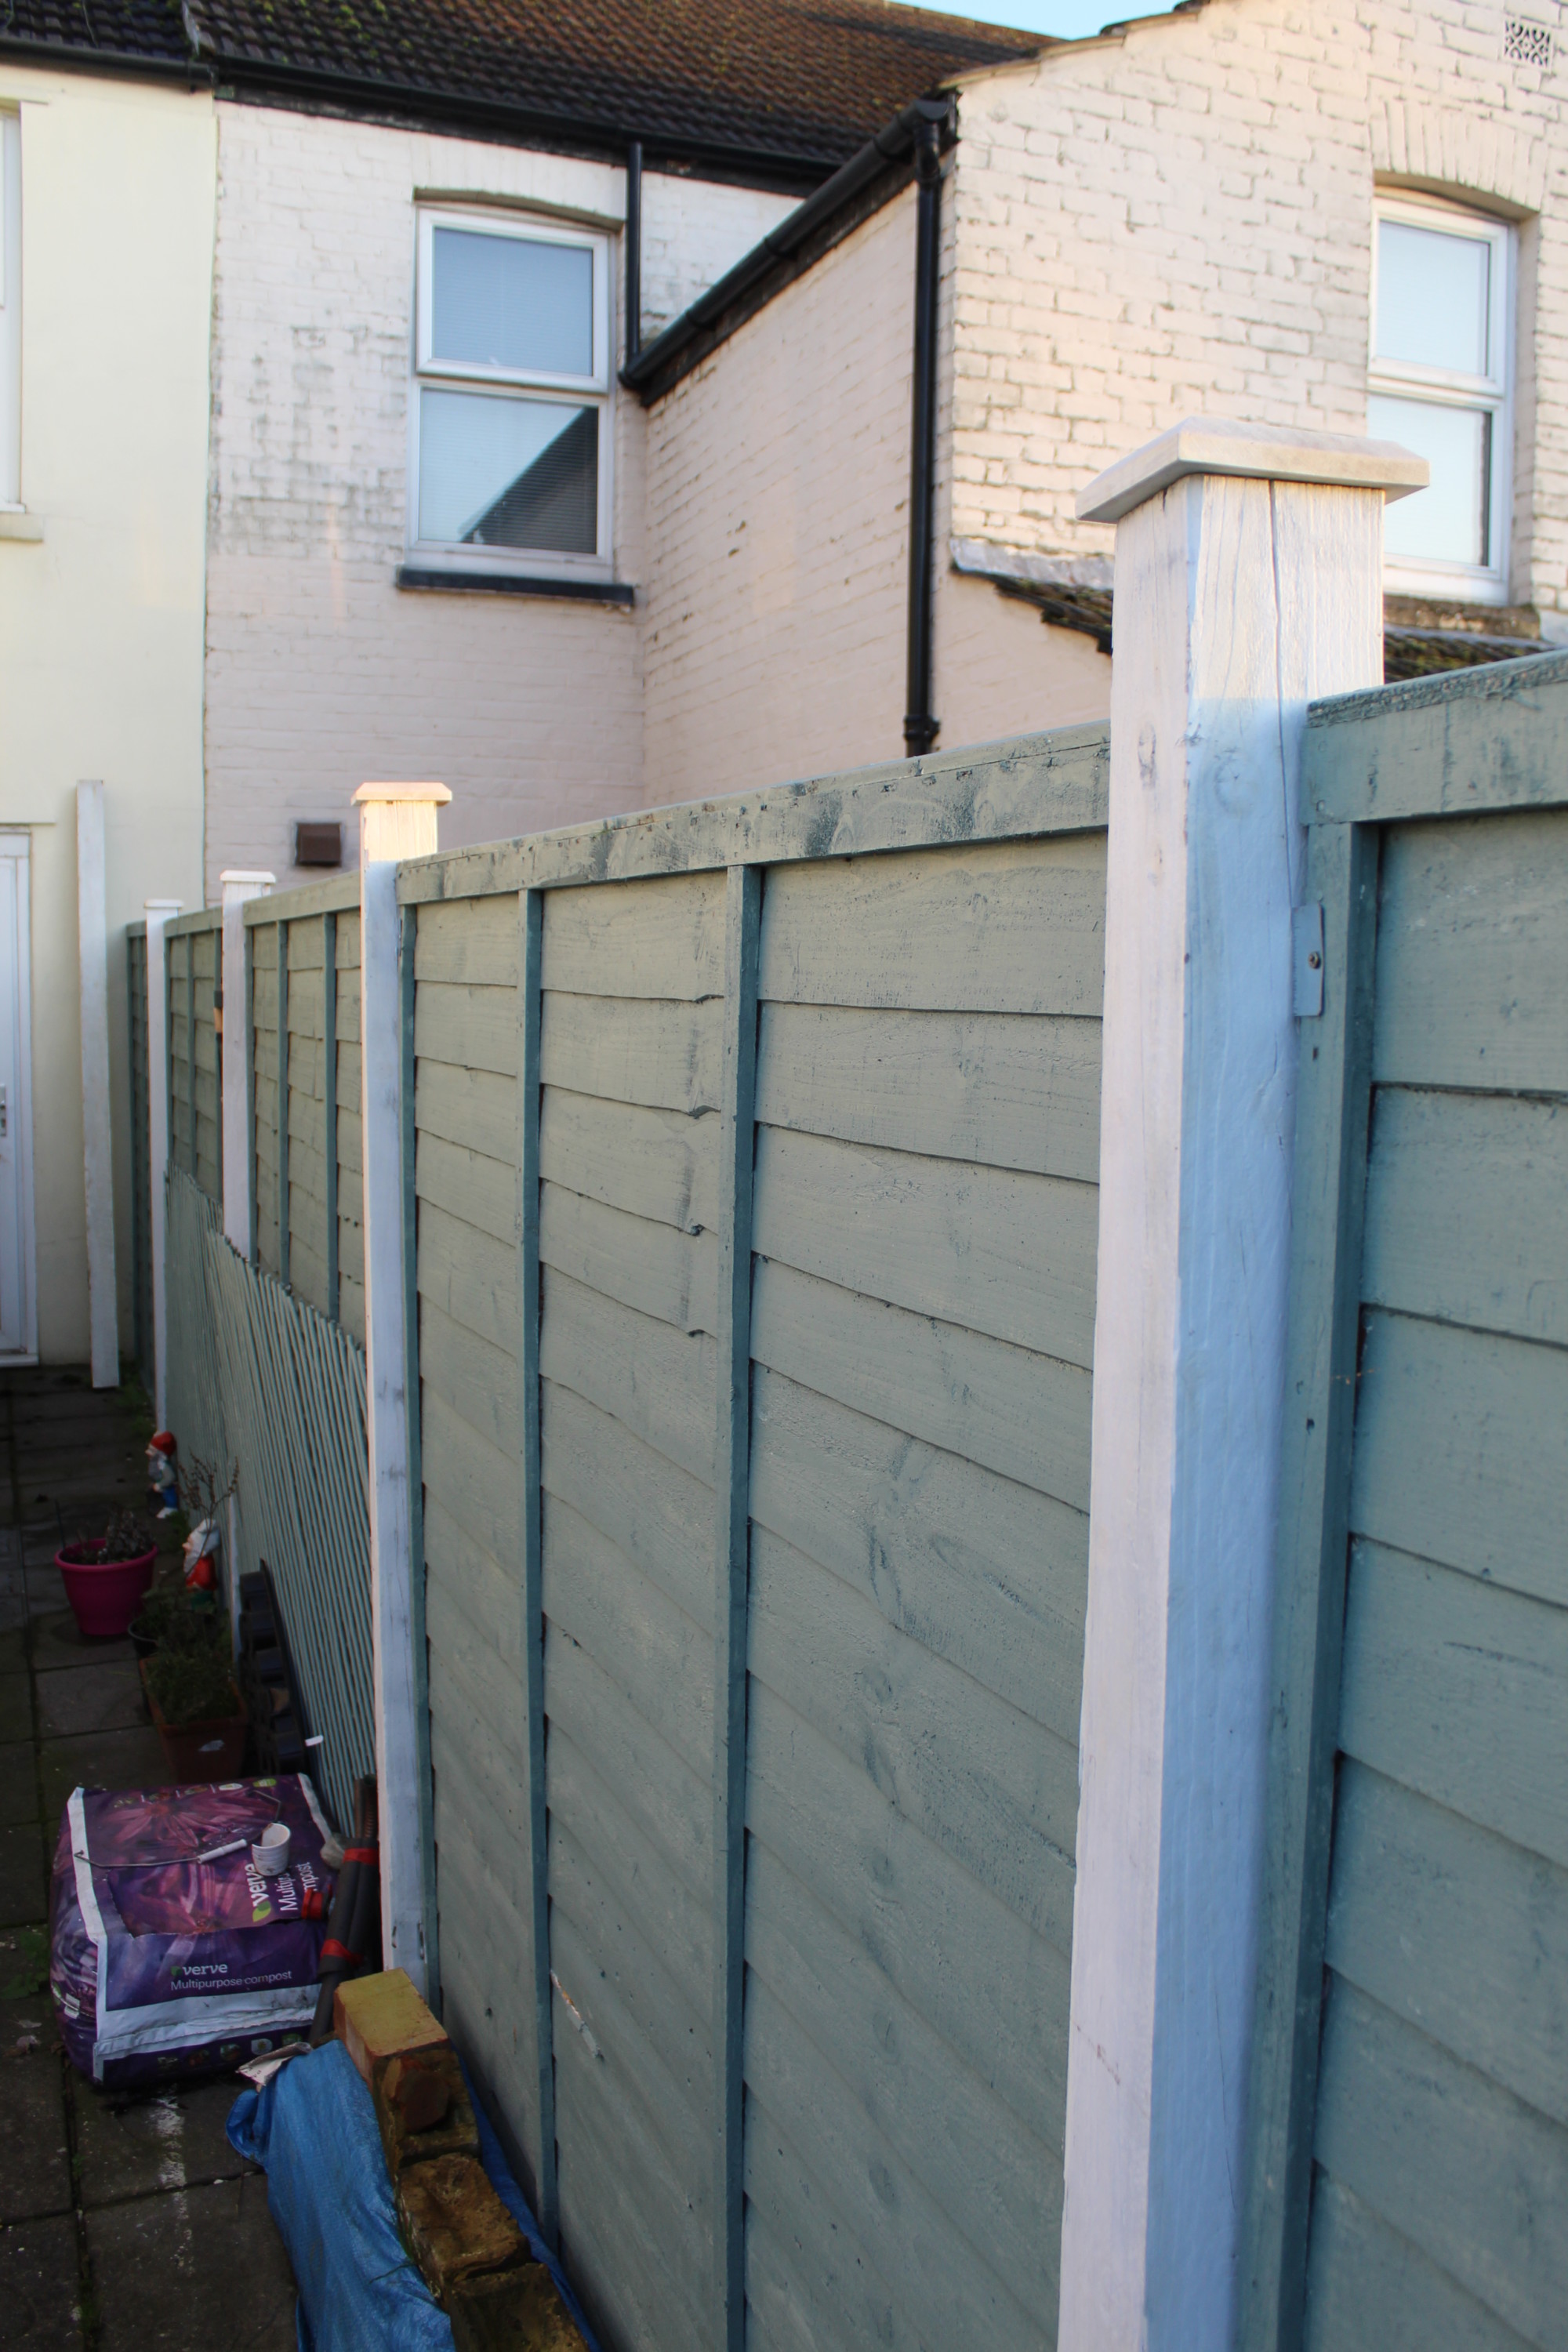
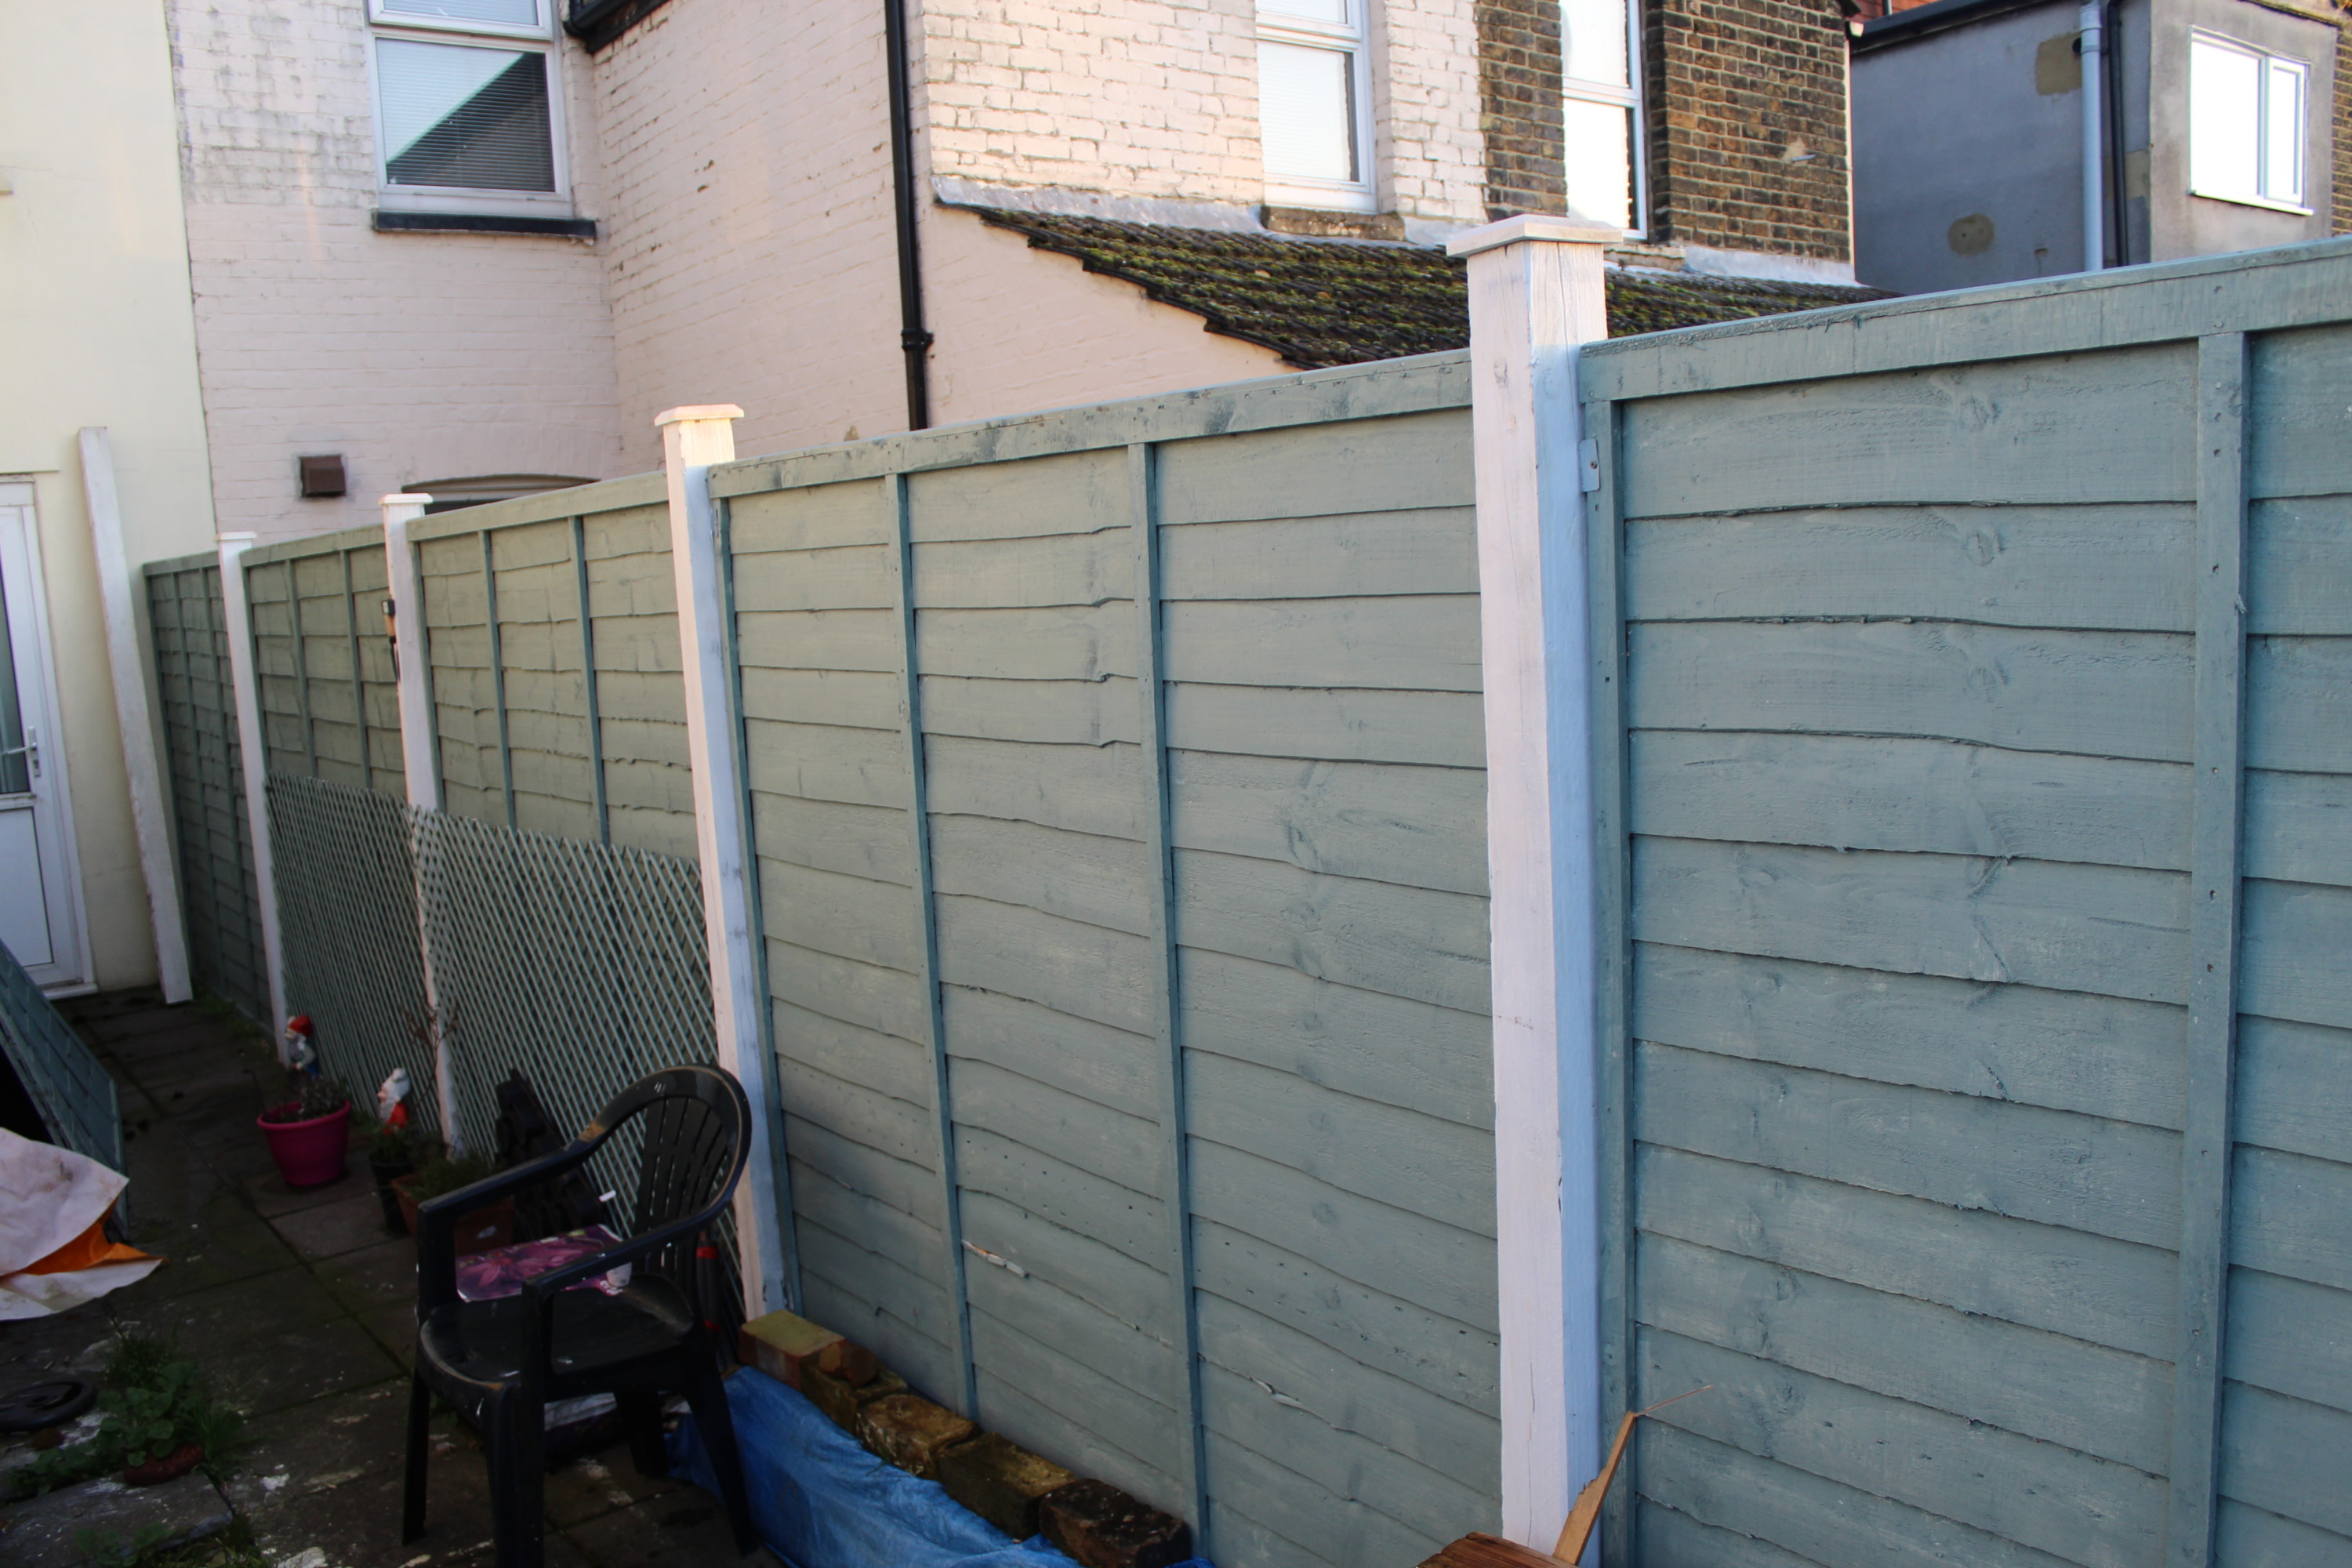
As well as the fence panels, I also have a couple of trellis panels fitted up. I will need to fit some more trellis next year but for now, the work is done for the summer.

The New Trellis Fitted
New Trellis Fitted In The Back Garden.
Finishing Touches In The Garden.
Sam Can Get Back To Enjoying The Garden Now.

So with that wrapped up for the year! Now it’s on to the next project.