Tamiya 1/35th Russian SU-122 Step By Step Full Build

Tamiya 1/35th Russian SU-122 Step By Step Full Build

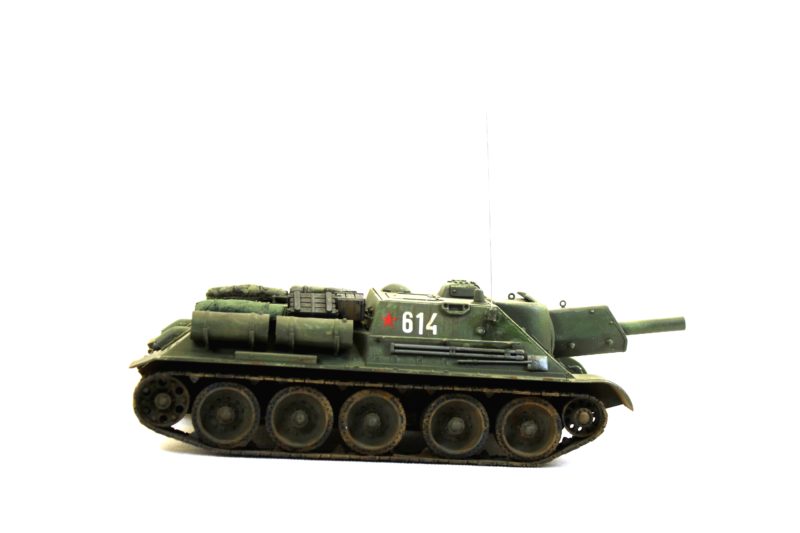
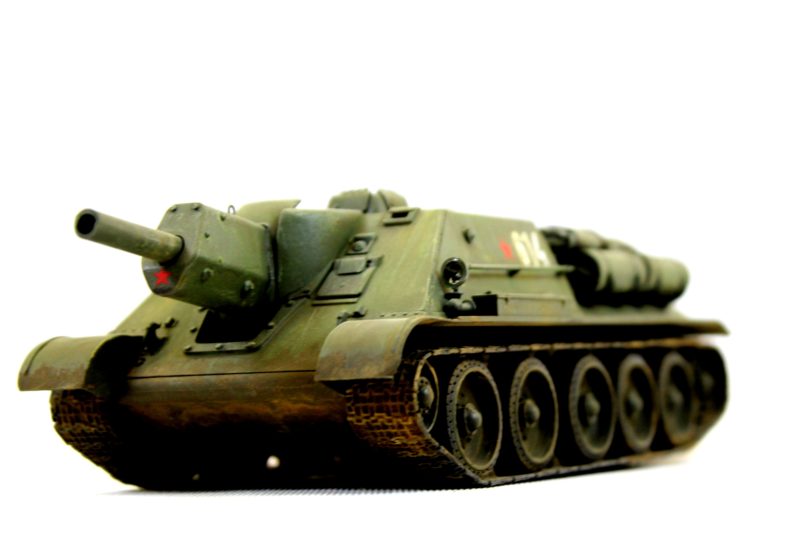
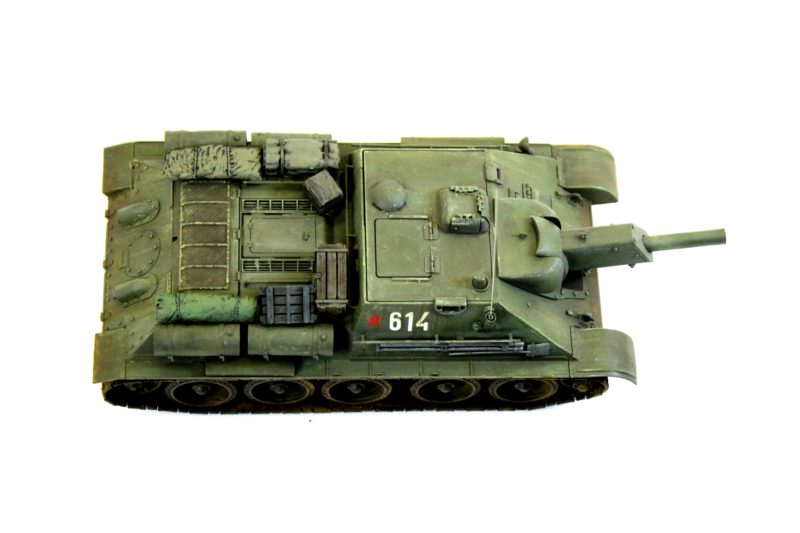
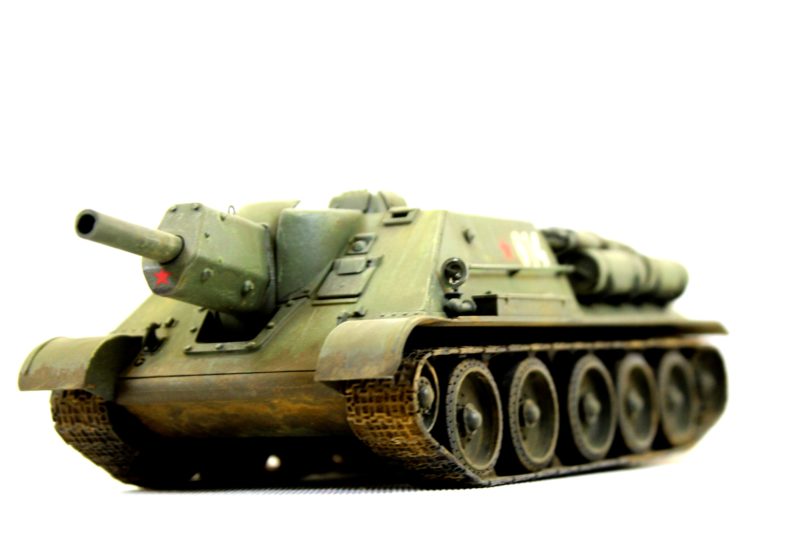
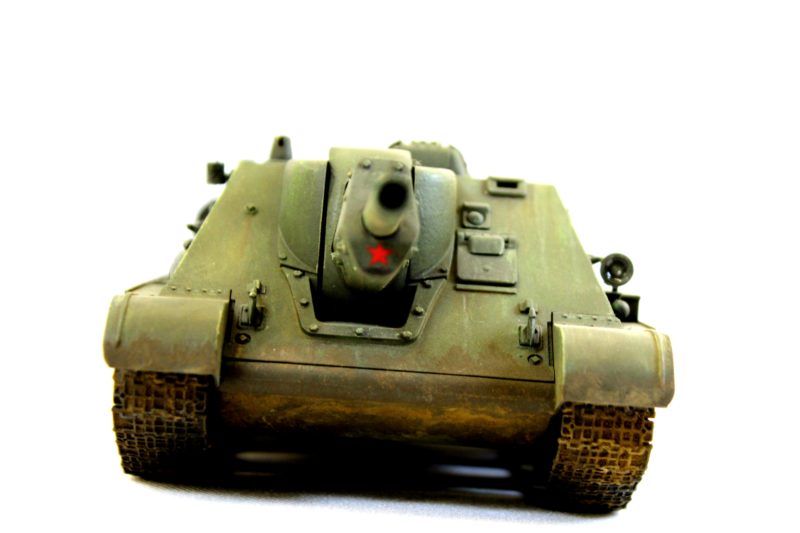
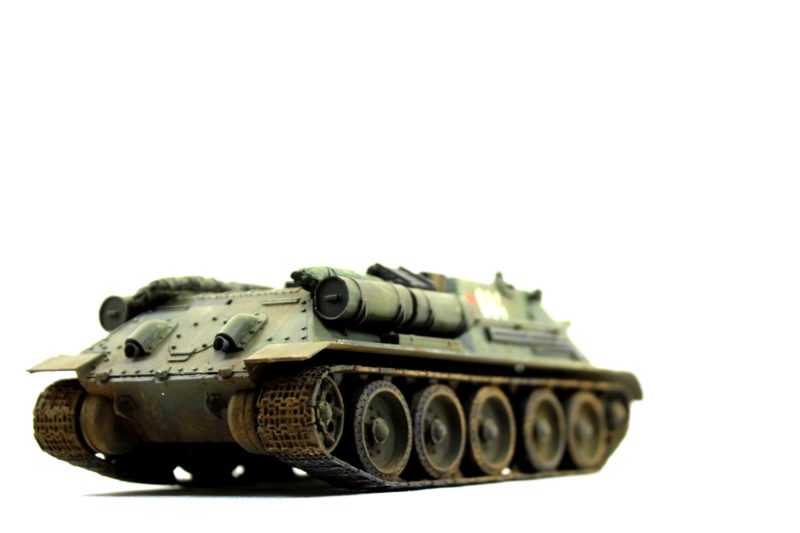
Next up on the workbench, I am continuing with scale model tanks or more specifically model self-propelled guns. This time I have the pleasure to be building The Tamiya Russian SU122 Tank Destroyer. An AFV with a low profile as well as a very big gun.

Building The Tamiya Russian SU122 Tank Destroyer

Making A Start On The Tamiya Russian Tank Destroyer SU122
Making A Start On The Tamiya Russian Tank Destroyer SU122.
Working On The Upper Hull Of The SU122 Scale Model Kit
Working On The Upper Hull Of The SU122 Scale Model Kit.

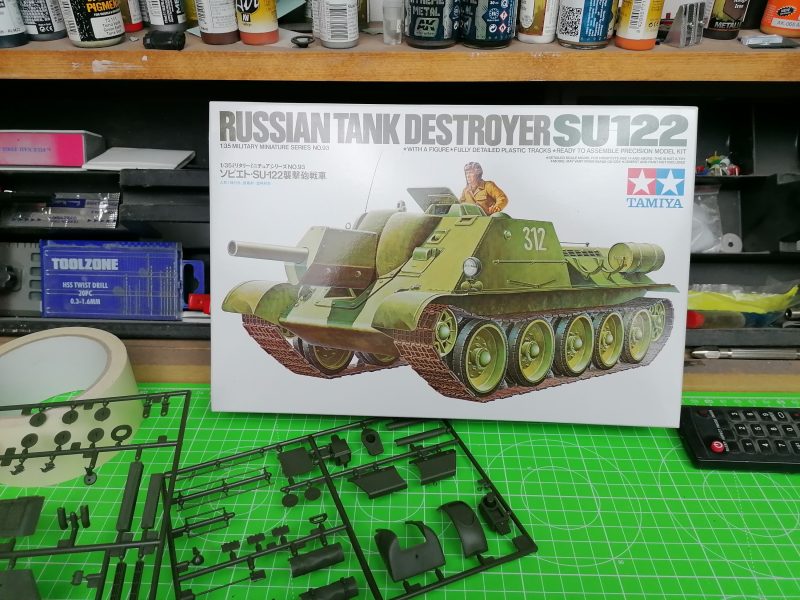
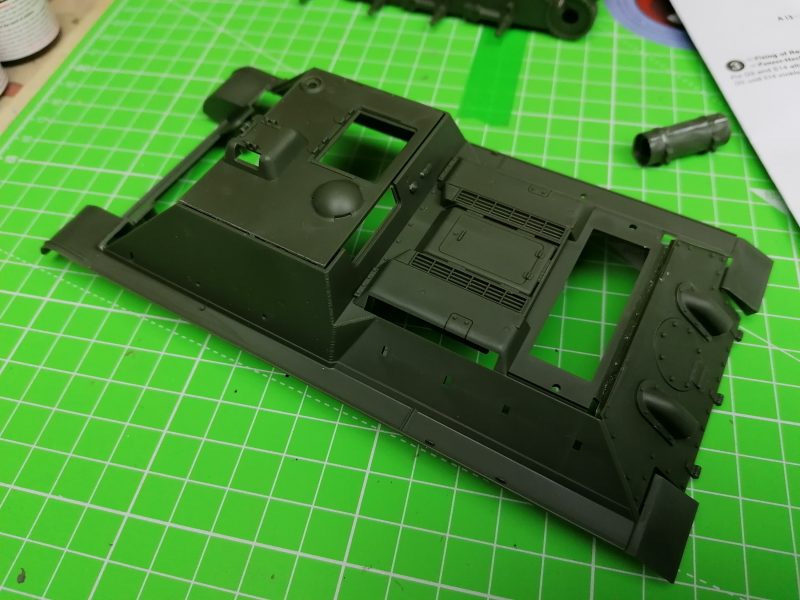
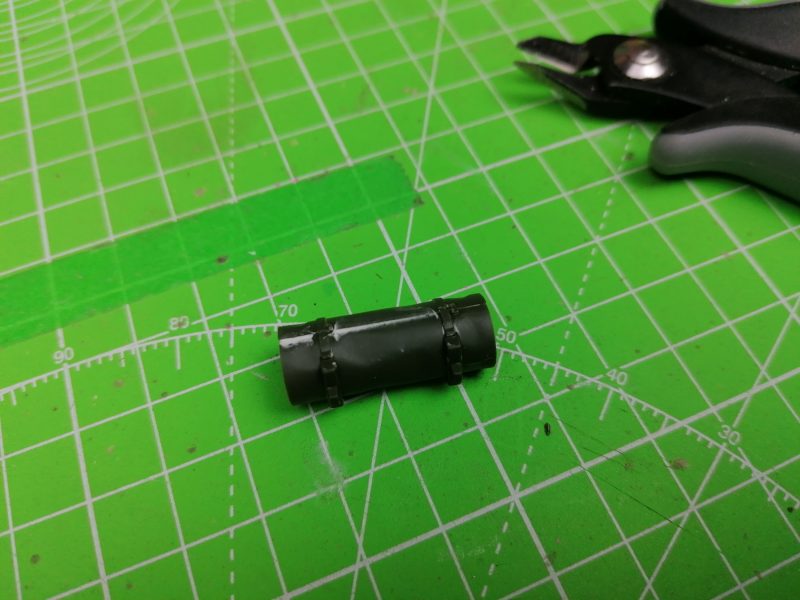
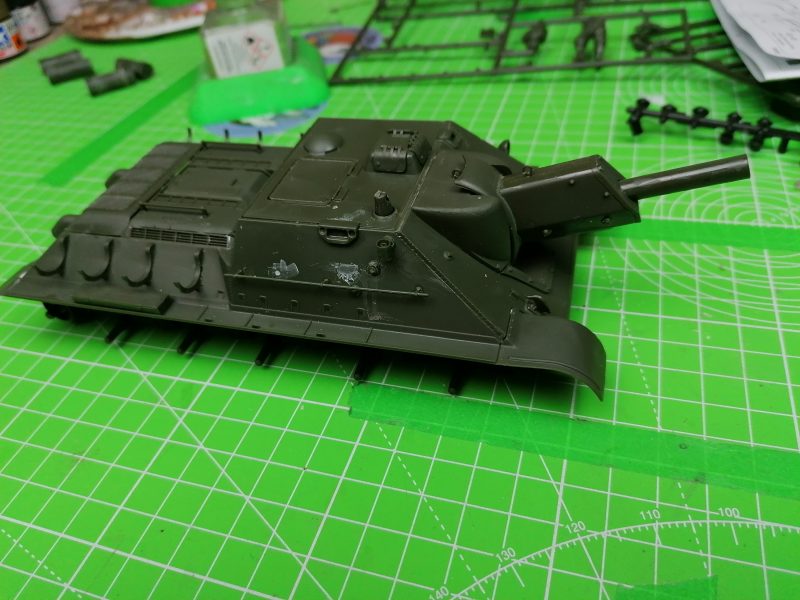
Firstly the SU-122 is built of the chassis of the T-34 because of that it at least feels familiar when I start the build. As can be seen, there are a few parts that I have needed to fill in but compared to other Tamiya kits, it’s right on par. As a matter of fact, you can check out the whole model in my review video by clicking HERE.

Filling The Gap In The Underside Of The Hull
Filling The Gap In The Underside Of The Hull.
Making The Spare Tanks For The Su-122
Making The Spare Tanks For The Su-122.
The Rear Of The Upper Hull Is Now Pretty Much Completed
The Rear Of The Upper Hull Is Now Pretty Much Completed.
Filled In The Holes That Don't Line Up
Filled In The Holes That Don’t Line Up.
A Lot Of The Derailed Parts Have Been Fitted
A Lot Of The Derailed Parts Have Been Fitted.
Storage Box And Hand Rails Fitted To The Side Of The Hull
Storage Box And Hand Rails Fitted To The Side Of The Hull.

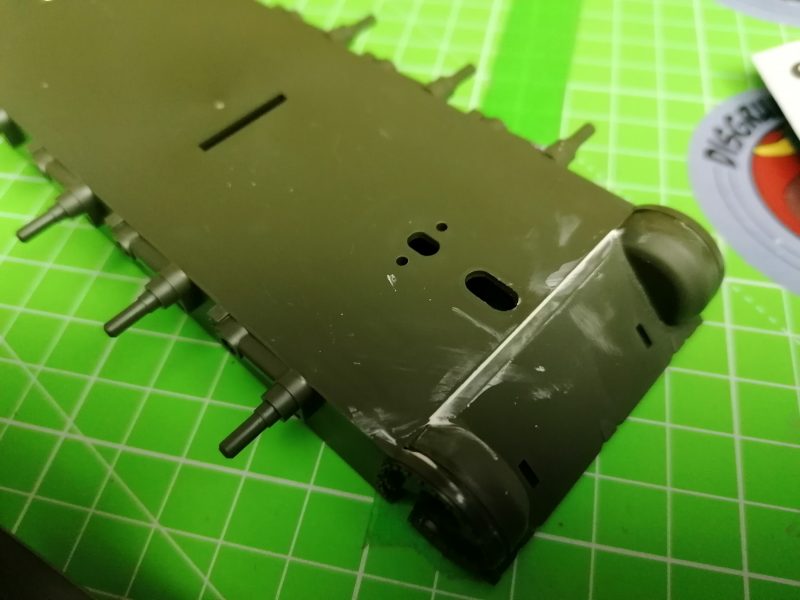
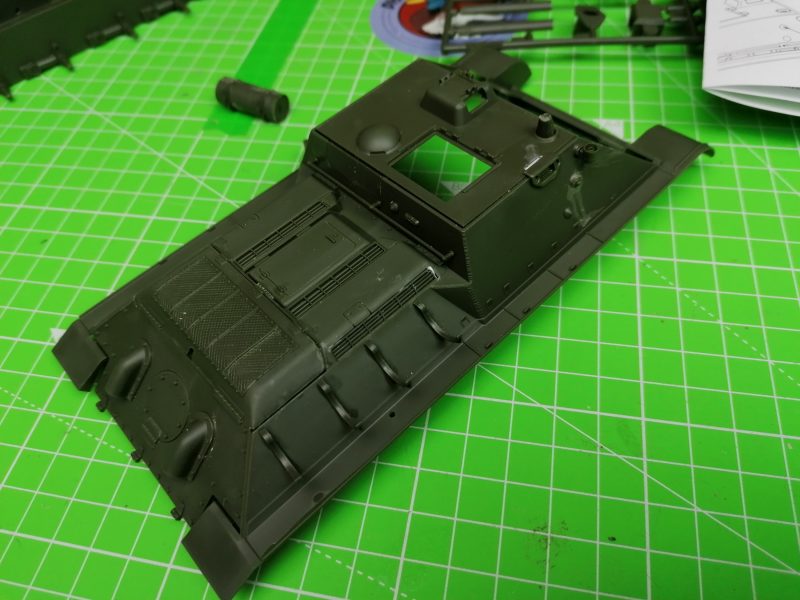
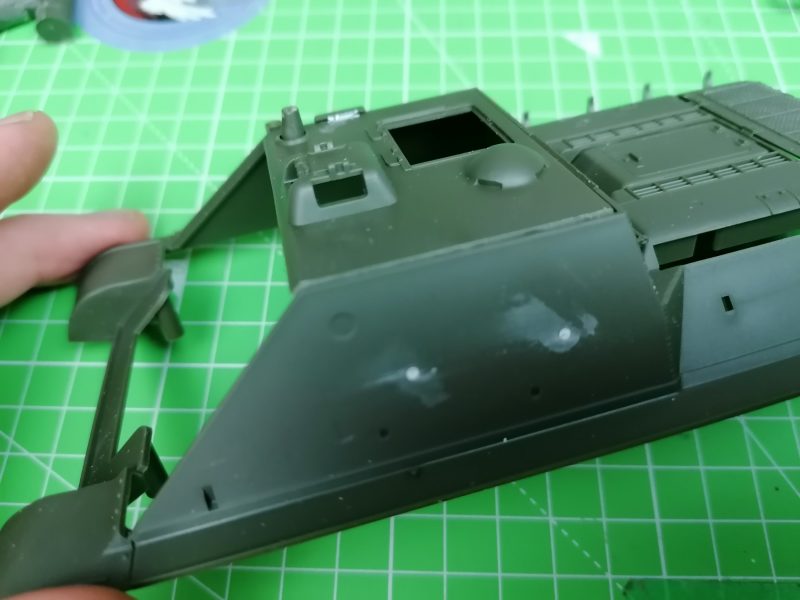
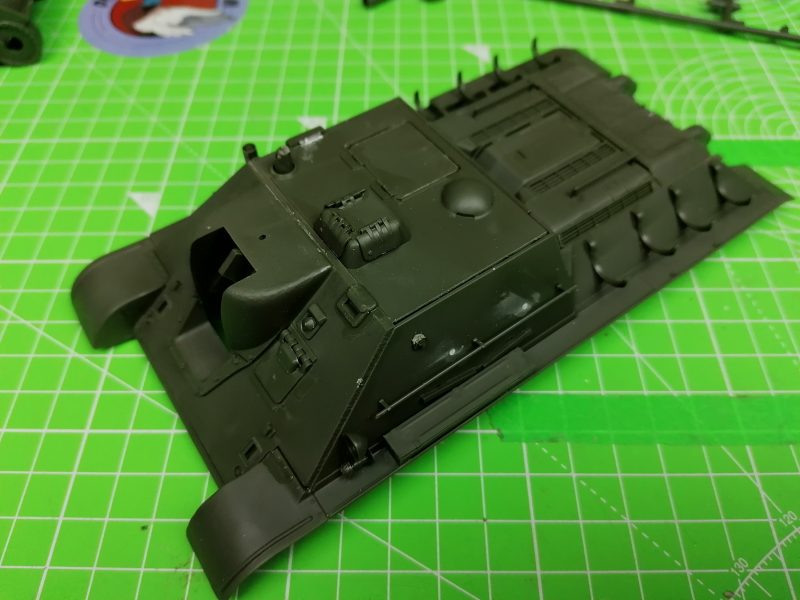
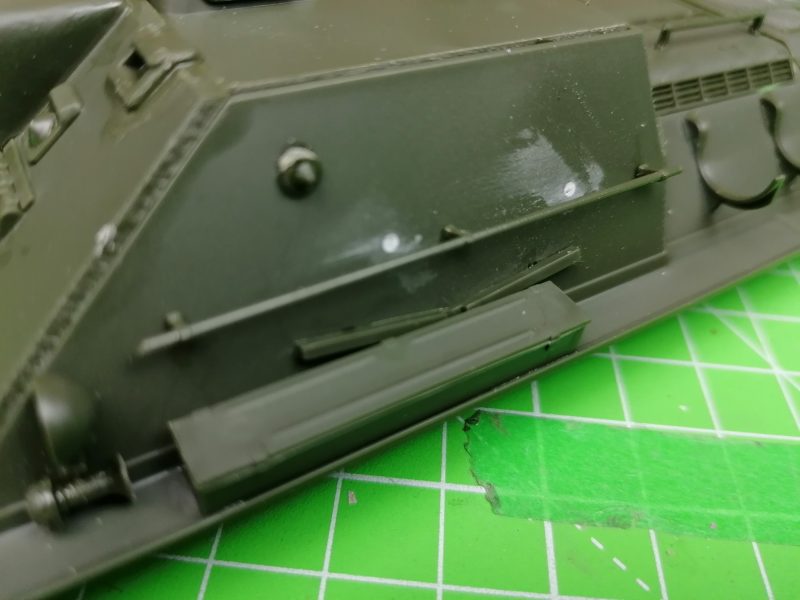
Furthermore there have been a few holes that didn’t line up and needed to be filled in. Basically the majority of the build in now complete. As usual the wheels as well as the tracks are left off for painting.

Gun Now Fitted To The Tamiya SU-122 Model Kit
Gun Now Fitted To The Tamiya SU-122 Model Kit.
Completed The SU-122 Model Build Now To Prime And Paint
Completed The SU-122 Model Build, Now To Prime And Paint.

Painting And Weathering The Tamiya Russian SU122 Tank Destroyer

The SU-122 Built And Ready For Its Paint Job
The SU-122 Built And Ready For Its Paint Job.
Trying Another Green For This Russian Tank
Trying Another Green For This Russian Tank.
All Painted Up With The Wheels Fitted
All Painted Up With The Wheels Fitted.
Fitted The Tools And The Tracks On The SU-122 Scale Model Tank
Fitted The Tools And The Tracks On The SU-122 Scale Model Tank.

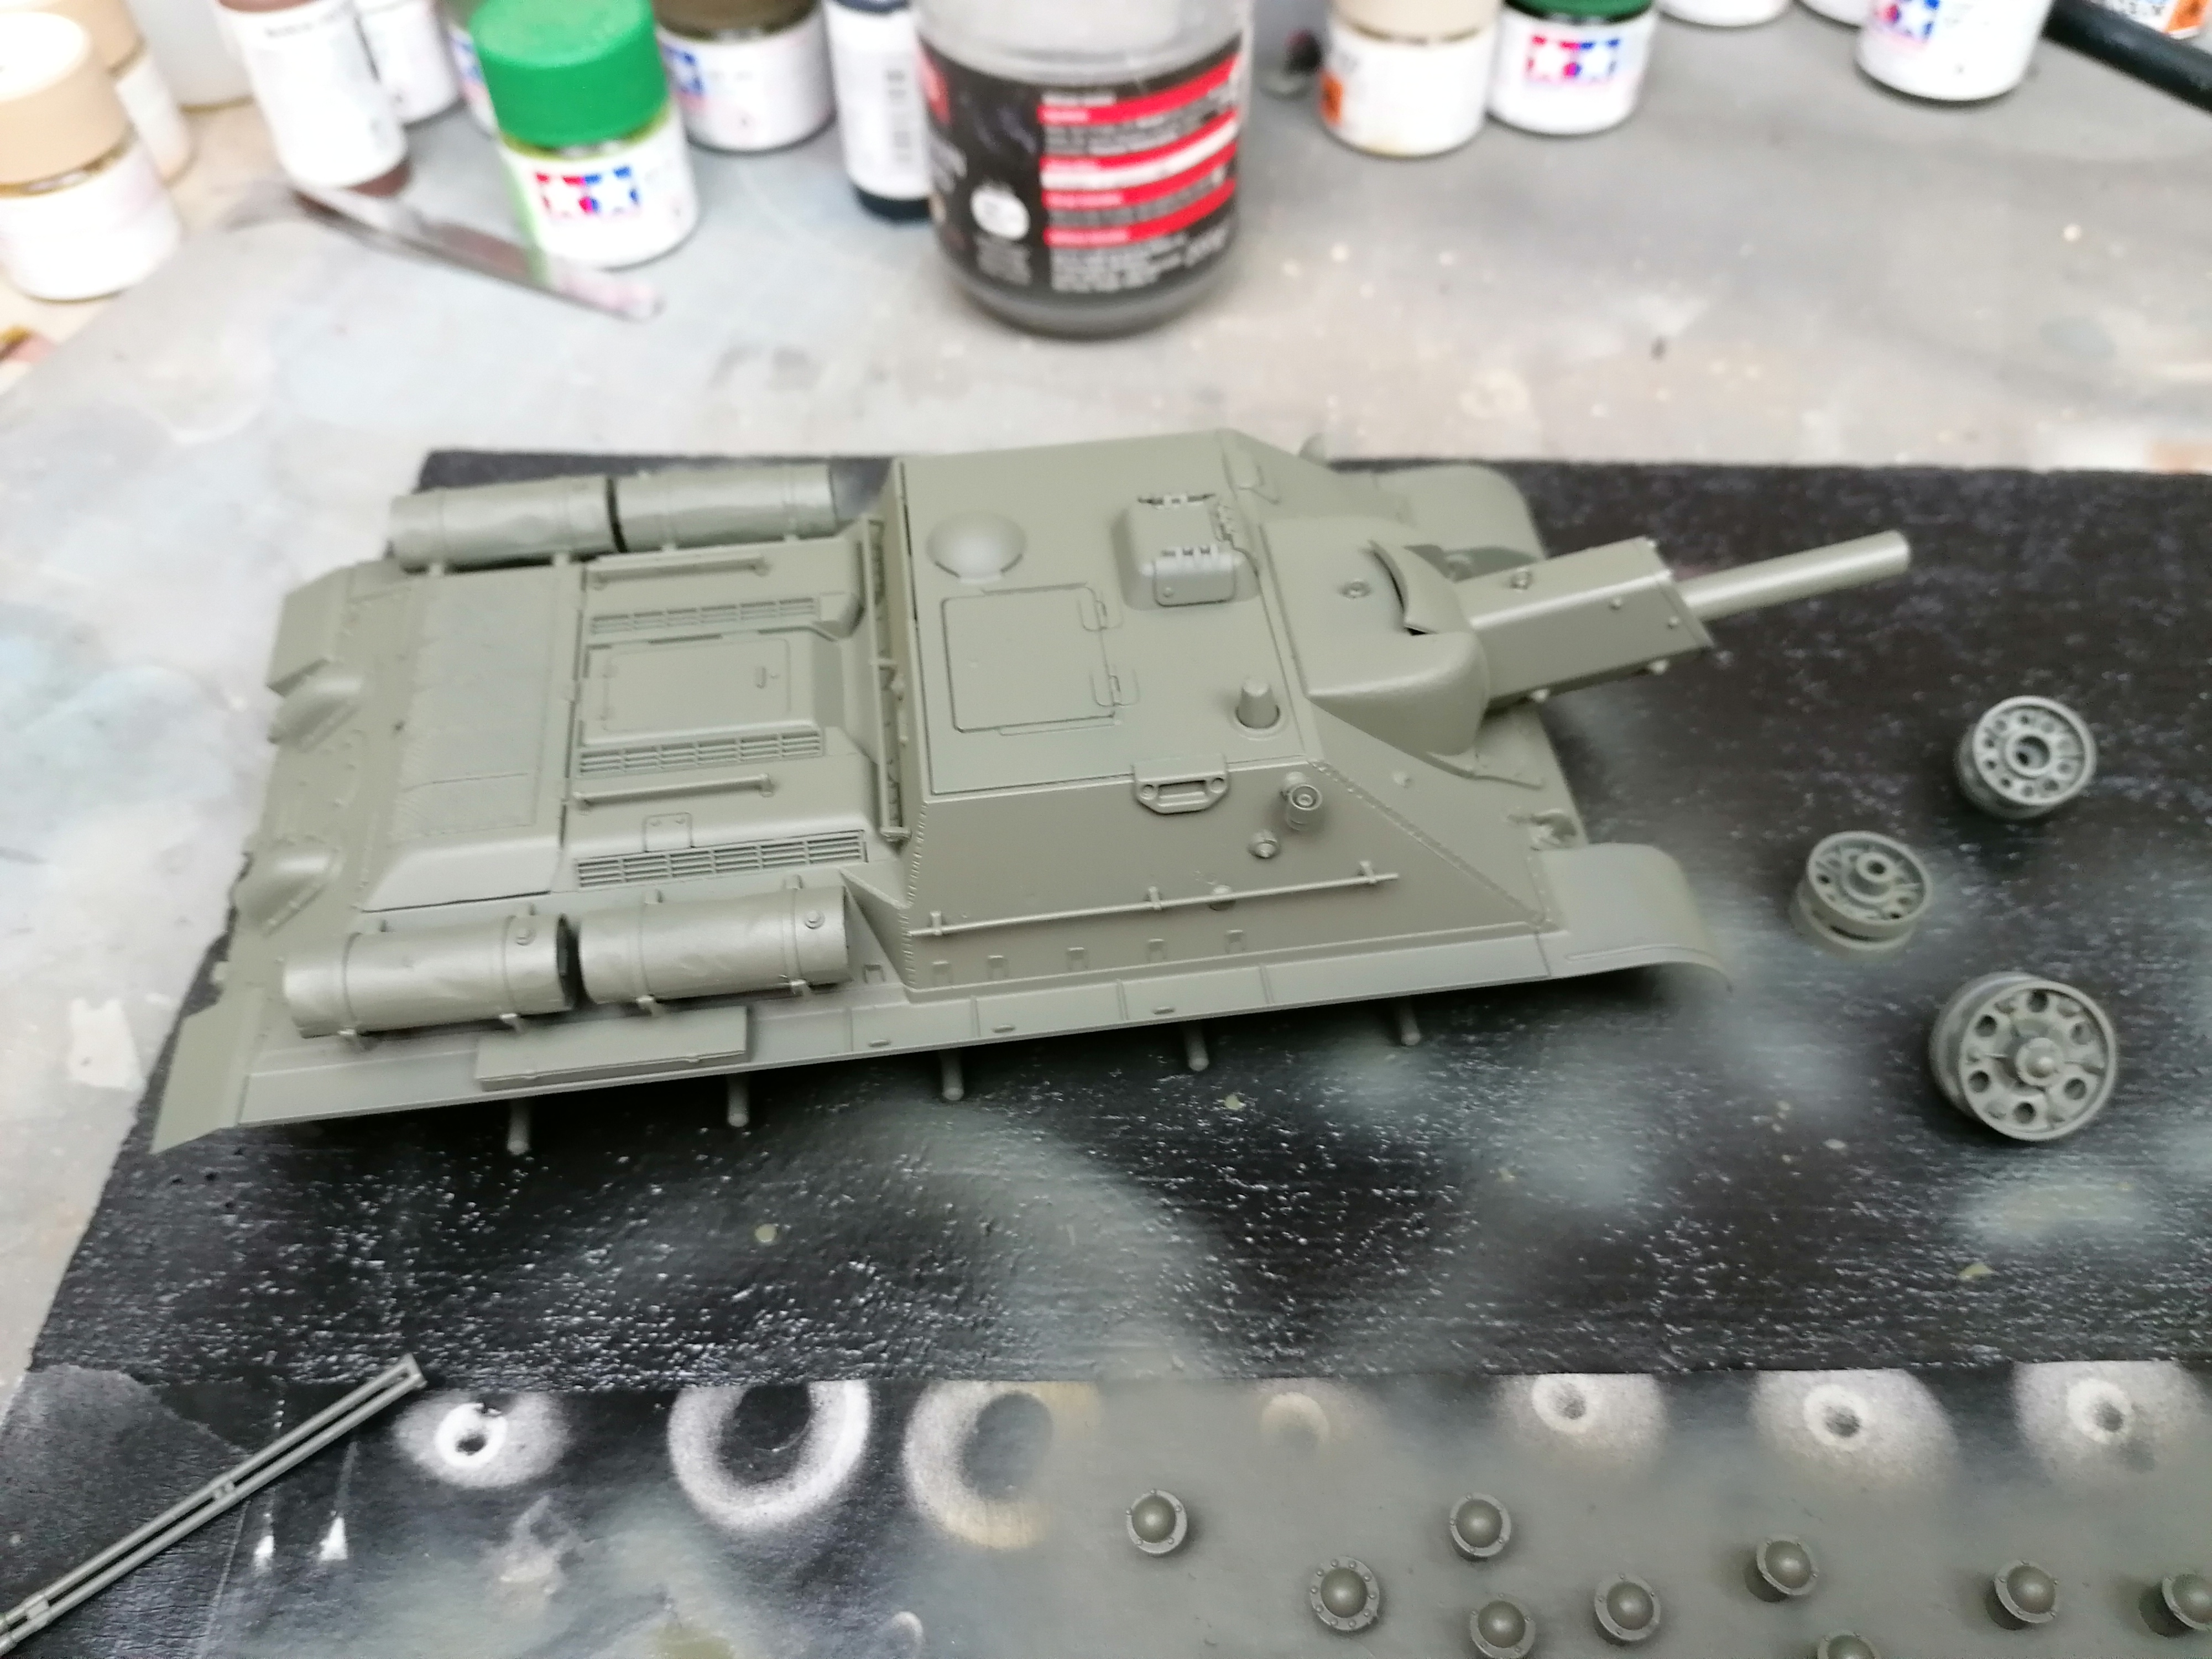
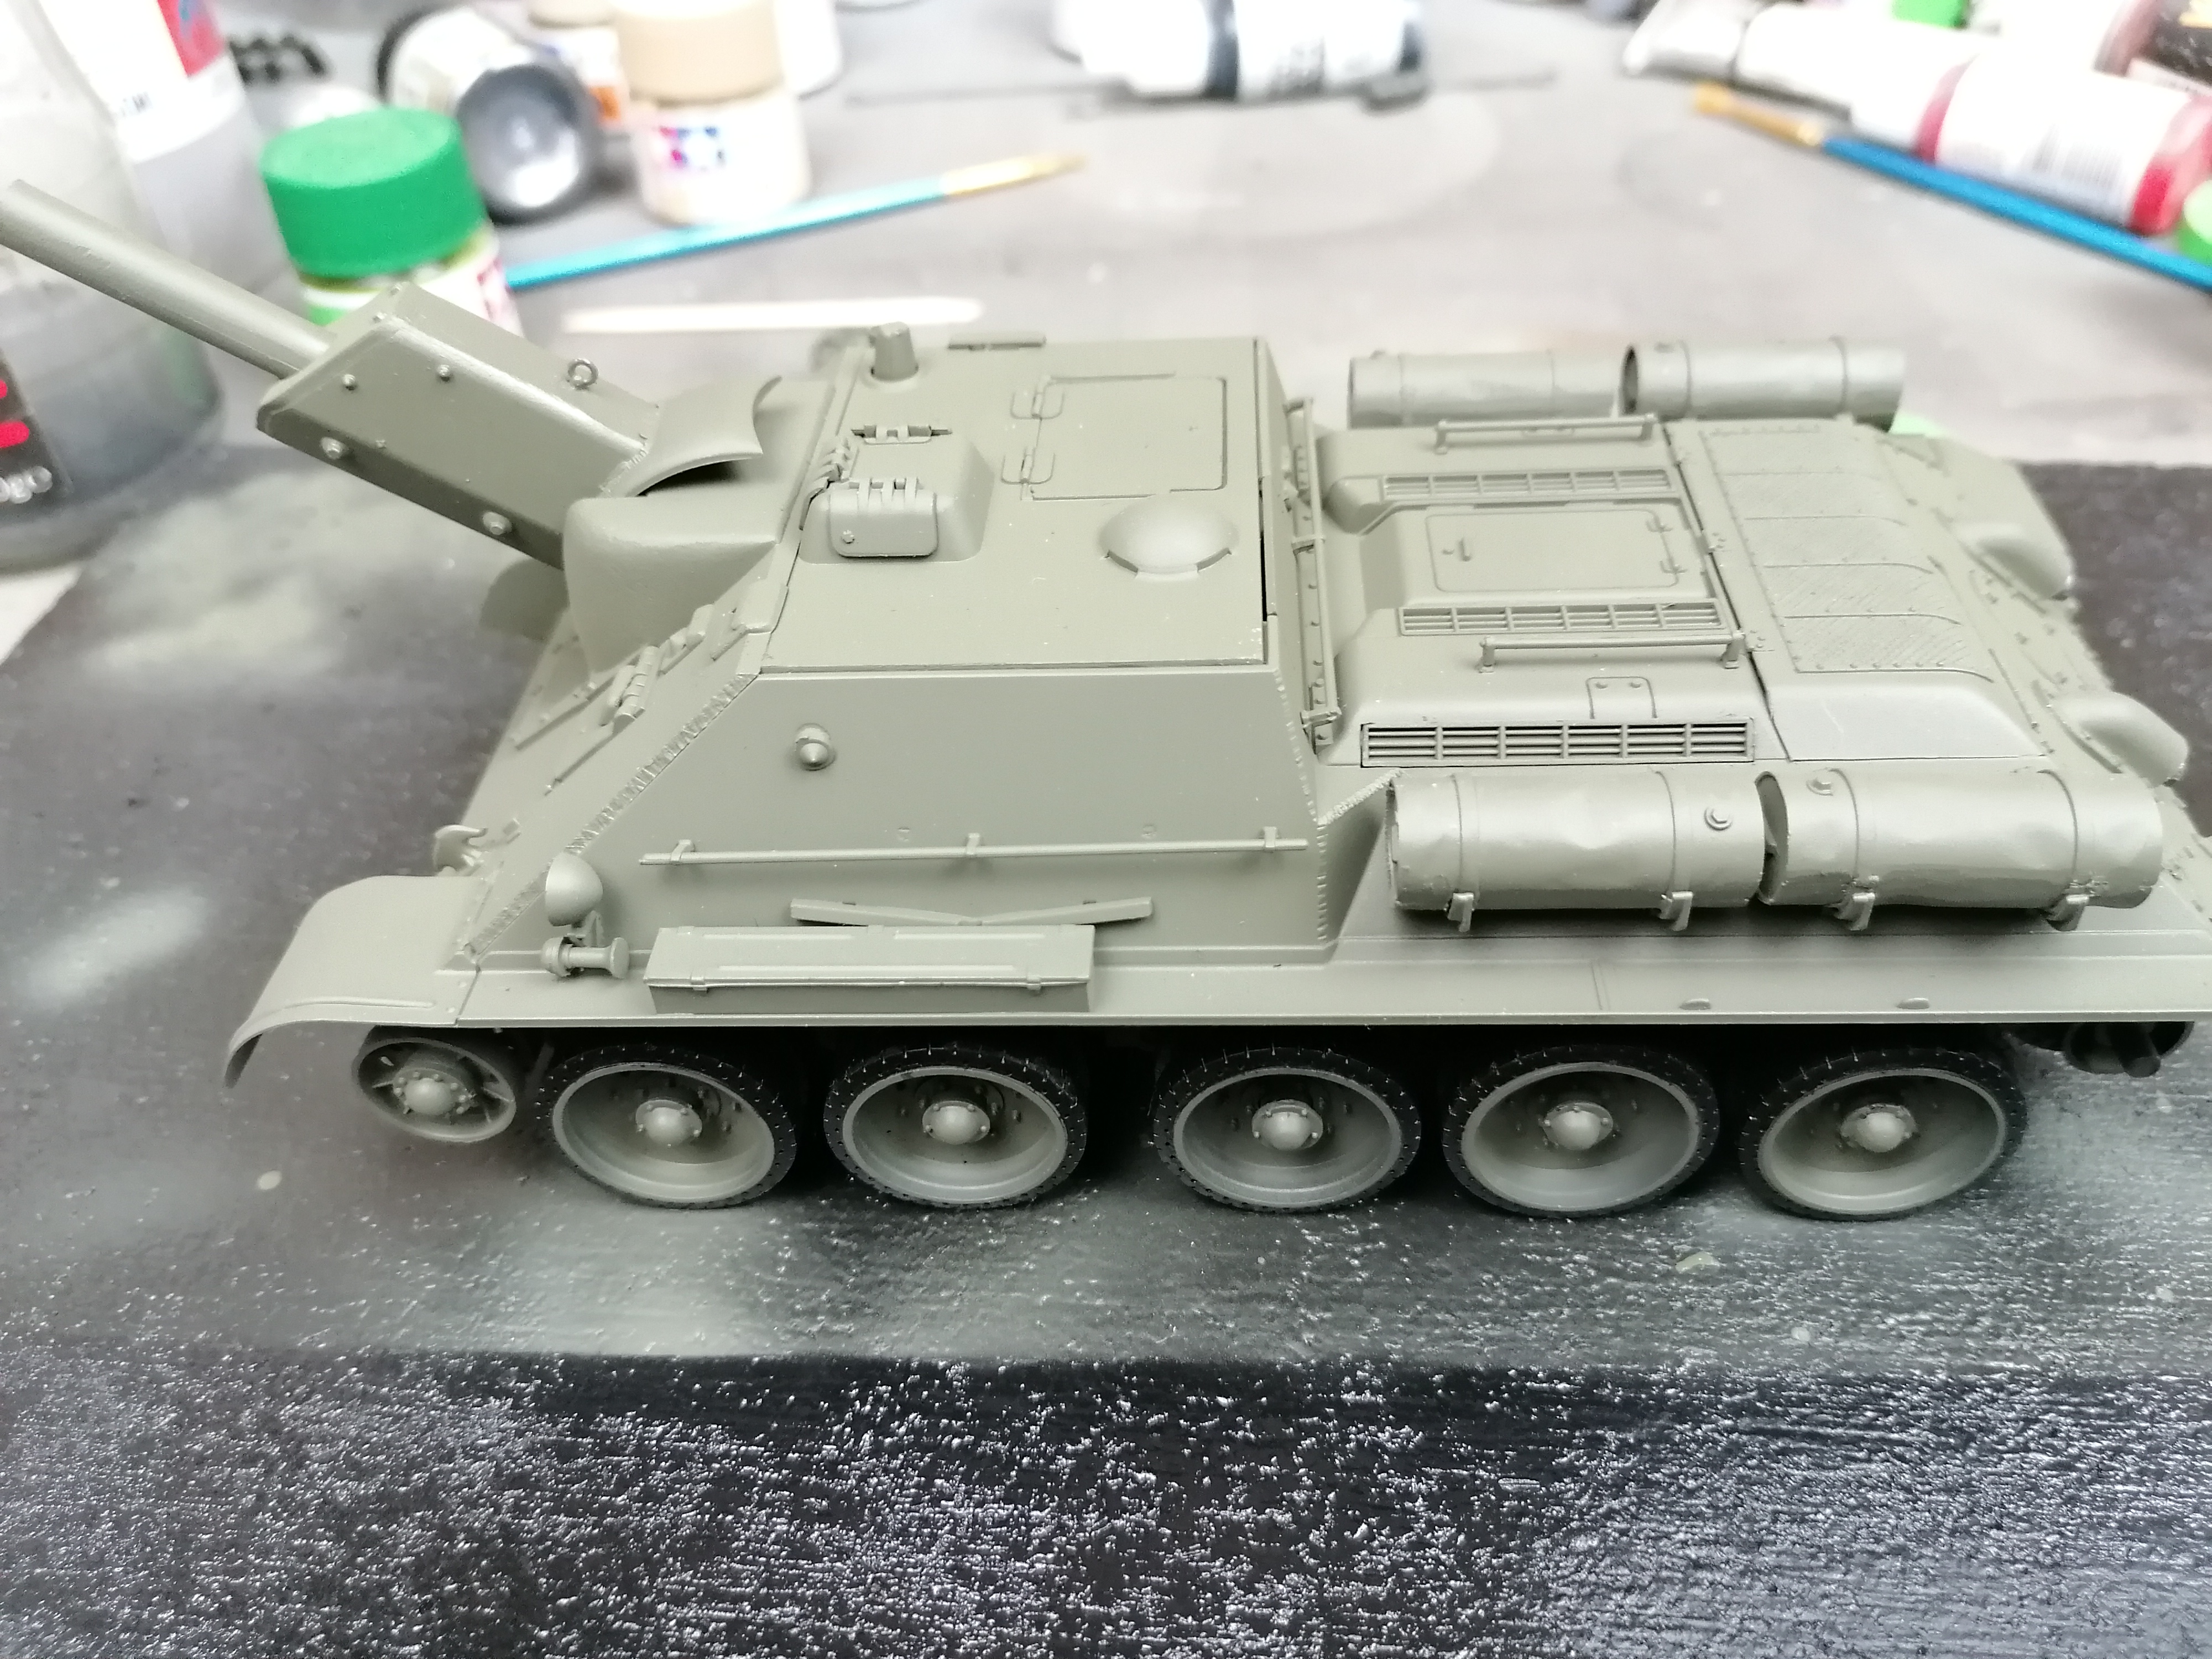
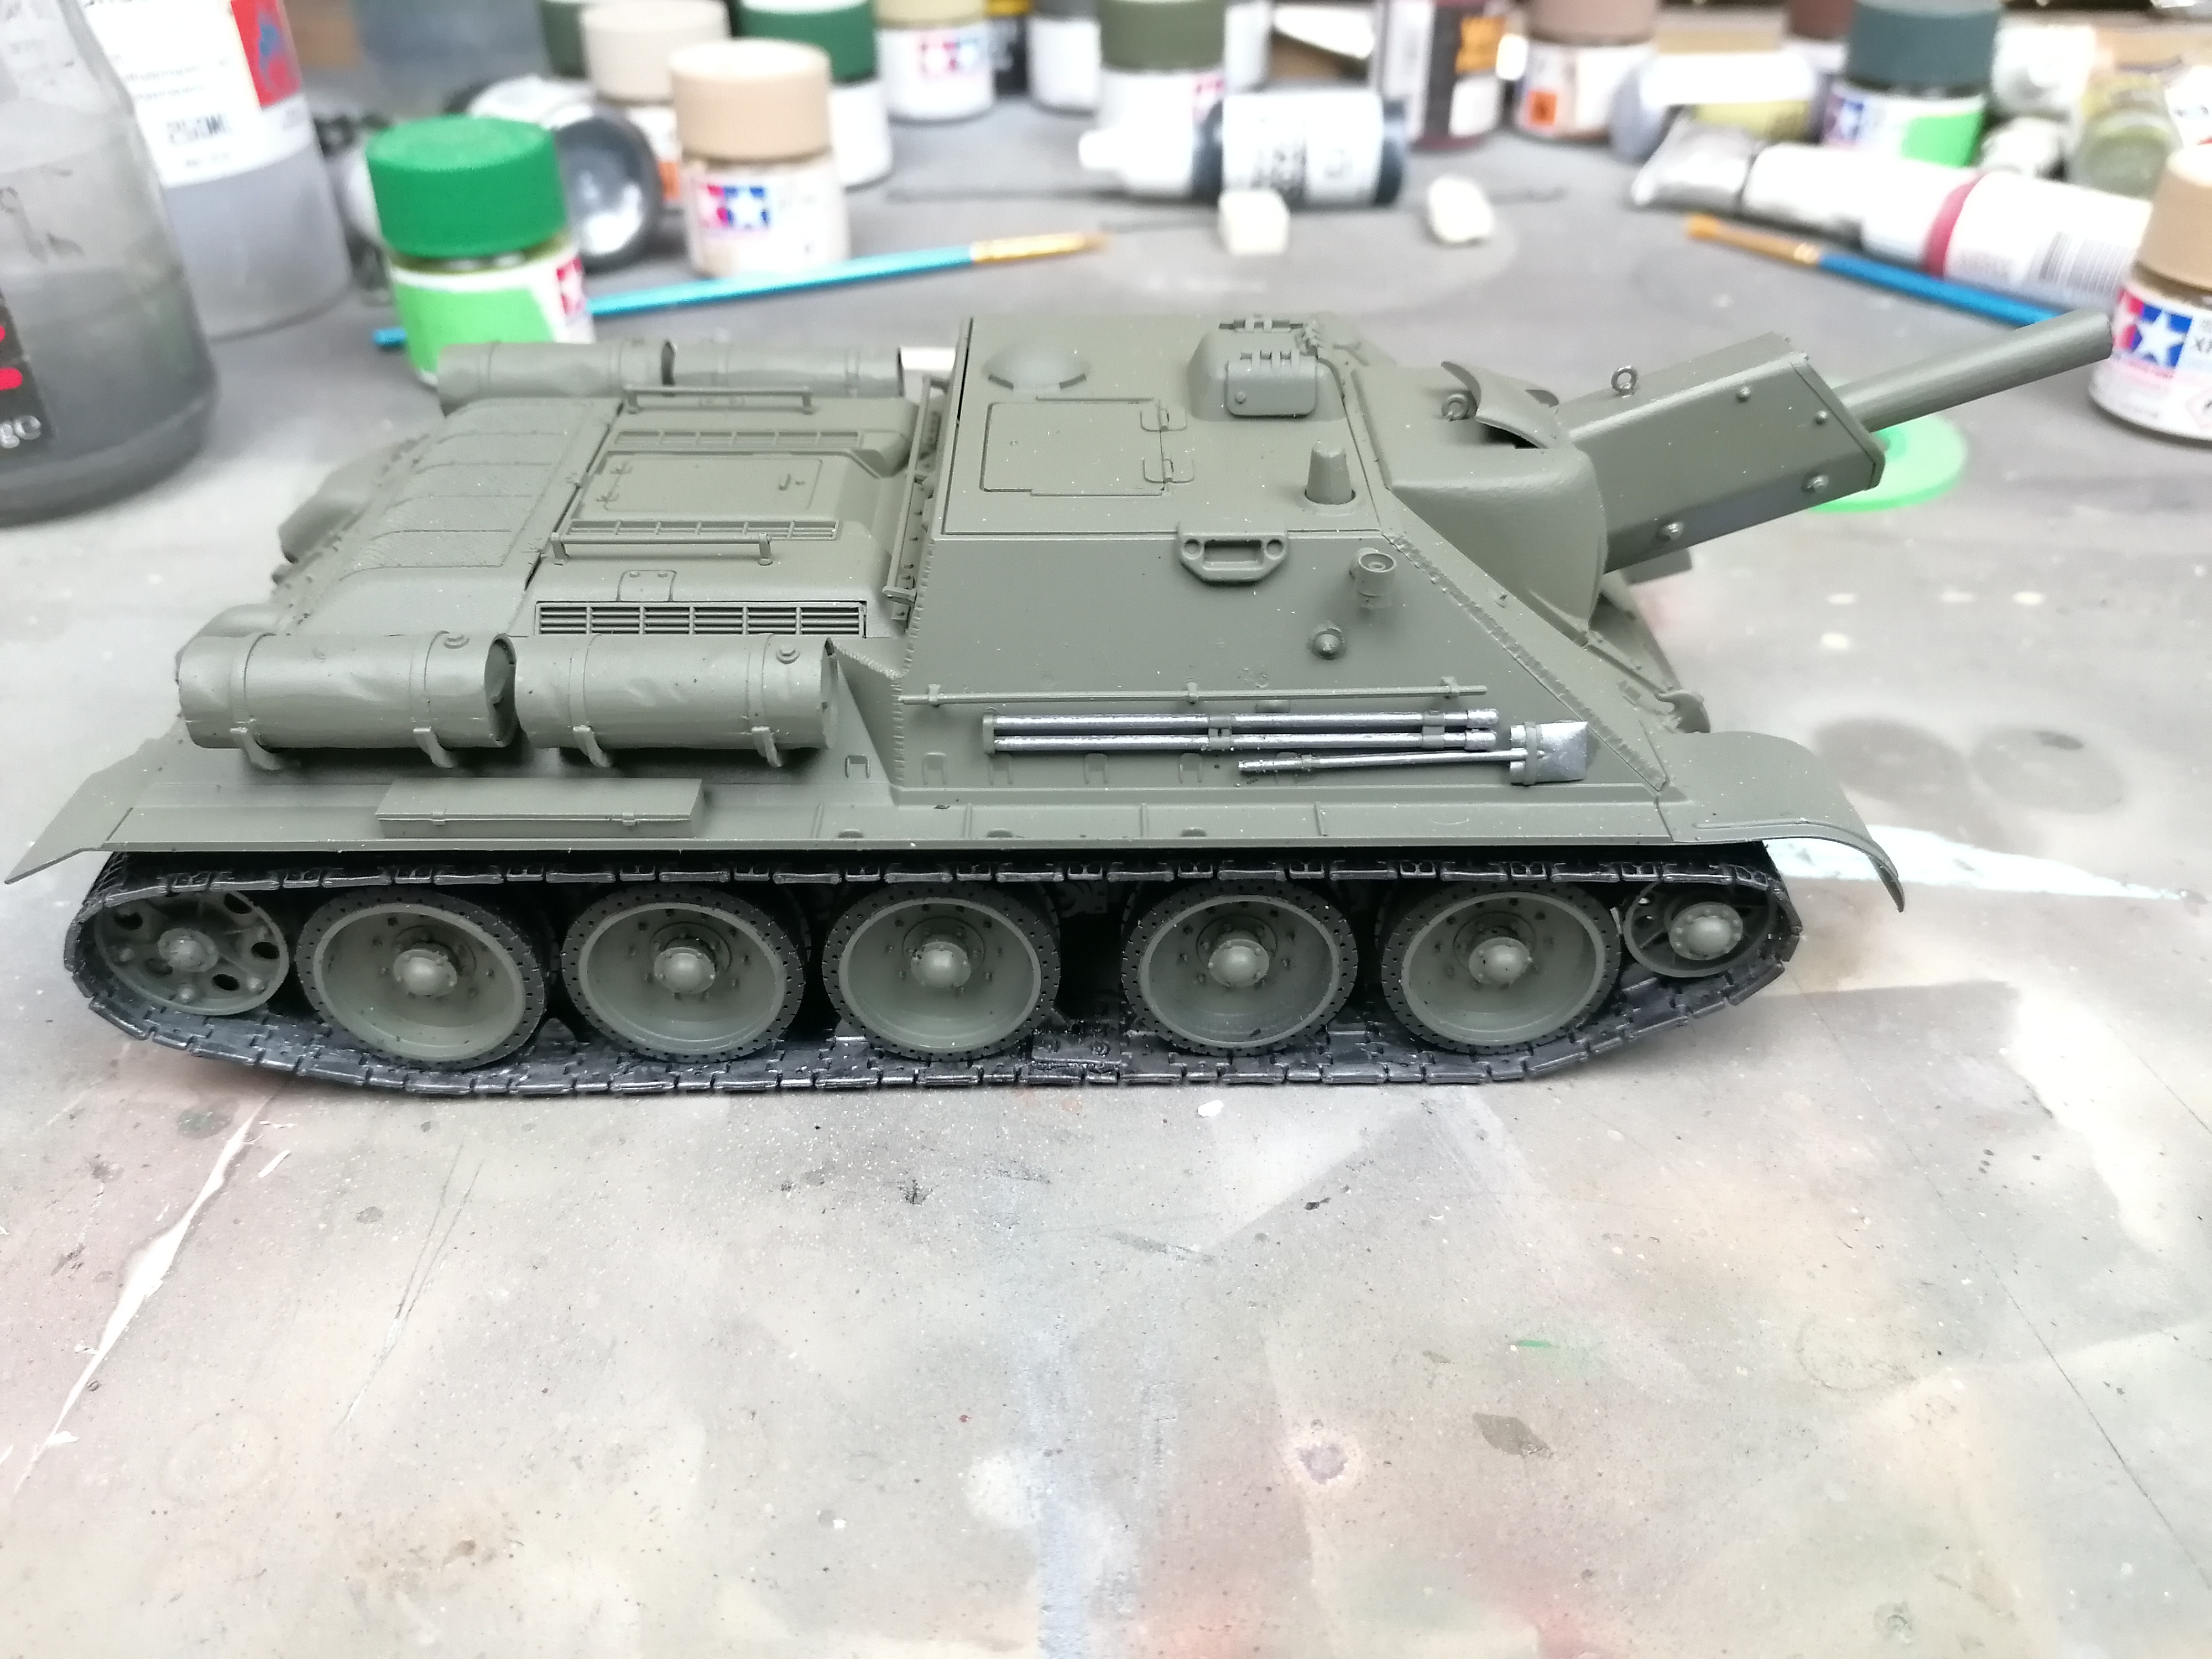
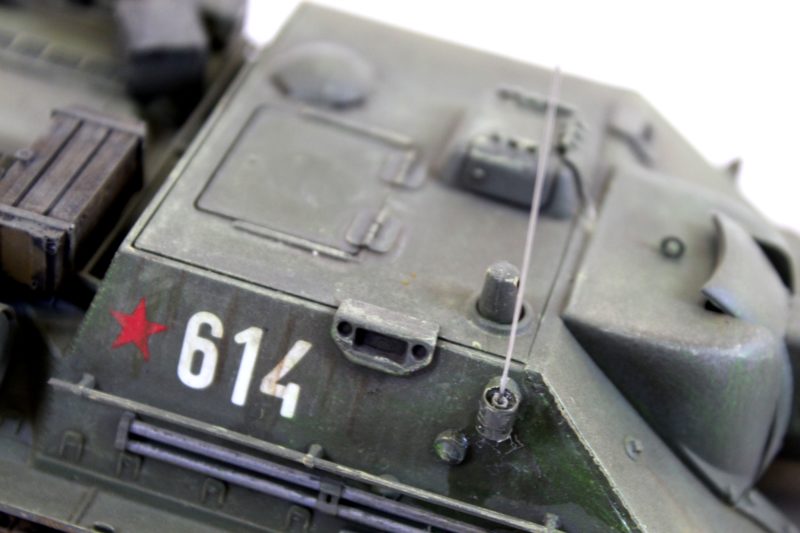
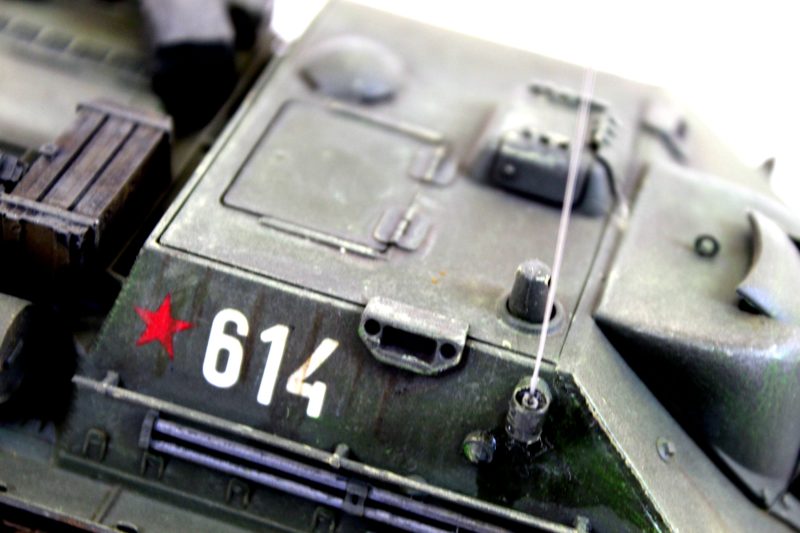
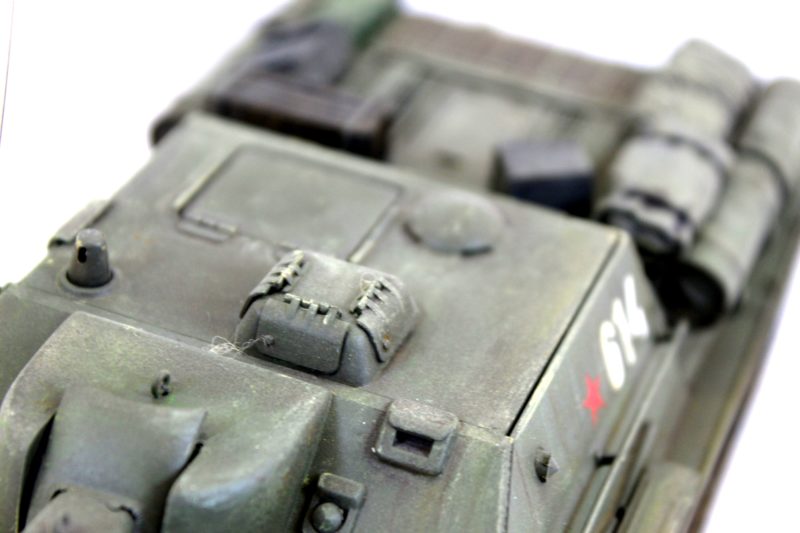
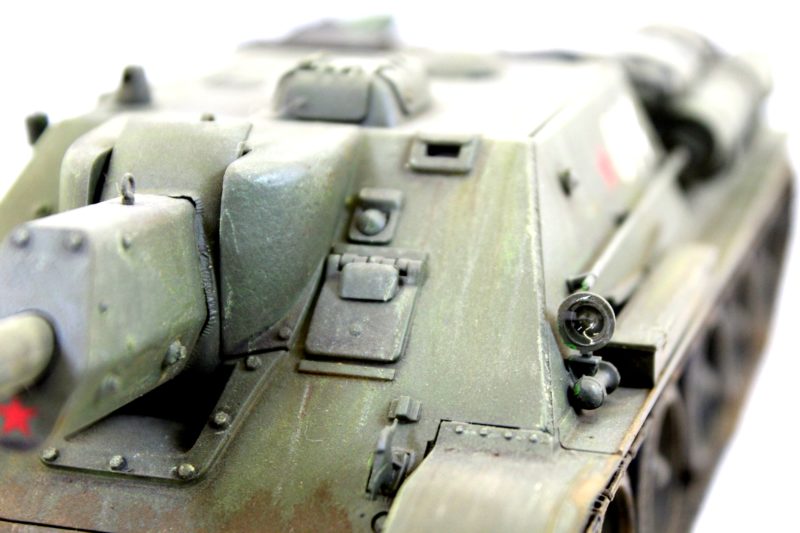
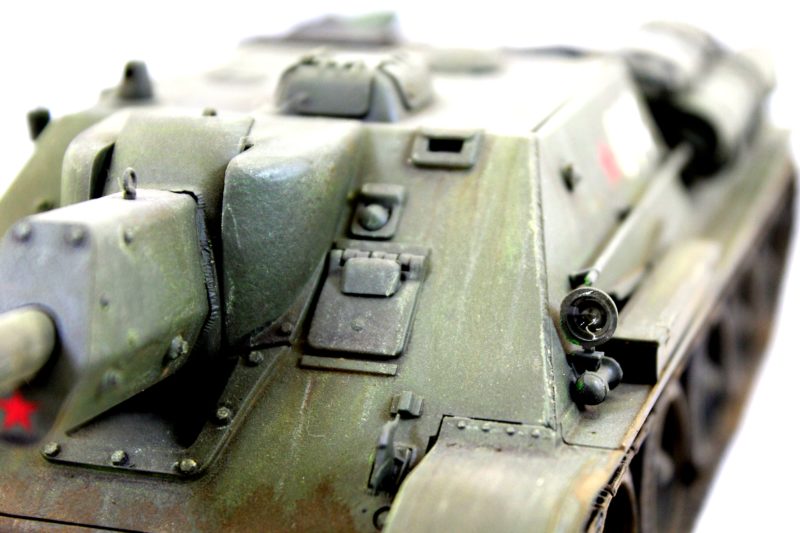
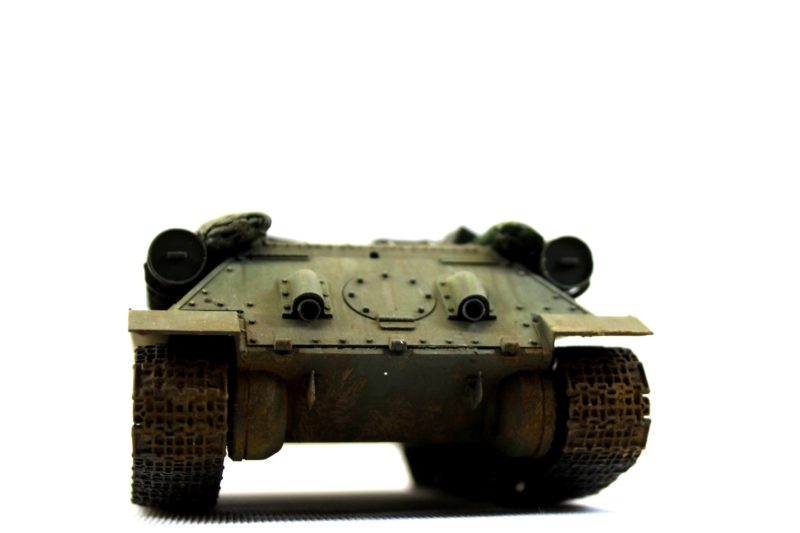
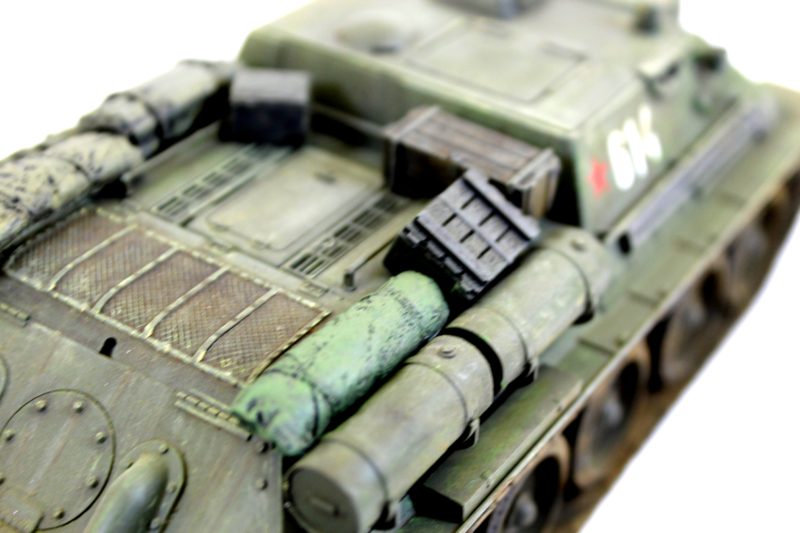
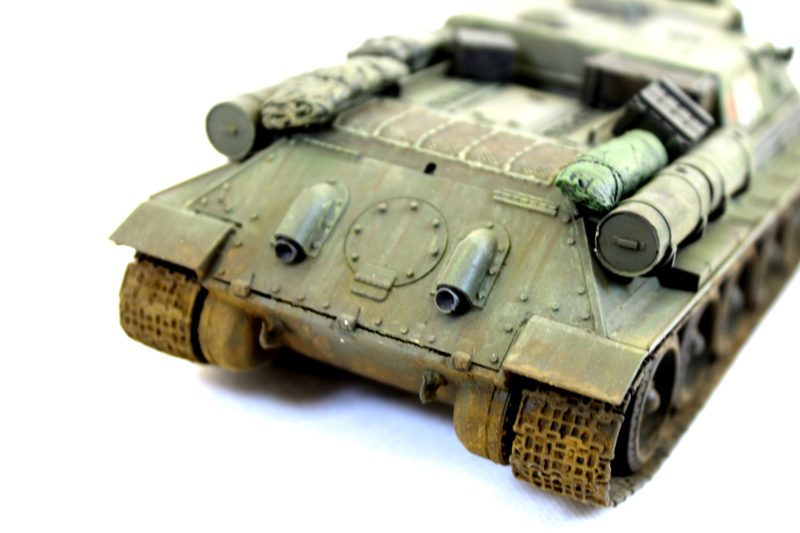
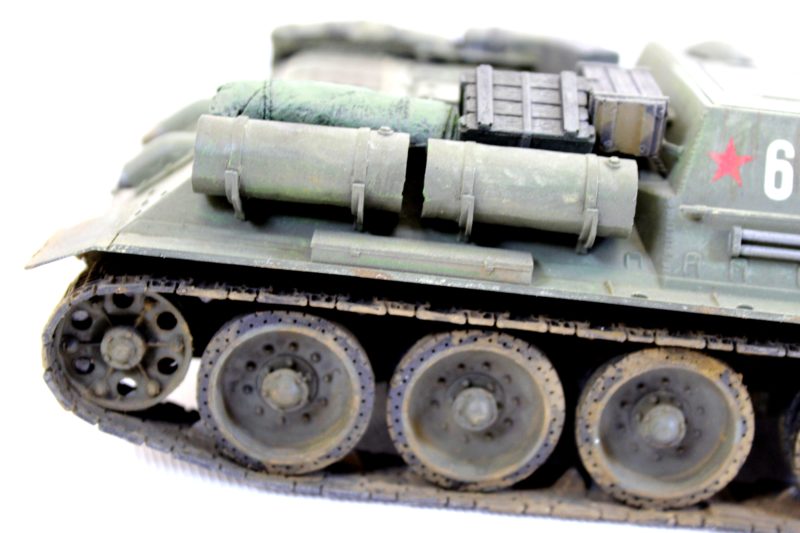
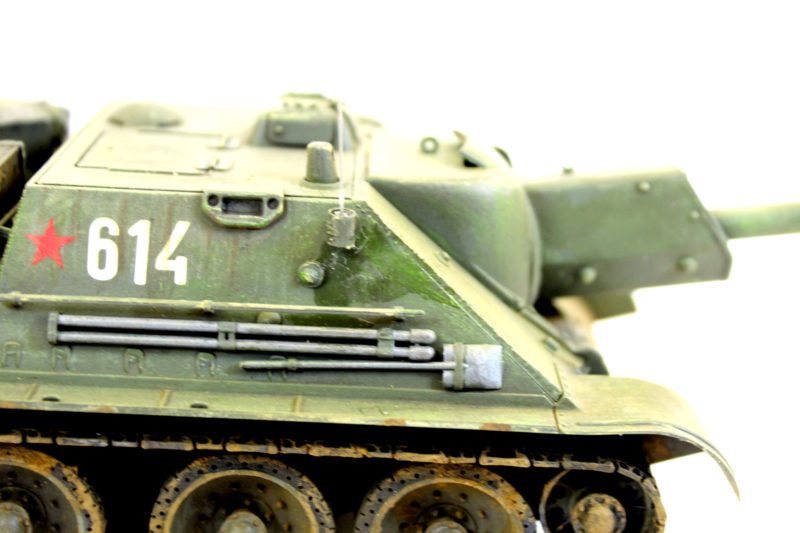
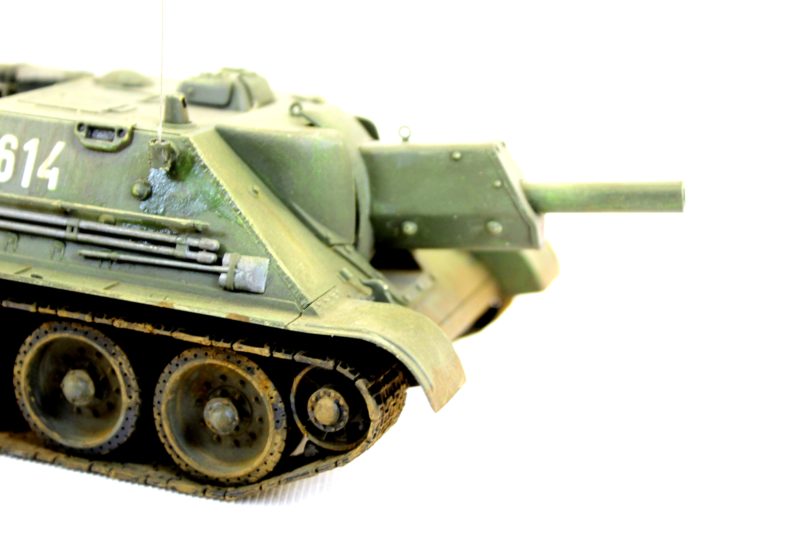
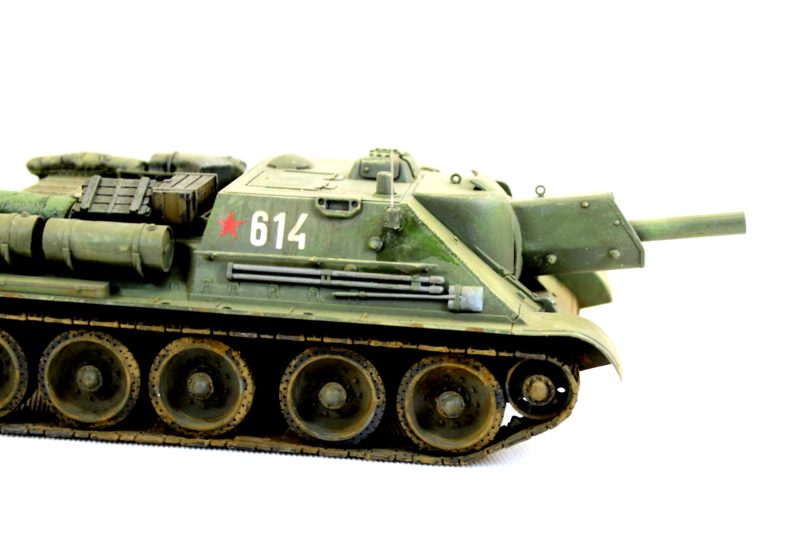
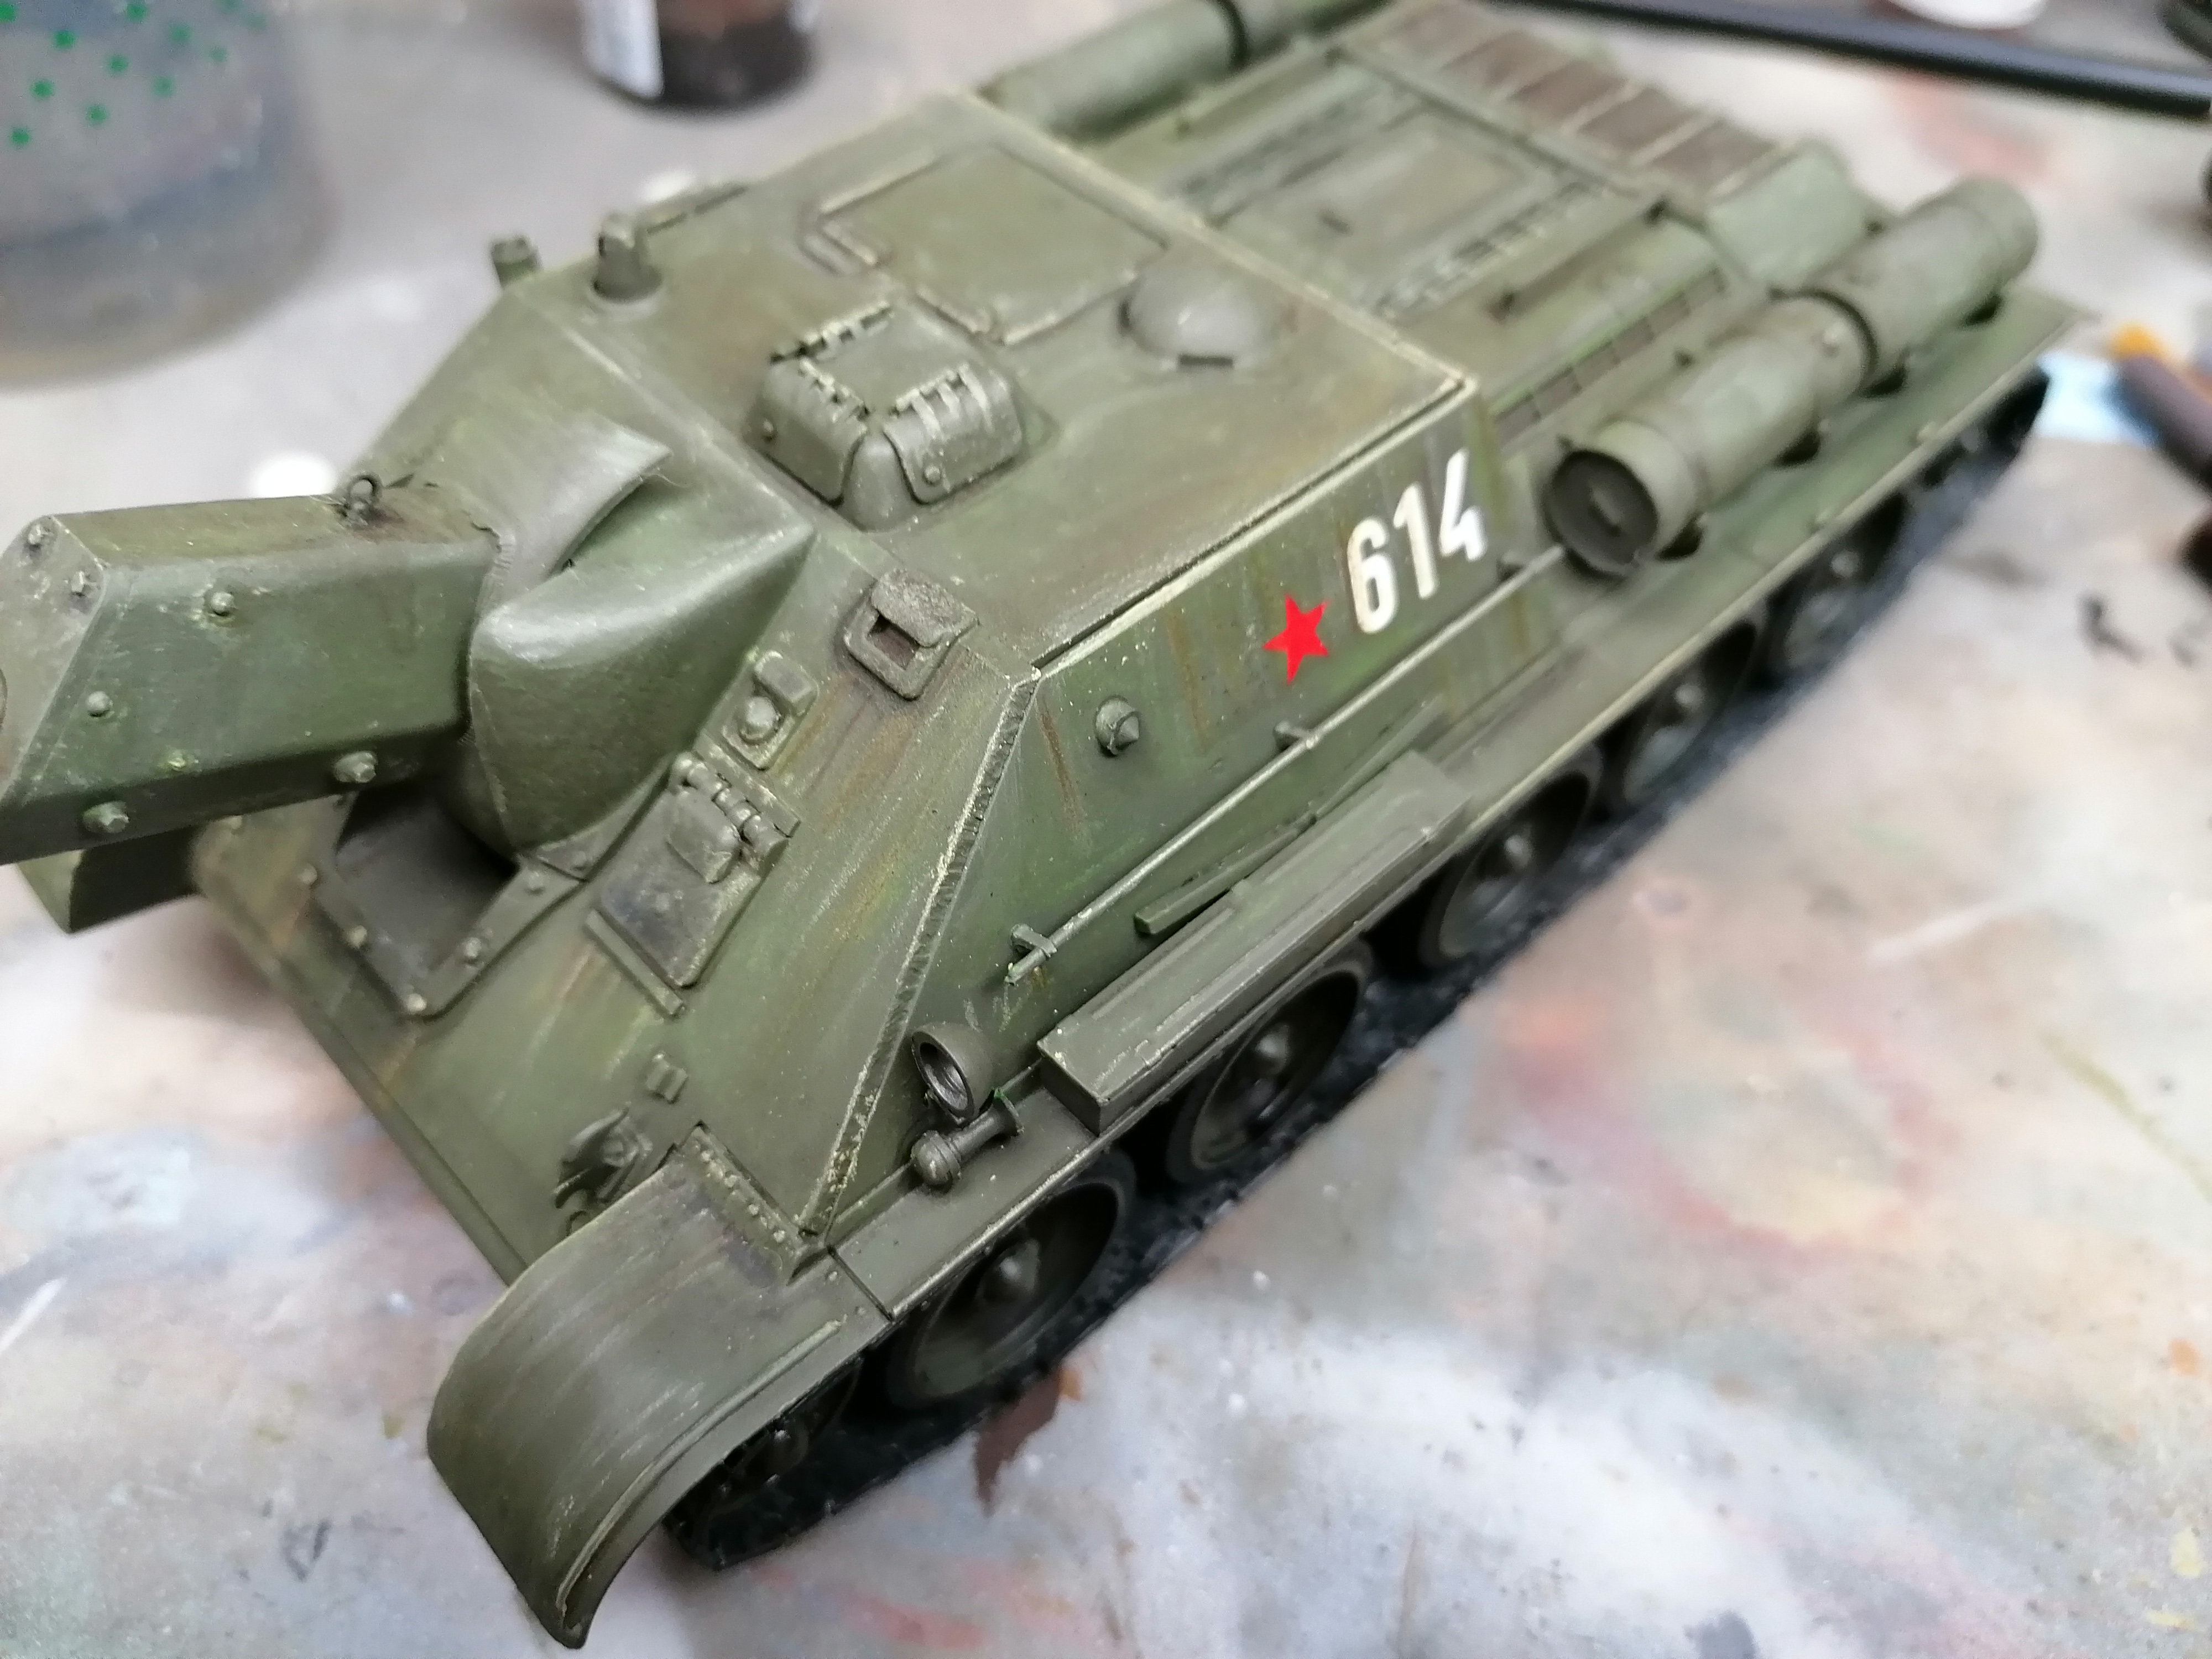
First of all a coat of green paint, after I fit the wheels and tracks. Secondly A coat of varnish and some decals. Since I’m still doing basic painting and weathering I have only given this model a simple all-over dark brown wash. Instead of several layers of washes as I would normally choose.

The SU-122 Now Has Decals Applied And A Liberal Coat Of Dark Wash
The SU-122 Now Has Decals Applied And A Liberal Coat Of Dark Wash.
With The Wash Now Dry I Can Move On To The Next Stage Of Weathering
With The Wash Now Dry I Can Move On To The Next Stage Of Weathering.
You Can See How Well The Weathering Pencils Show Up On The Model
You Can See How Well The Weathering Pencils Show Up On The Model.

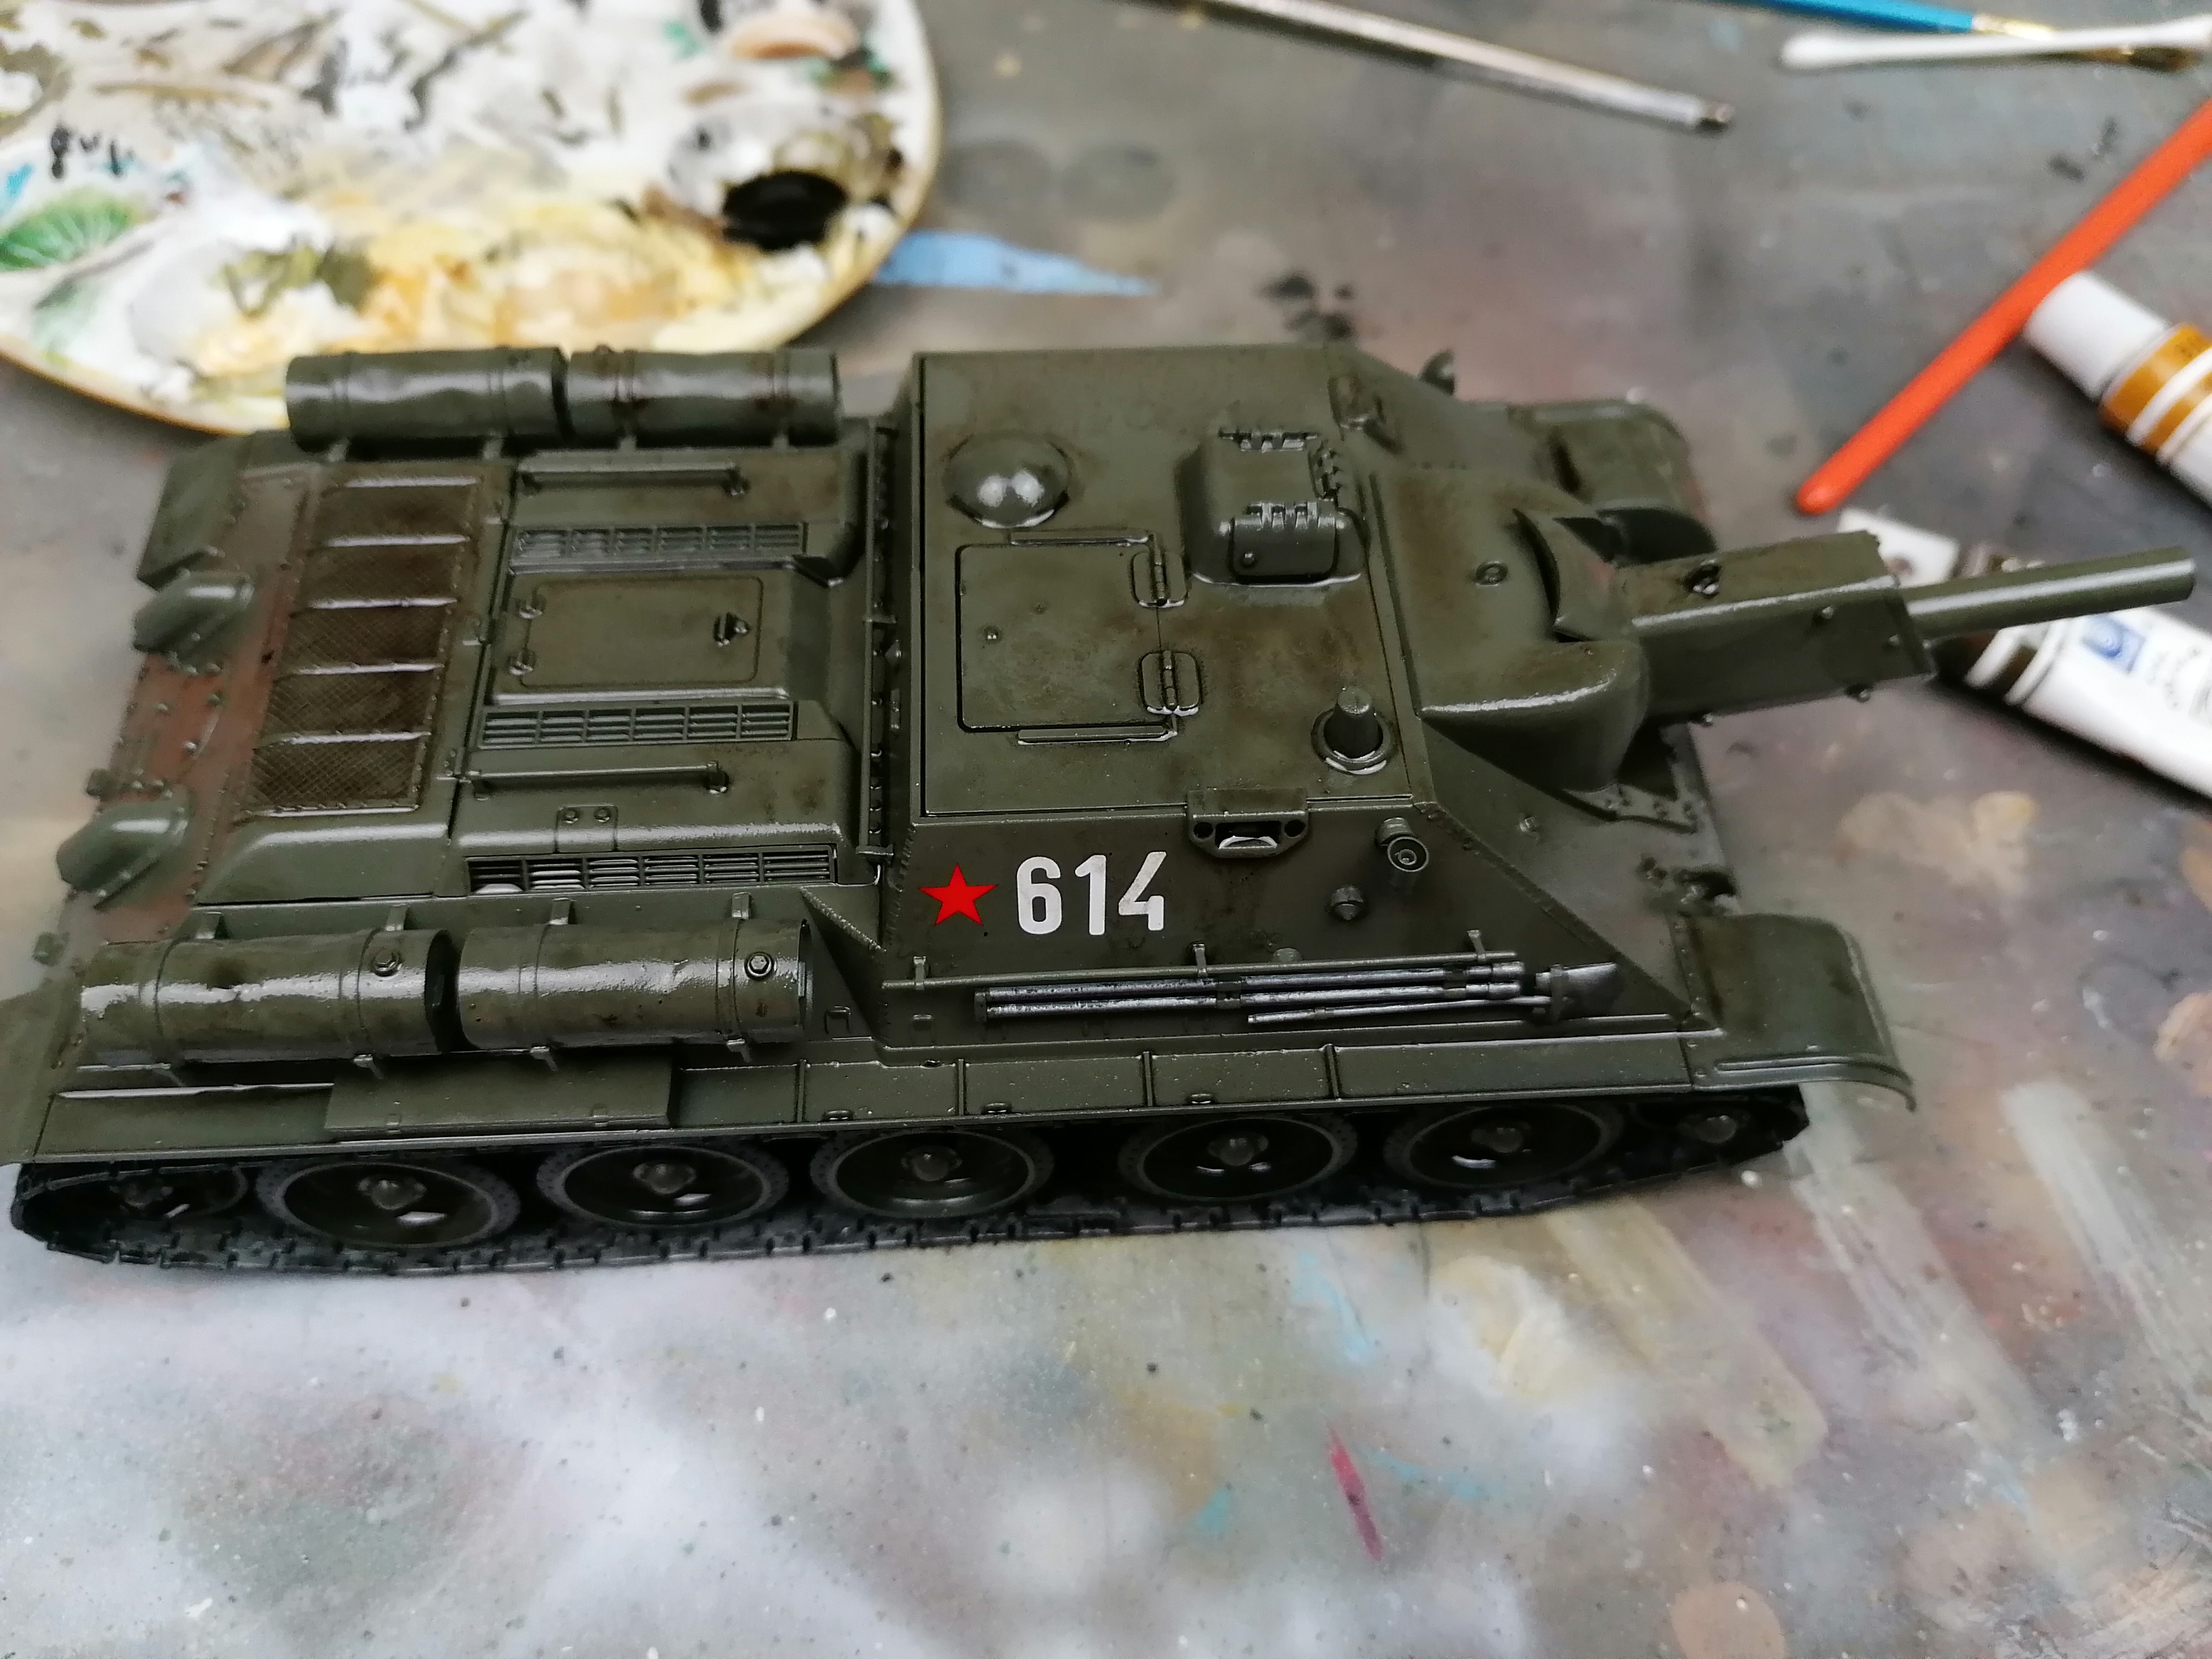
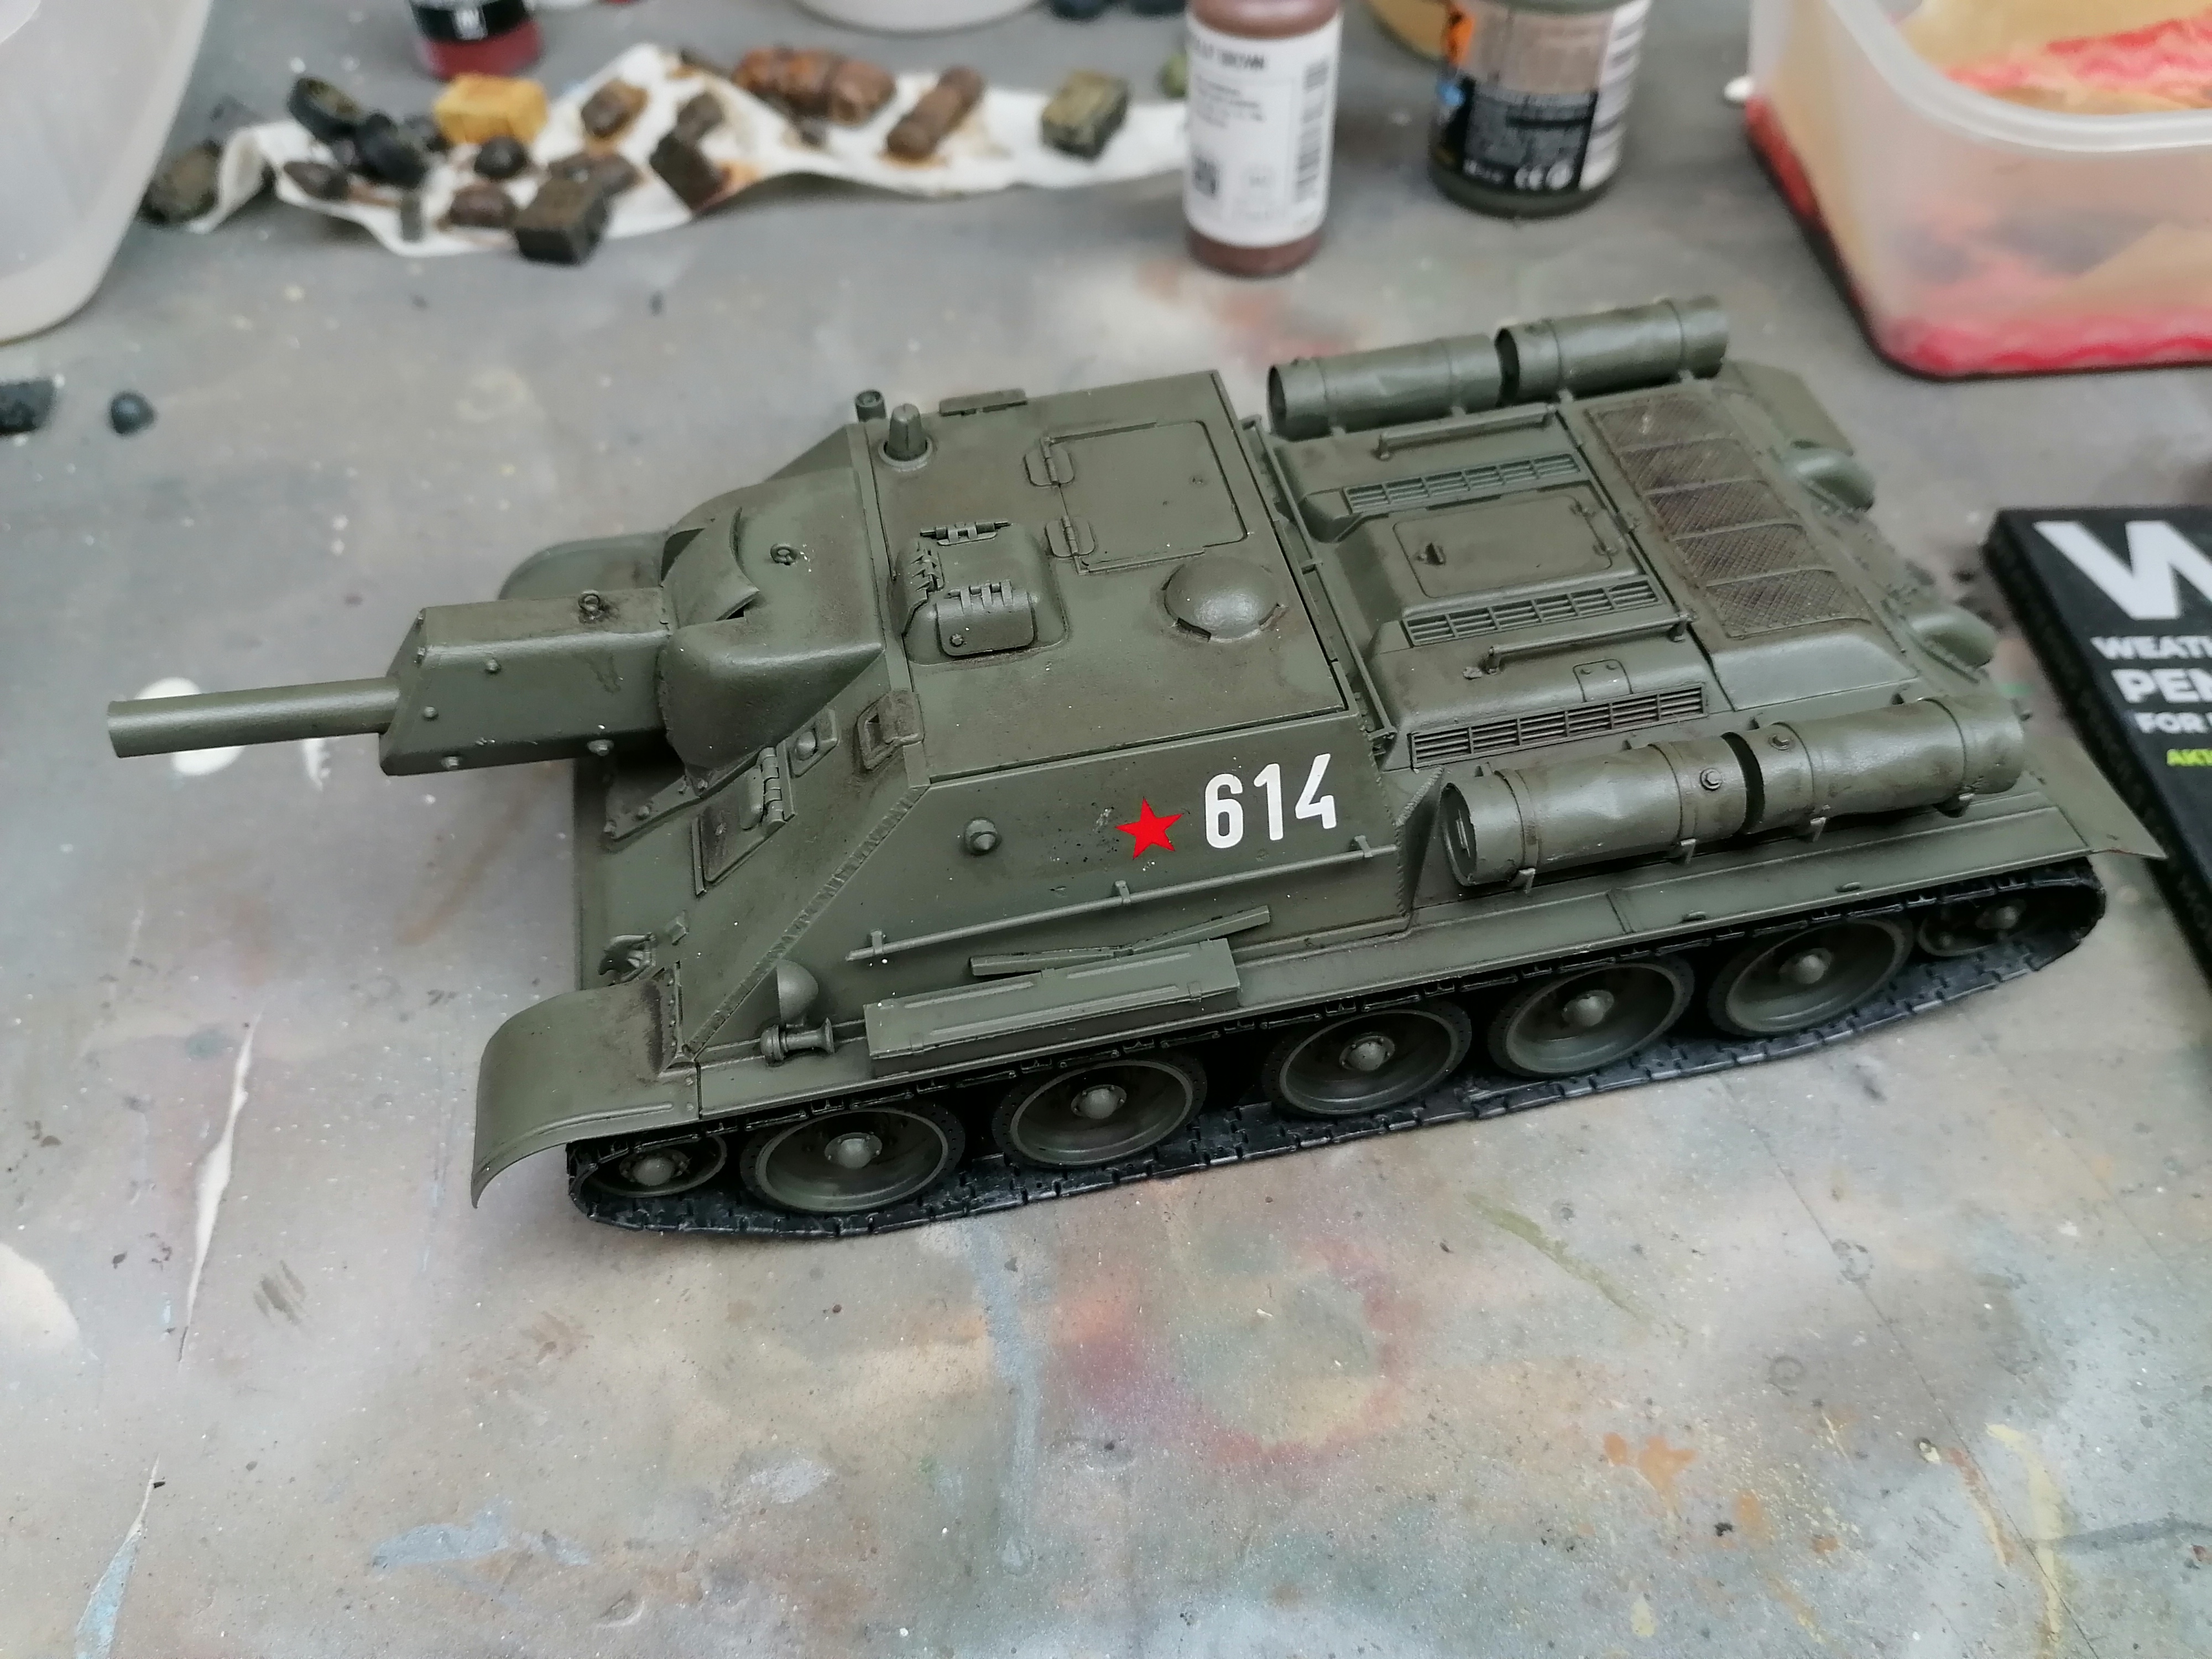
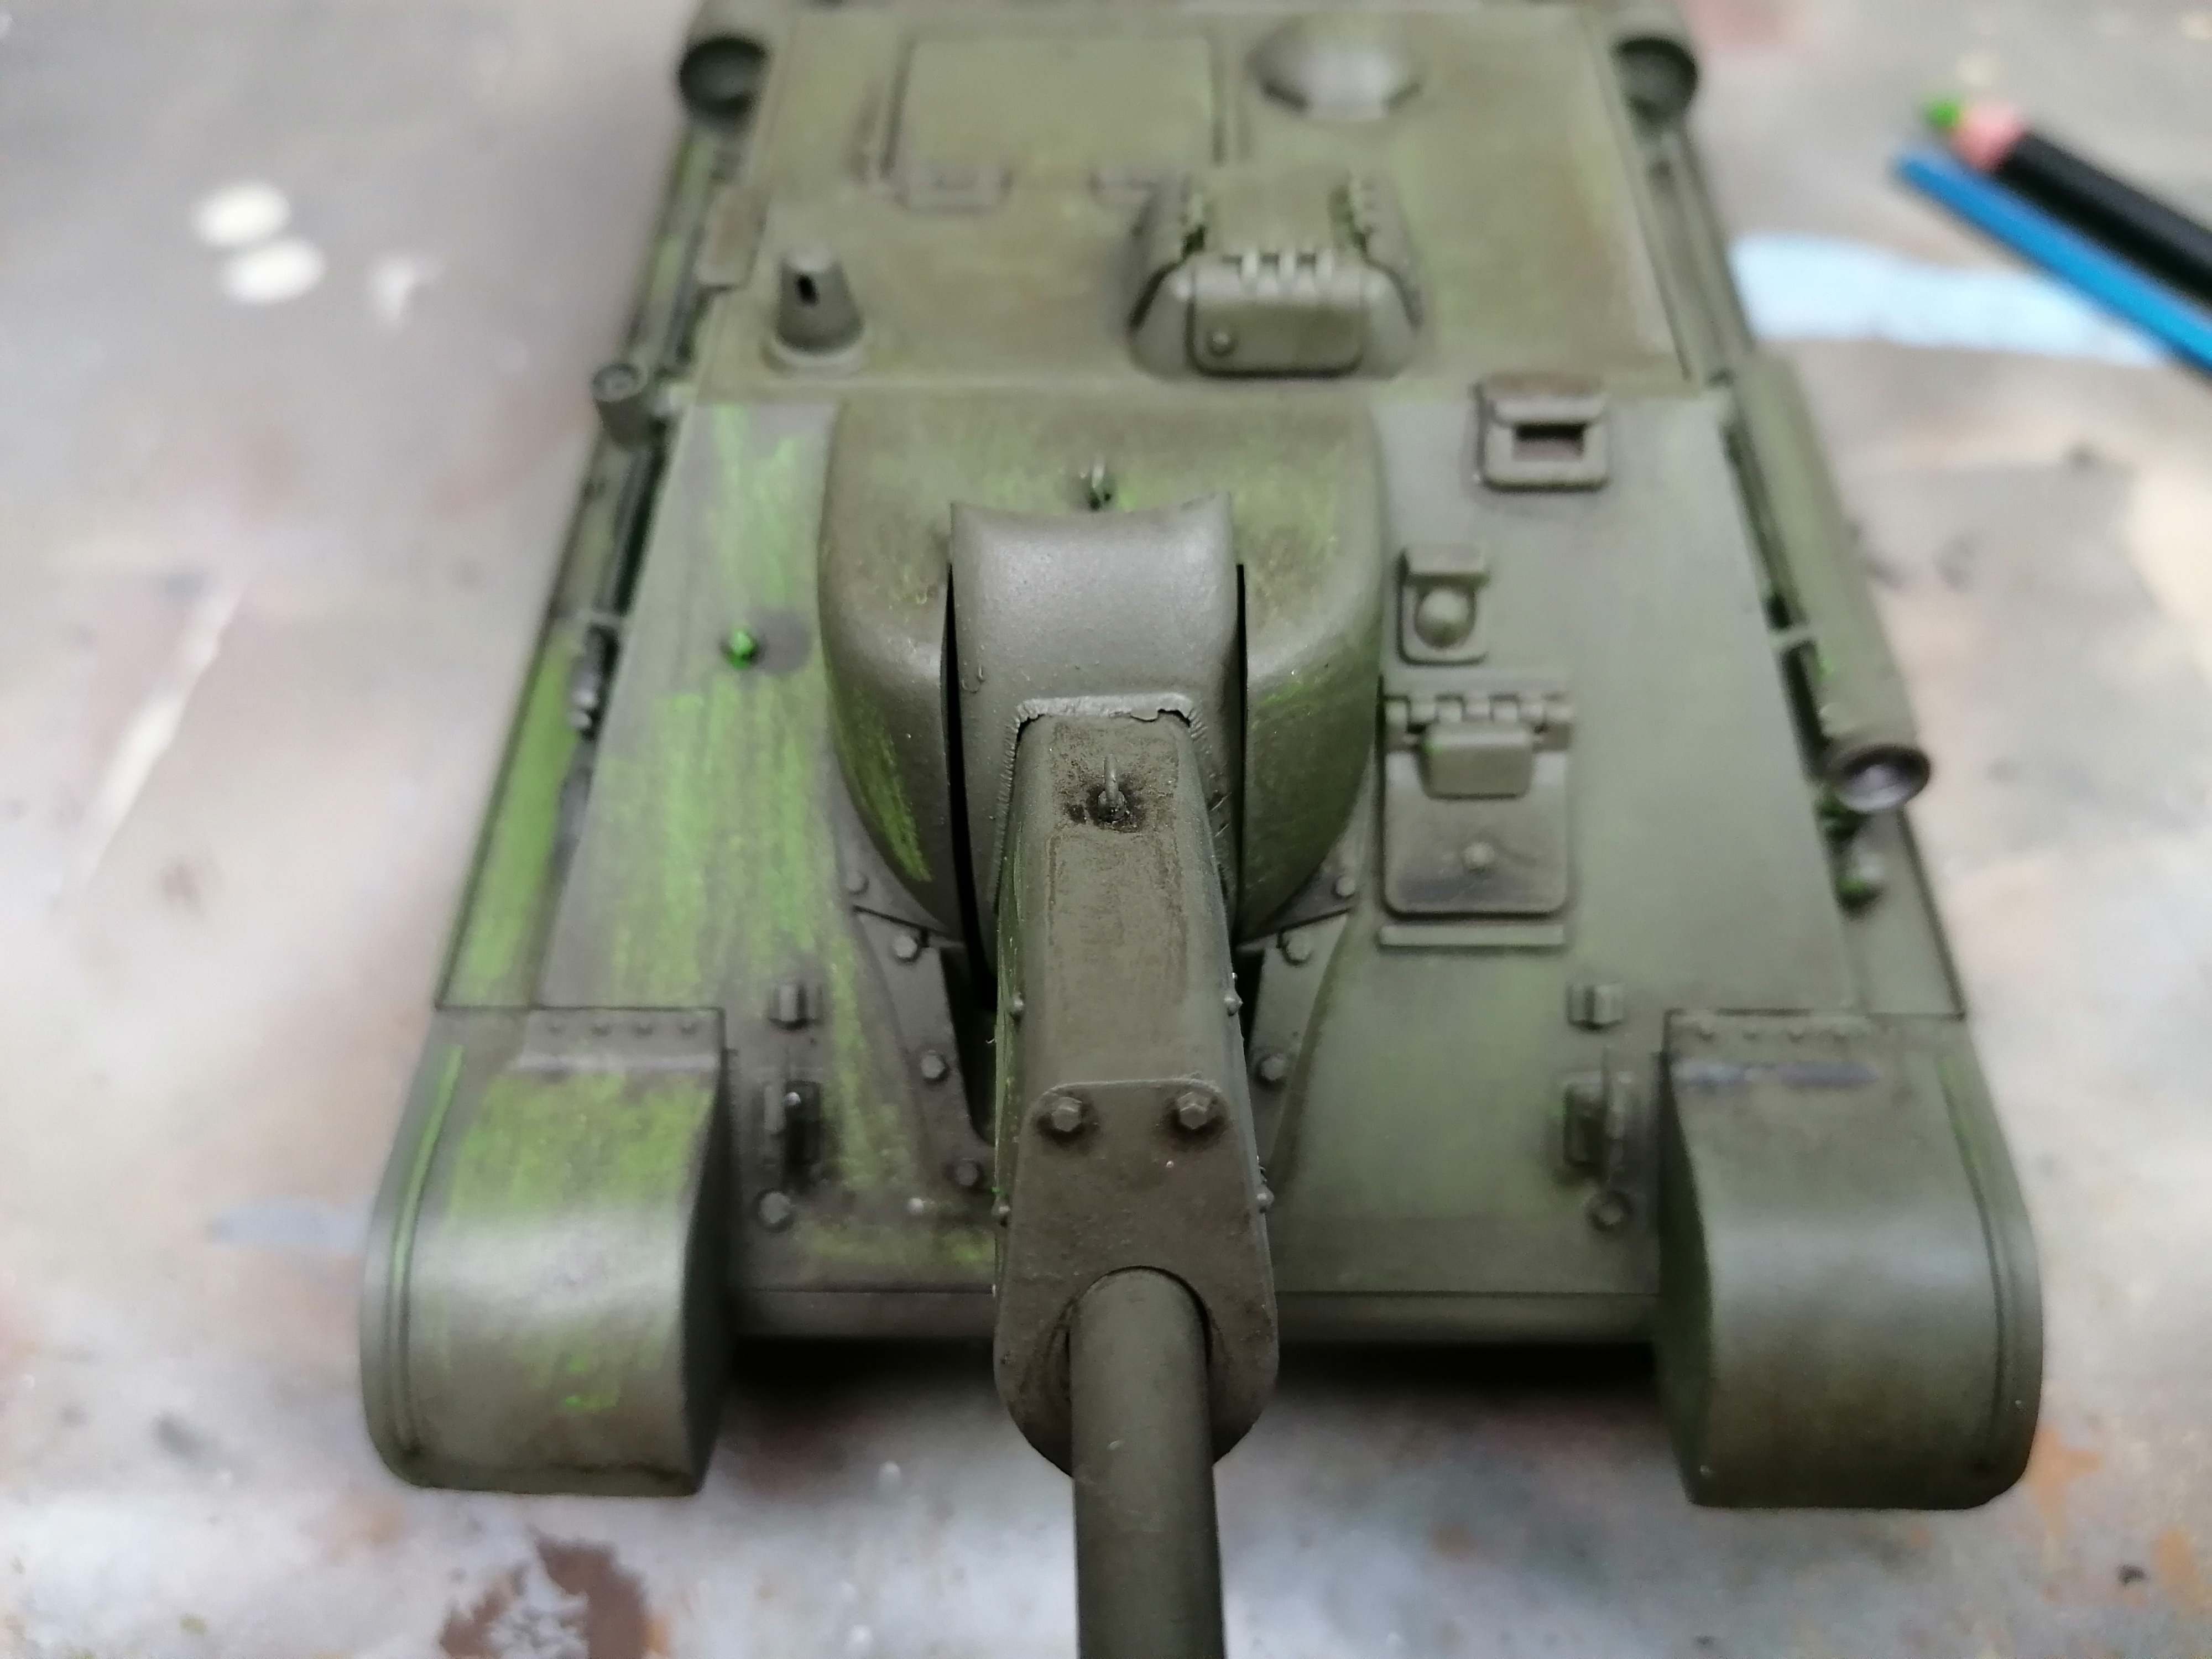
In addition to the wash I’m trying Out AK Interactive Weathering Pencils instead of pigments on this build. You can use multiple pencils at the same time to produce the effect that you desire. Here I have blended some greens to give some highlights across the hull and finally some streaking on the sides.

First Attempt With The AK Interactive Weathering Pencils
First Attempt With The AK Interactive Weathering Pencils.

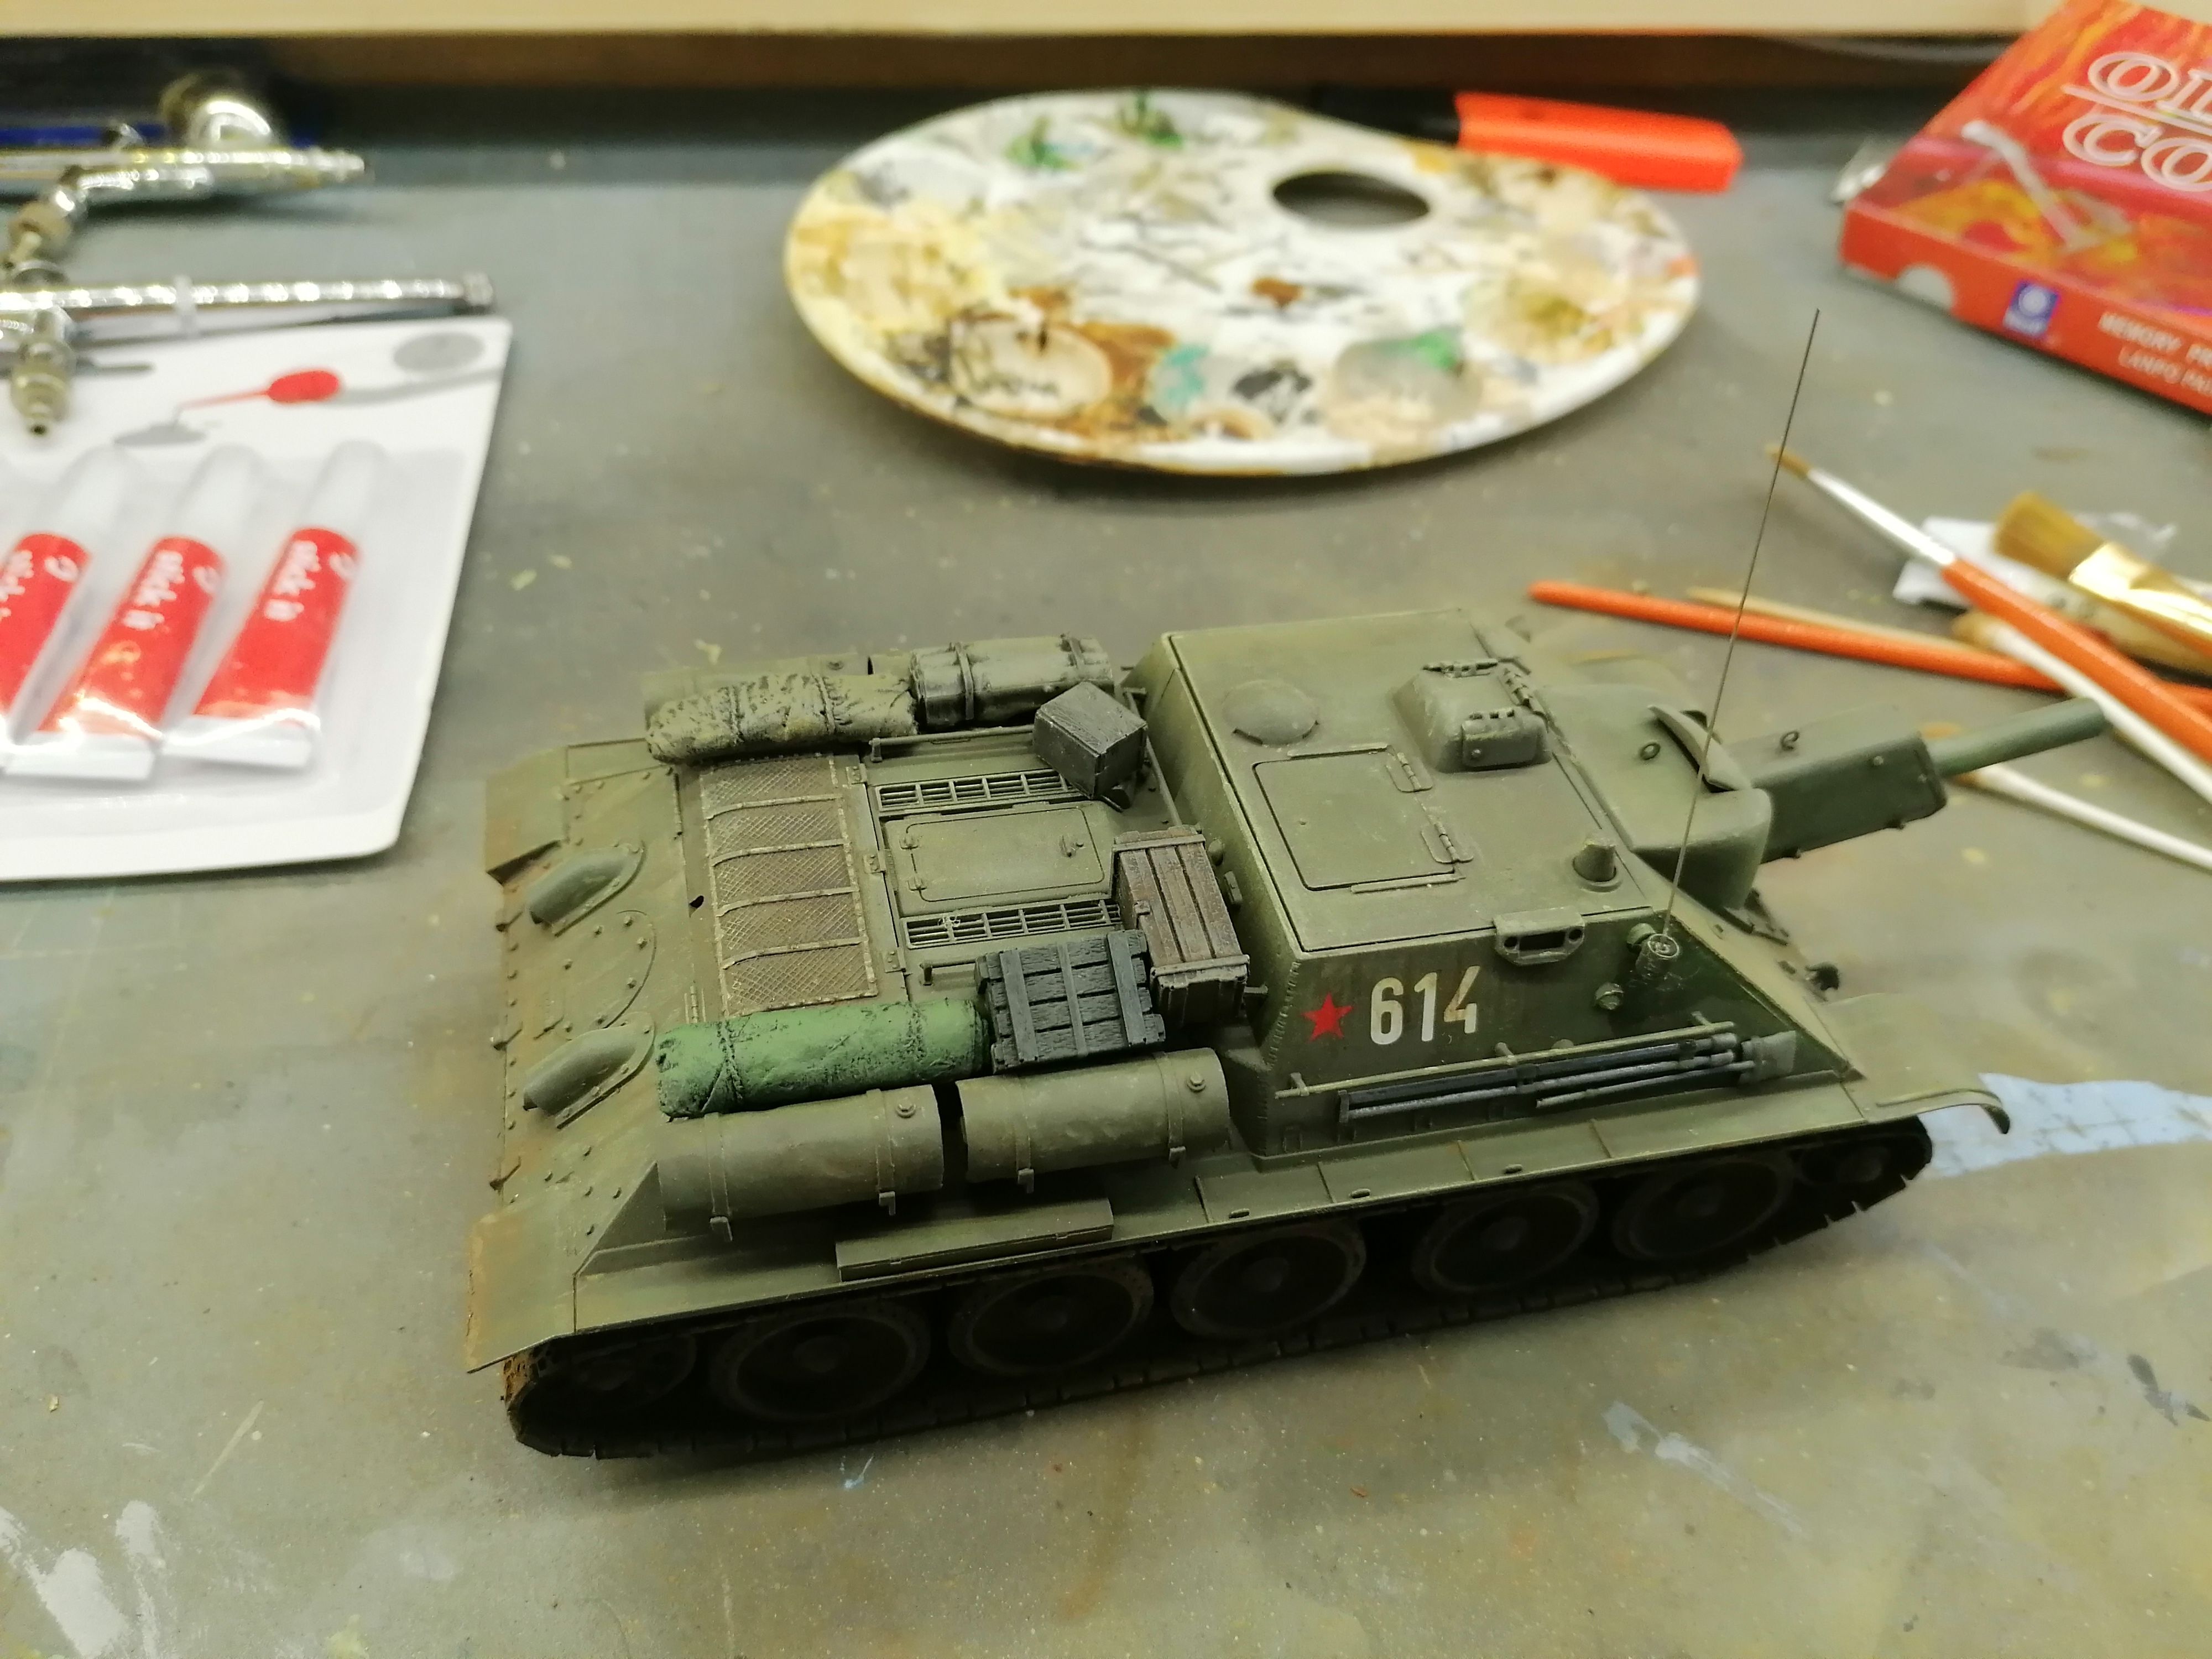
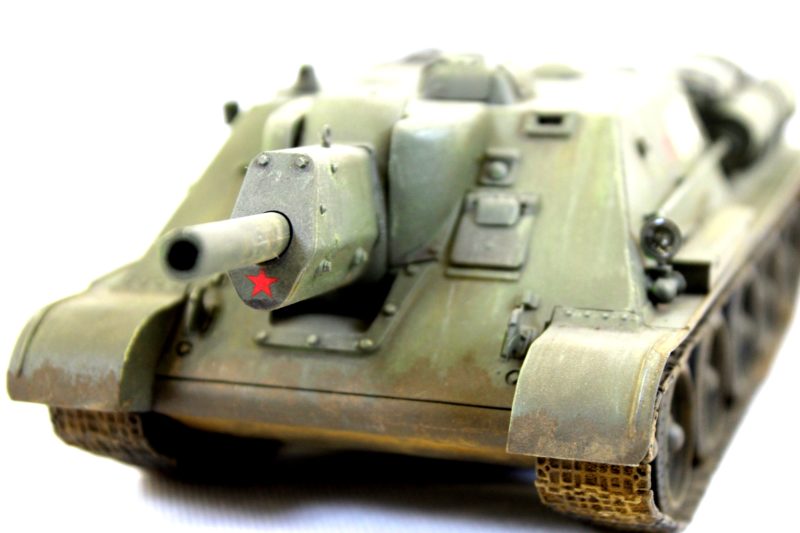
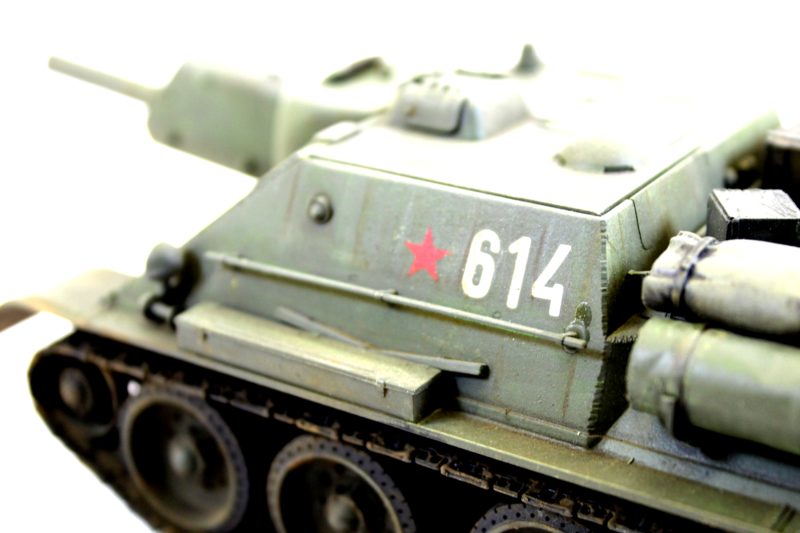
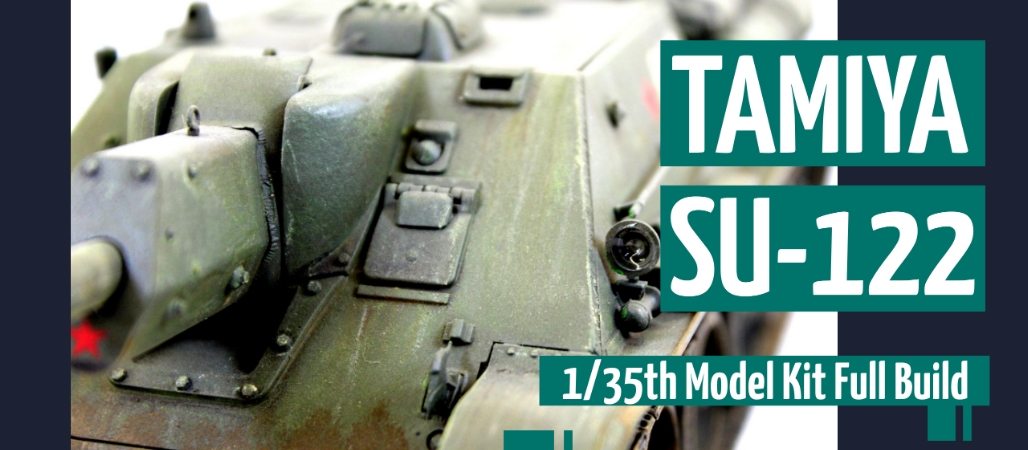
The Completed Tamiya 1/35th Russian SU-122

CLICK HERE TO BUY THE TAMIYA RUSSIAN SU-122