Tamiya 135th Israel Merkava MBT Step By Step Full Build

Tamiya 135th Israel Merkava MBT Step By Step Full Build

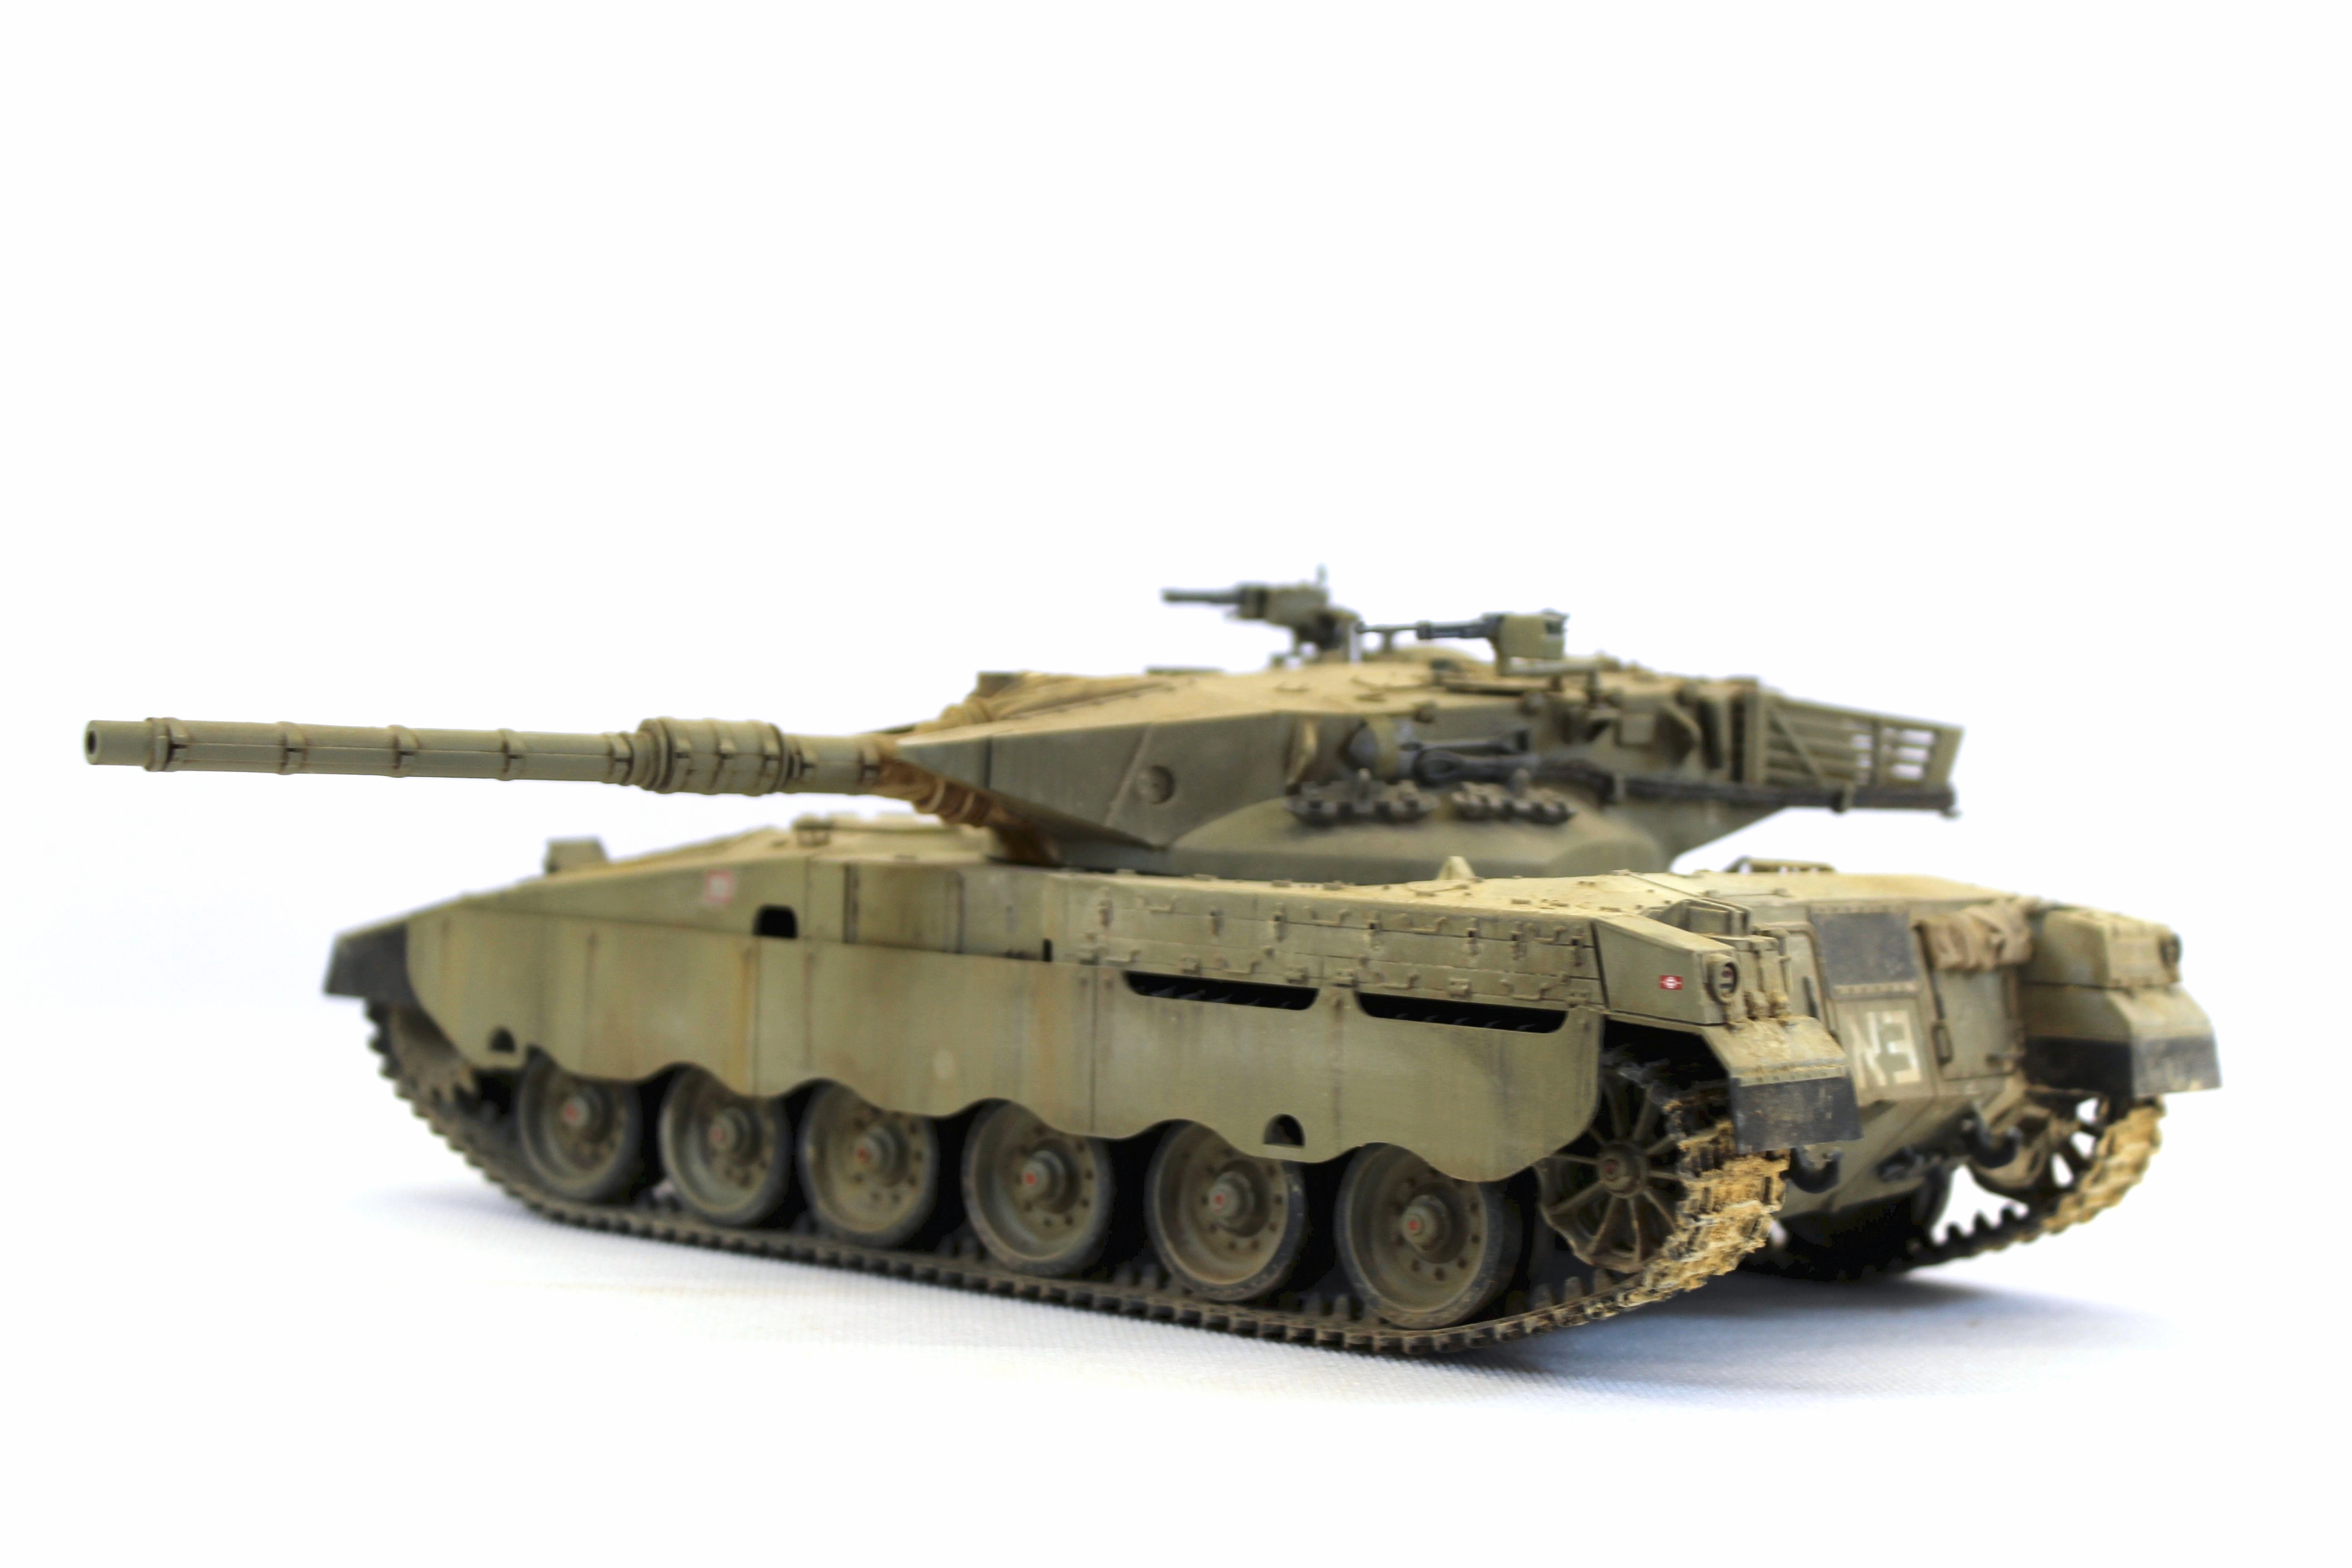
At this time I have seen a lot of people building the Merkava Tank so I thought I would jump on the bandwagon. For me, I choose the Tamiya Israel Merkava MBT Model Kit, after all, I am a bit of a Tamiya Fanboy! Undoubtedly I should have a bit of fun with this iconic tank, So take a look at what I have done with it.

Again this is a reasonably priced kit, coming in at under £20 and overall I’m very happy with it out of the box. You can see my full review of the kit if you click HERE

Building The Tamiya Israel Merkava MBT Scale Model

The Back Of The Merkava Model Coming Together
The Back Of The Merkava Model Coming Together.
Not Much Work To Be Done On The Lower Hull
Not Much Work To Be Done On The Lower Hull.
A Fair Amount Of Flash On The Boogies For The Tamiya 1/35th Israel Merkava
A Fair Amount Of Flash On The Boogies For The Tamiya 1/35th Israel Merkava.

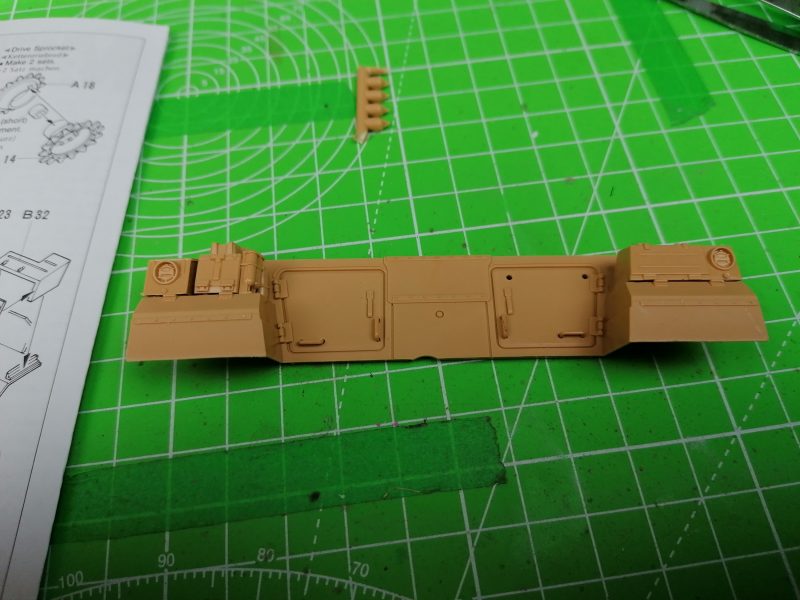
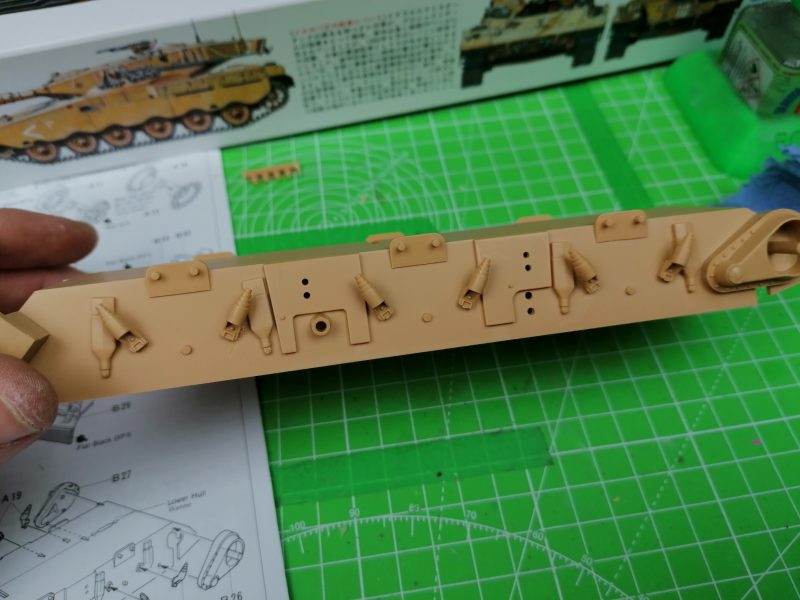
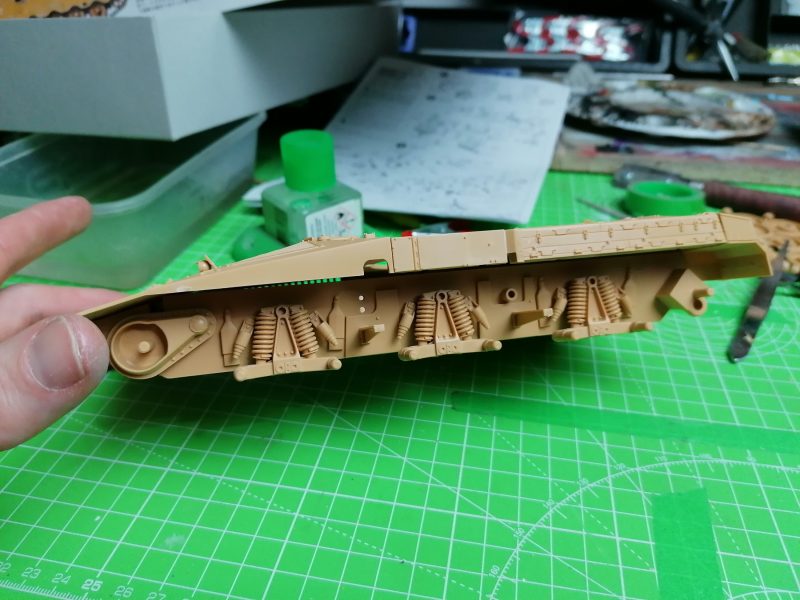
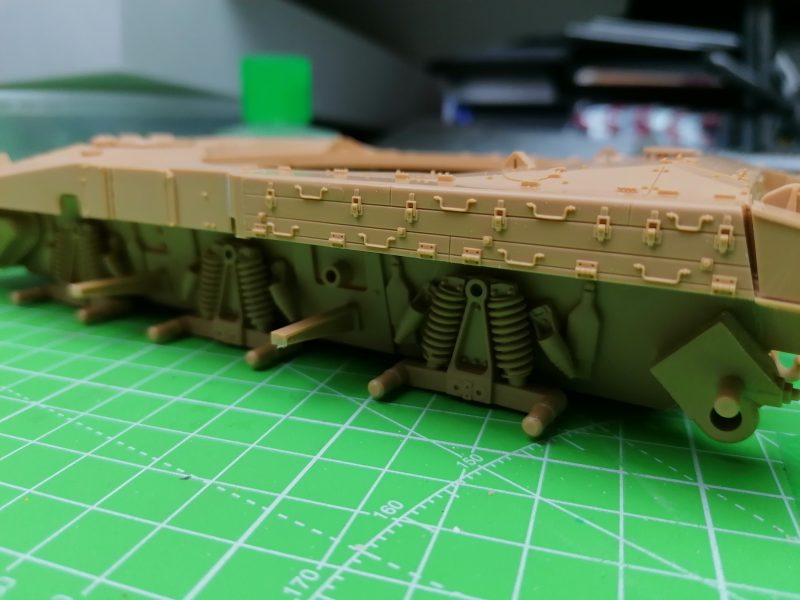
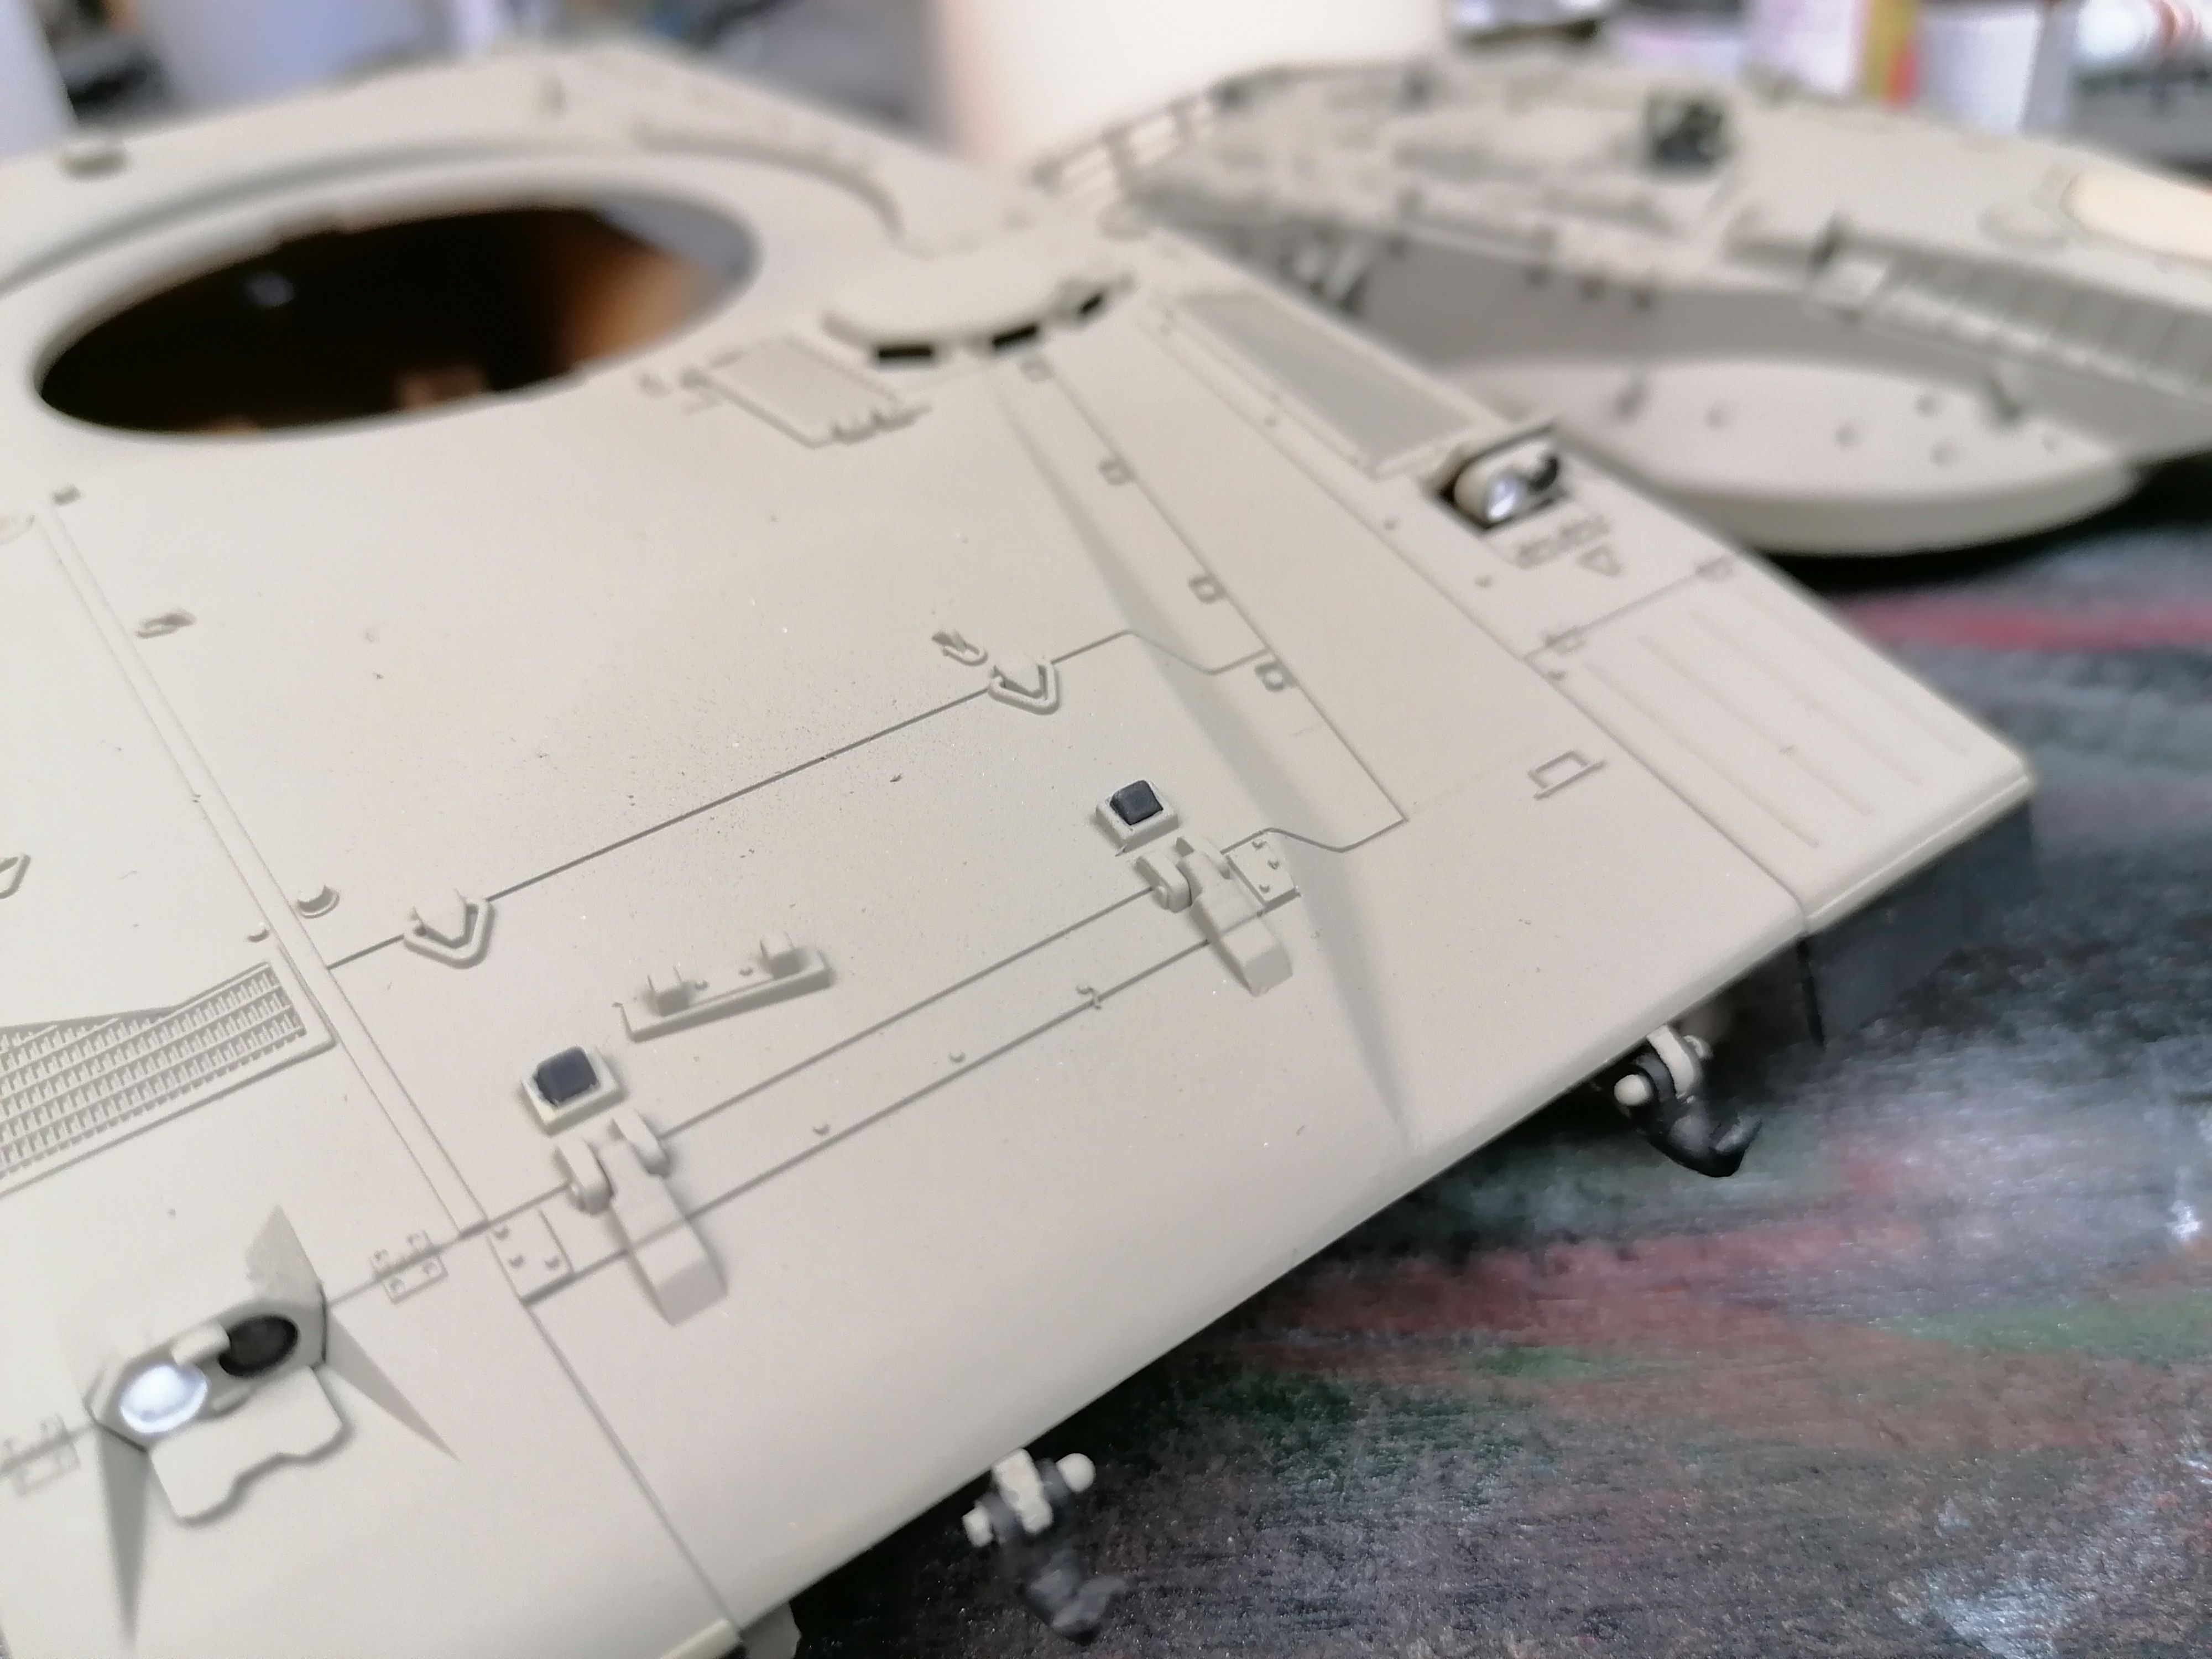
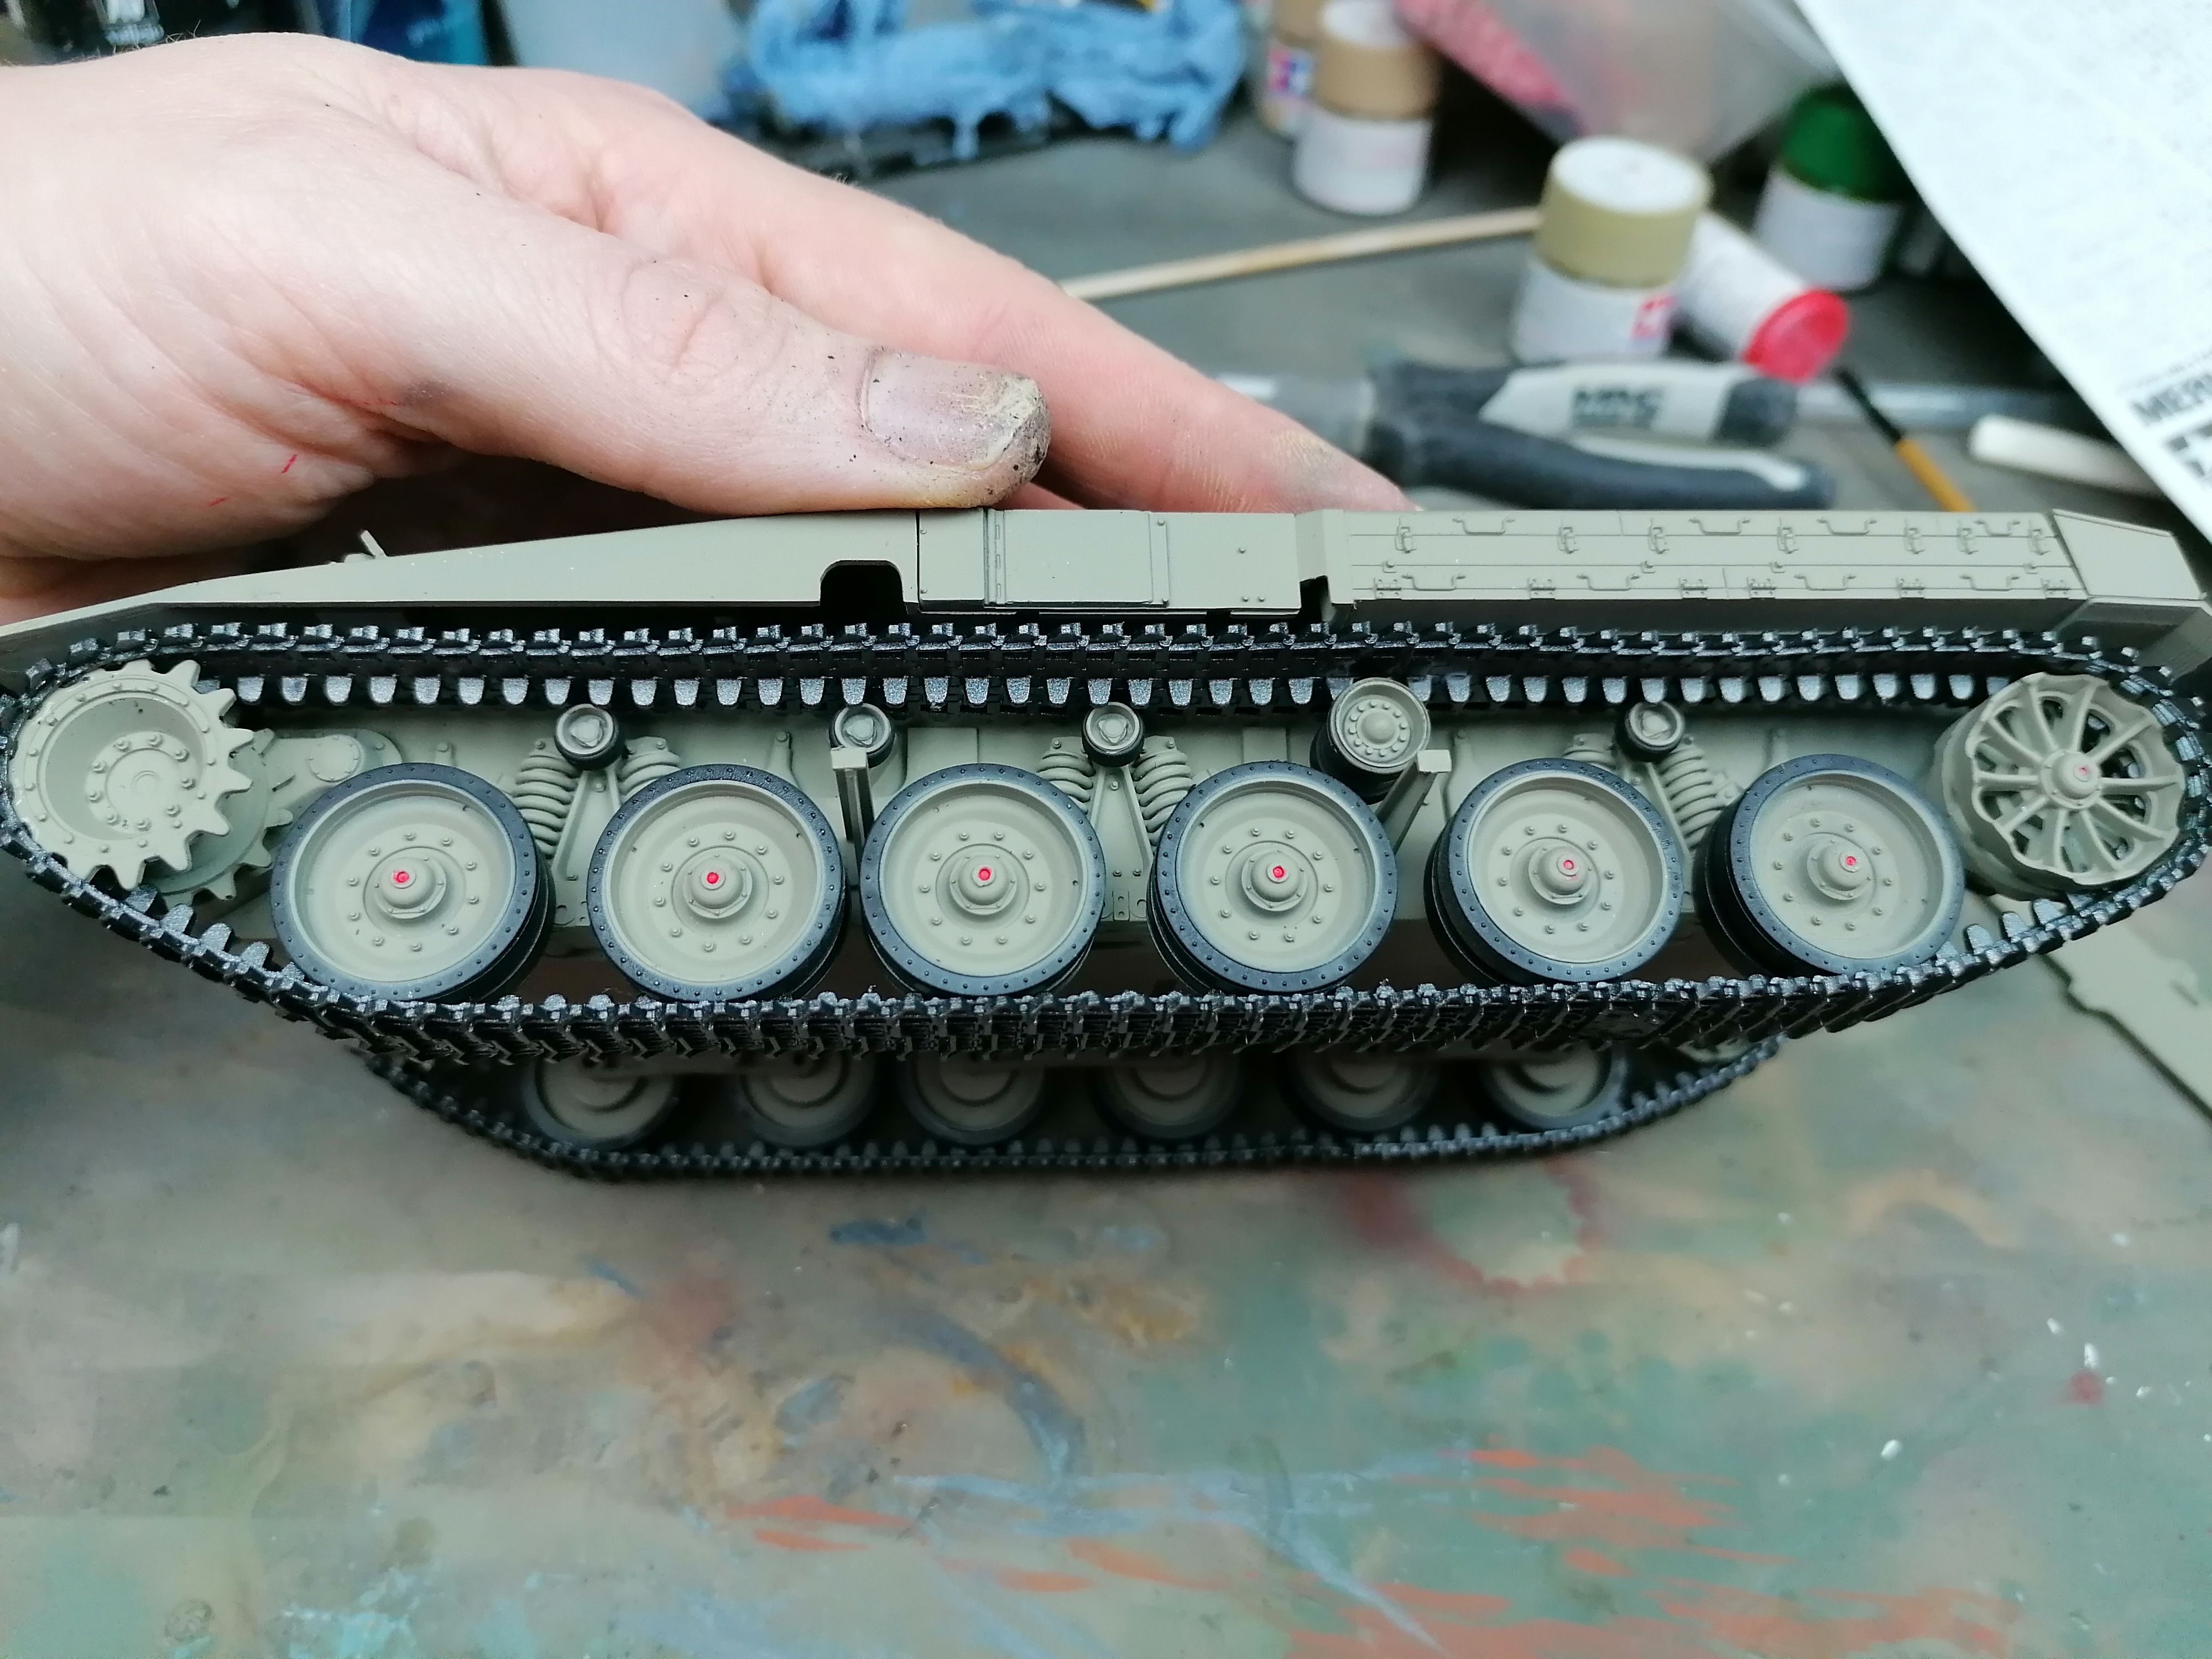
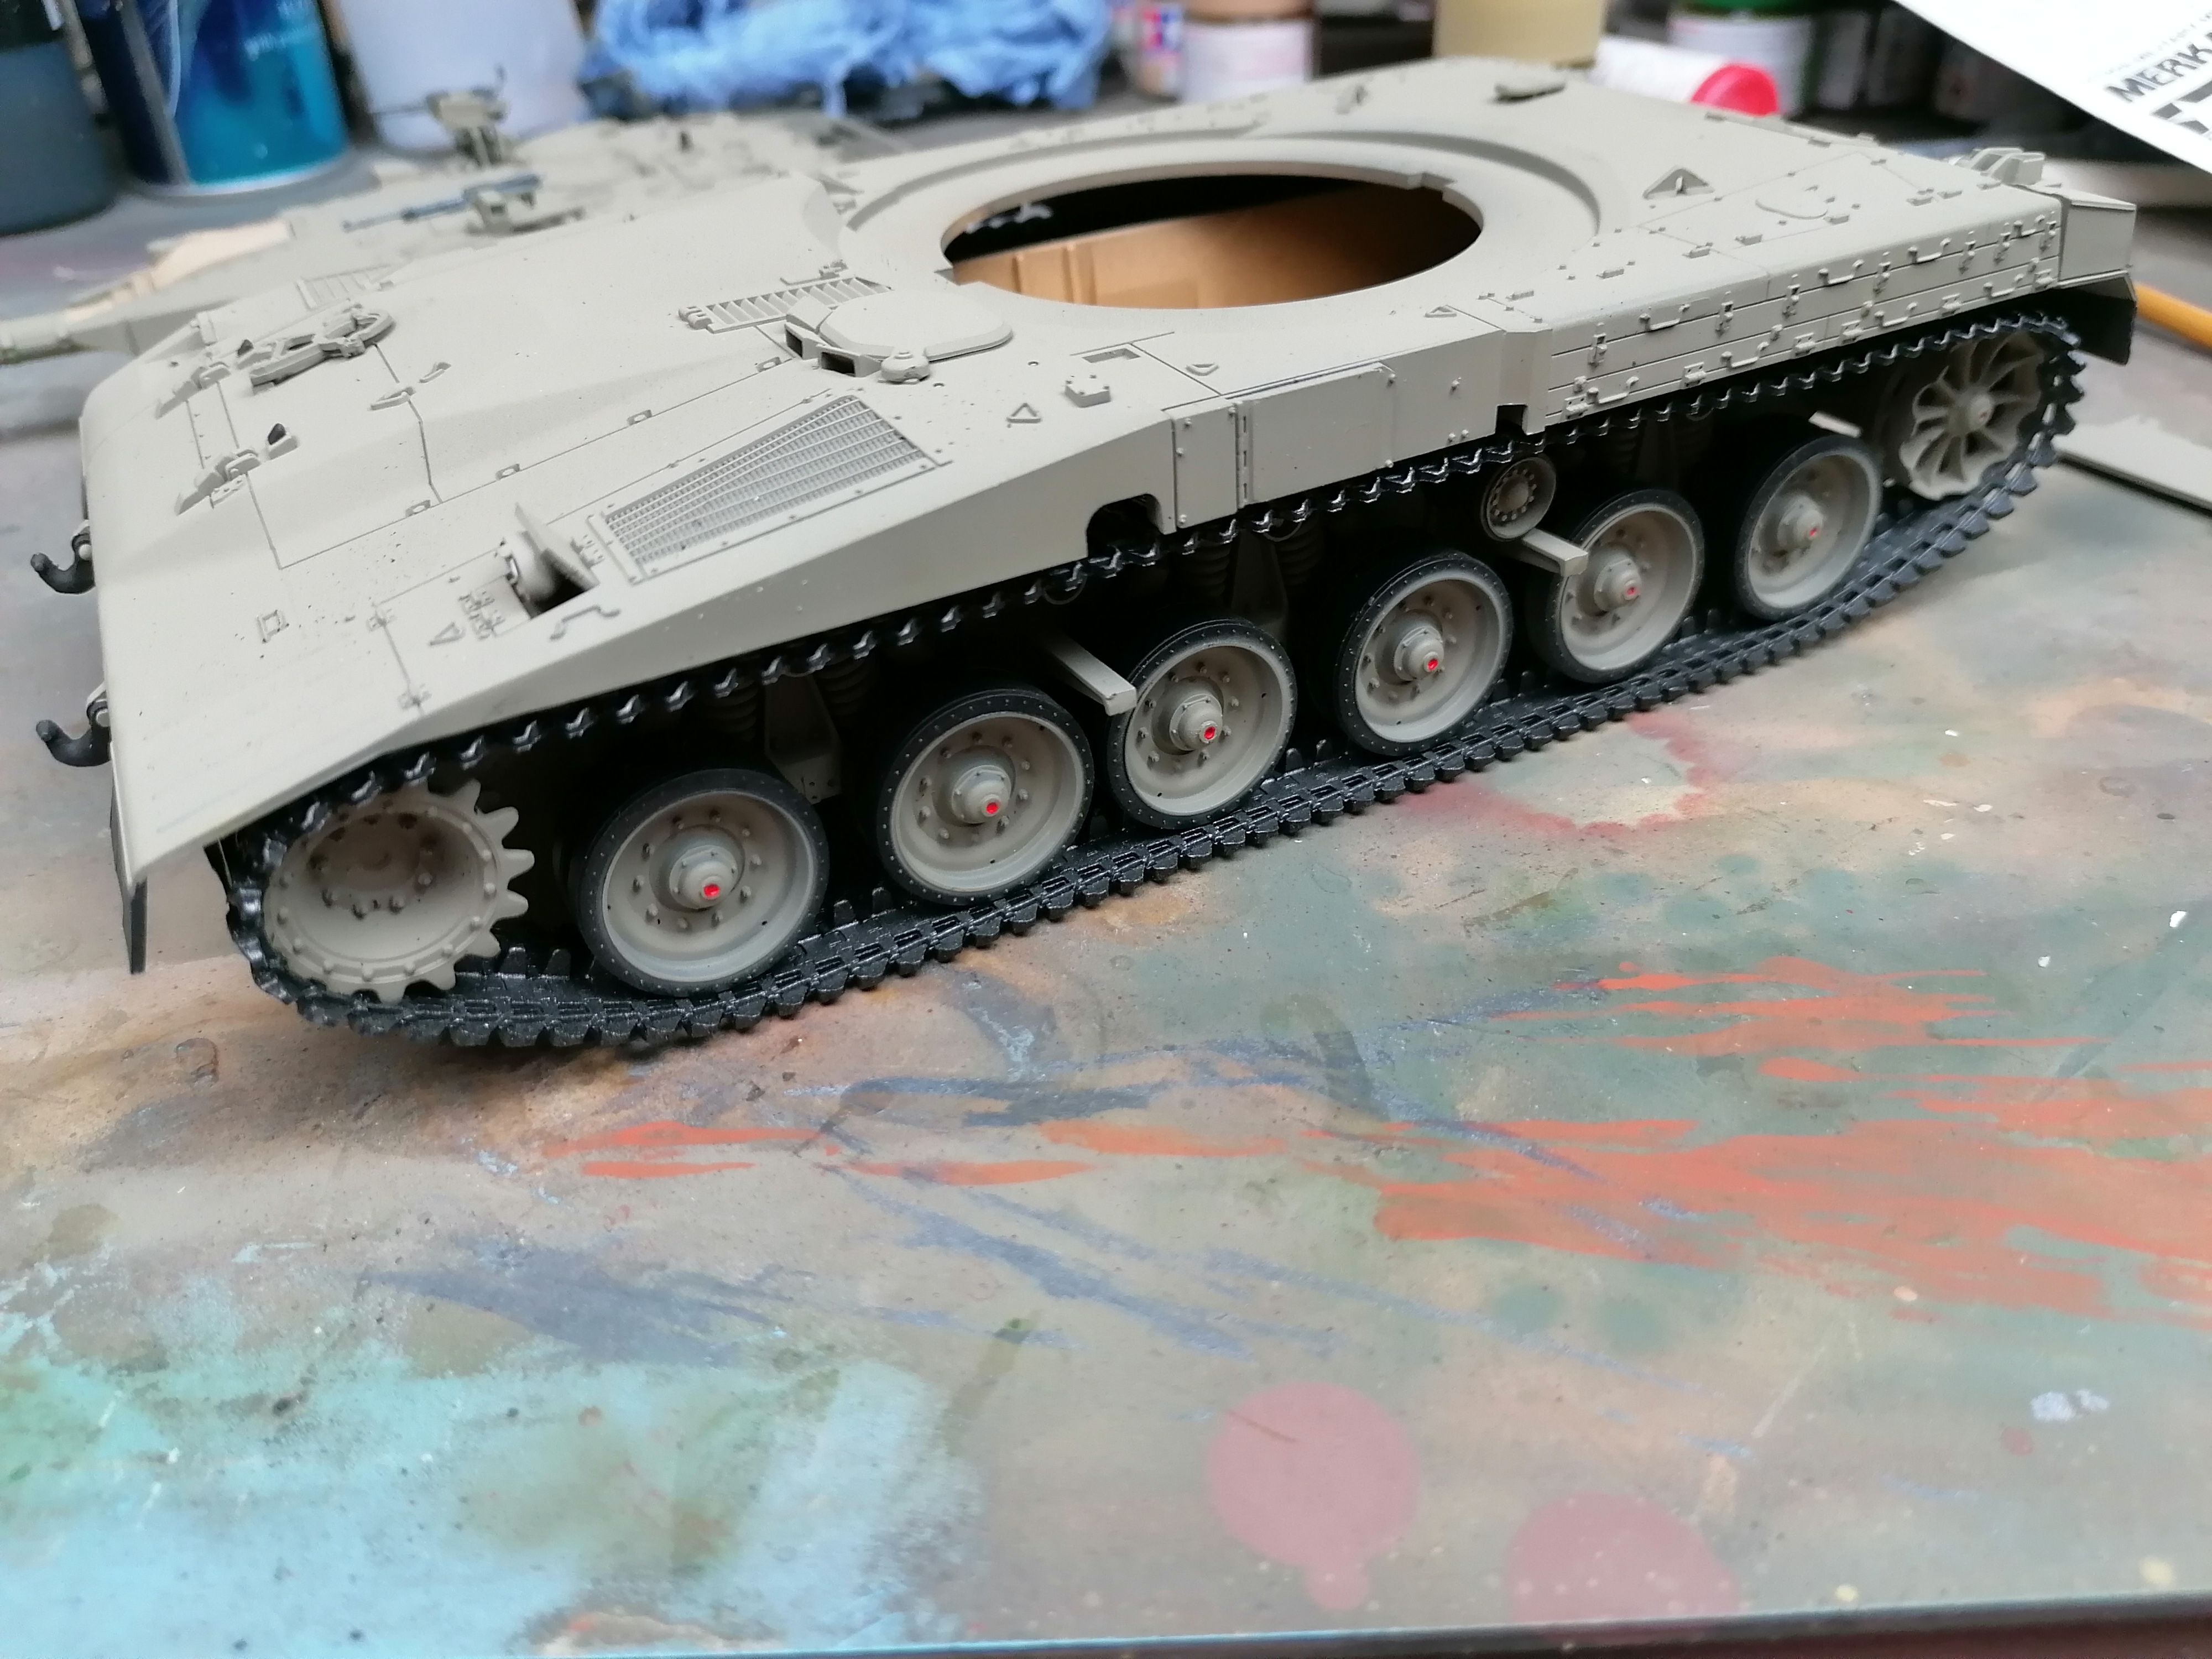
With these sub £20 kits there isn’t a ton of stuff to do, though this is one of the reasons I feel they are great kits. Even a novice picking one up isn’t going to have too much difficulty in producing a comparatively great looking model.

Boogies Cleaned And Fitted To The Lower Hull Of The Model Tank
Boogies Cleaned And Fitted To The Lower Hull Of The Model Tank.
Needed To Re-Scribe Some Panel Lines After I Spilt Liquid Cement On The Merkava Model
Needed To Re-Scribe Some Panel Lines After I Spilt Liquid Cement On The Merkava Model.
Holding The Tamiya Merkava Turret In Place While The Glue Cures
Holding The Tamiya Merkava Turret In Place While The Glue Cures.
With All Basic Model Tank Kits There Isn't Too Much To Do To The Upper Hull
With All Basic Model Tank Kits There Isn’t Too Much To Do To The Upper Hull.
Modeled The Merkava Headlight Open To Show Off A Little More Detail
Modeled The Merkava Headlight Open To Show Off A Little More Detail.

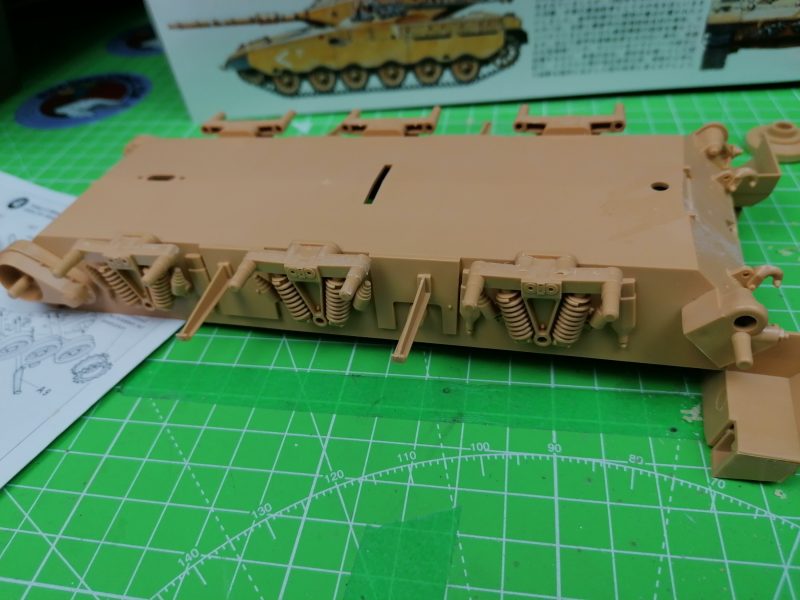
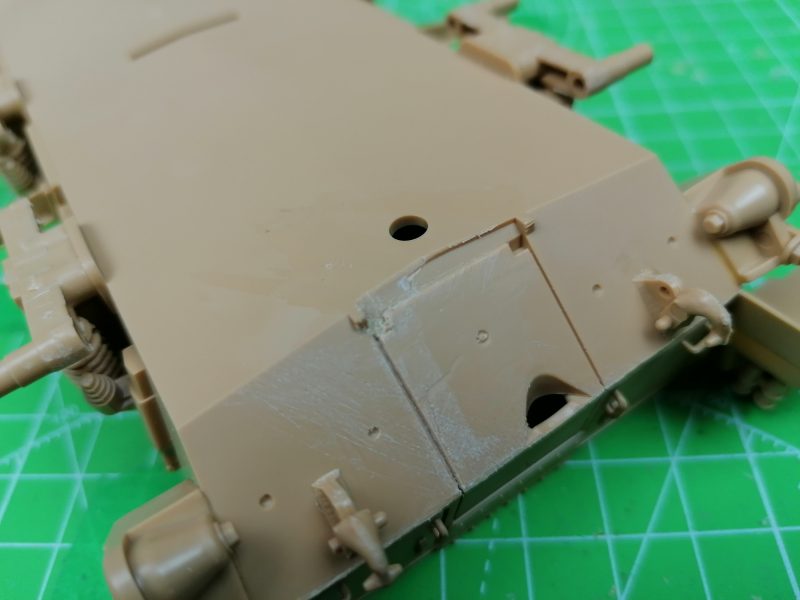
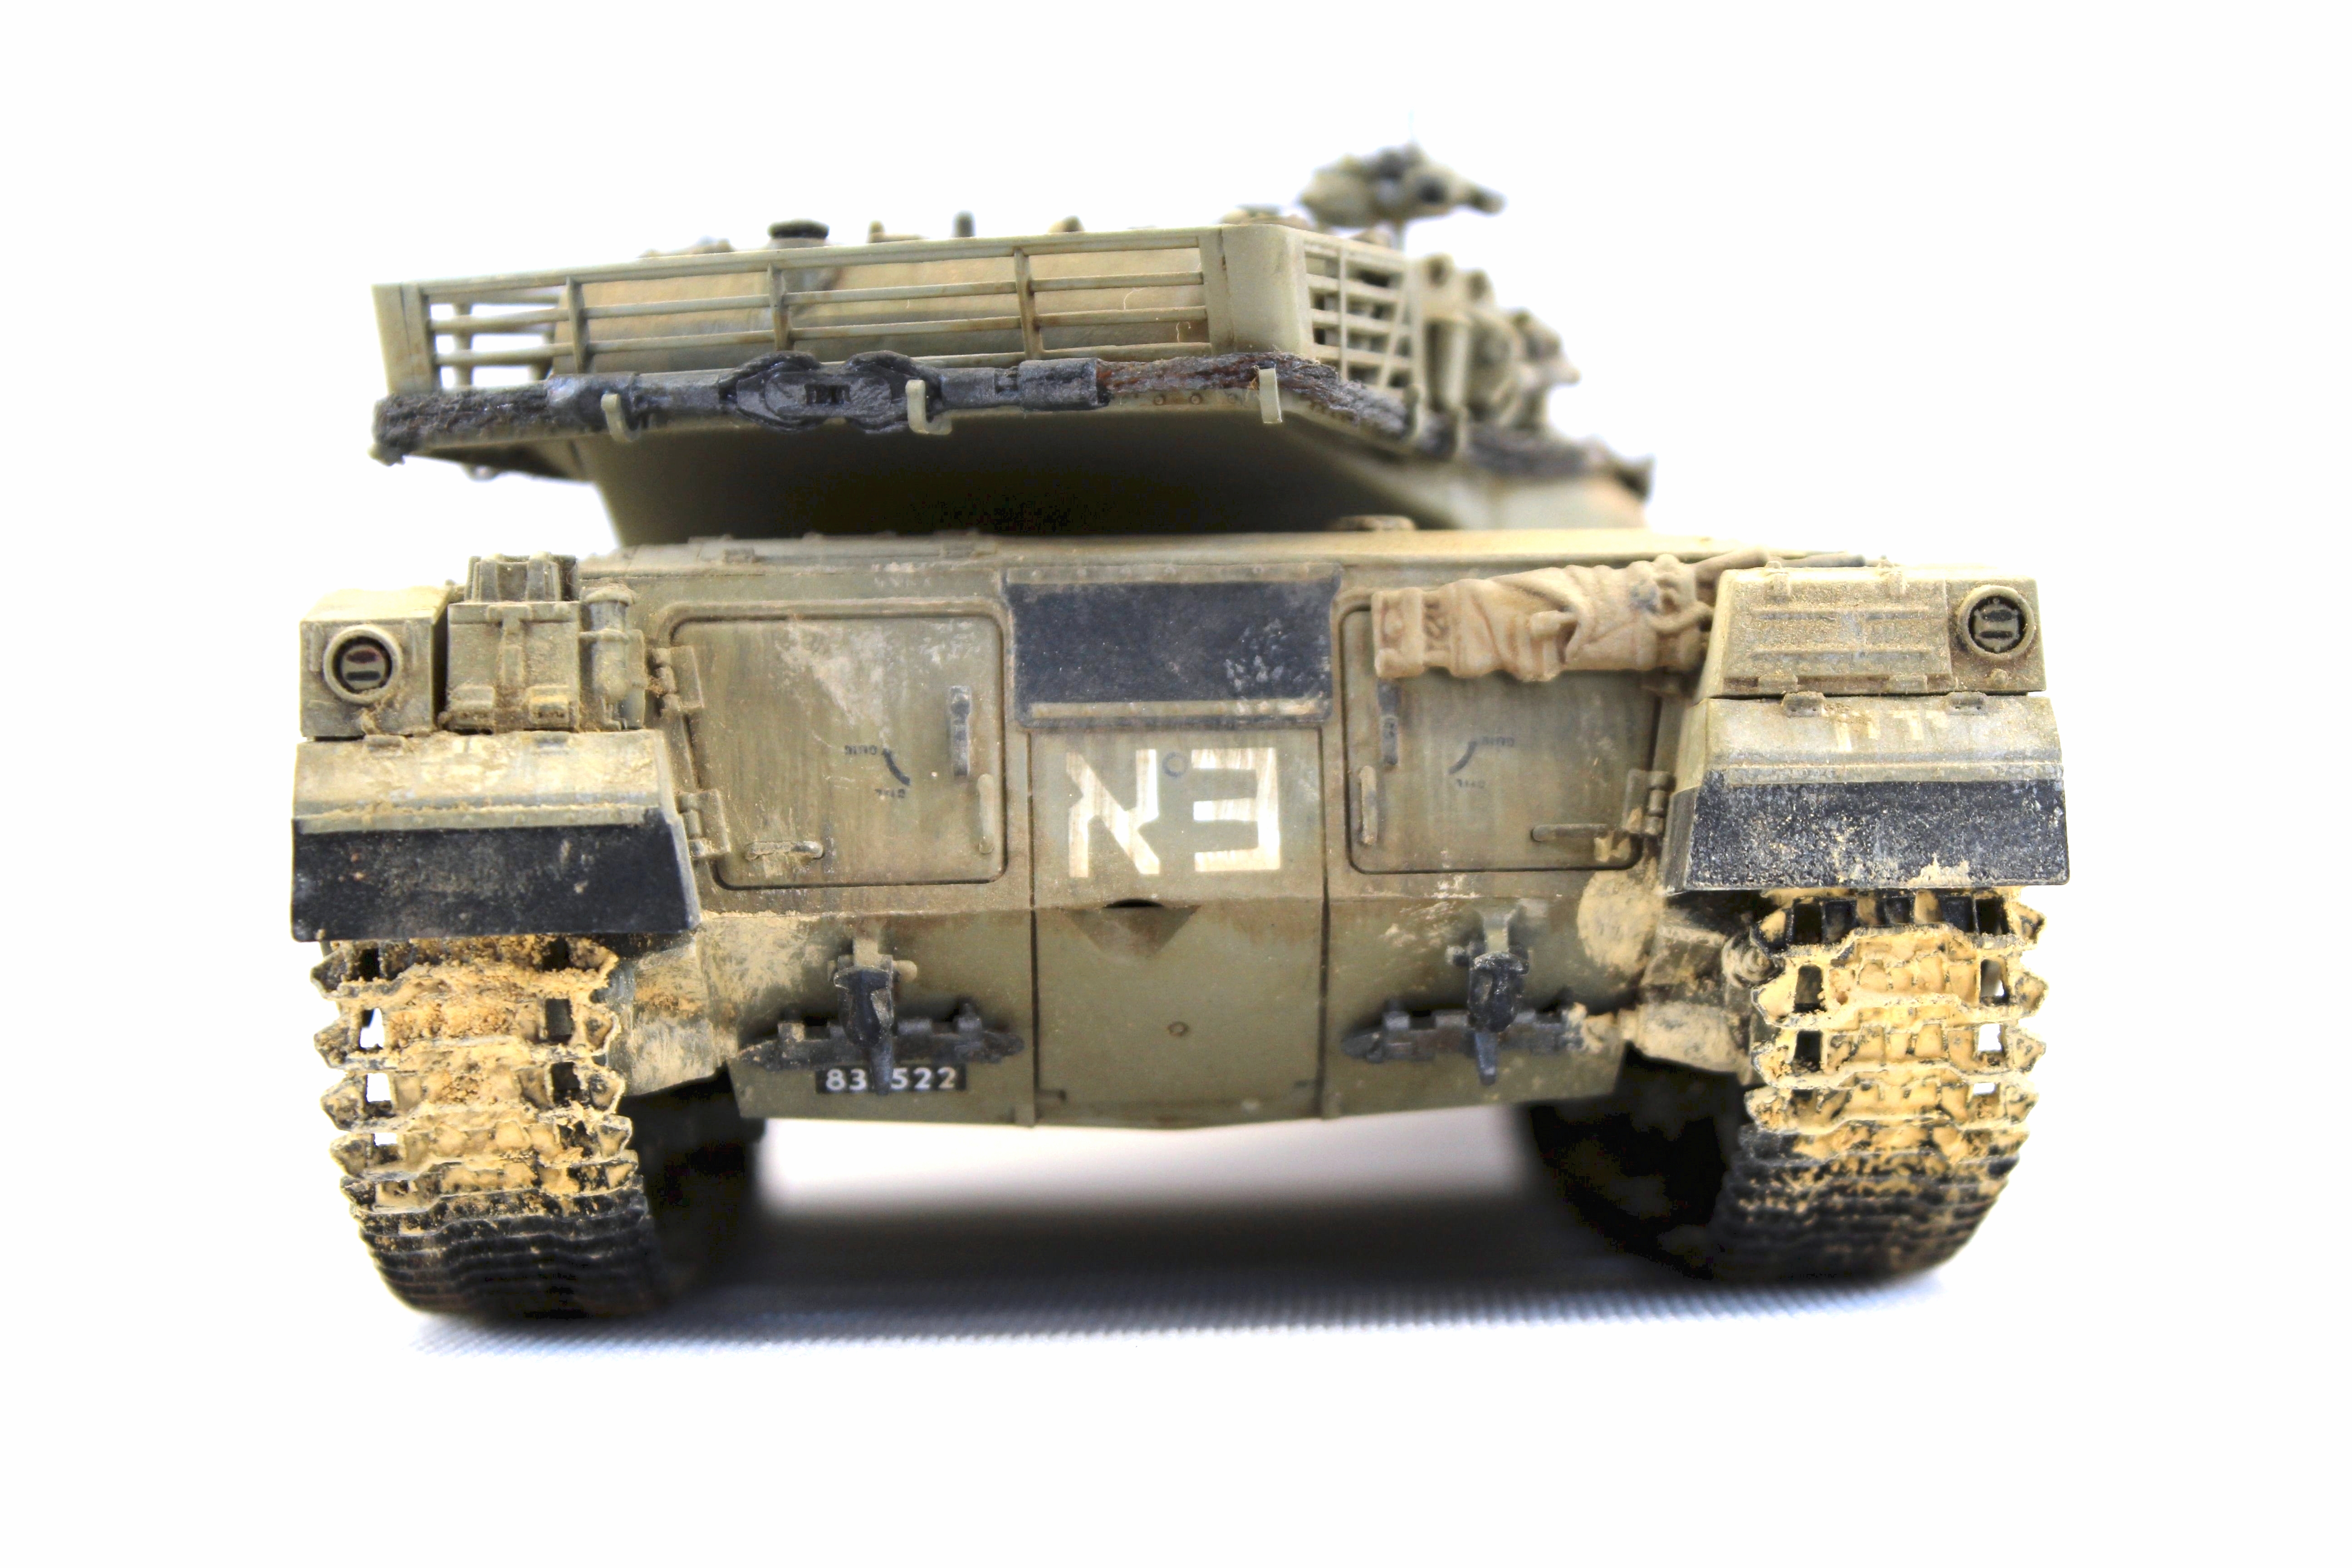
Although there isn’t a lot to do during the build phase I’m still taking my time to make sure that everything is getting done correctly. I did spill some glue on the rear door, however after some careful sanding and re scoring the panel I think I have saved it.

The Scale Model Merkava Turret Filled And Sanded
The Scale Model Merkava Turret Filled And Sanded.
Joining The Upper And Lower Hulls Of This Scale Model Tank
Joining The Upper And Lower Hulls Of This Scale Model Tank.
A Close Look At Some Of The Details On The Tamiya 1/35th Israel Merkava MBT
A Close Look At Some Of The Details On The Tamiya 1/35th Israel Merkava MBT.
The Beautiful Looking Turret Of The Israel Merkava Tank Model
The Beautiful Looking Turret Of The Israel Merkava Tank Model.

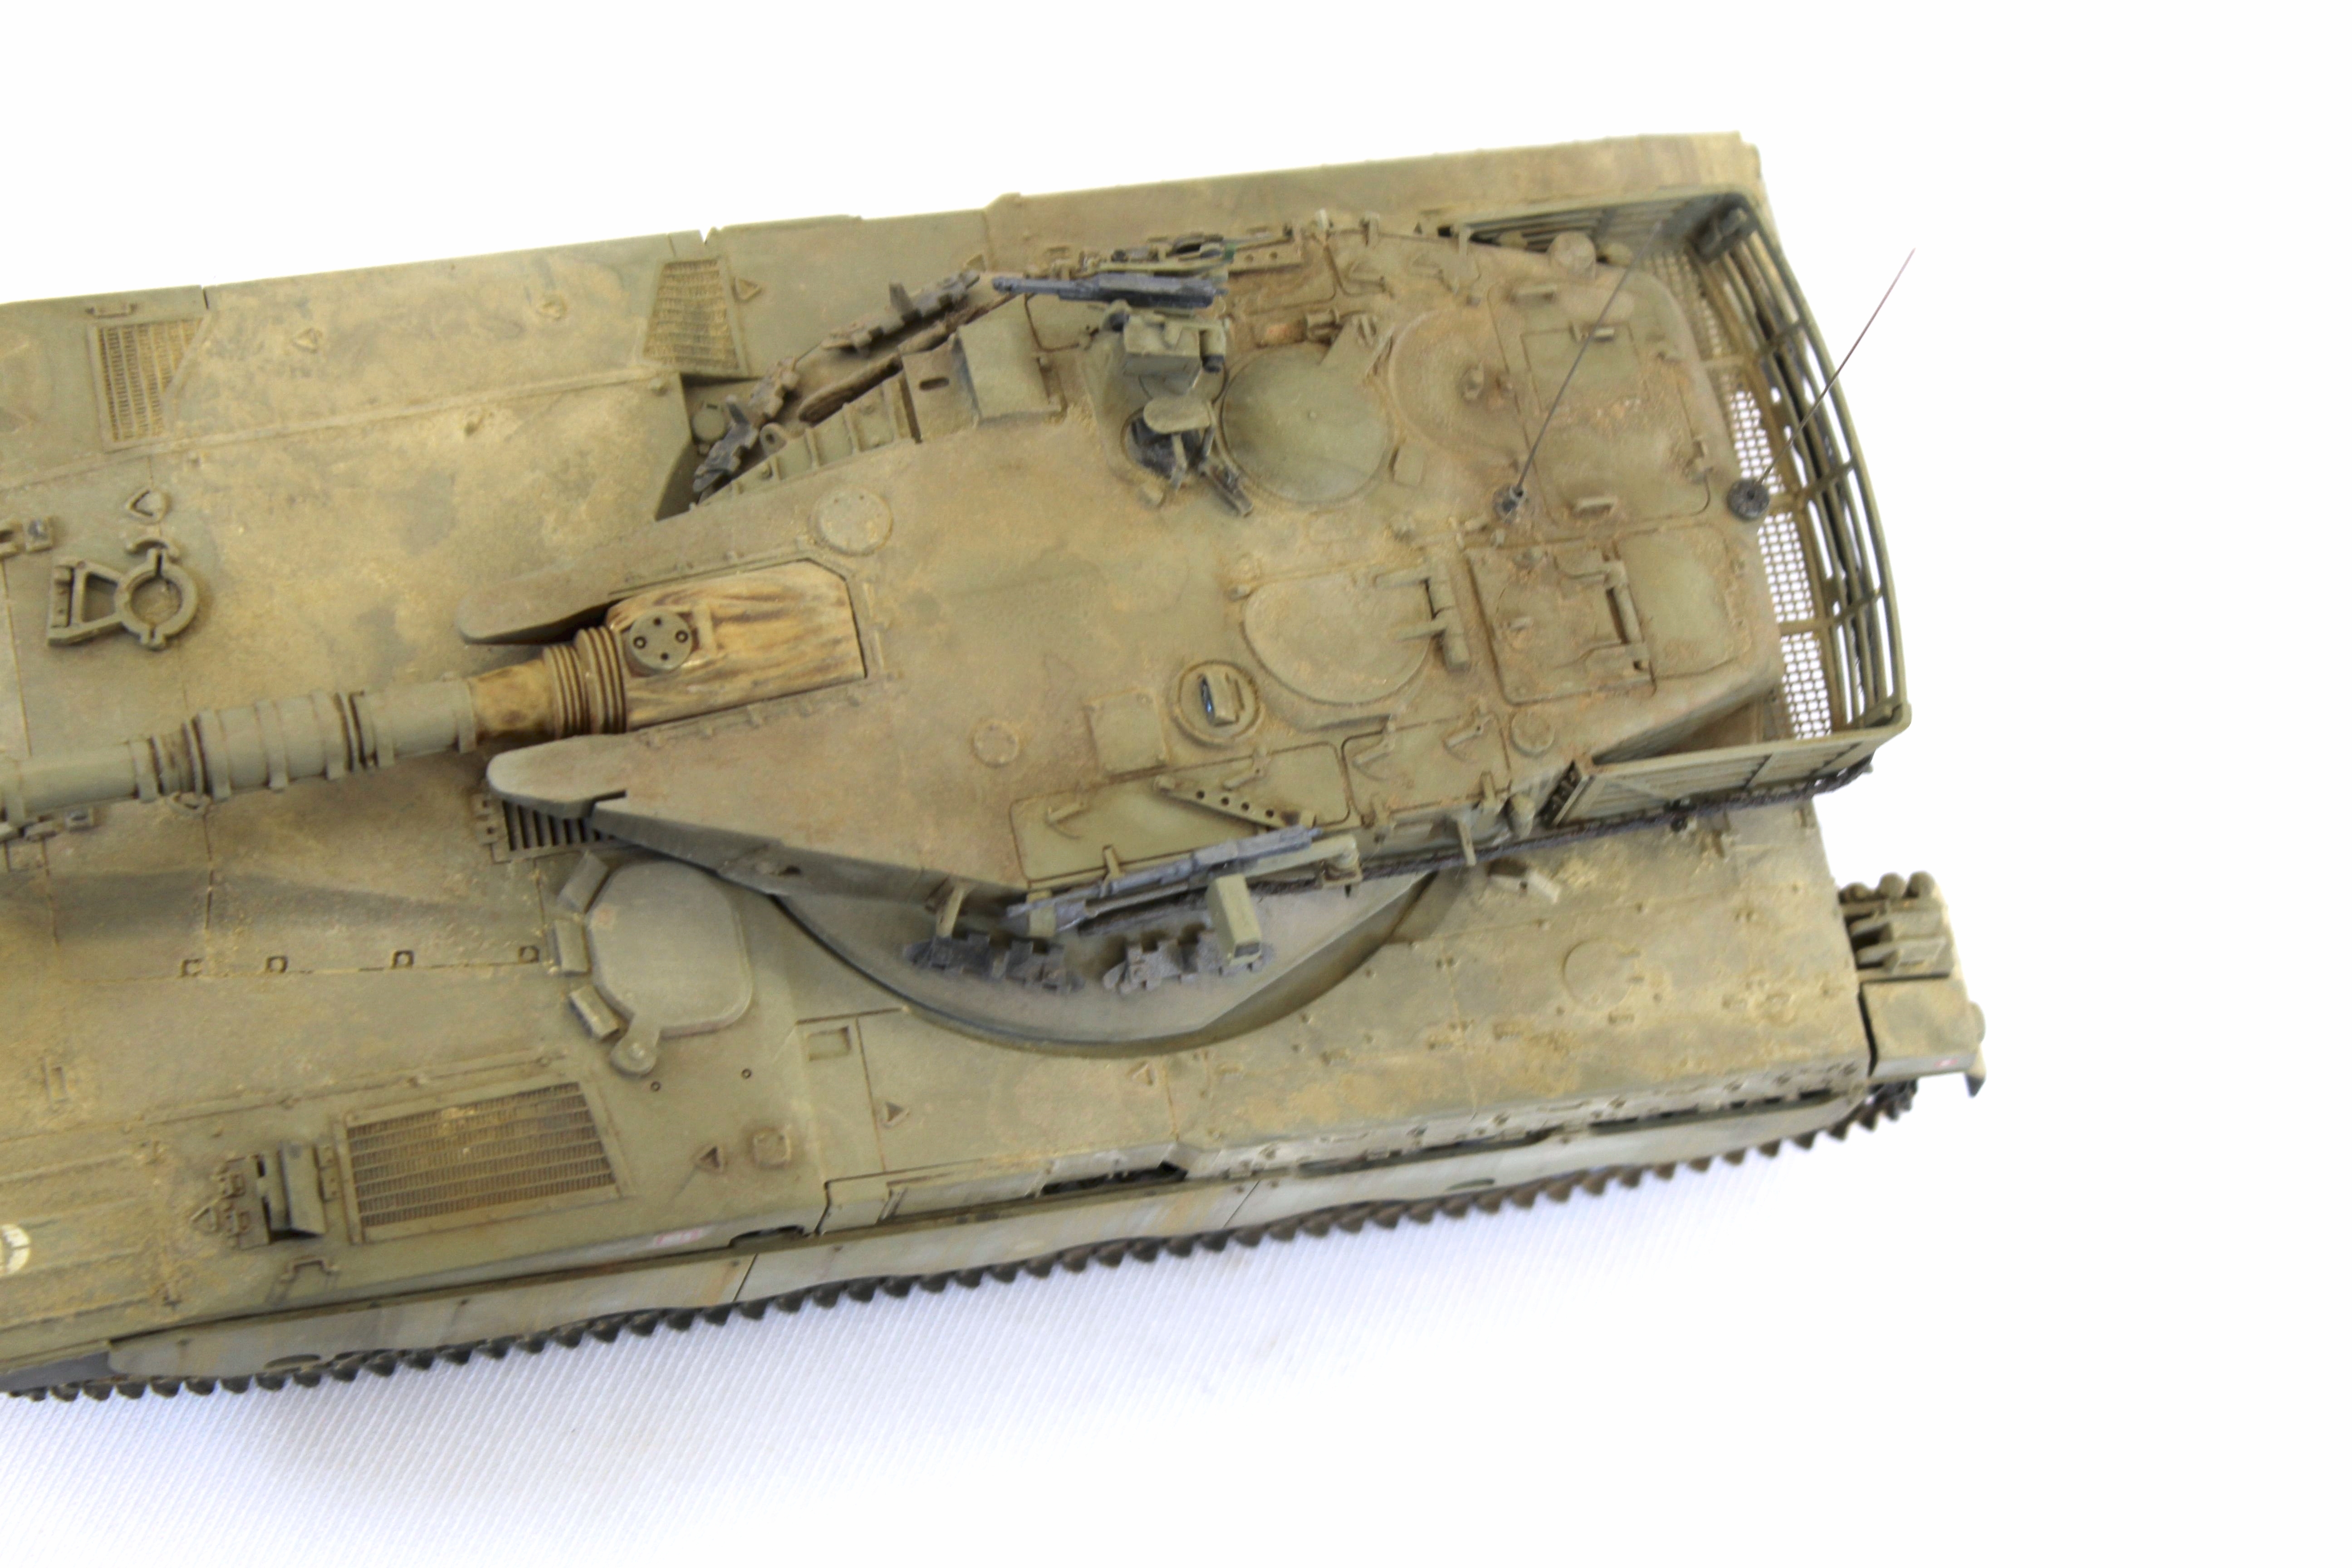
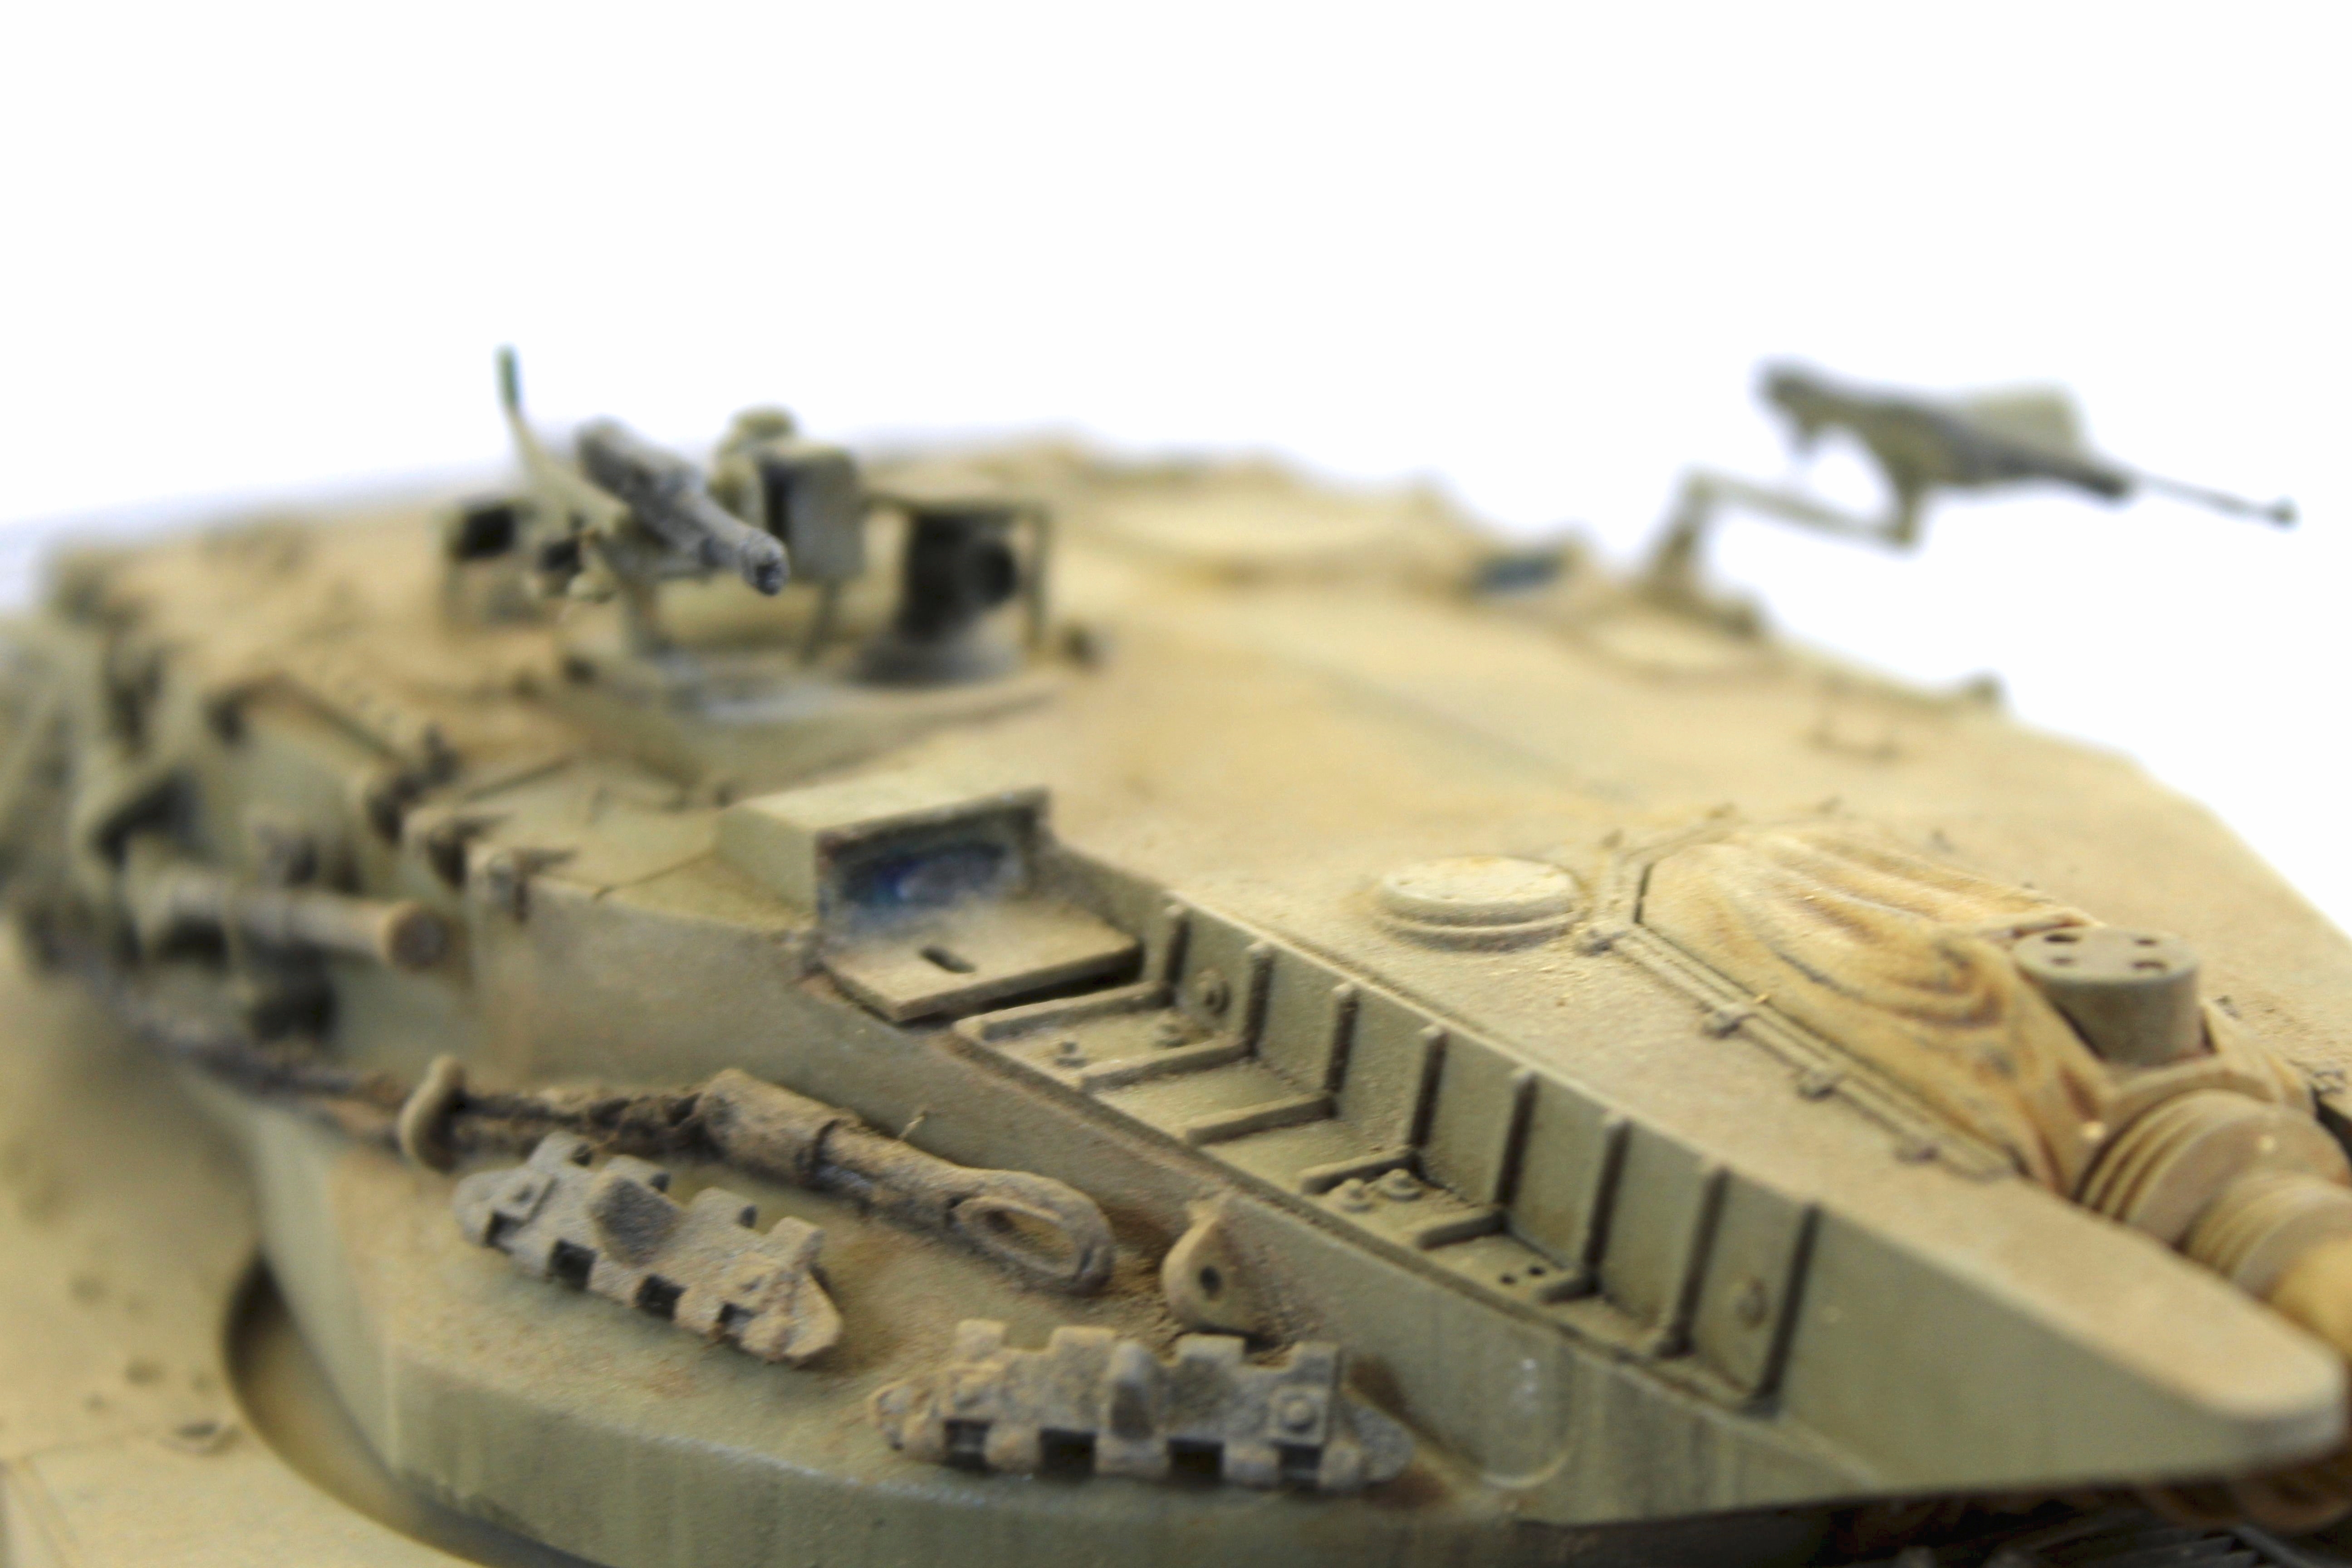
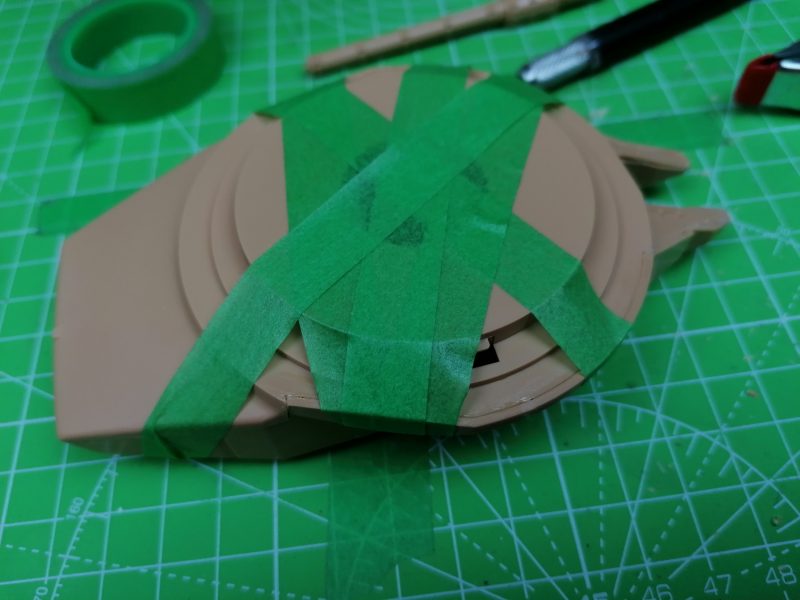
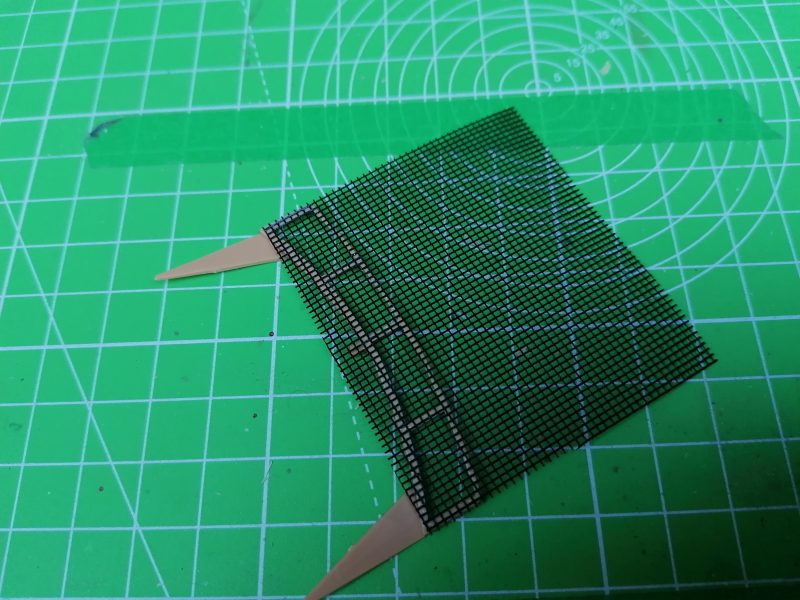
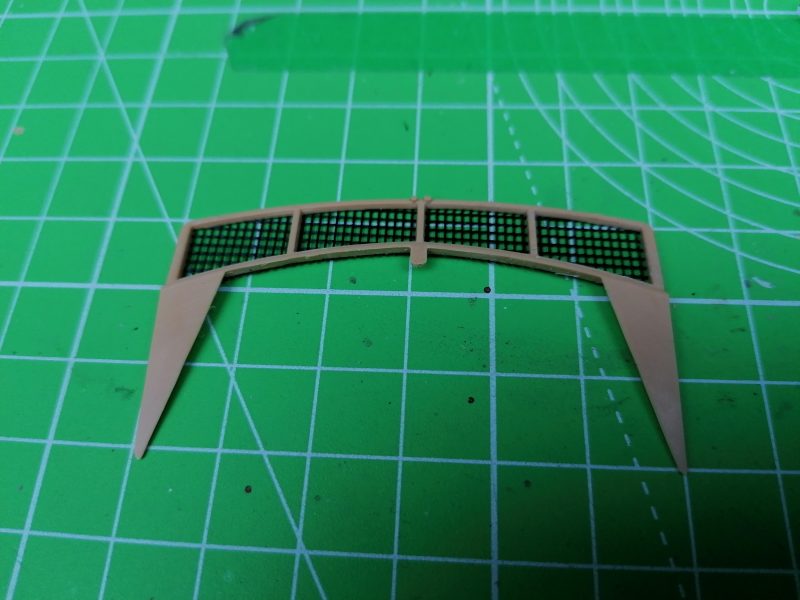
Making The Cargo Cage

The next part of the build is the stowage cage, on this occasion I have stuck the mesh down before cutting it. I have to be honest so far this seems to have work pretty well.

Sticking The Scale Model Mesh To The Underside Of The Cargo Cage
Sticking The Scale Model Mesh To The Underside Of The Cargo Cage.
Trimmed The Excess Mesh From The Base Of The Stowage Cage
Trimmed The Excess Mesh From The Base Of The Stowage Cage.

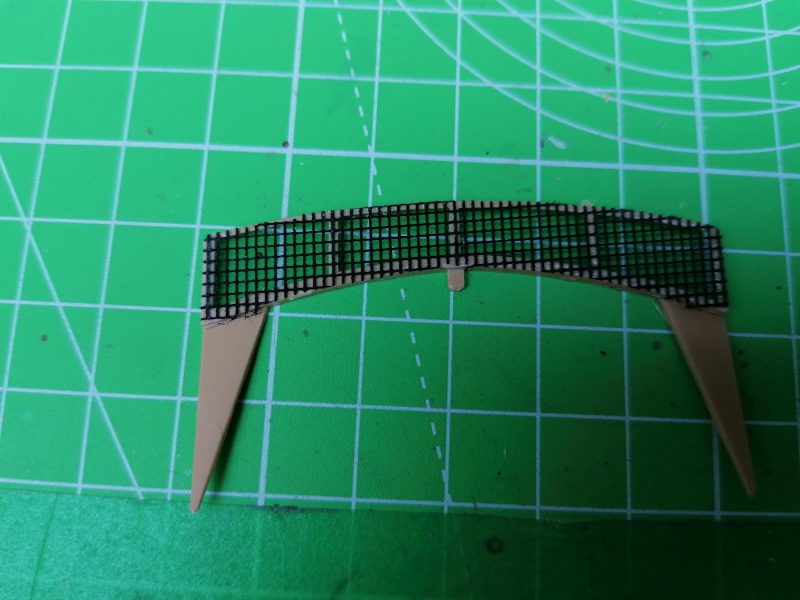
After some neatening up the cage is looking very nice, I might use this technique instead of cutting the mesh first on future builds.

The Base Of The Stowage Cage On The Tamiya 1/35th Israel Merkava Model Kit
The Base Of The Stowage Cage On The Tamiya 1/35th Israel Merkava Model Kit.

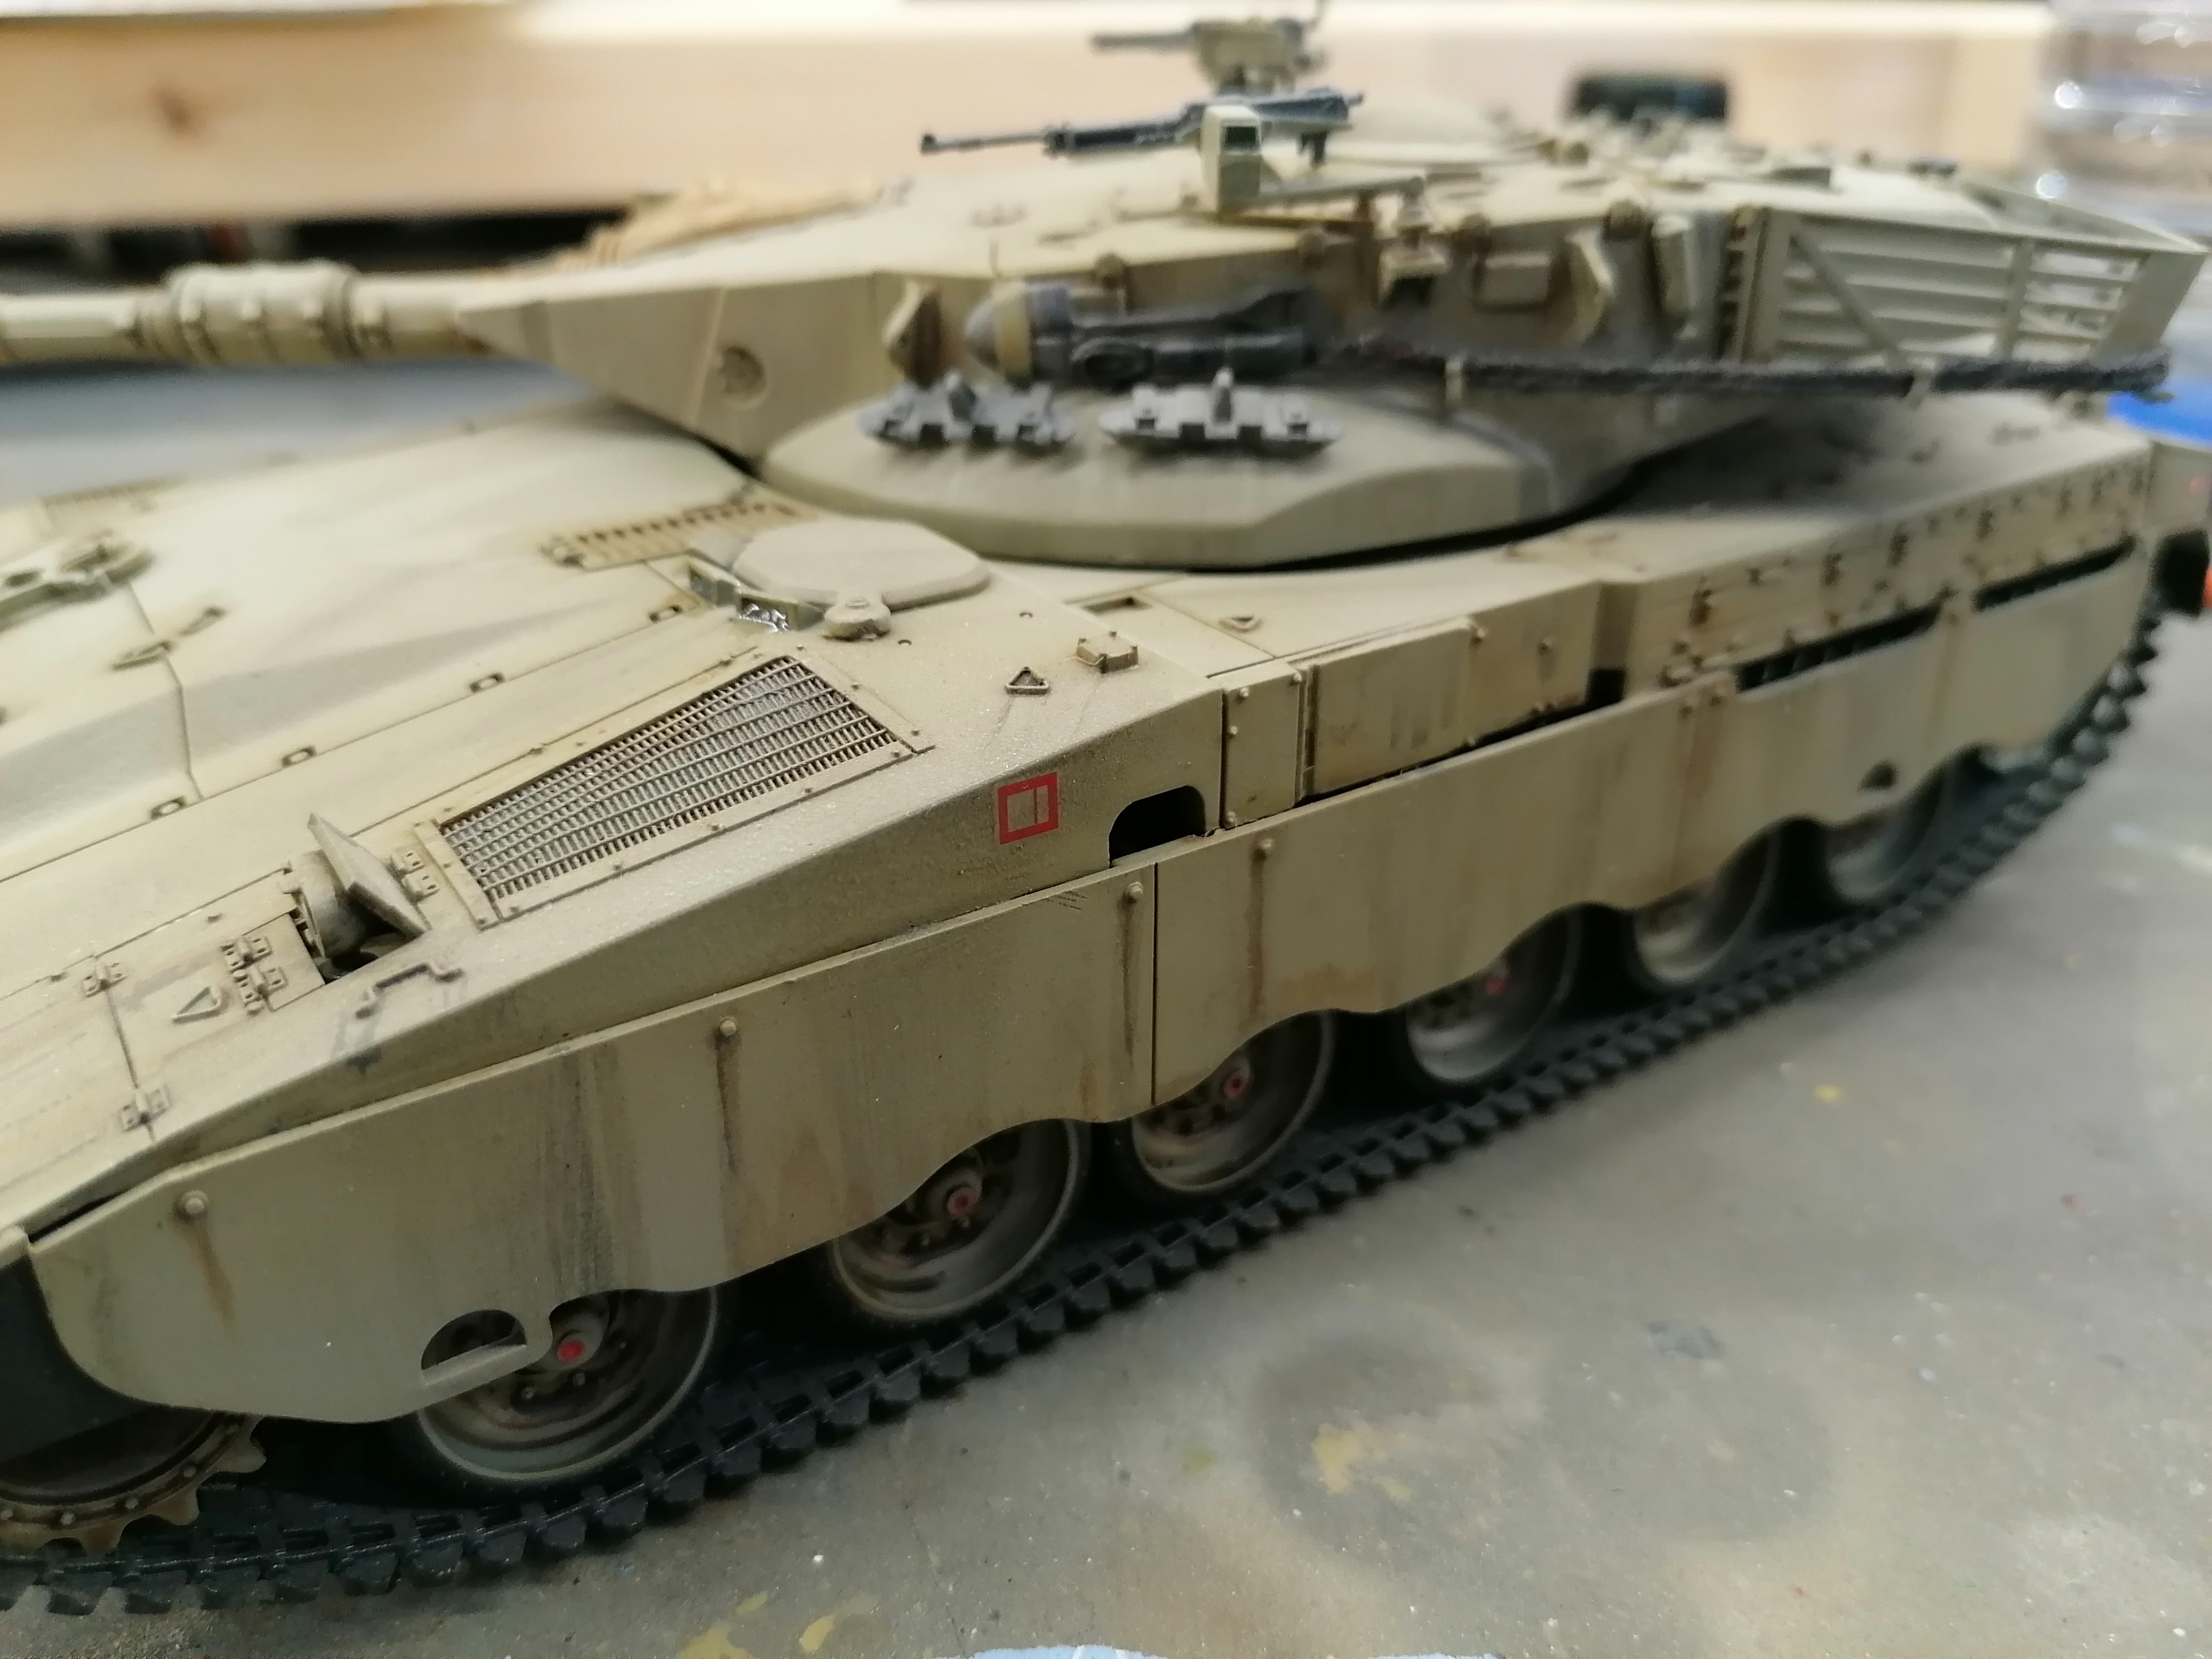
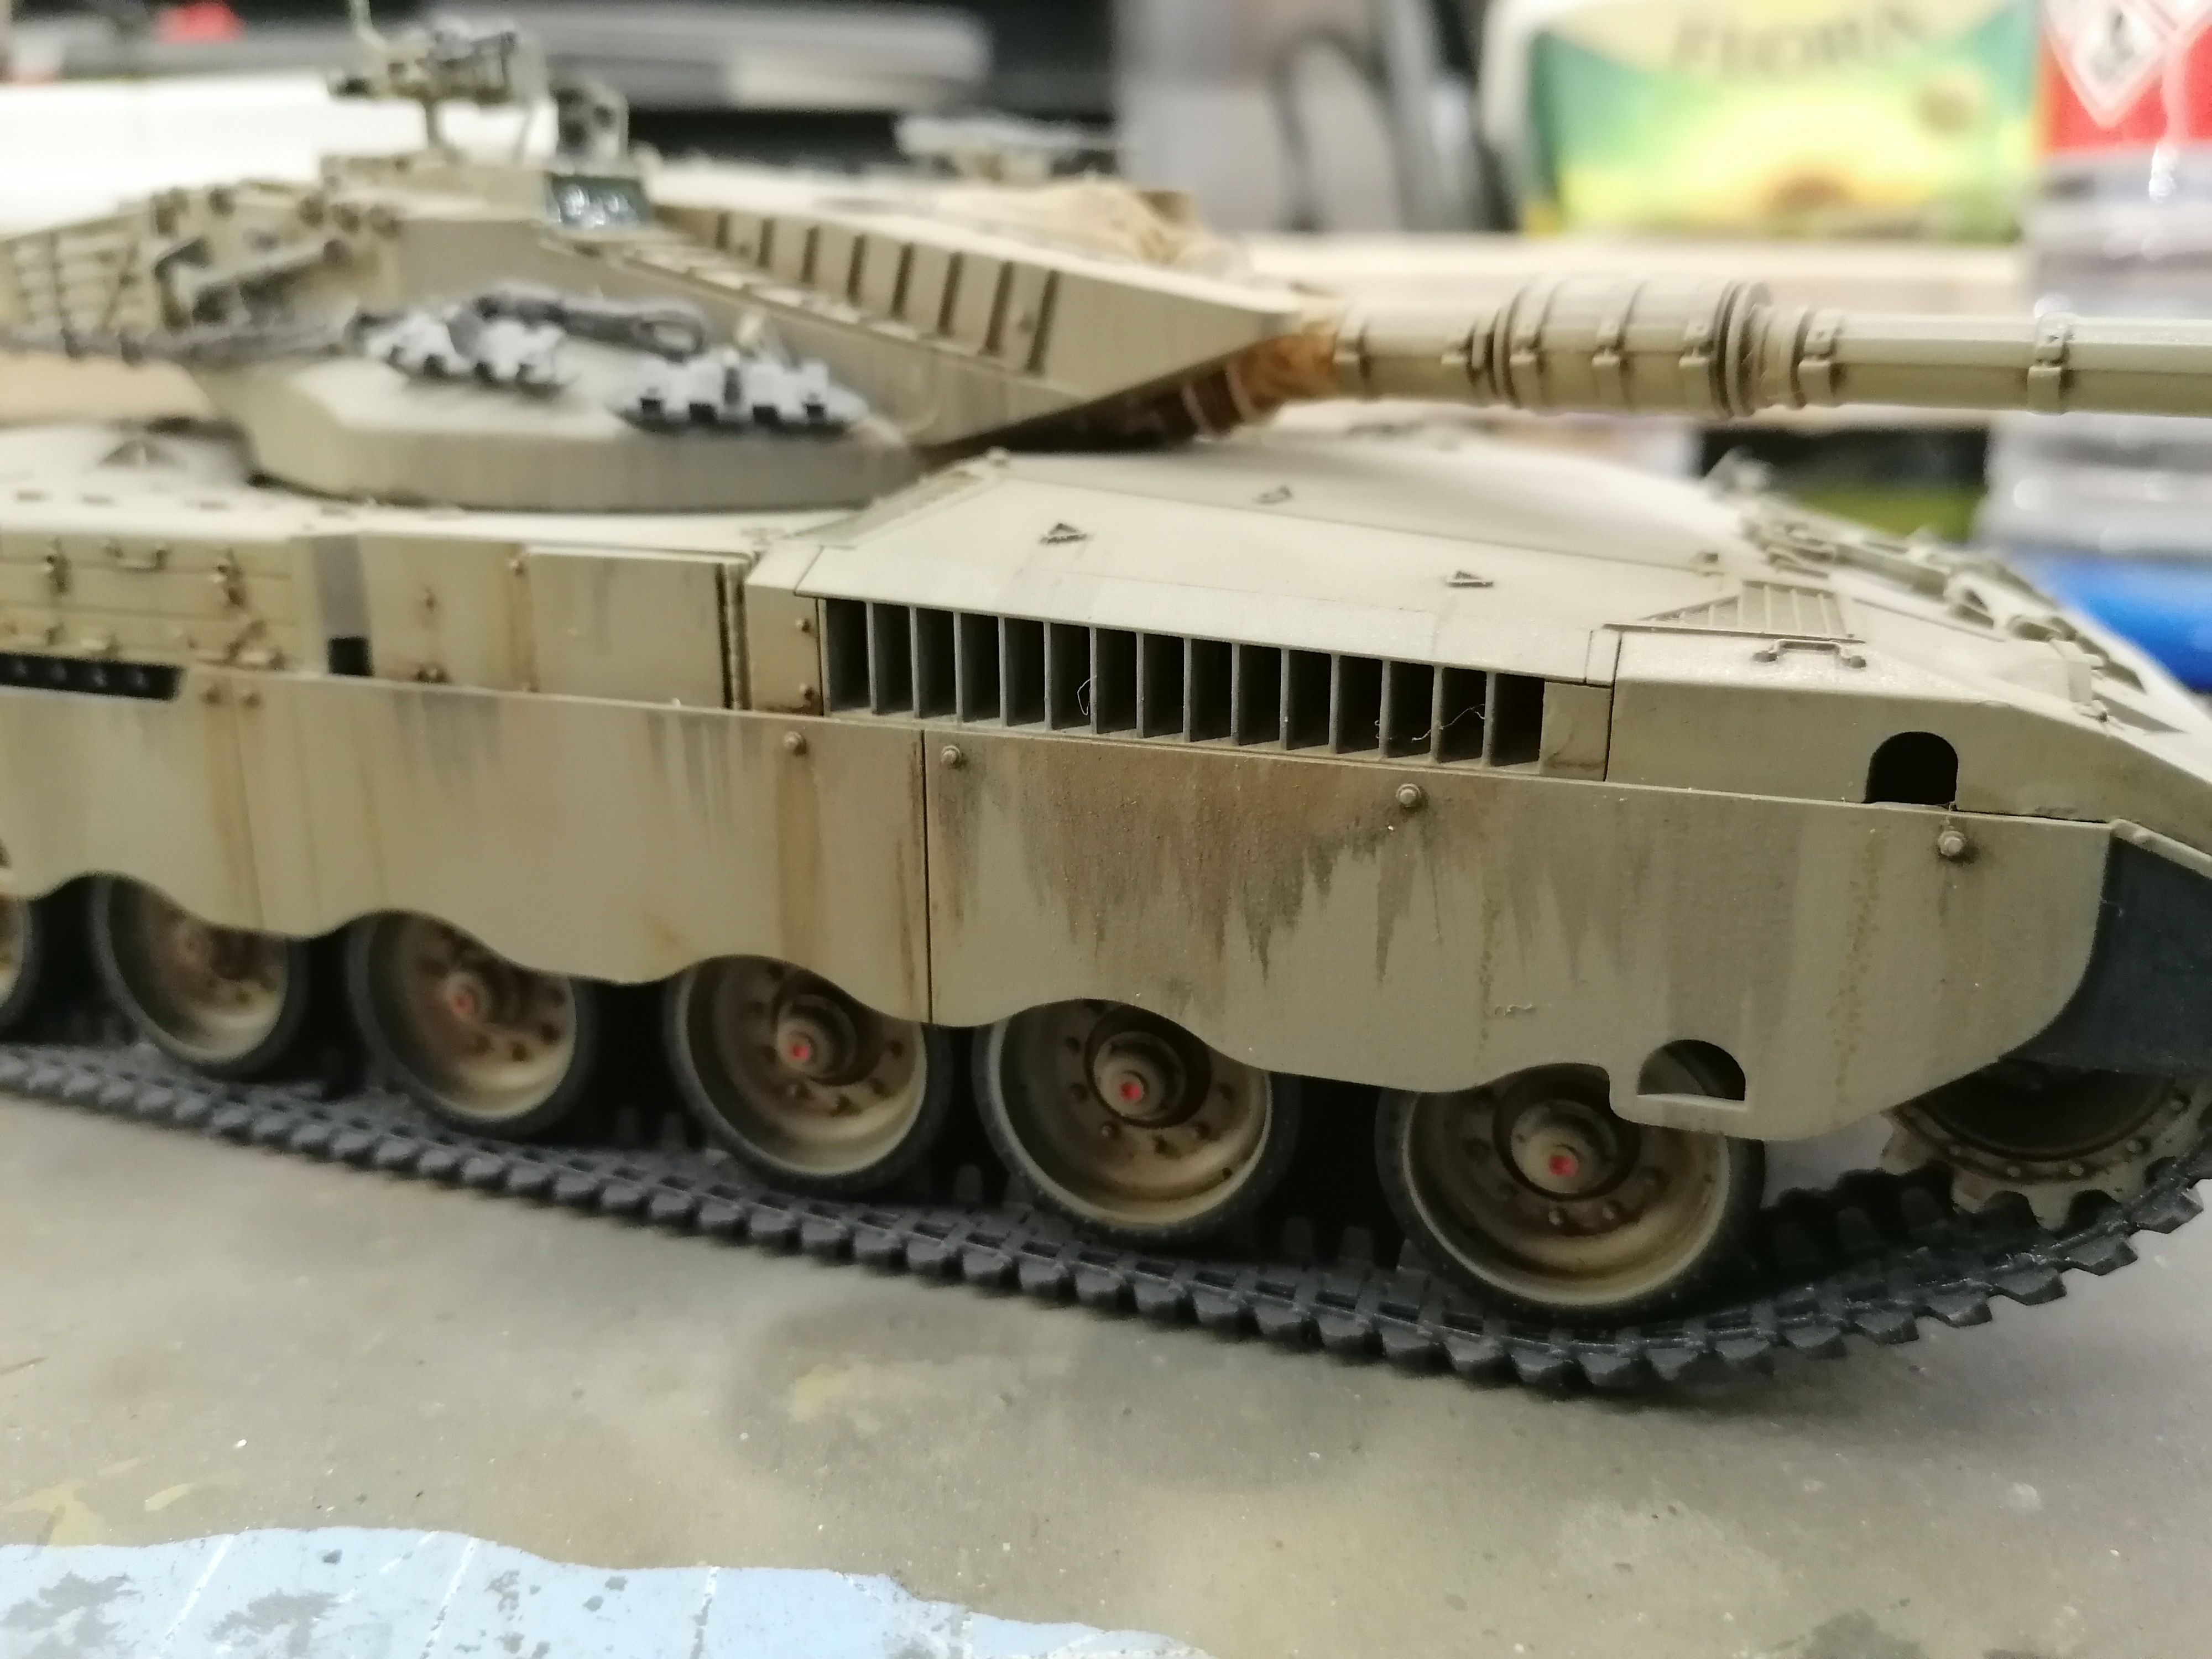
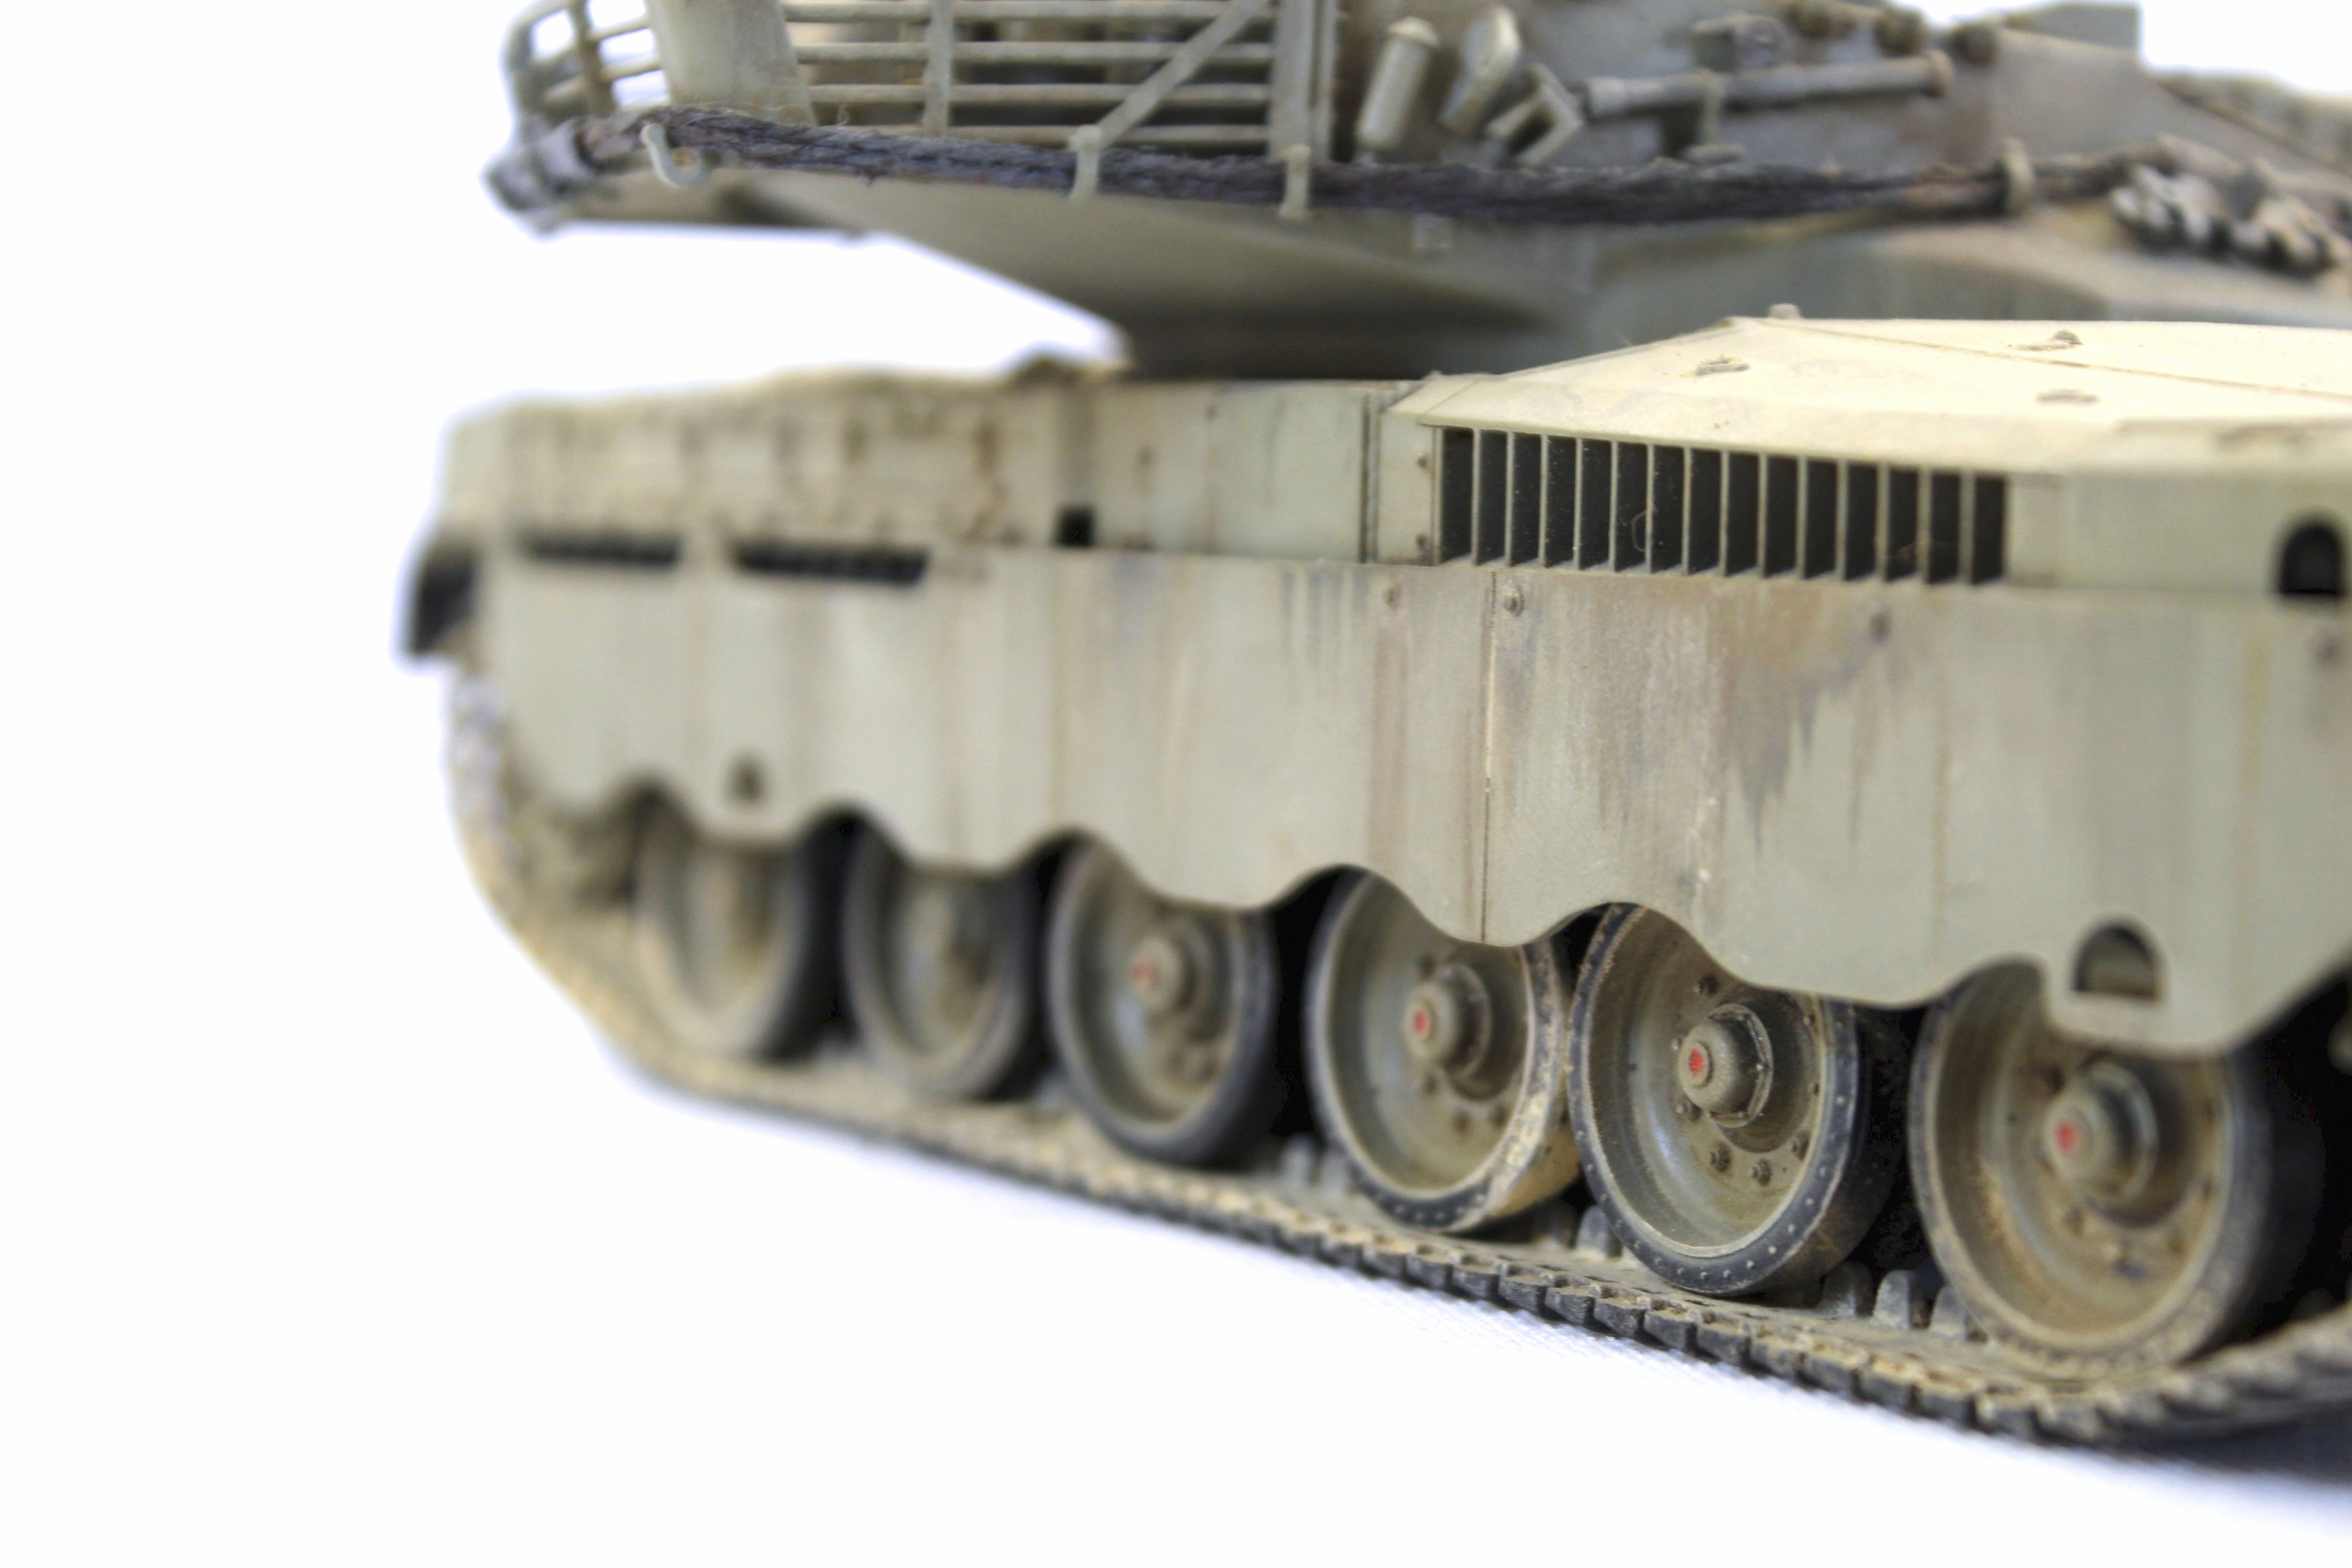
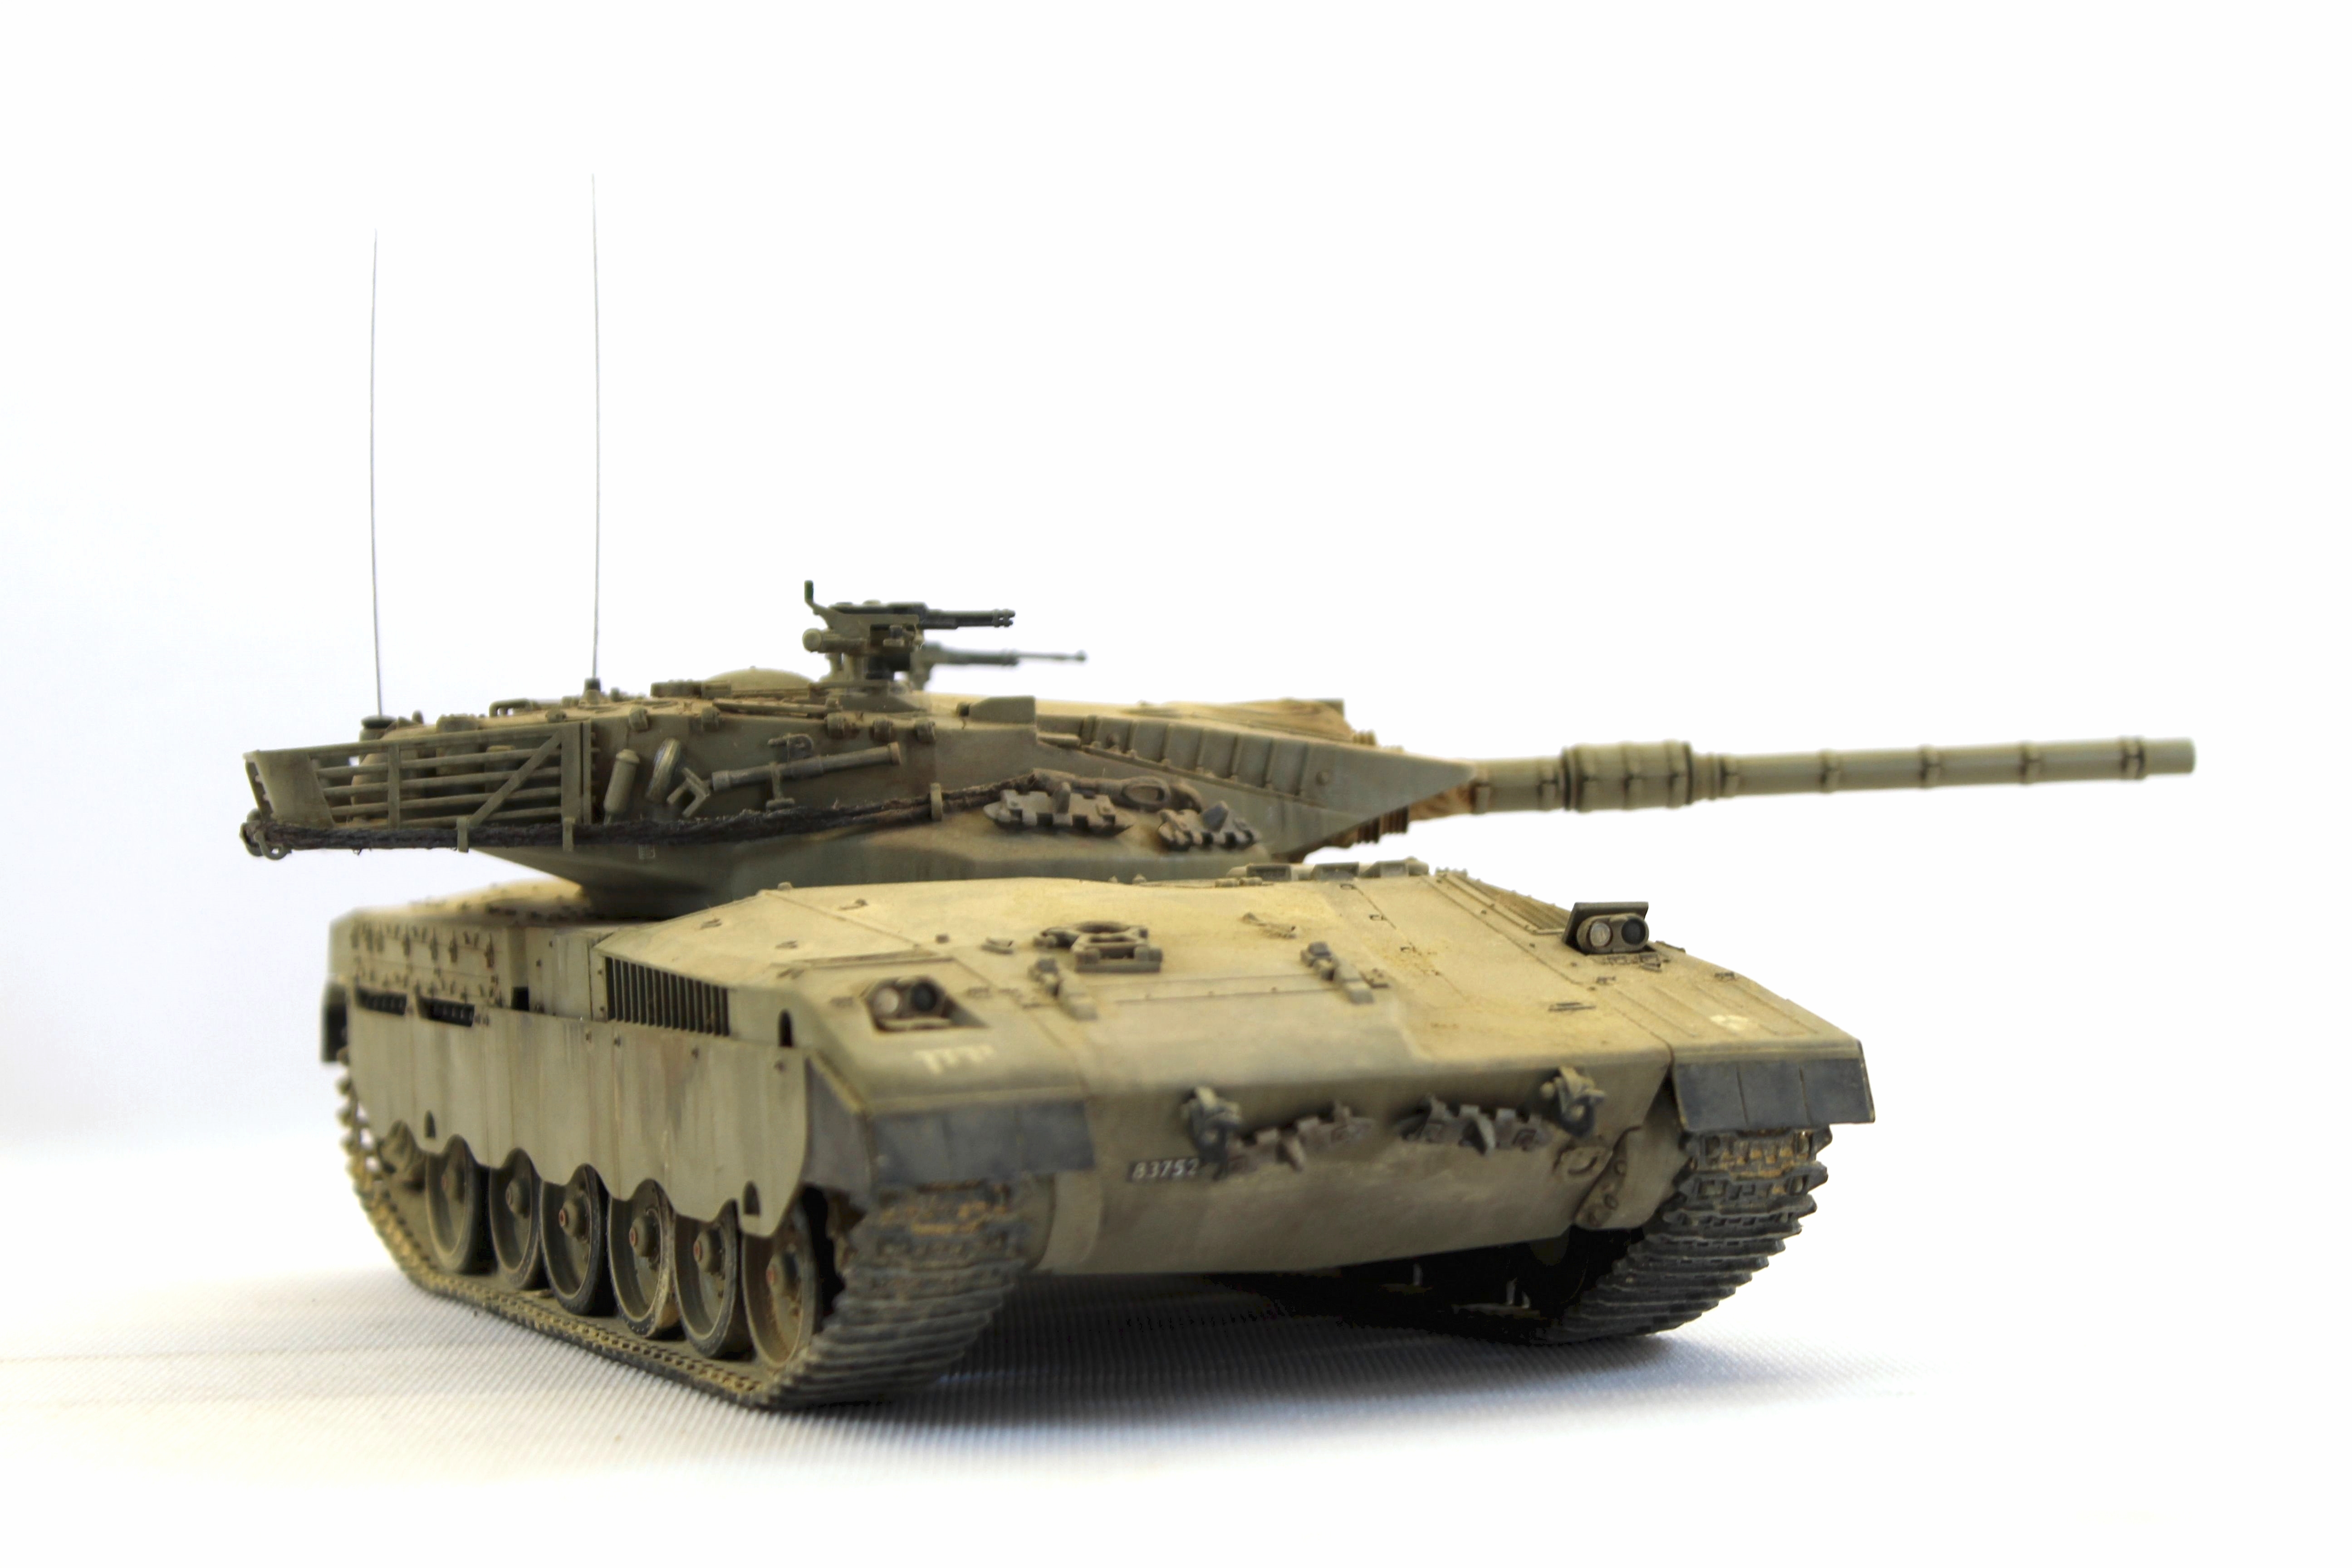
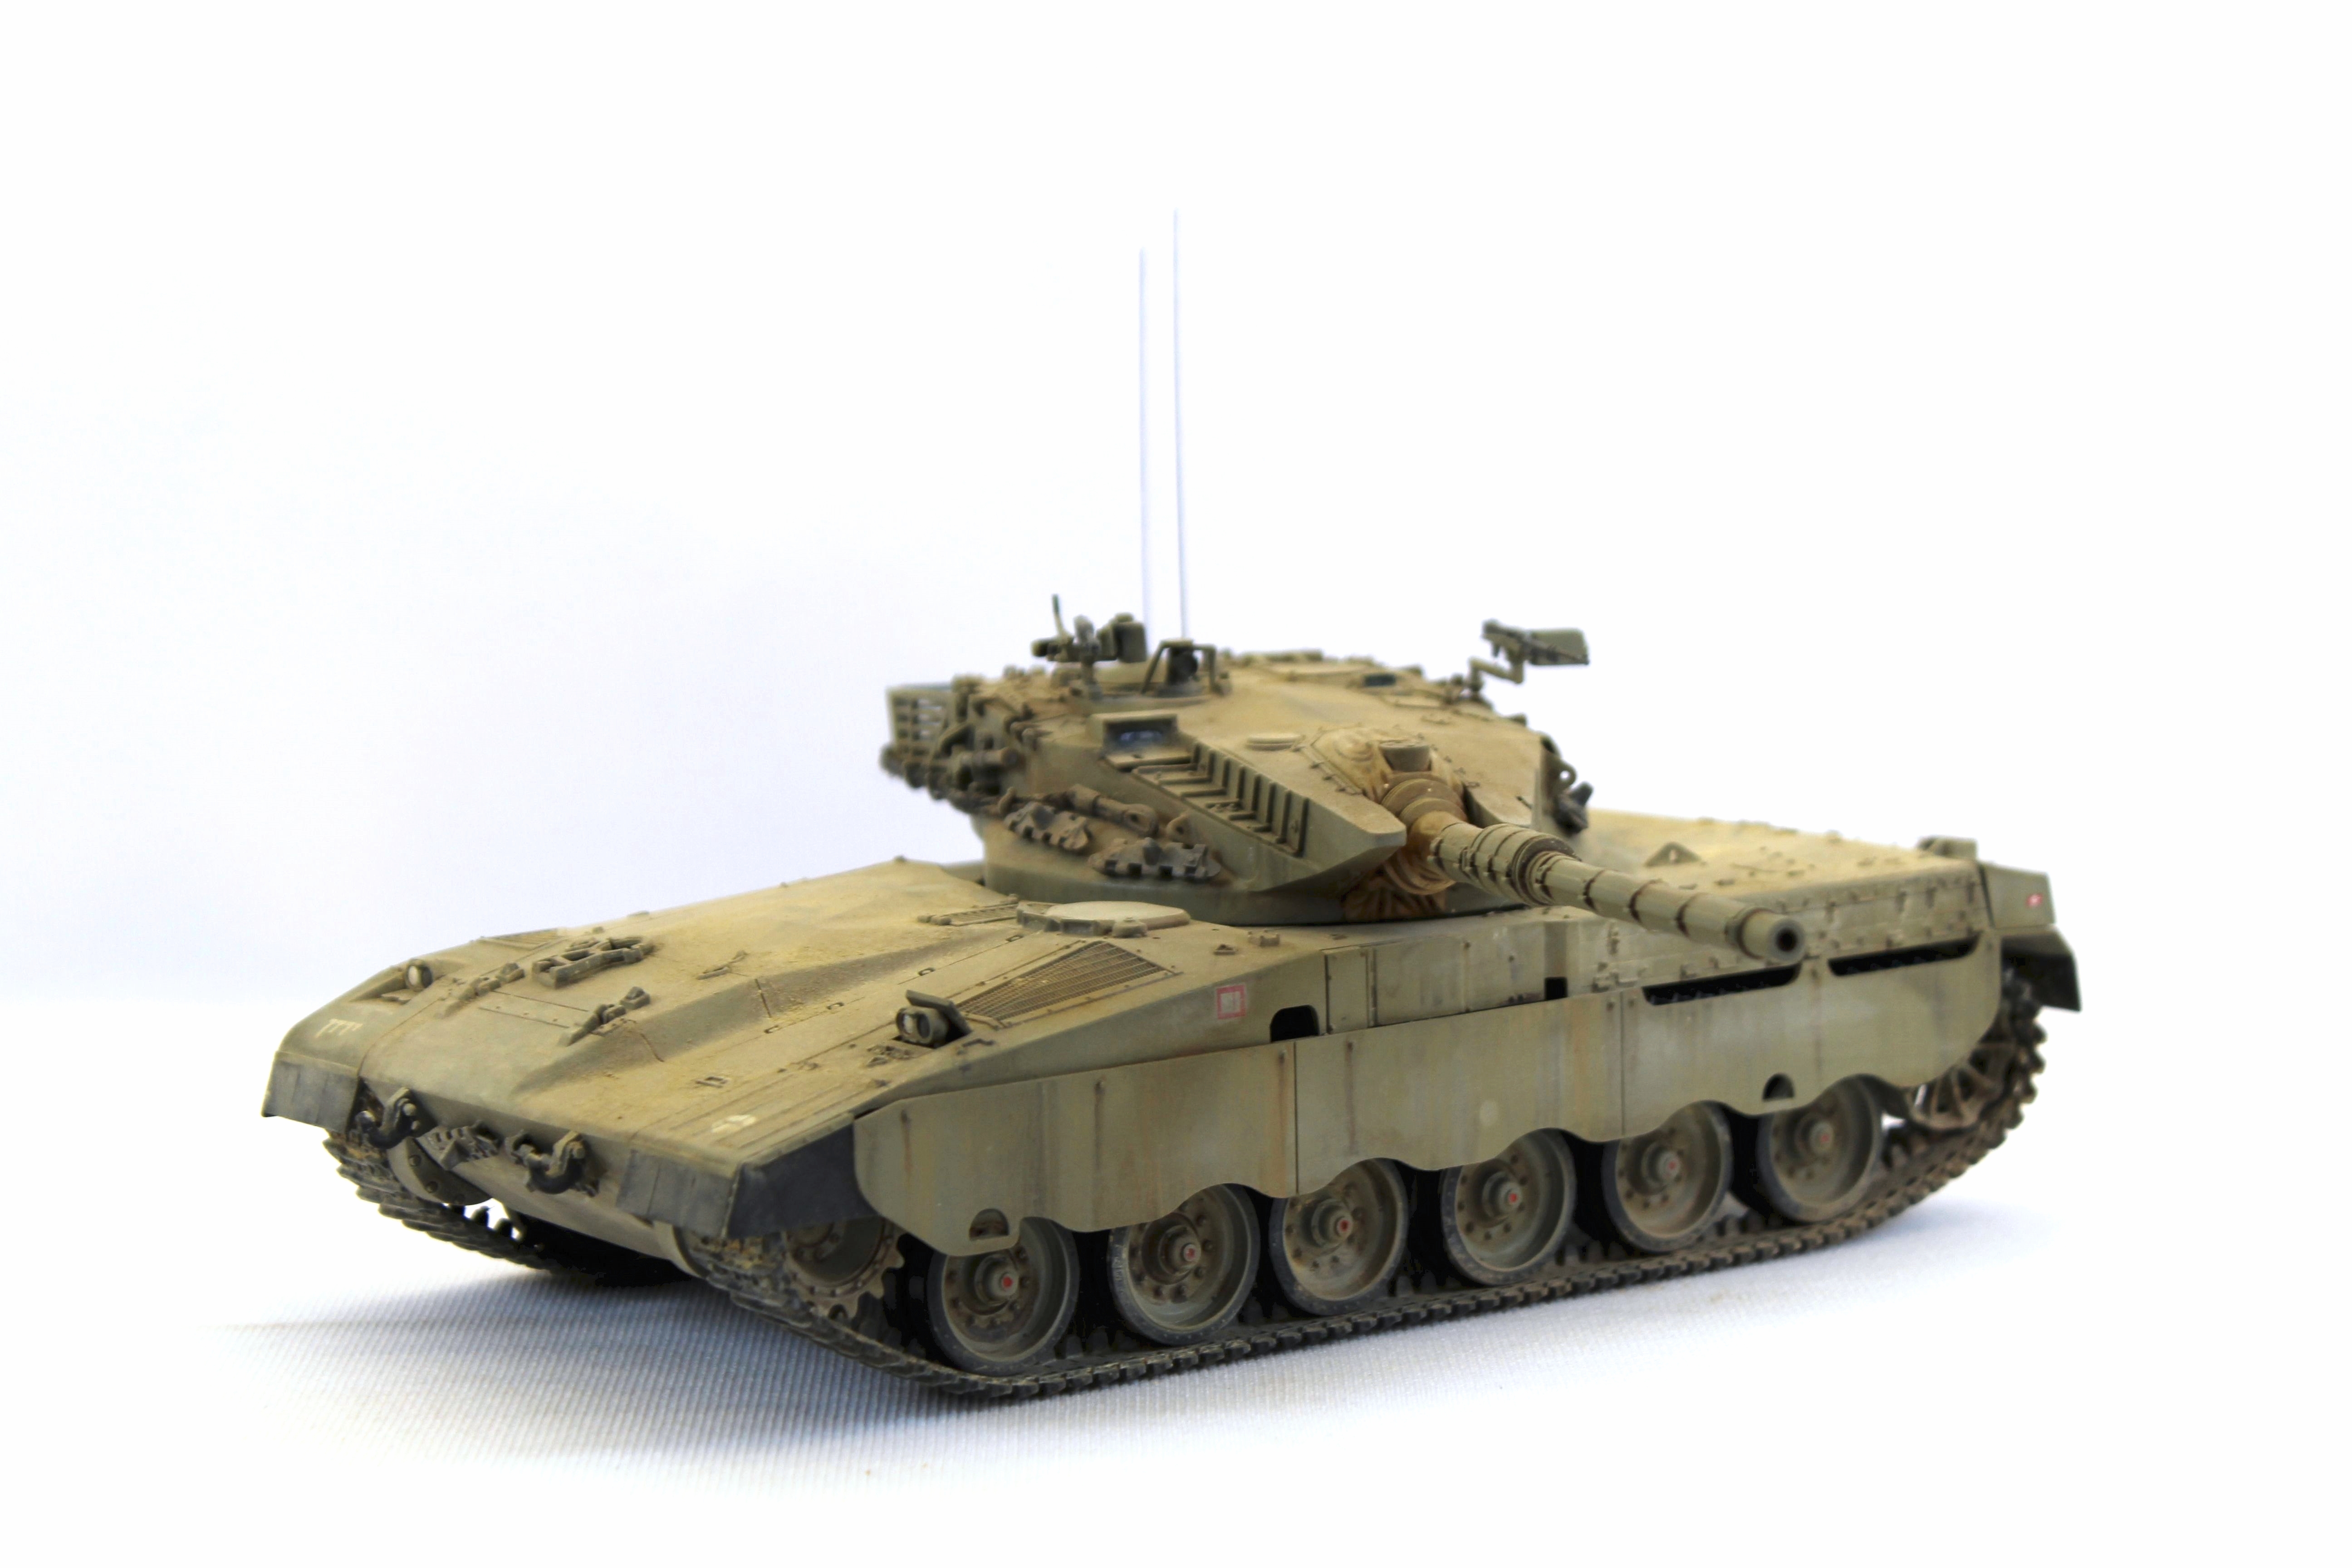
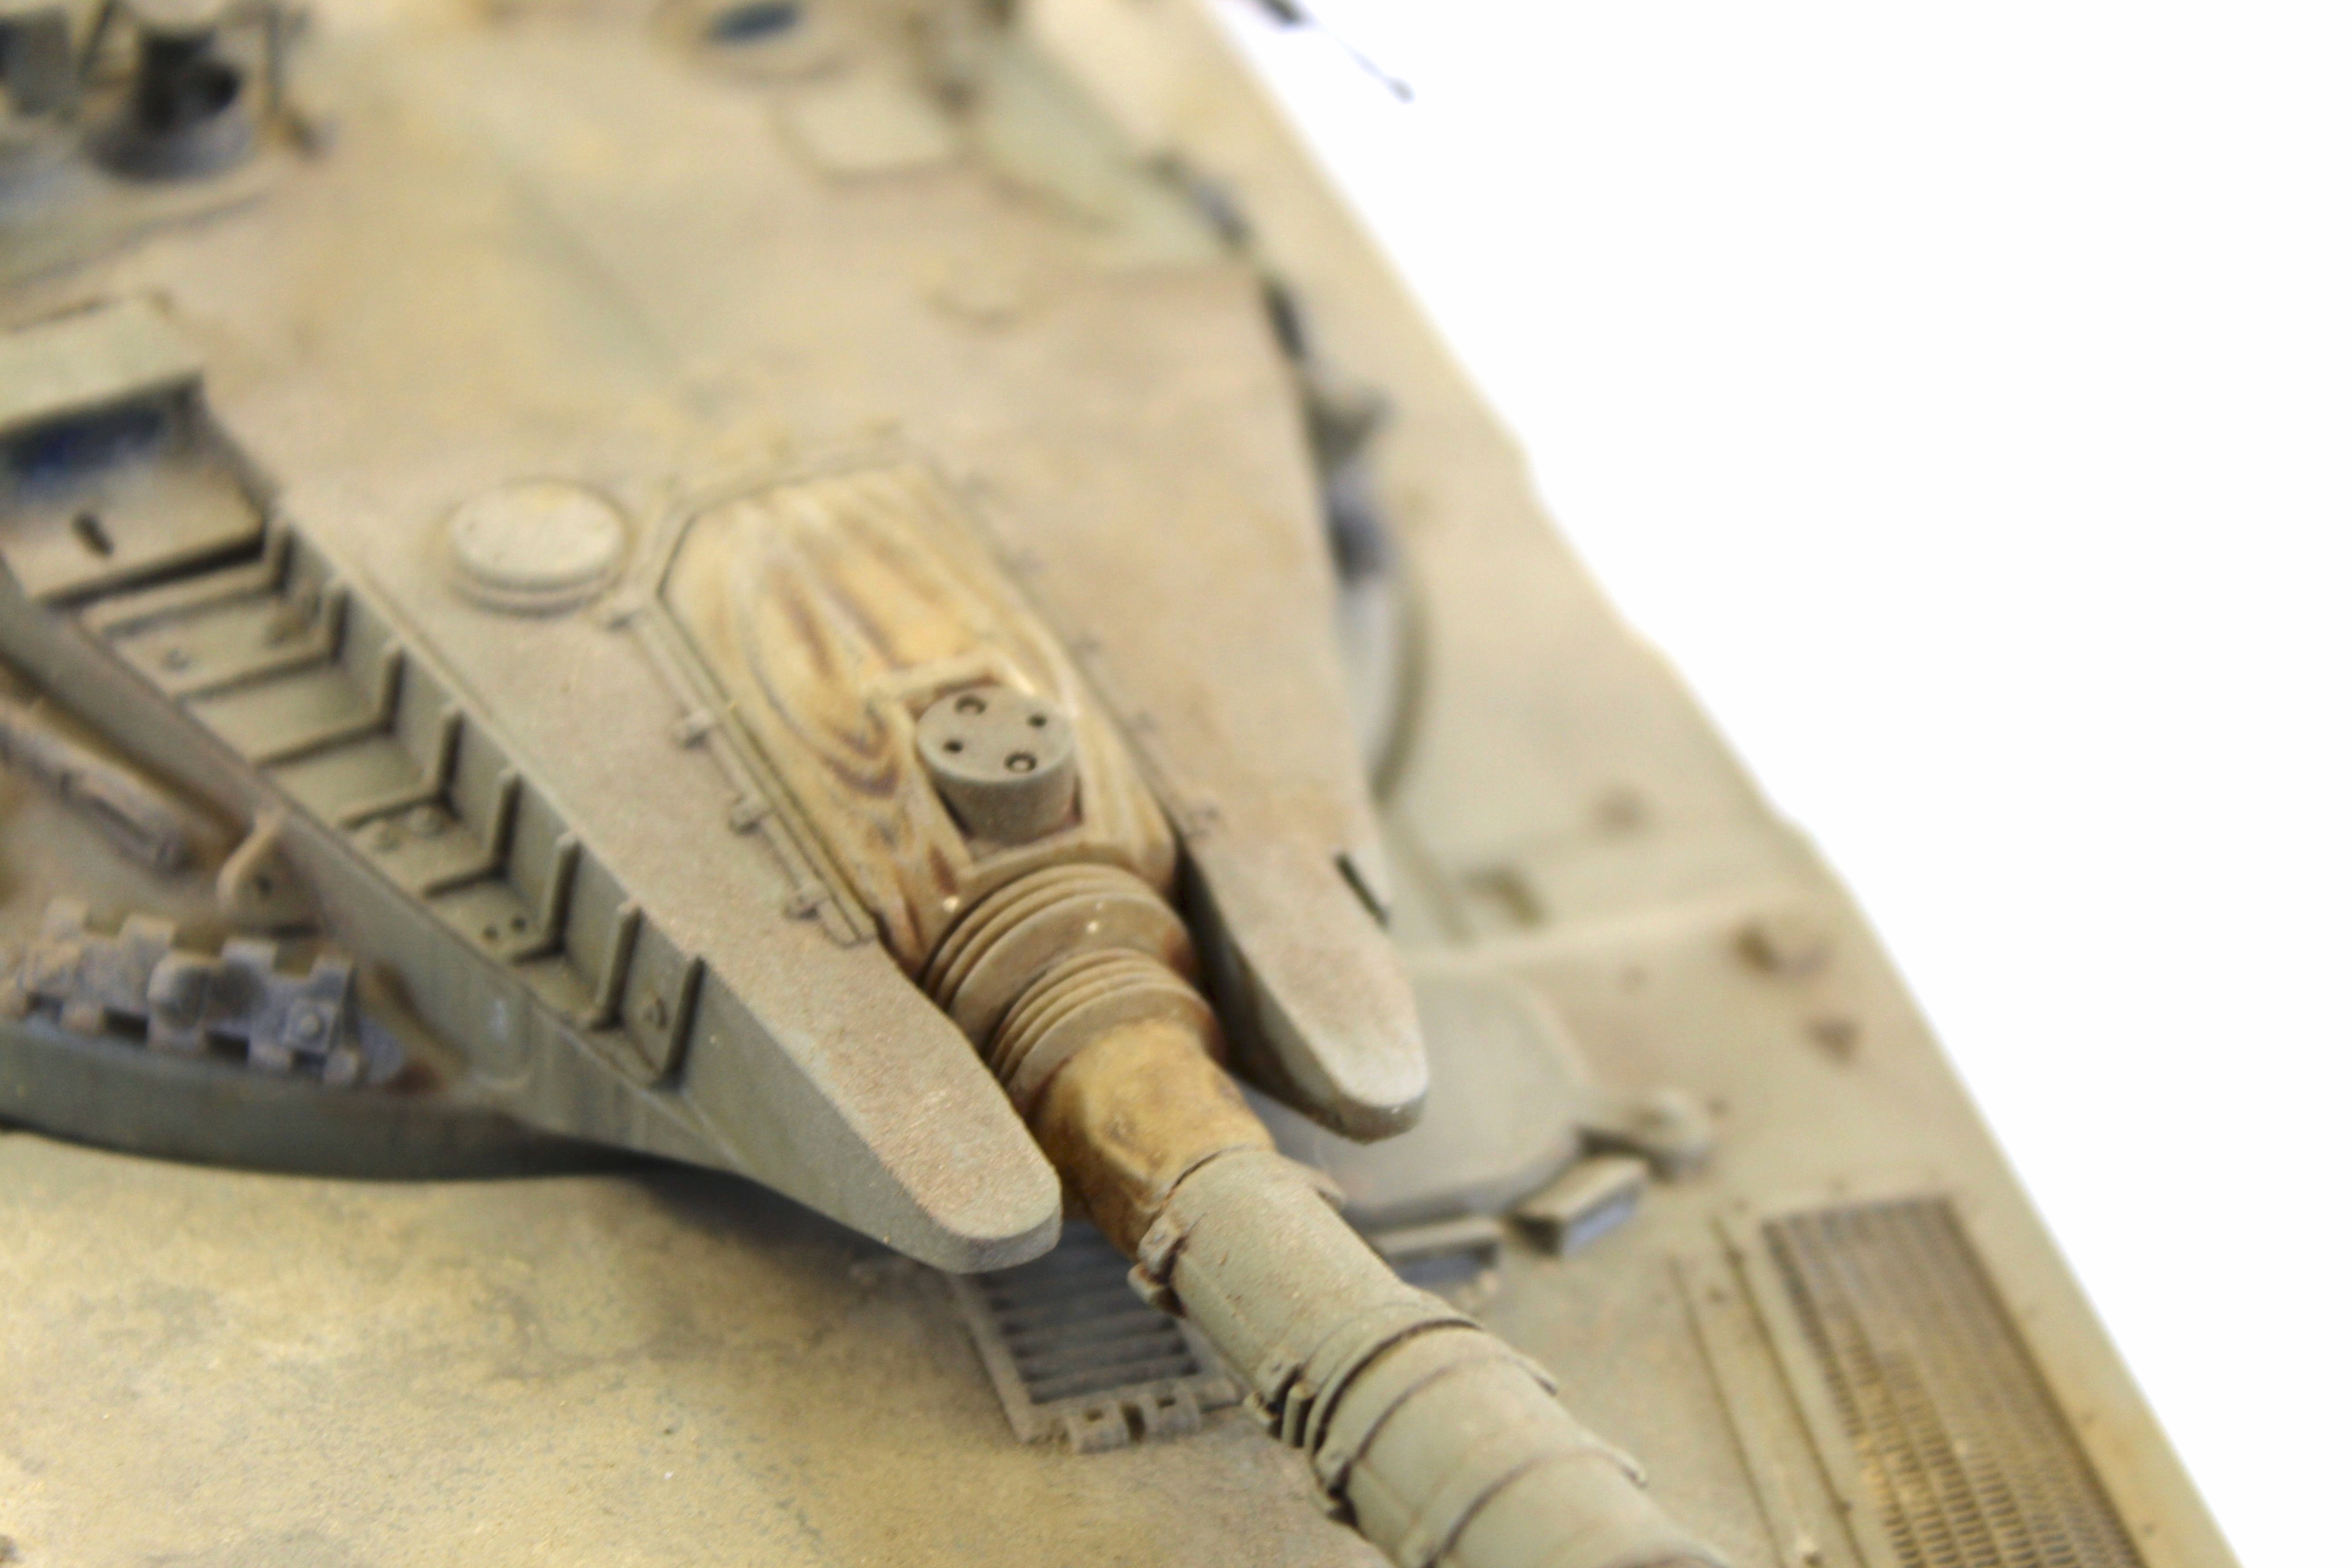
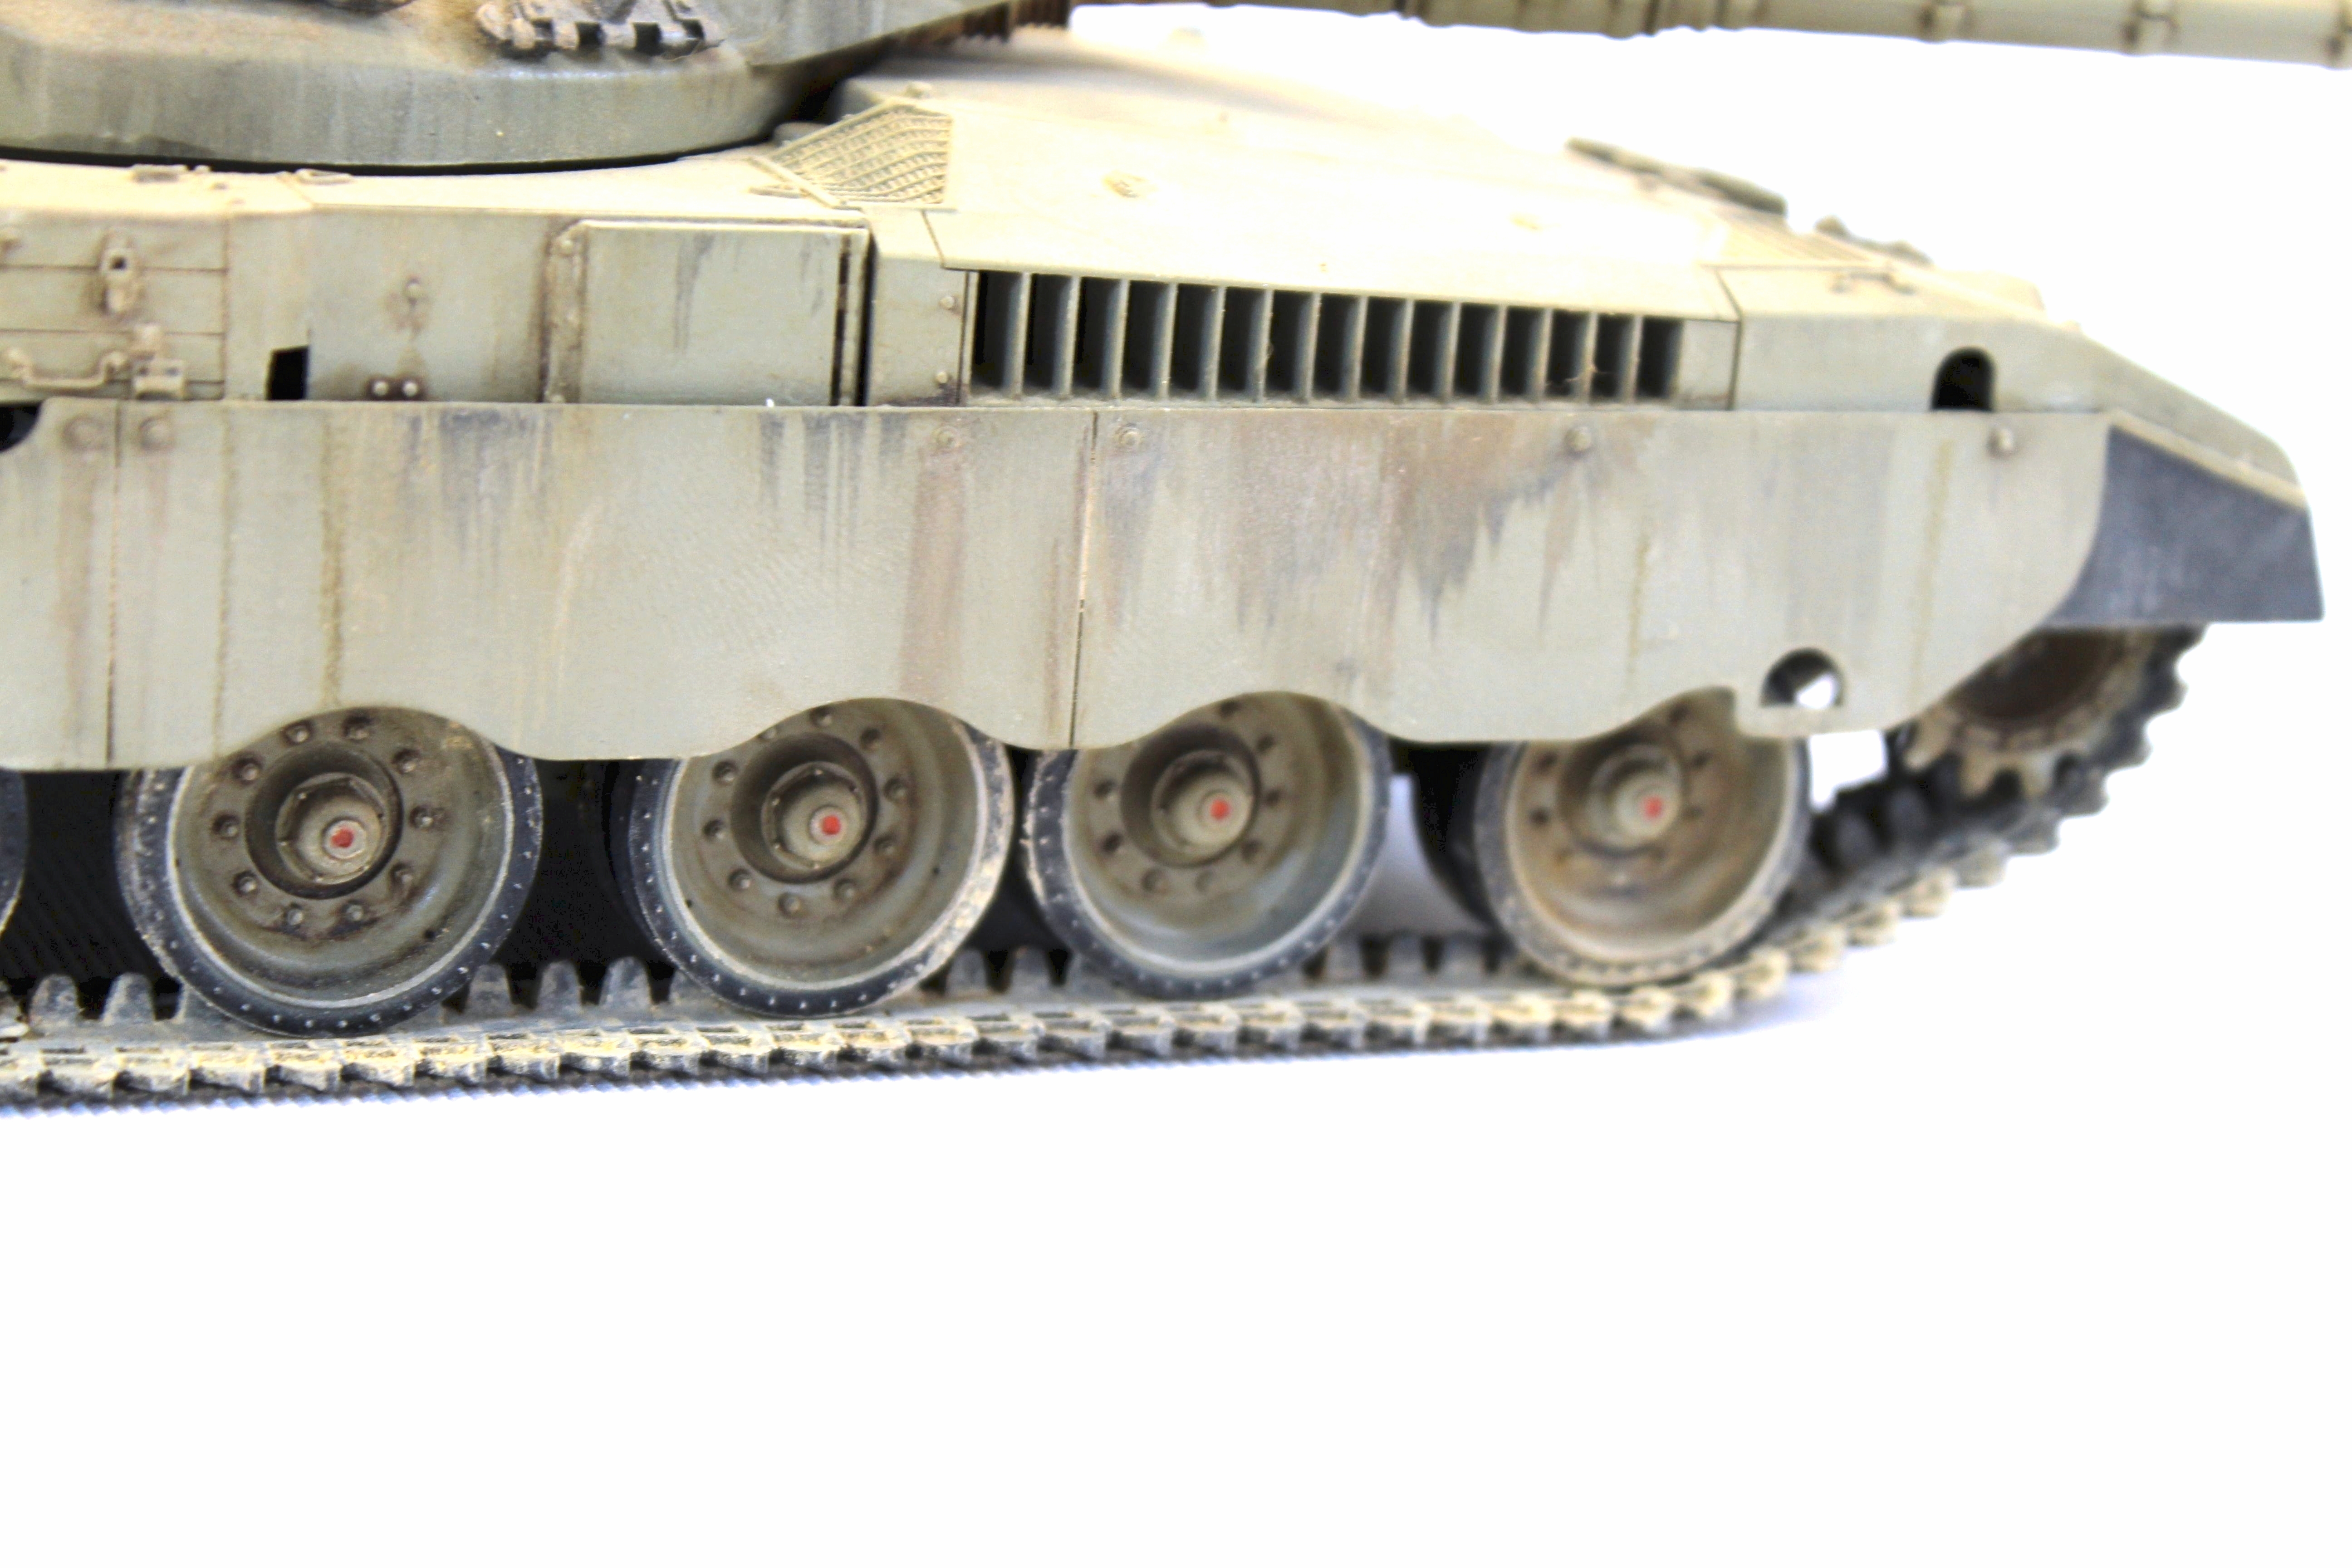
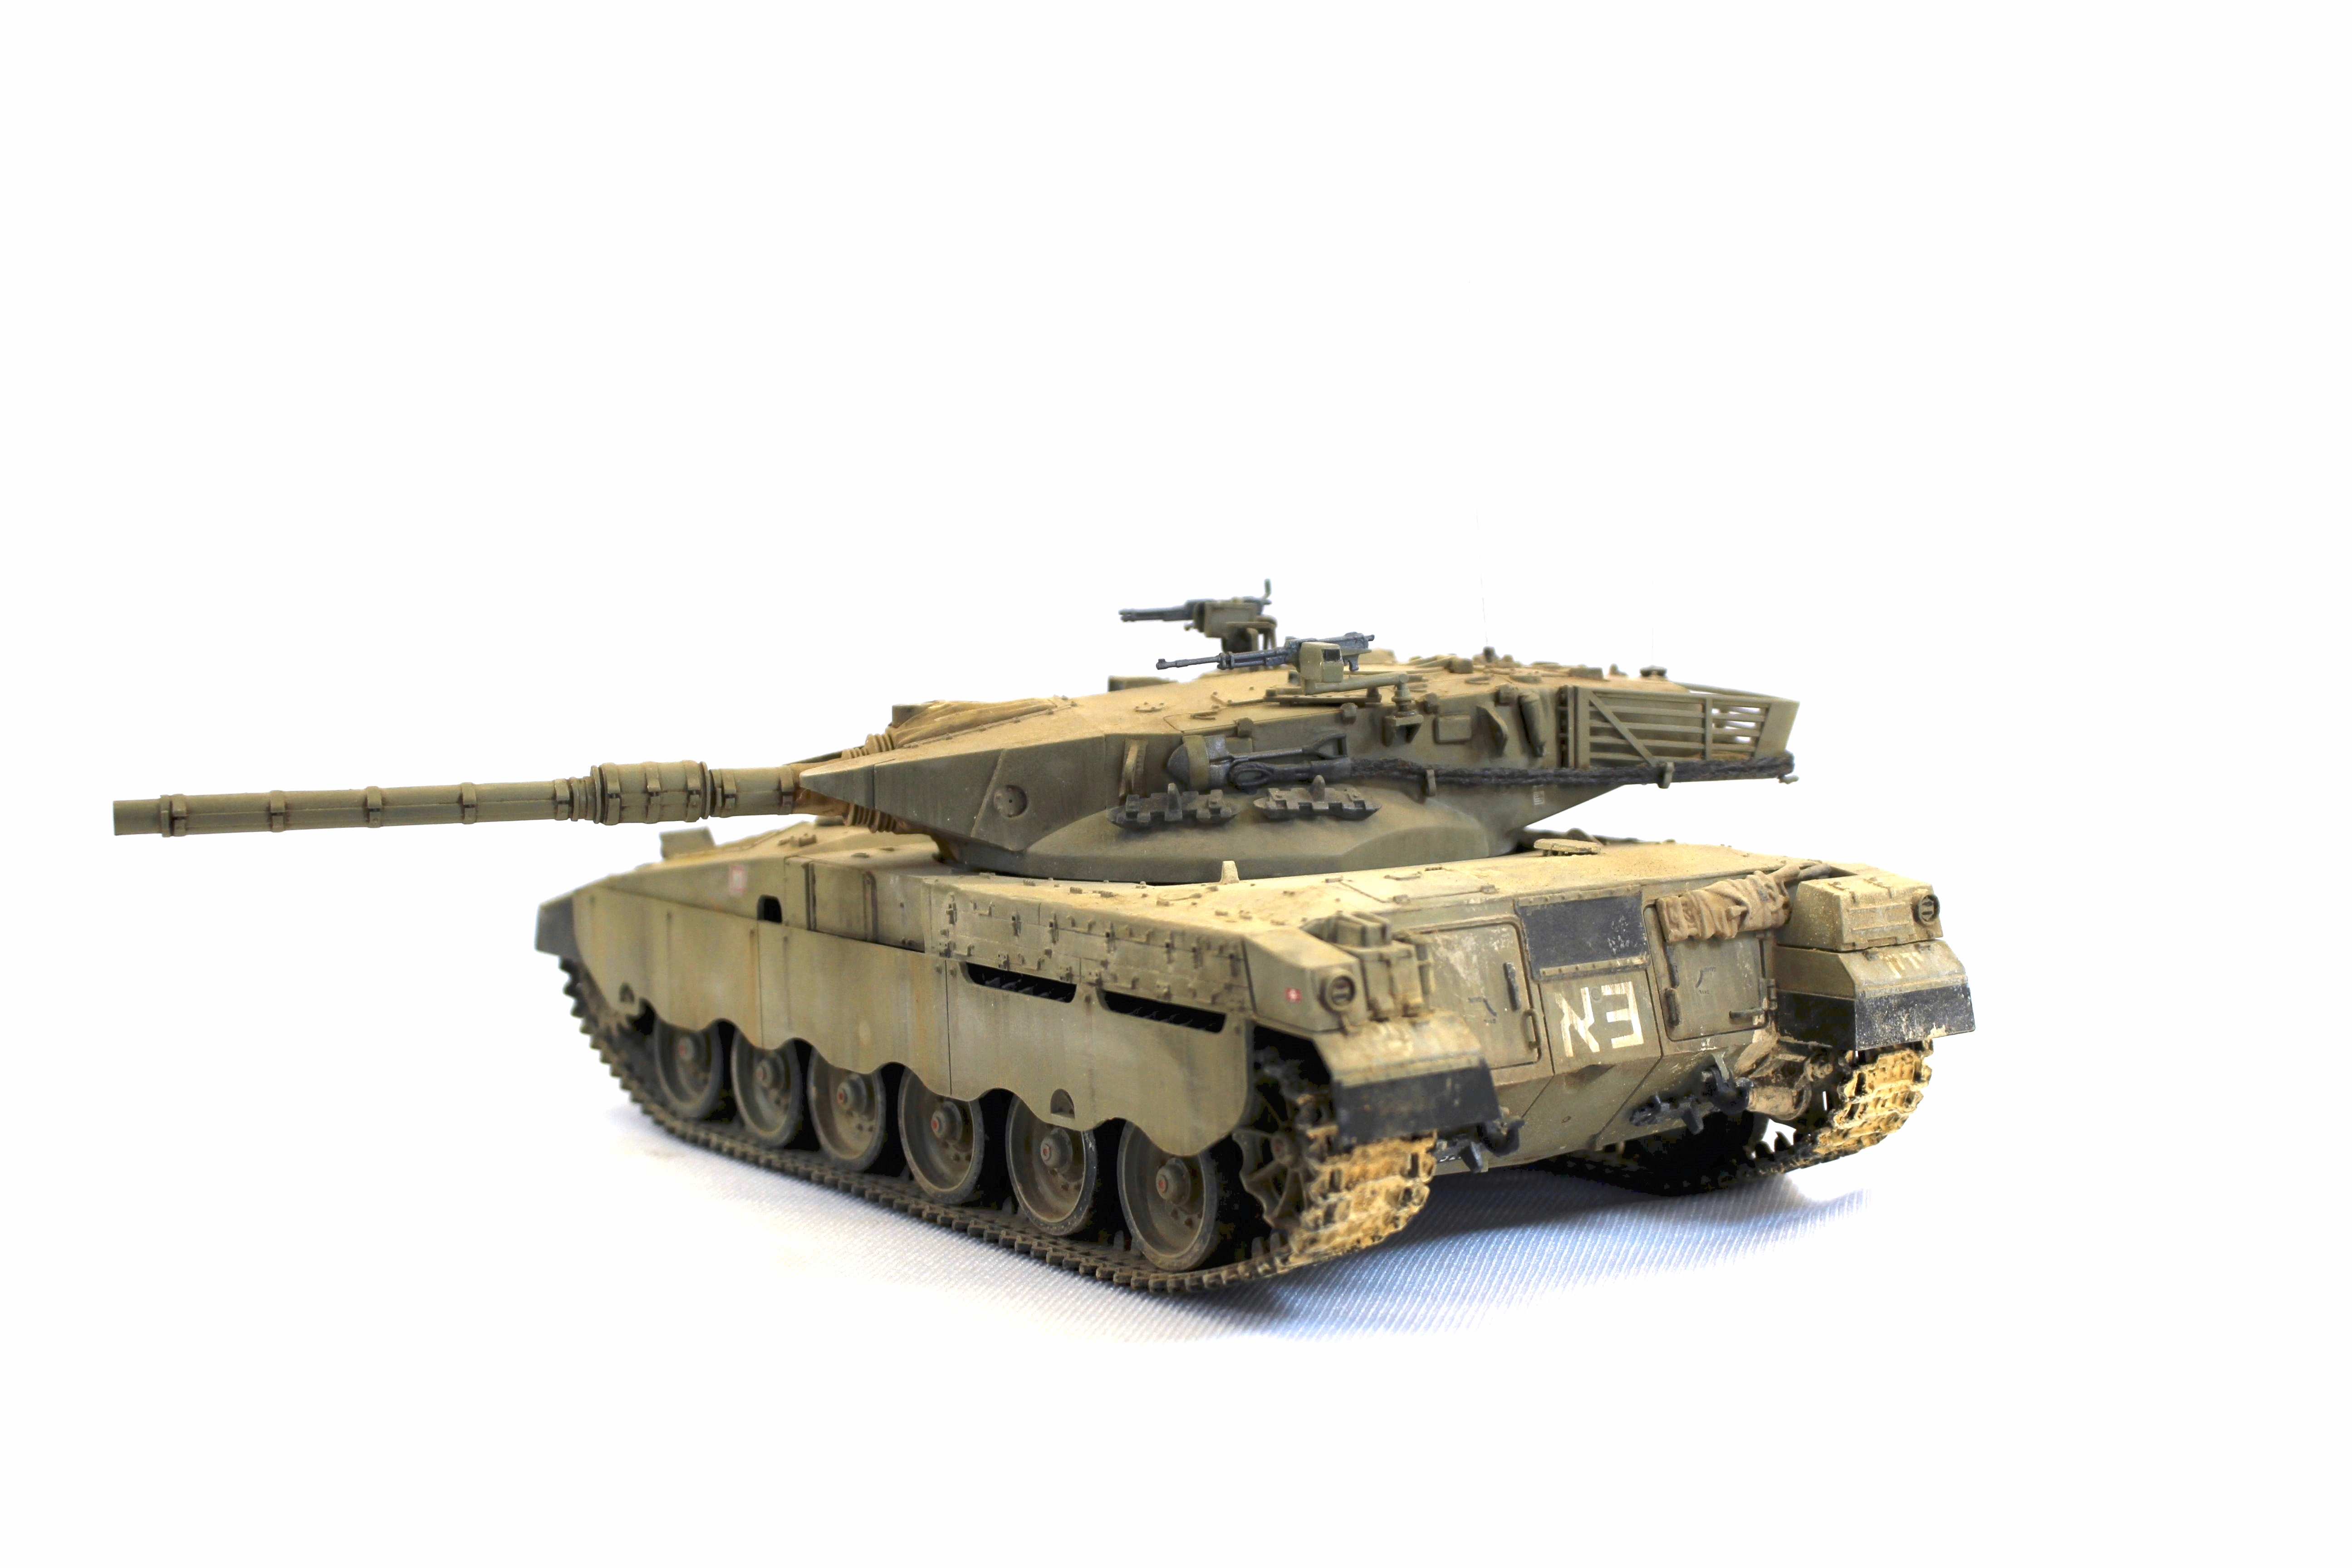
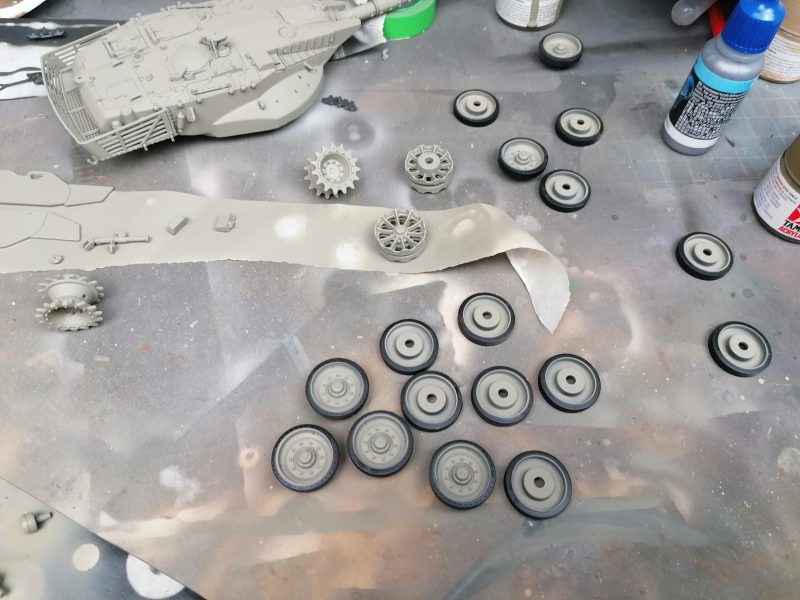
Painting And Weathering The Tamiya 1/35th Israel Merkava Scale Model

Mixing The Colour For The IDF Merkava Tank
Mixing The Colour For The IDF Merkava Tank.

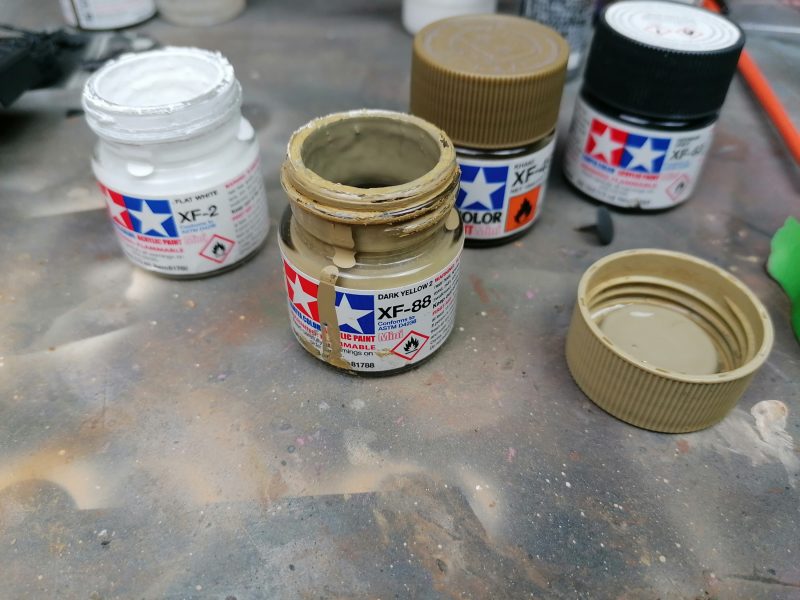
After all my research ONLINE I found that the paint colour for the IDF was a bit more green than the desert sand Colour I have. Hence I will be mixing my own paint for this model tank.

First Coat Of The Paint Mix On The Merkava Model Kit From Tamiya
First Coat Of The Paint Mix On The Merkava Model Kit From Tamiya.
Tracks And Tools Ready For Painting
Tracks And Tools Ready For Painting.
Painting In Some Of The Detailed Parts Of The Model Tank
Painting In Some Of The Detailed Parts Of The Model Tank.

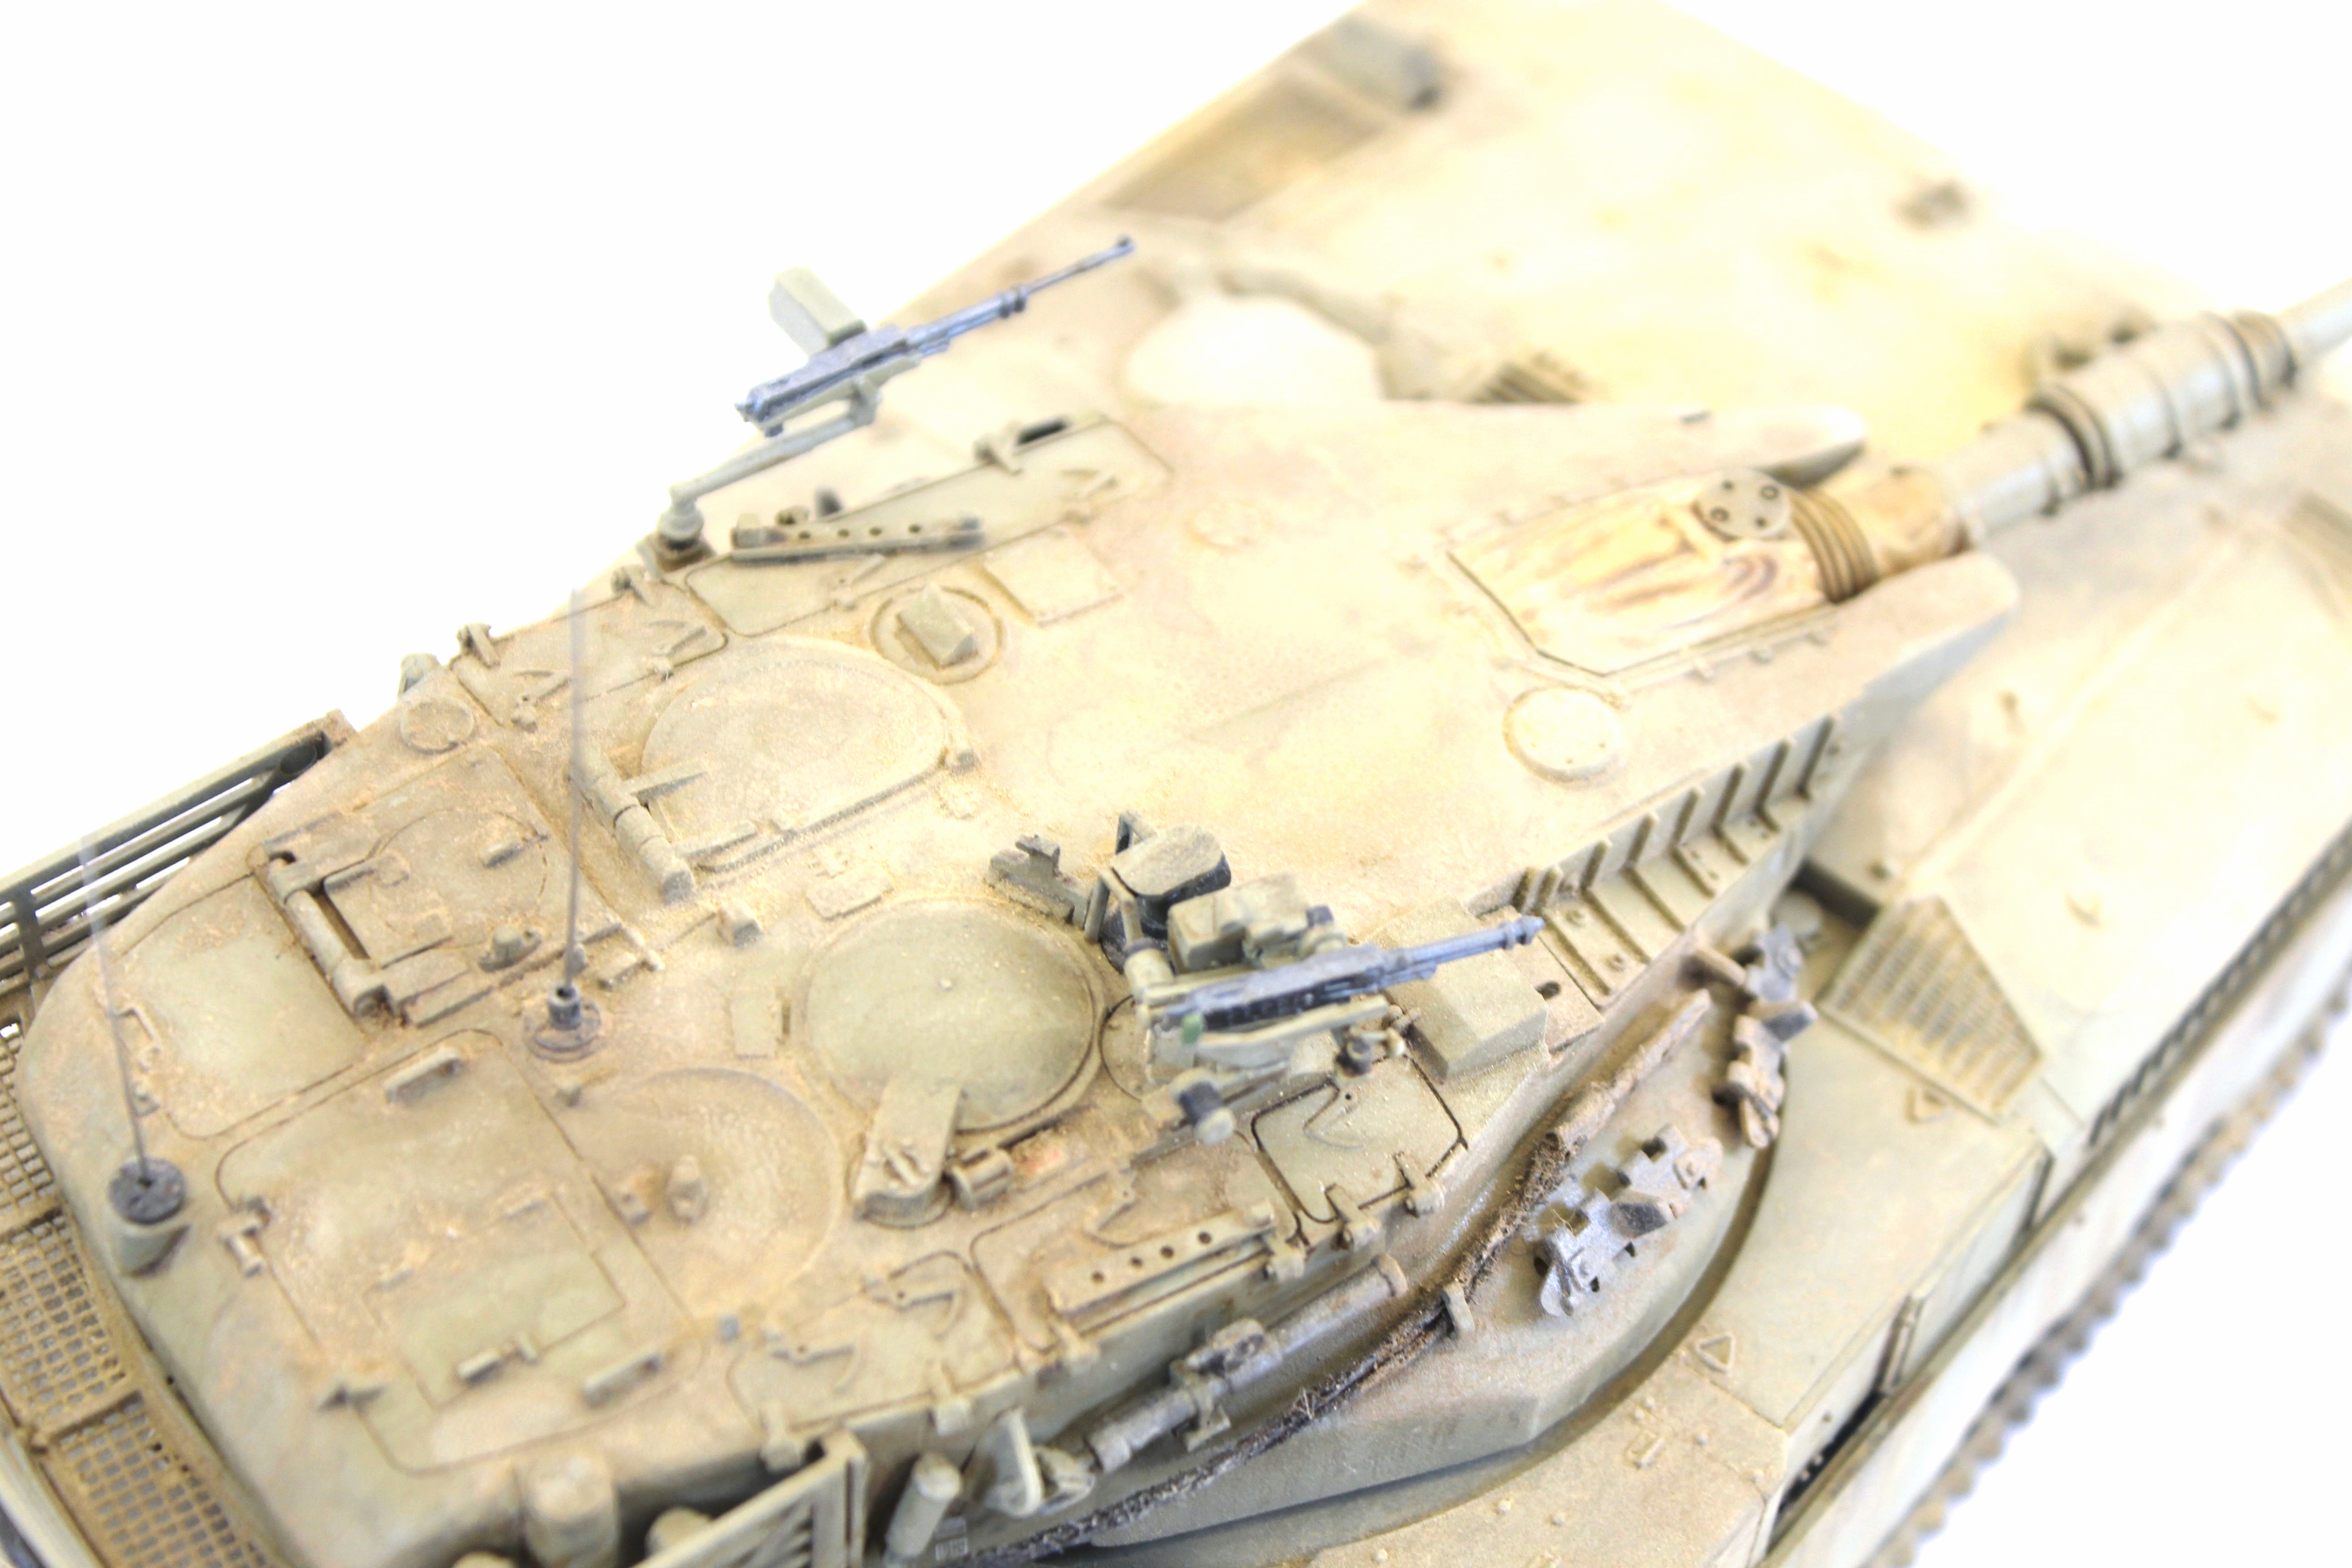
I have enjoyed some of the more fine detail painting work I have been doing on these model tanks. As a result I feel I have improved quite a bit, even so it’s still very easy to make a mistake.

The Gun Cover Ariel Mounts And Scope Painted On The The Turret
The Gun Cover Ariel Mounts And Scope Painted On The The Turret.

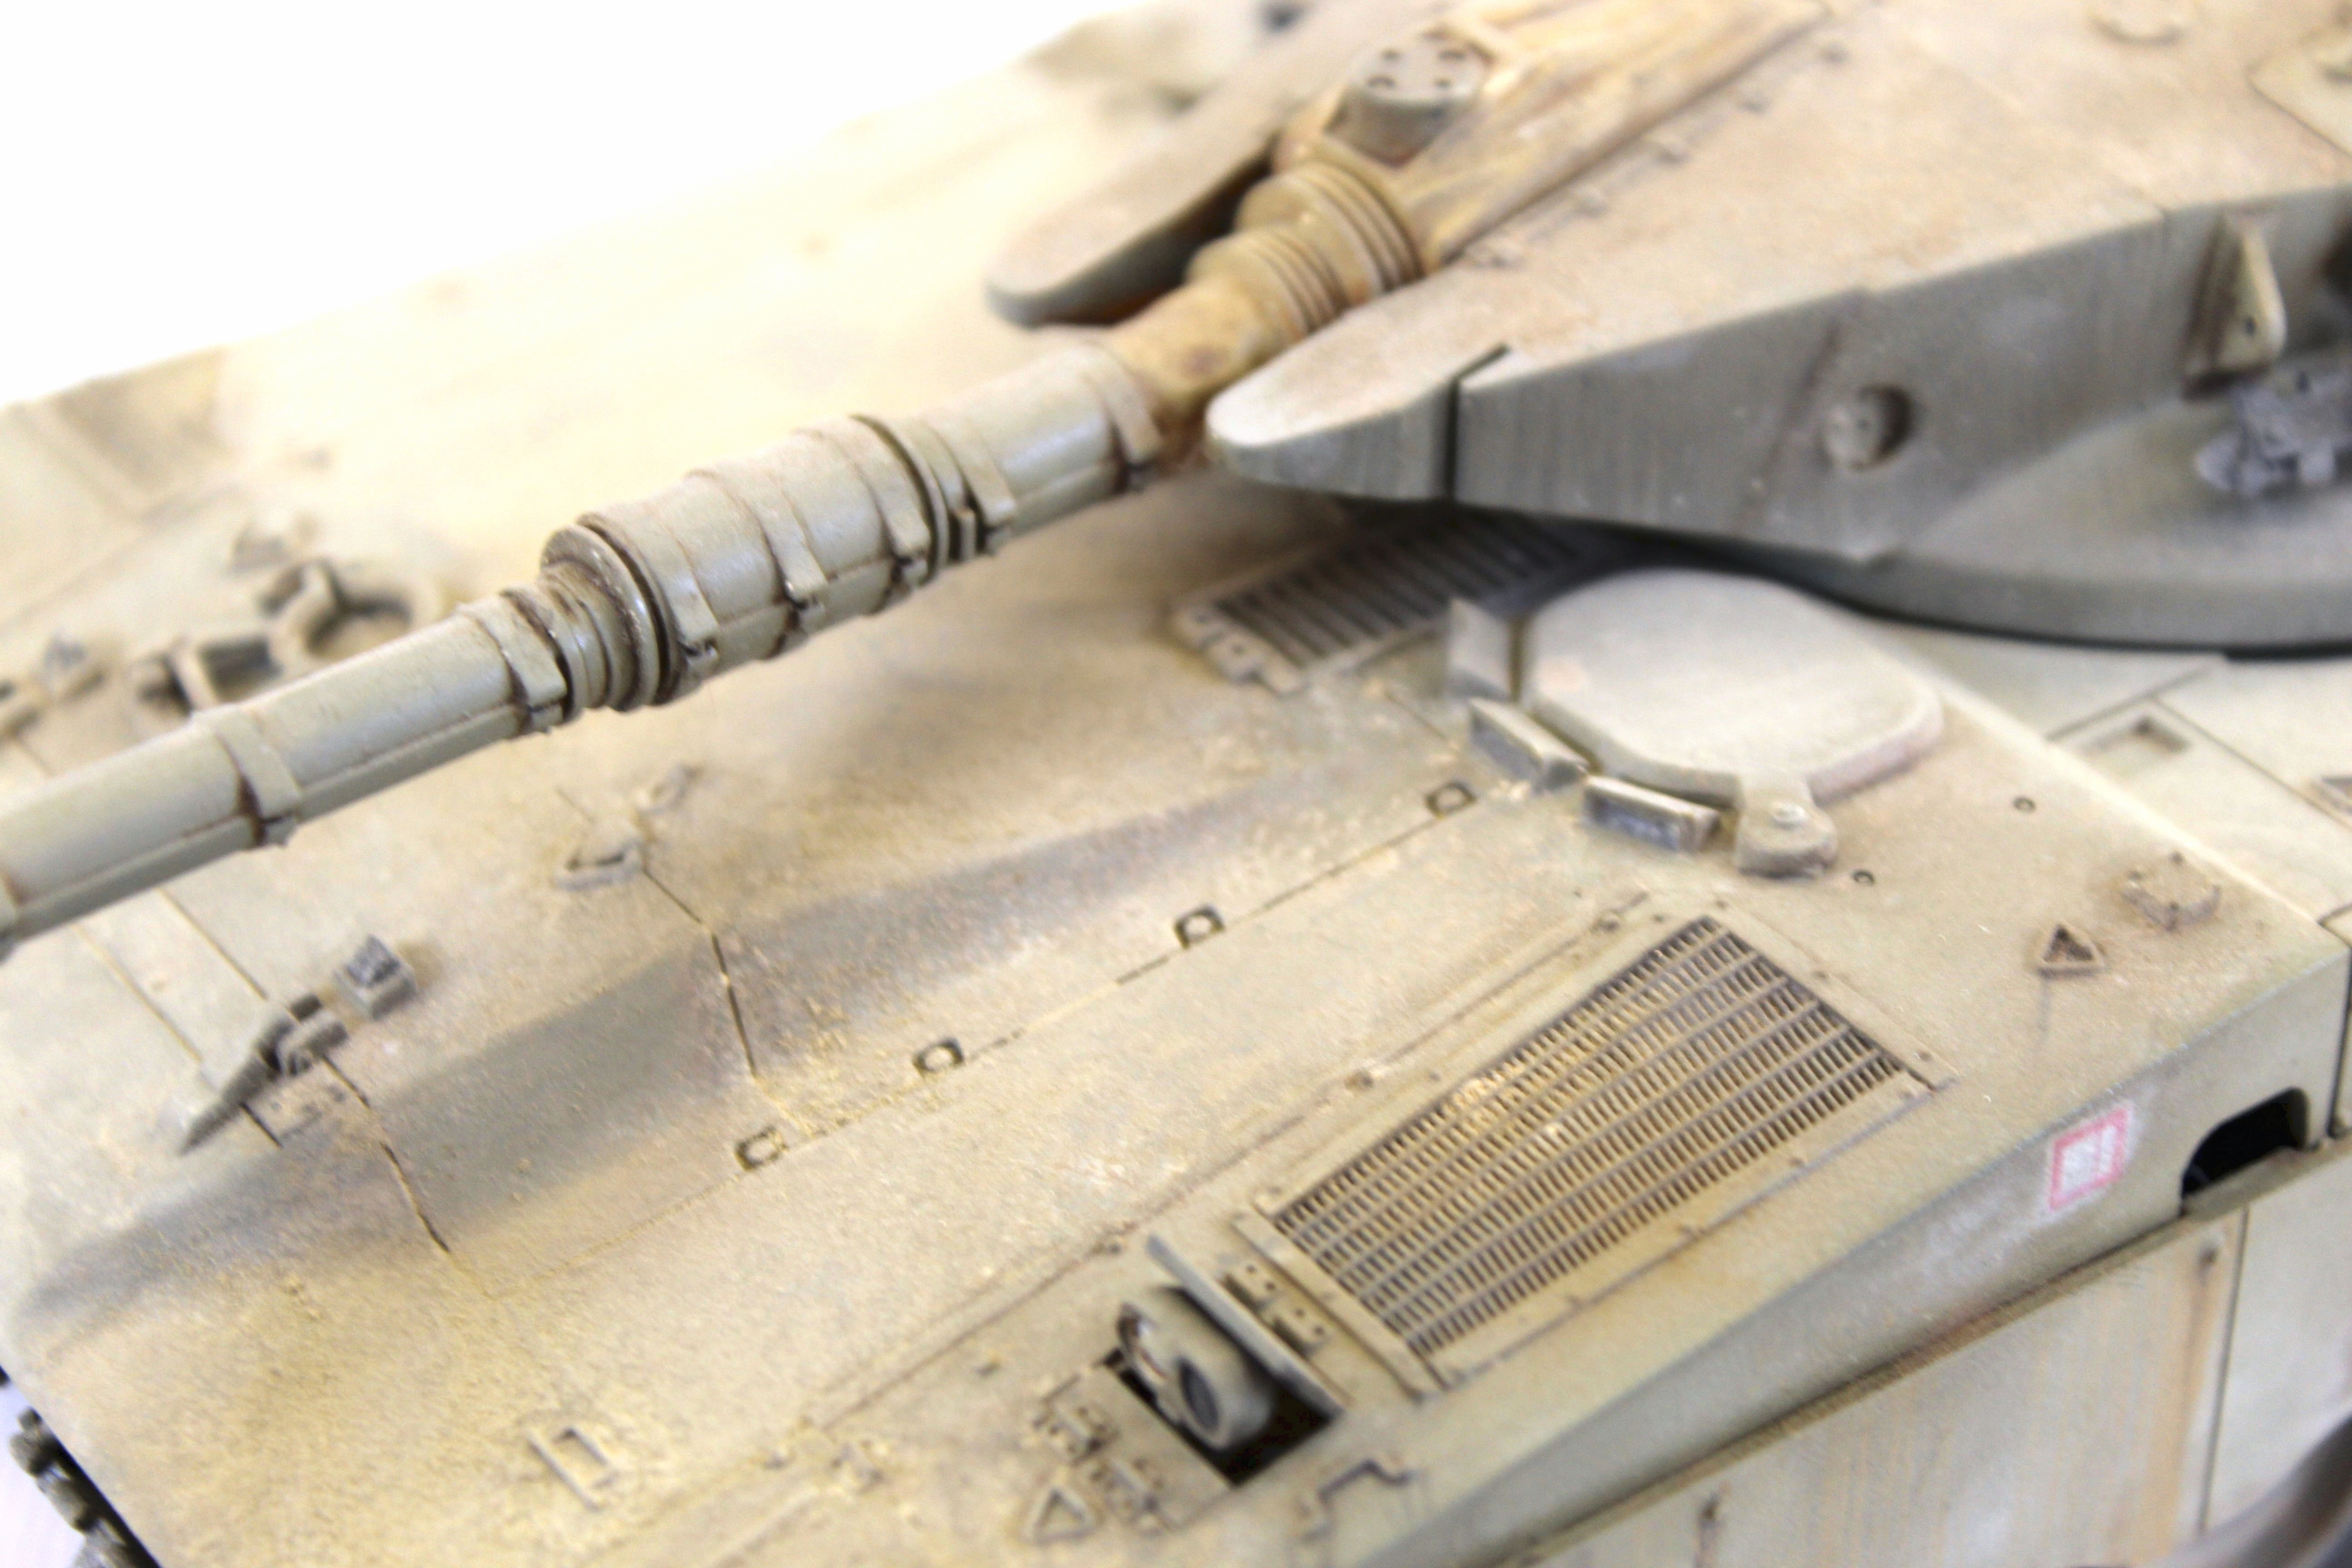
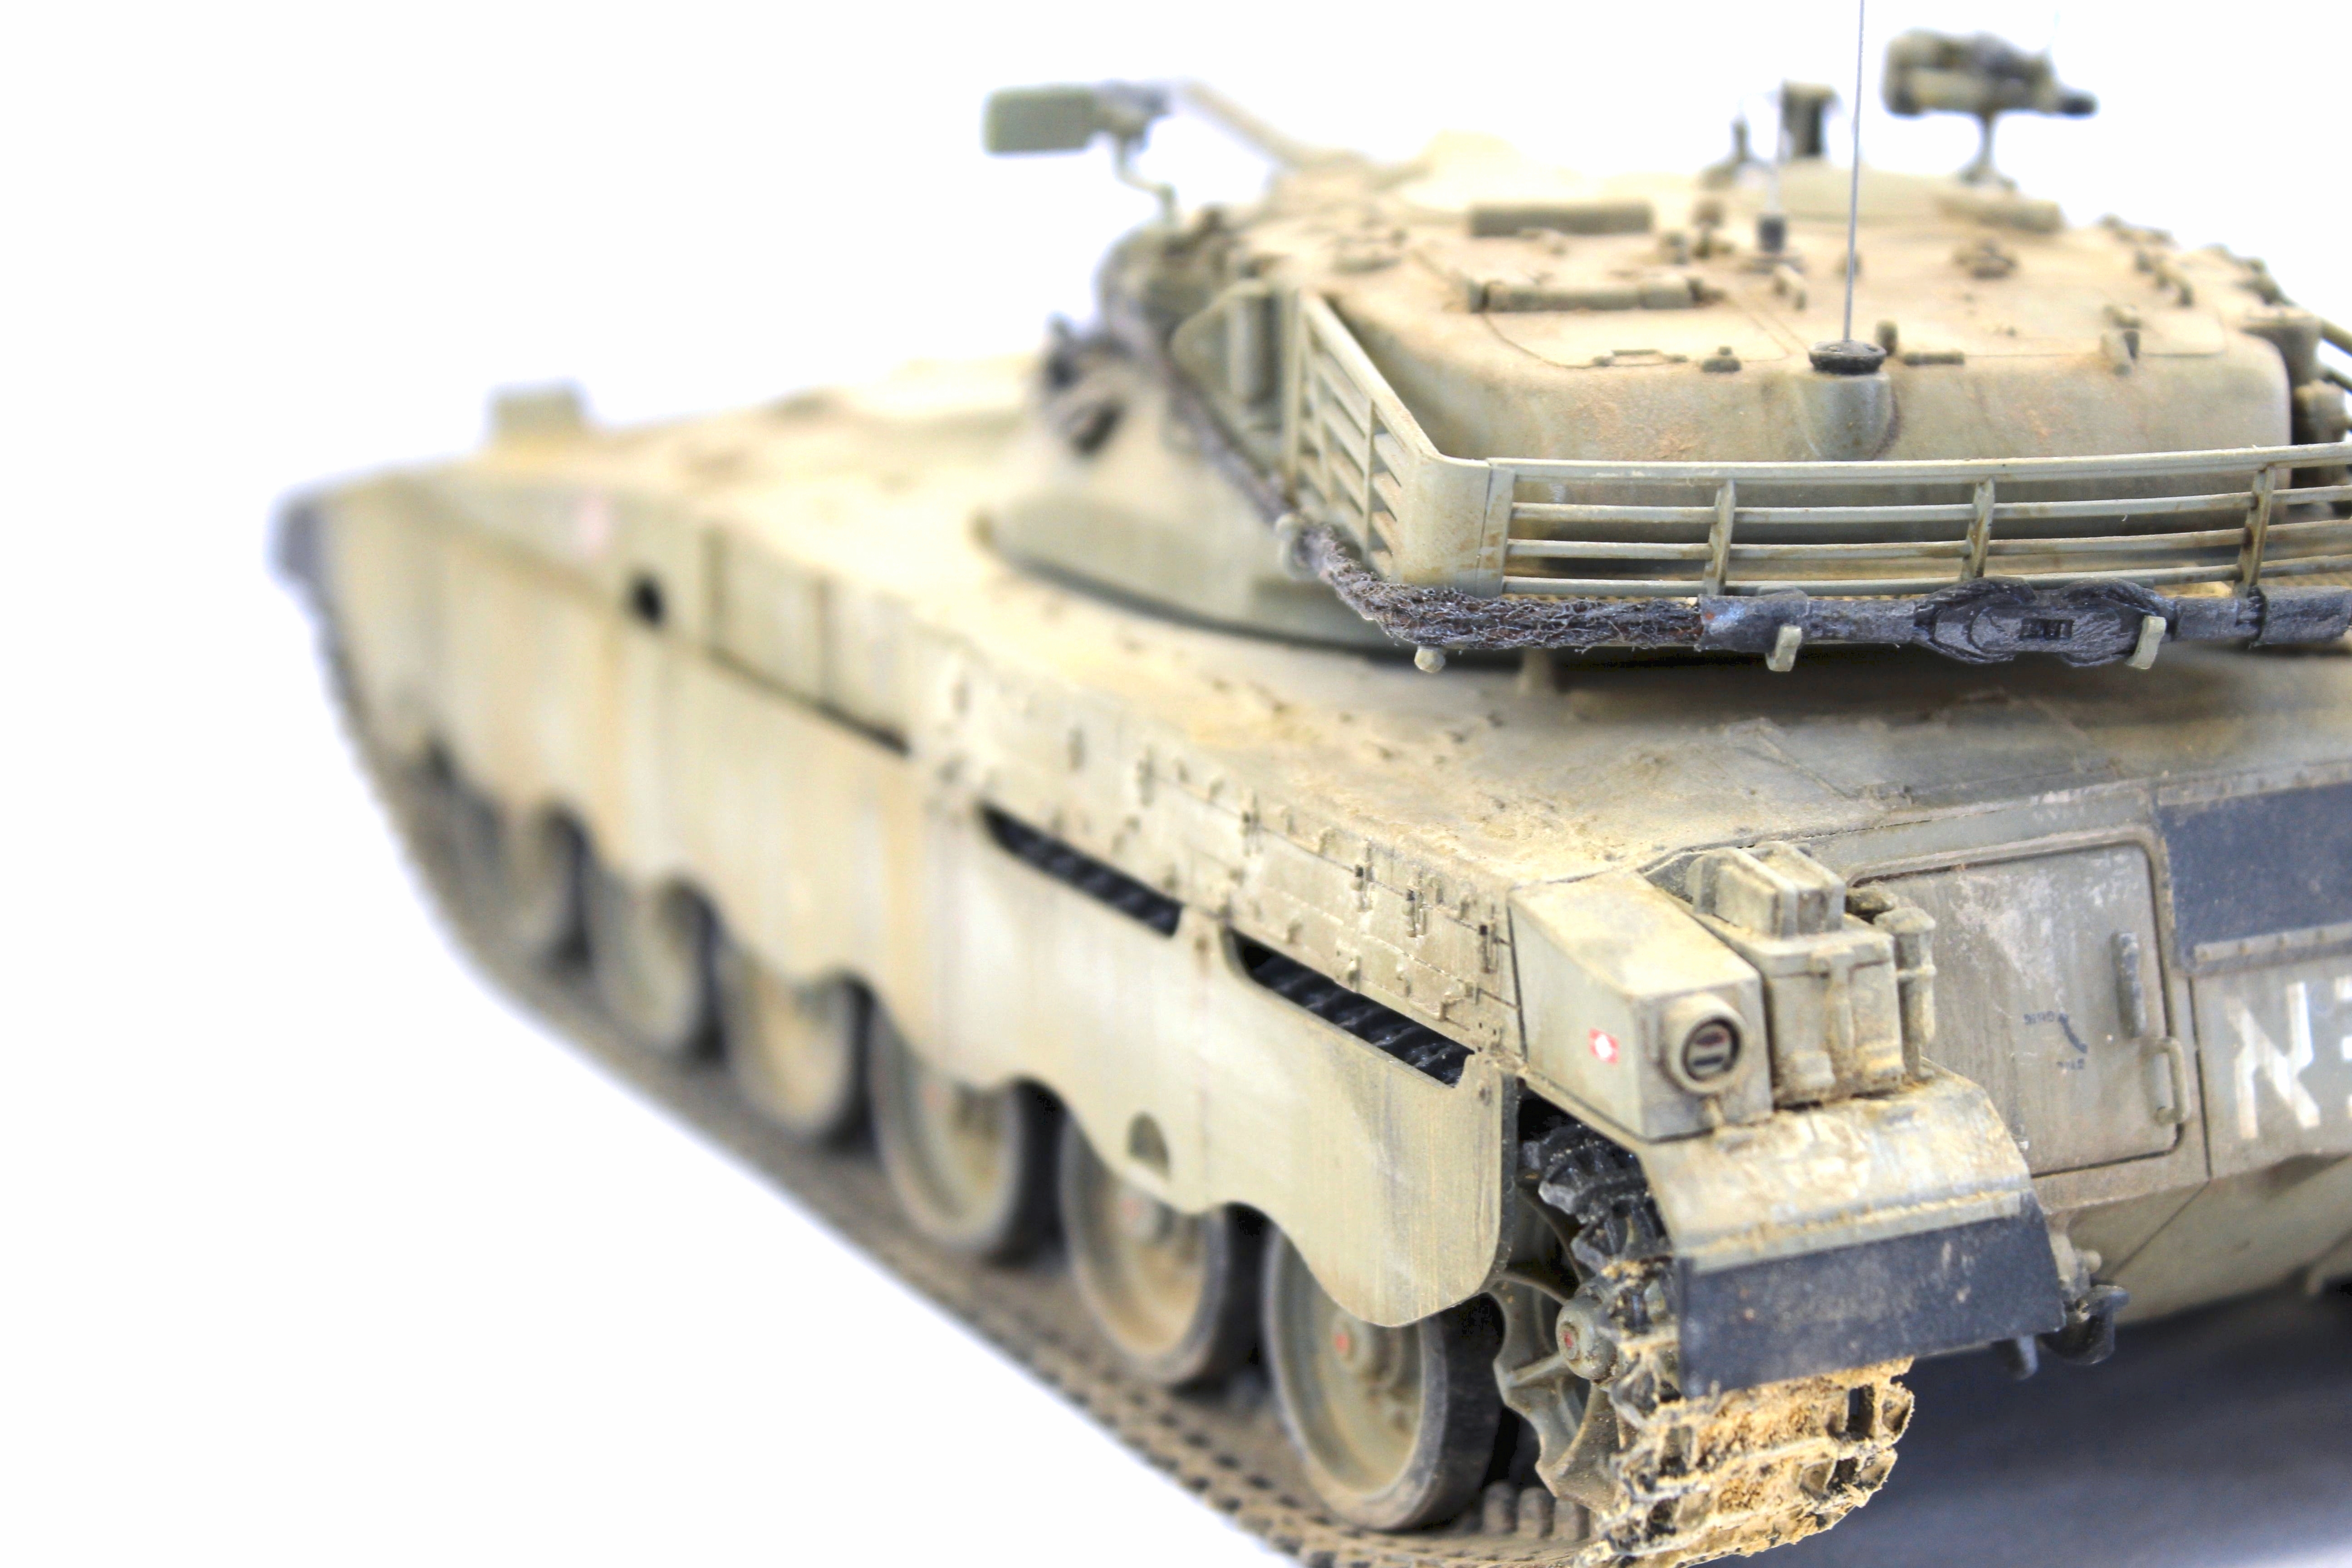
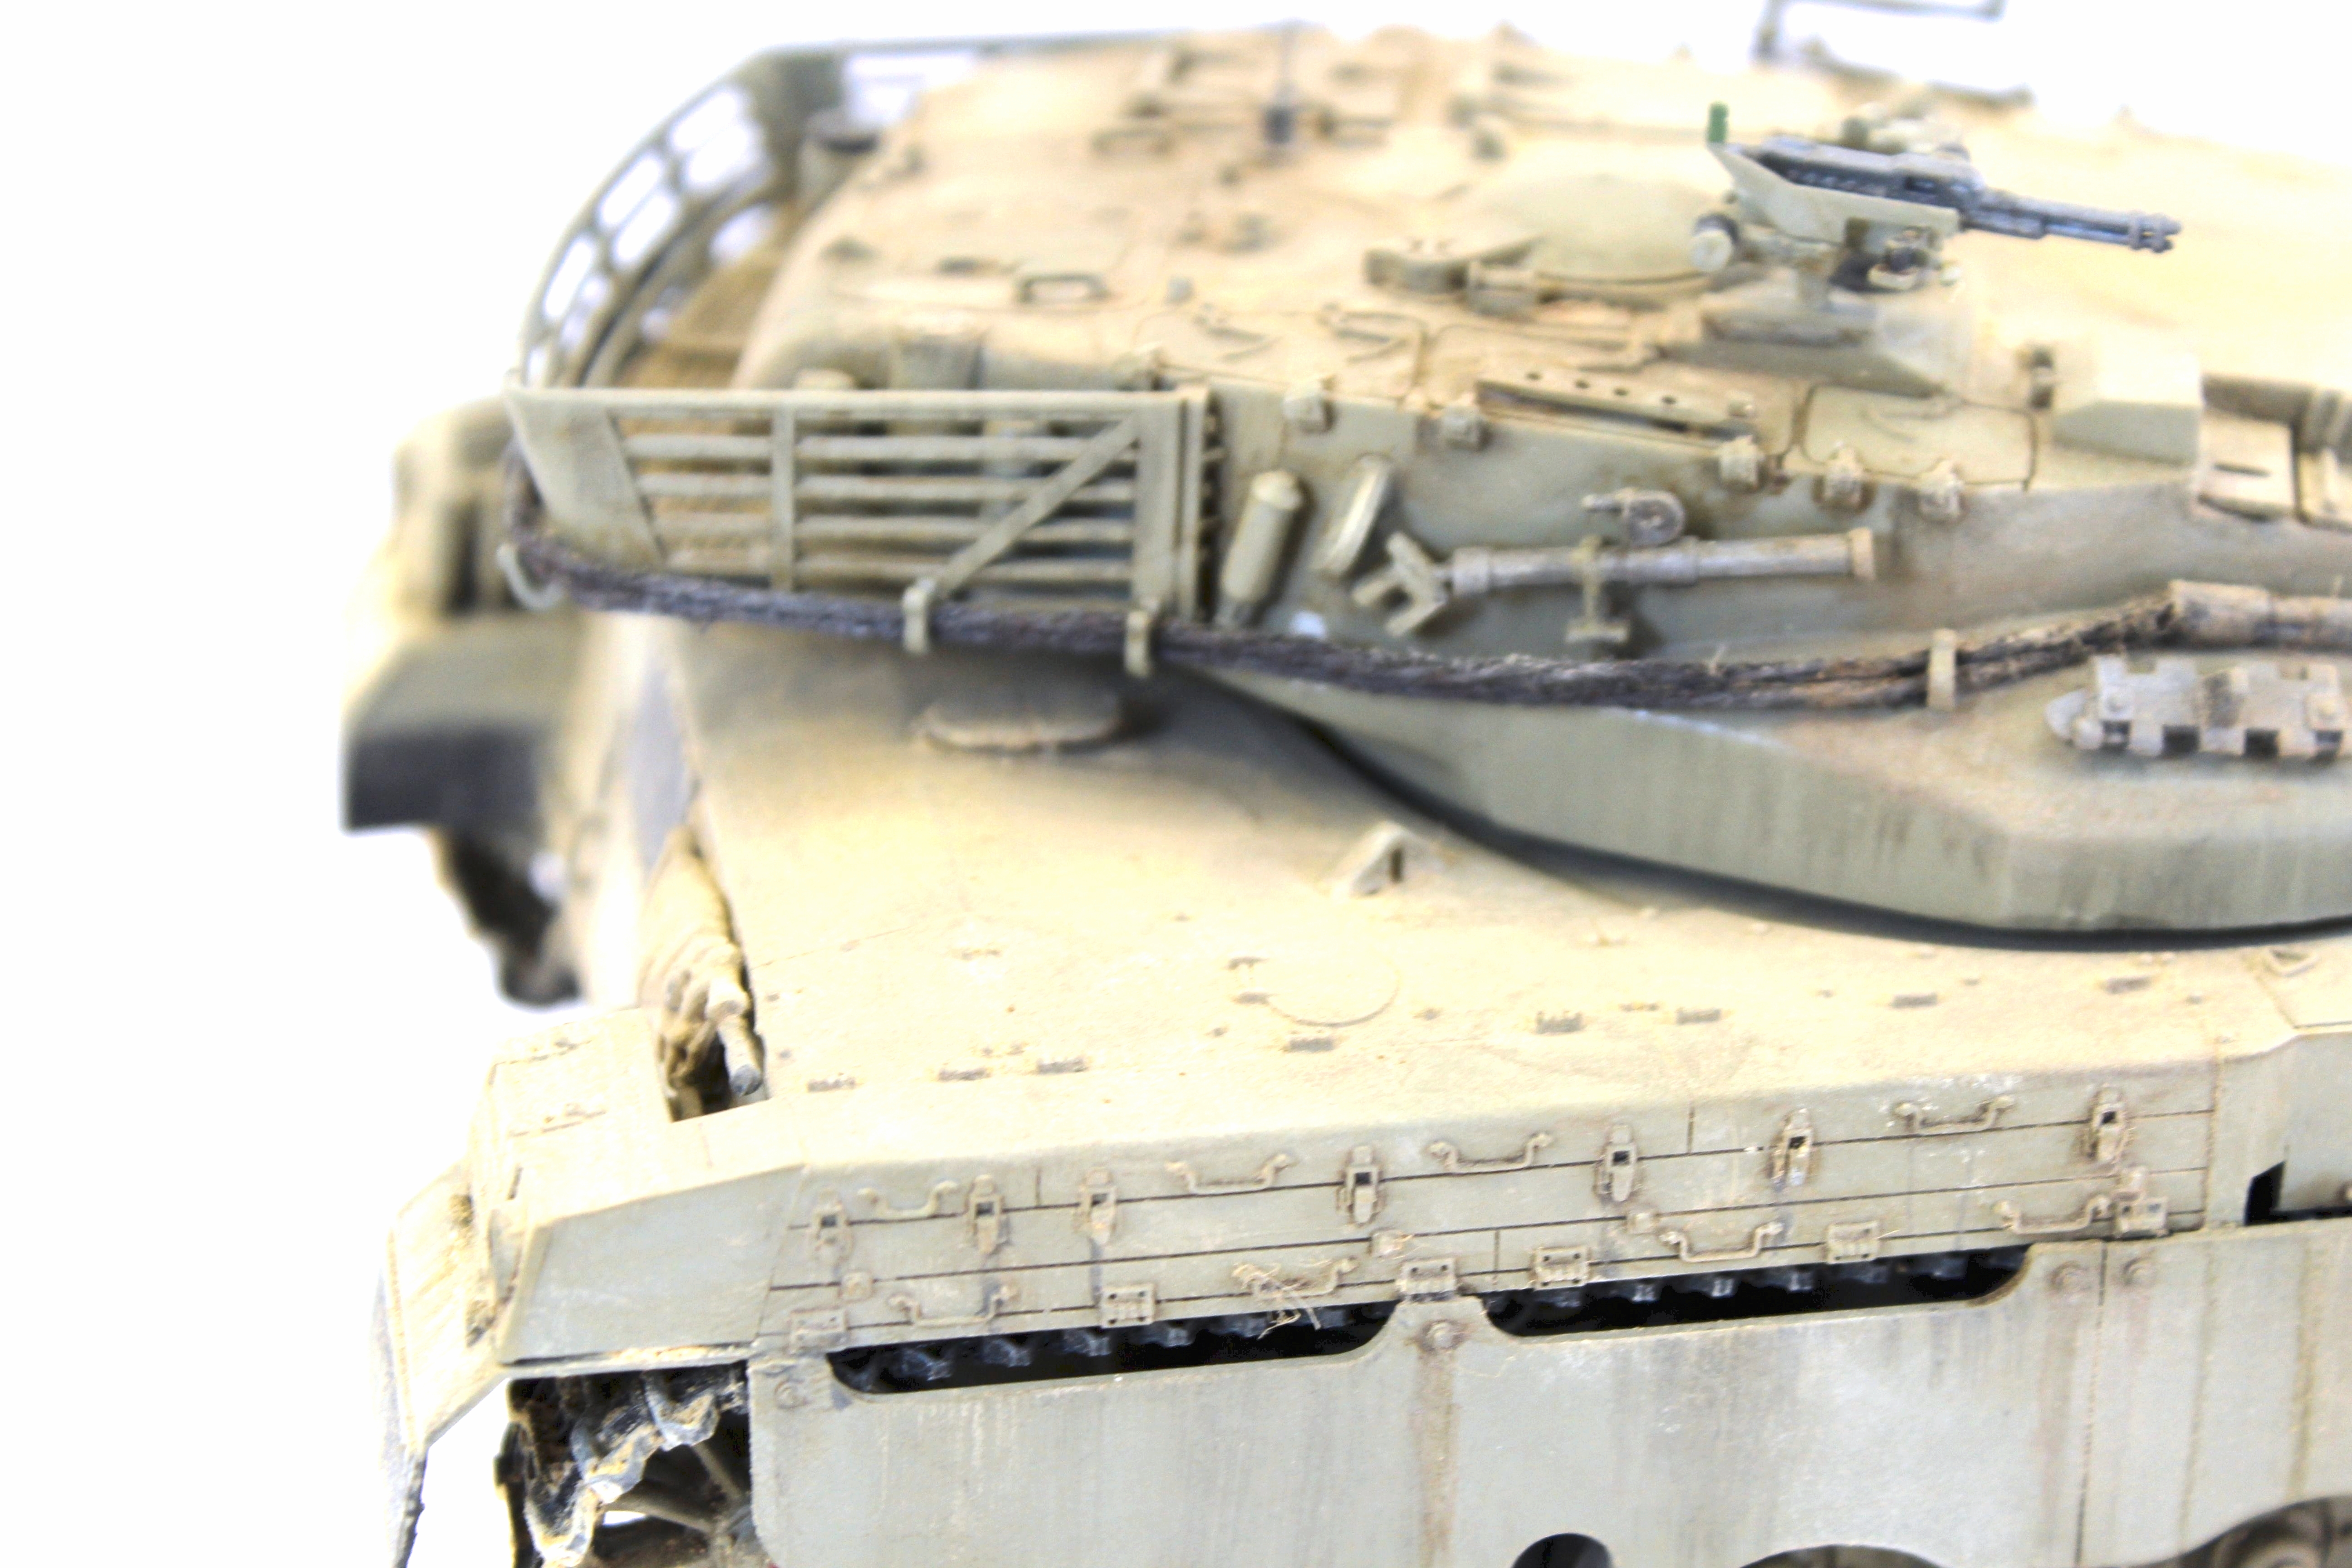
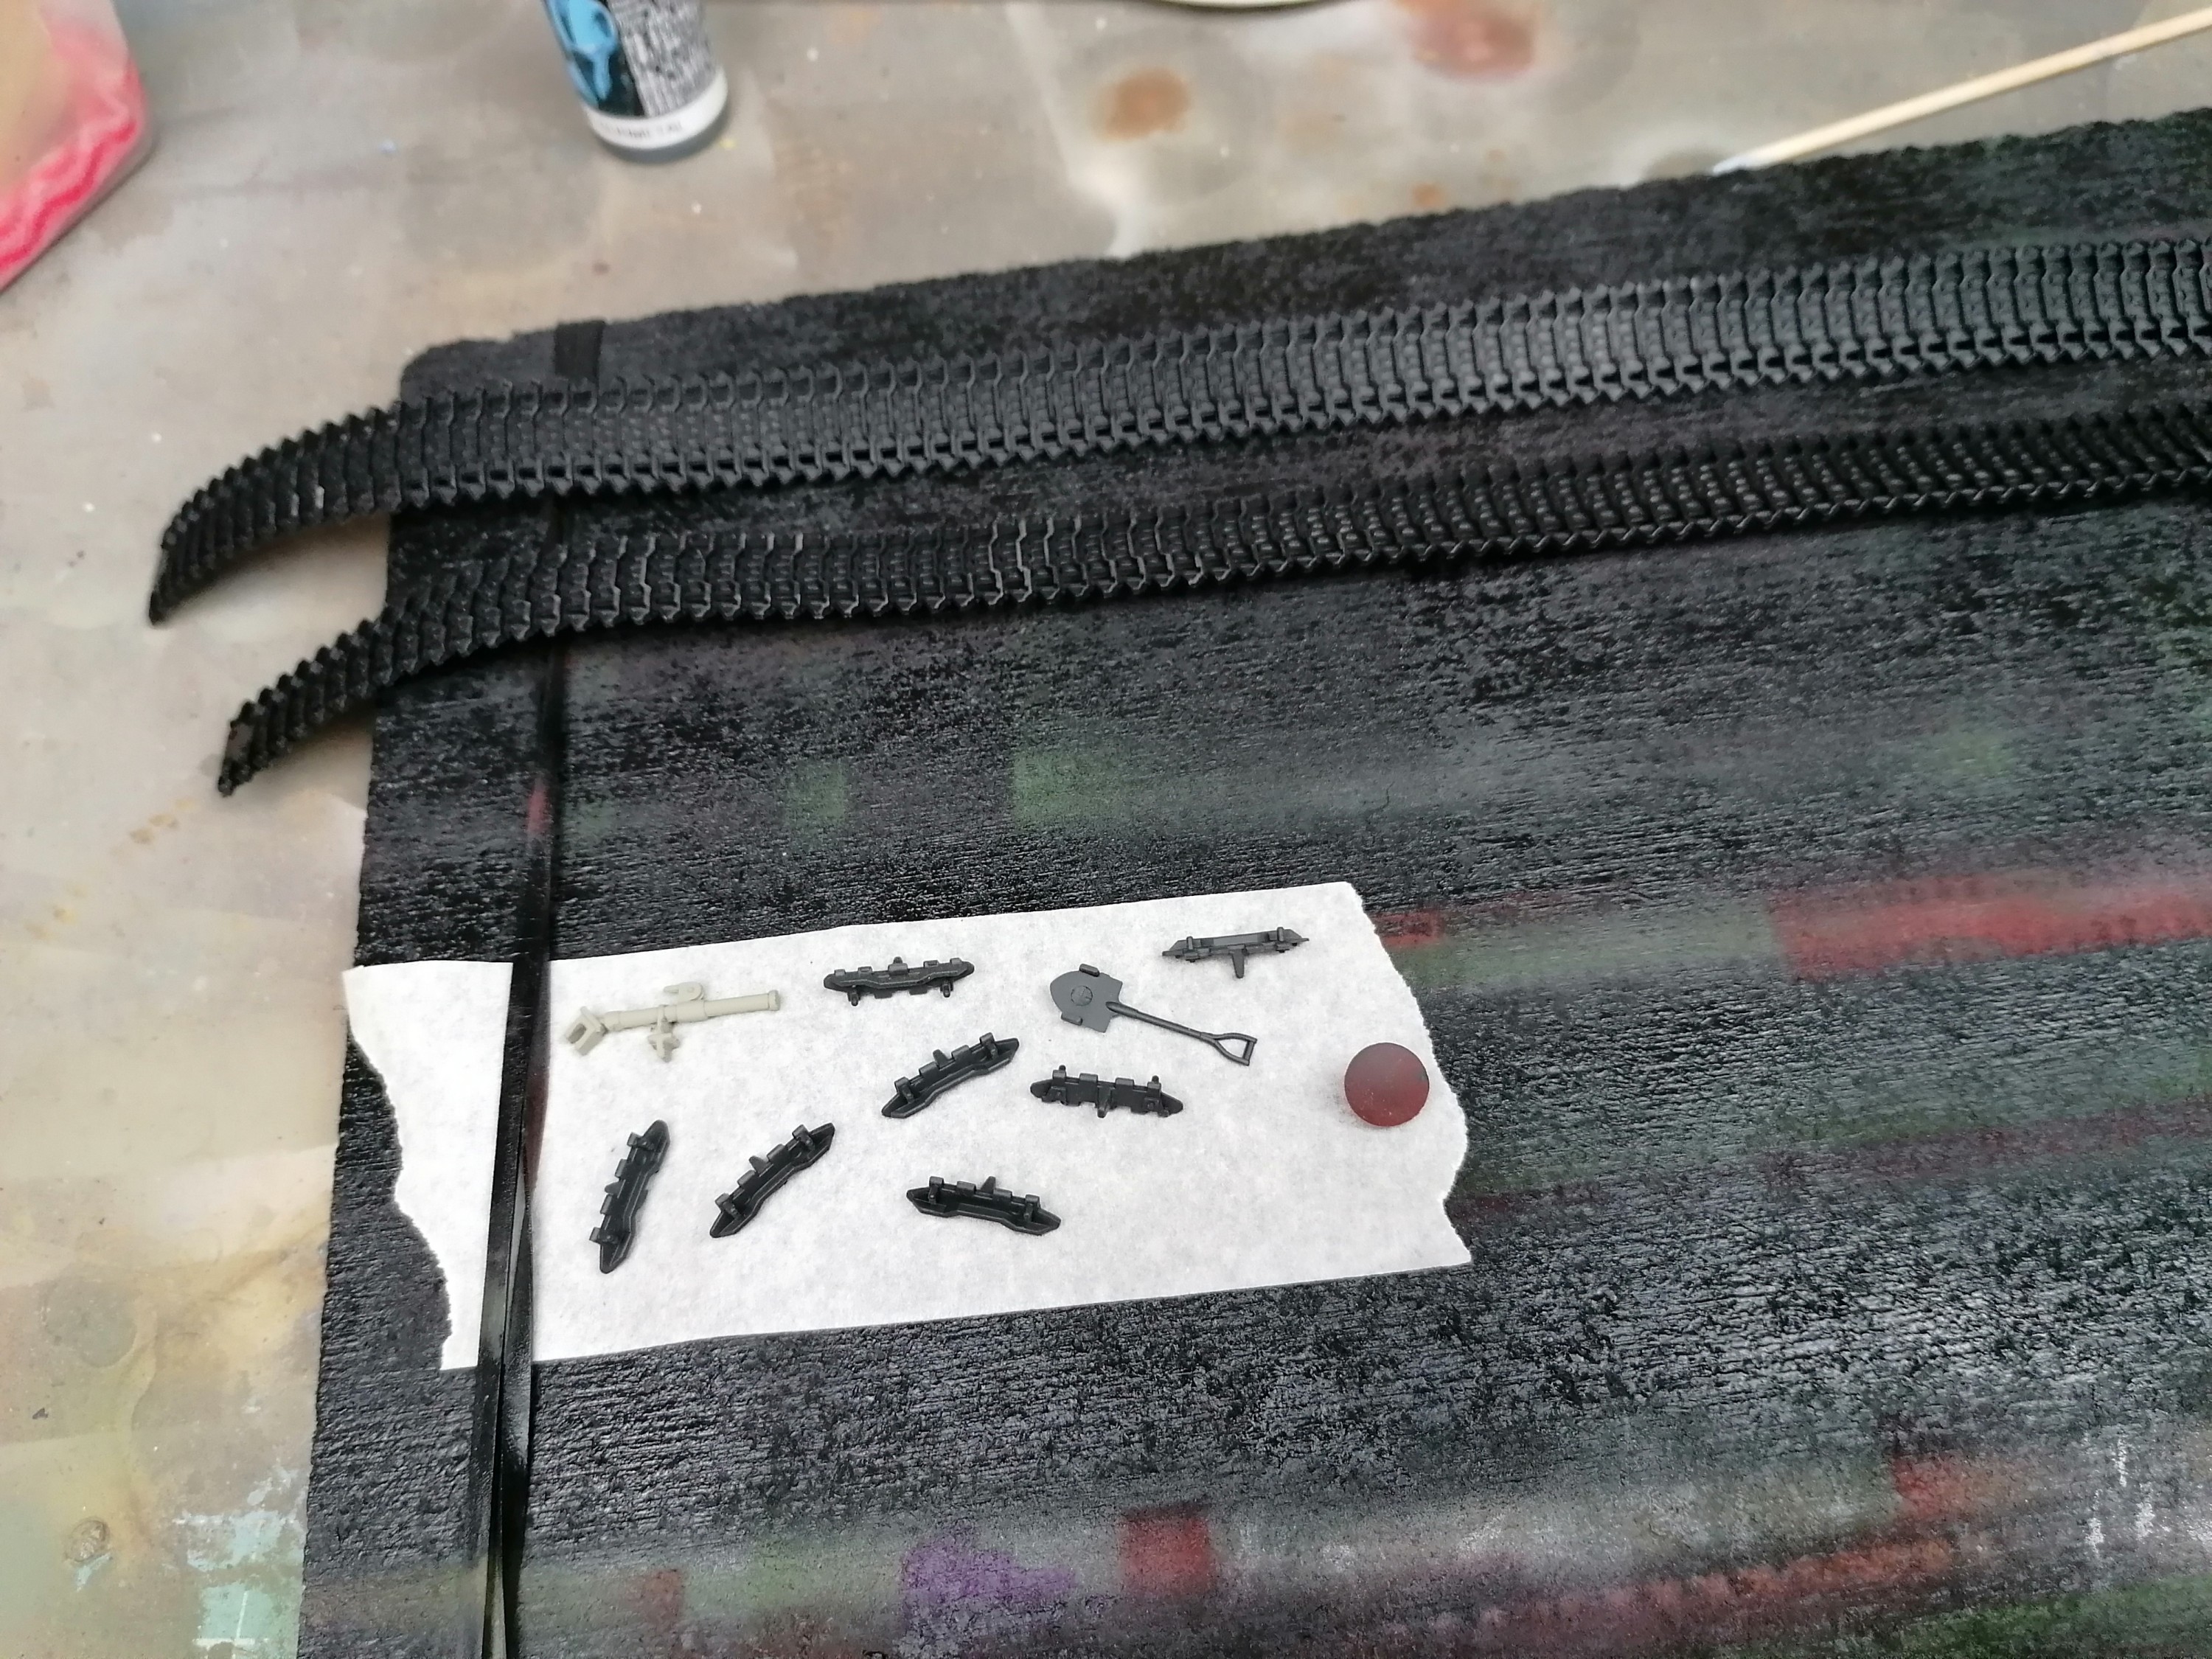
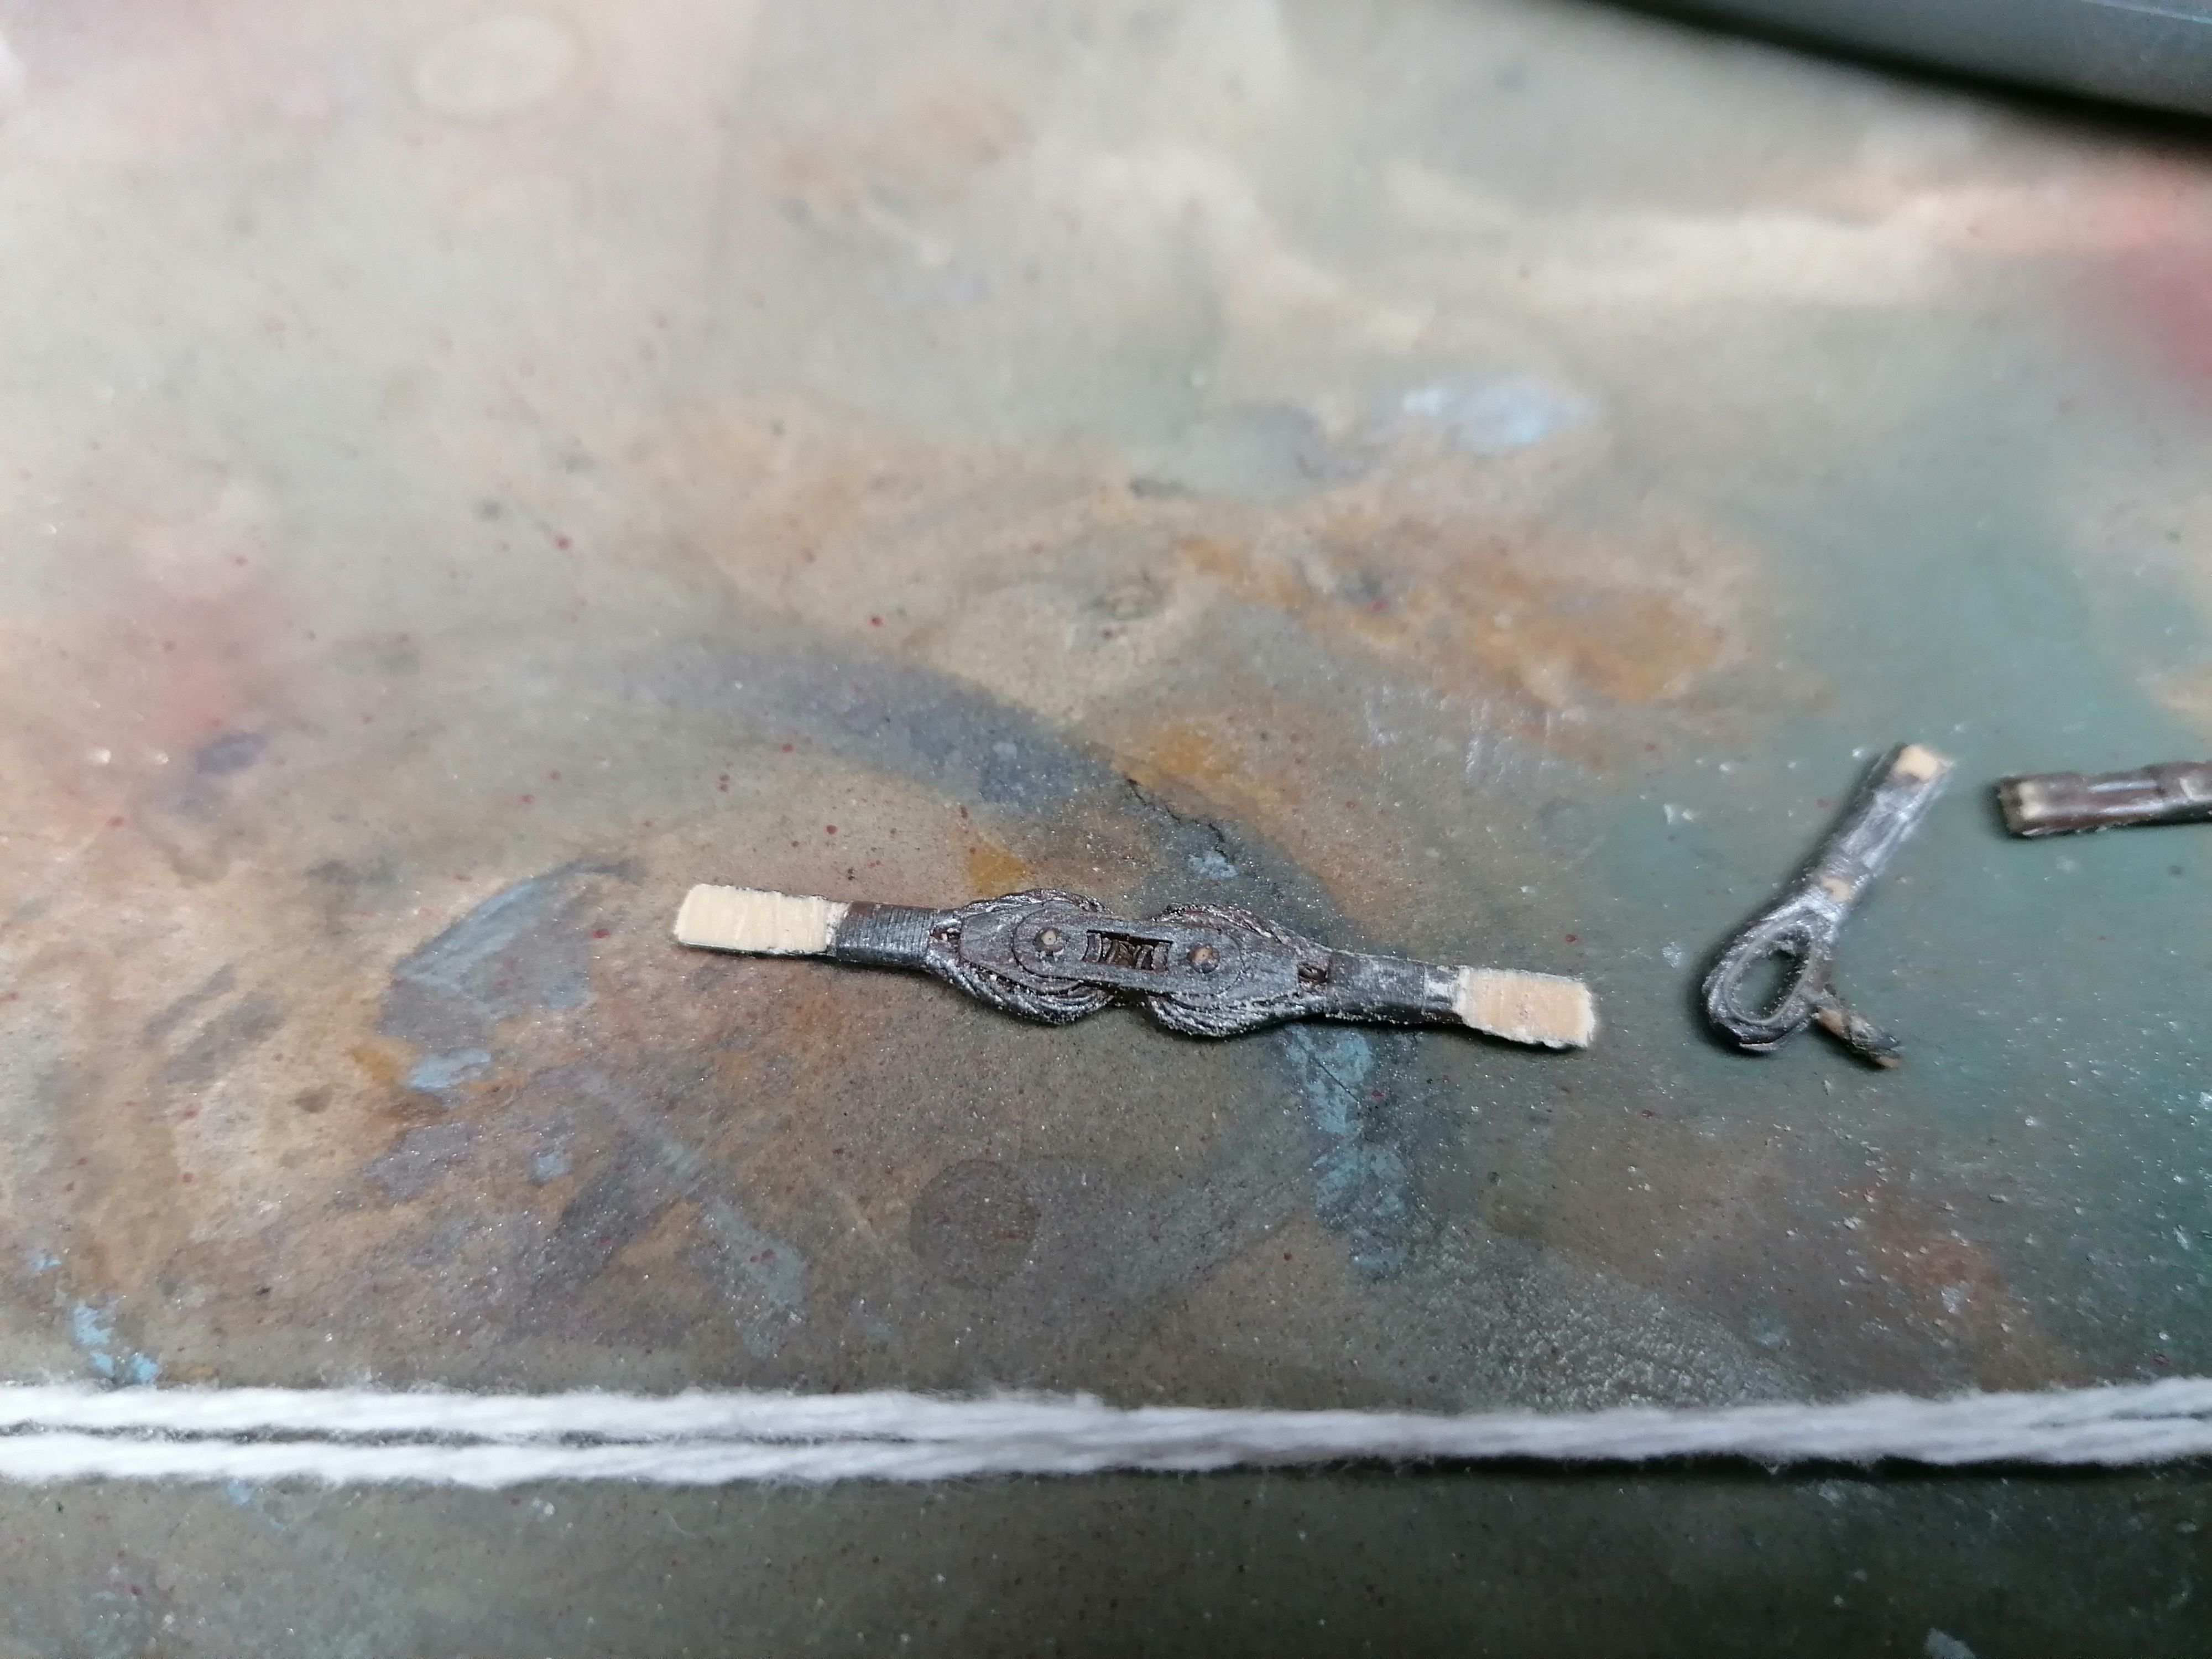
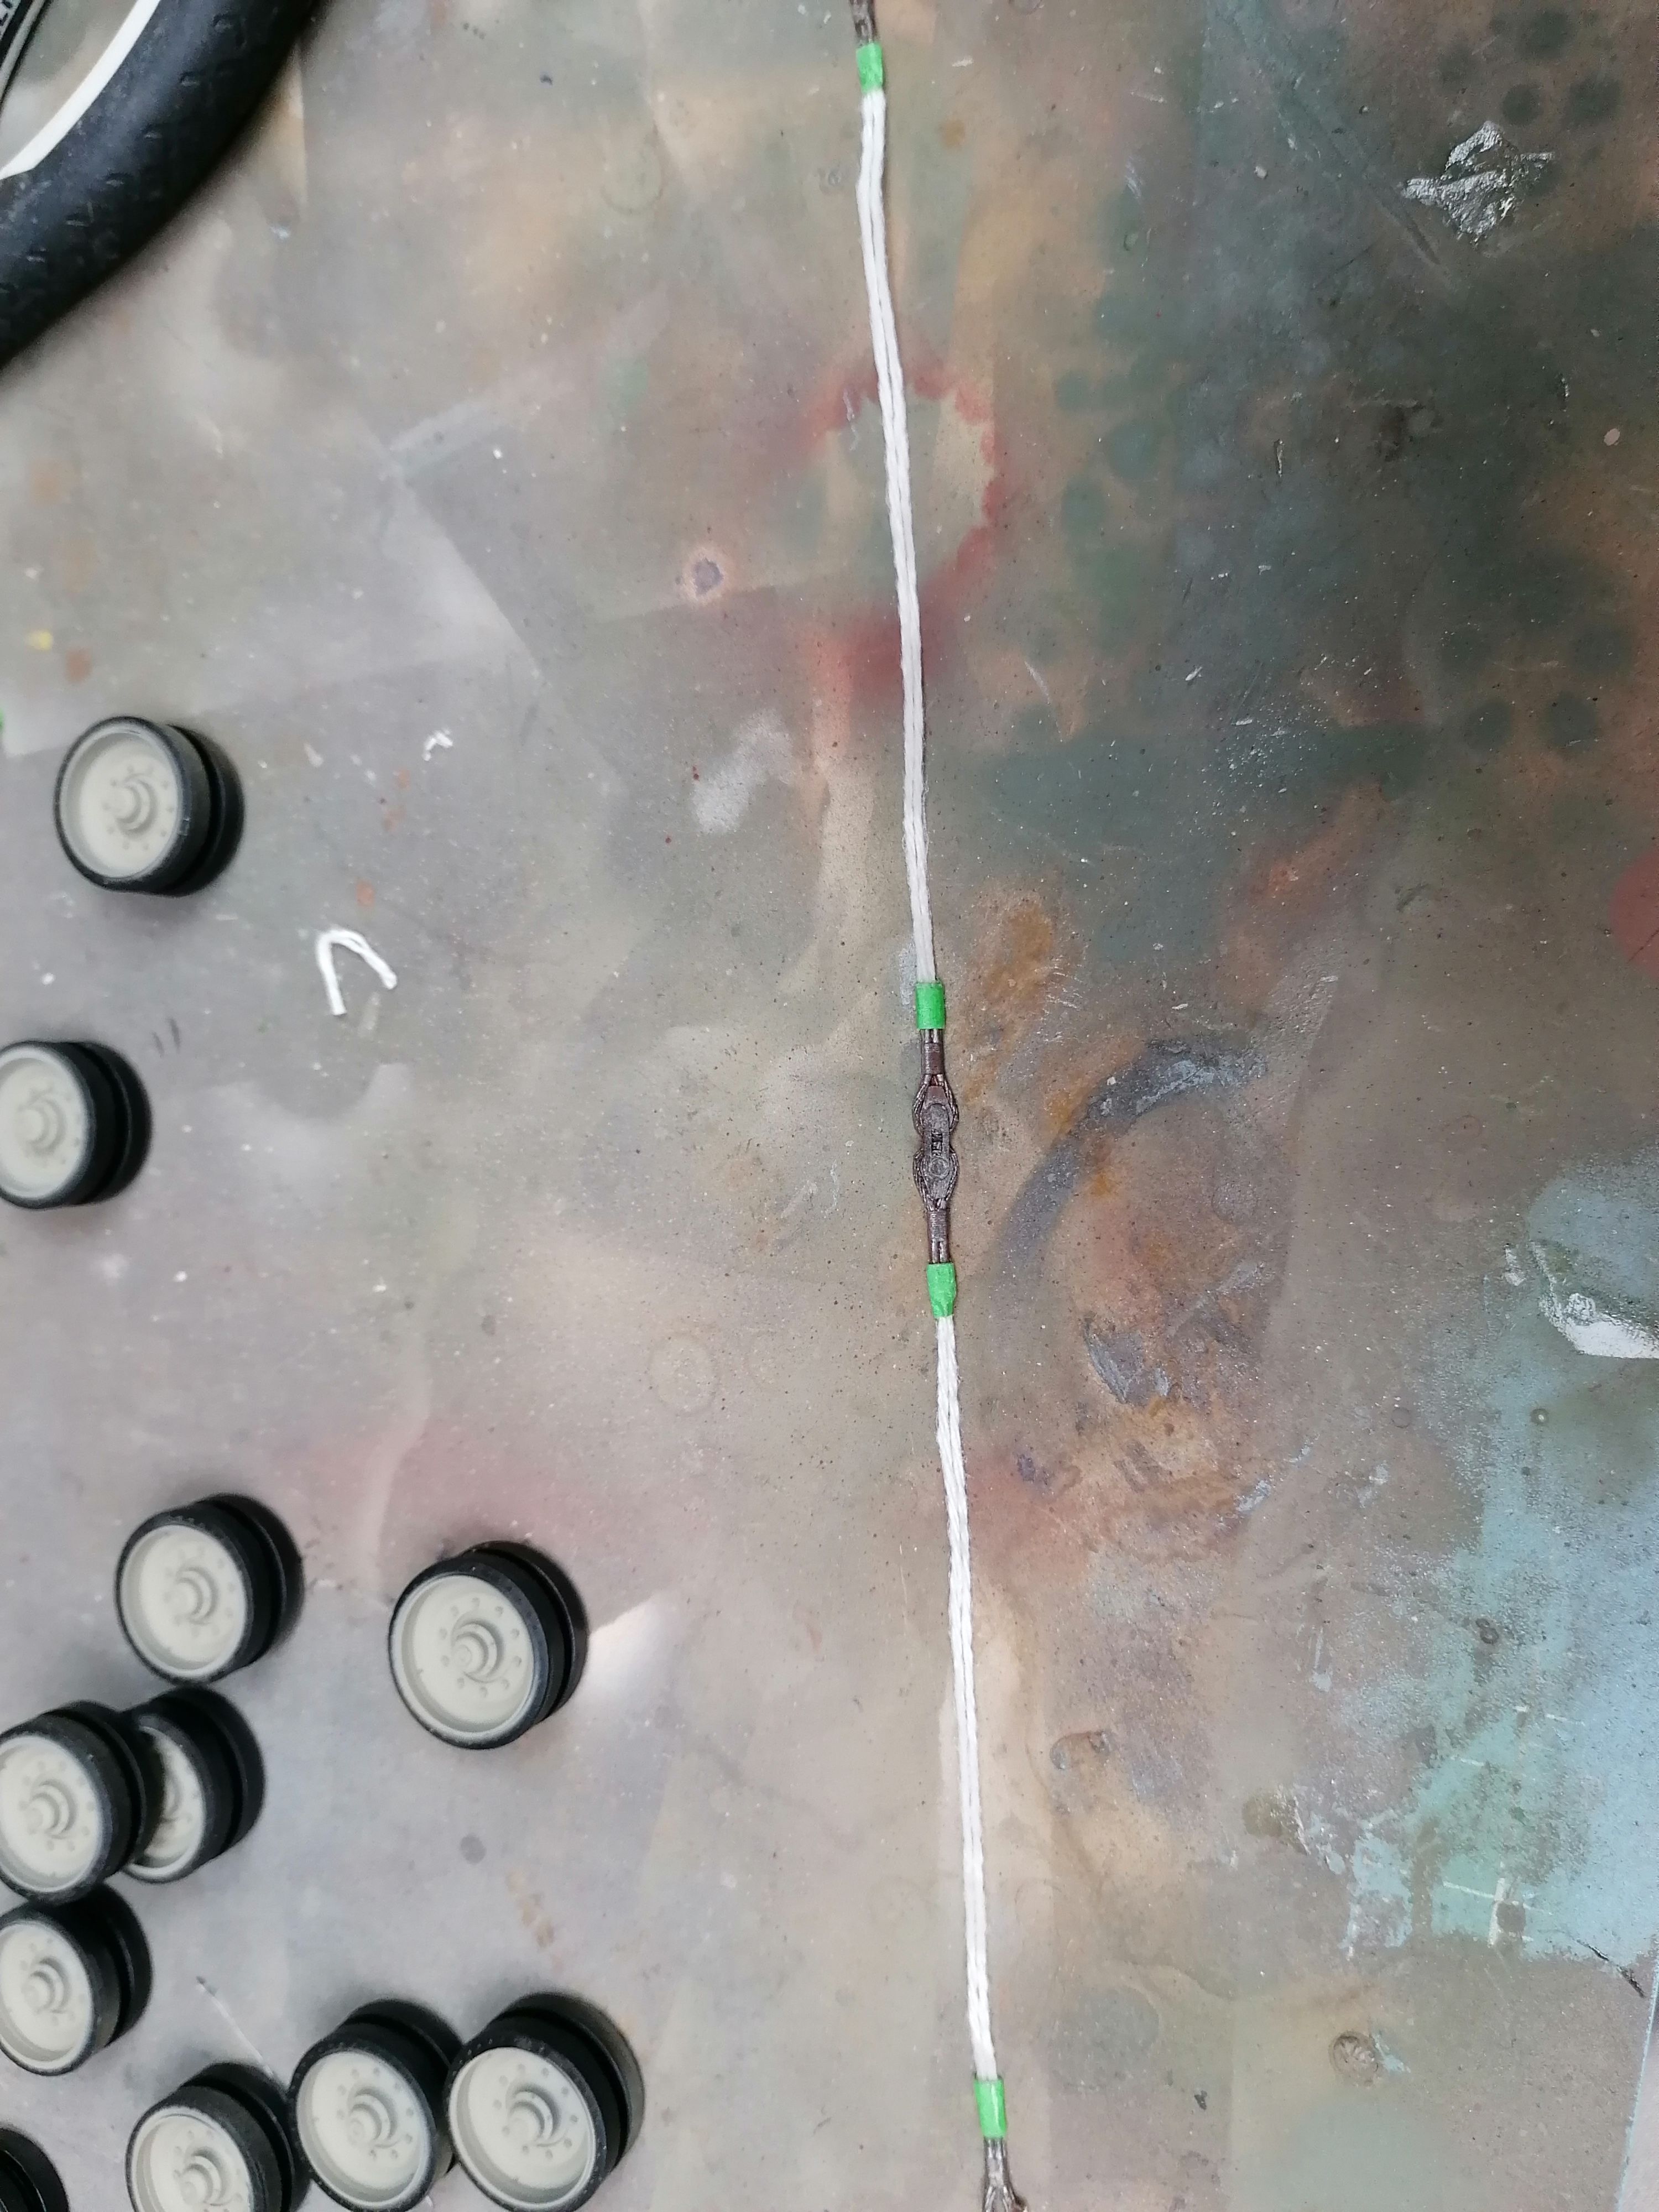
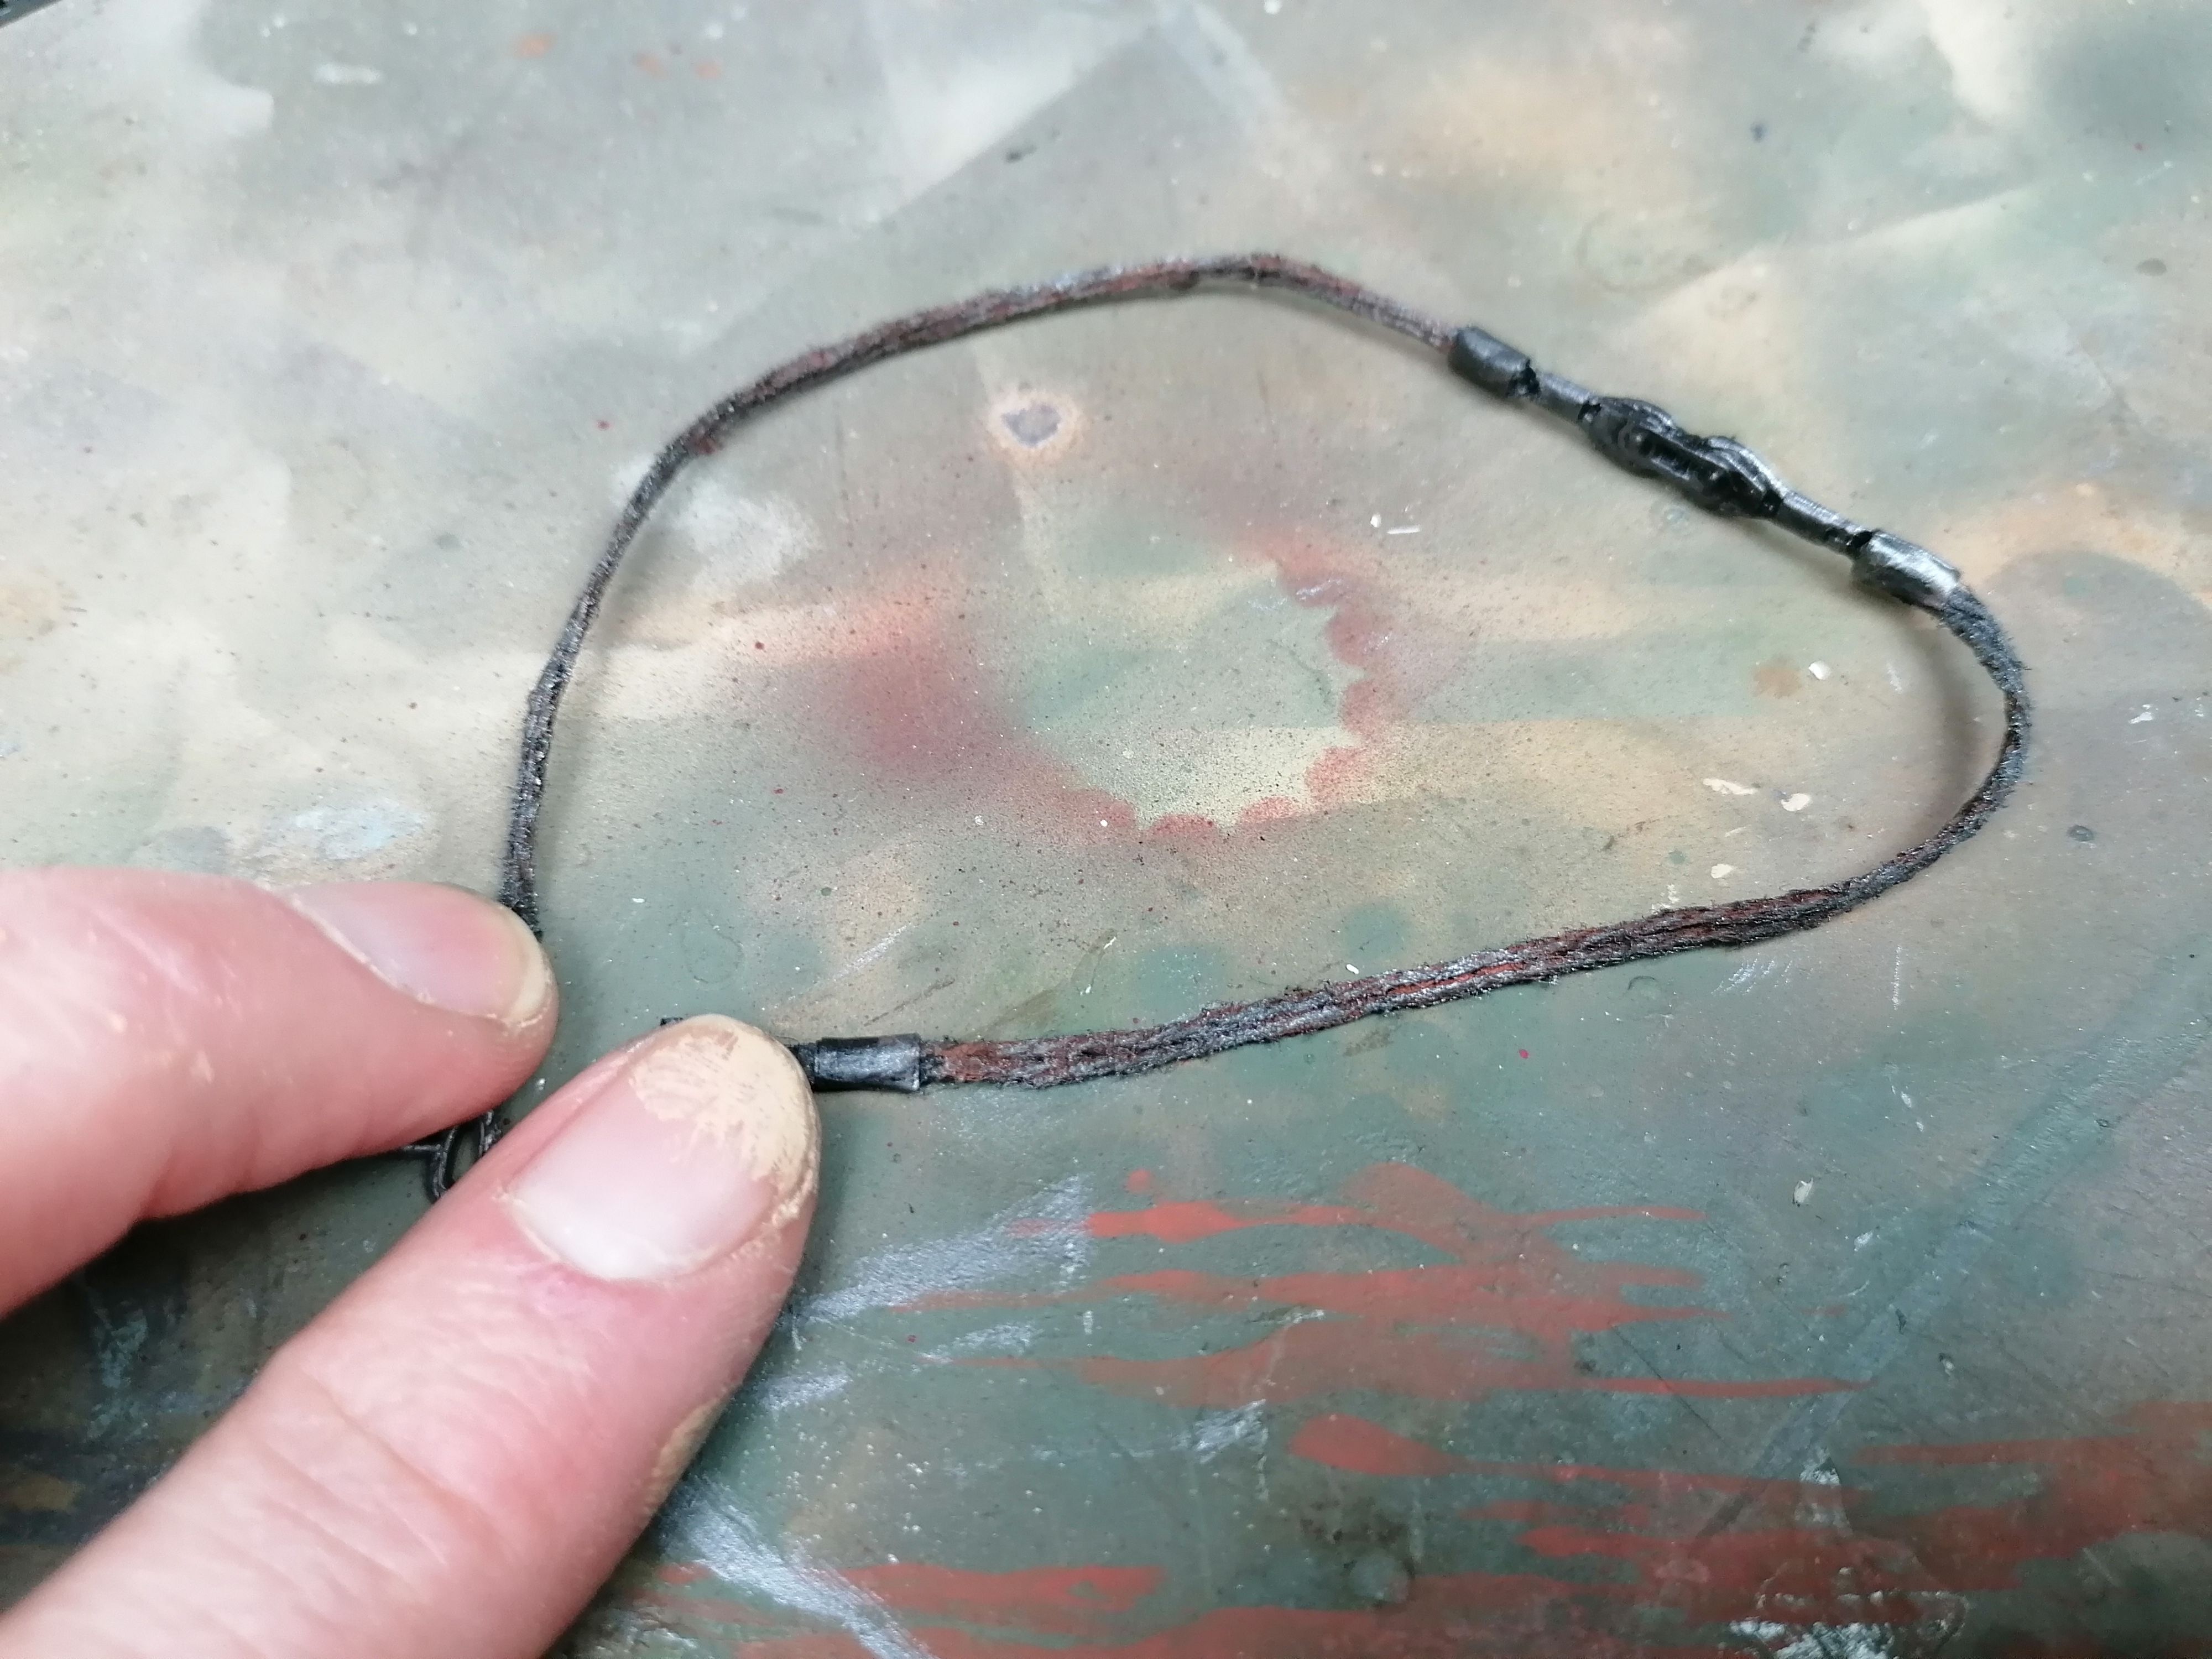
Making A New Tow Rope For The Merkava Tank Model

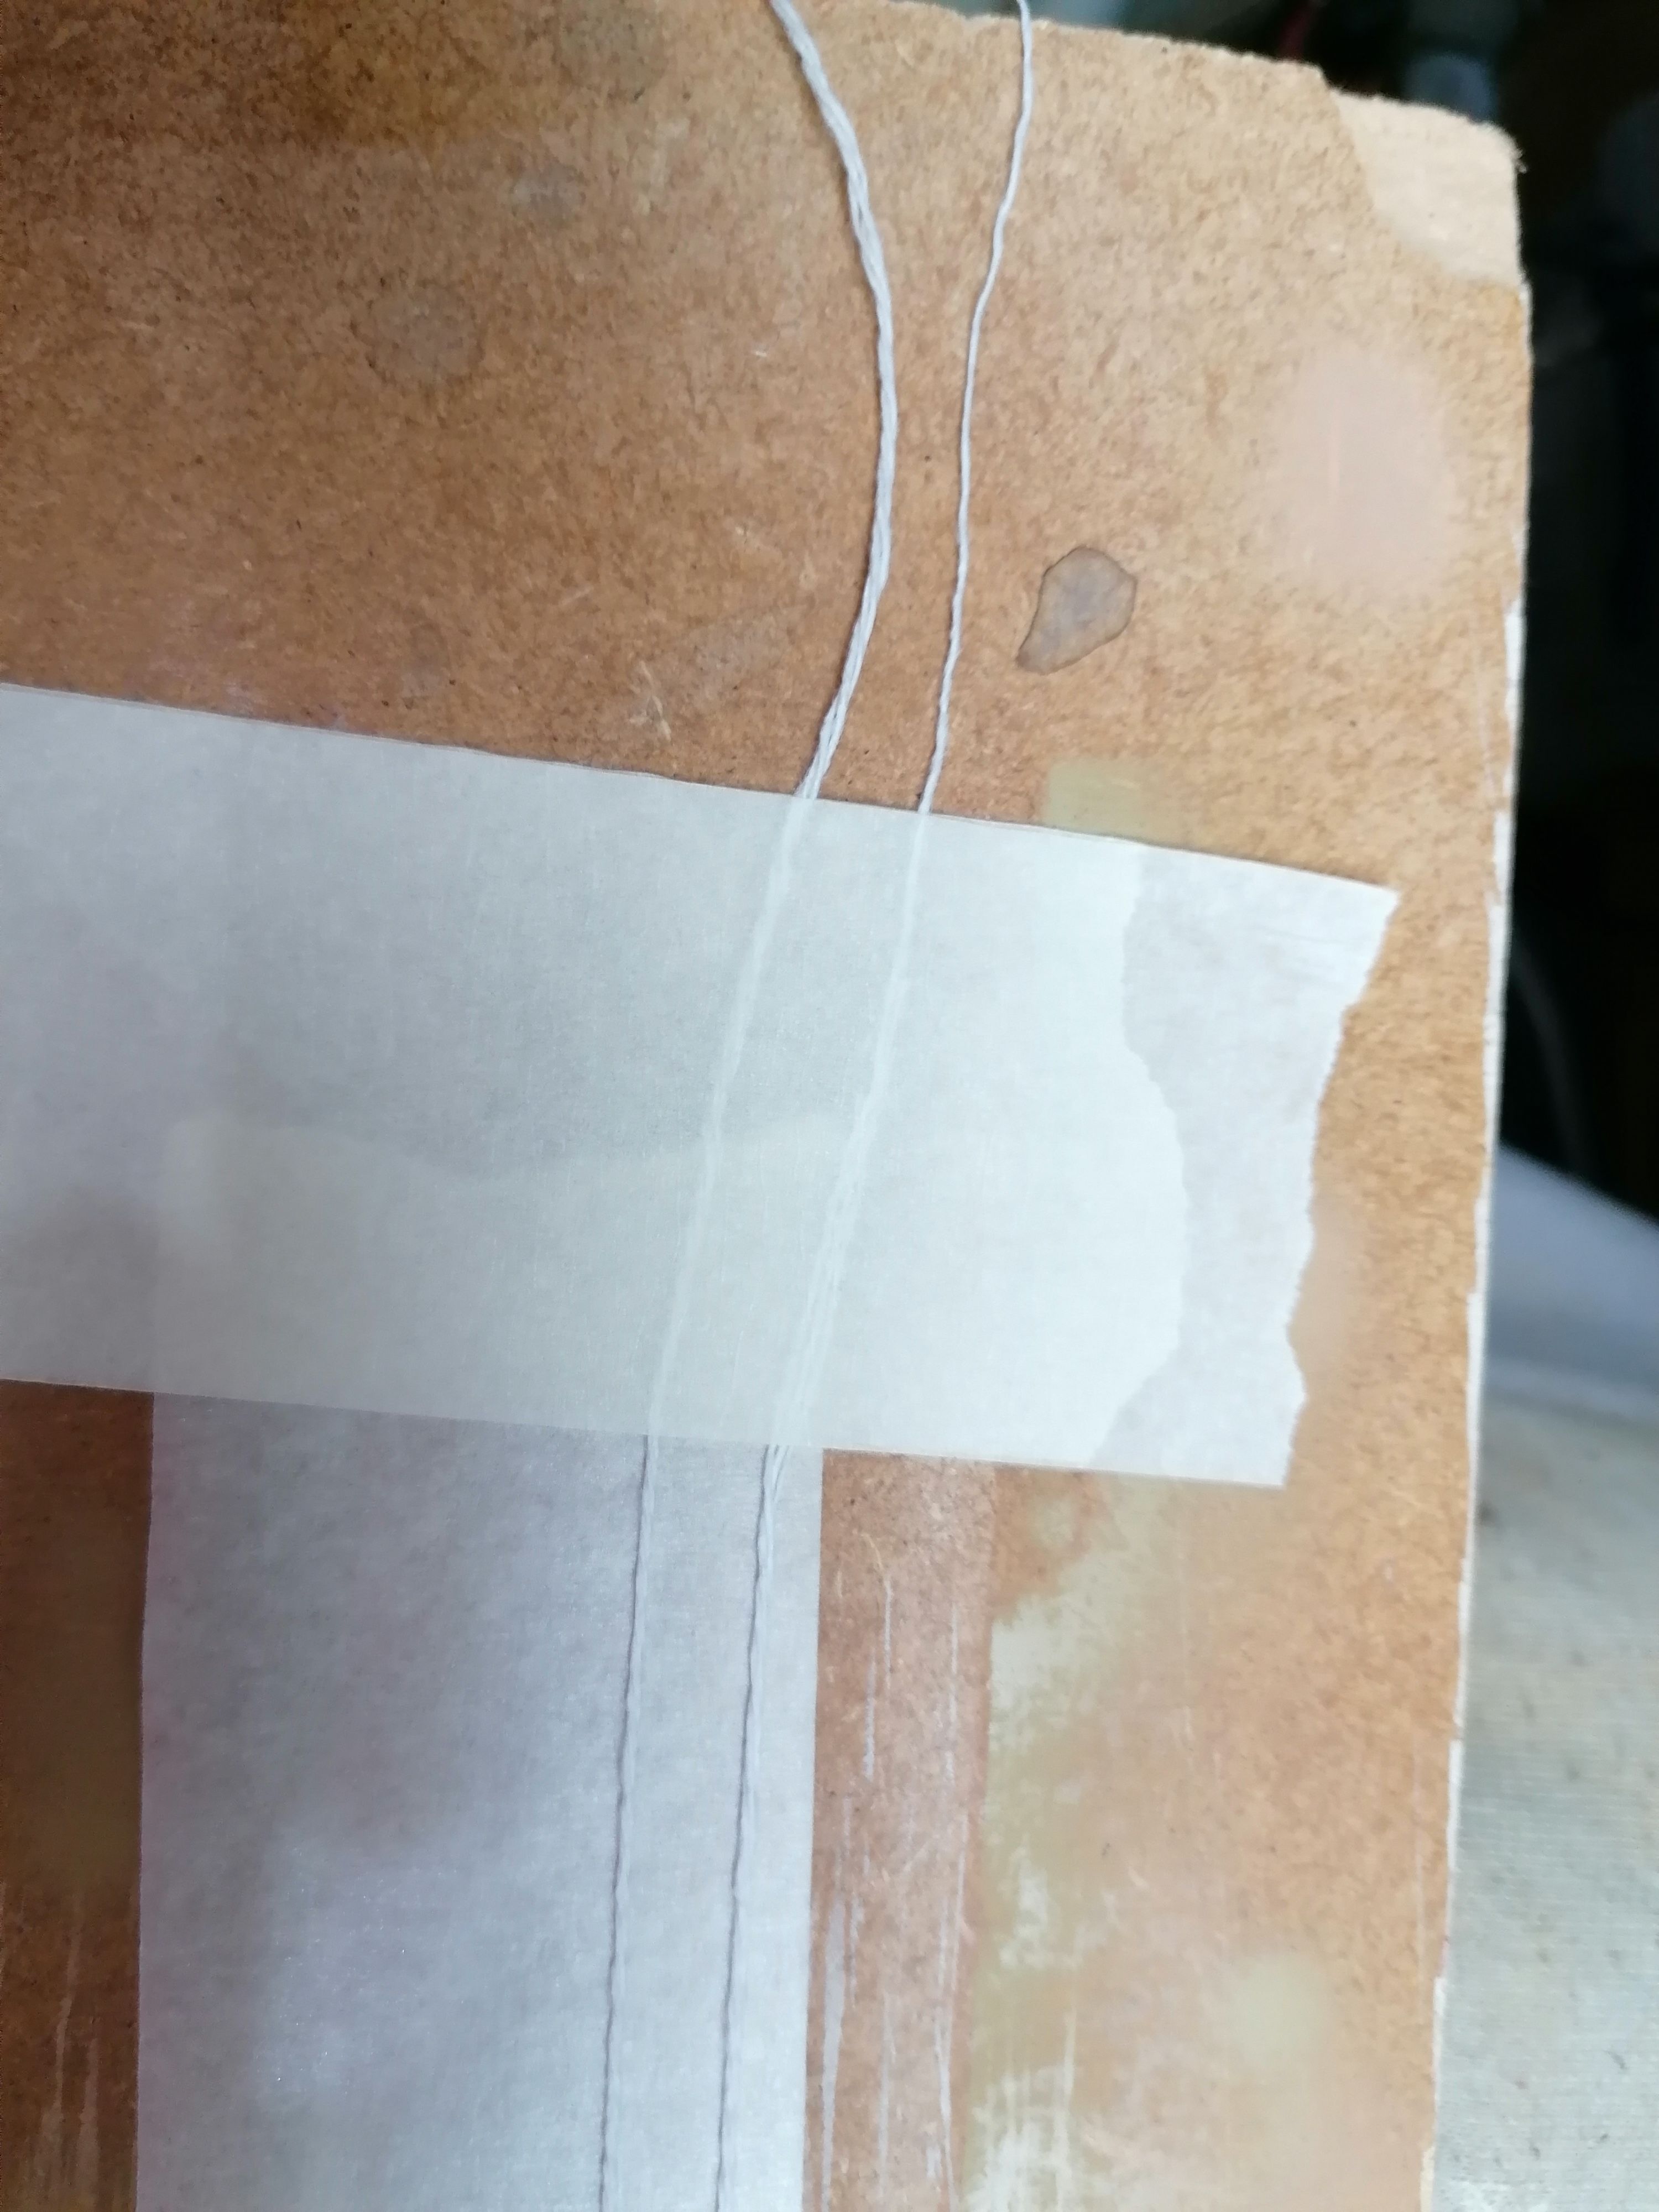
When I used my lighter to heat the tow rope for bending I pretty much just melted them, consequently I now need to make some. Firstly I have saved the hooks and filled them down. Secondly, I have made some new ropes, unwinding string and rewinding several of the stands until I achieved the correct thickness. Thirdly I glued the new ropes to the hooks and used thin masking tape to recreate the metal braces. Finally, a coat of paint and some weathering and we basically have a perfect set of replacement Tow Cables.

Sanded The Connectors On The Tow Hooks
Sanded The Connectors On The Tow Hooks.
Making Some New Tow Cables For The Merkava After I Melted The Original Ones
Making Some New Tow Cables For The Merkava After I Melted The Original Ones.
Connected The New Cables With Superglue And Added Some Tape To Recreate The Metal Wraps
Connected The New Cables With Superglue And Added Some Tape To Recreate The Metal Wraps.
The New Tow Cables For The 1/35th Scale Merkava Model
The New Tow Cables For The 1/35th Scale Merkava Model.
Fitted The Scratch-Built Tow Cable To The Tank Turret
Fitted The Scratch-Built Tow Cable To The Tank Turret.

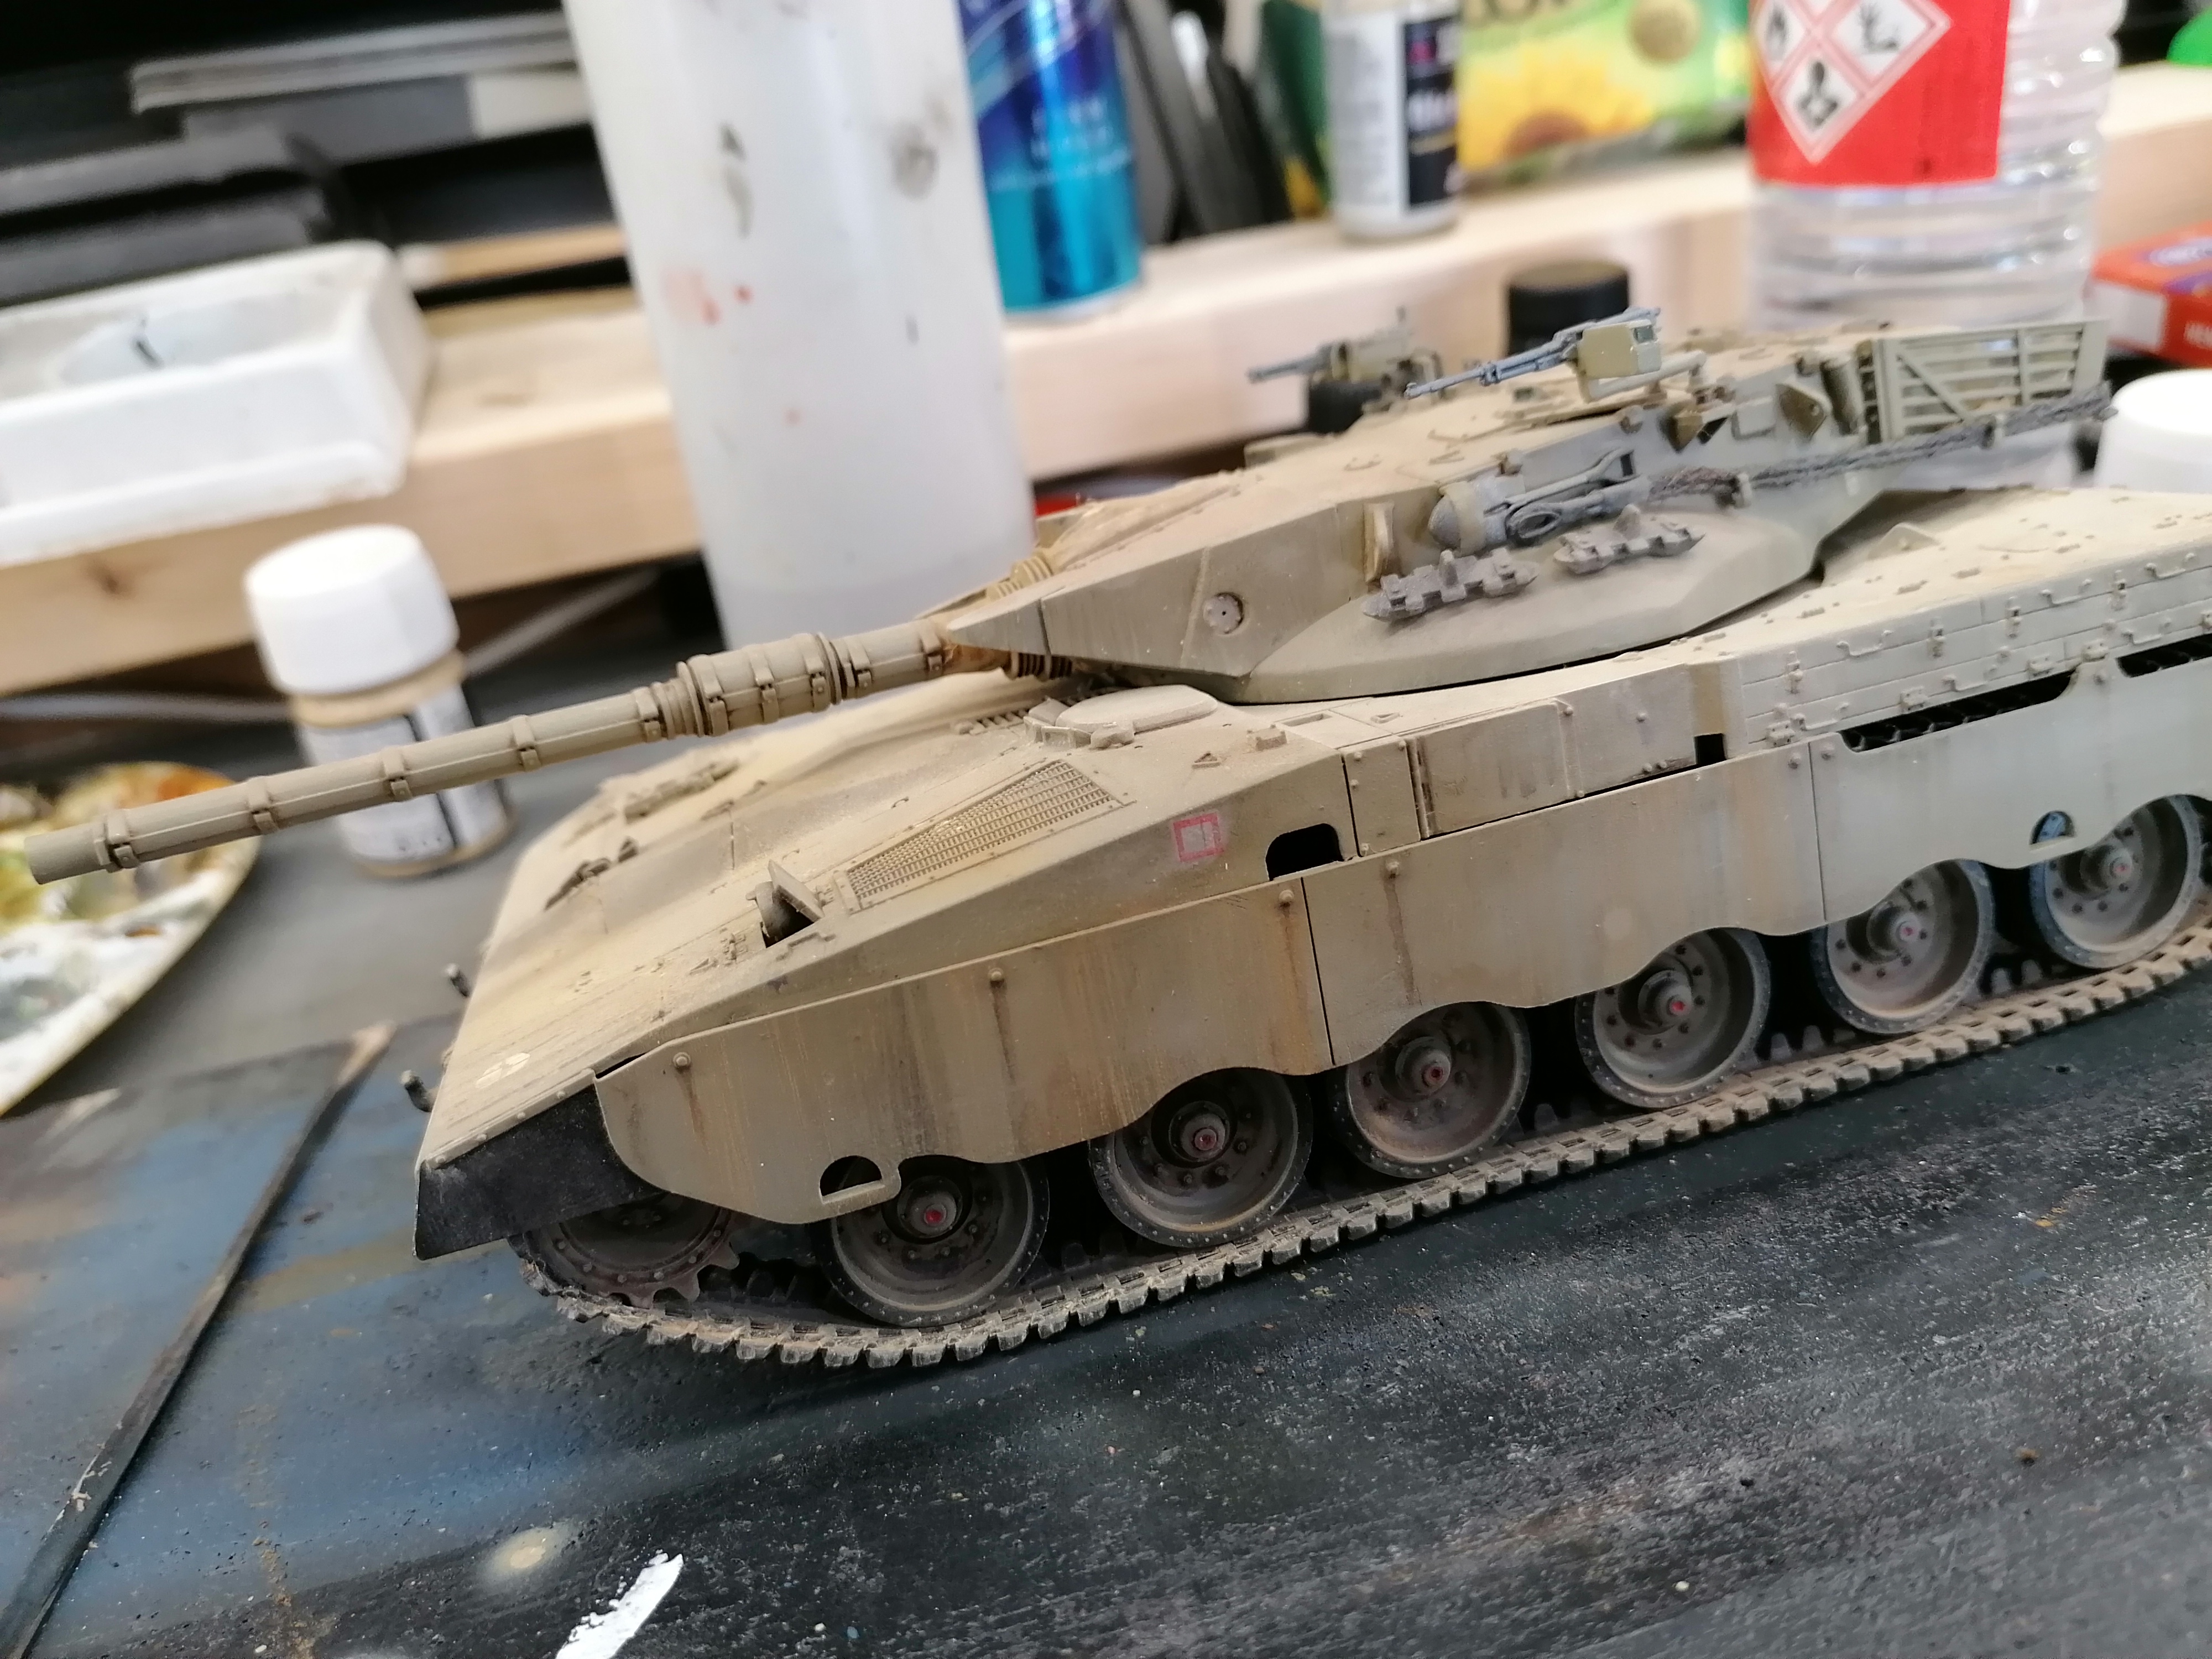
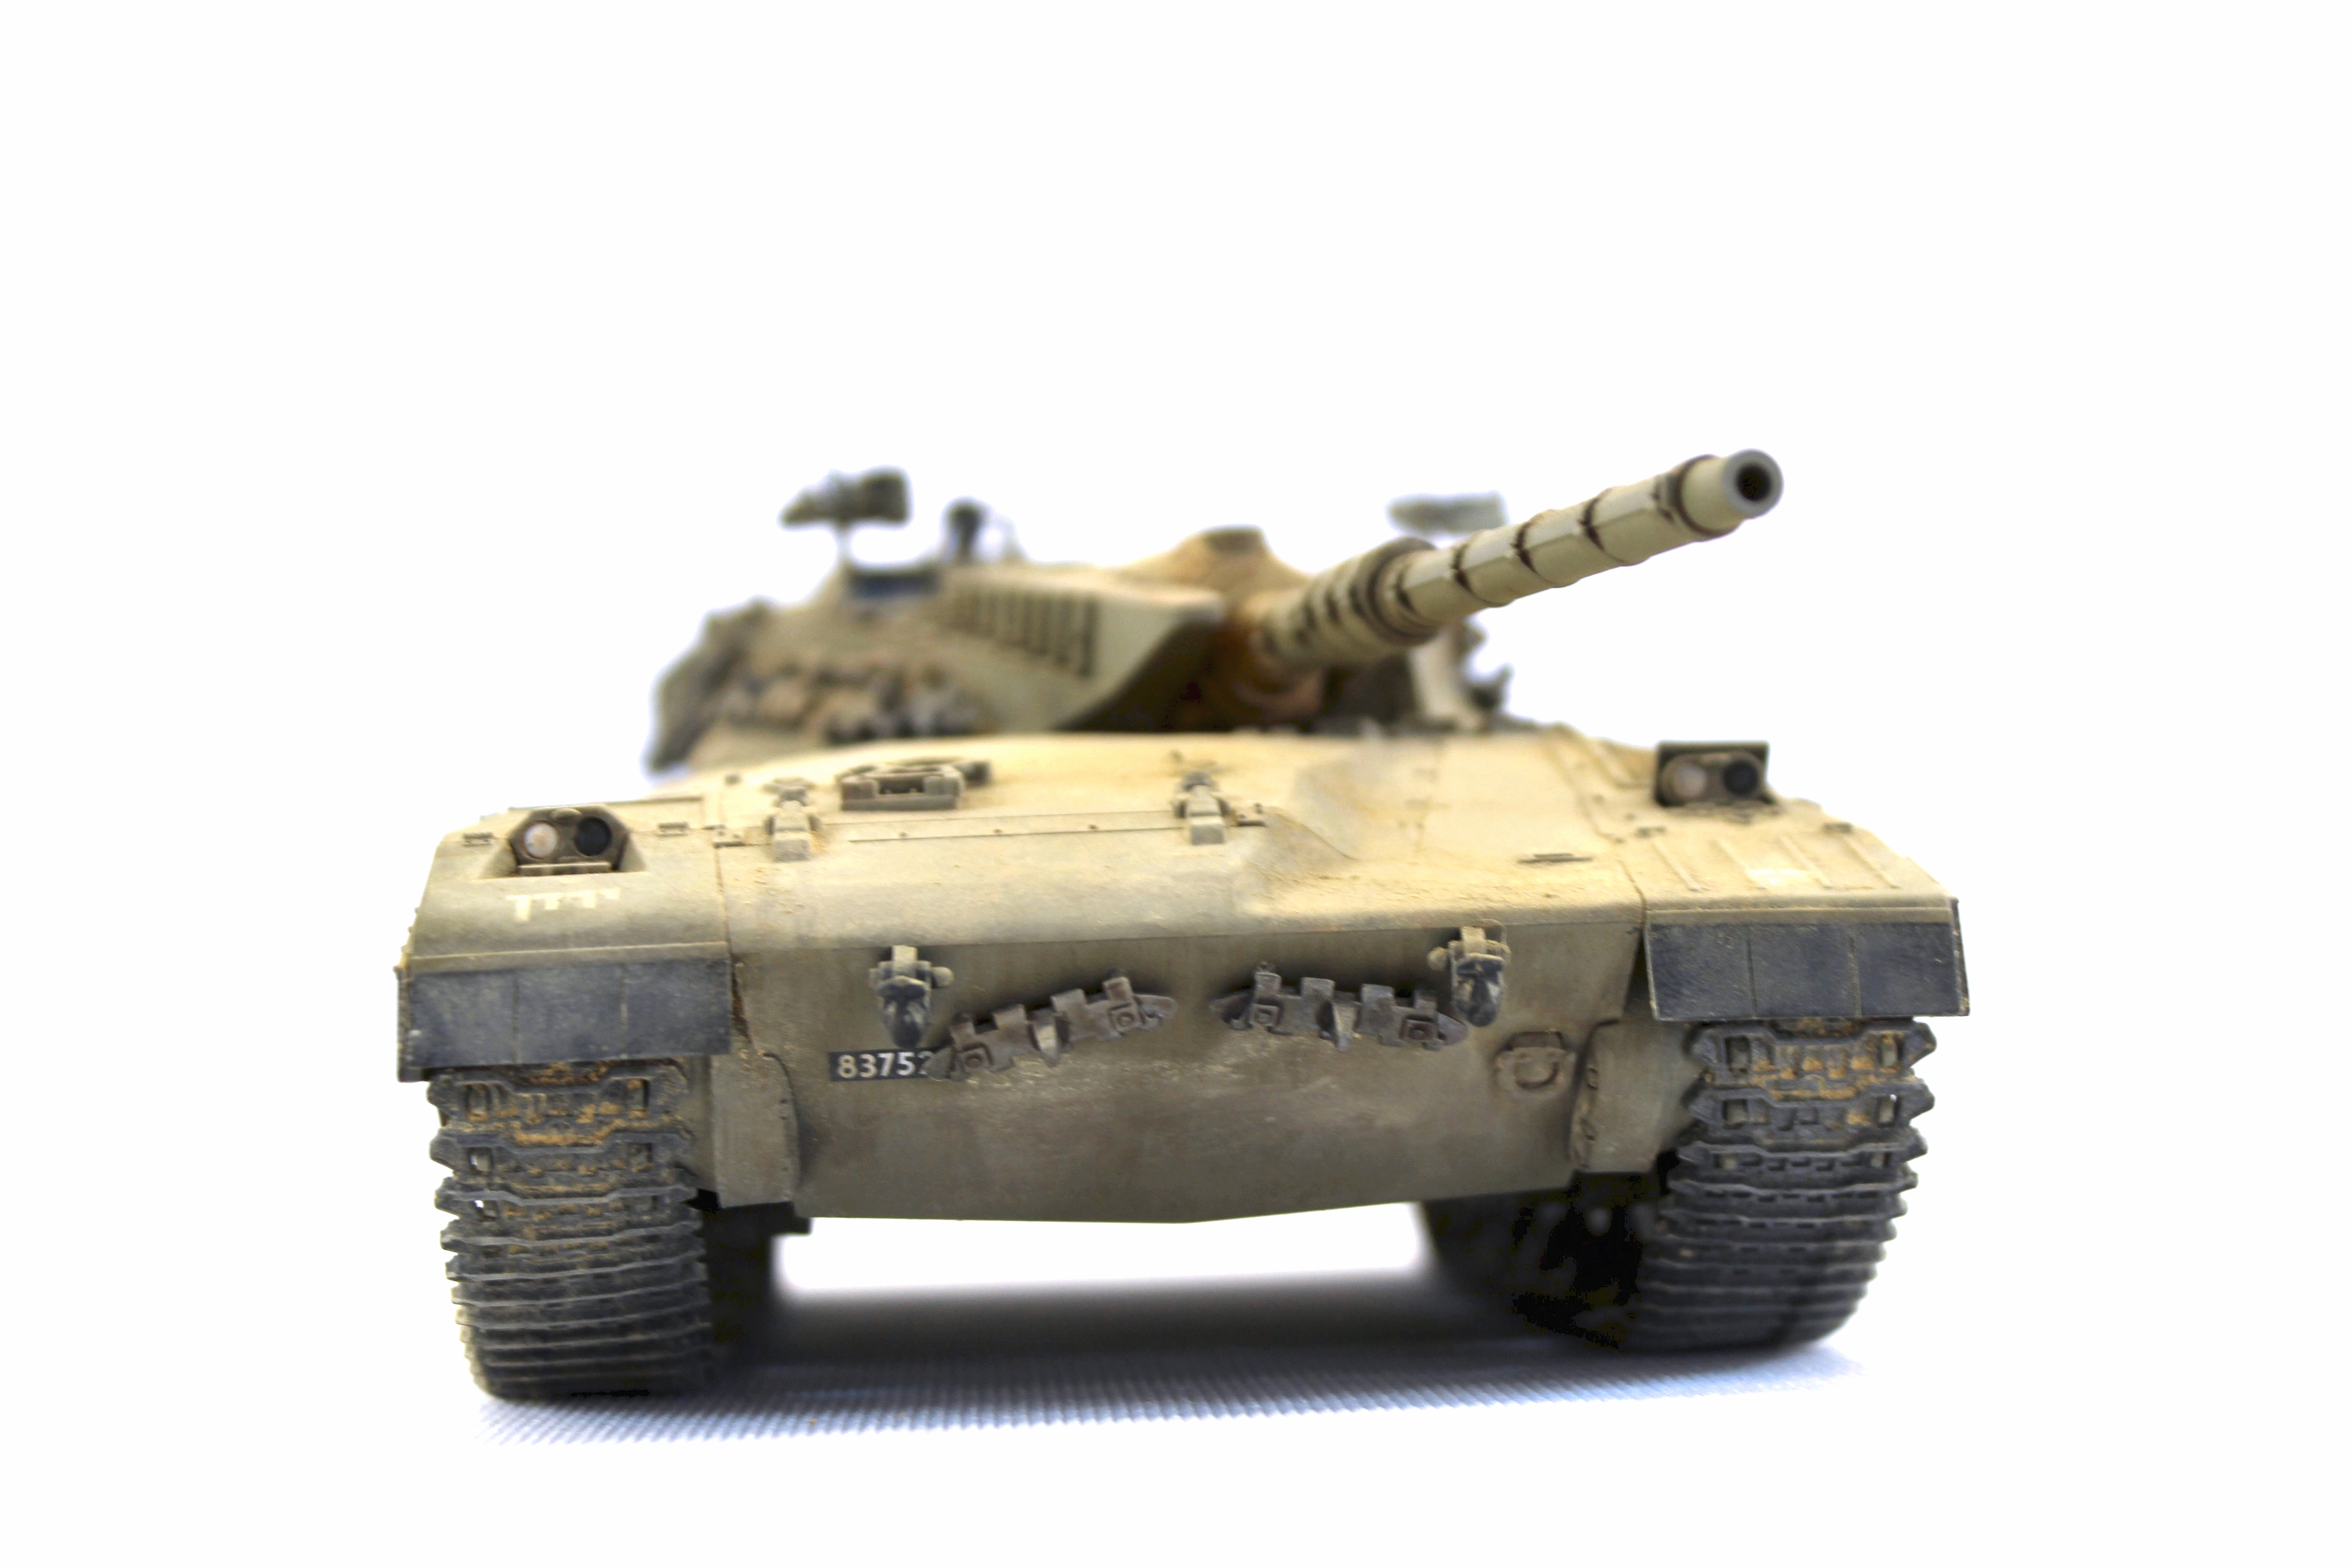
Despite The Hick Up The Painting Continues

Painted The Centre Of The Wheels Red
Painted The Centre Of The Wheels Red.
Lower Hull Of The Merkava Awaiting Its Sideskirts
Lower Hull Of The Merkava Awaiting Its Sideskirts.

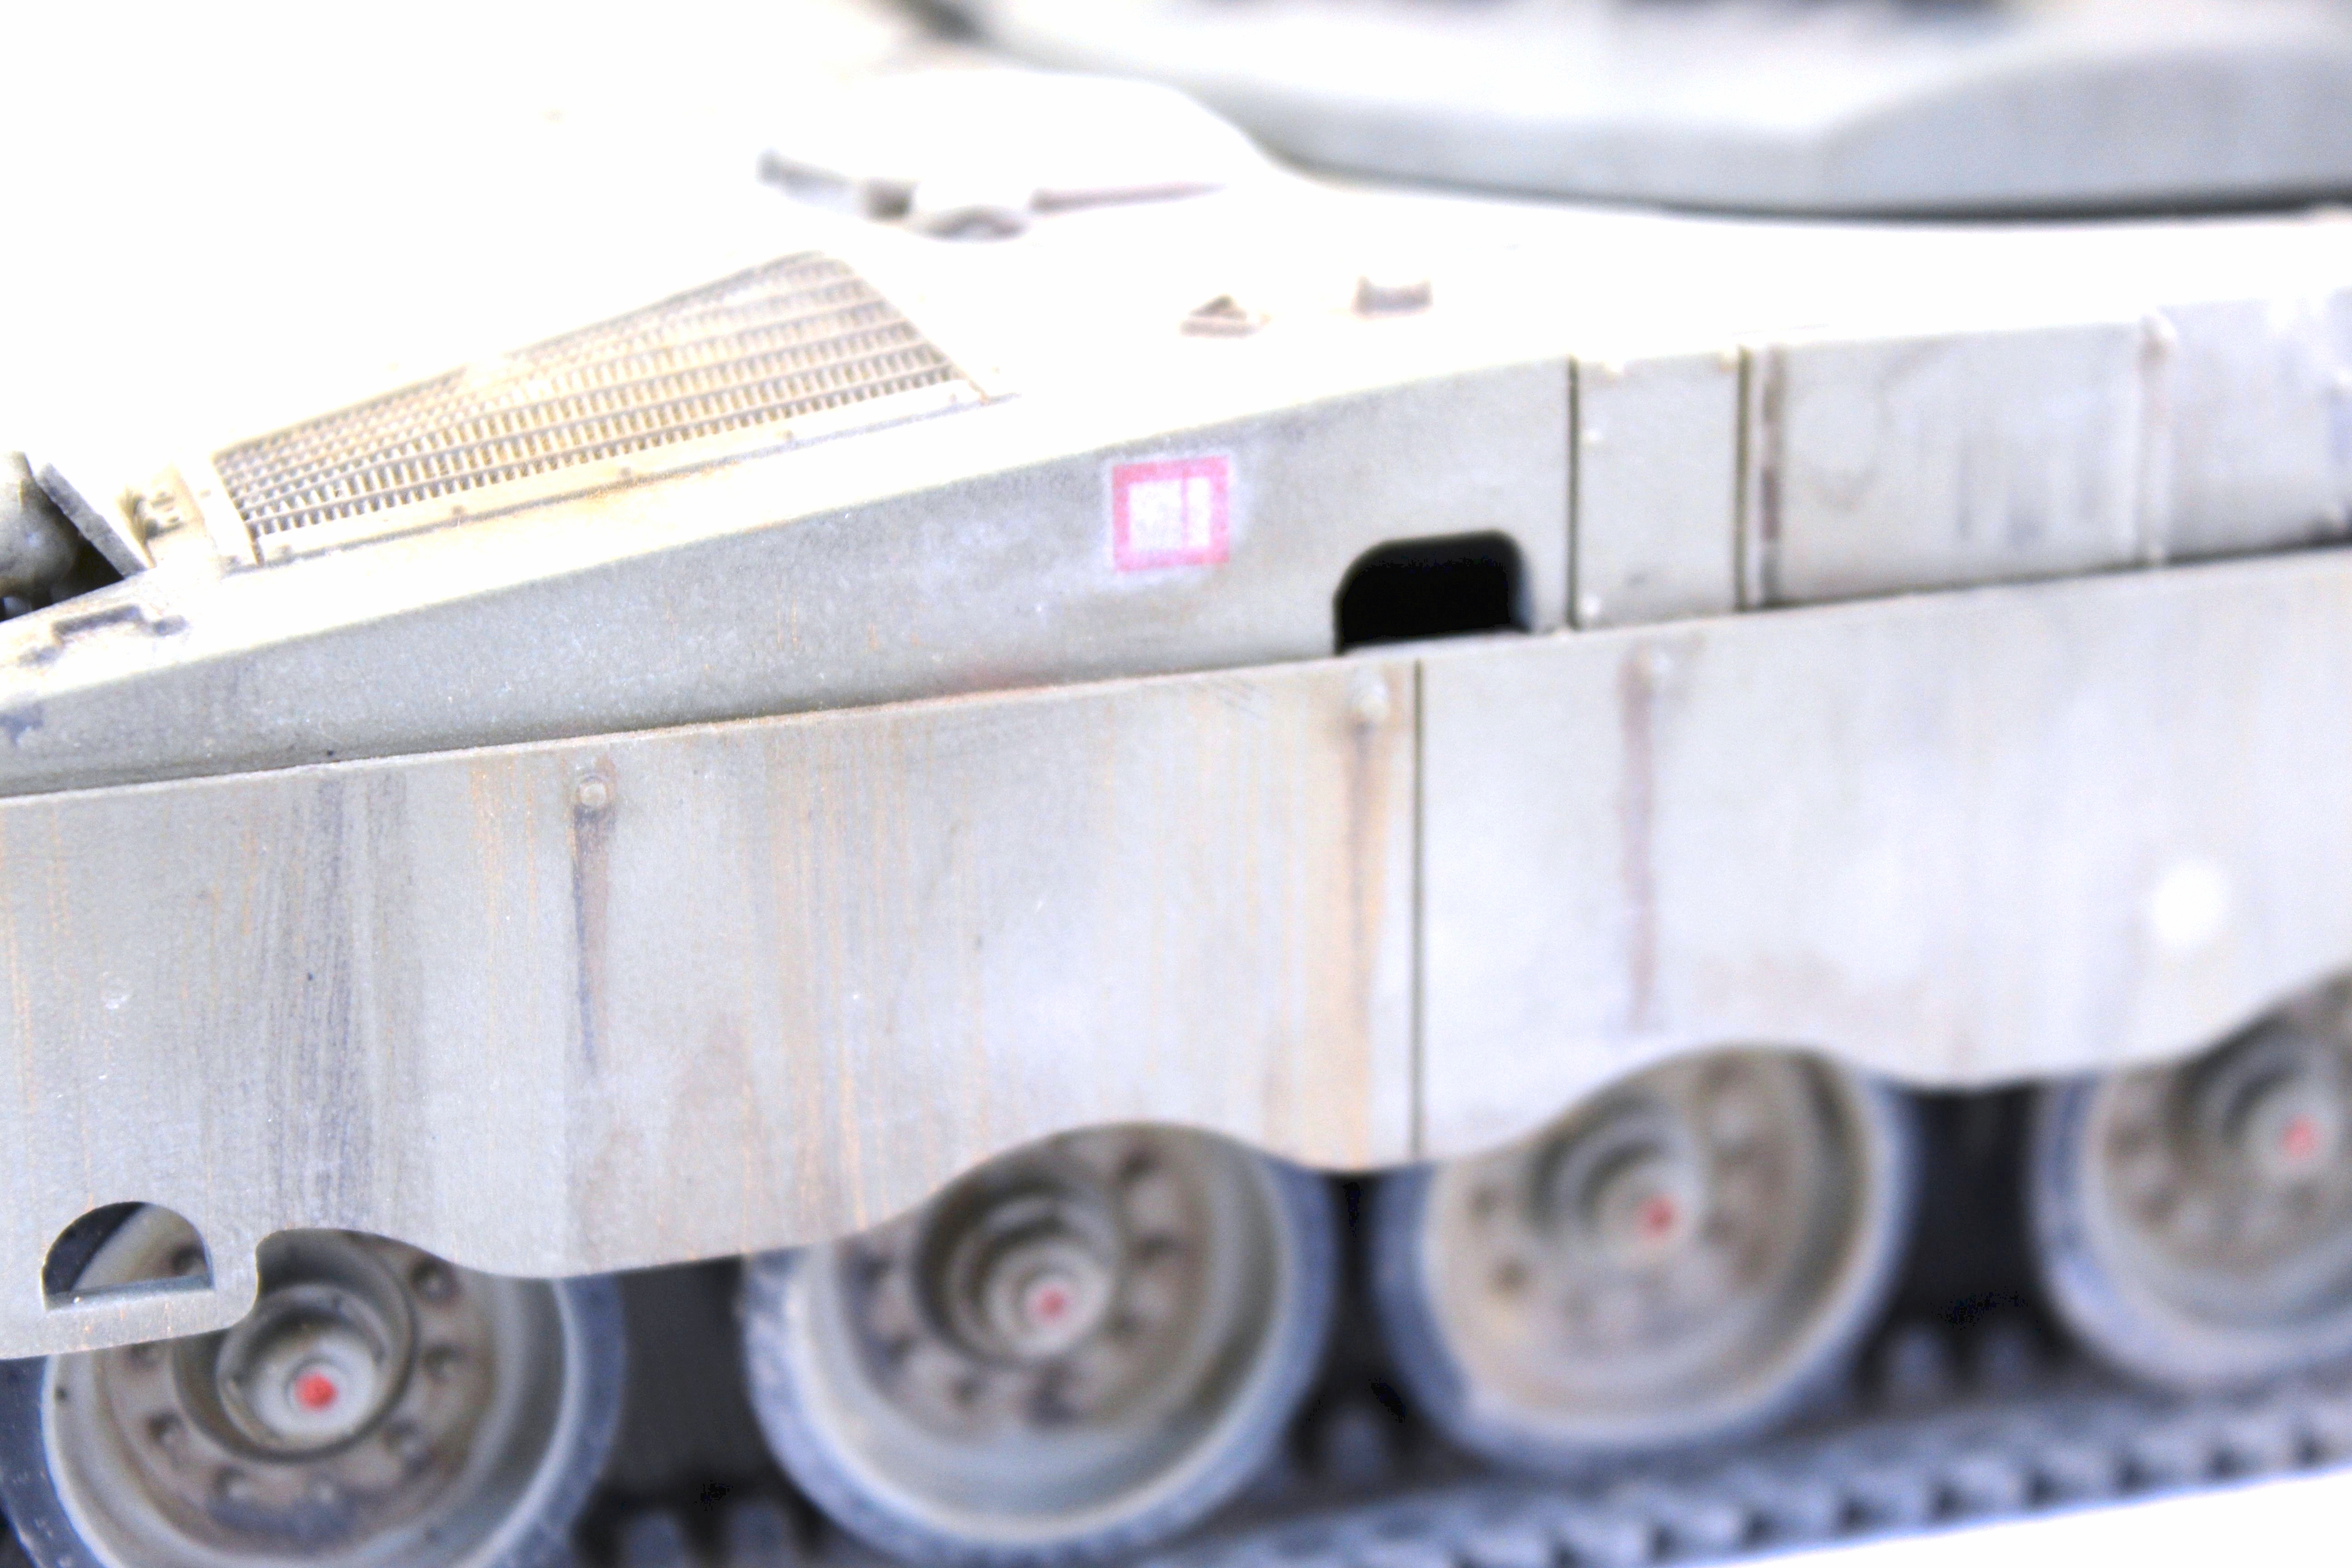
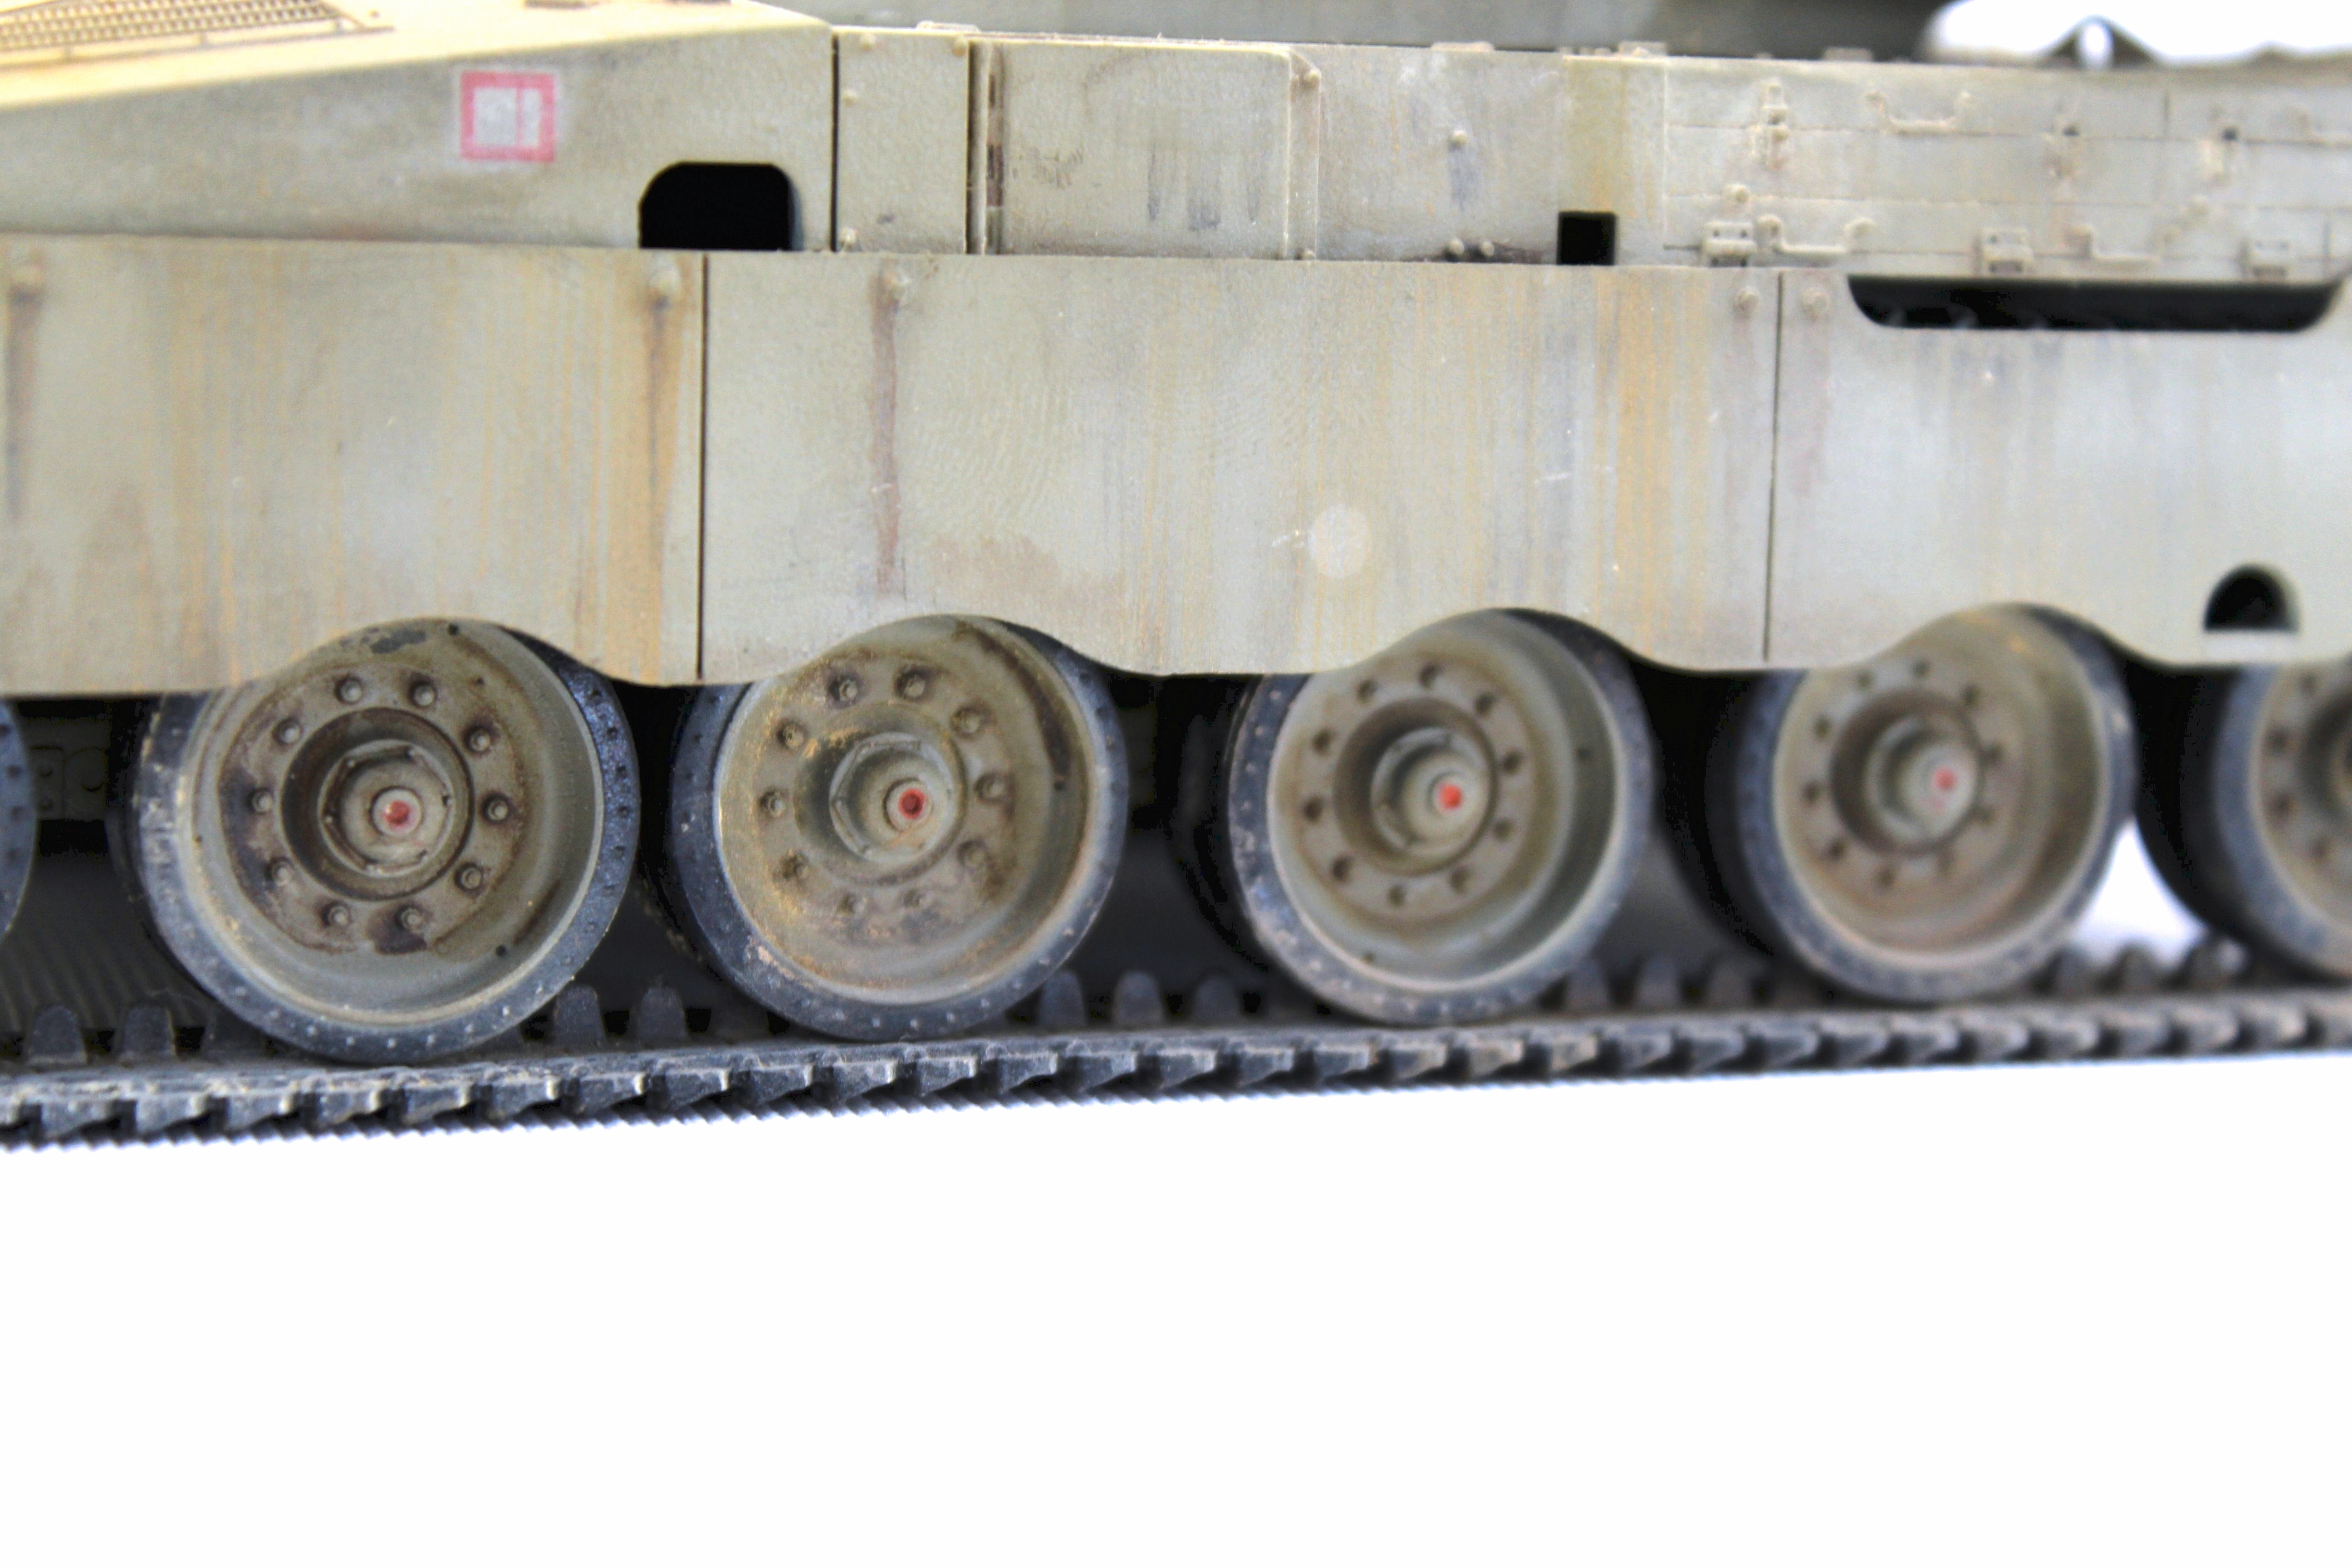
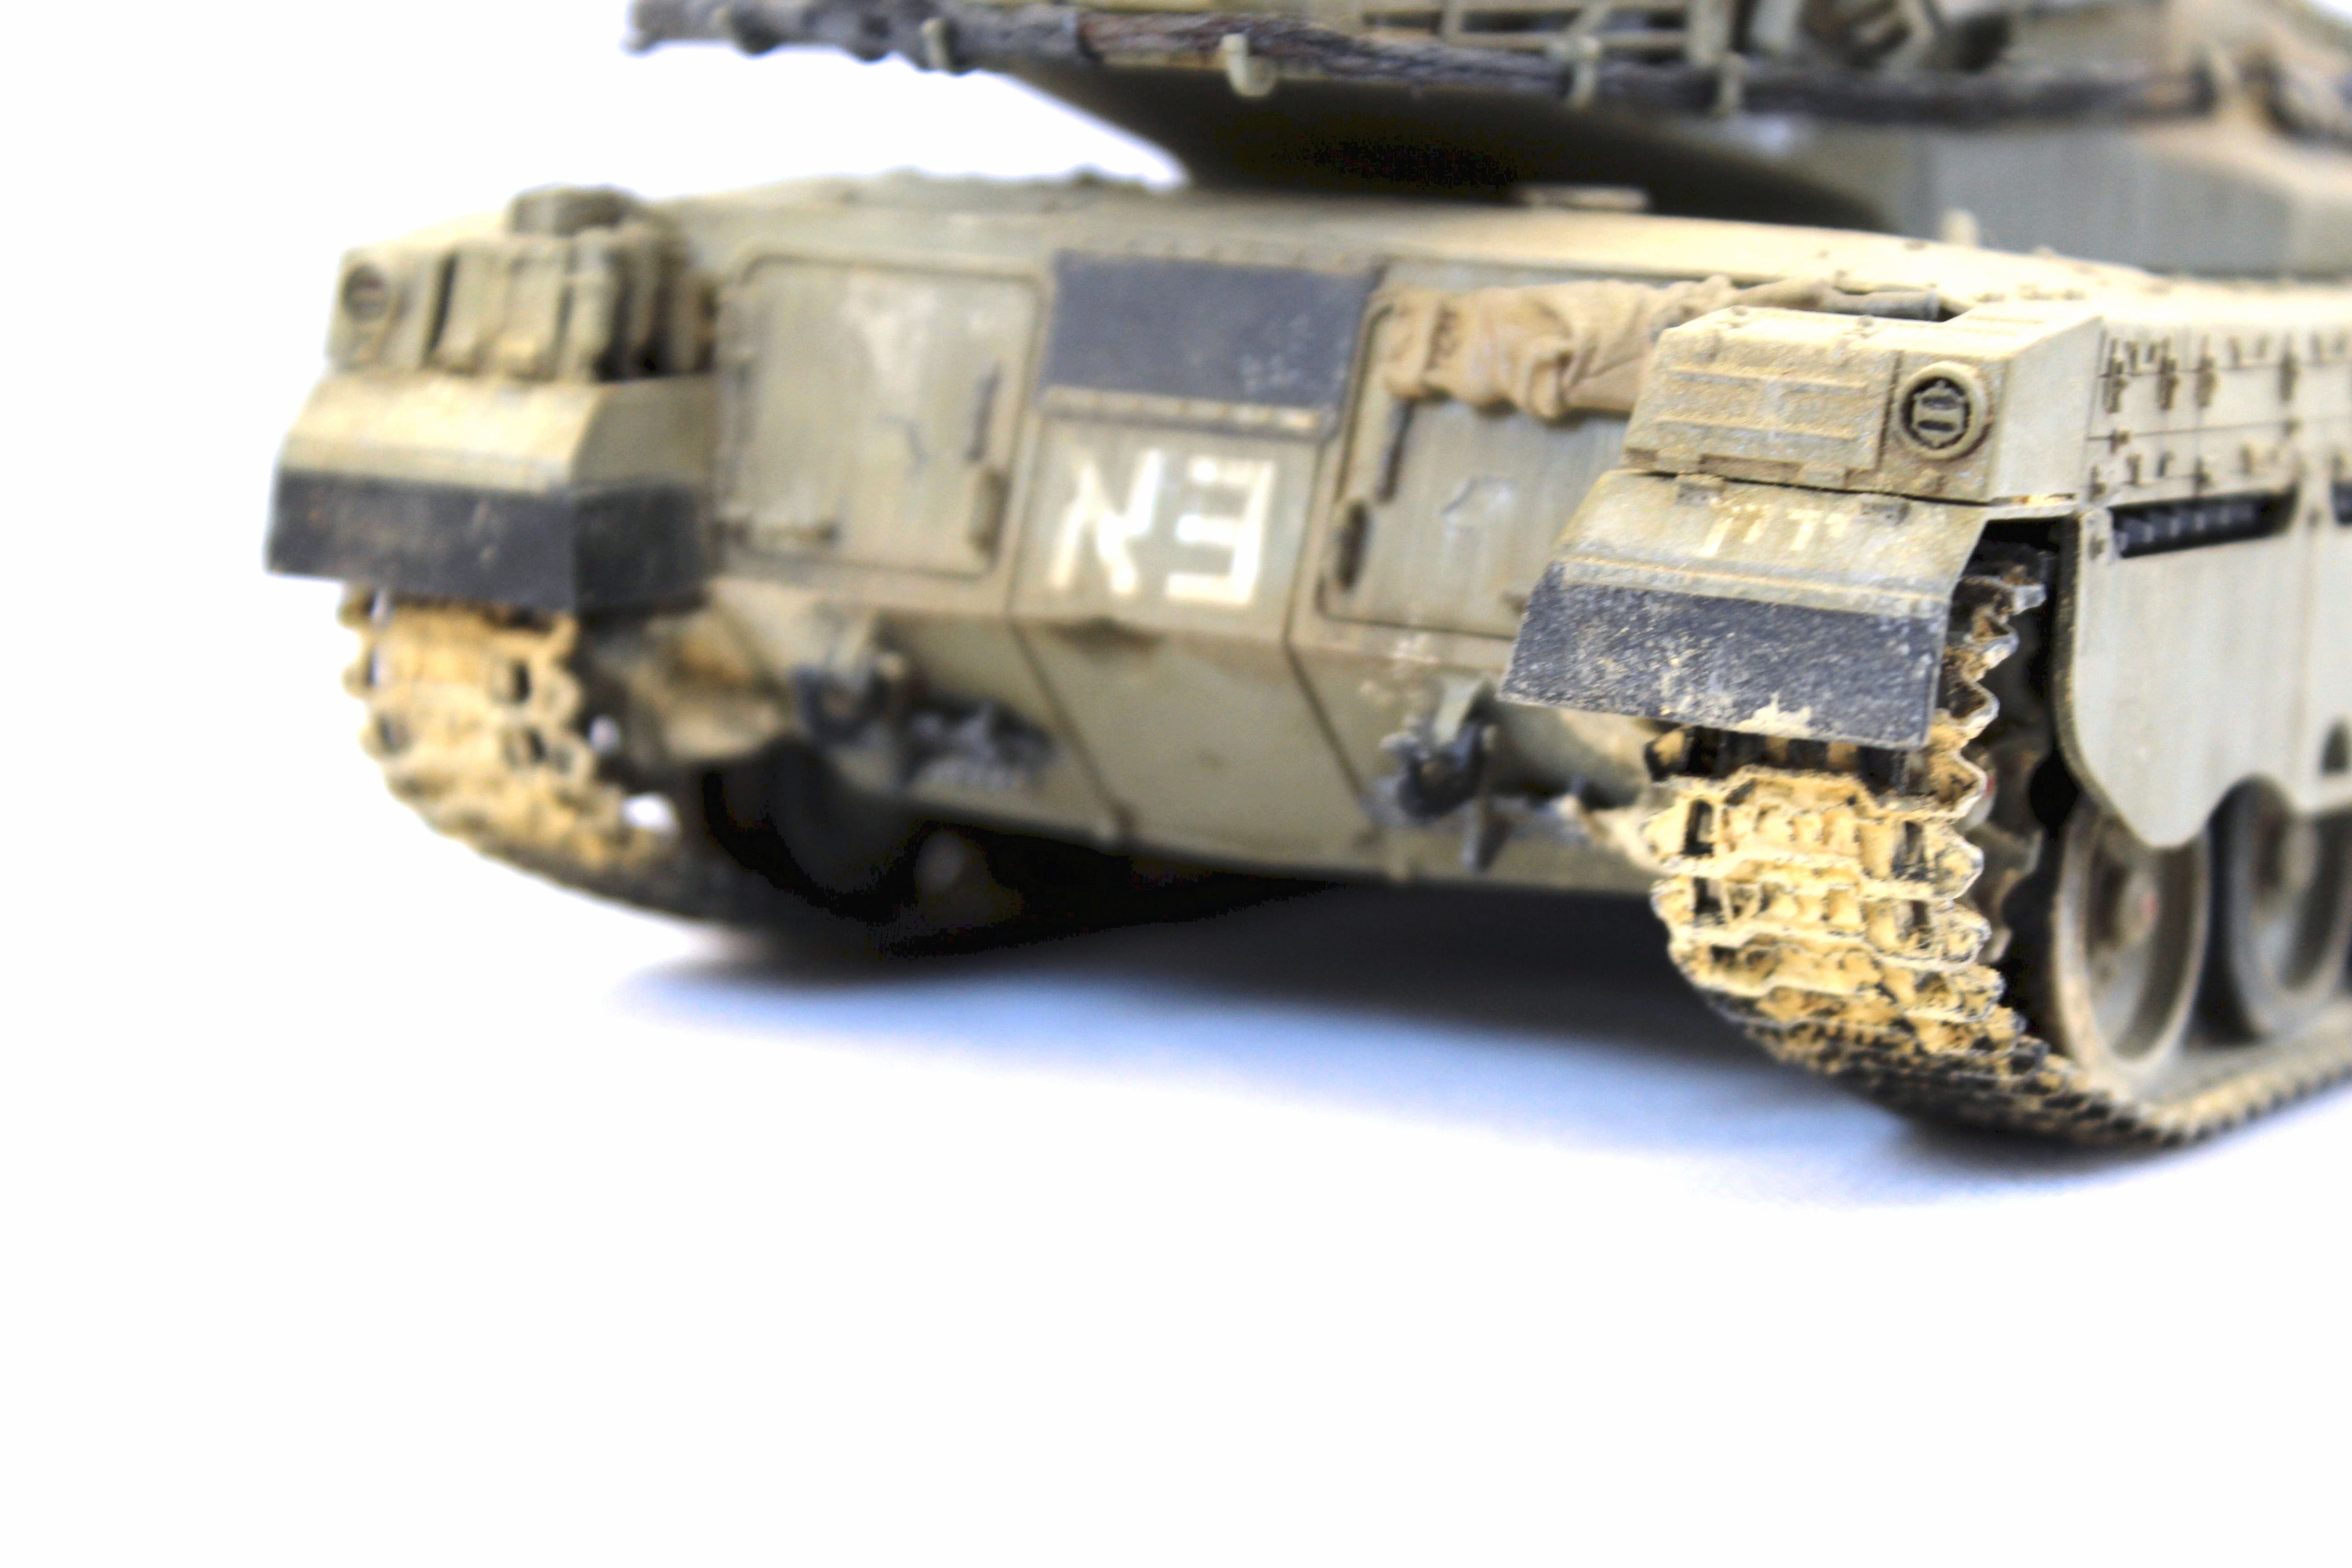
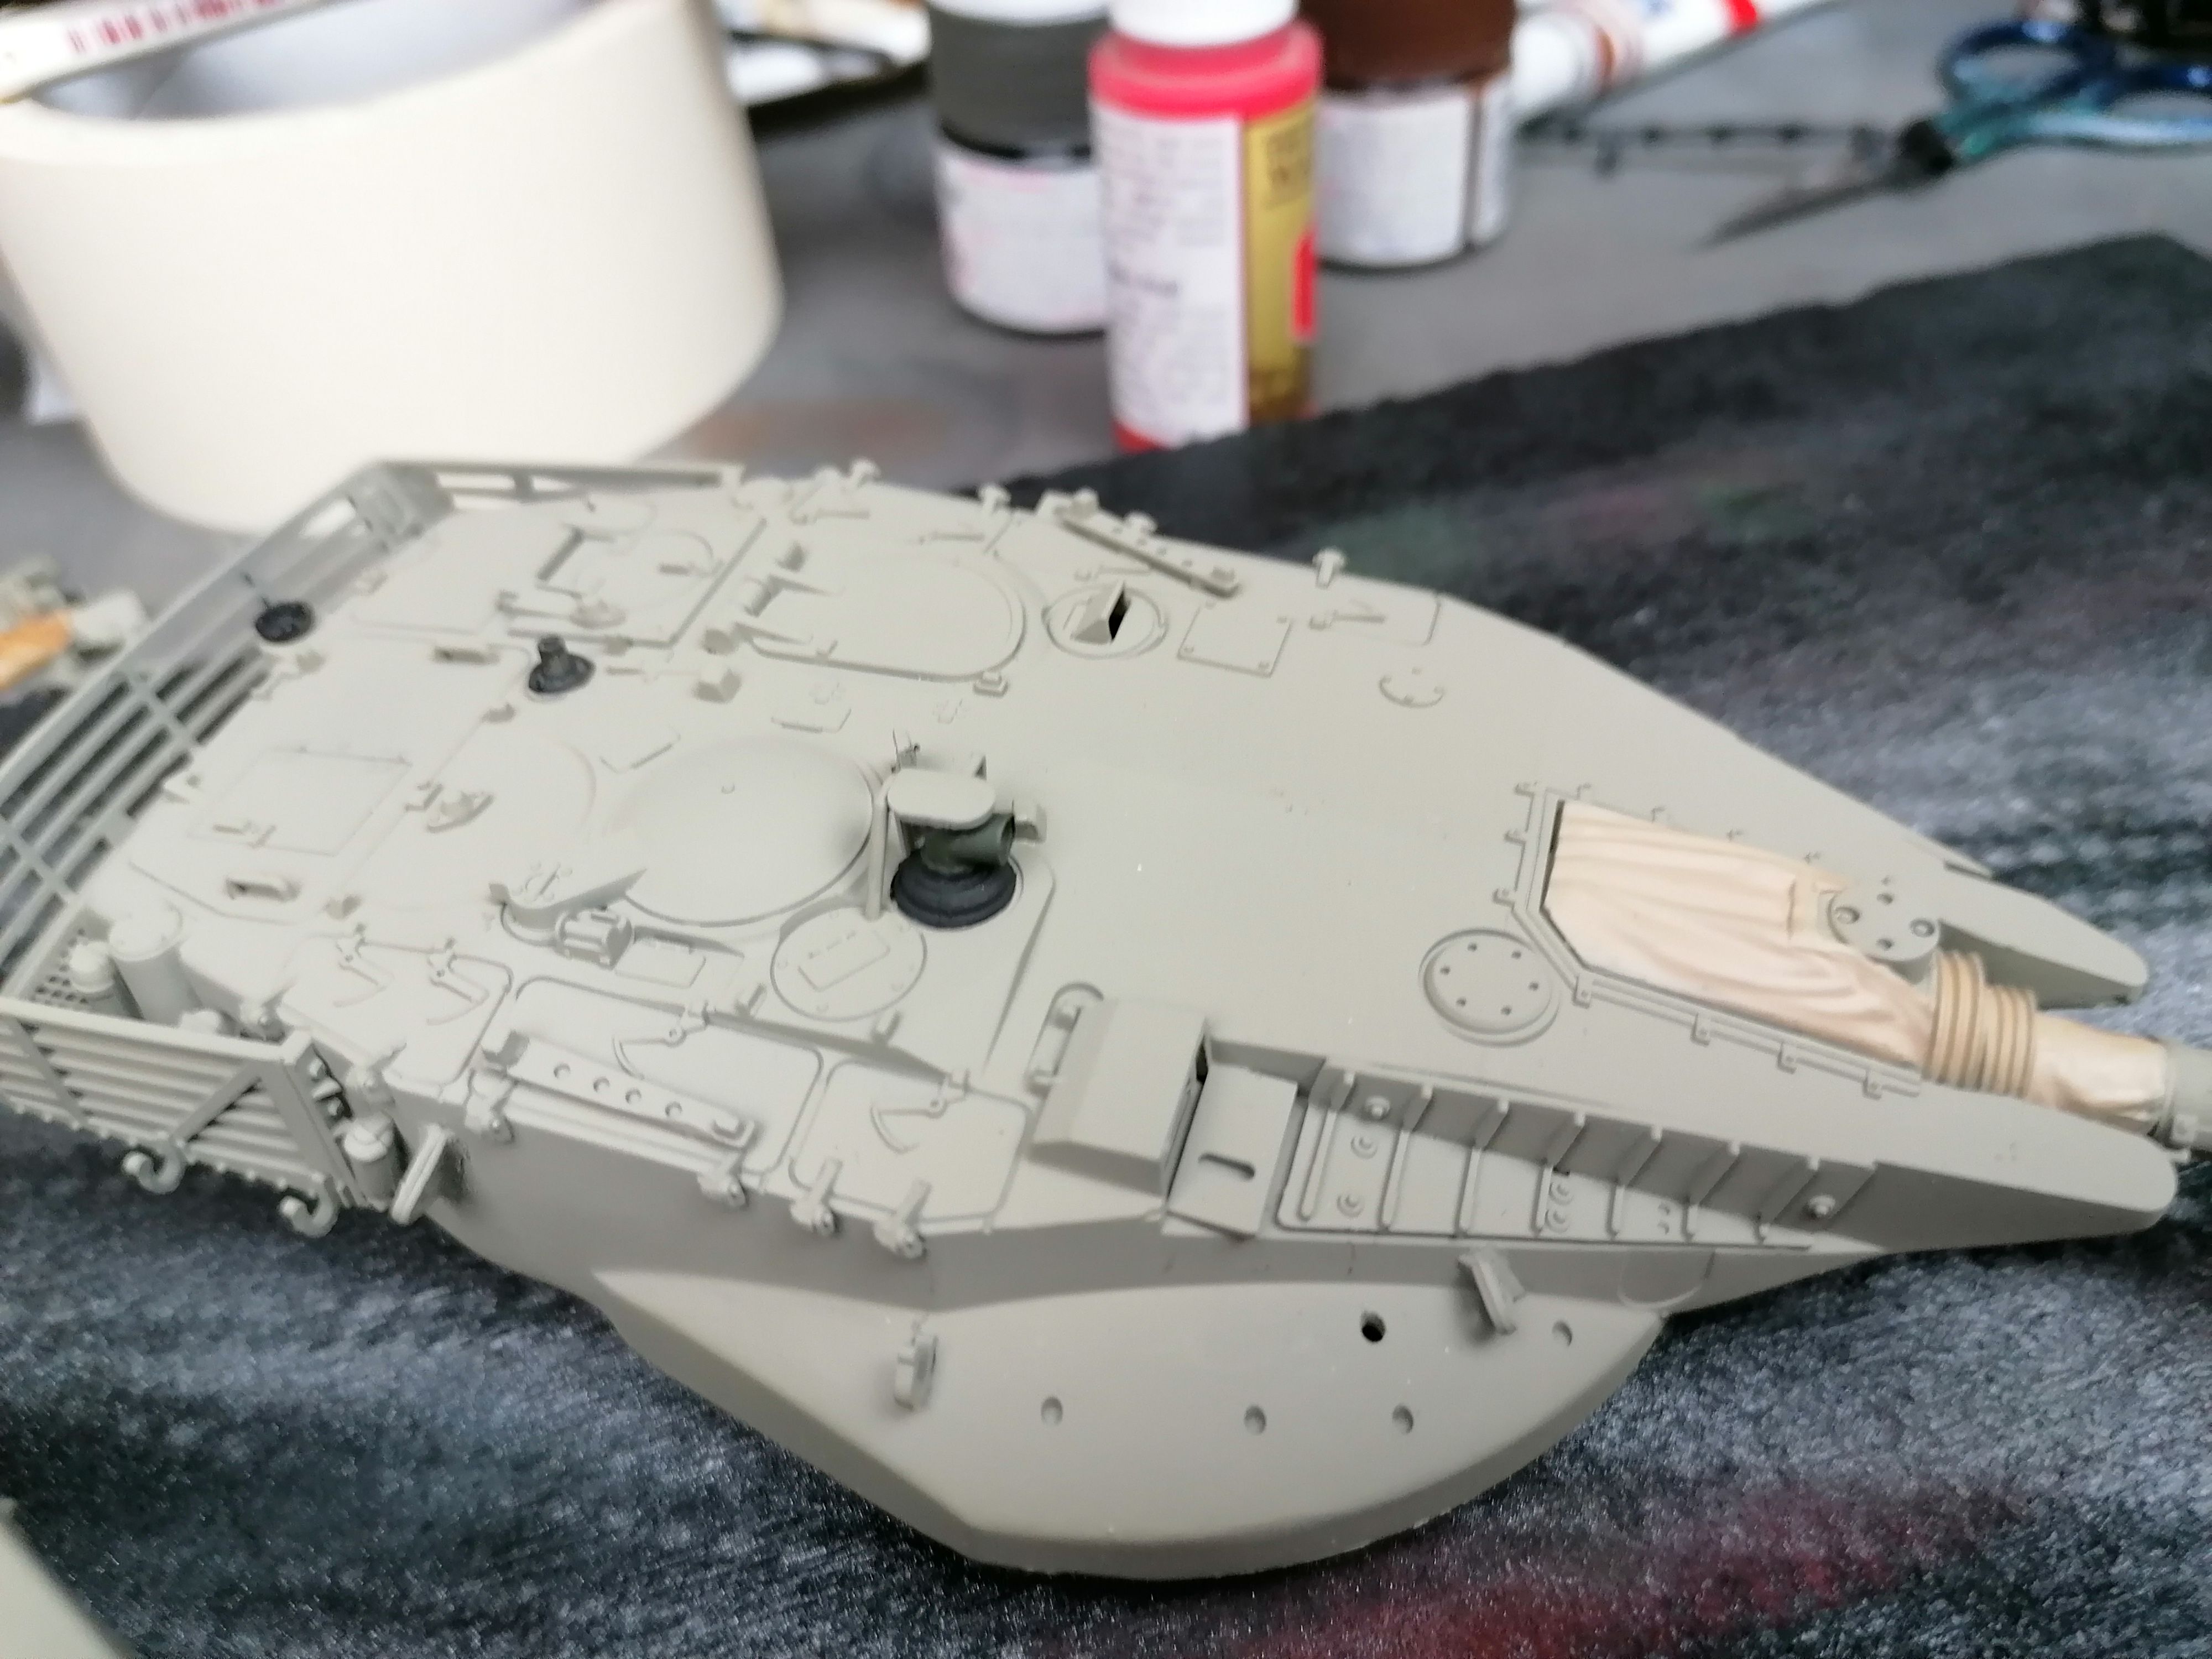
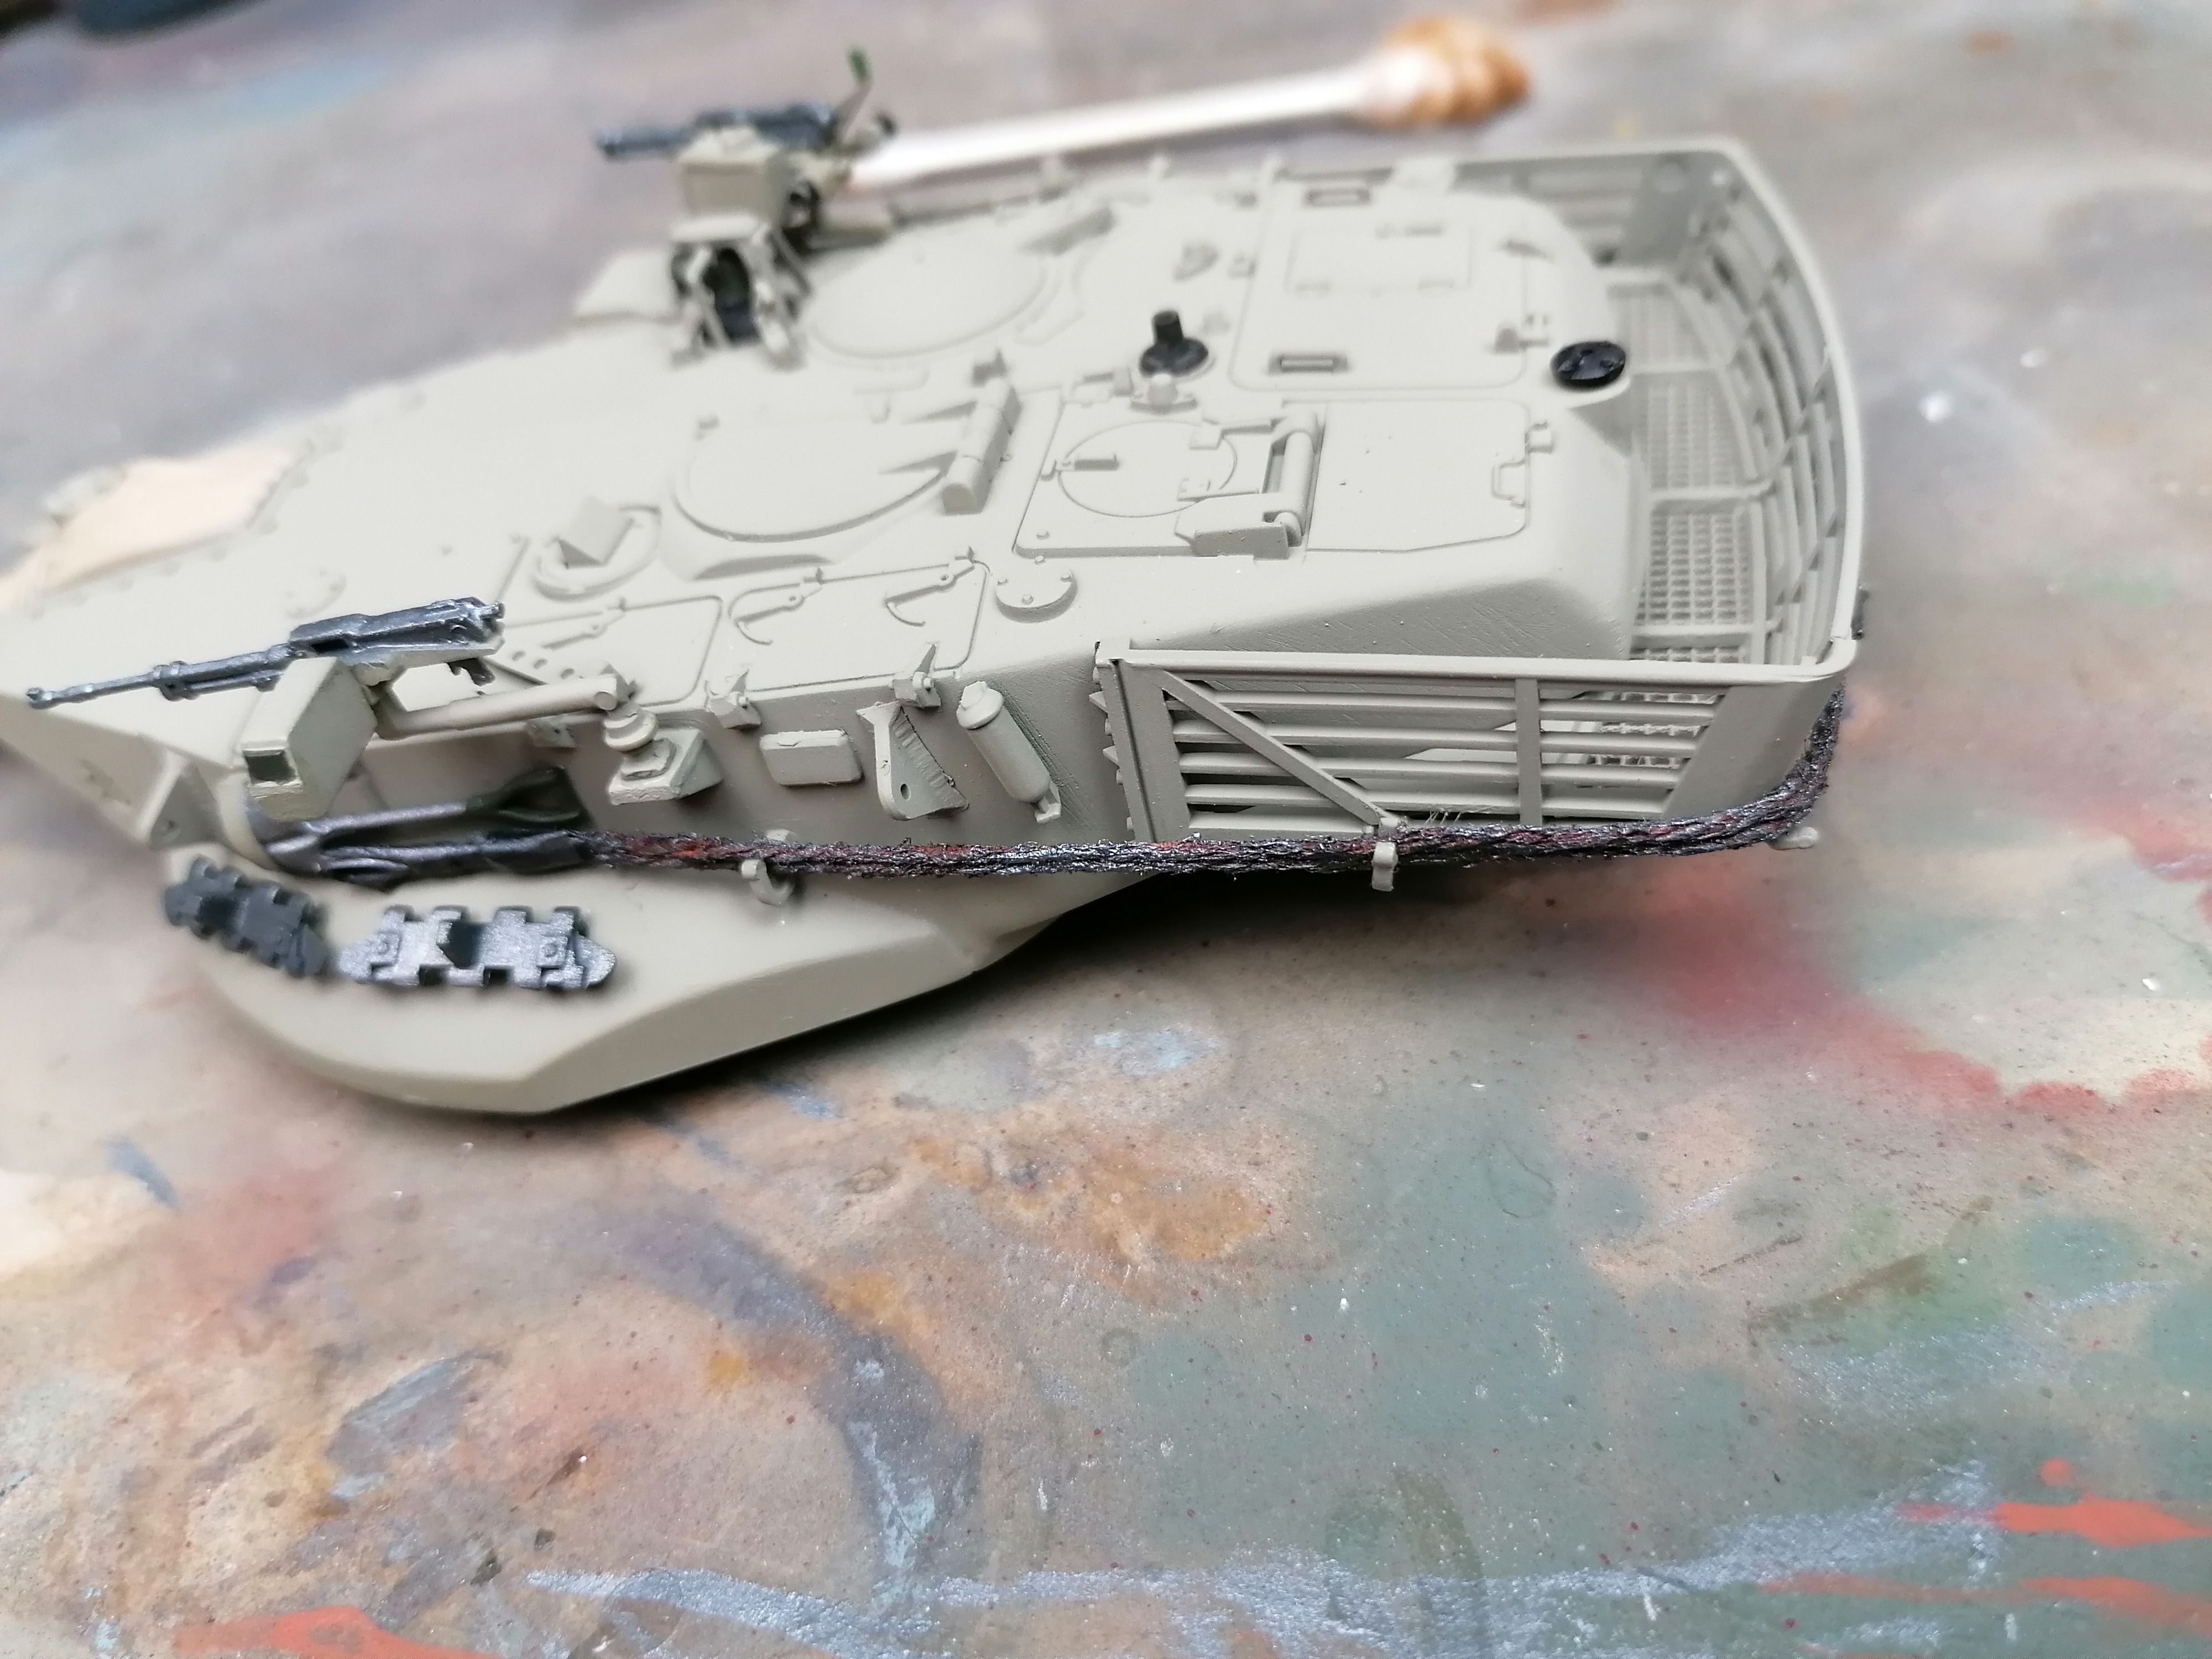
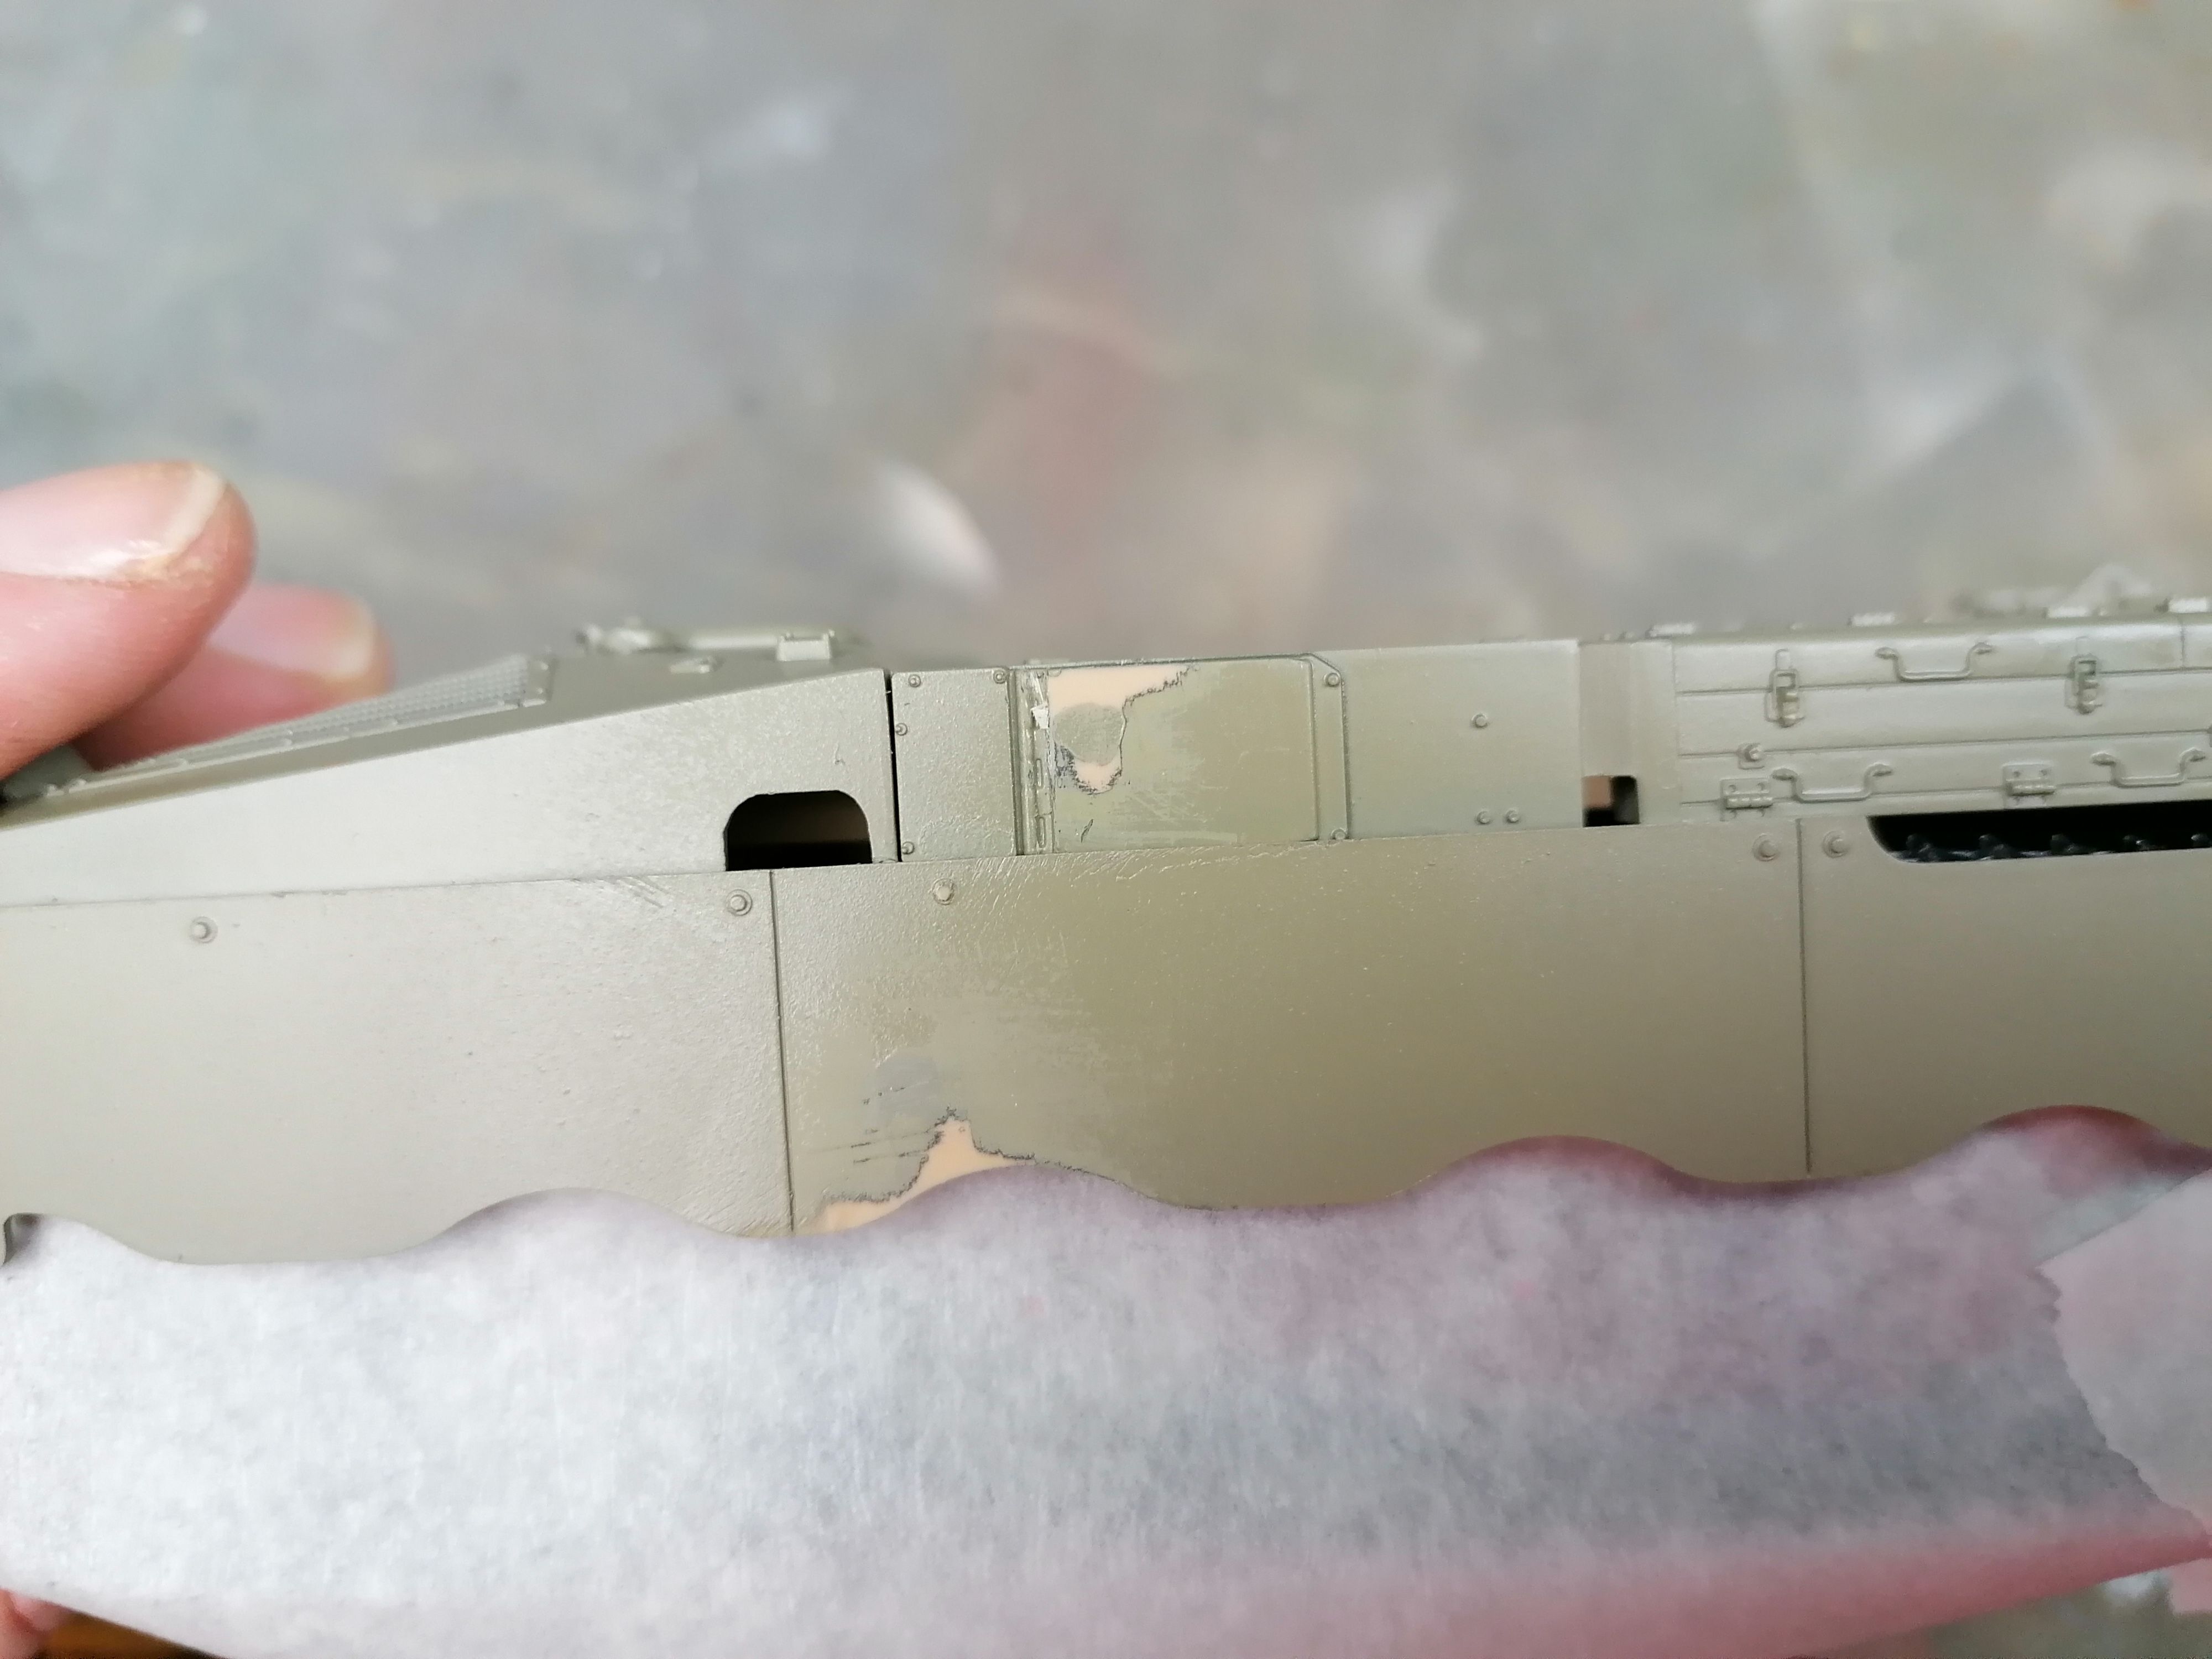
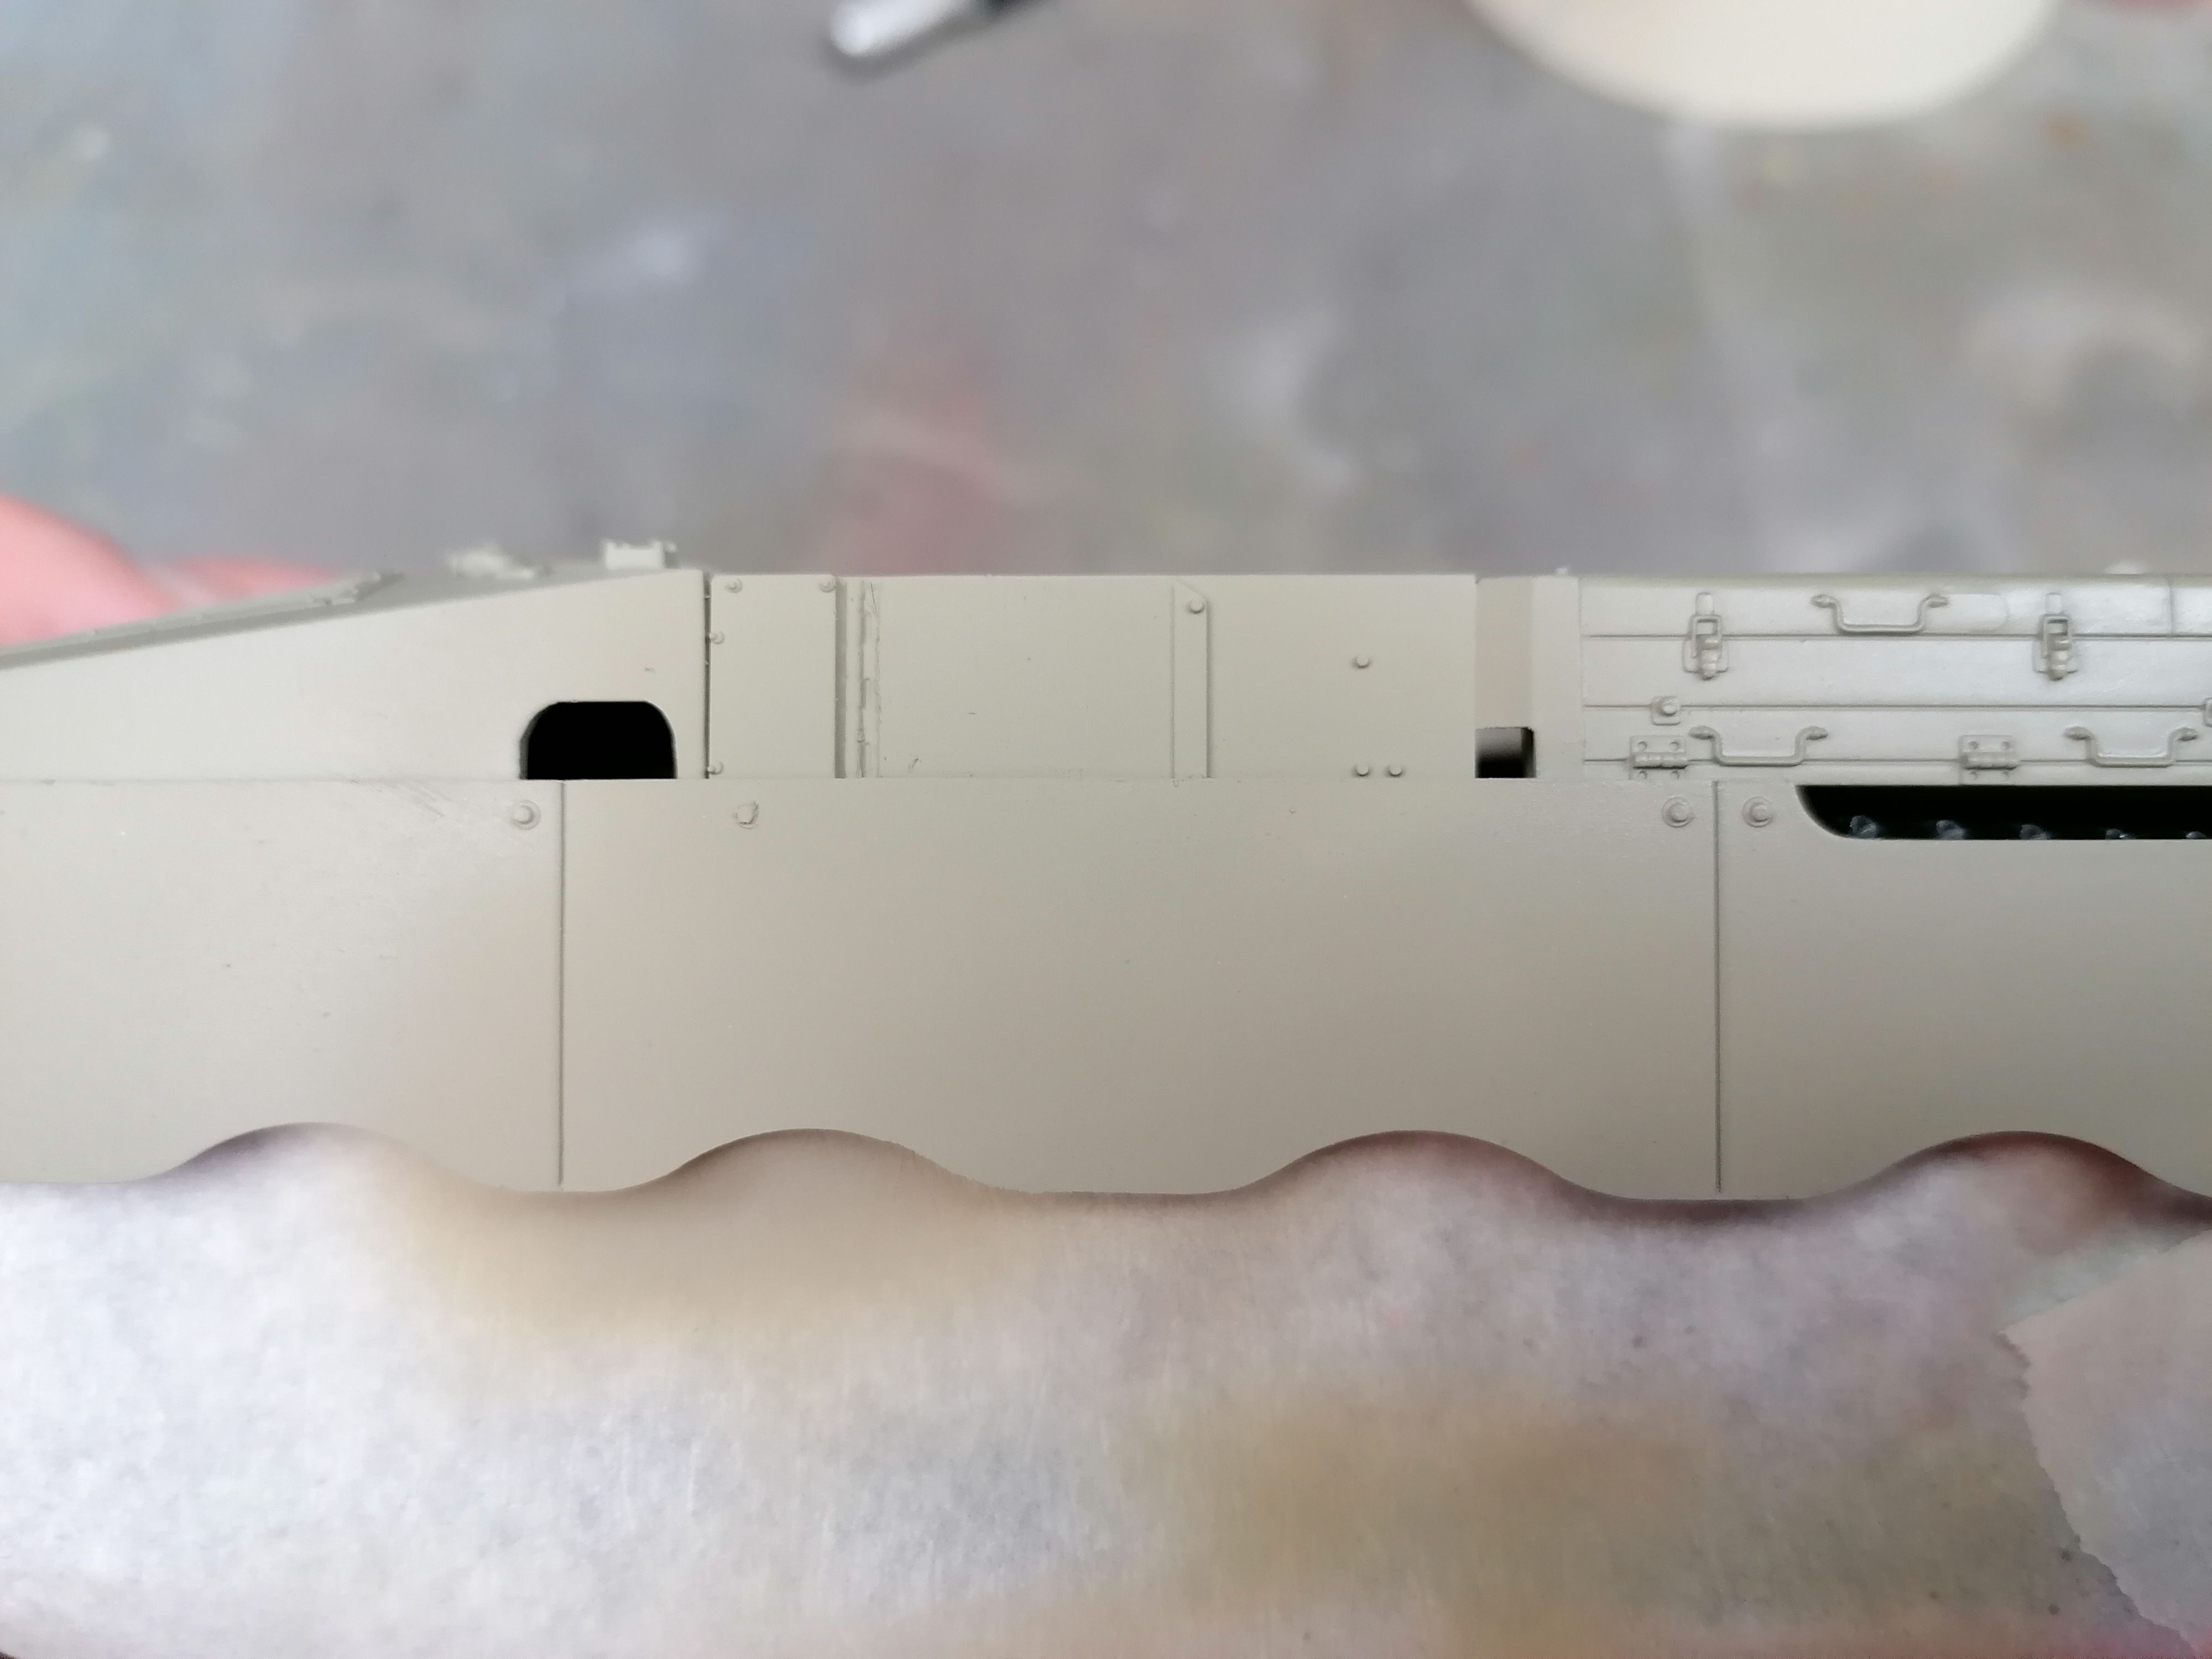
So disaster strikes, I can’t continue the model until I have fitted the side skirts on to the model tank. As you can see I then spilt some super glue and as a result, damaged the paintwork of the upper hull and side skirt. Therefore, before I continue with the weathering I will need to sand and respray the bodywork.

The Damage From The Glue On The Hull Of The Merkava
The Damage From The Glue On The Hull Of The Merkava.
The Hull After Repainting And It Looks As Good As New
The Hull After Repainting And It Looks As Good As New.

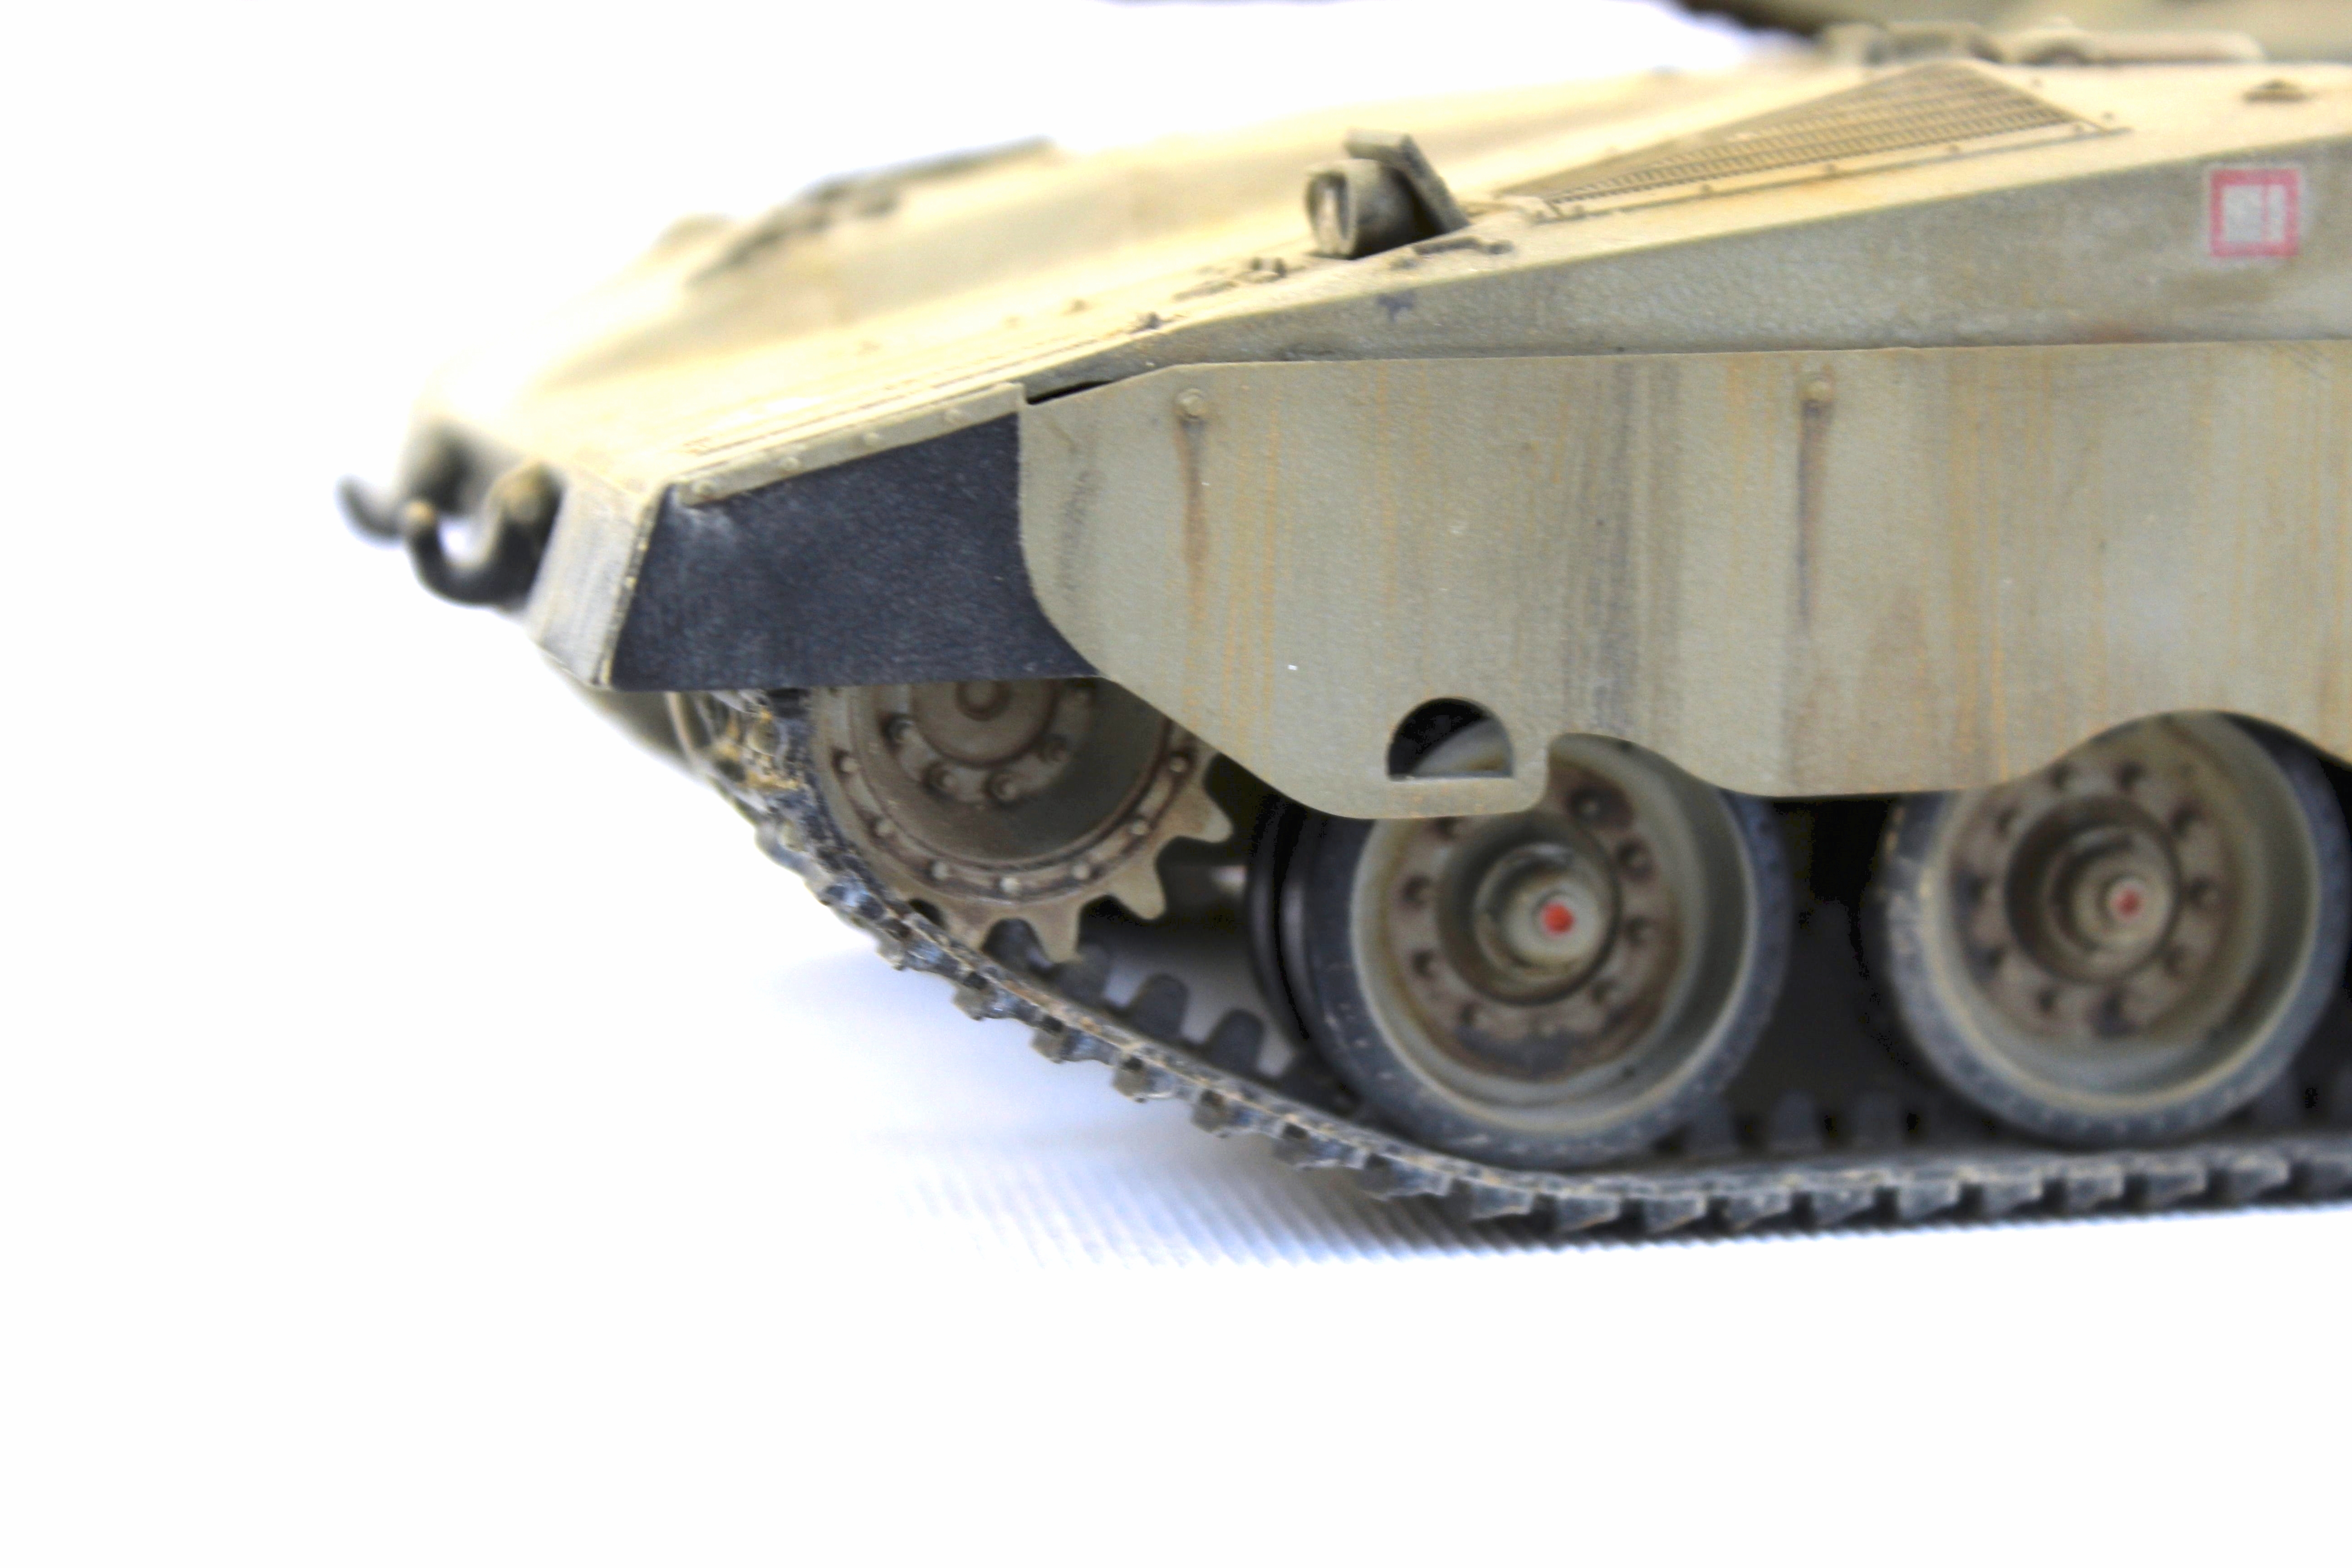
Meanwhile, The Weathering Can Continue On The Tamiya Israel Merkava MBT

CLICK HERE TO BUY THE TAMIYA ISRAEL MERKAVA MBT