Games Workshop Leman Russ Battle Tank Step By Step Full Build
So this is a nice fun little build that’s going to take me back to my childhood. A lovely little Games Workshop Leman Russ Battle Tank. I haven’t made one of these for 20 years.
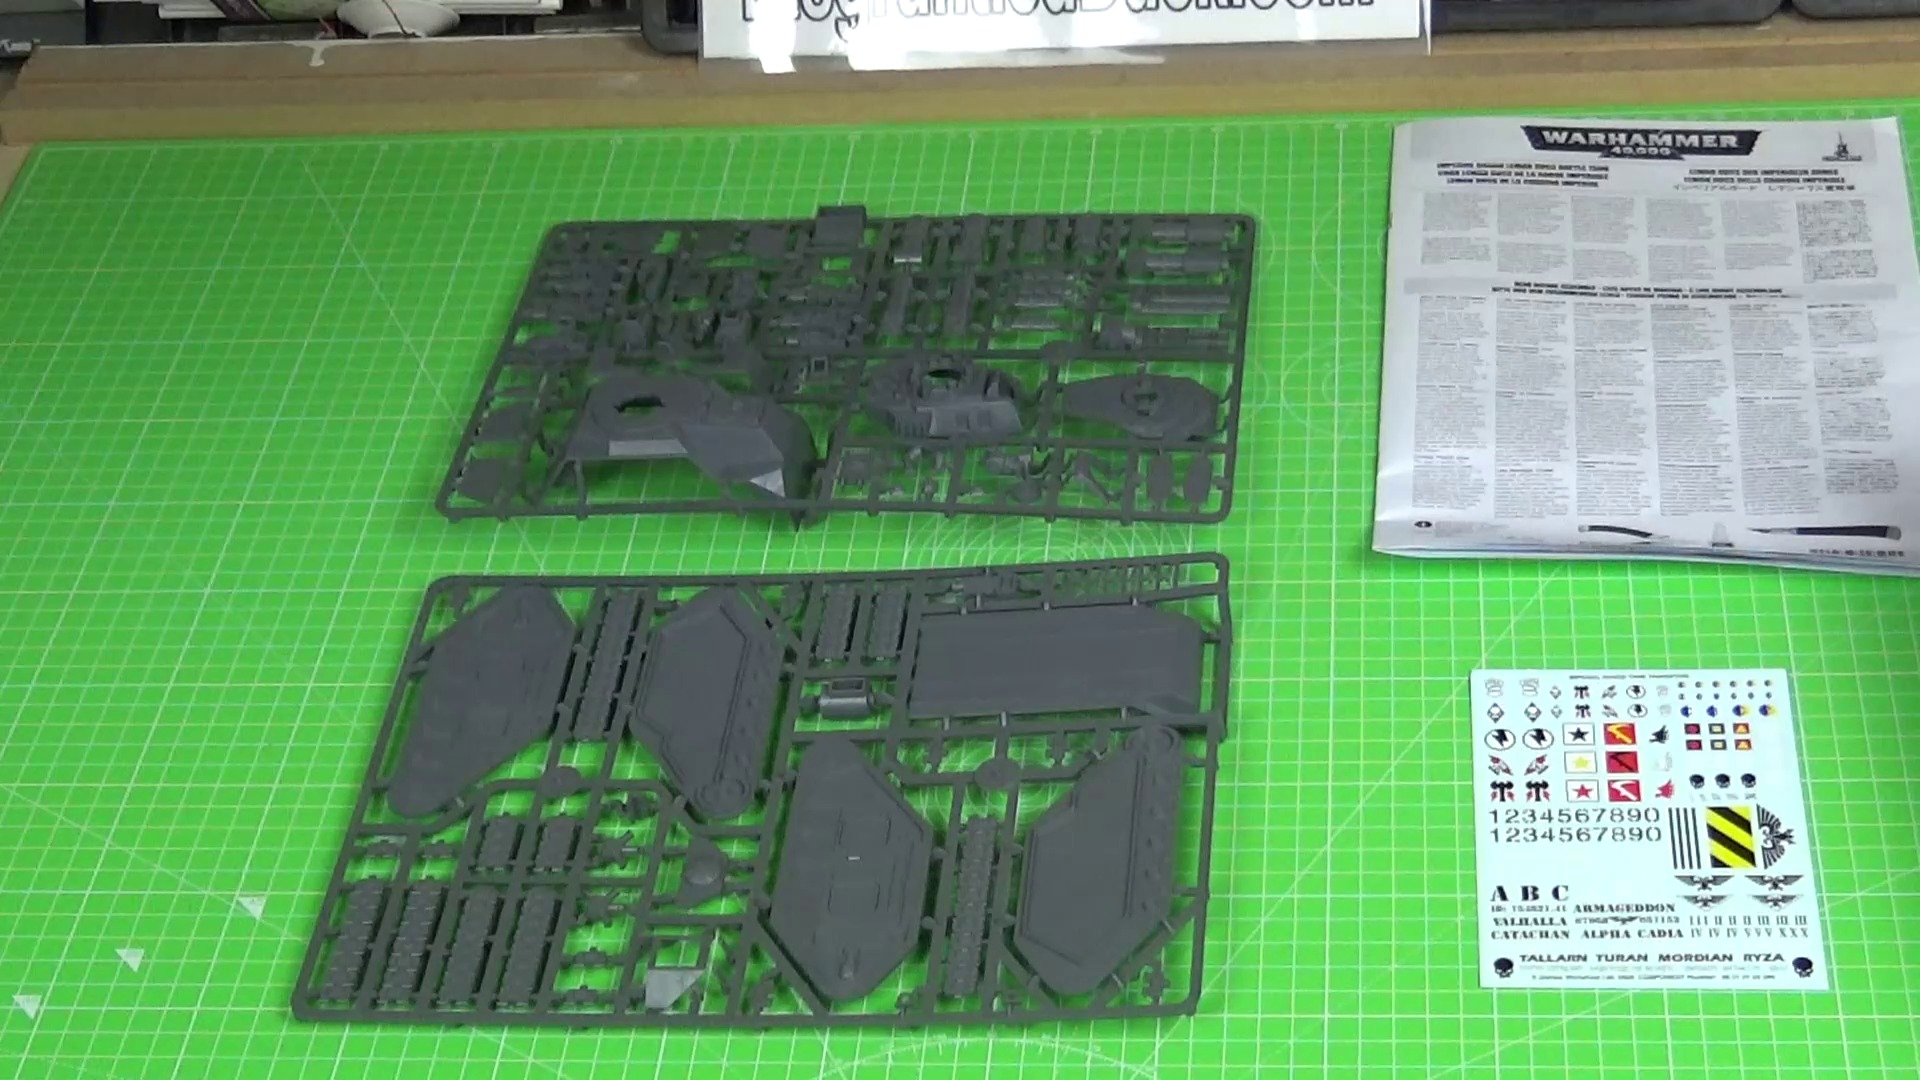
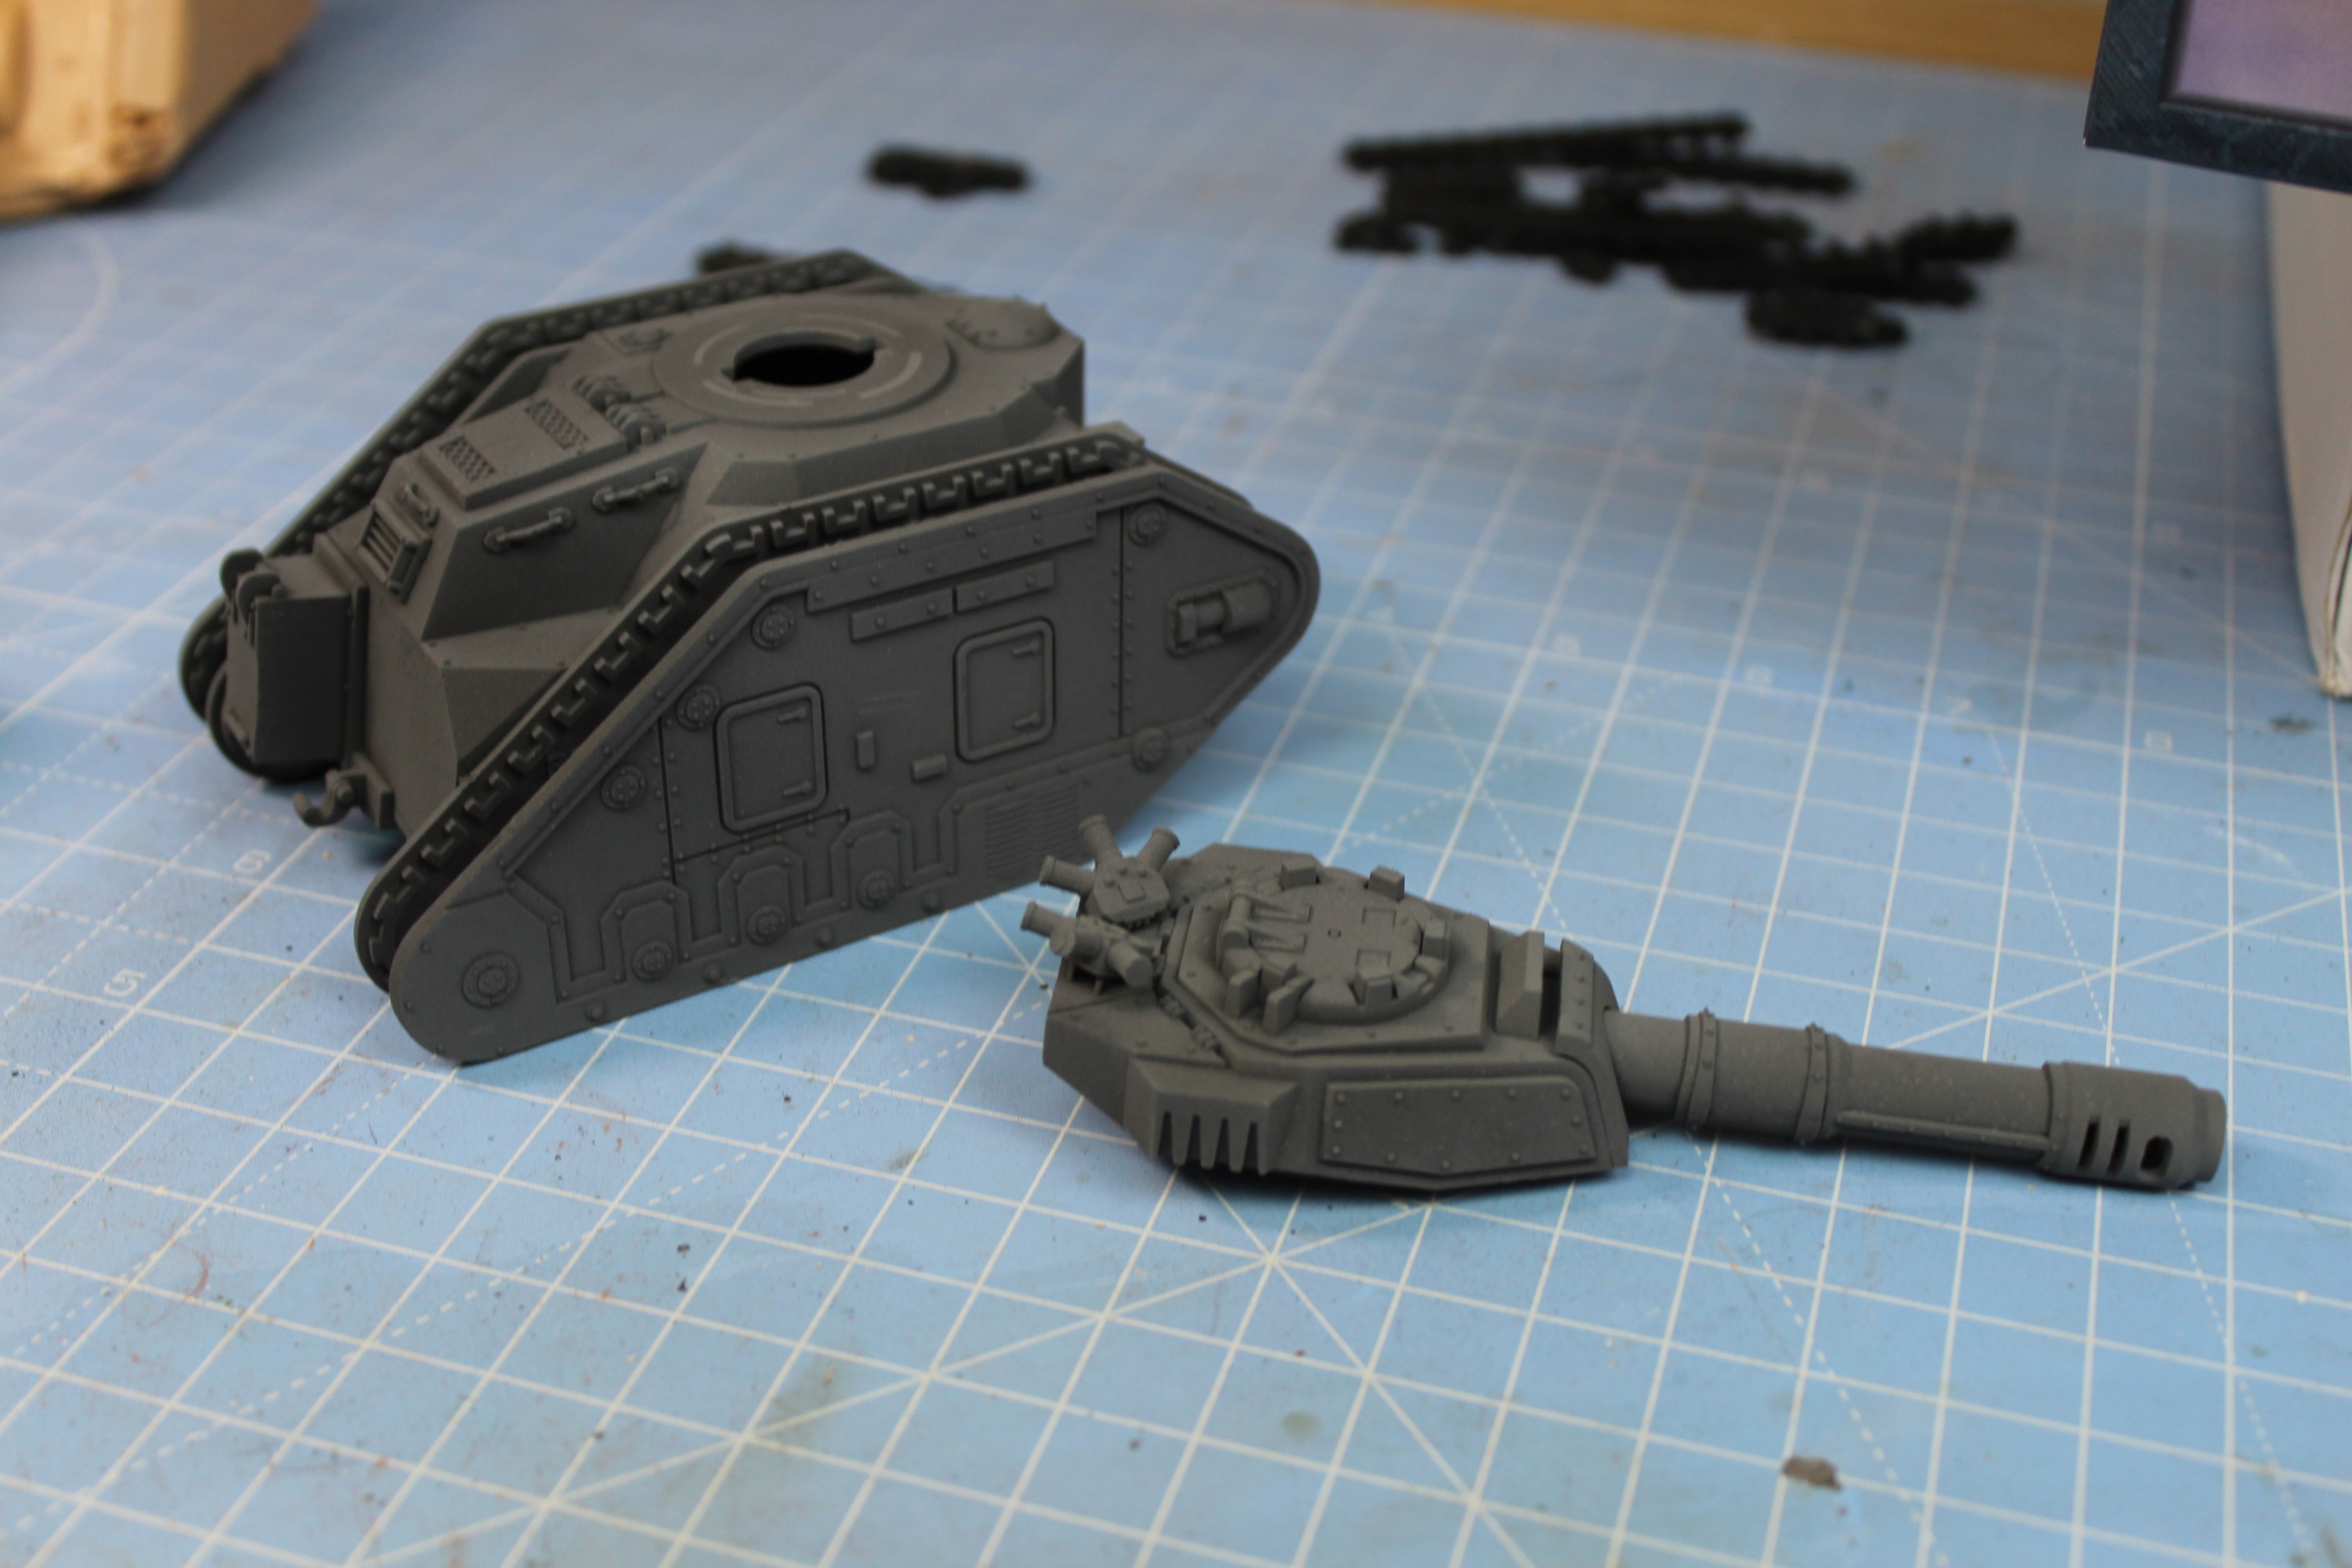
So first off there are only two sprues of parts, of course, the tracks are solid plastic as this piece is designed for tabletop gaming. The really cool thing about the Games Workshop stuff is it is quite customizable with lots of parts than can be switched out.
The Parts Of The Leman Russ Laid Out. Only Two Sprues But Good Castings With Lots Of Details.
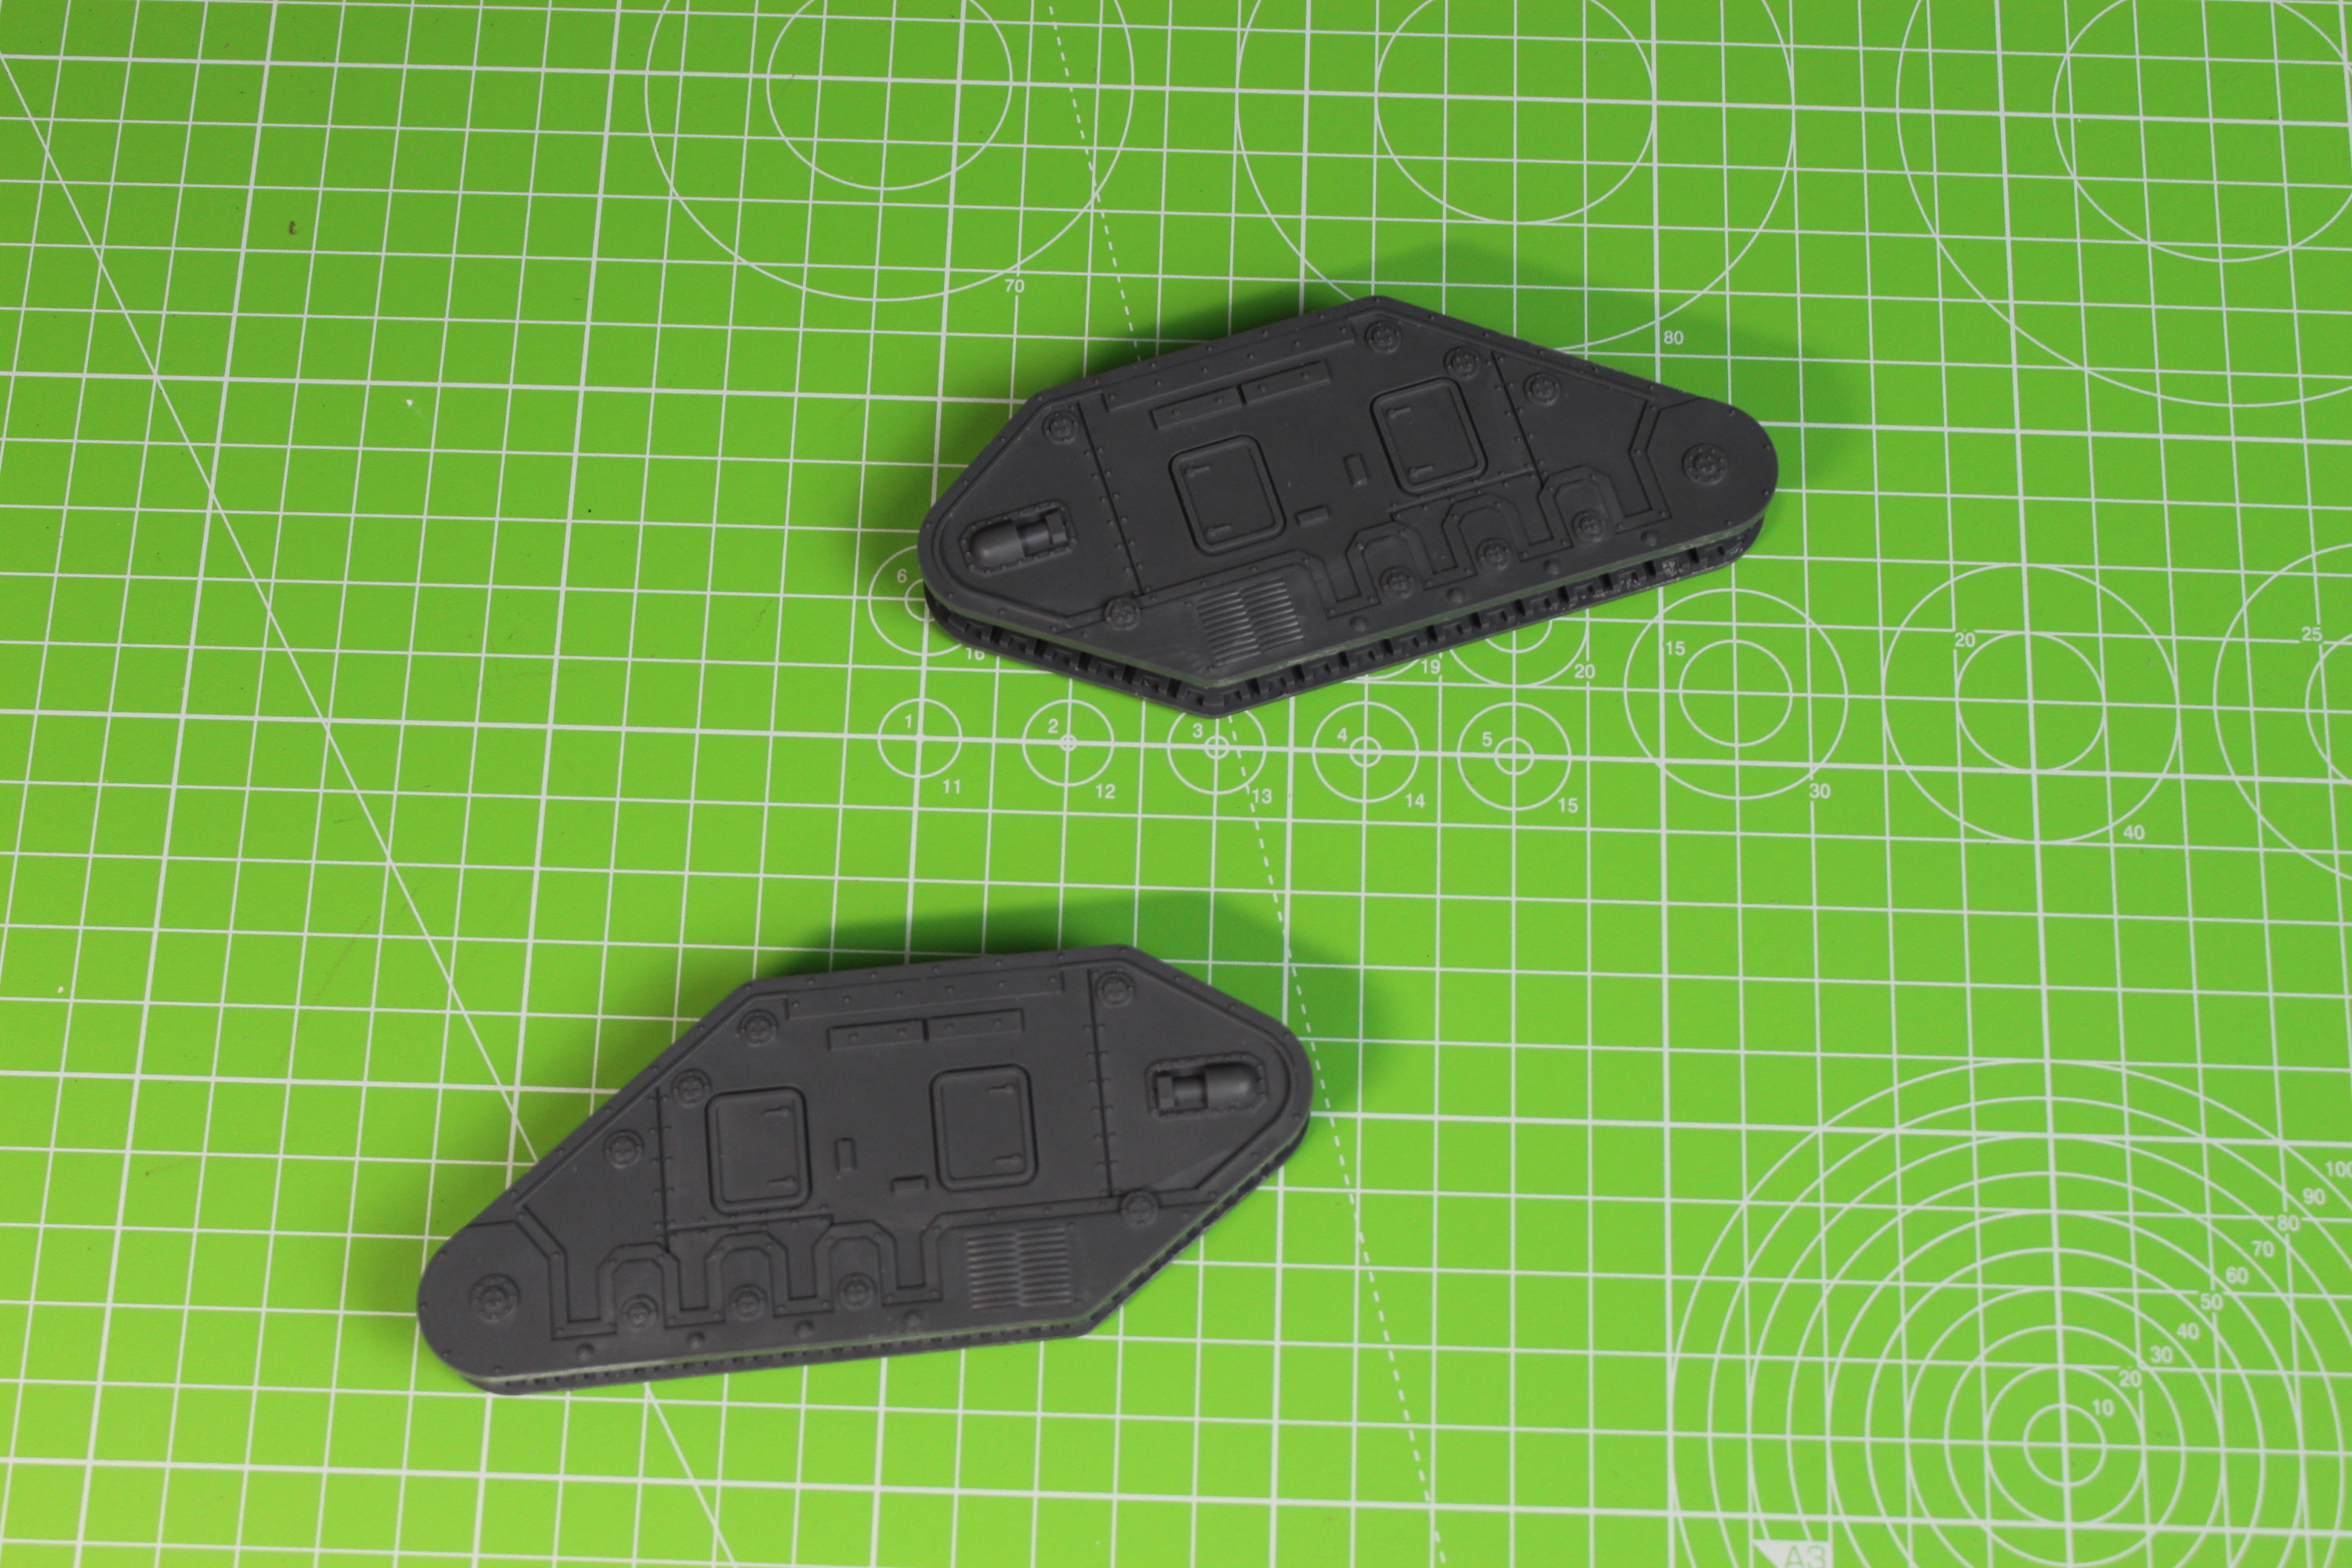
To start with the sides of the tank. I’m not going to fit the tracks at this time but I will add them once it is painted.
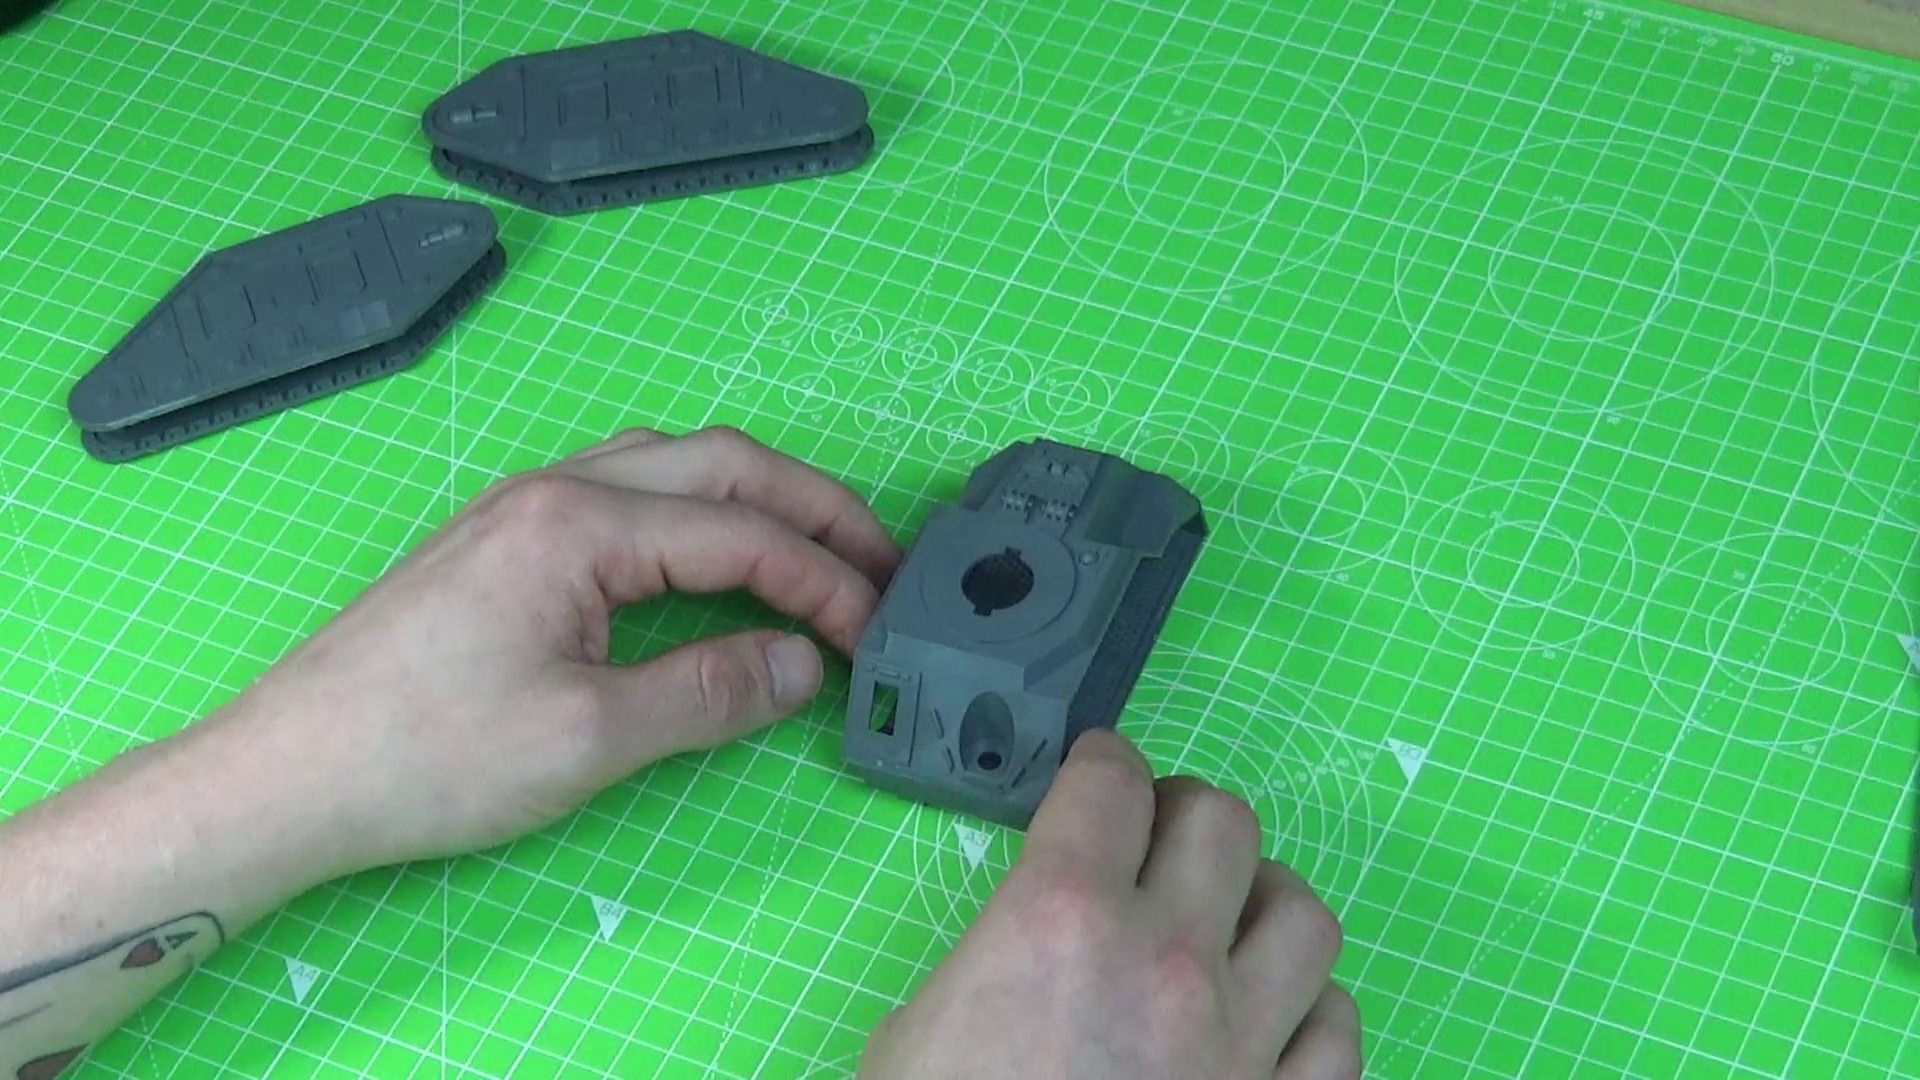
The First Parts Are Nice And Easy. The Two Sides Of The Hull Are Now Stuck Together.Sticking Together The Hull On The Leman Russ Battle Tank.
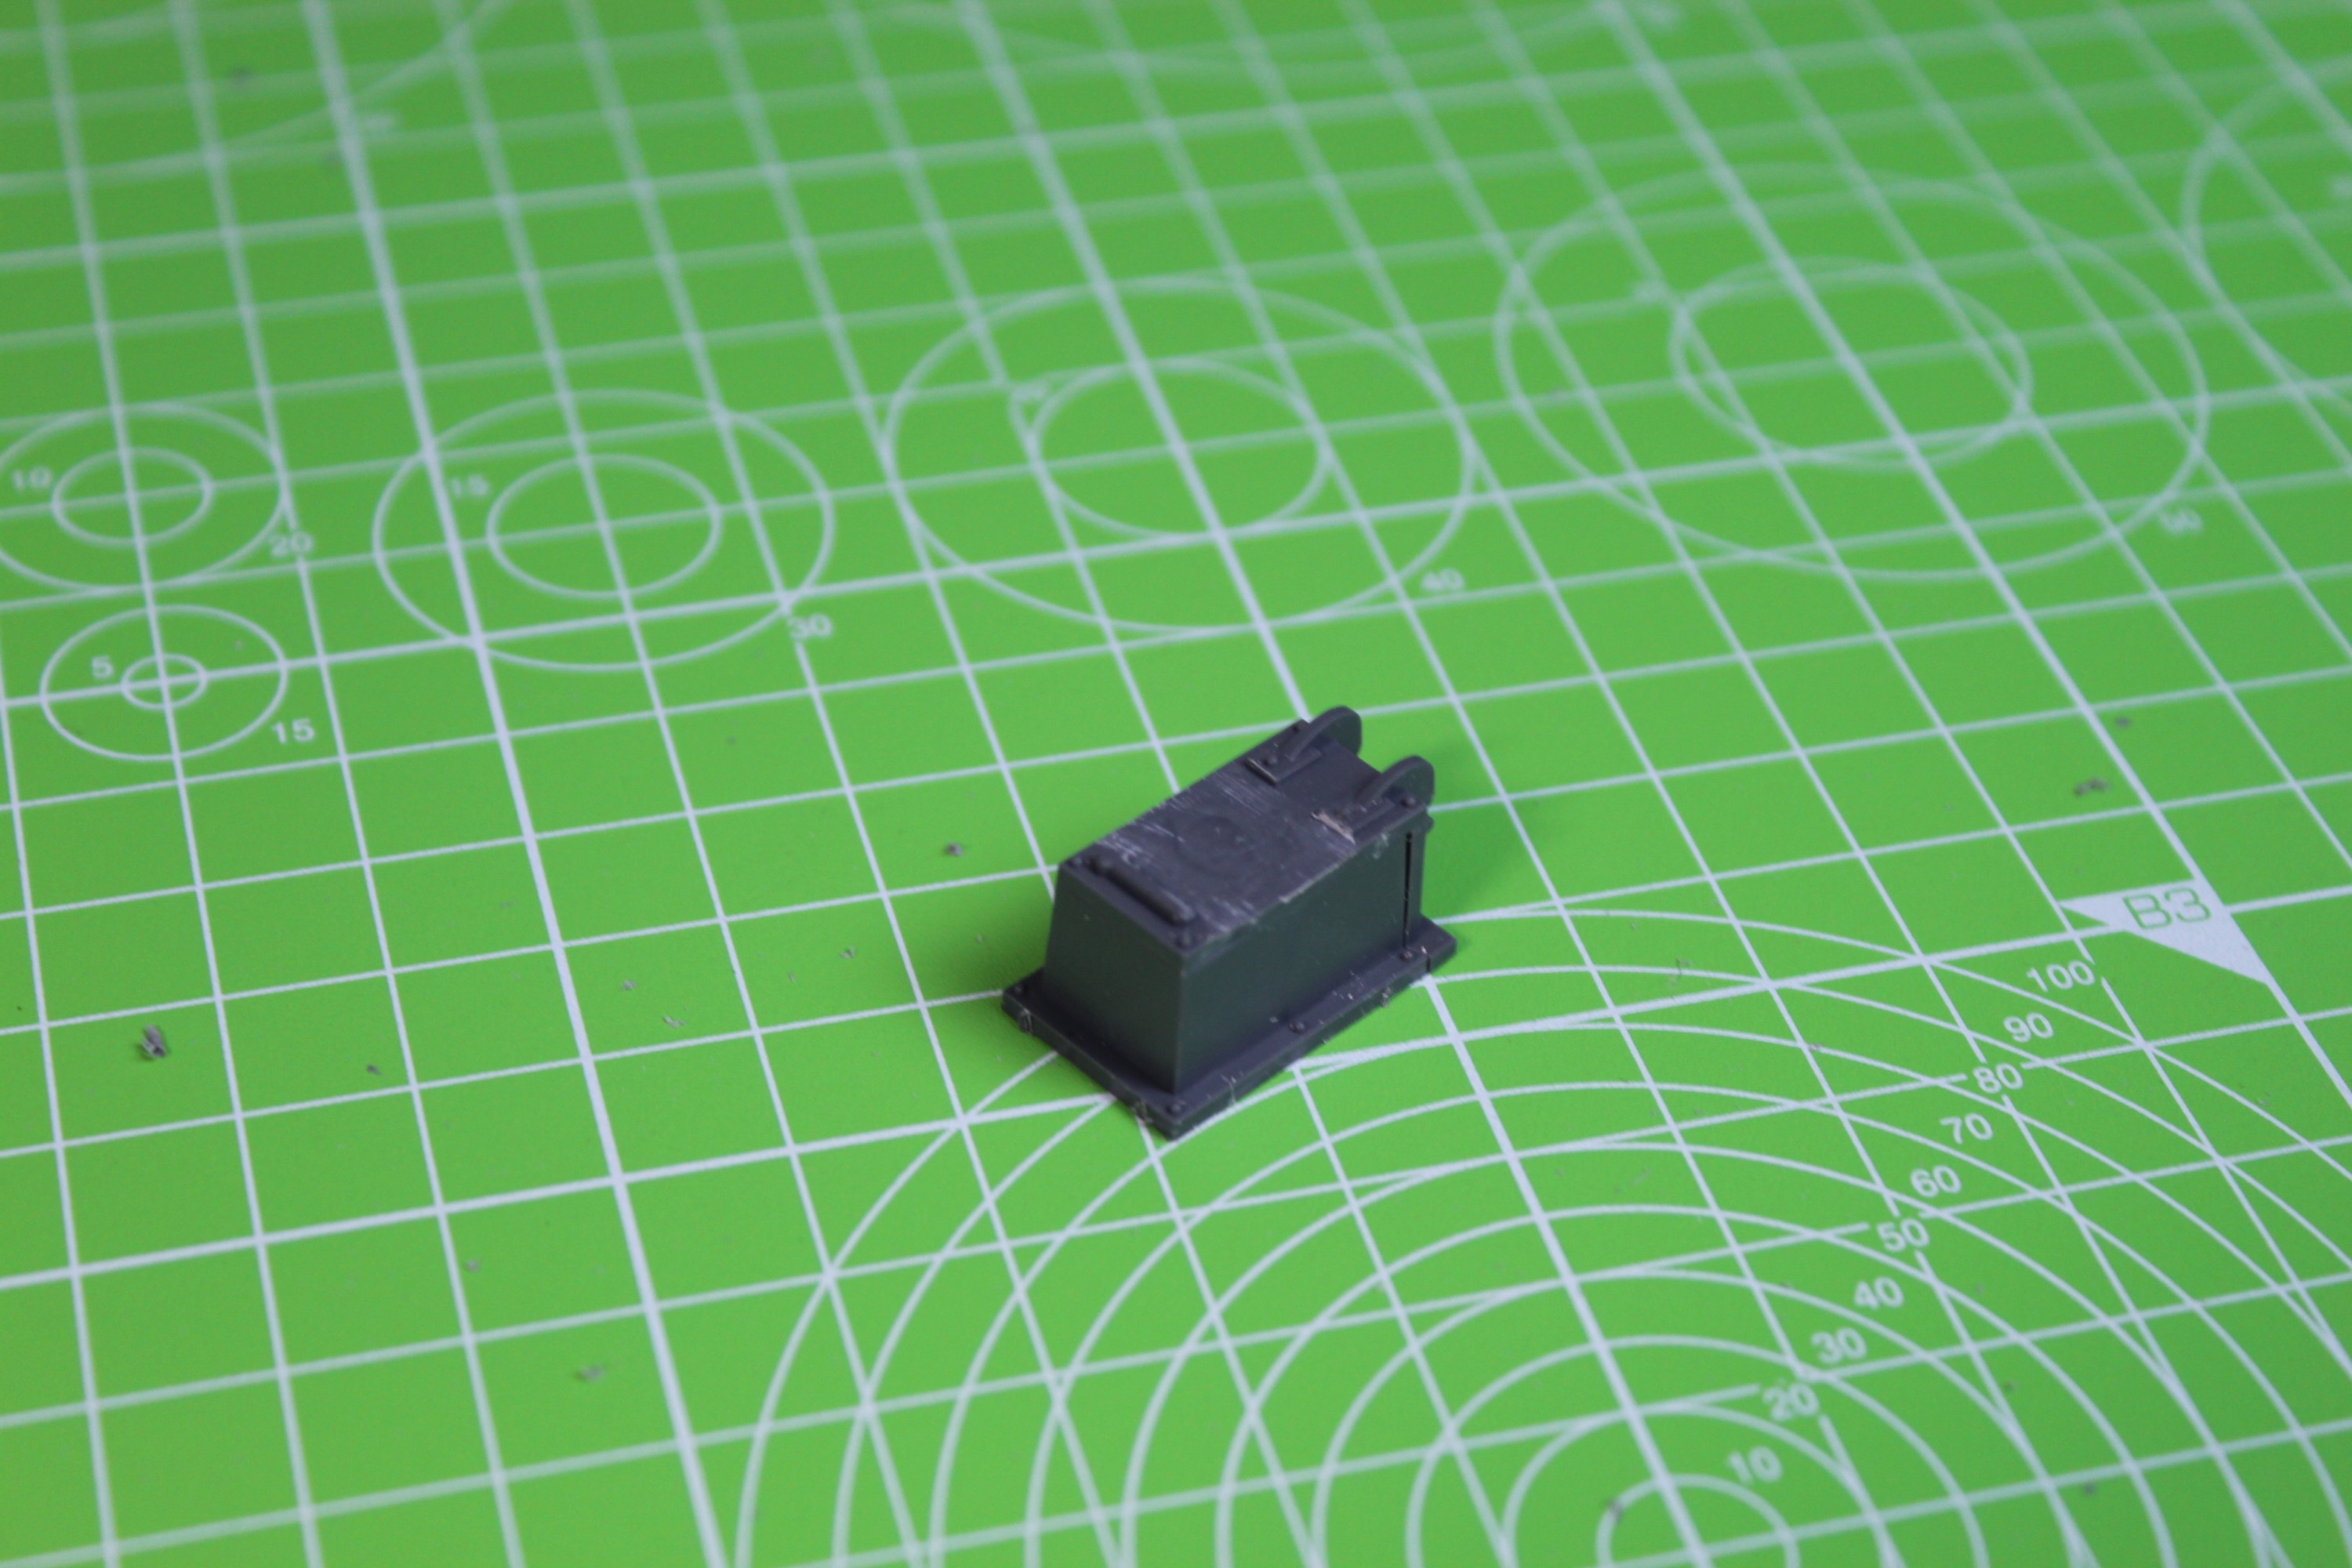
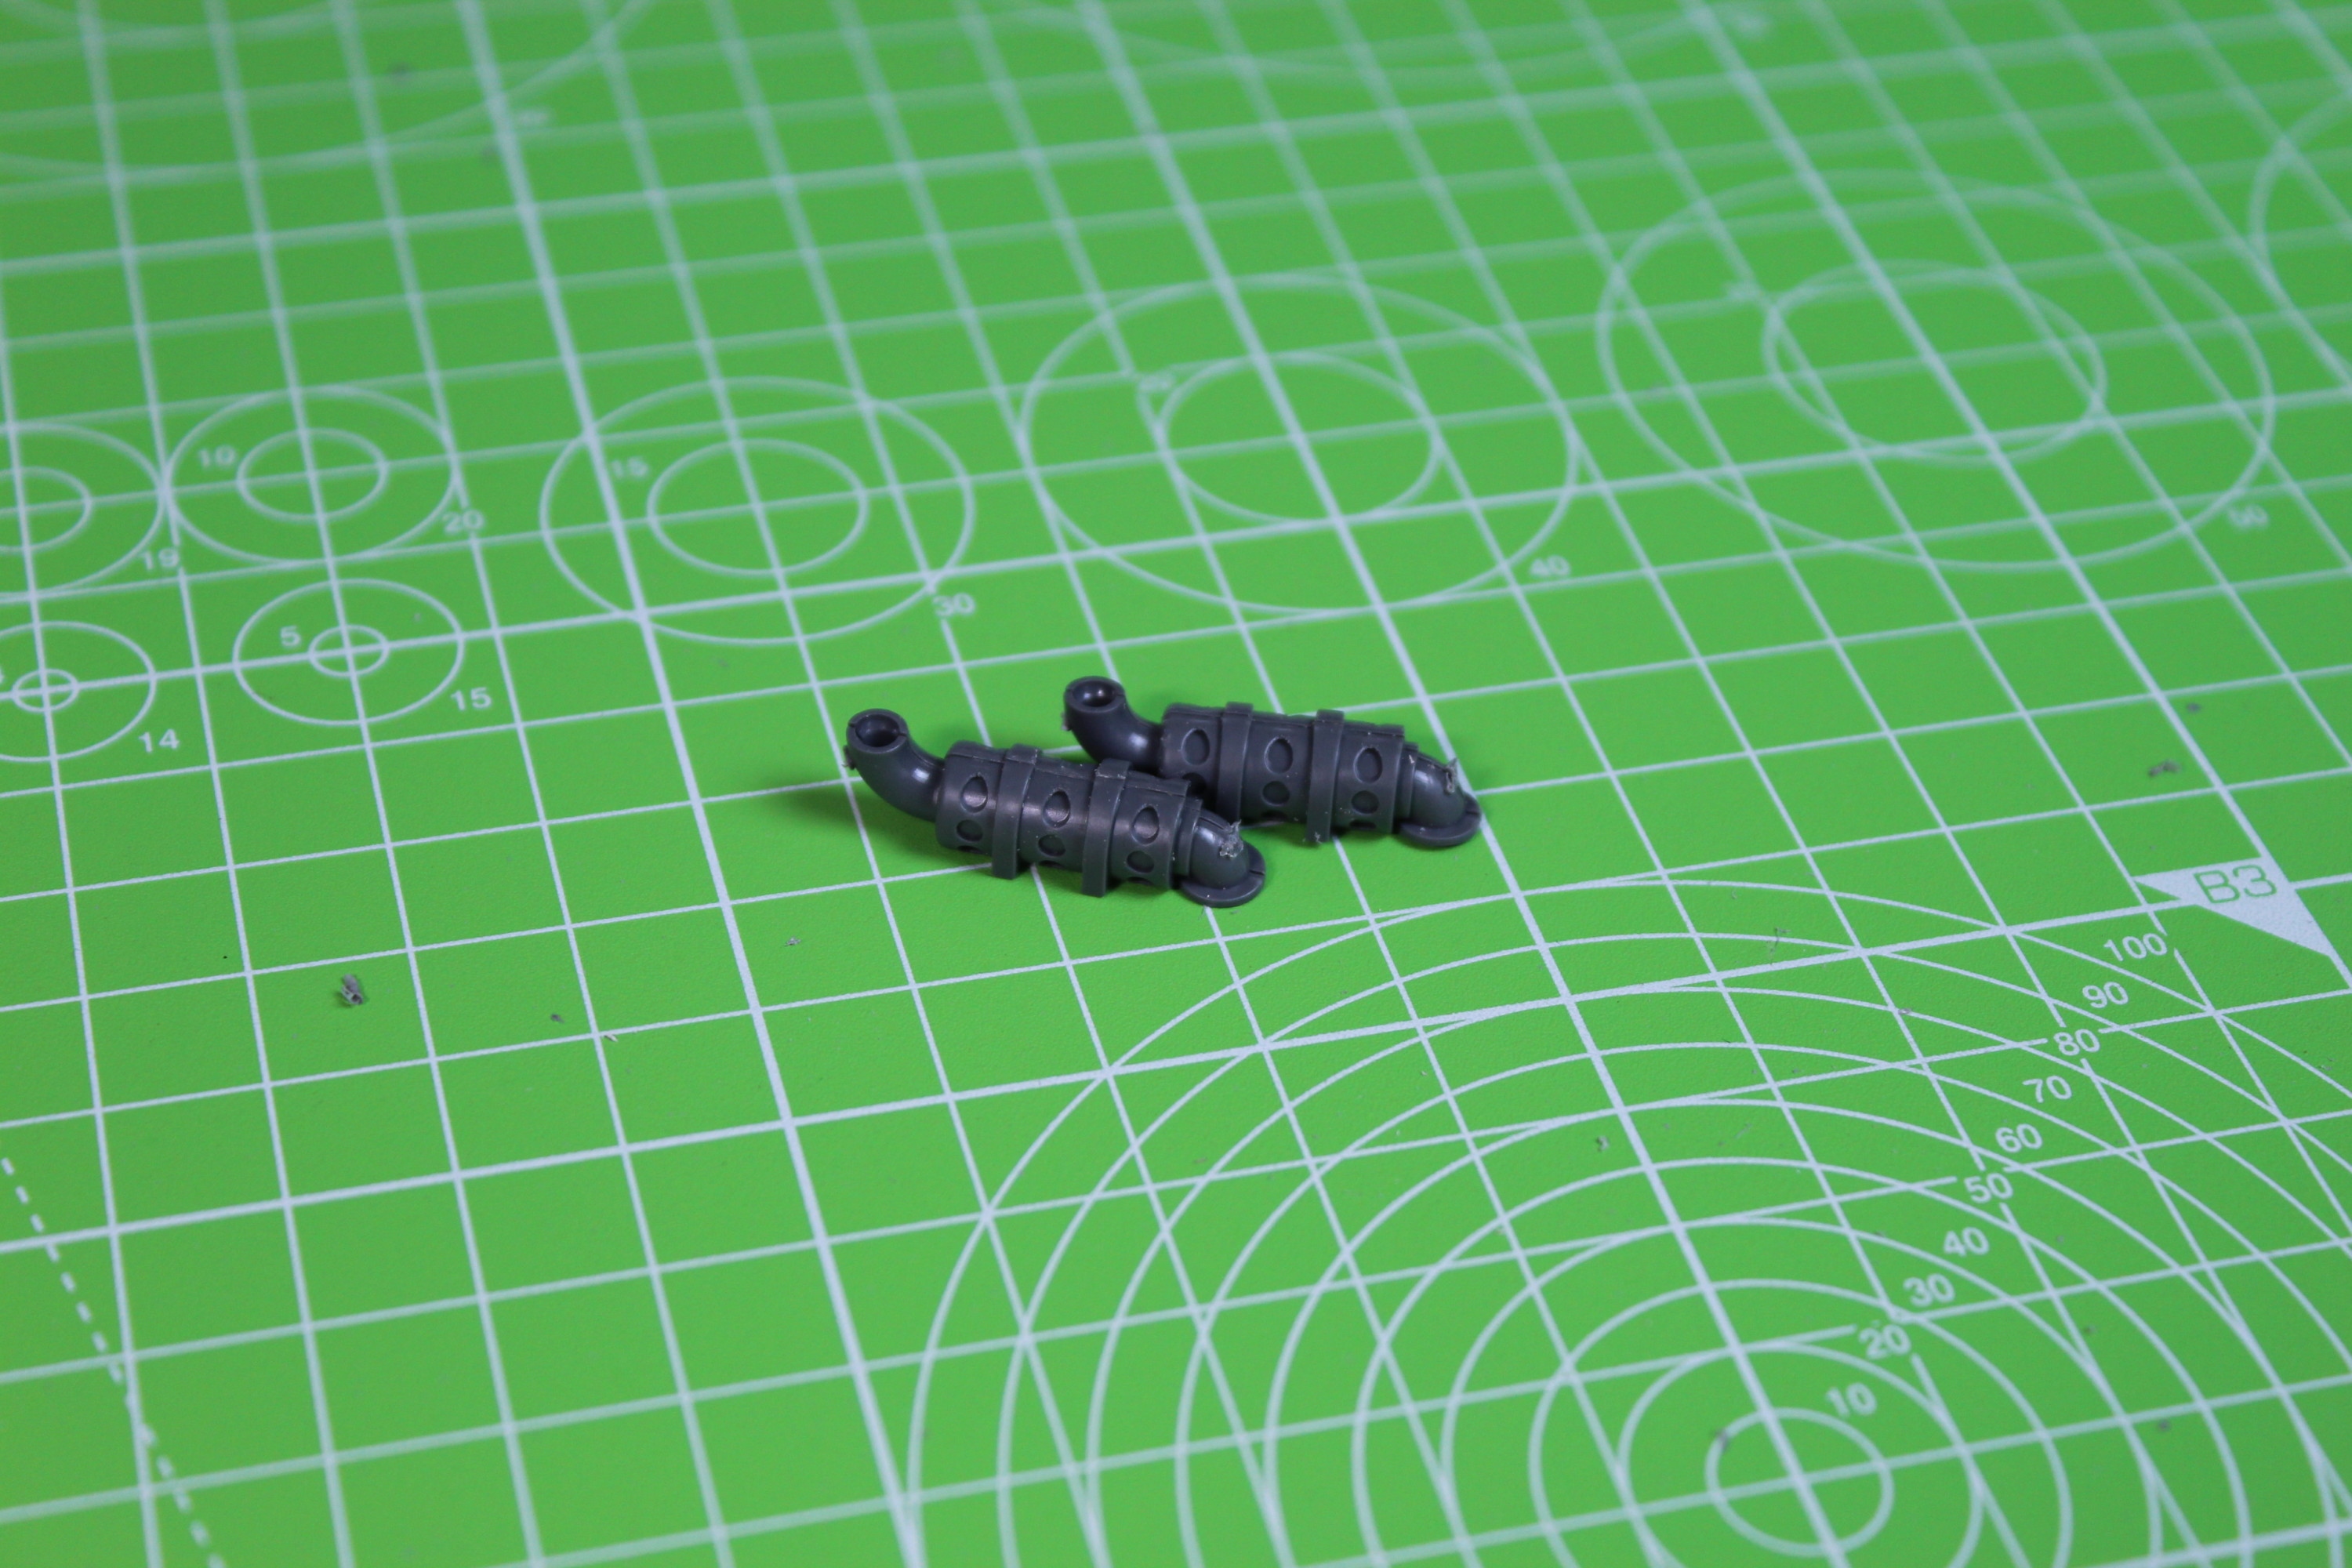
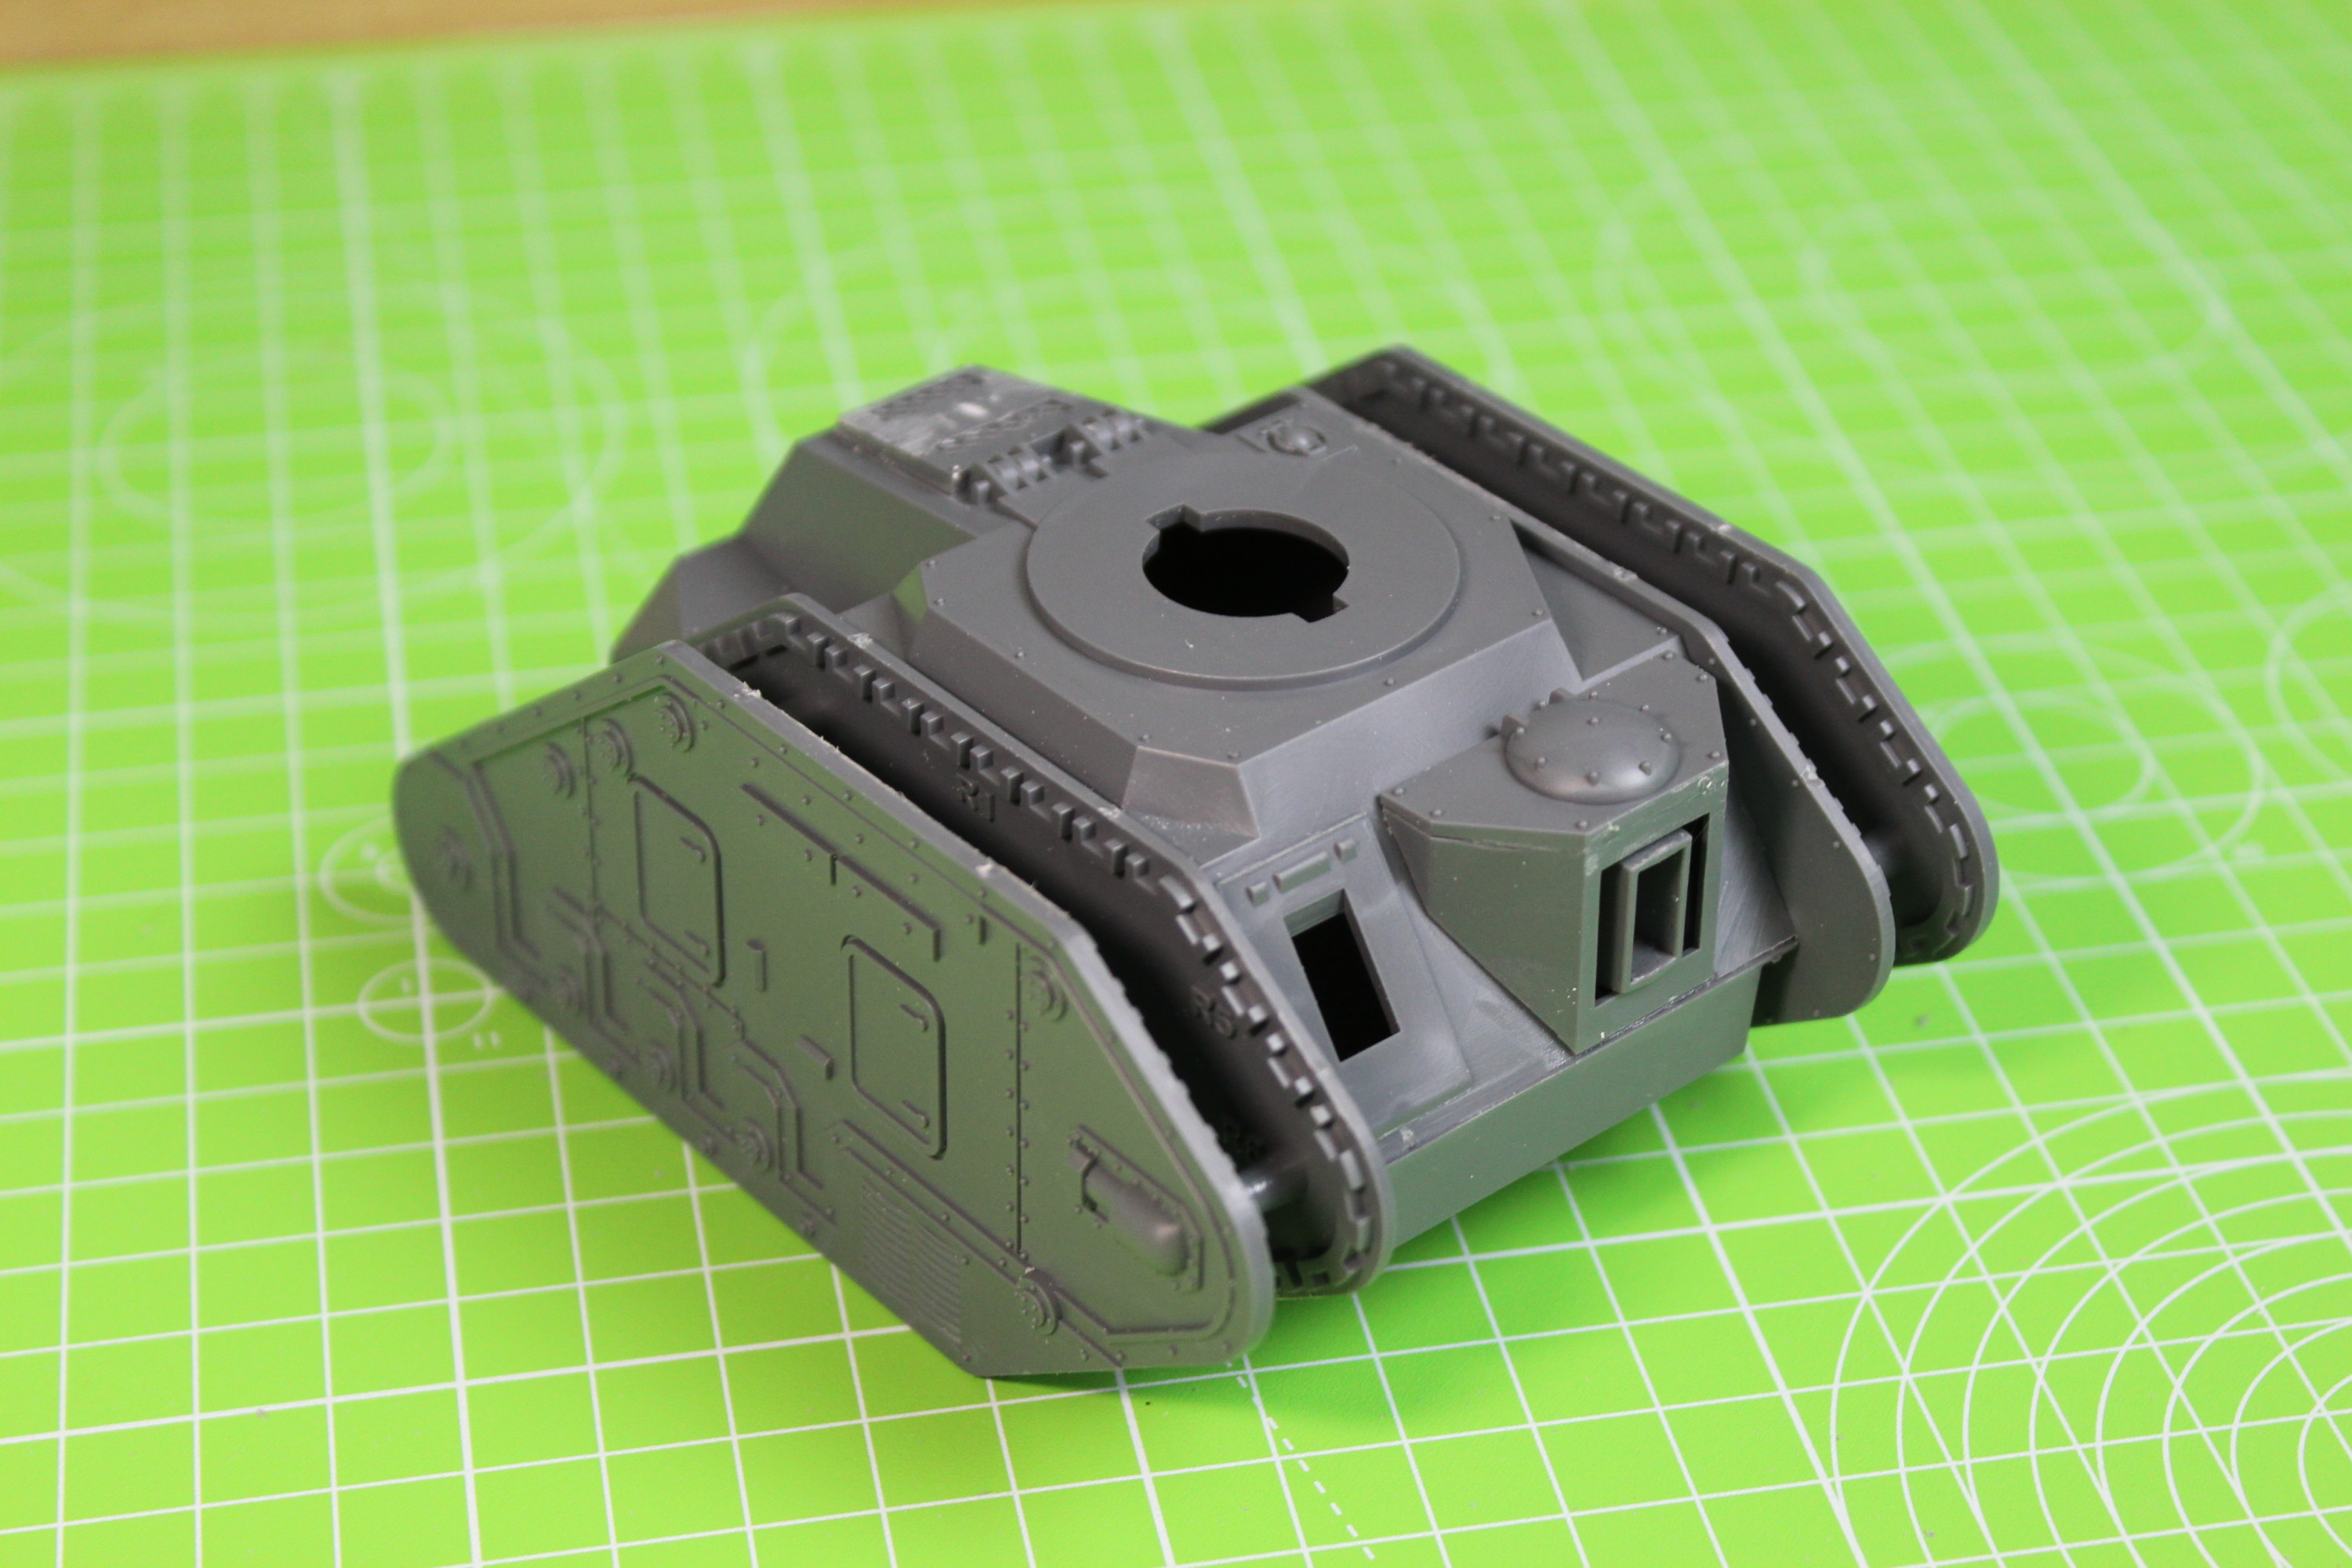
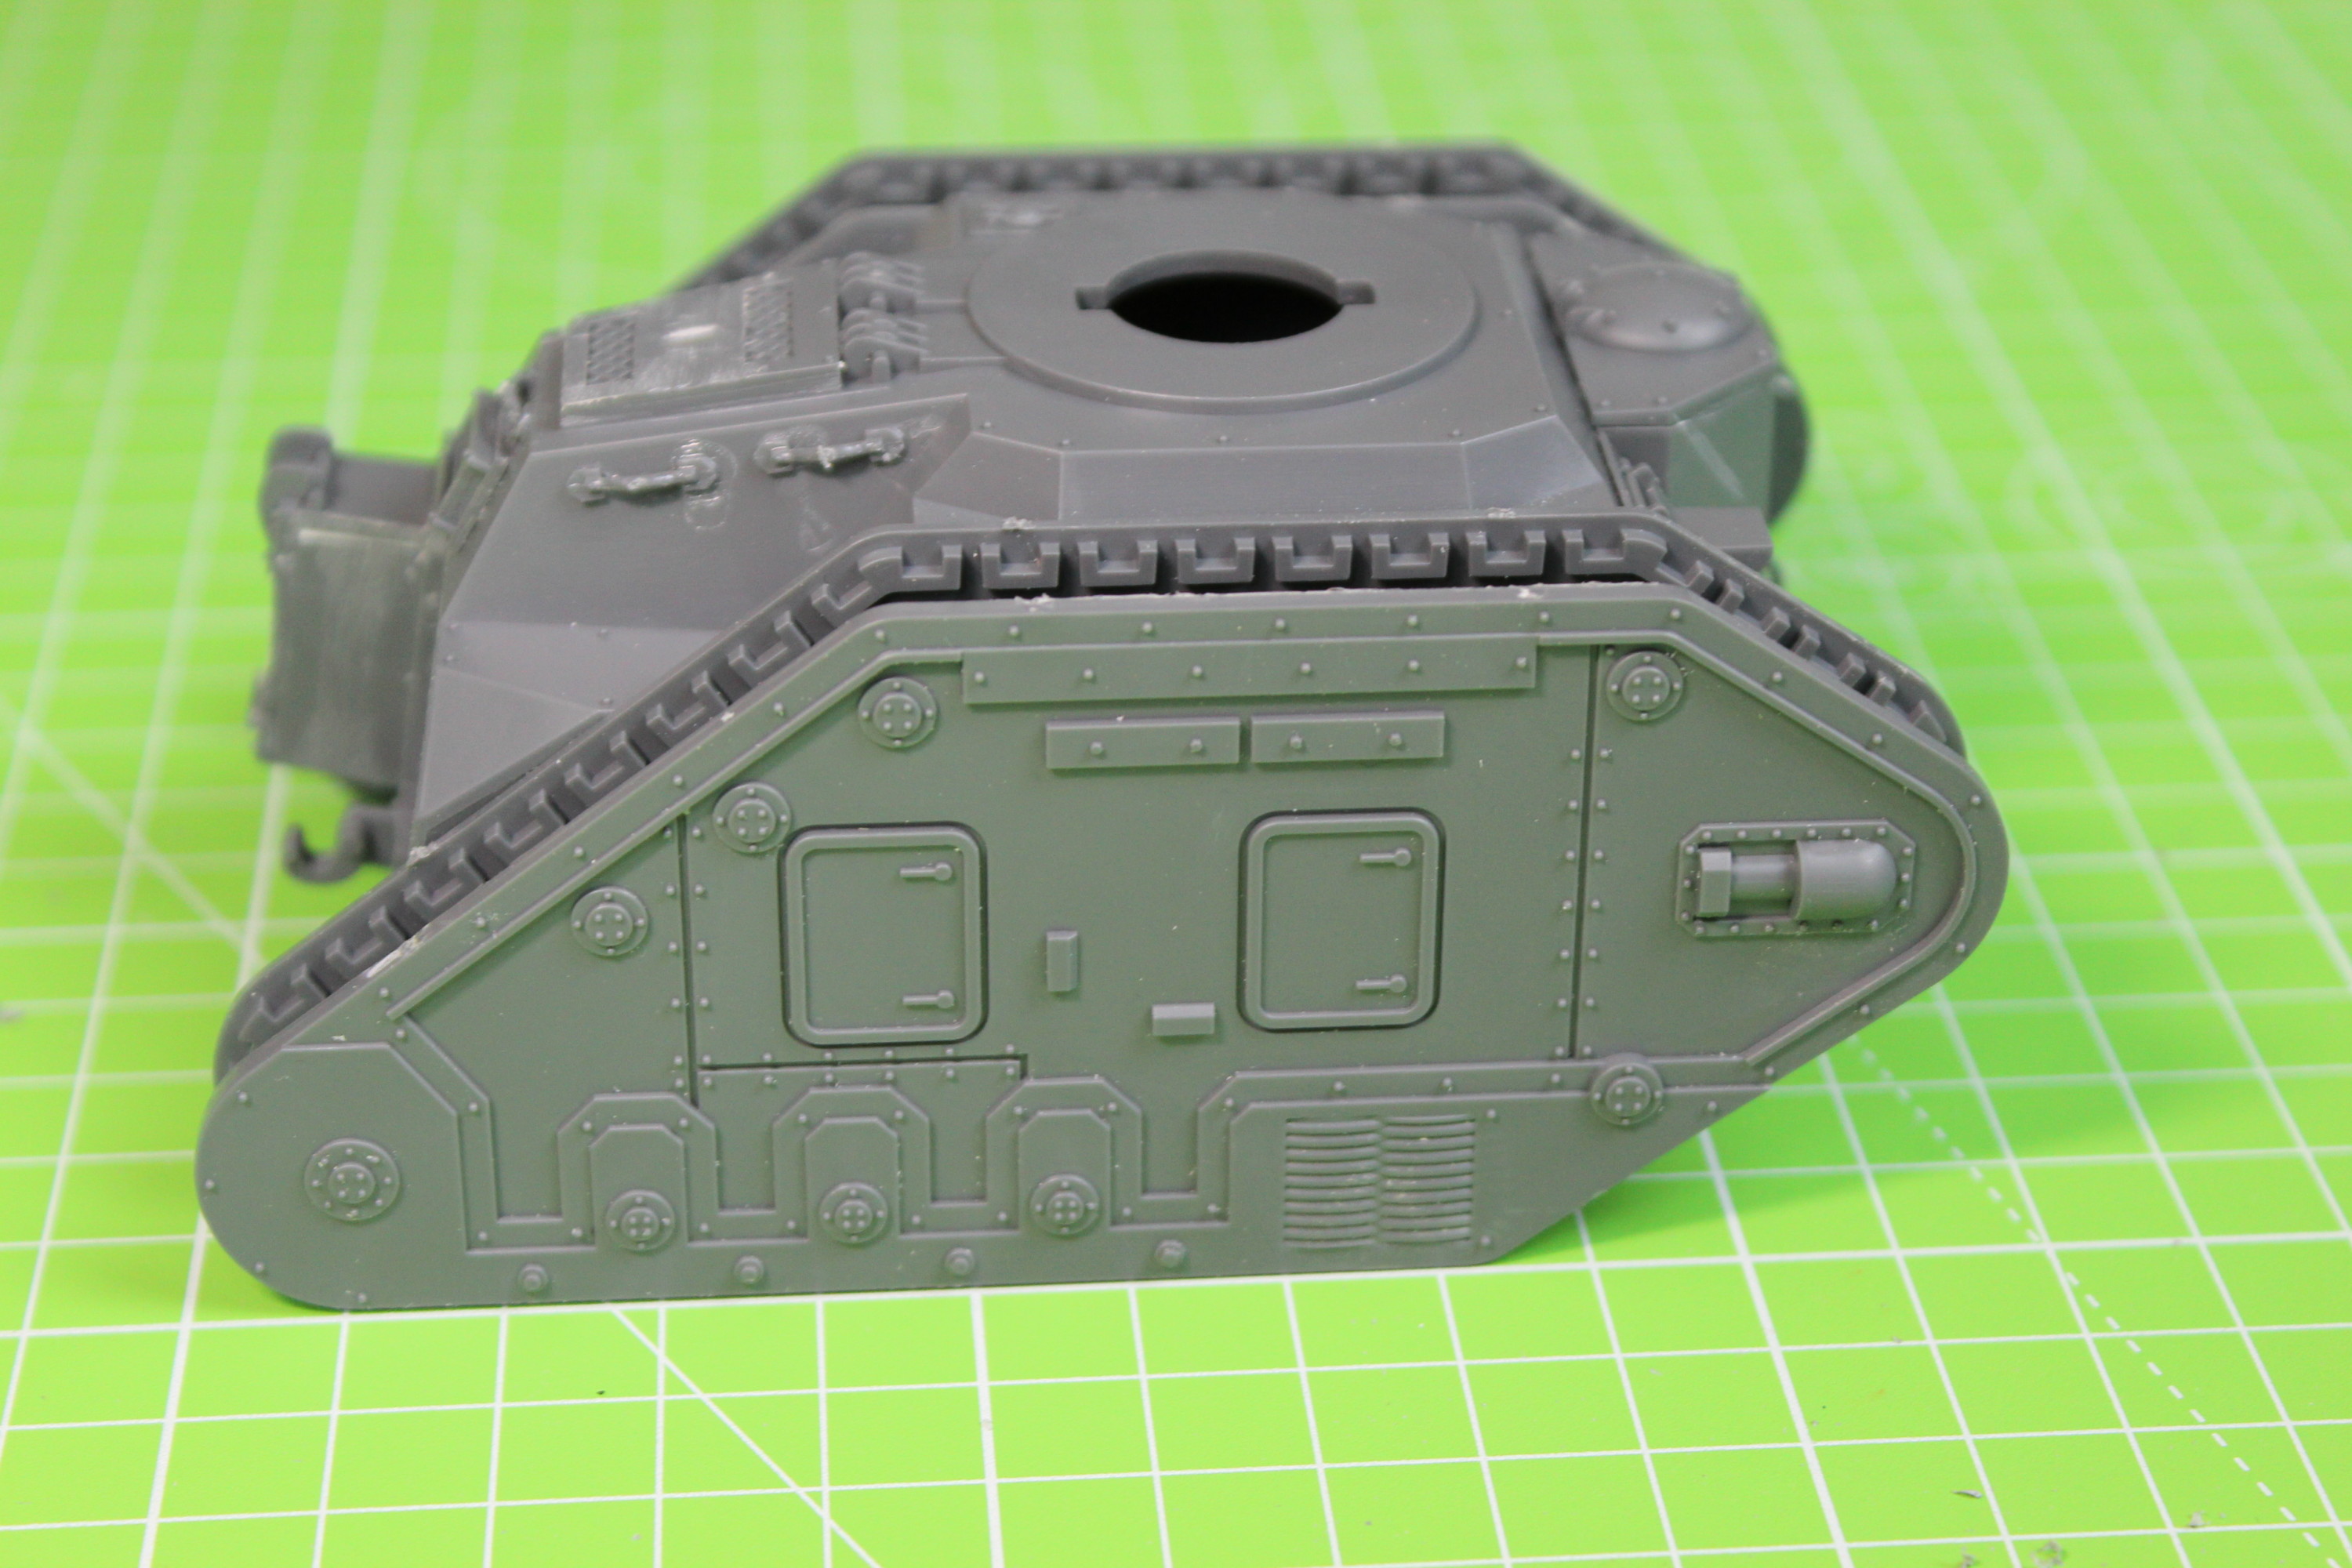
Next onto the main body and some of the components, again I’m going to attach the exhausts after painting. The storage box I have removed the logo from and am mounting it horizontally as an engine cover.
The Storage Box Completed And The Emblem Has Been Sanded Off. I’m Going To Use This As An Engine Cover.The Two Exhausts, I Will Paint These Separately Before Attaching Them.
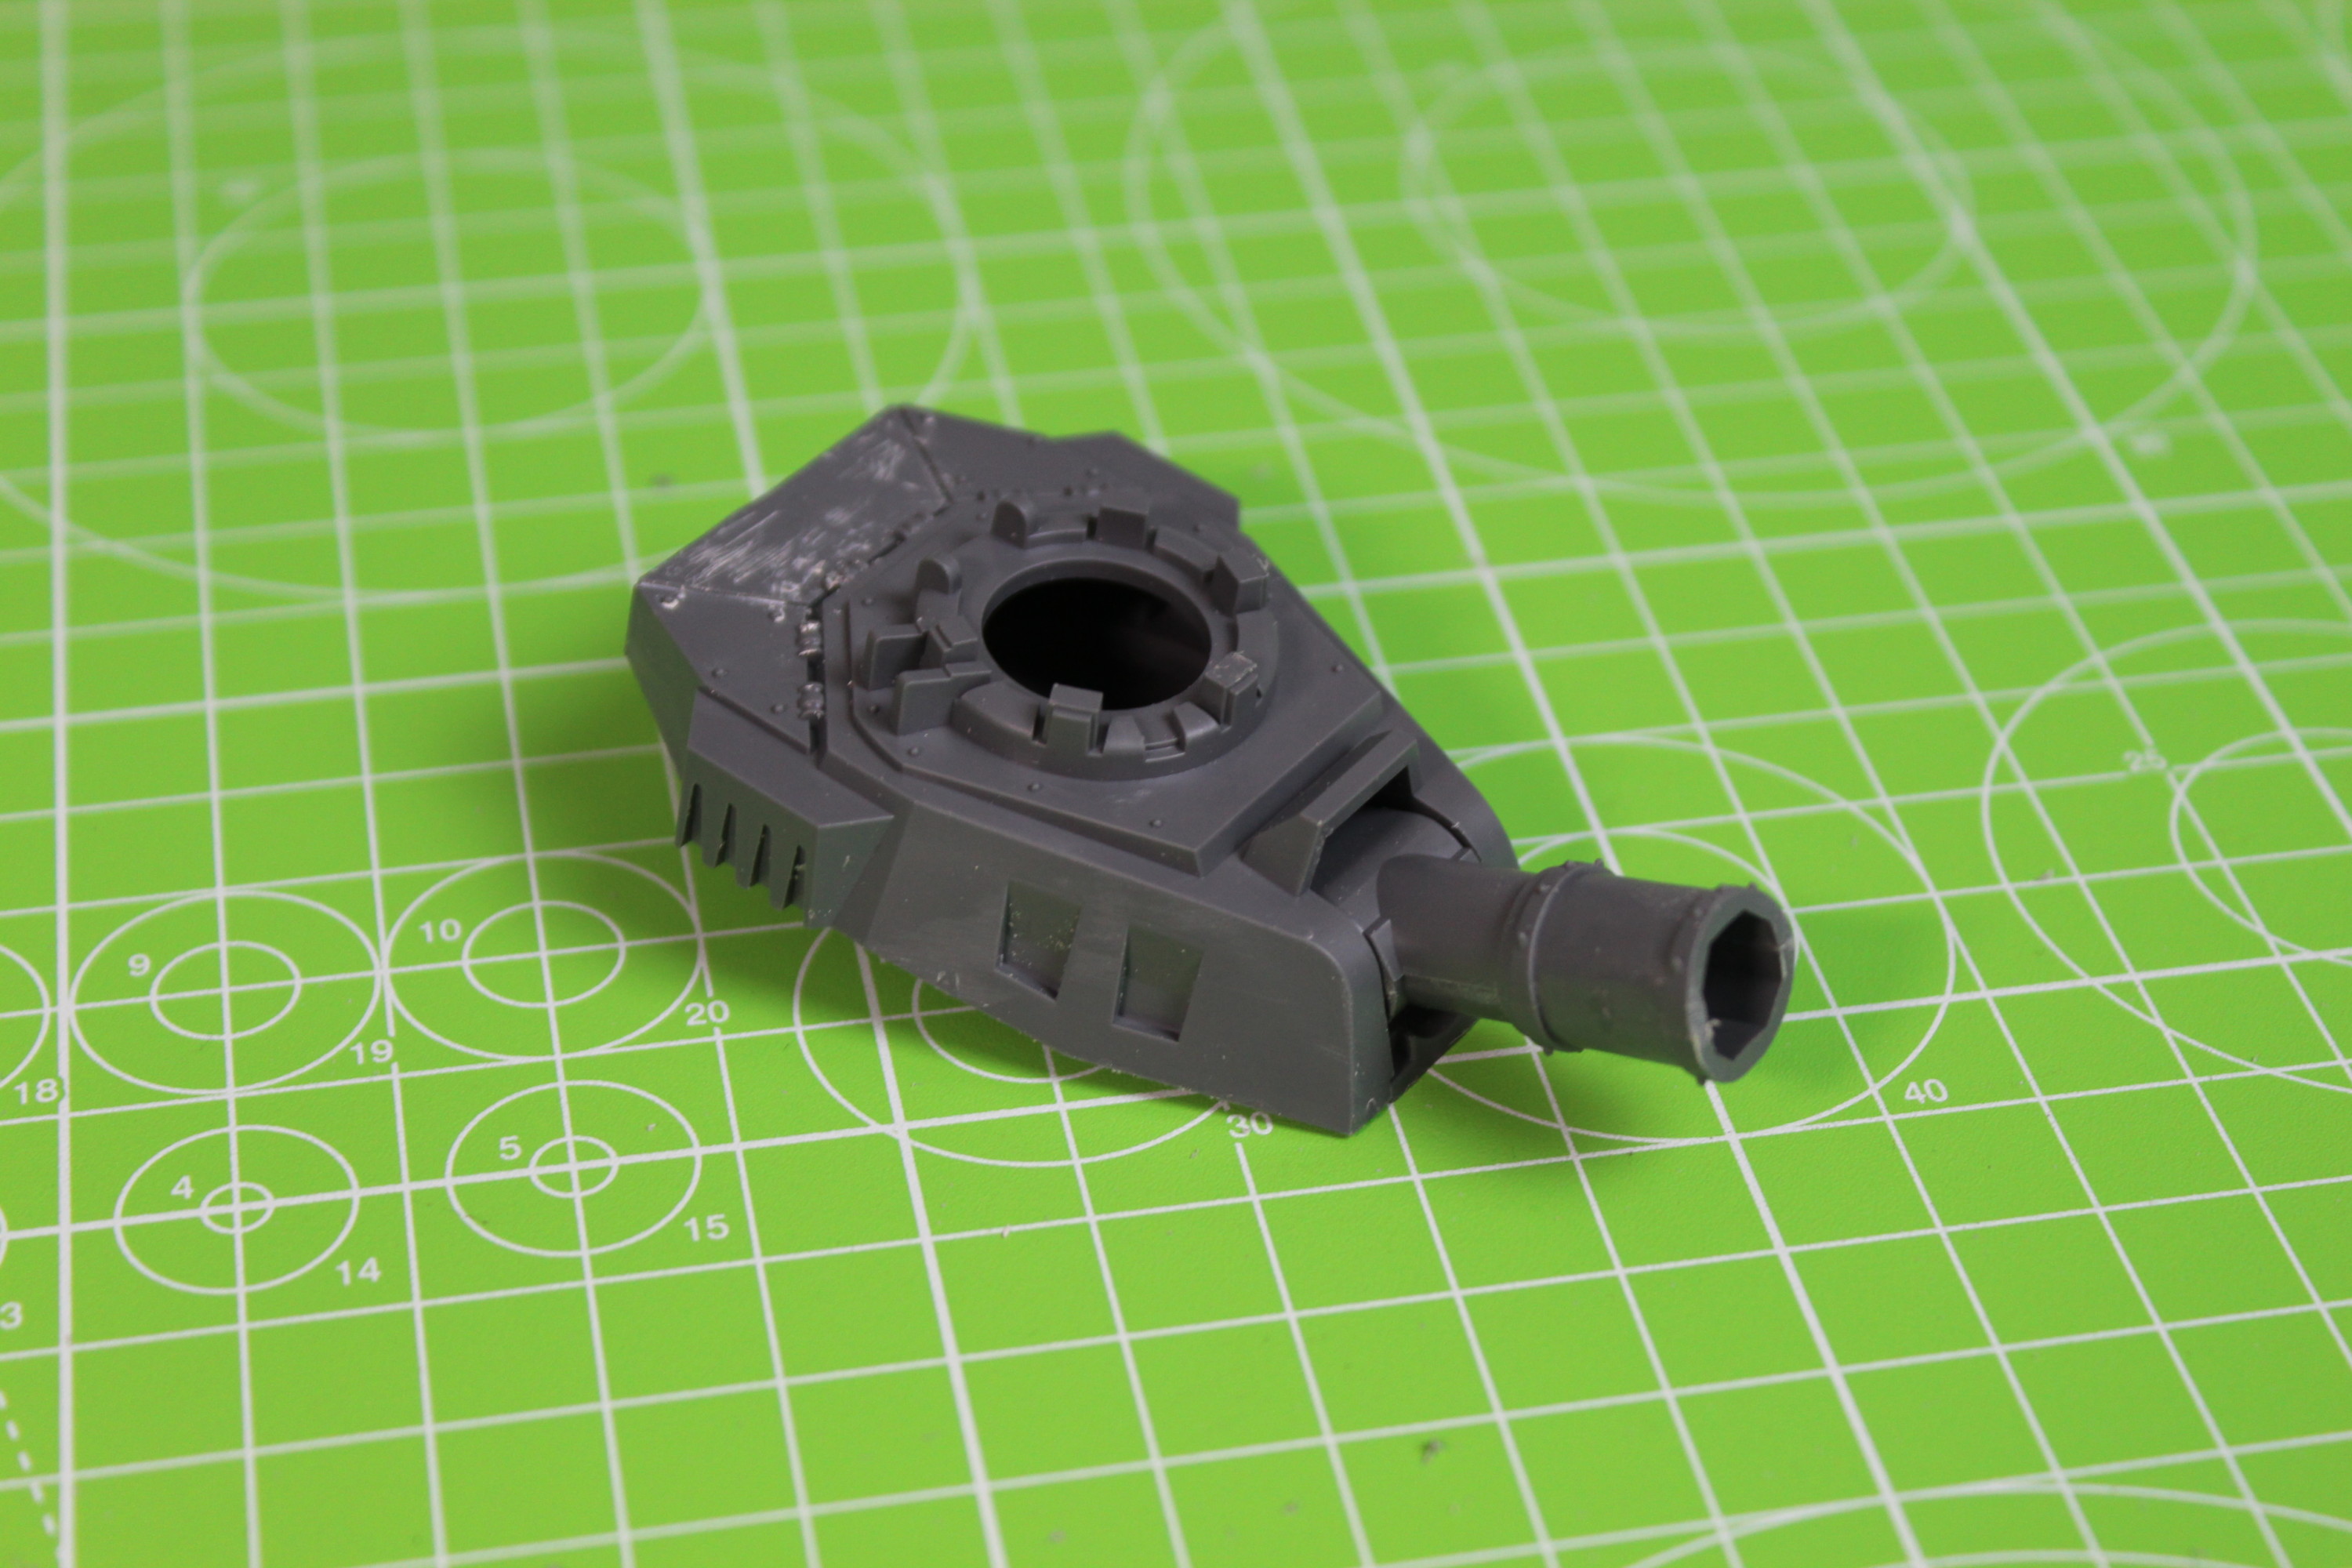
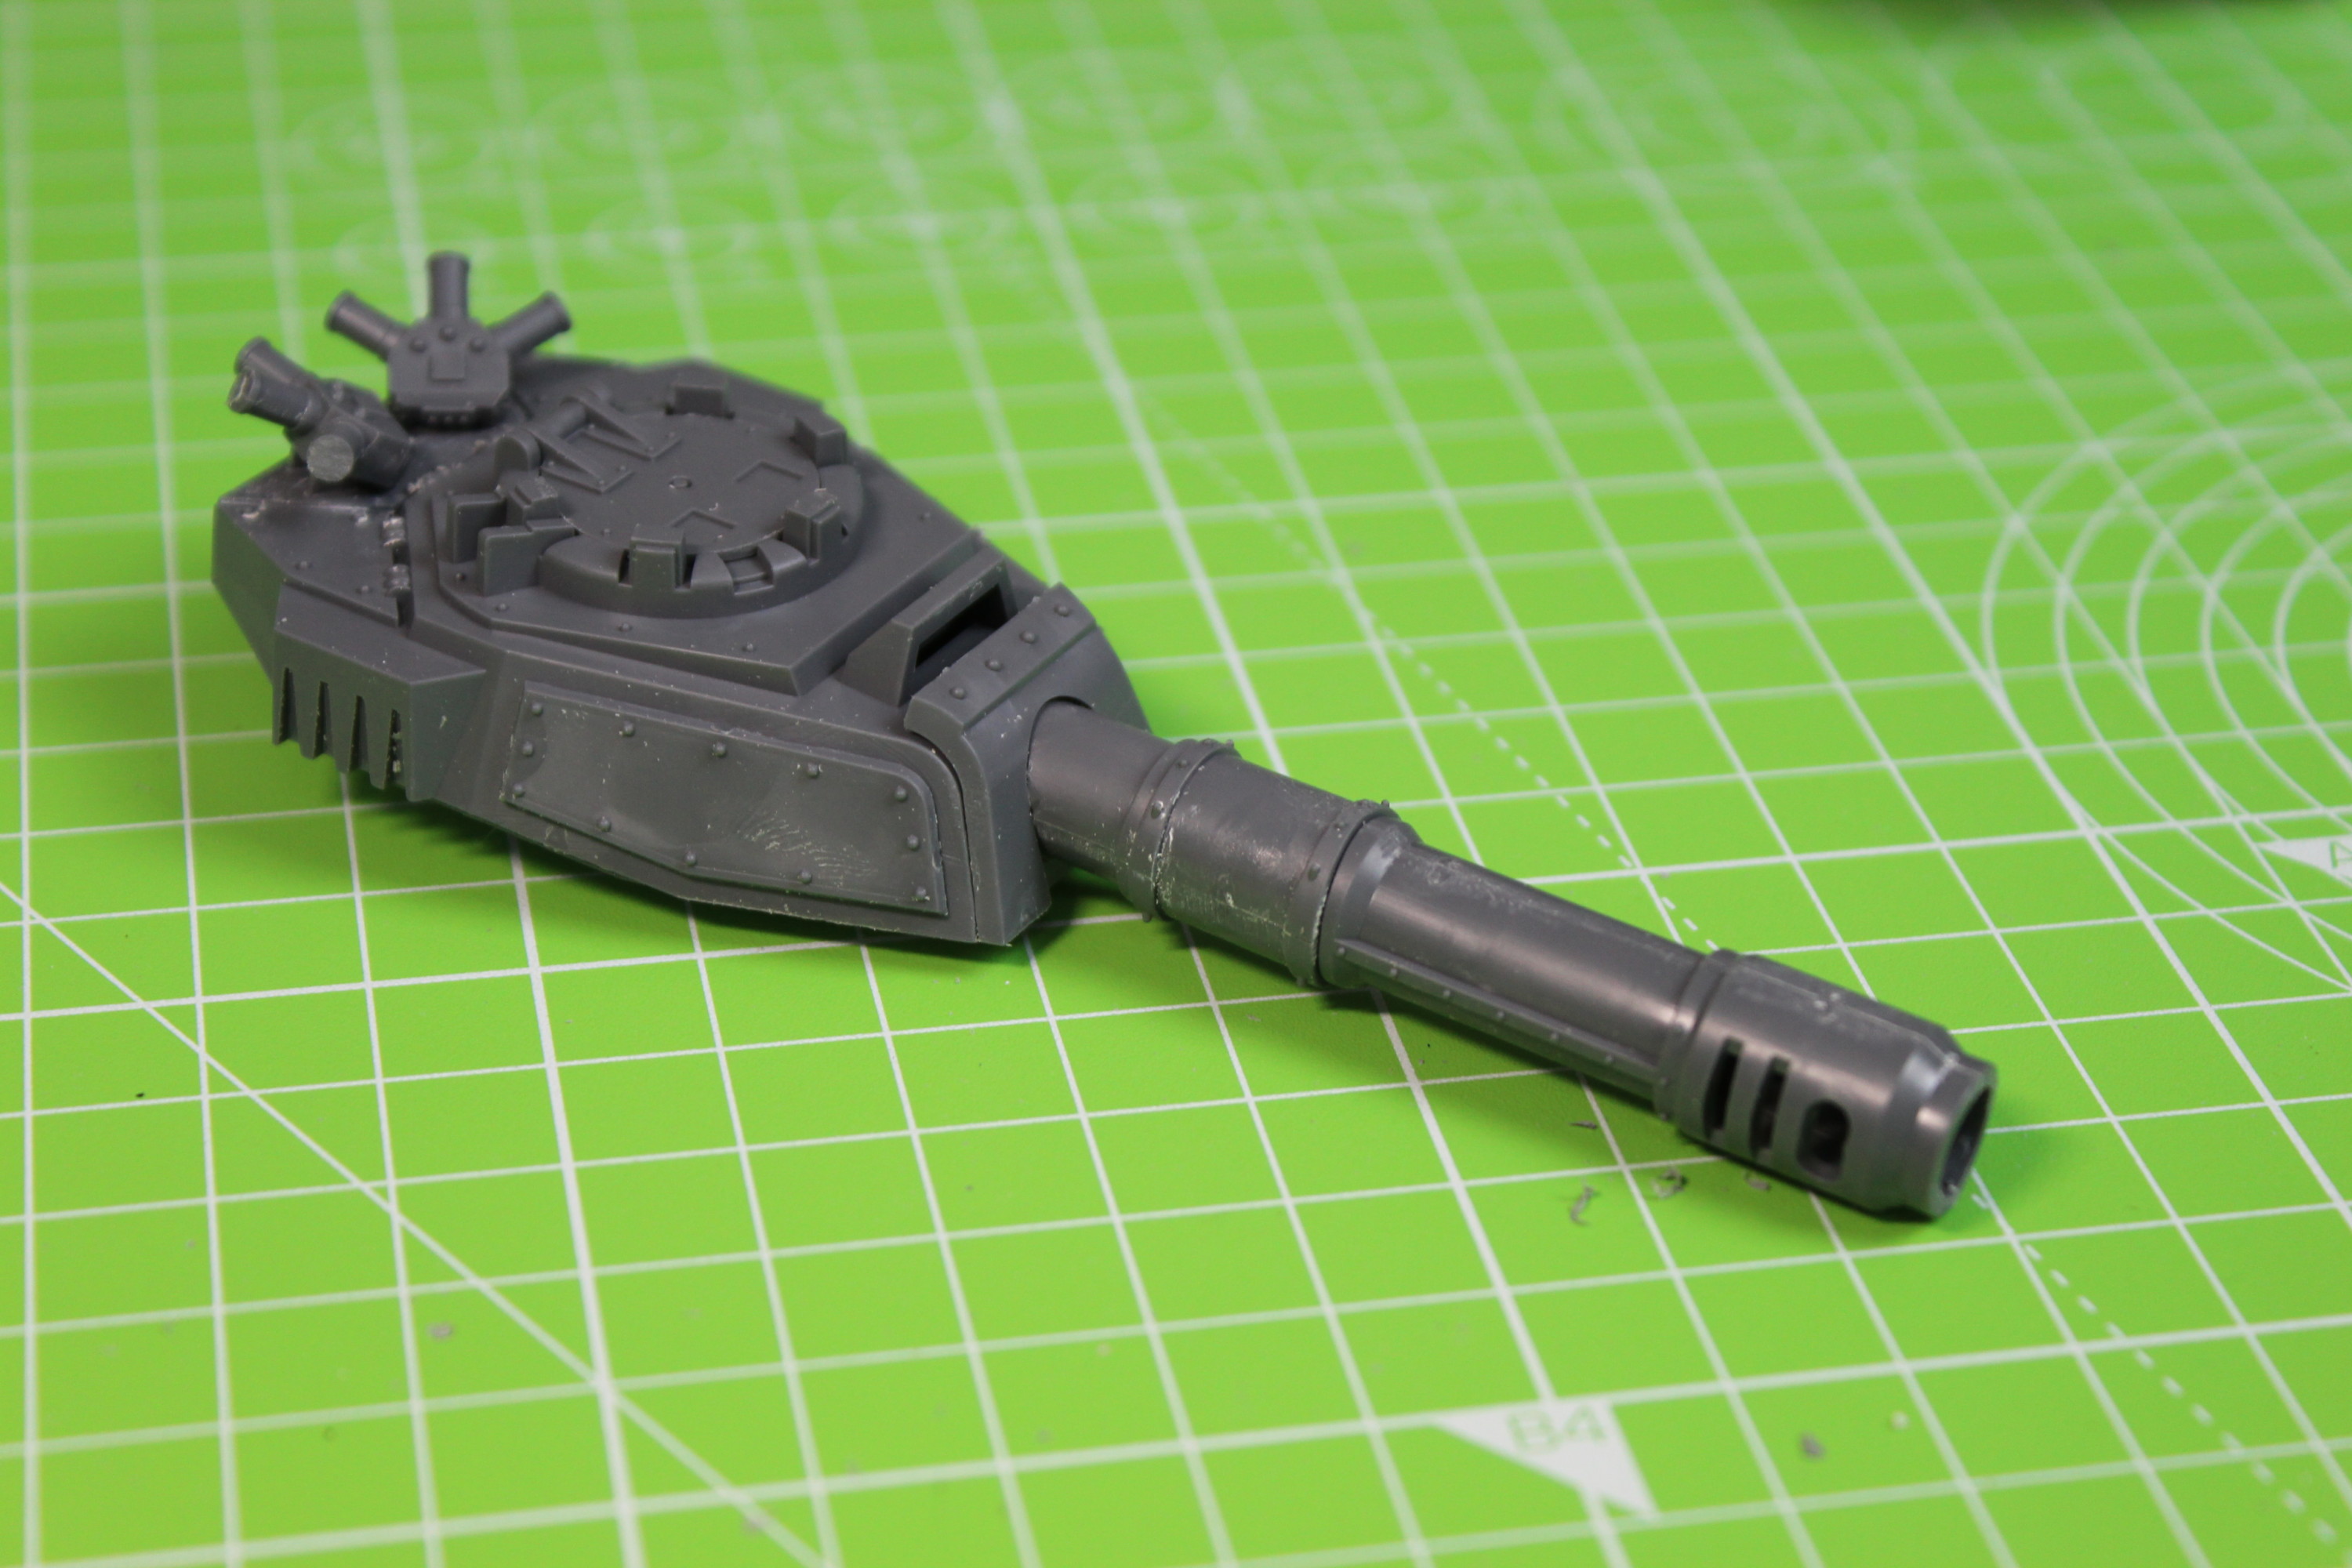
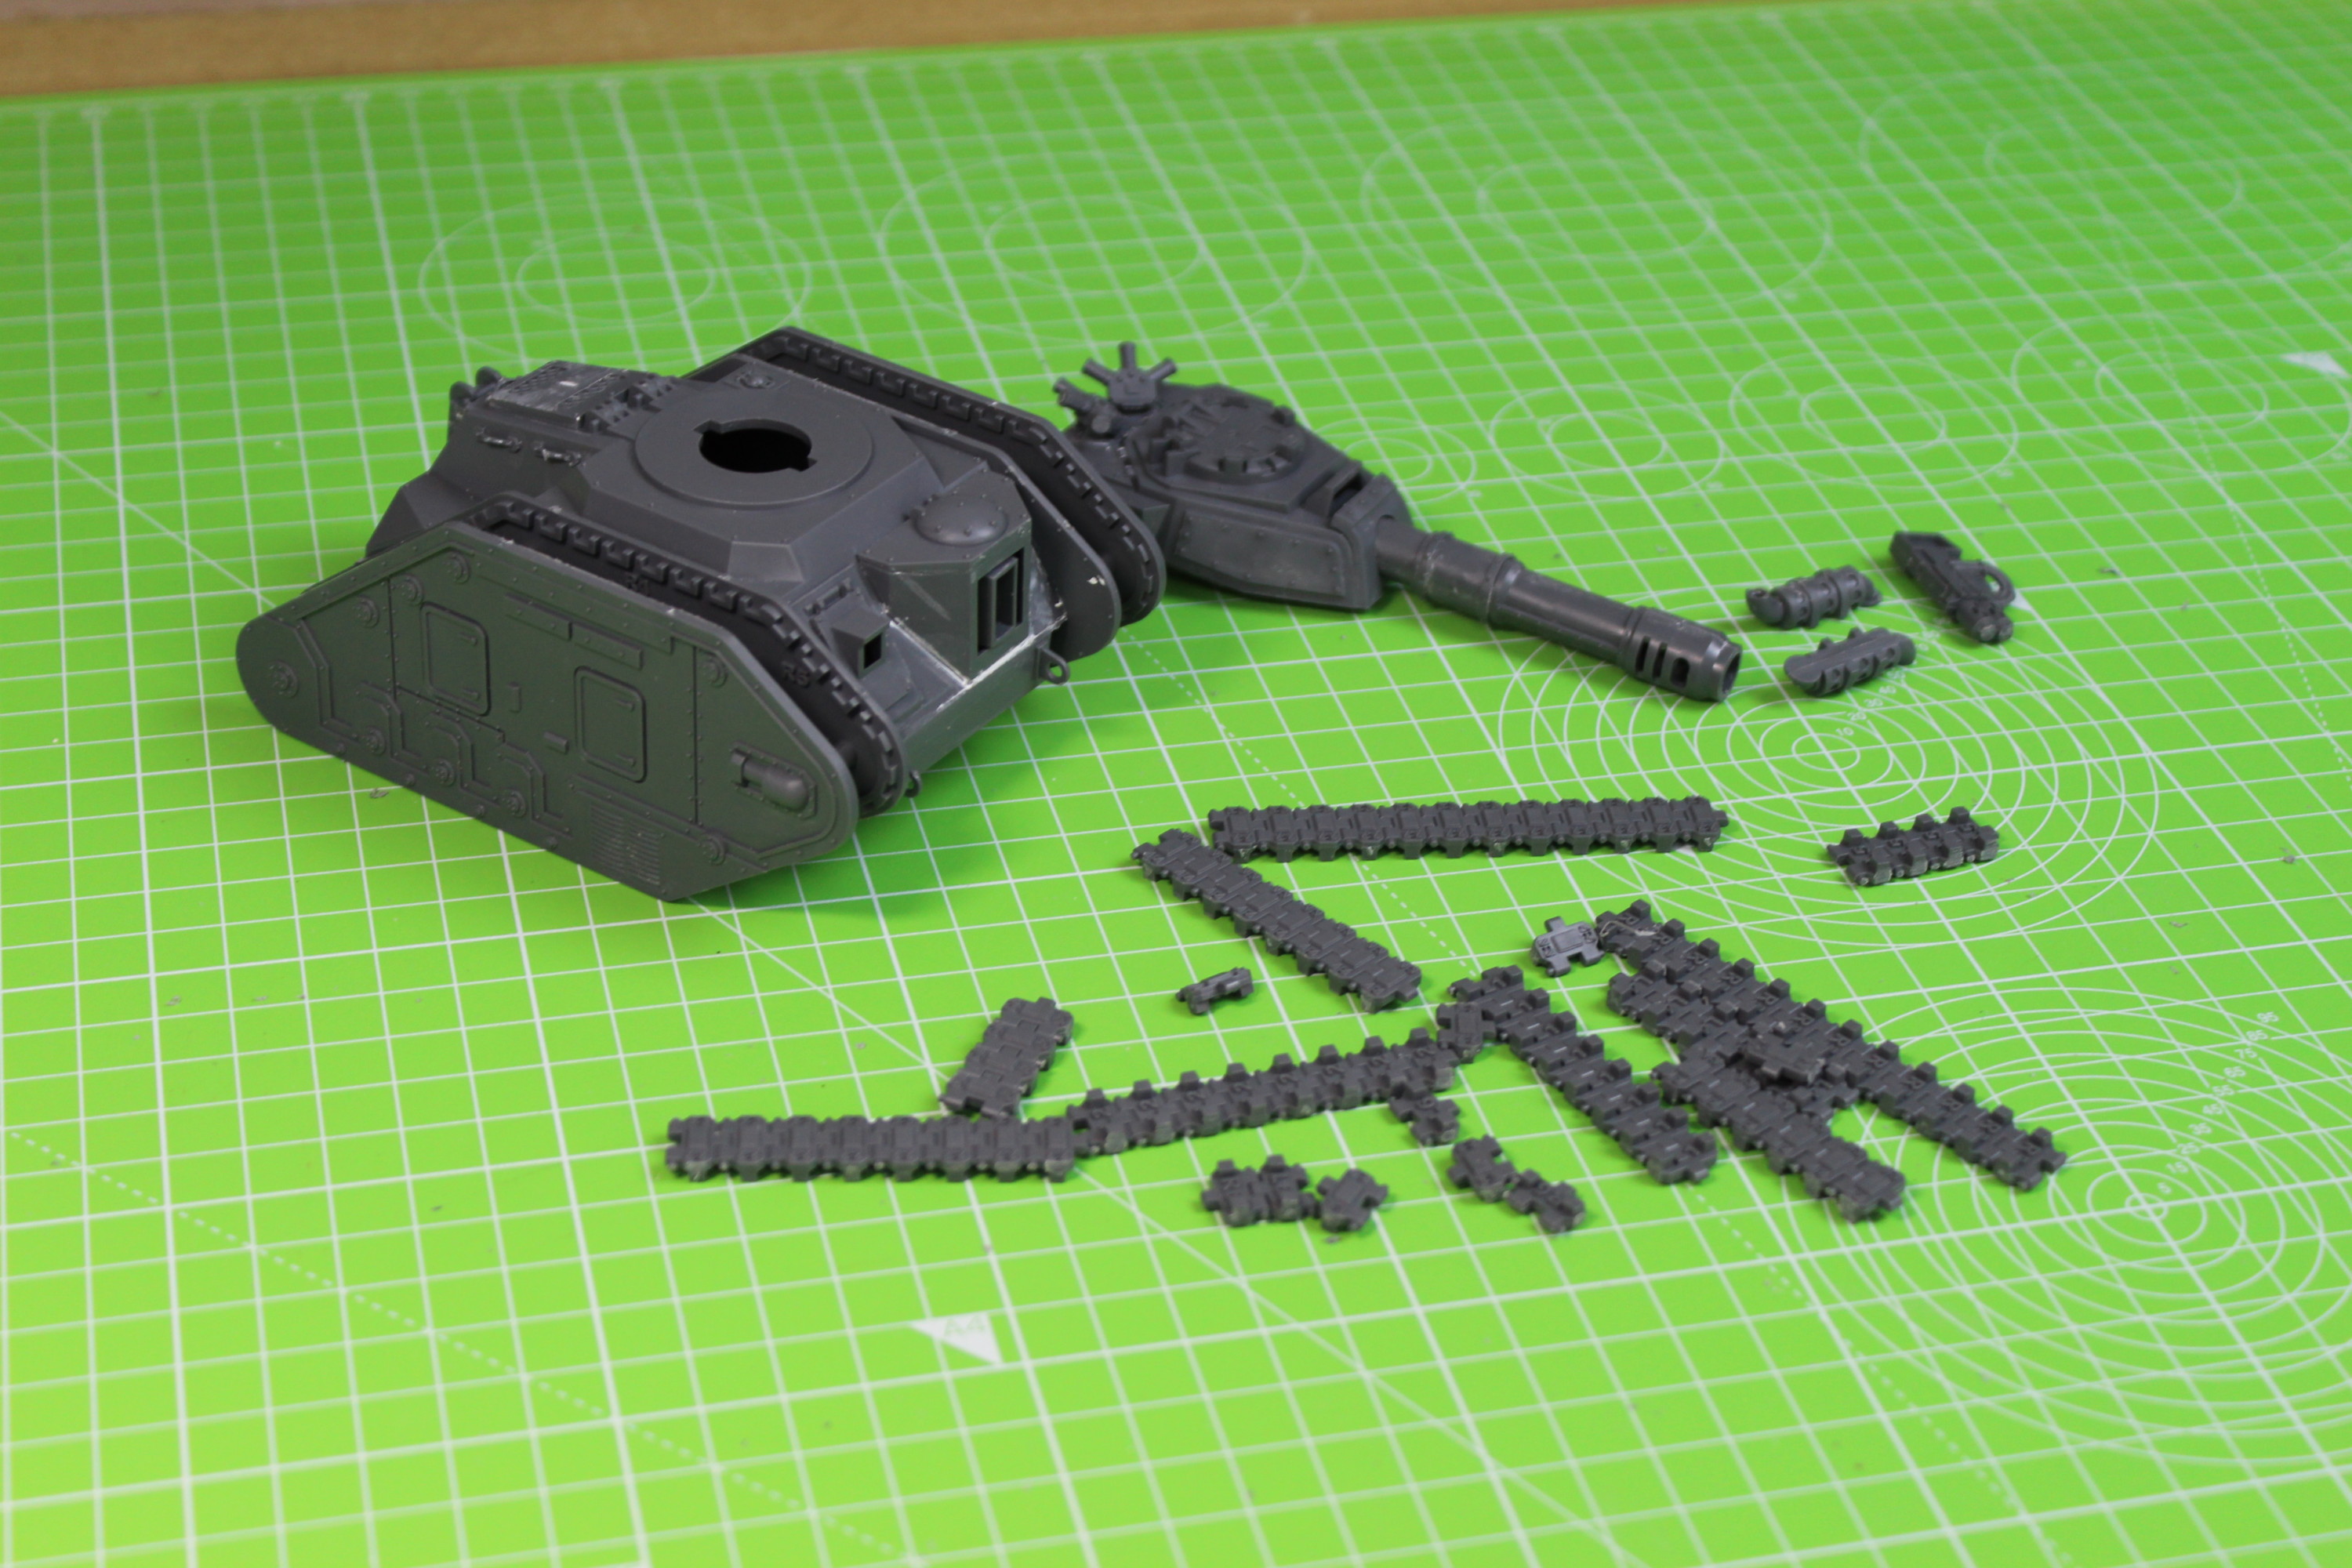
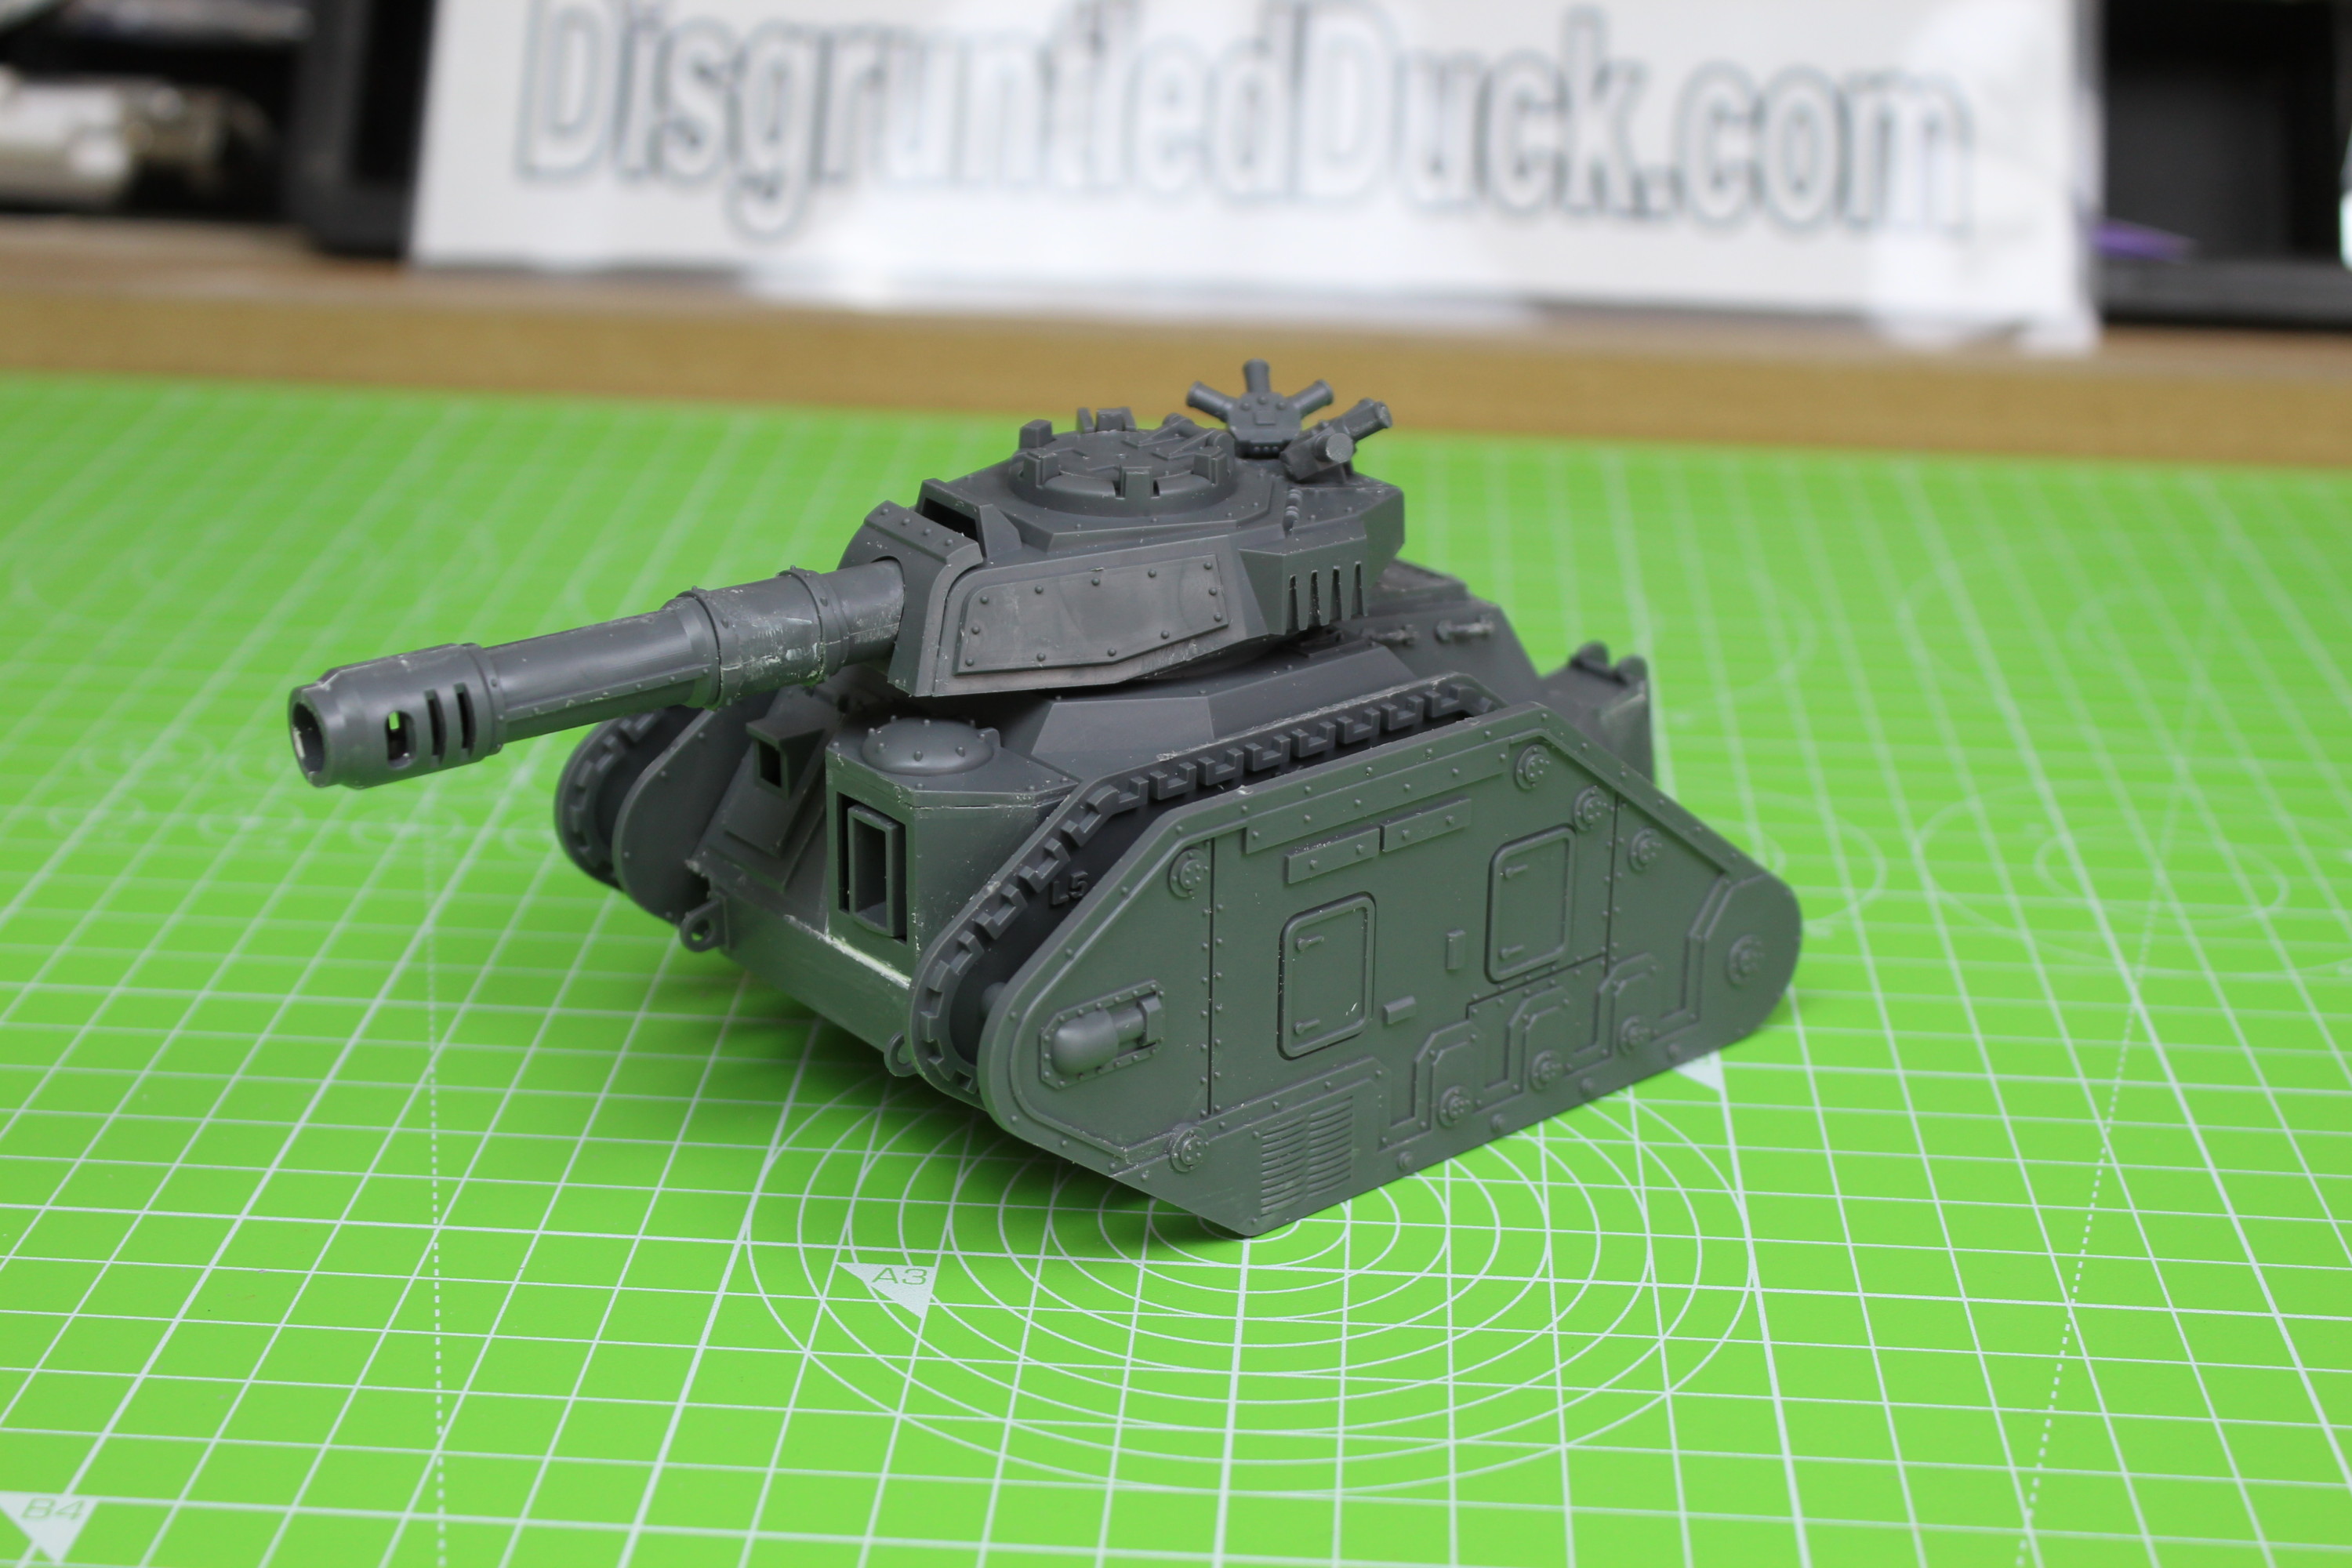
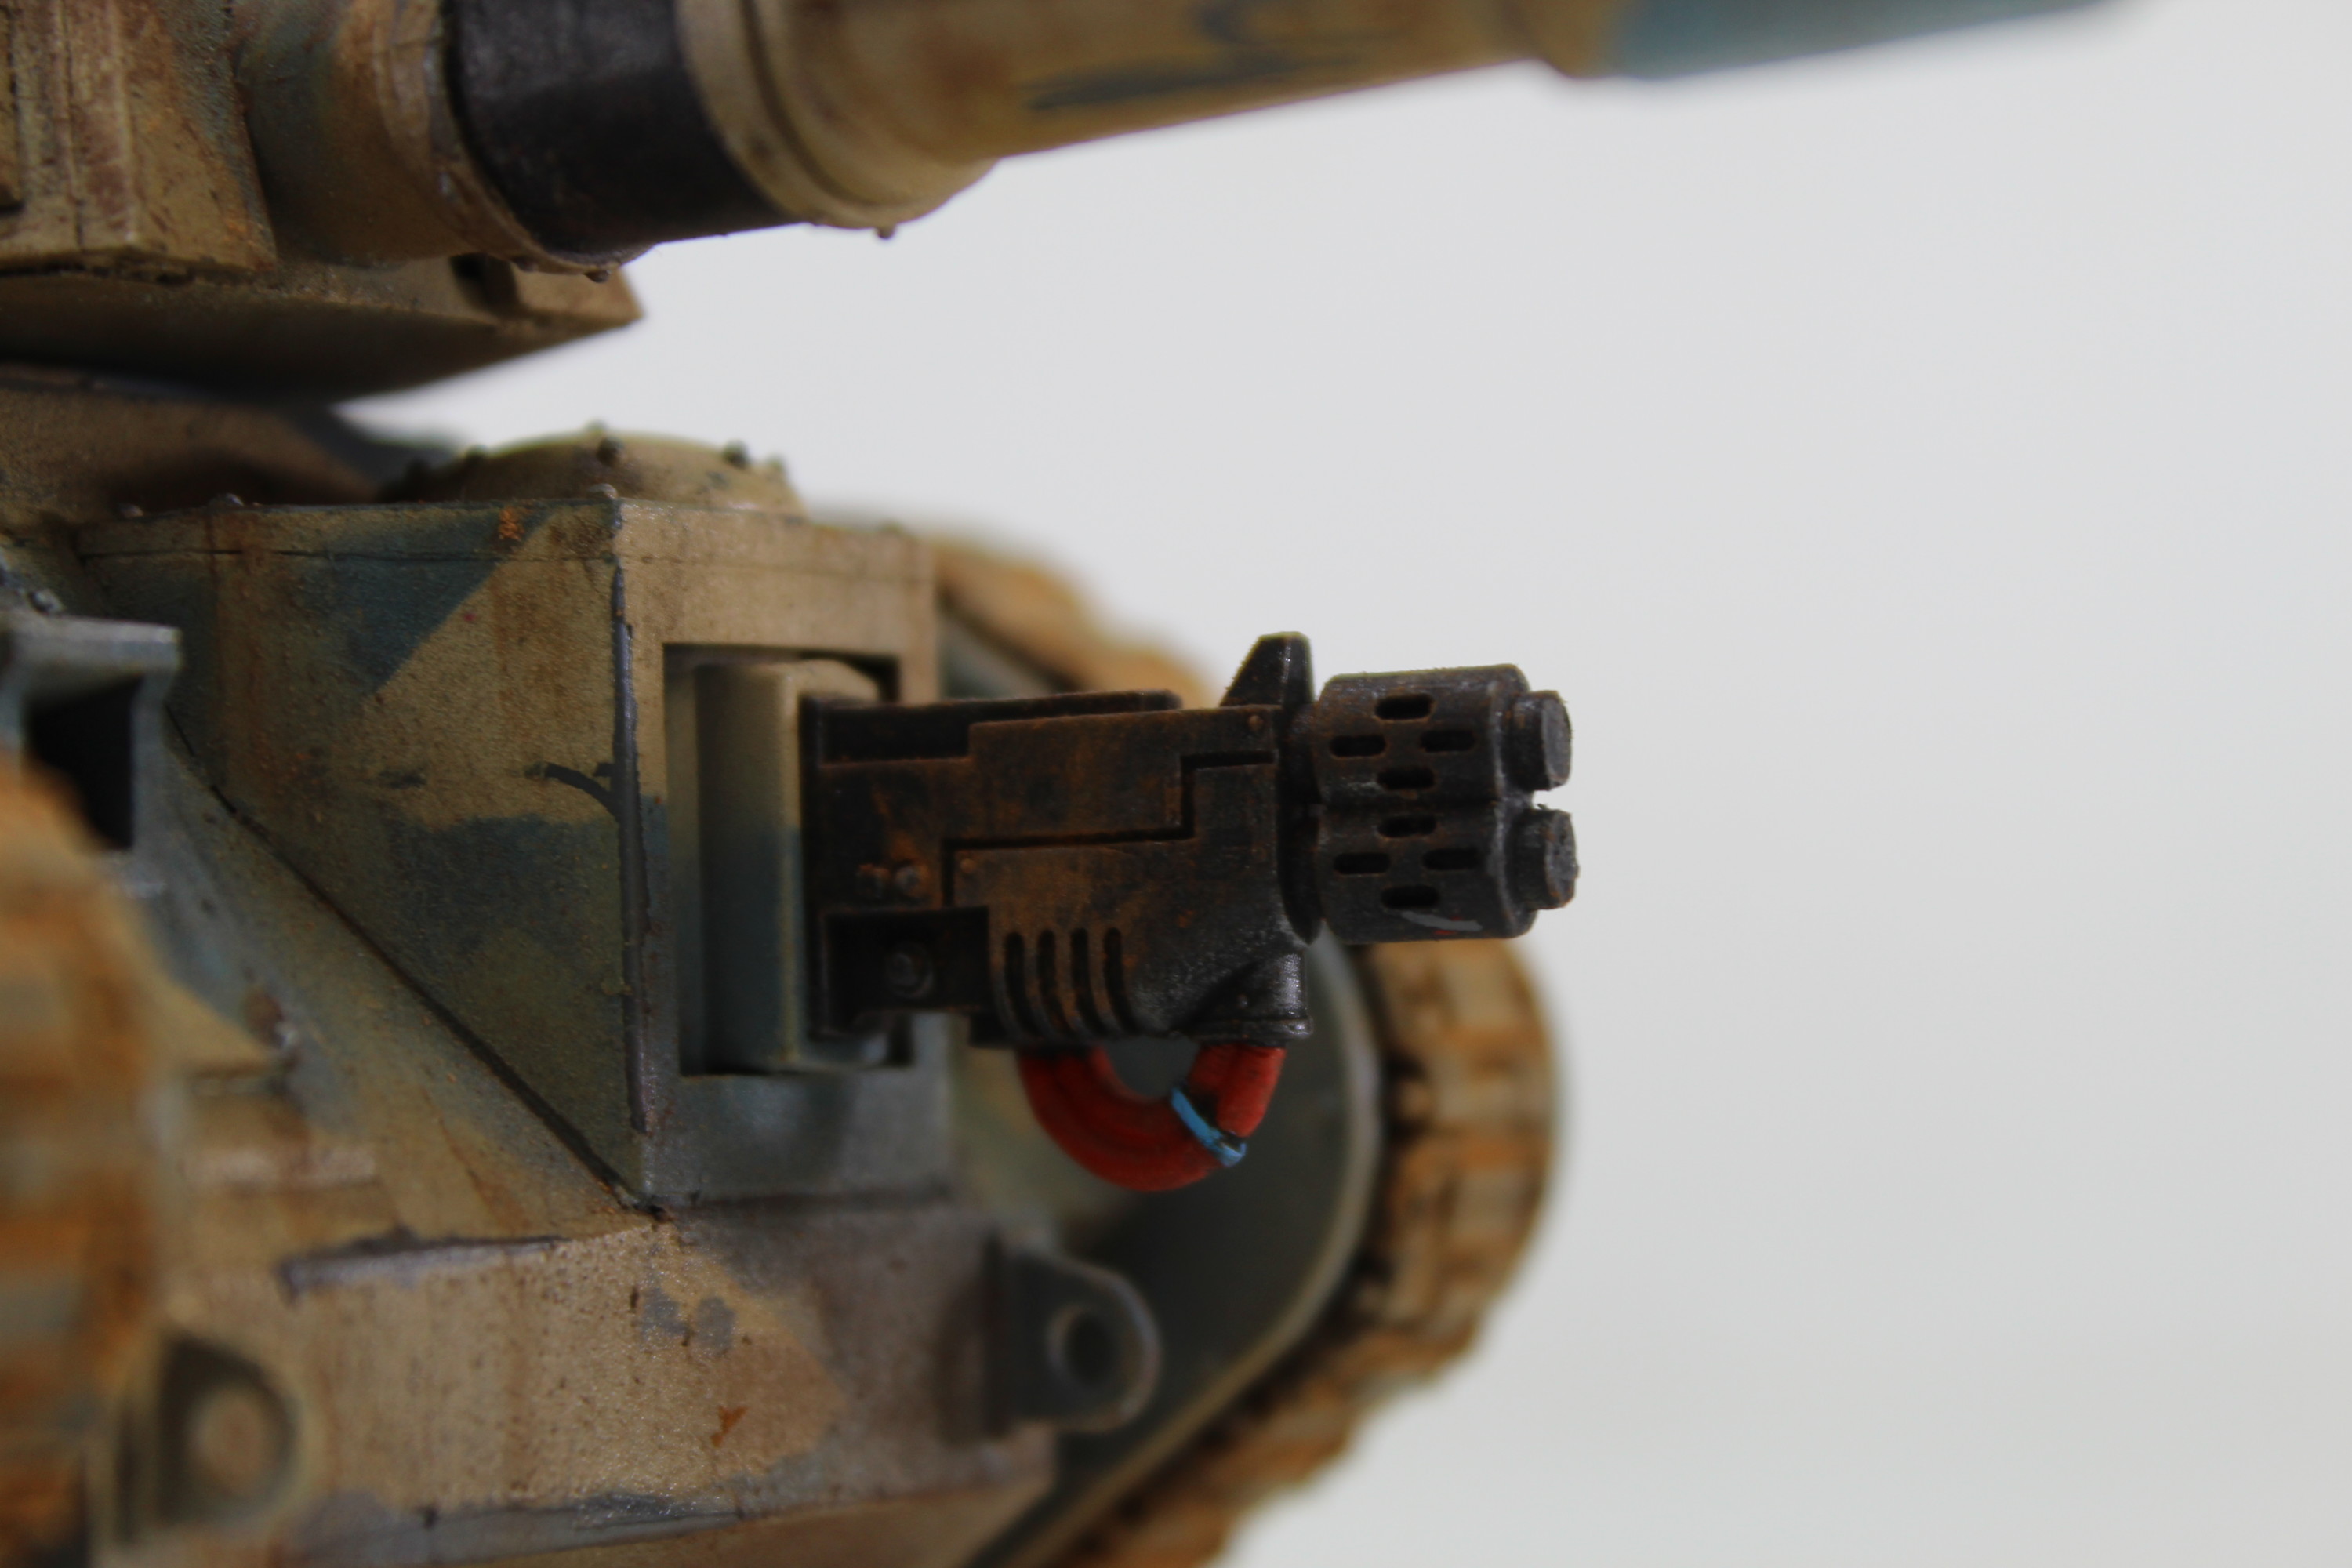
Next, onto the turret,.I have chosen to go with the largest gun configuration. I have also decided not to use the side gun ports, because of this I am going to fit the smoke grenade launchers to the rear of the turret.
Joined Together The First Parts Of The Turret And Removed The Crest.Added The Smoke Grenade Launchers To The Rear Of The Turret.Setting The Parts Of The Gun Barrel In Place And Holing Them With Clips While They Dry.The Turret And Gun Have Been Completed And Are Ready For Painting.
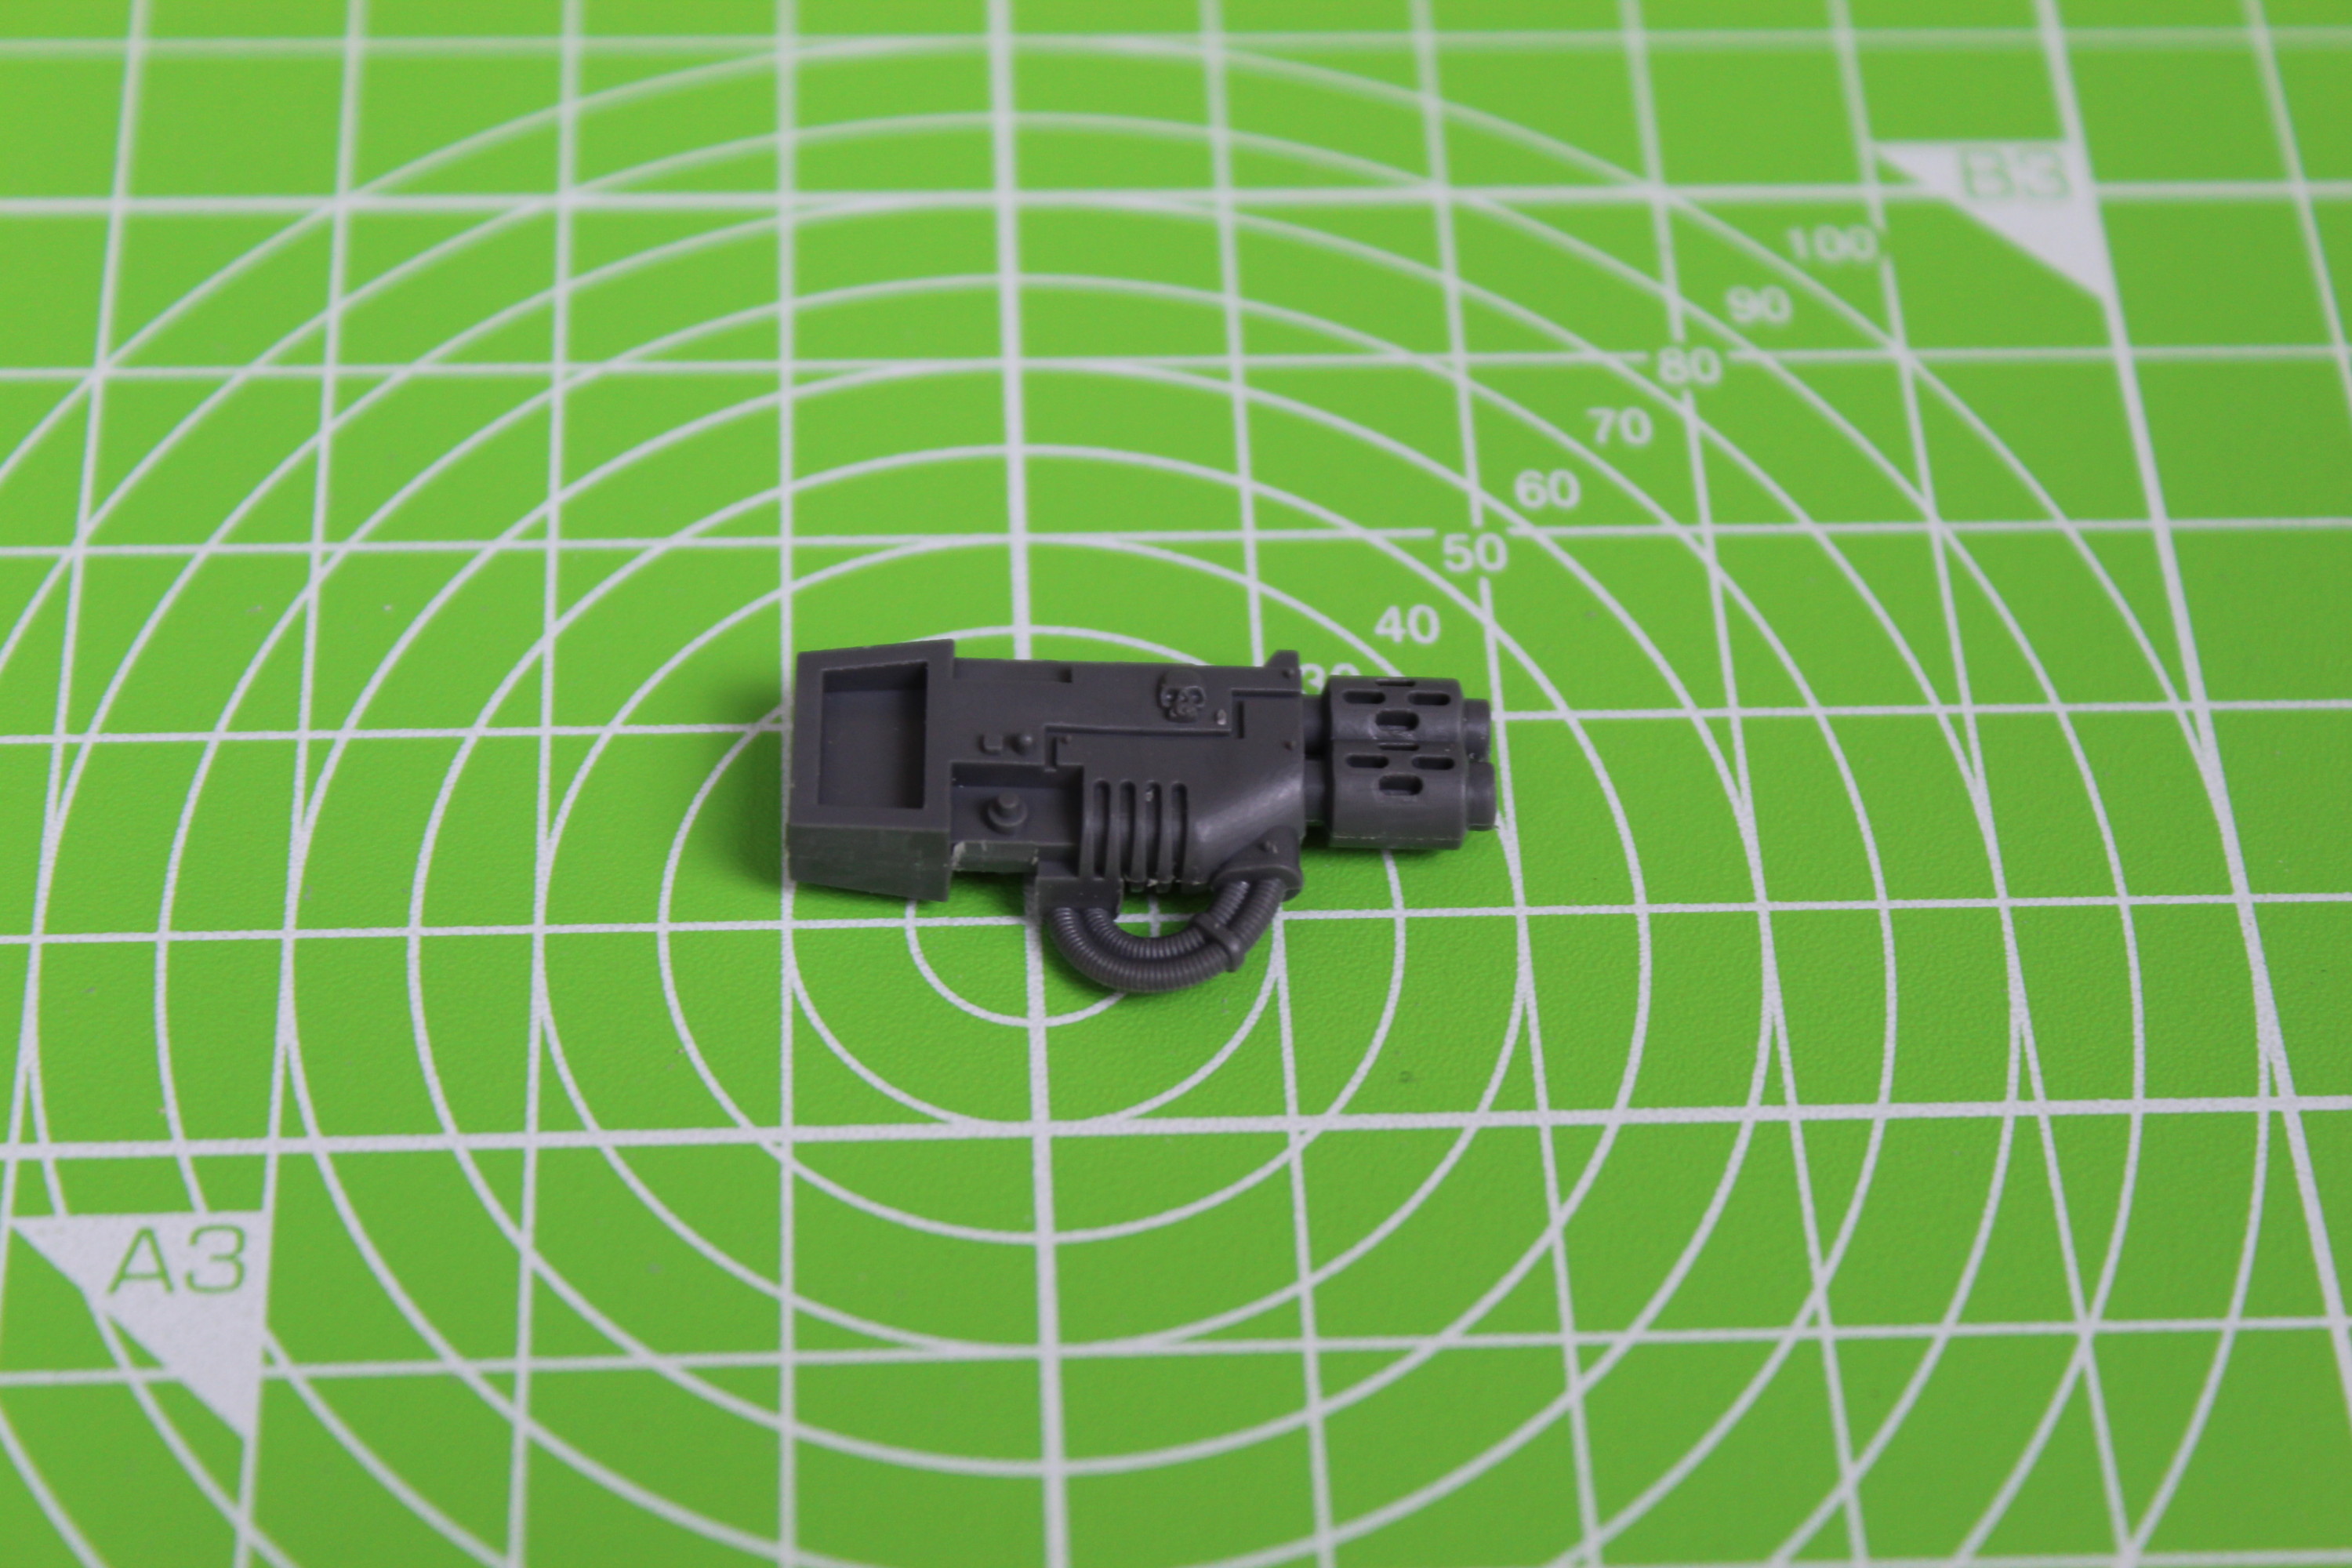
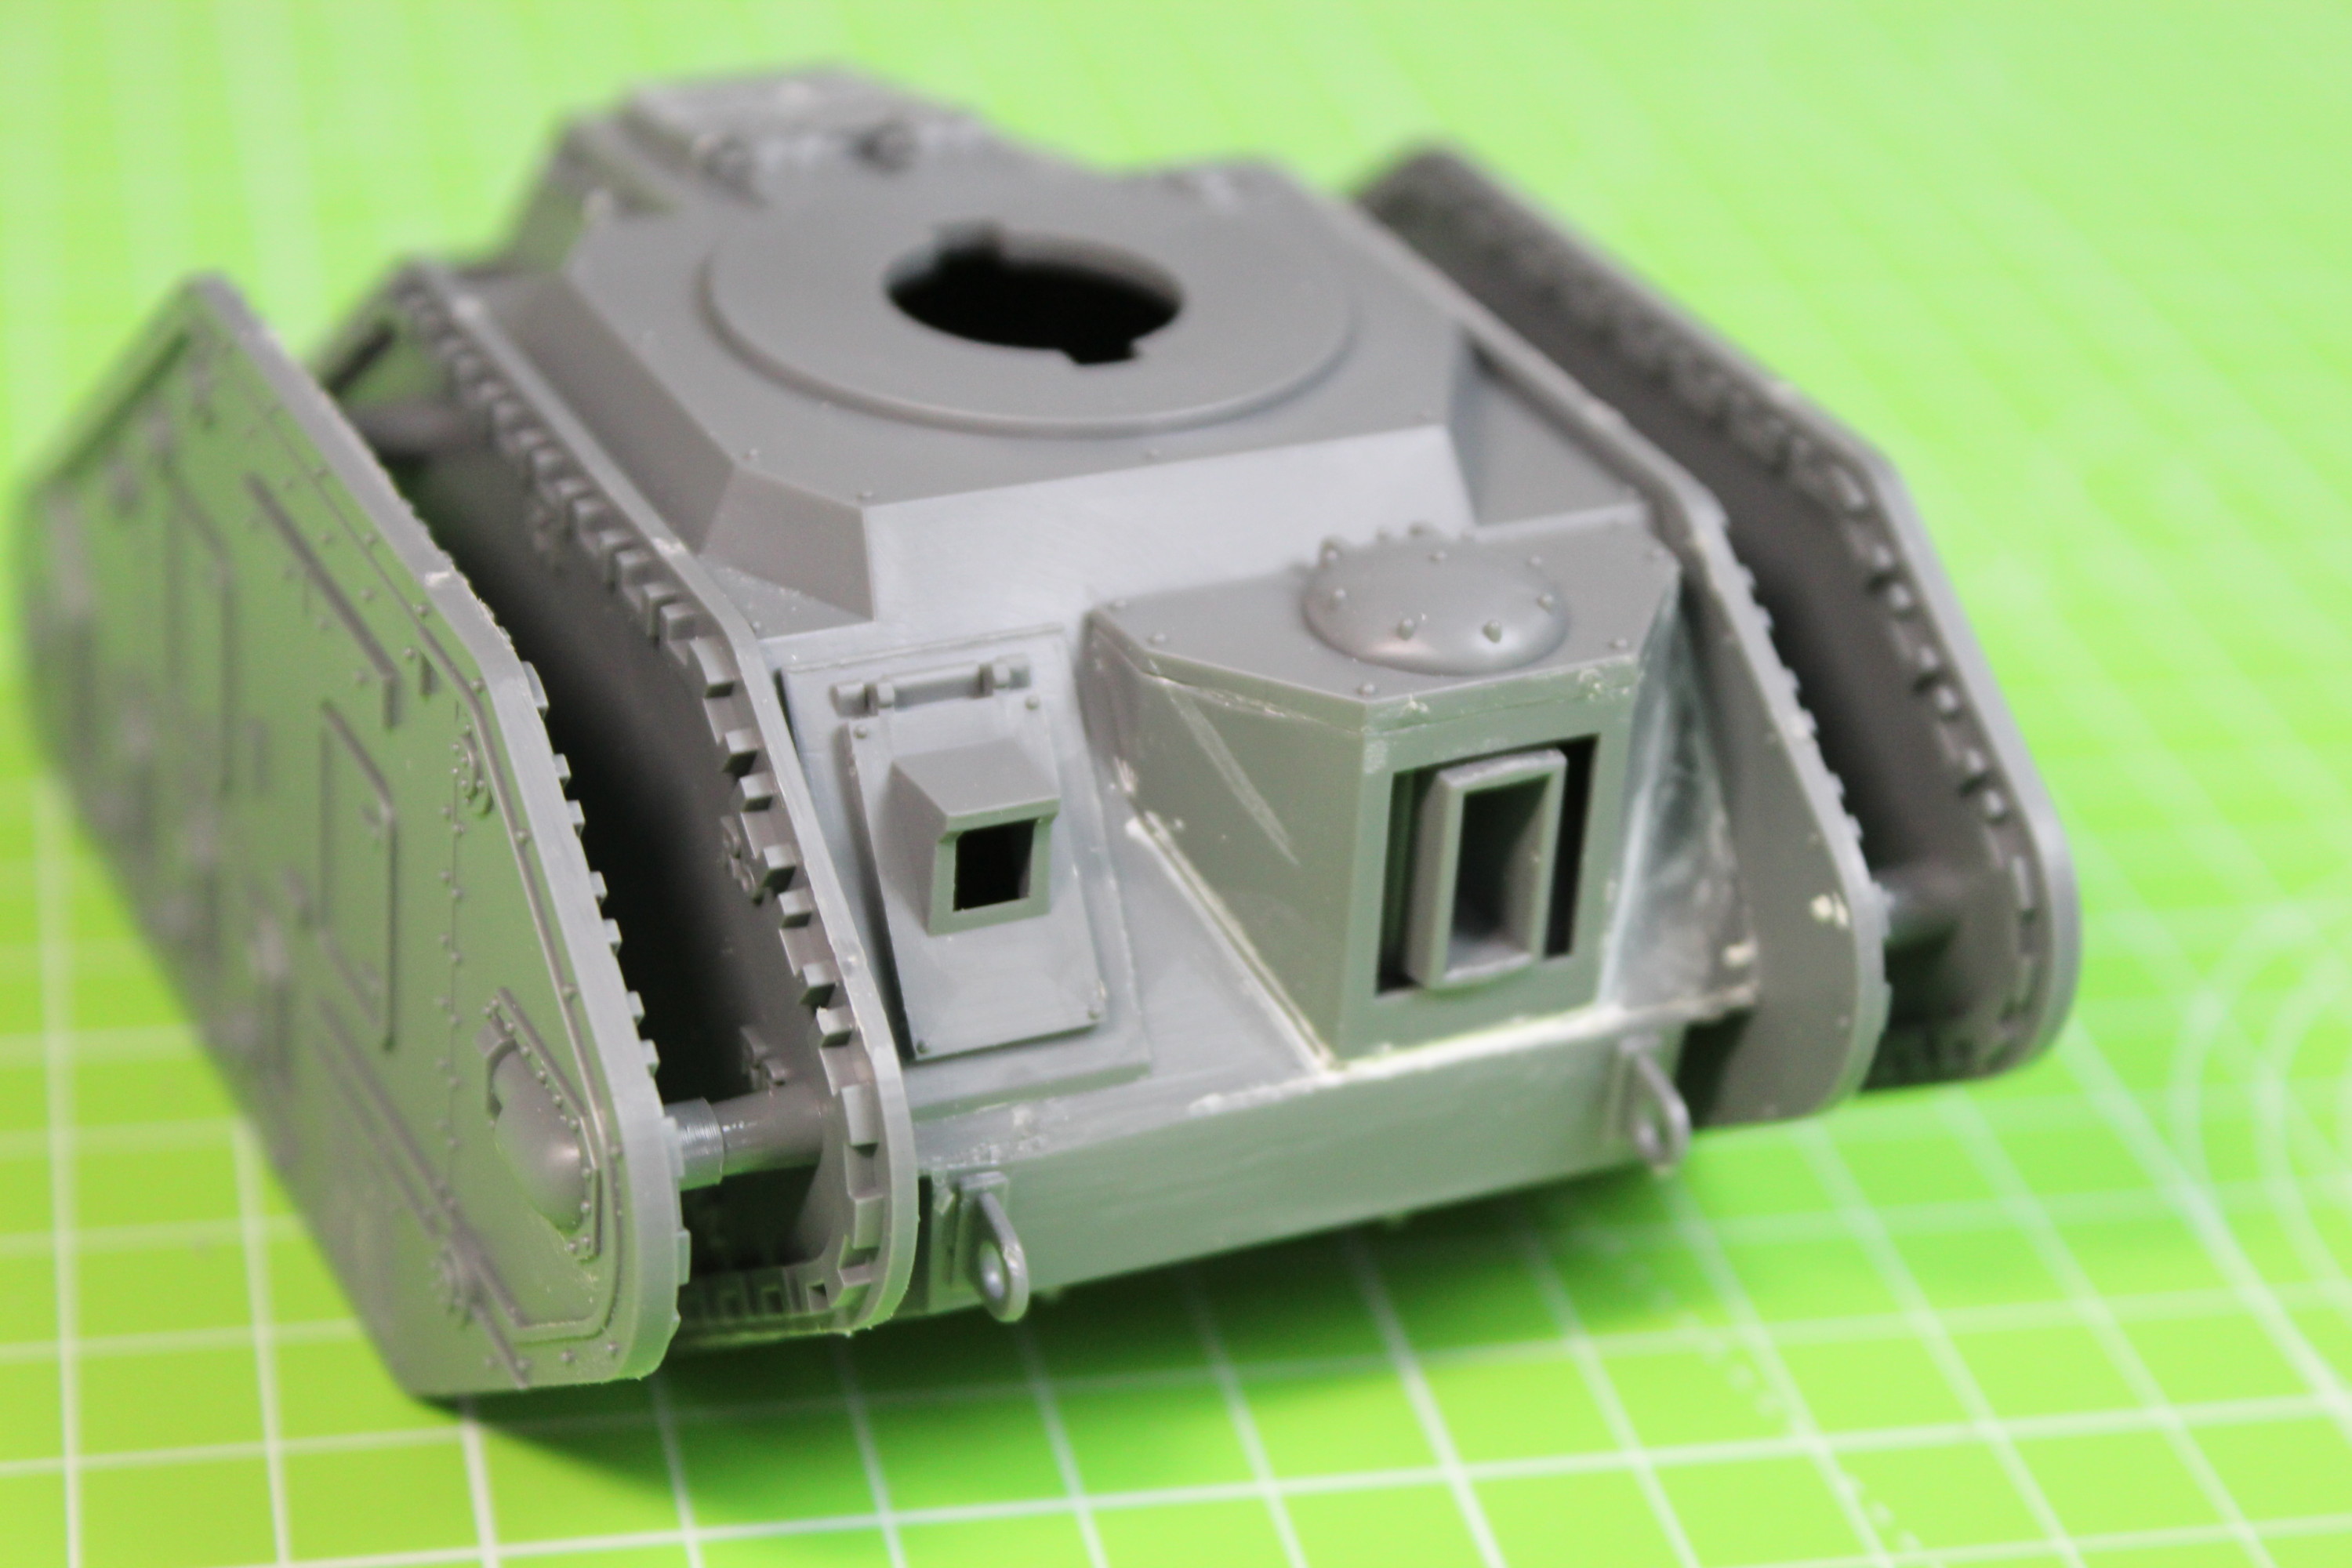
I am going to be using the flamethrower as the weapon on the front of the hull. Again I will paint this up separately and fit it after the rest is painted.
The Flamethrower Cannon For The Leman Russ Tank.The Front Weapon Port Has Been Added And The Emblem Removed From The Rear.The Rear Of The Leman Russ With The Engine Cover And Tow HookFront View Of The Tank Before Painting, The Gaps Around The Weapon Port Have Been Filled And Sanded.The Leman Russ Tank Complete Hull Ready For Painting.
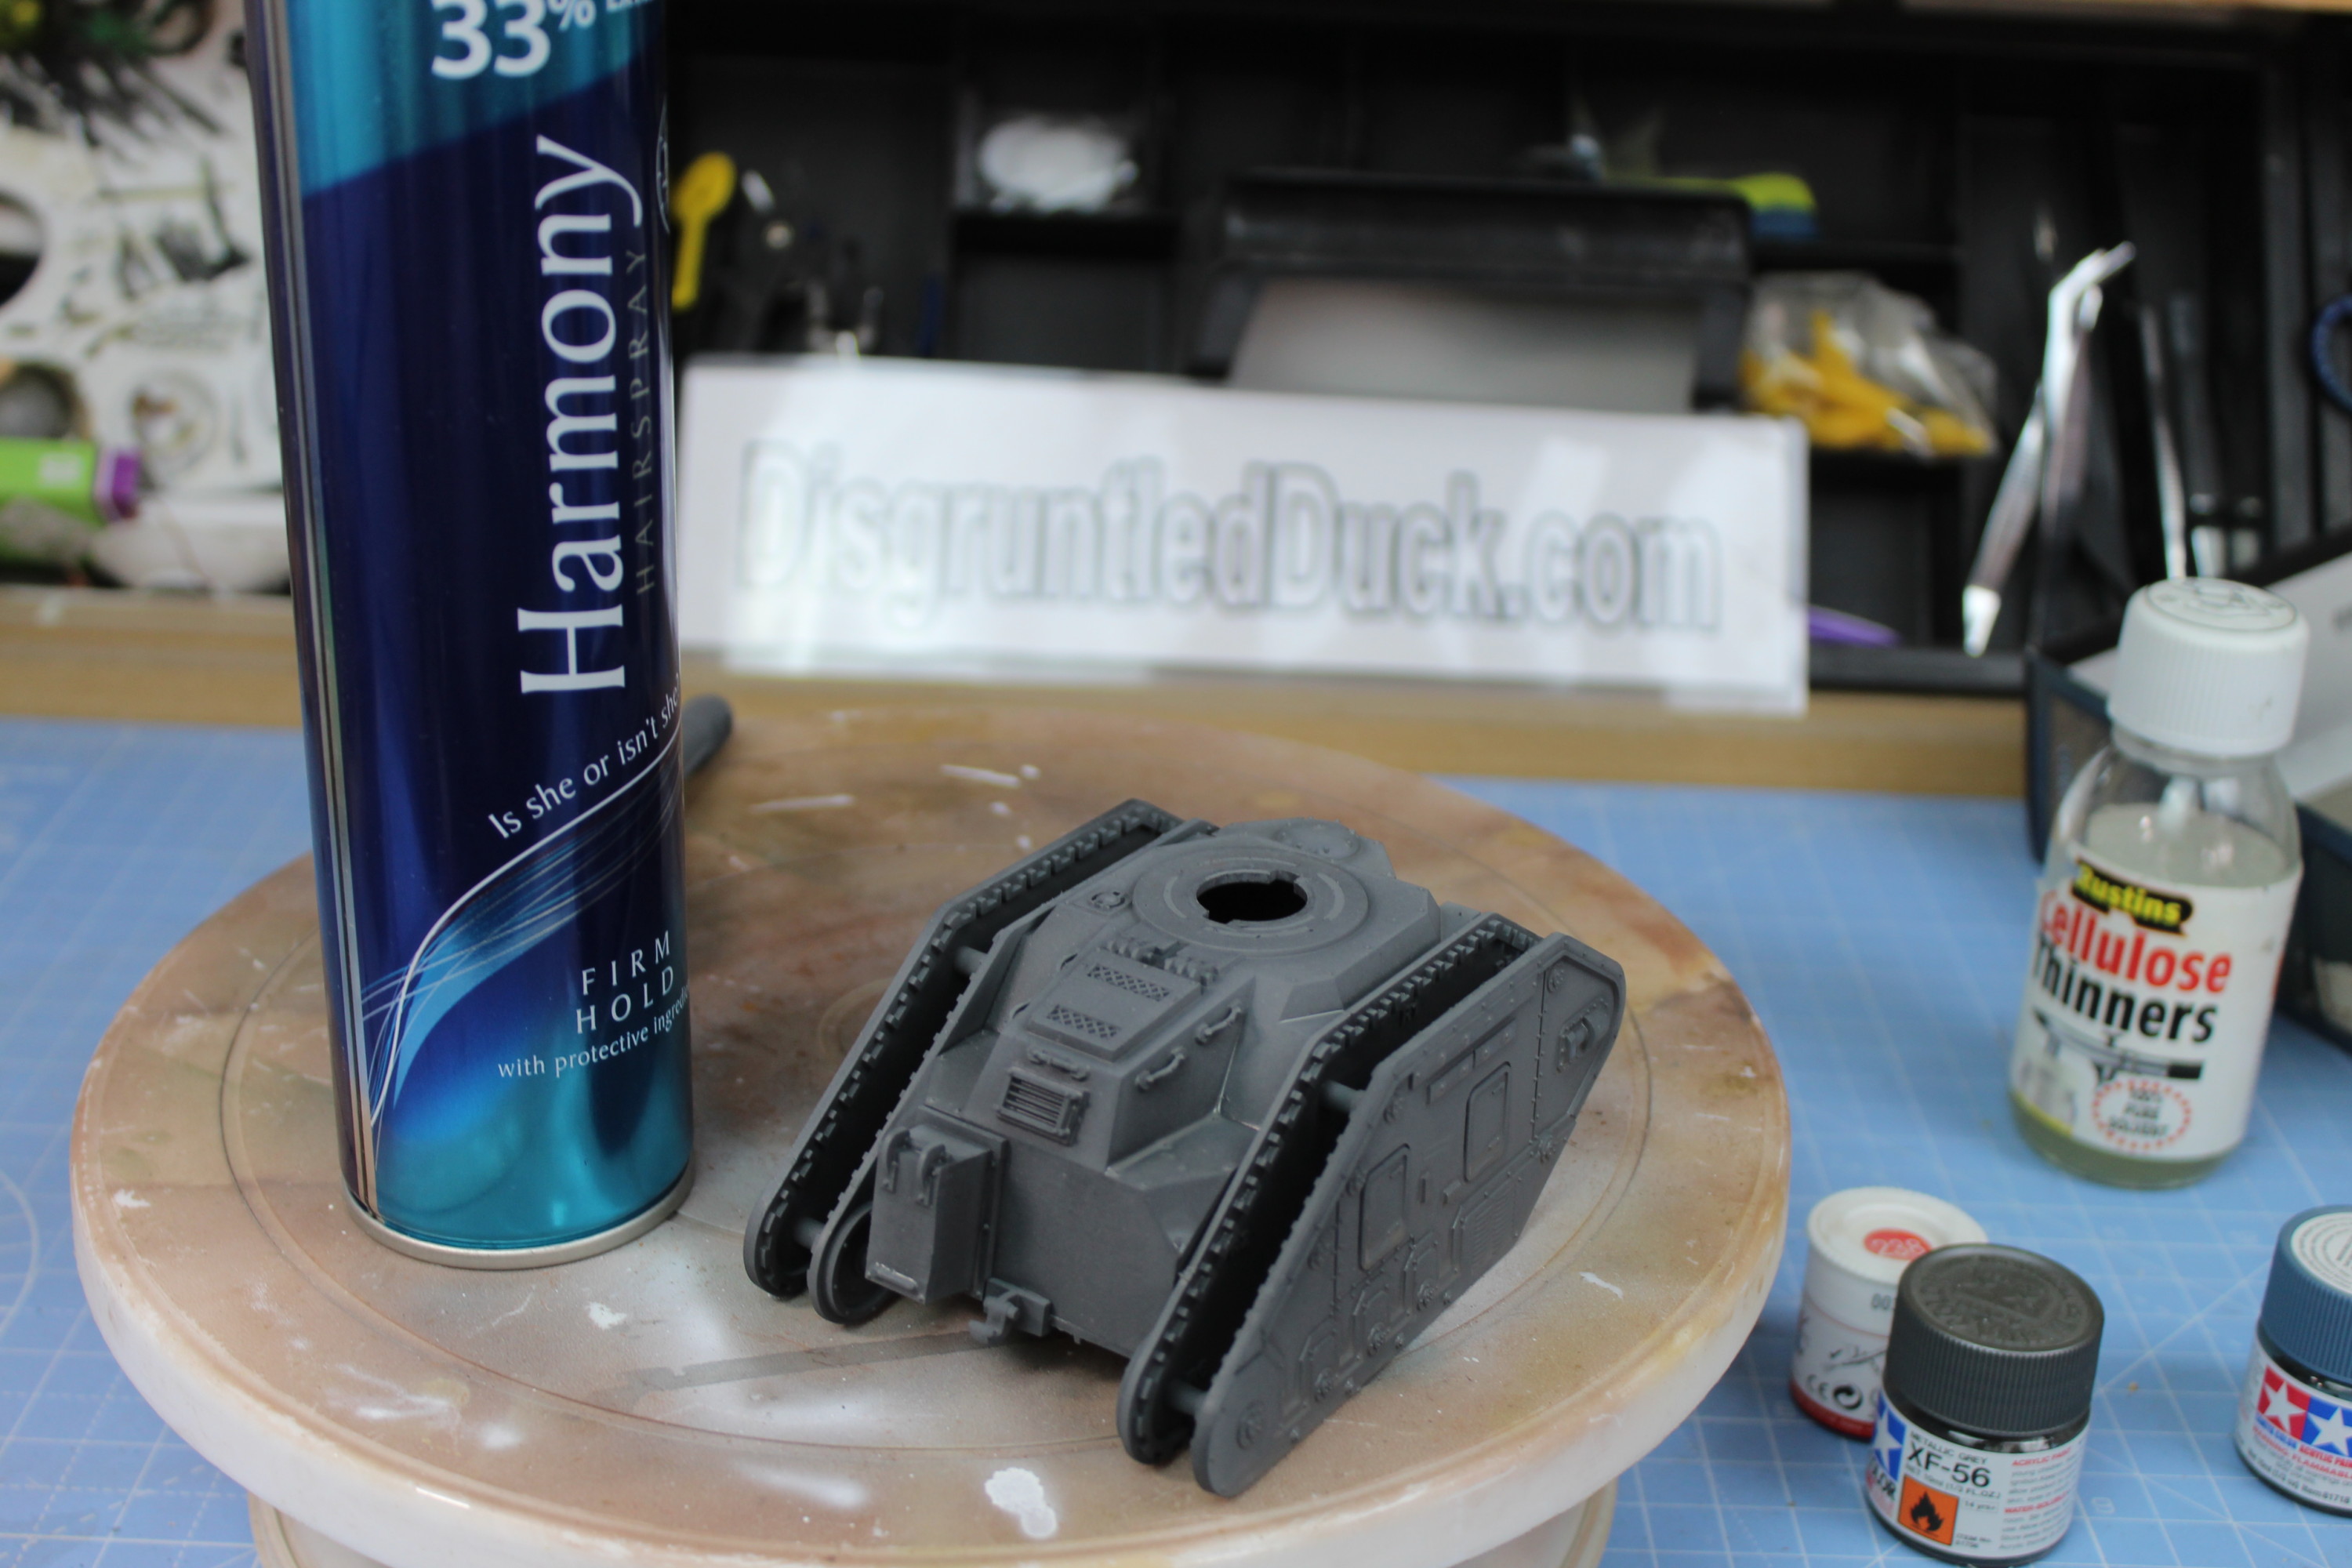
That’s about all the work I want to do to the hull, So now it time to get everything together and give it a quick undercoat.
Everything Ready For An Undercoat.The Full Leman Russ Tank Minus The The Tracks. Ready For Some Paint Now.This Is The Matilda 2 Tank And The Paint Job That I want To Recreate On The Leman Russ. (image used under a creative commons licence)
So now I can get to the paint job. There was an old British tank, I think it was a Matilda that had desert sand and sky blue camo that I really want to try and recreate.
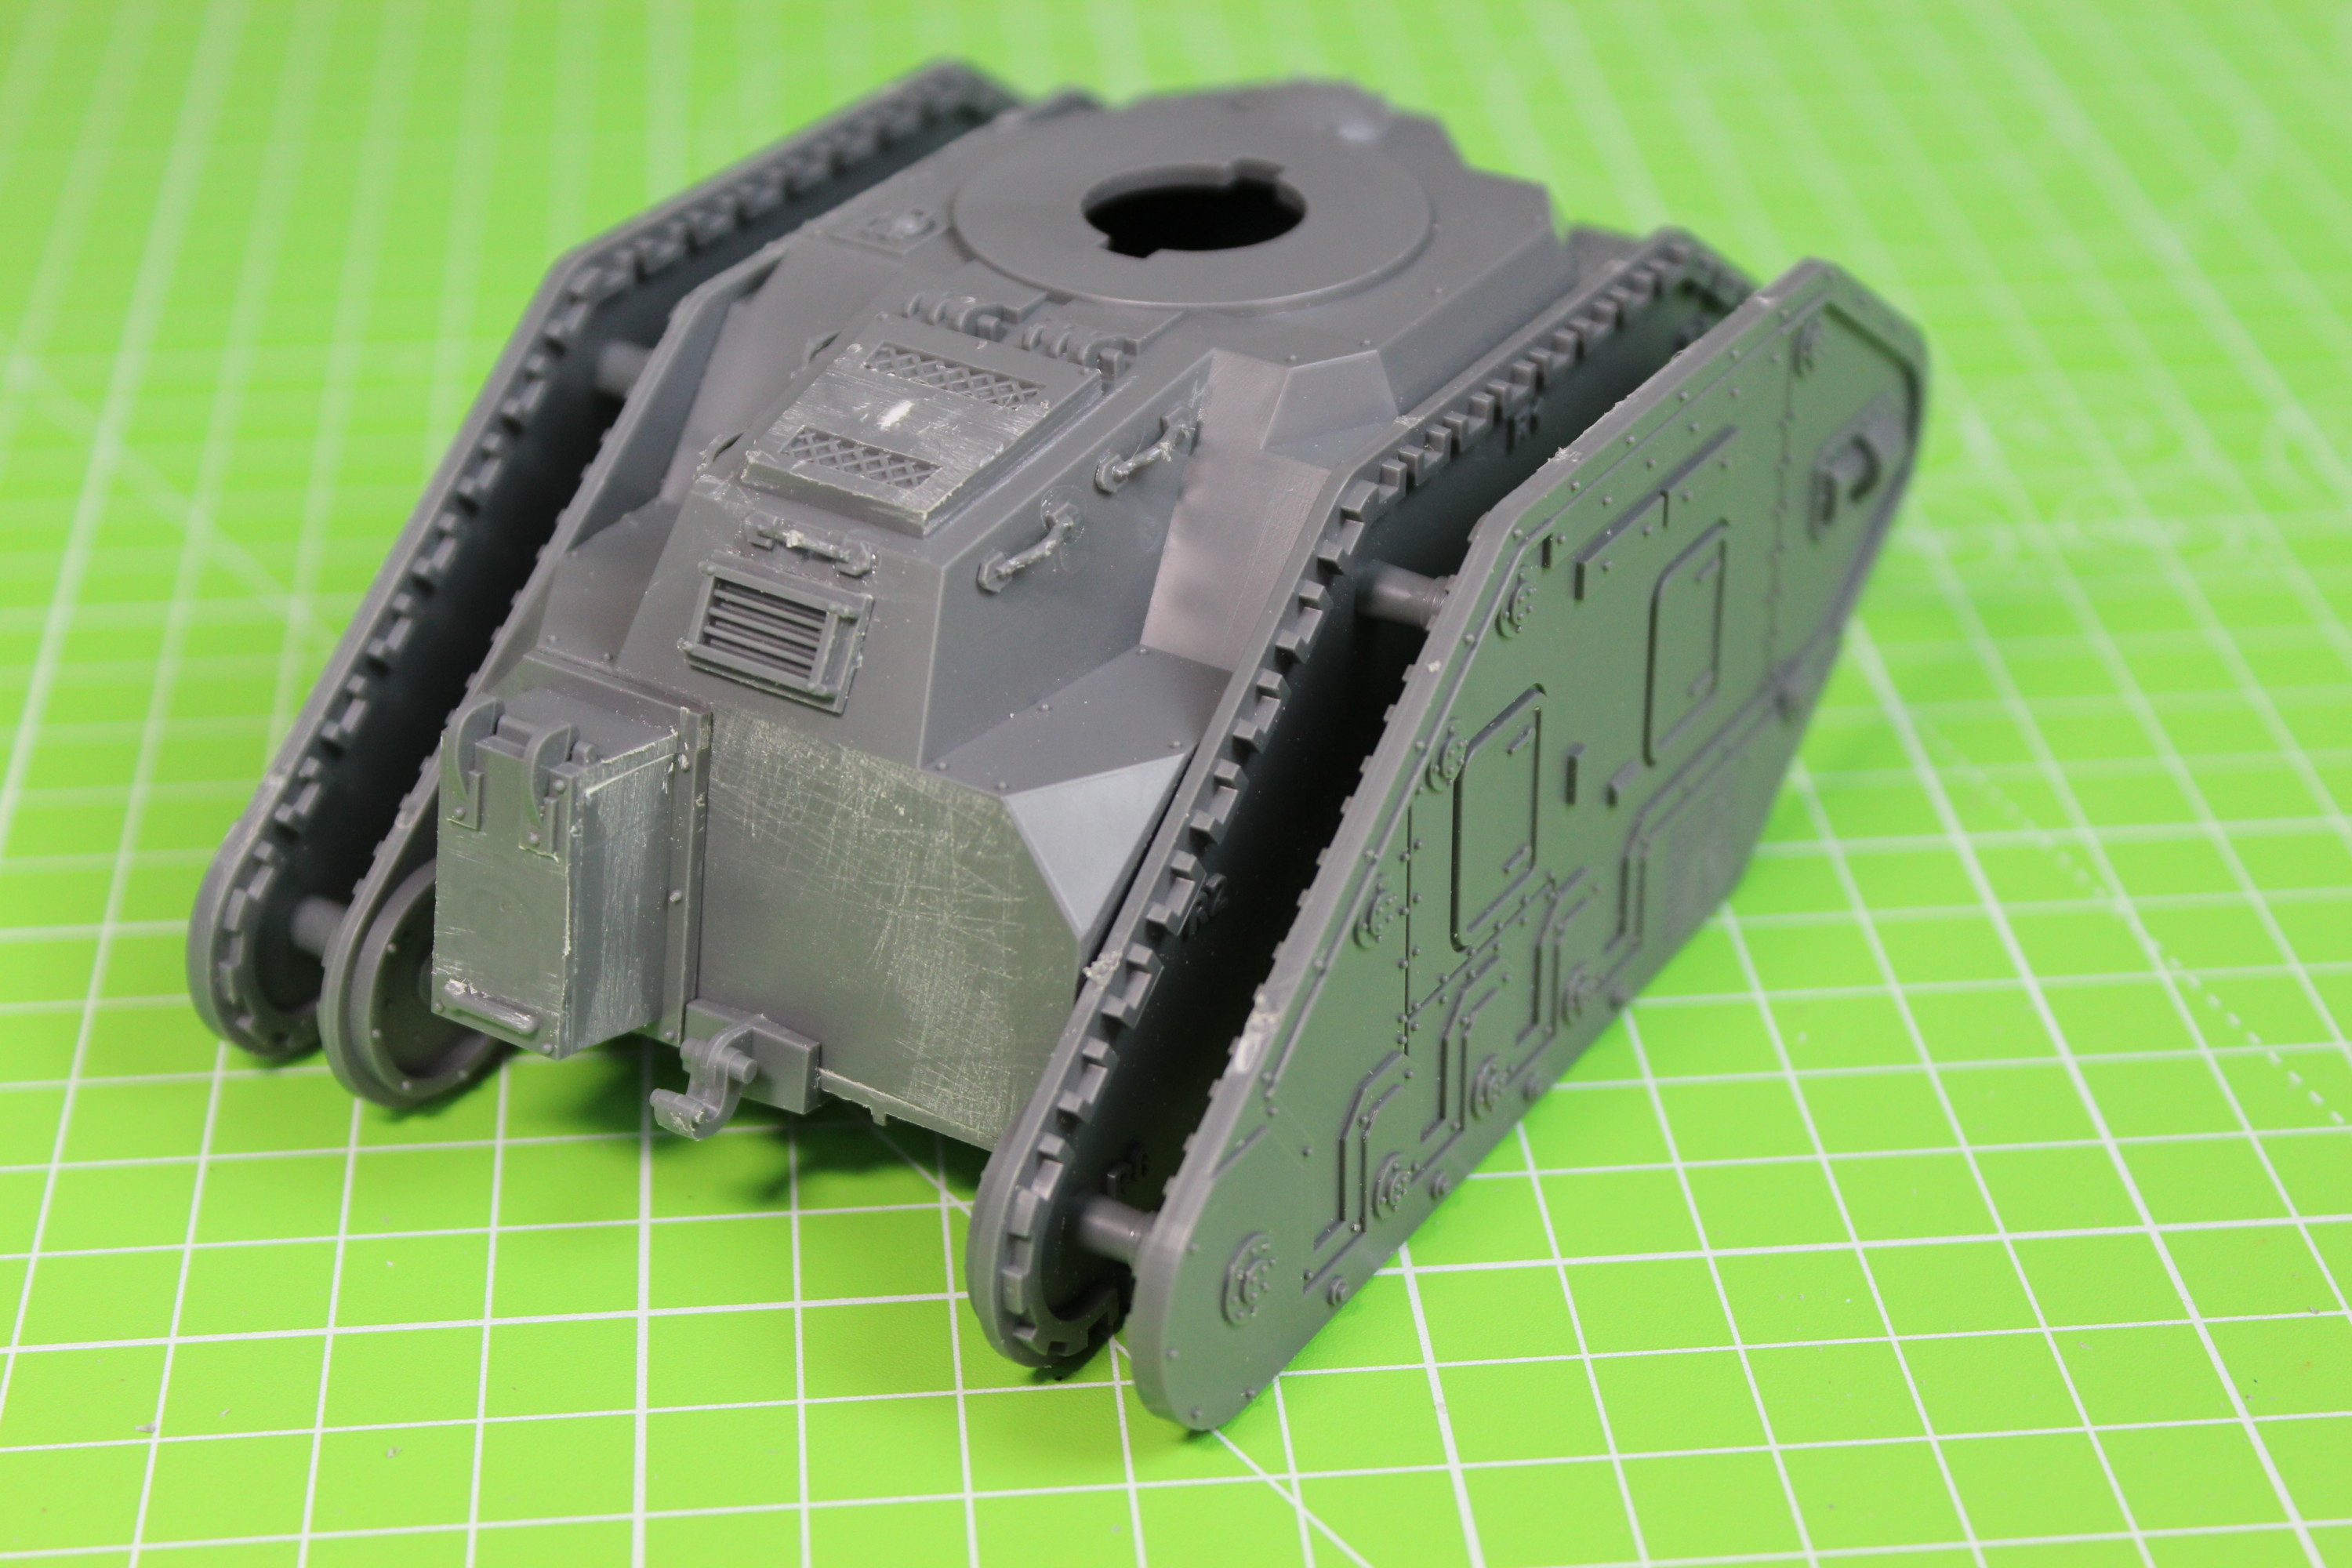
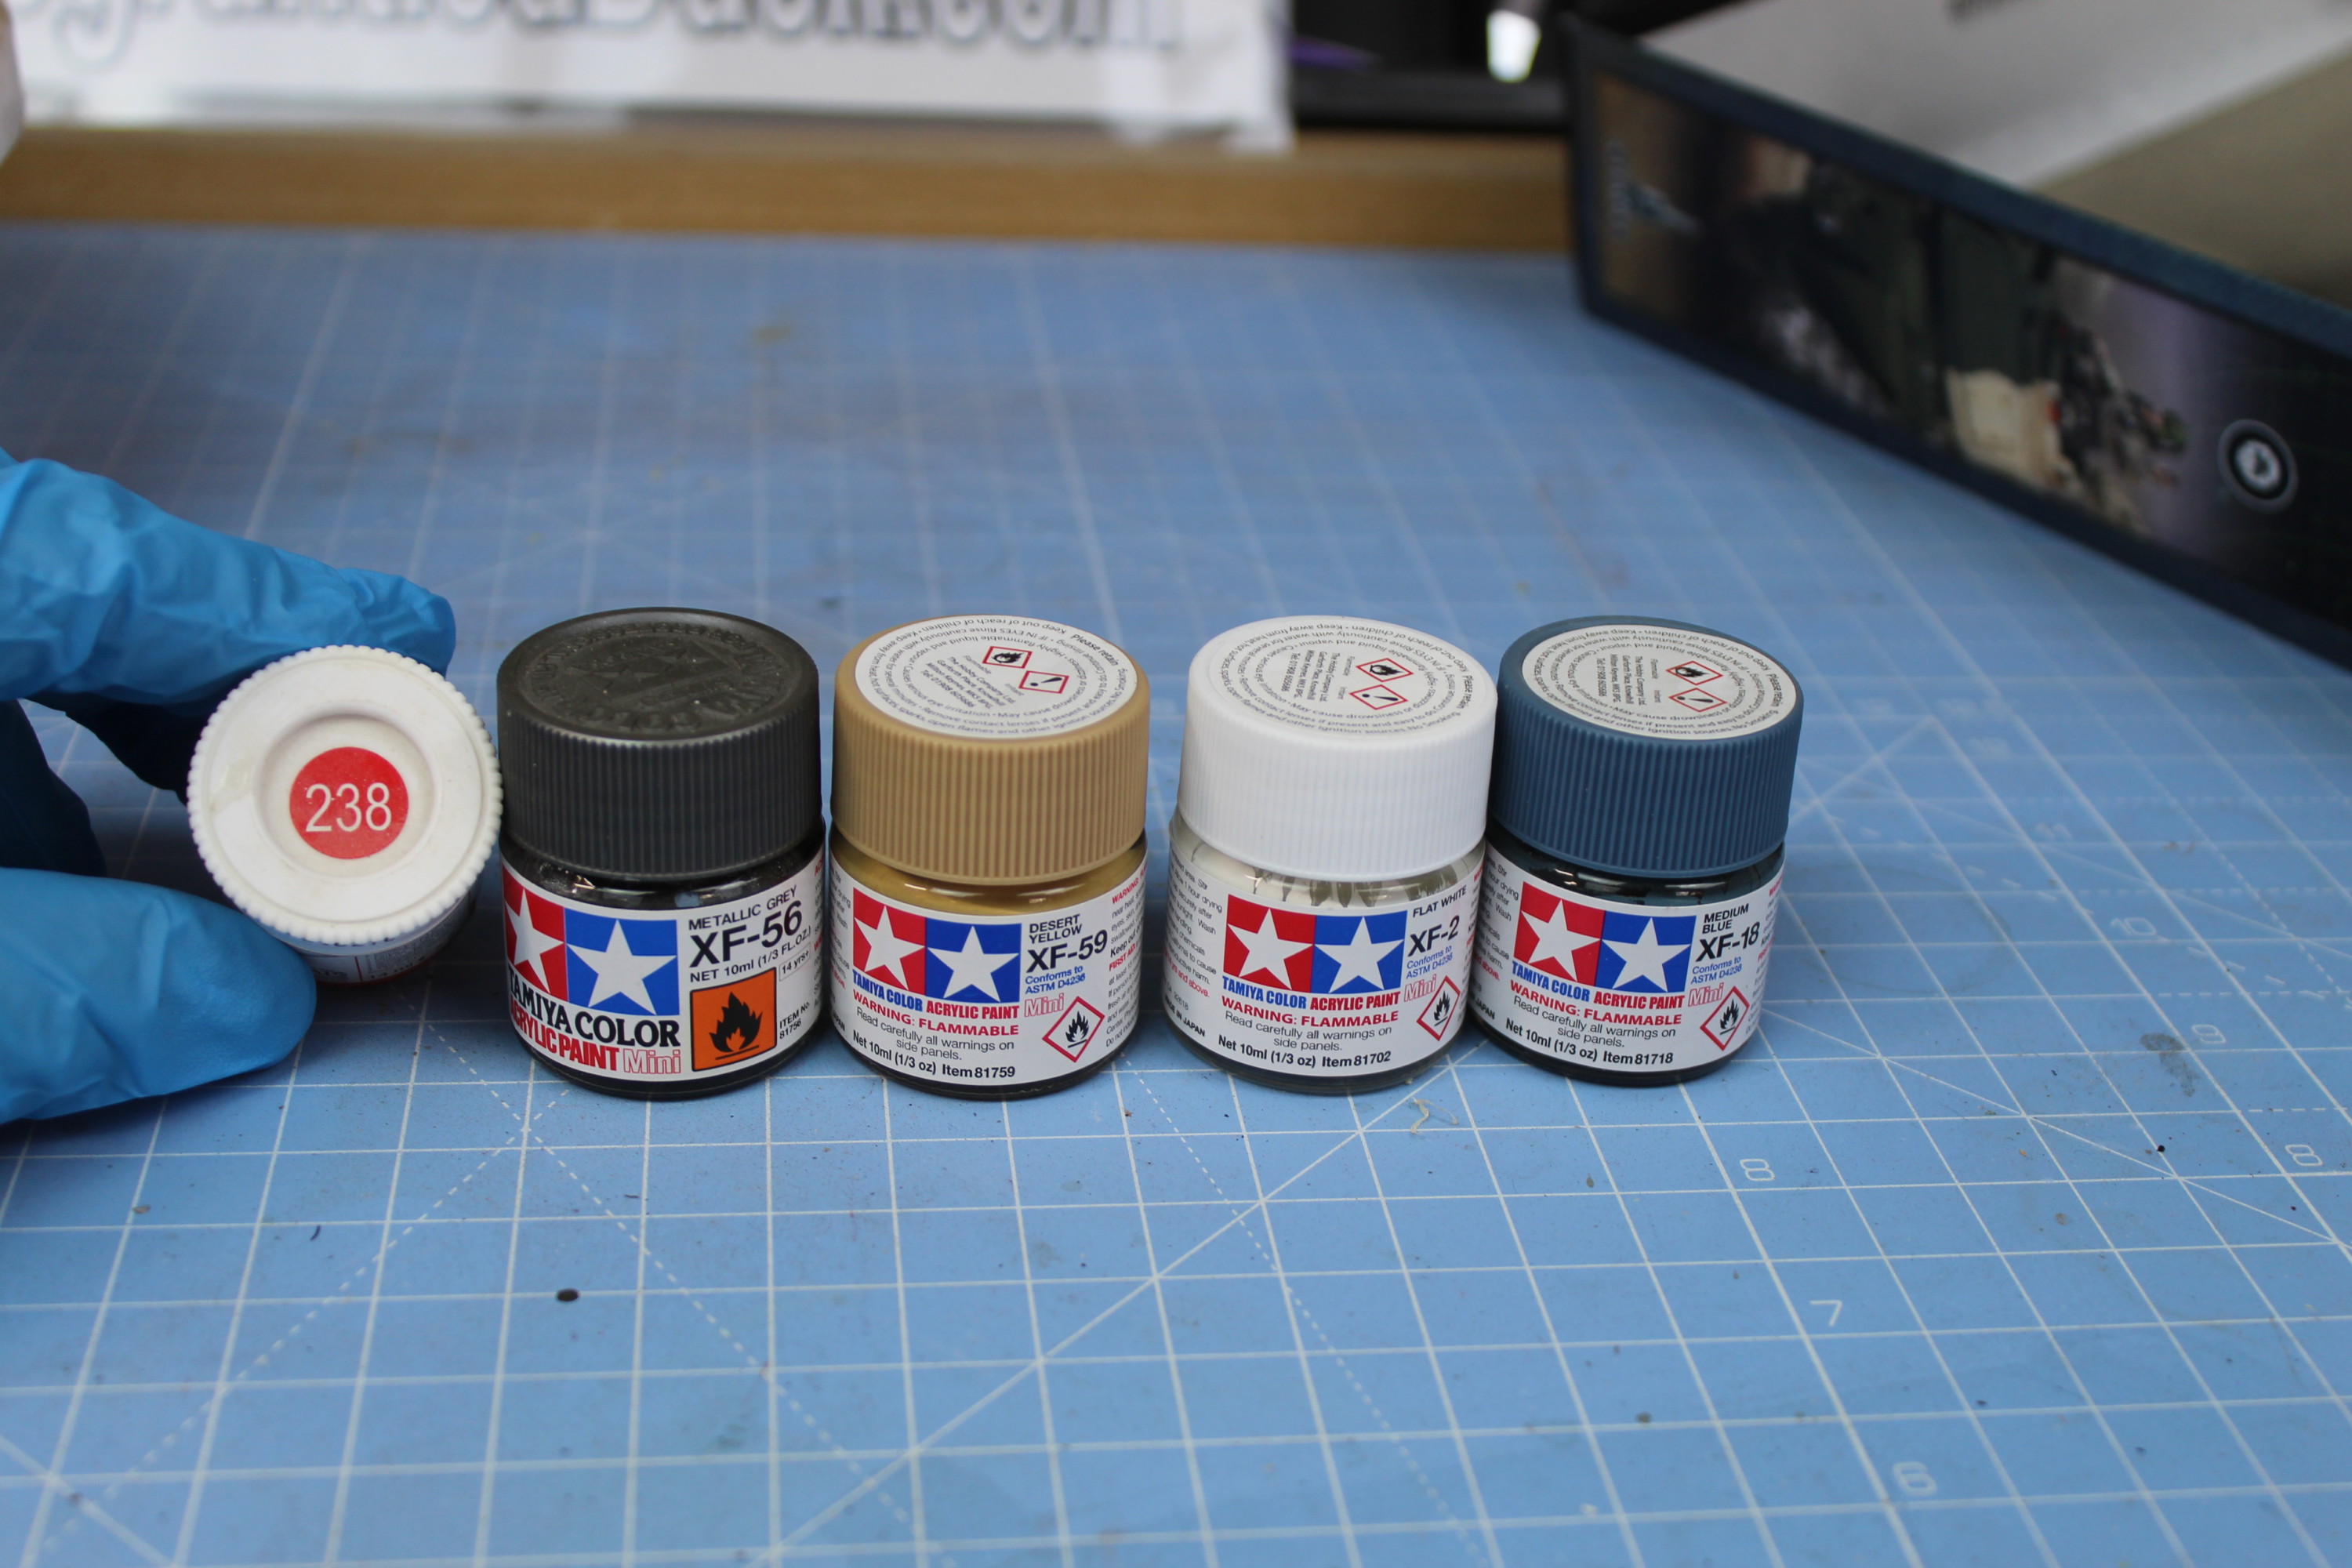
Undercoated With AK Primer And Then Base Coated With German Grey.A Quick Coat Of Hairspray To Help With Chipping.The Paints I’m Using For The Camouflage And Tank Tracks.
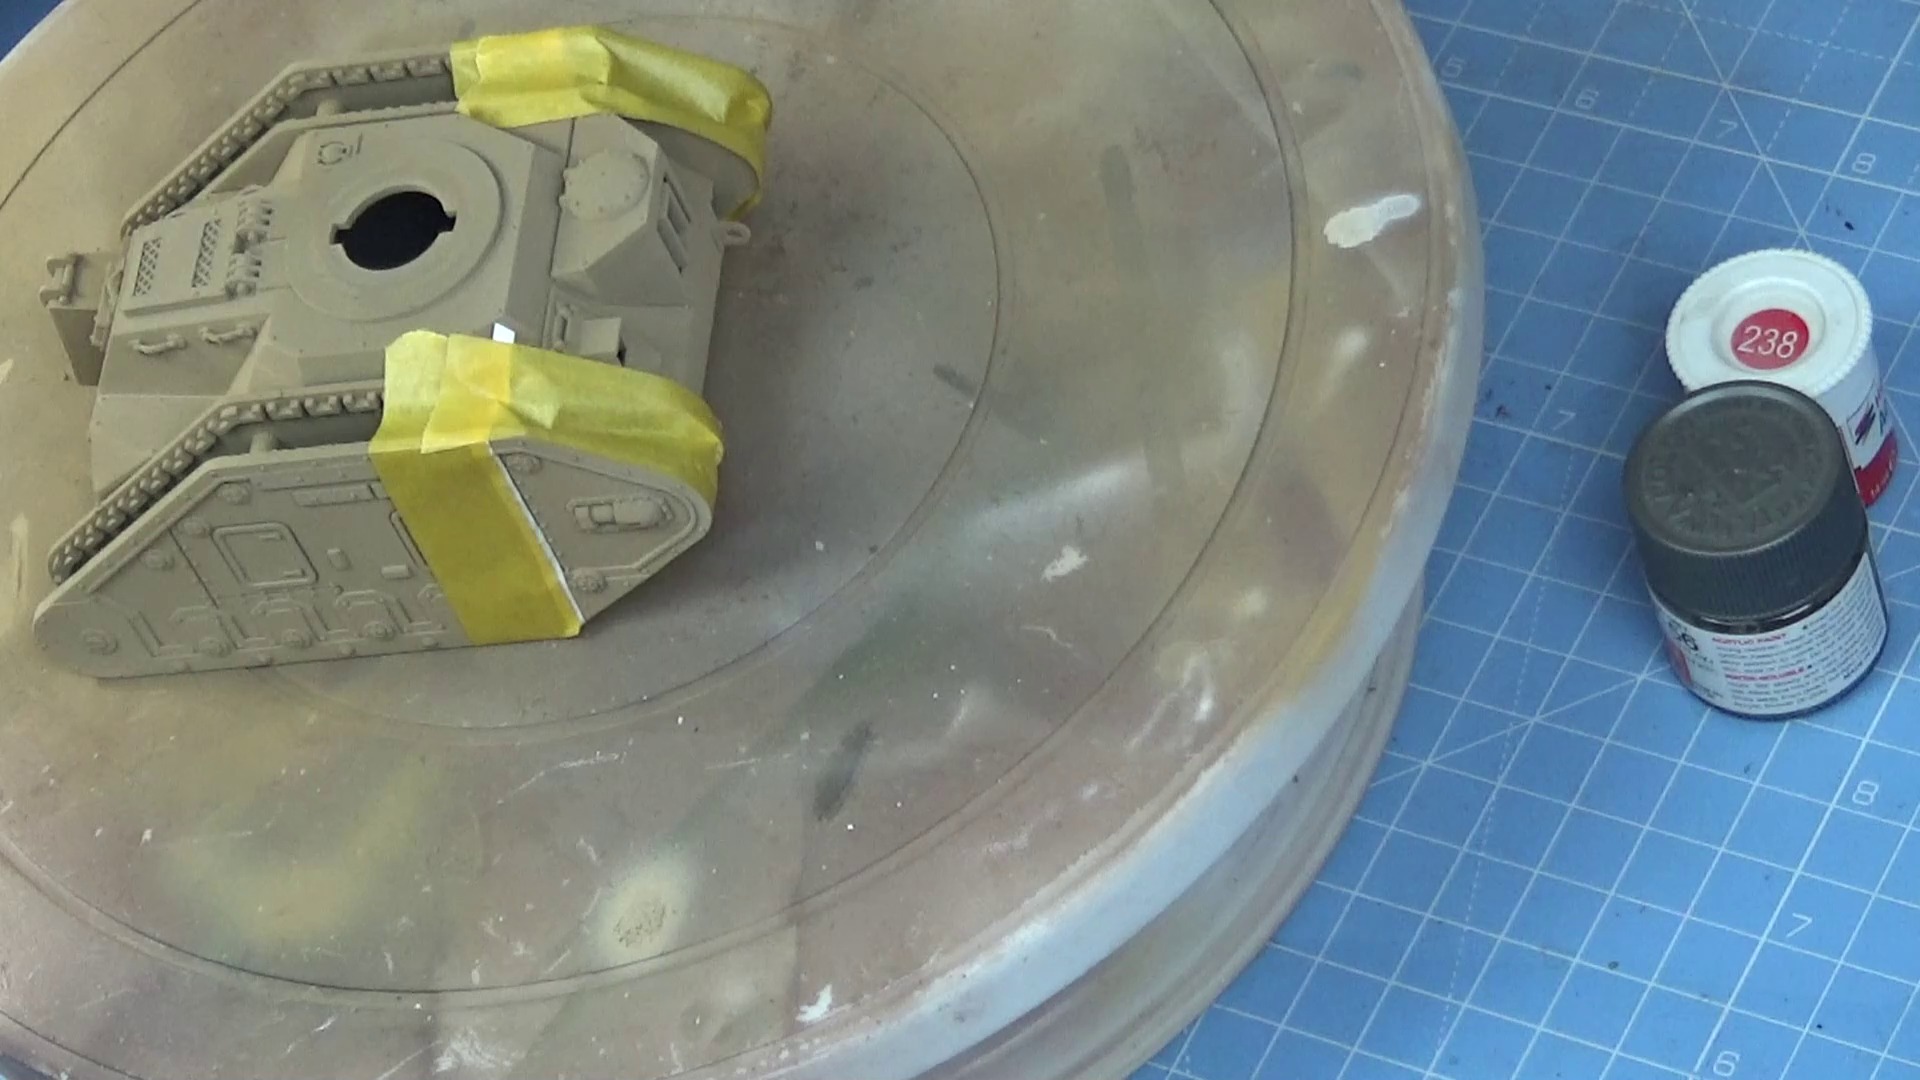
First of all, I am giving the tank a coat of Tamiya xf-59 Desert Yellow, this will be the base for the tank.
Given The Model A Nice Coat Of Desert Sand As A Base Coat.
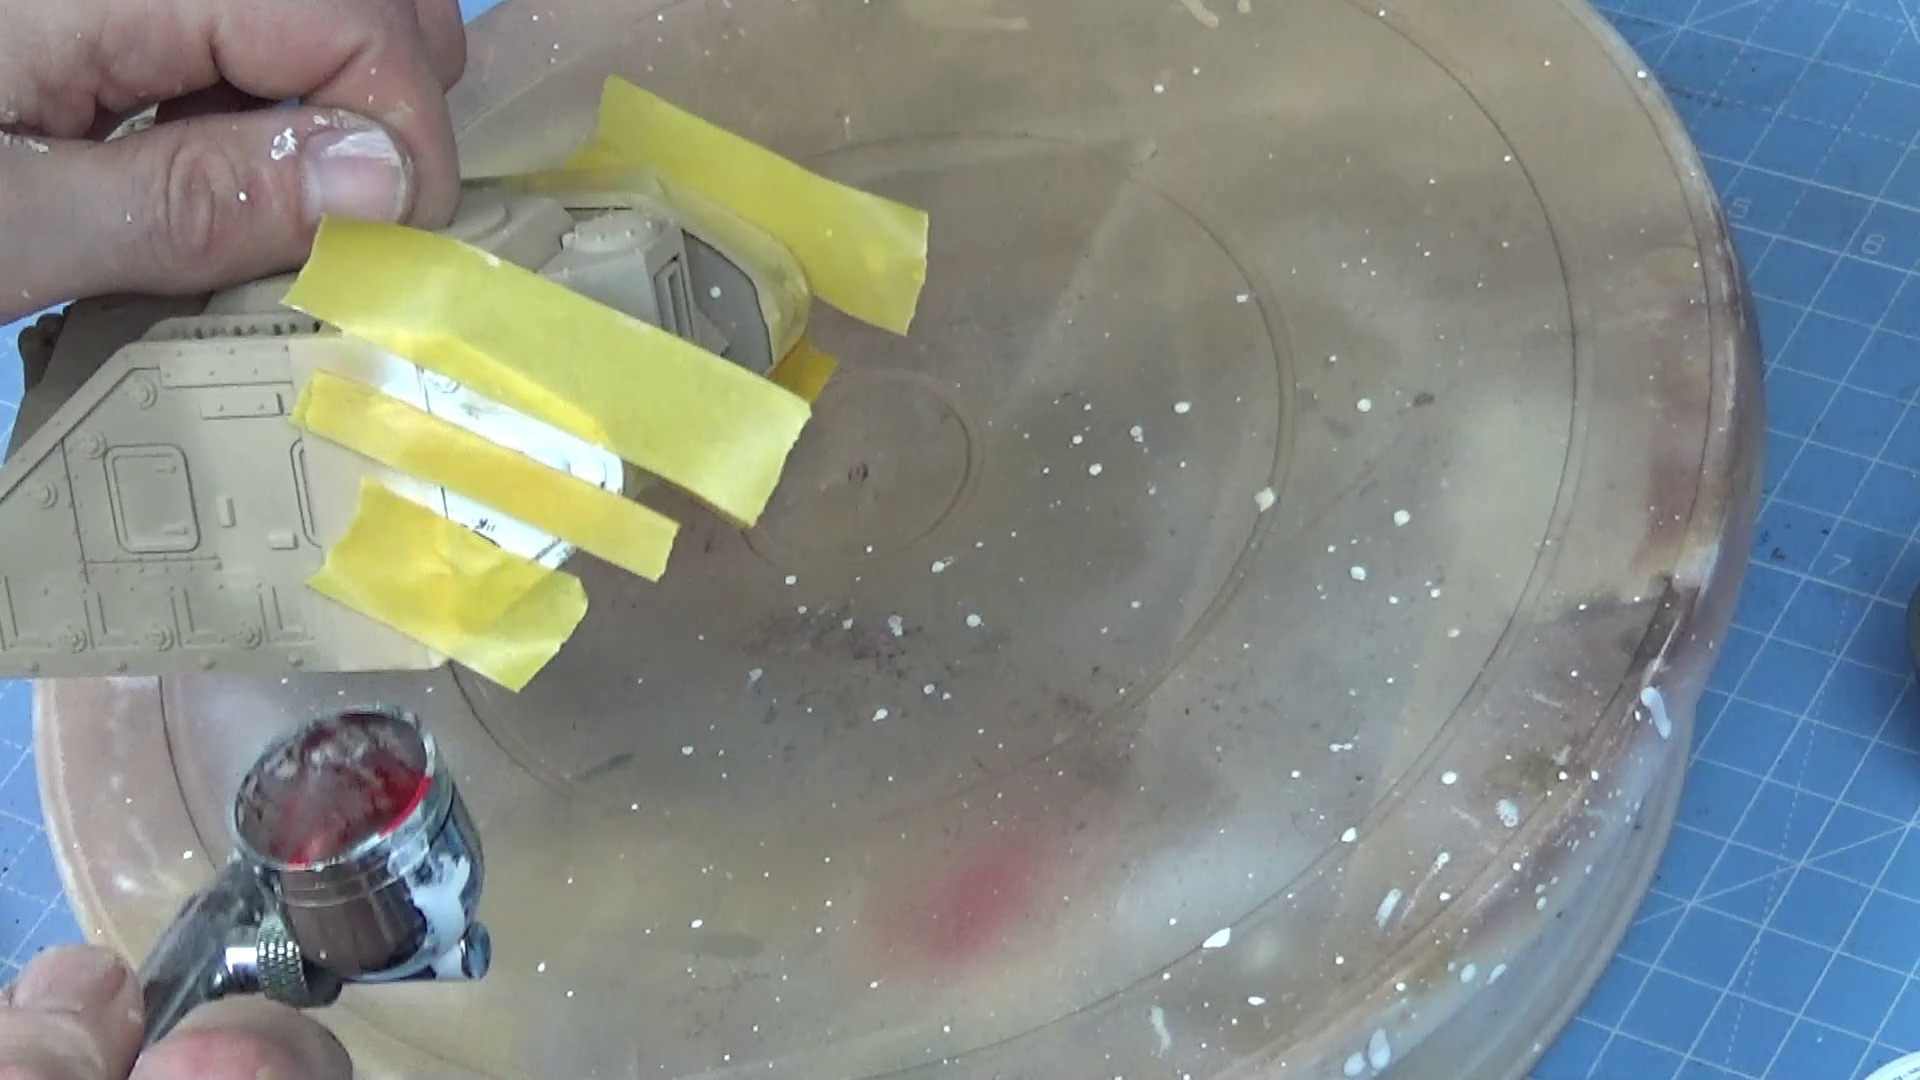
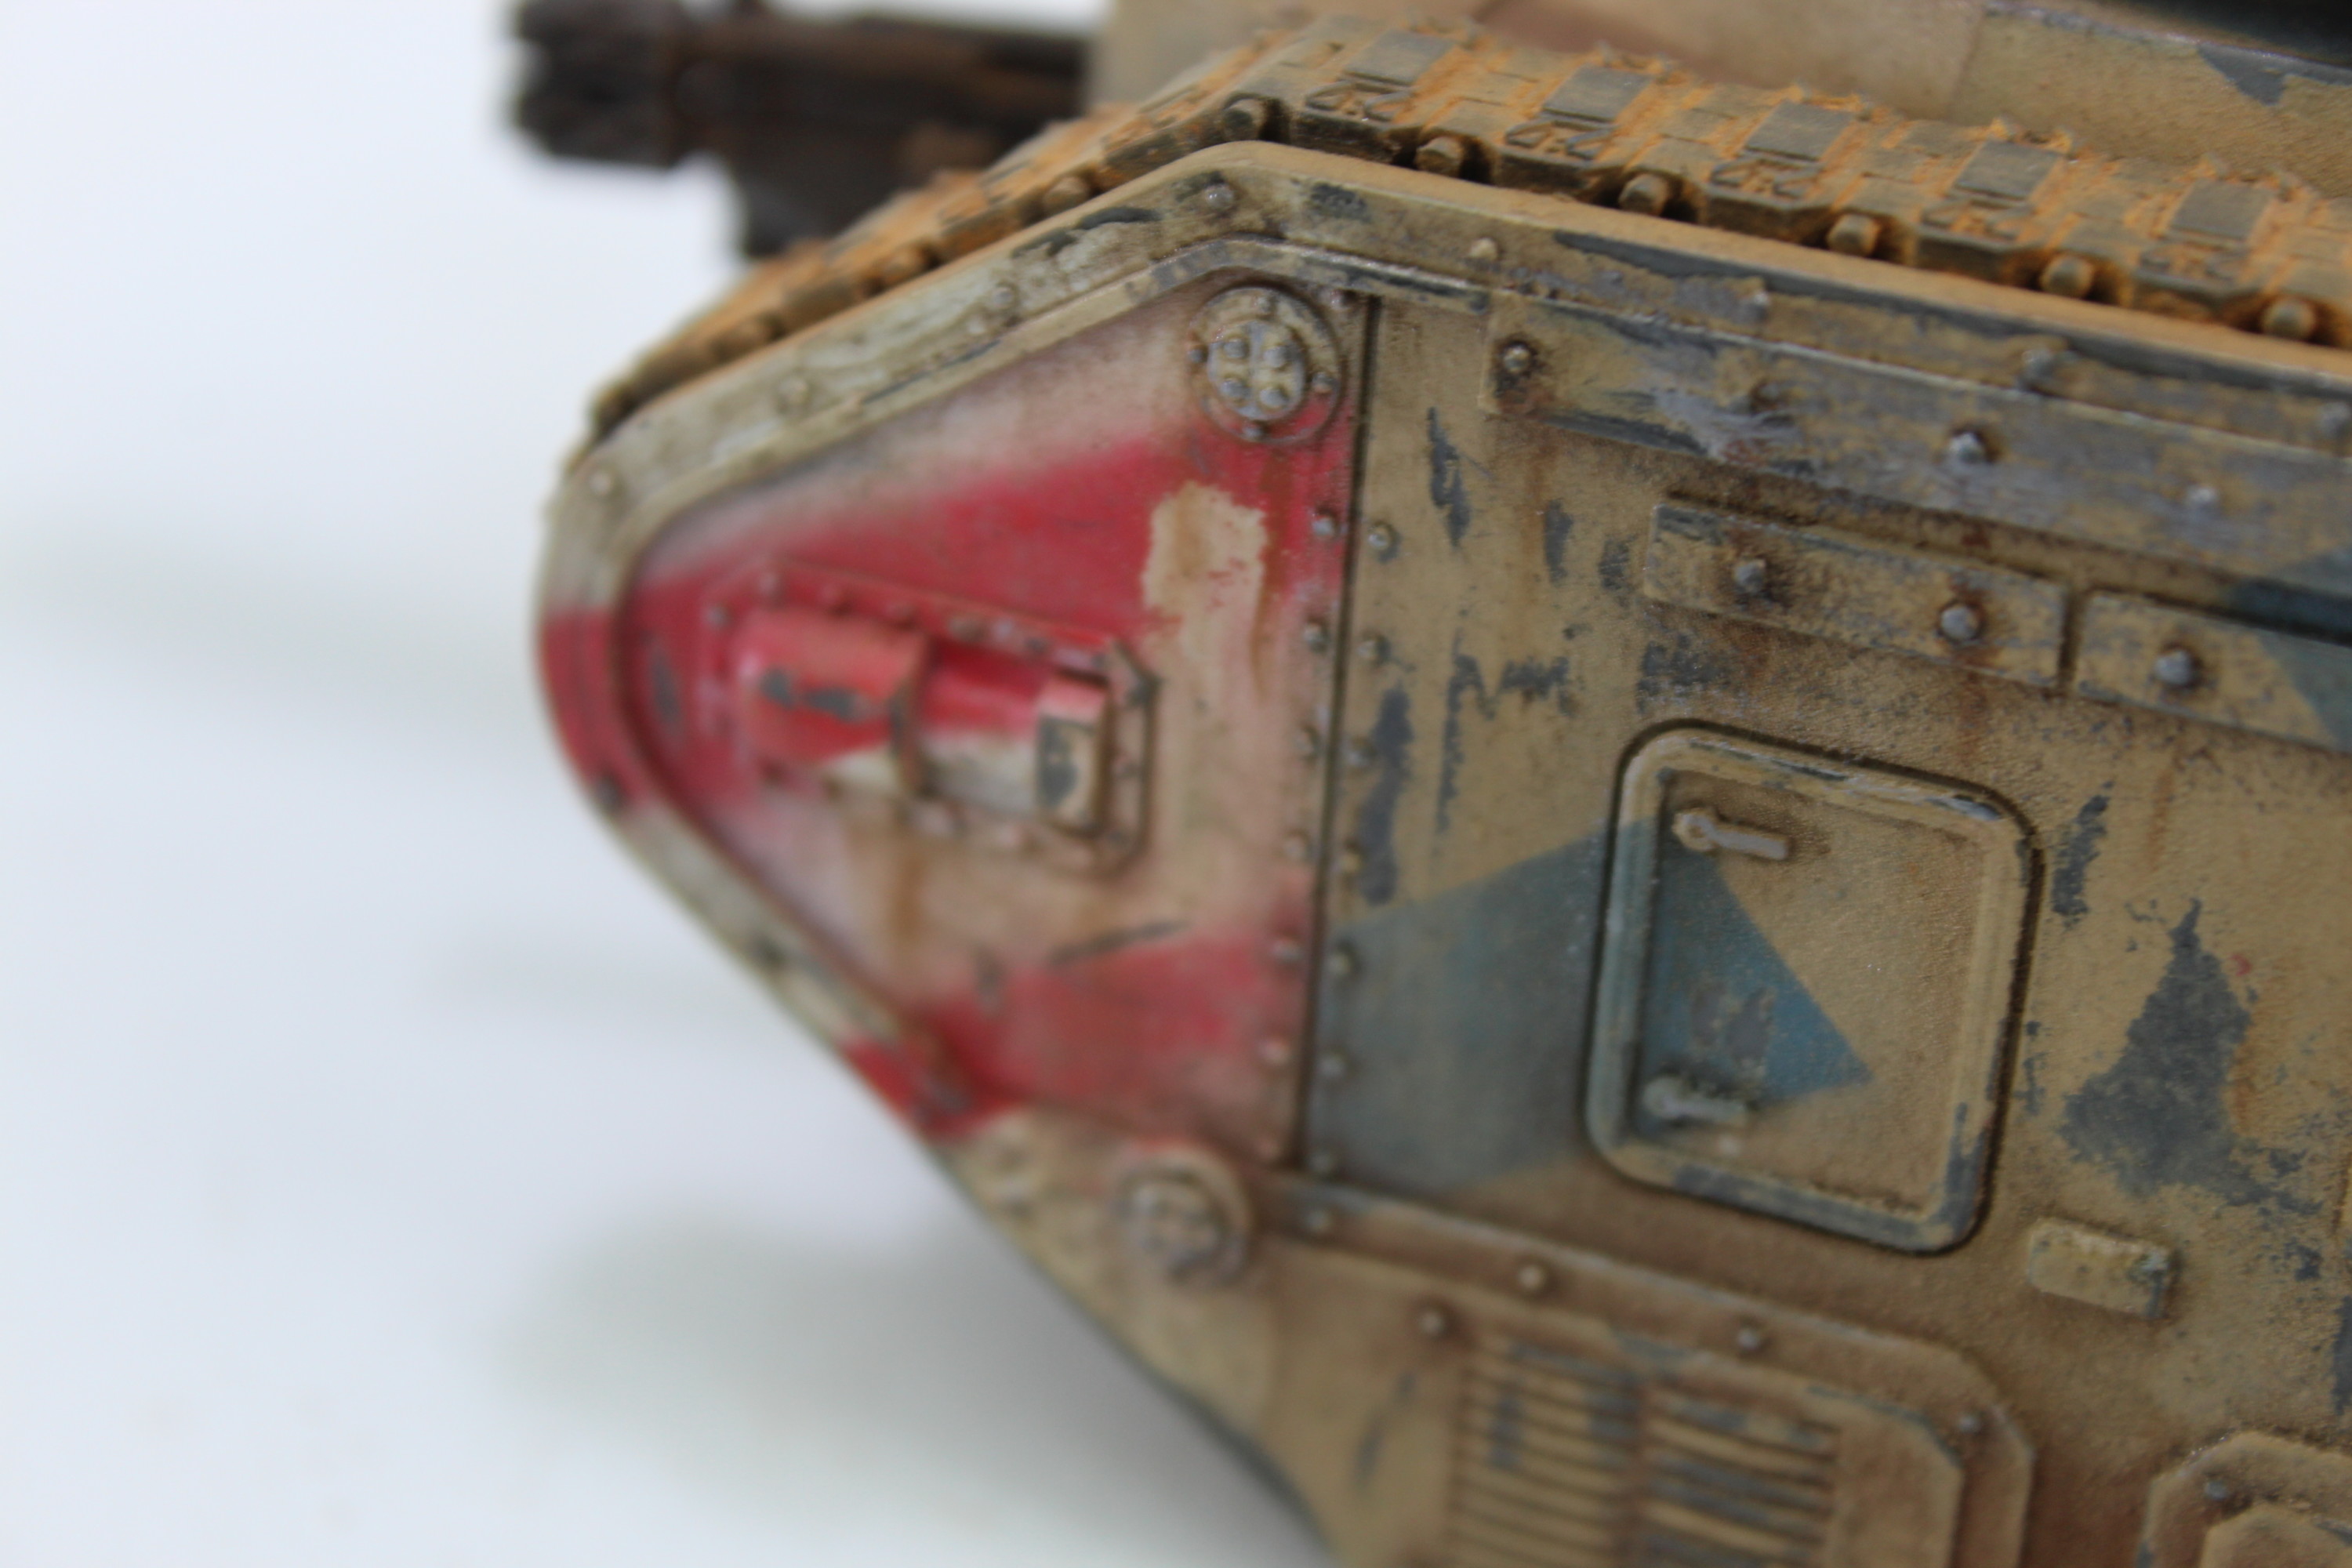
Now it’s time to mask off and start painting the red and white stripes at the front of the tank.
Masking Off For The First Bit Of Airbrushing.White Paint Sprayed On The Front Of The Hull.
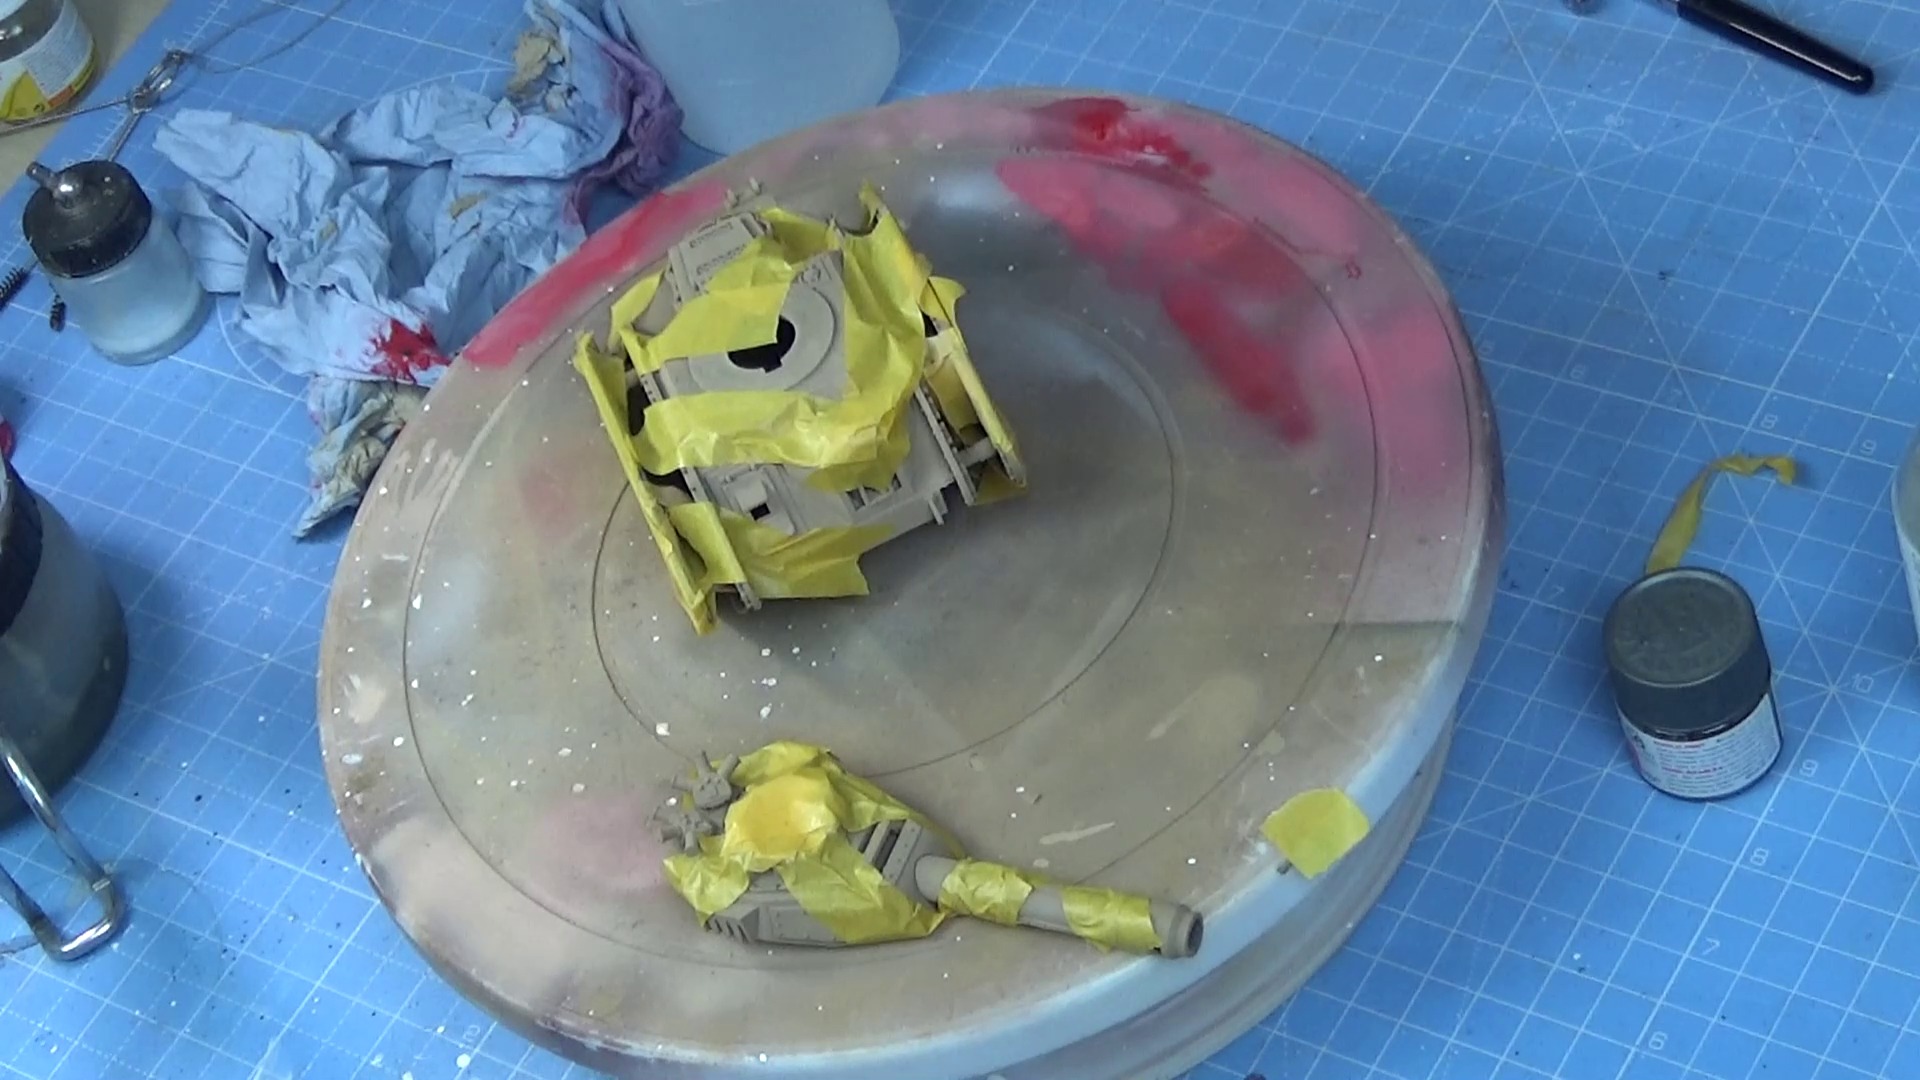
The white base is done now more masking and spray on the red. For this, I’m using Humbrol 238 Arrow Red.
Spraying The Red Hazard Lines On The Front Of The Tank.Masking Off The Rest Of The Tank So The Light Blue Camouflage Can Be Painted.
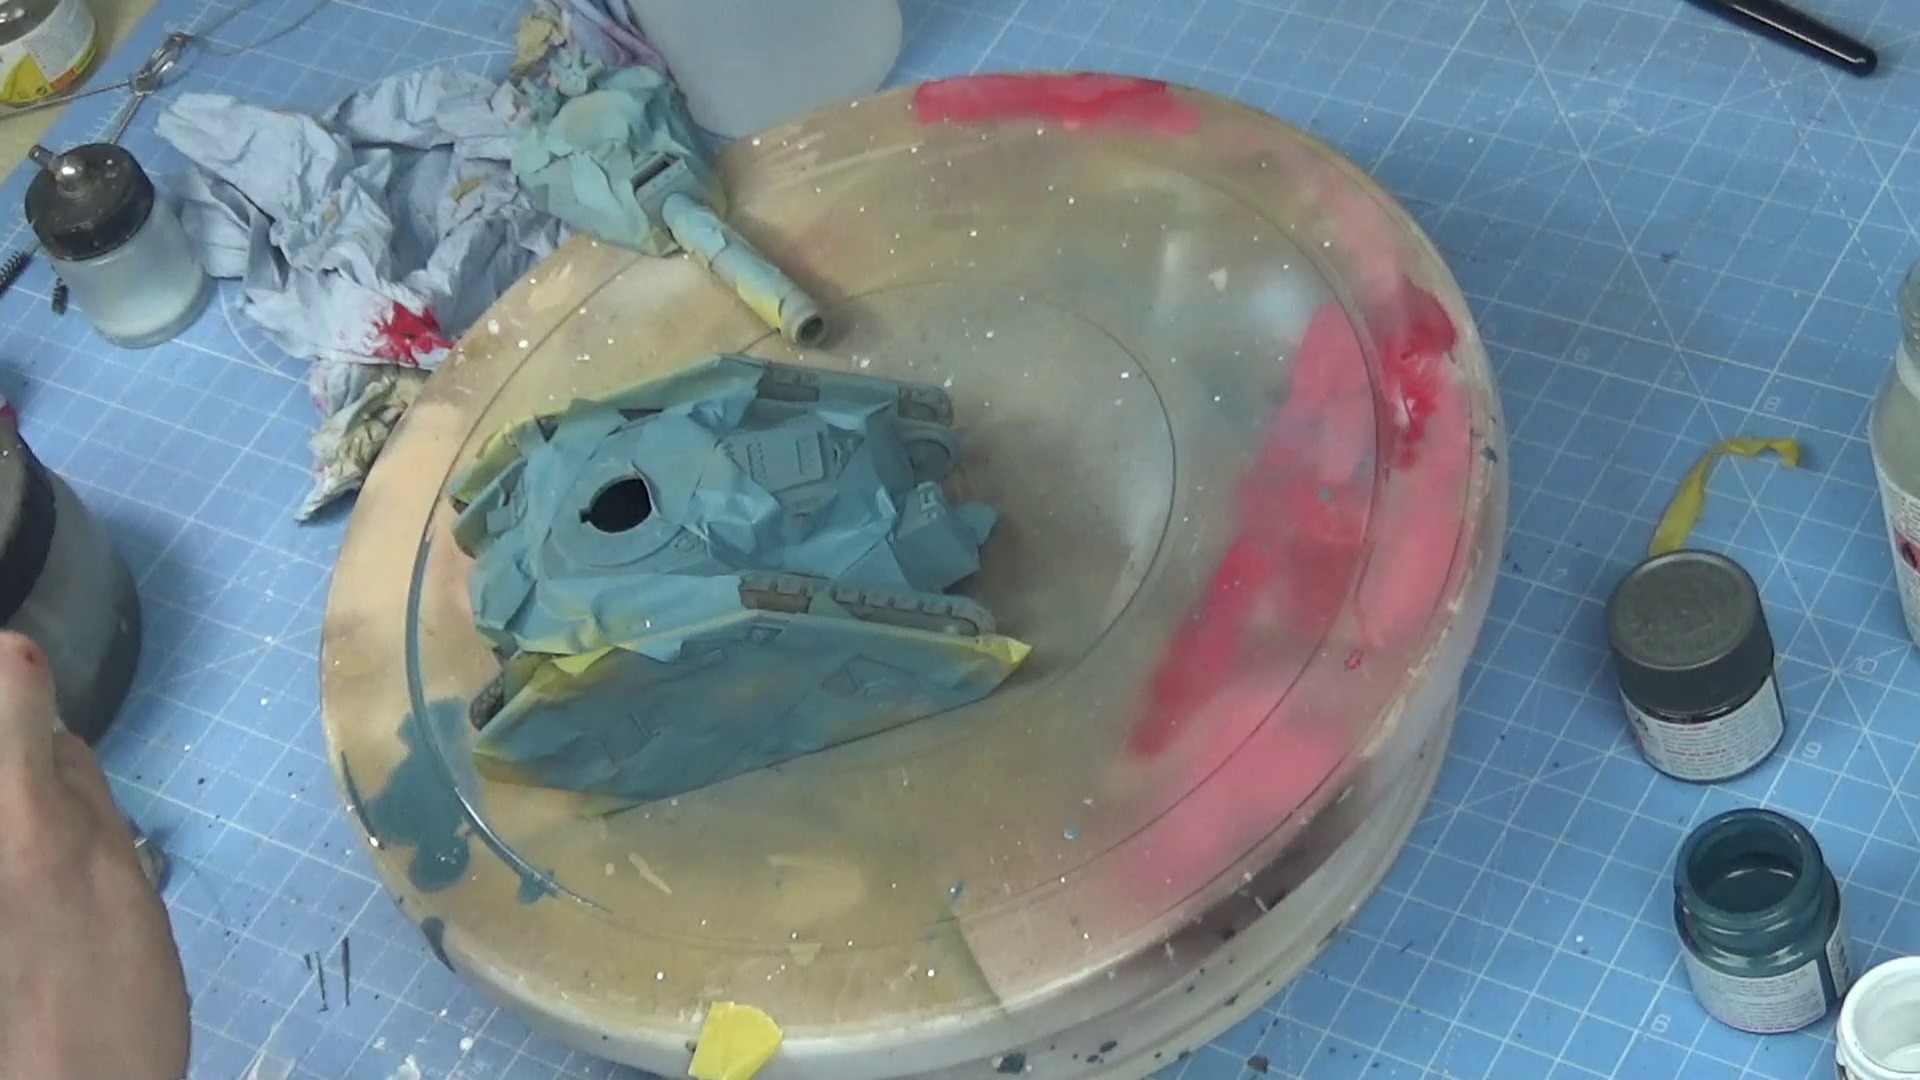
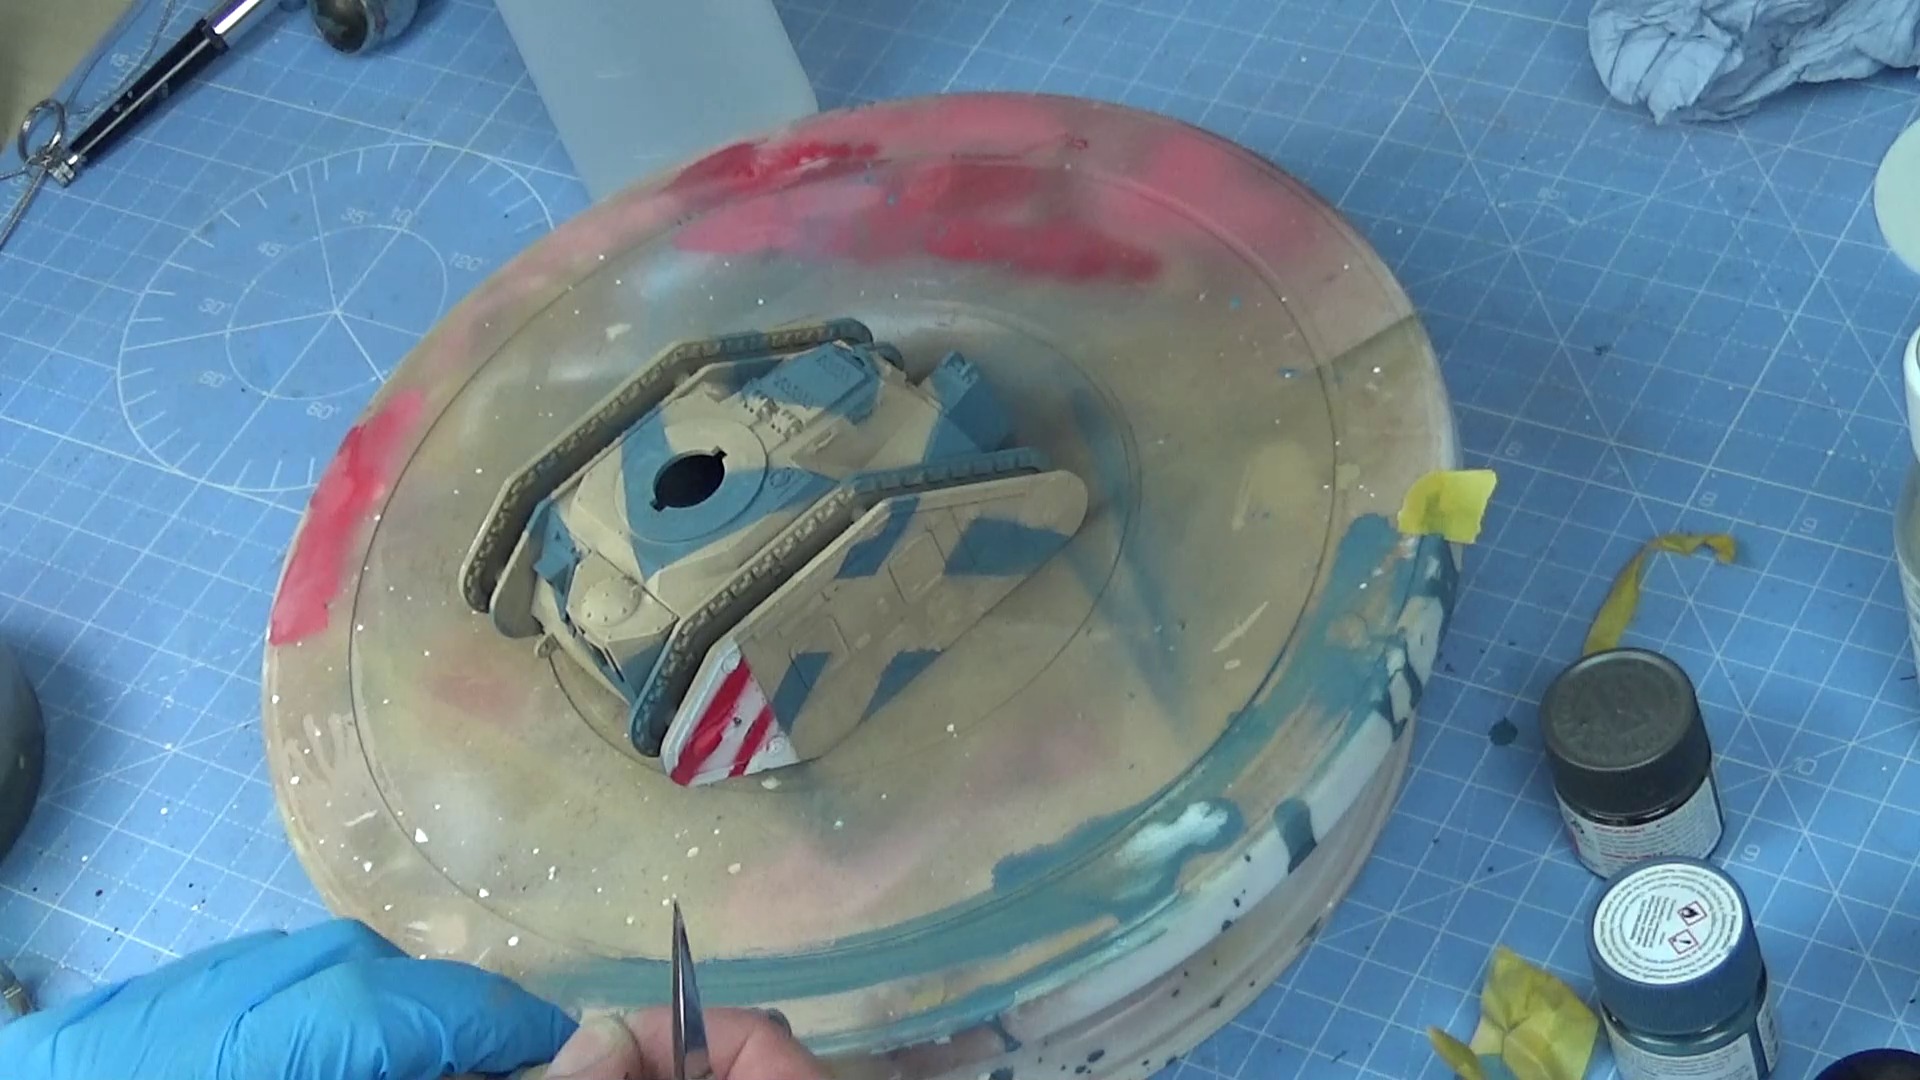
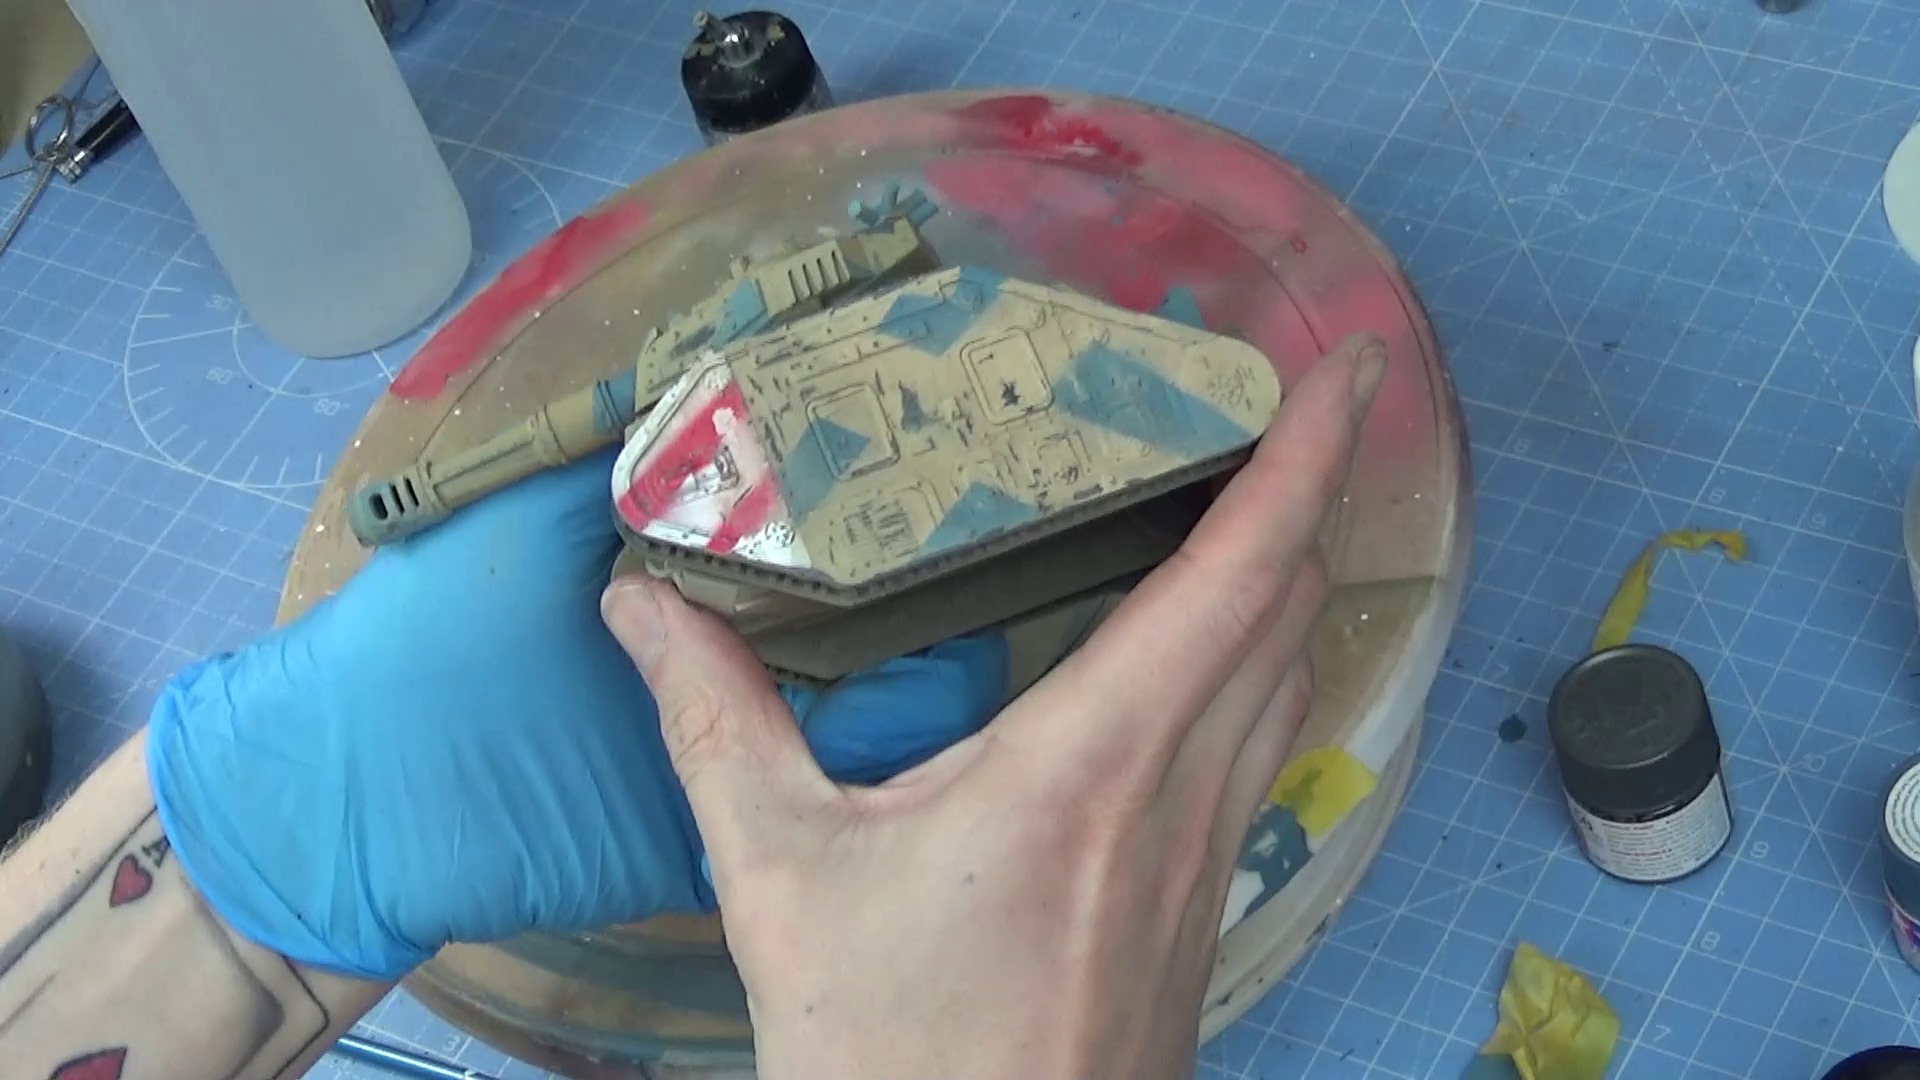
With the stripes completed it’s now time to mask off the rest of the tank and lay down the blue camouflage pattern. For this, I’m using Tamiya xf-18 Medium Blue.
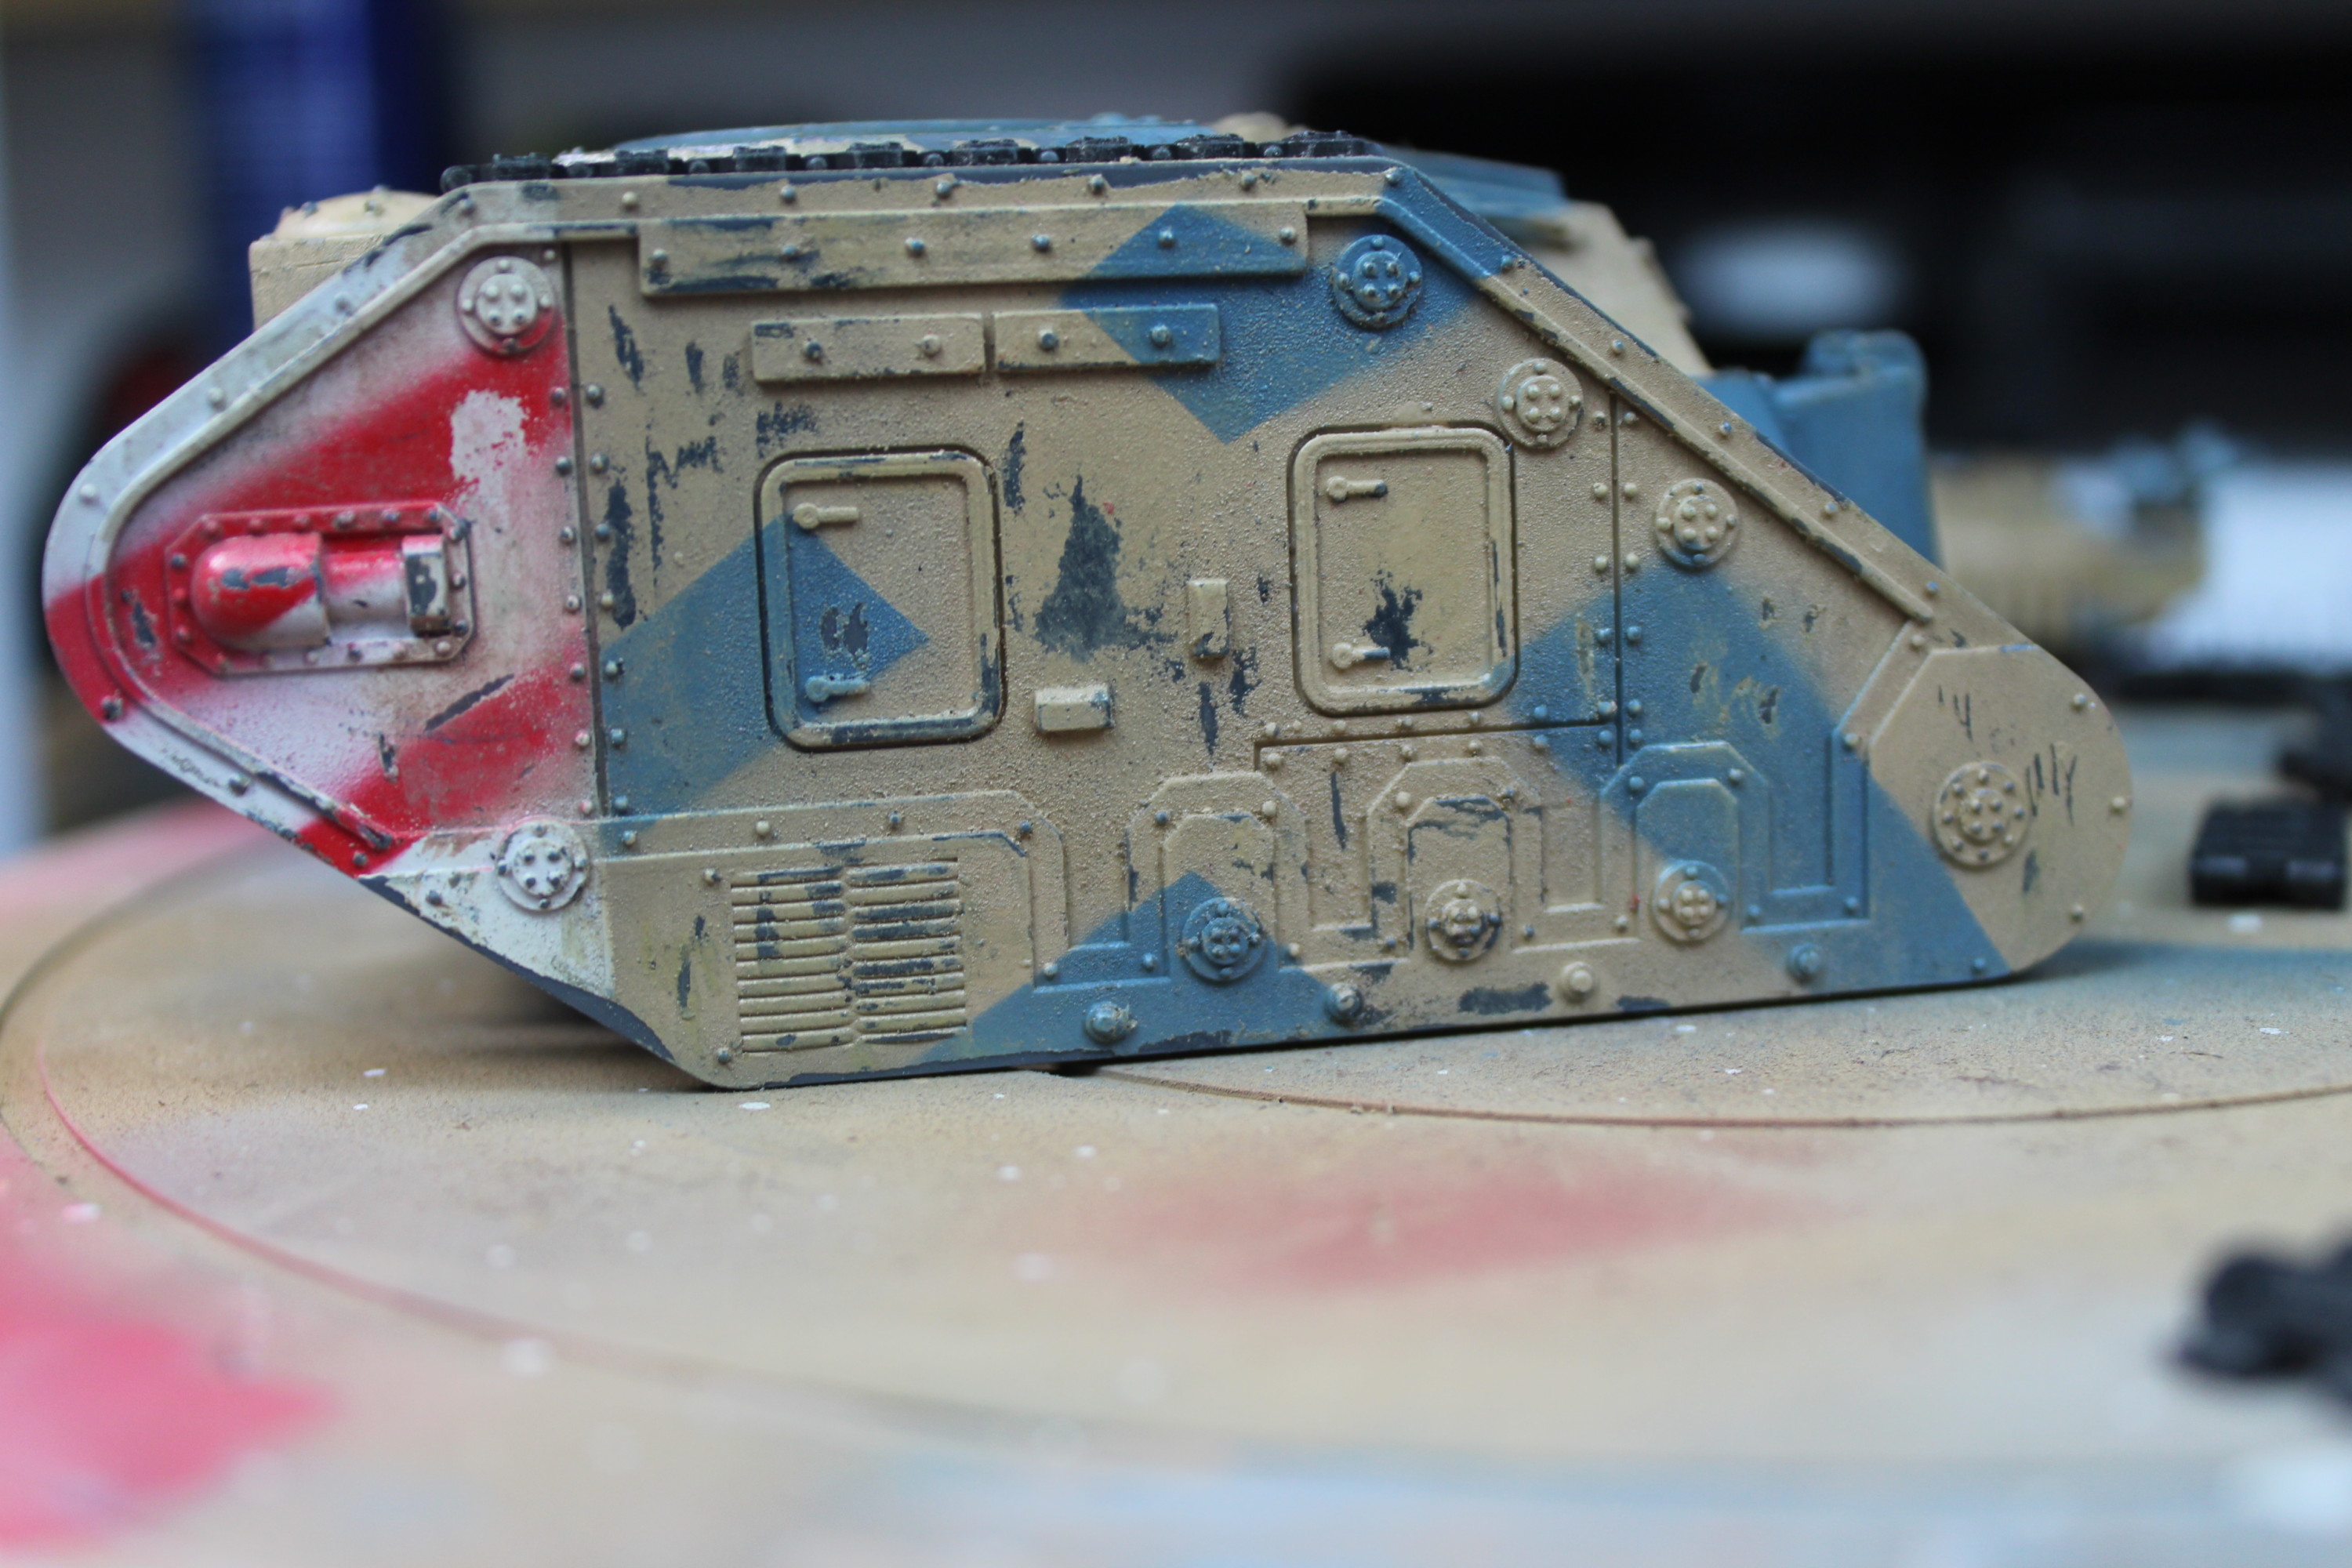
The Tank Has Now Been Sprayed With Blue Paint, Just Needs To Dry And Be Un-masked.Masking Tape Off And The Camouflage Pattern Is Looking Quite Cool.
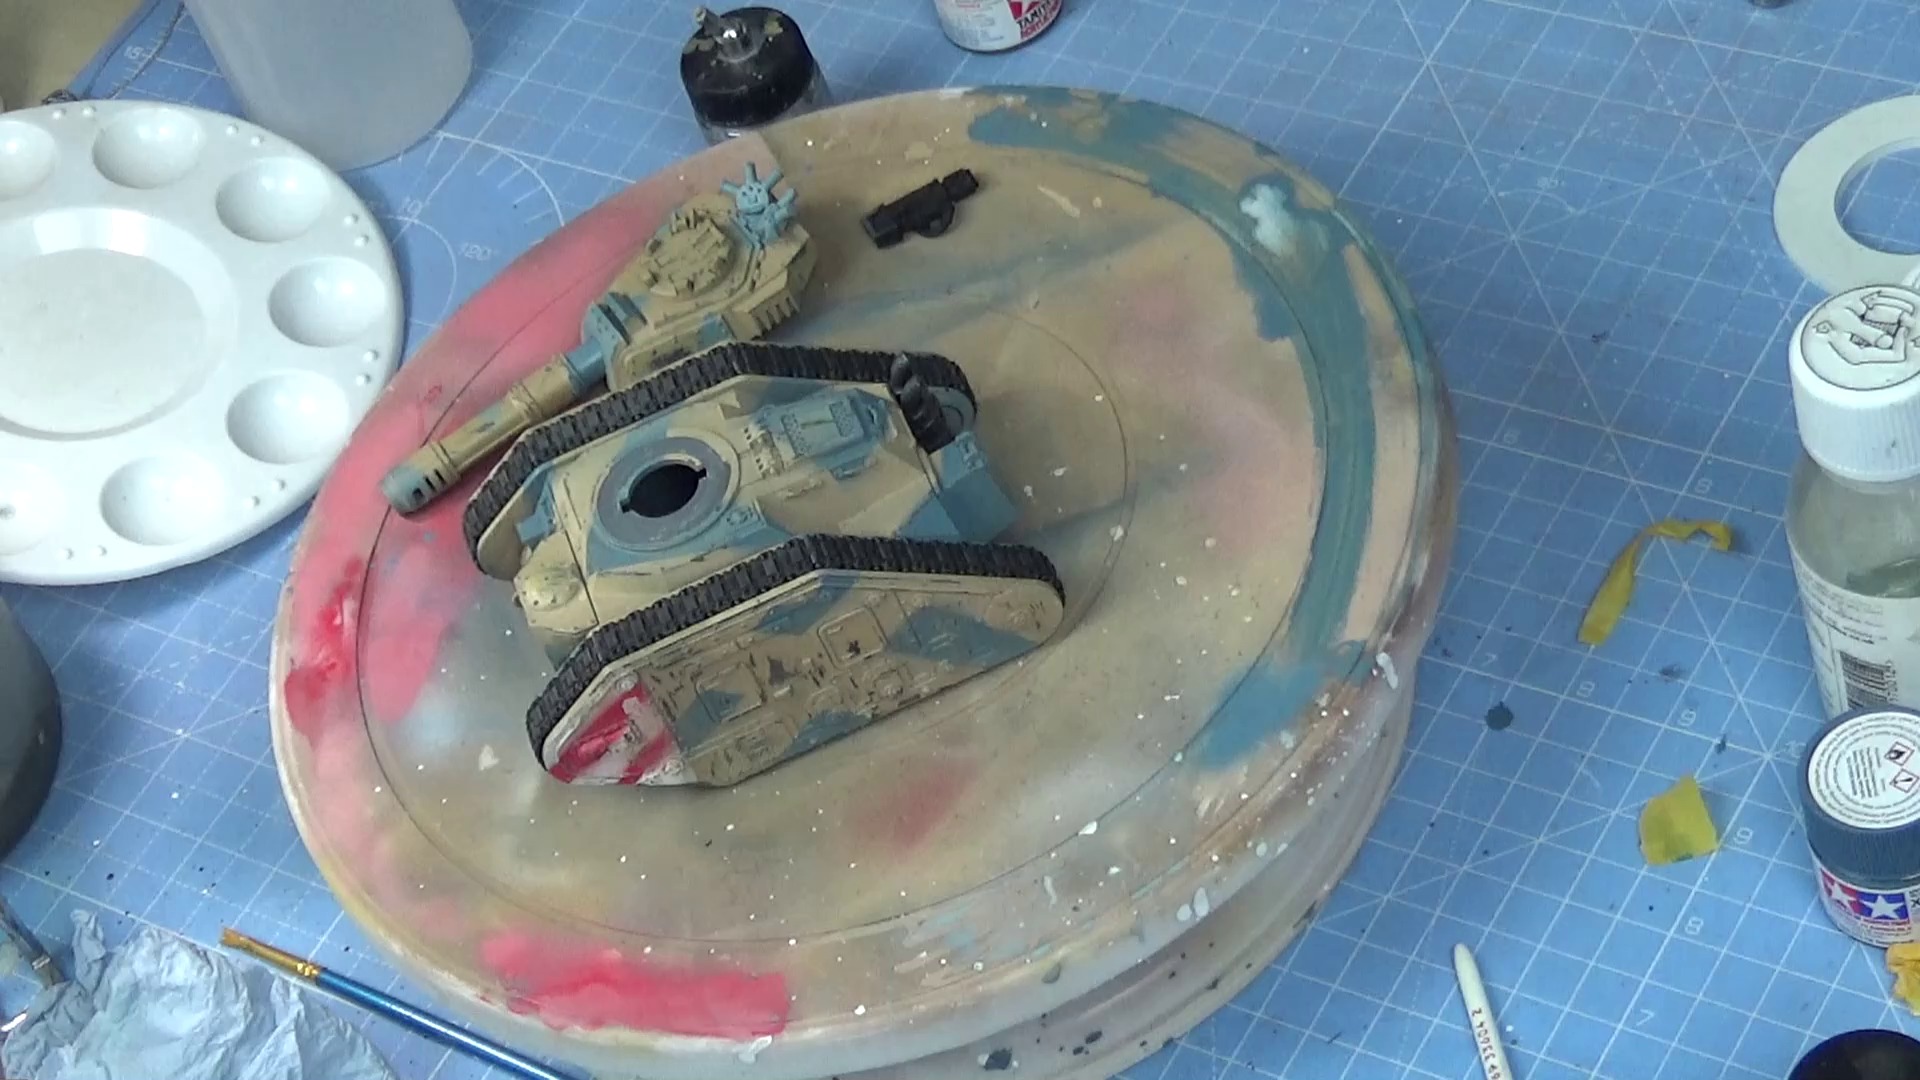
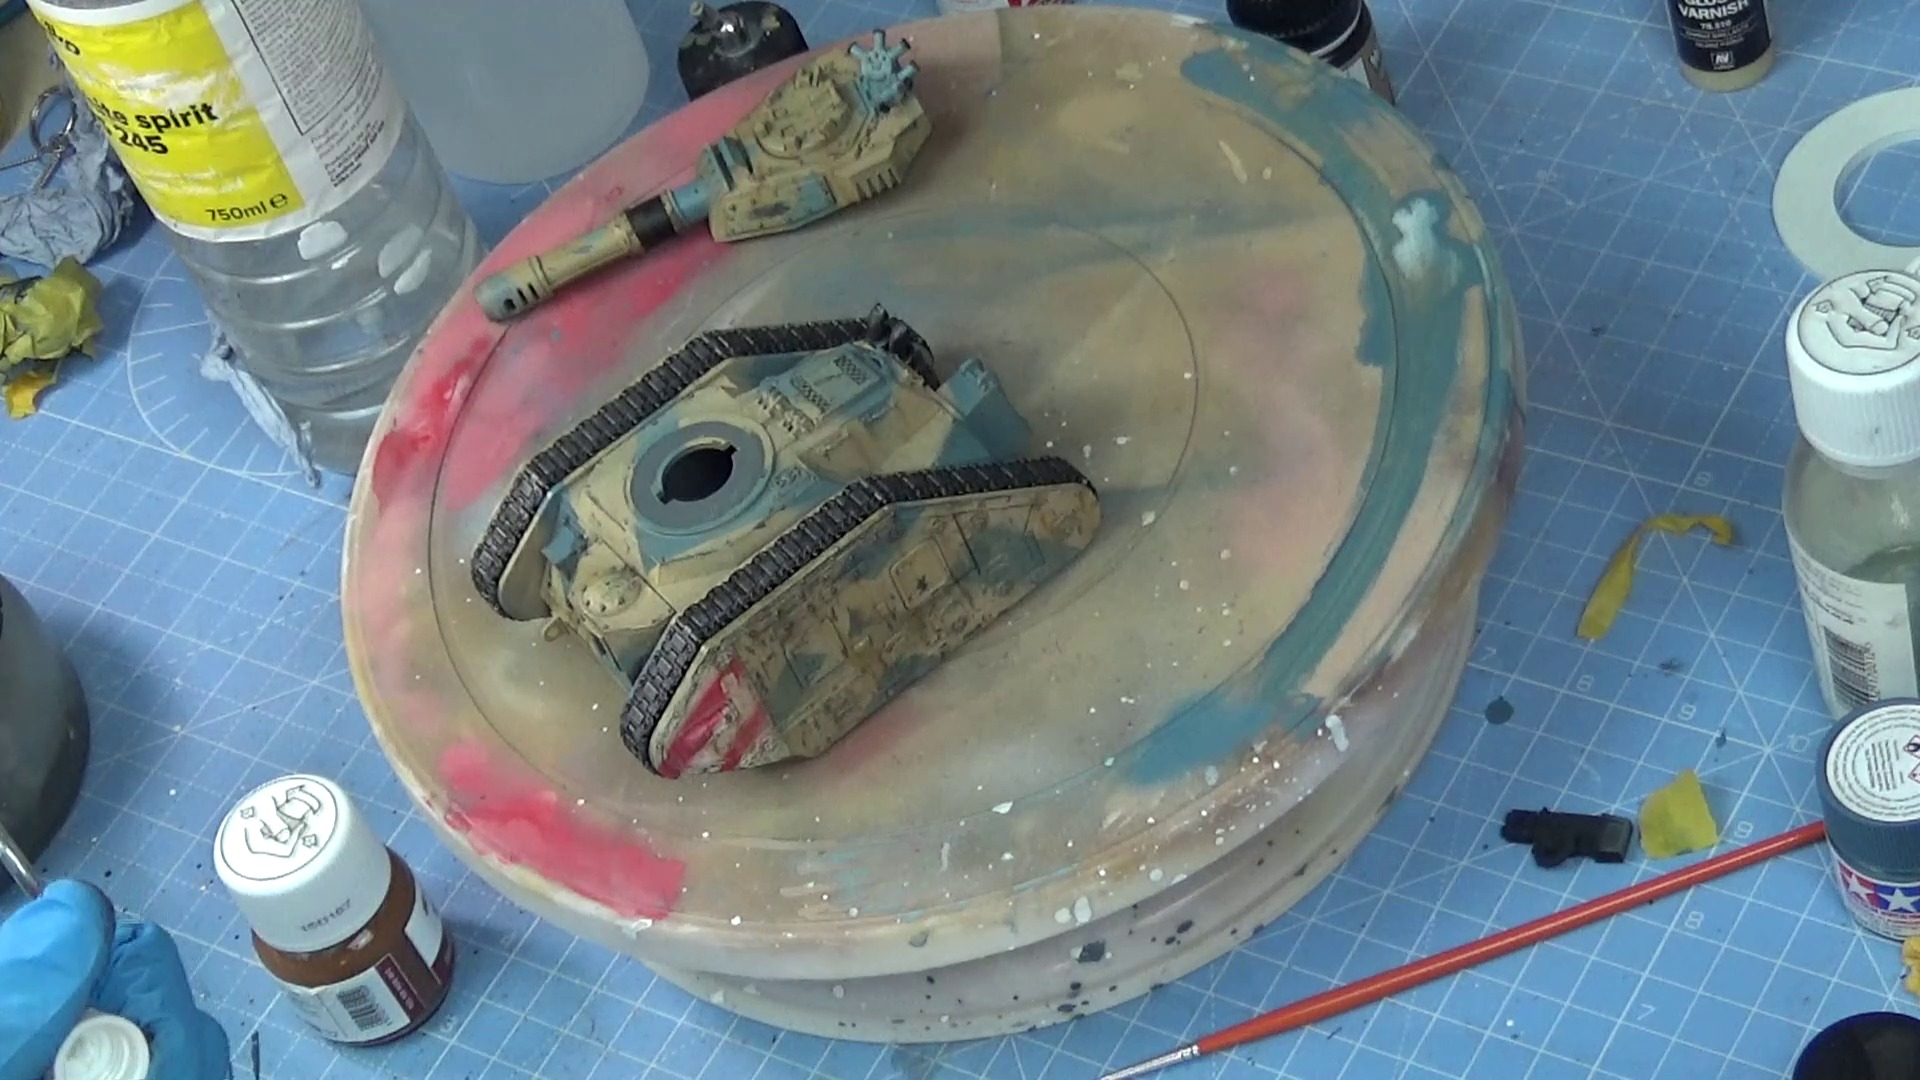
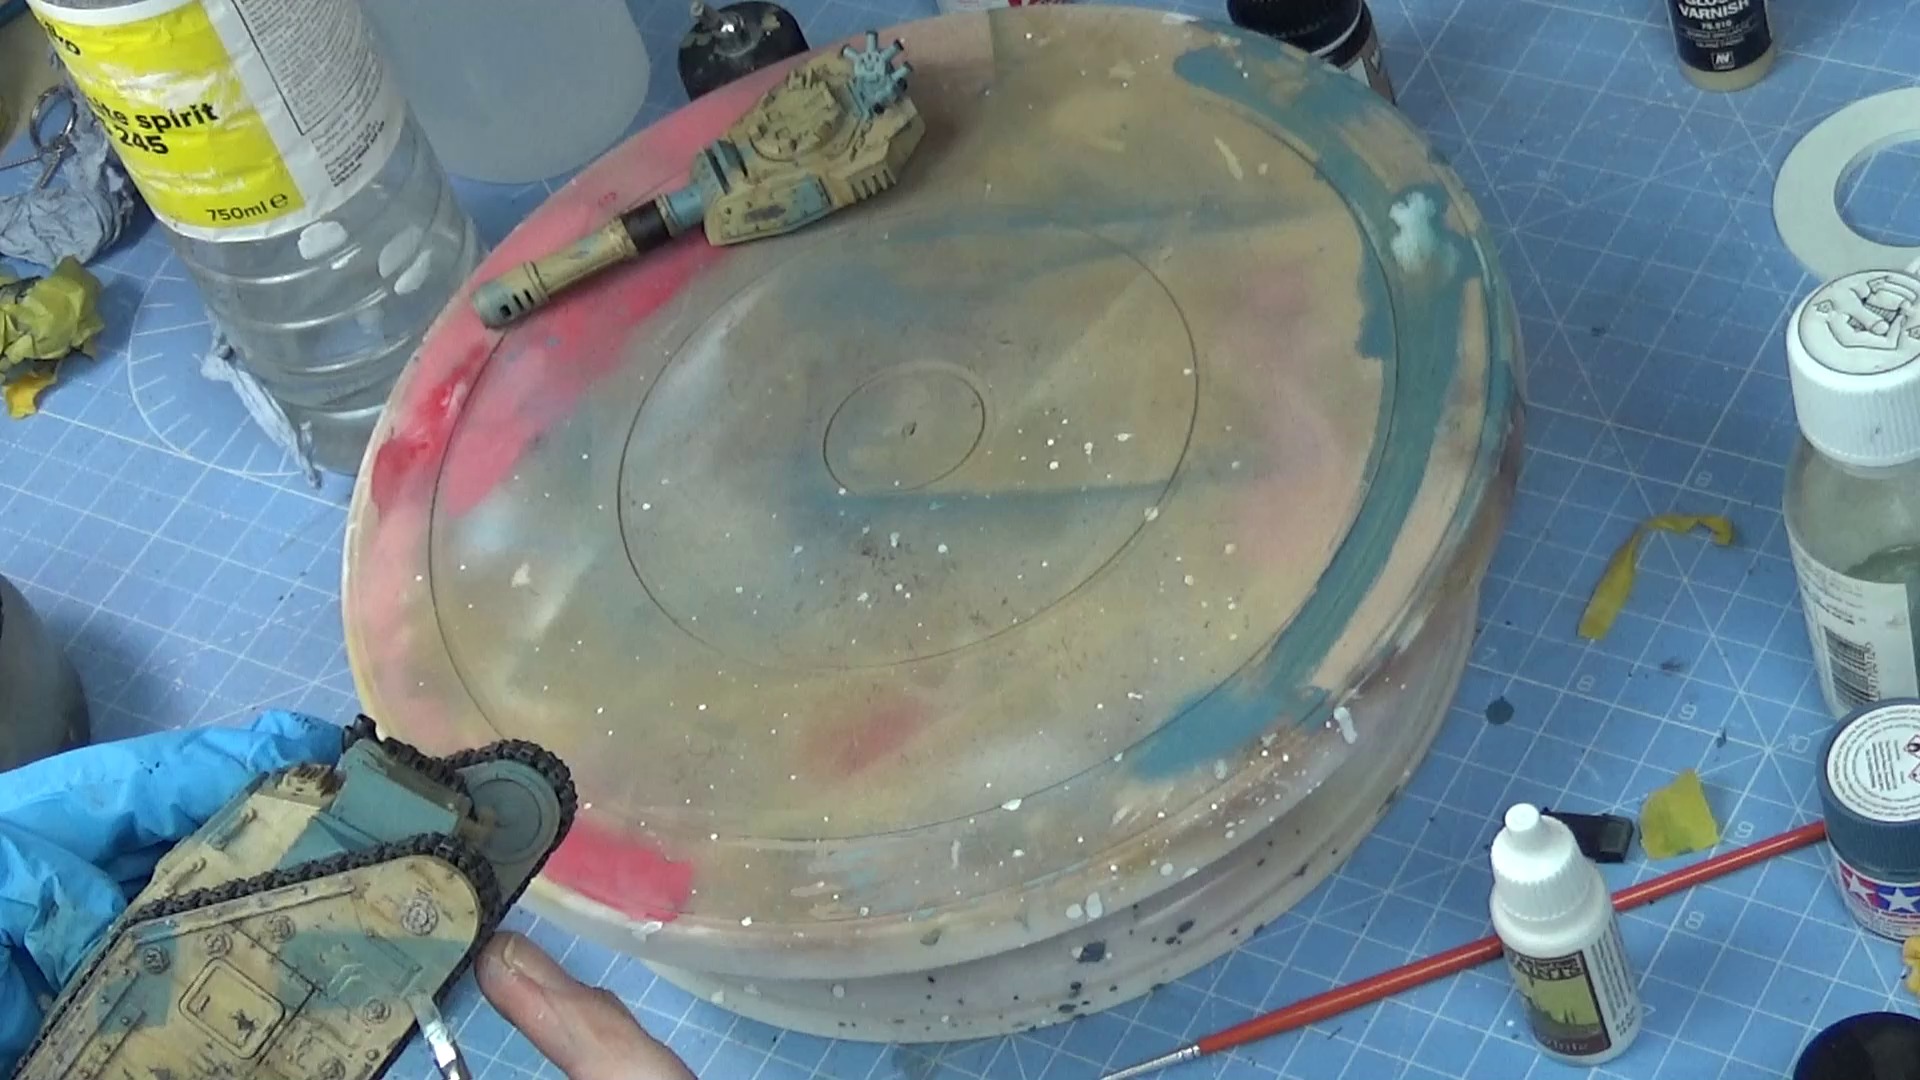
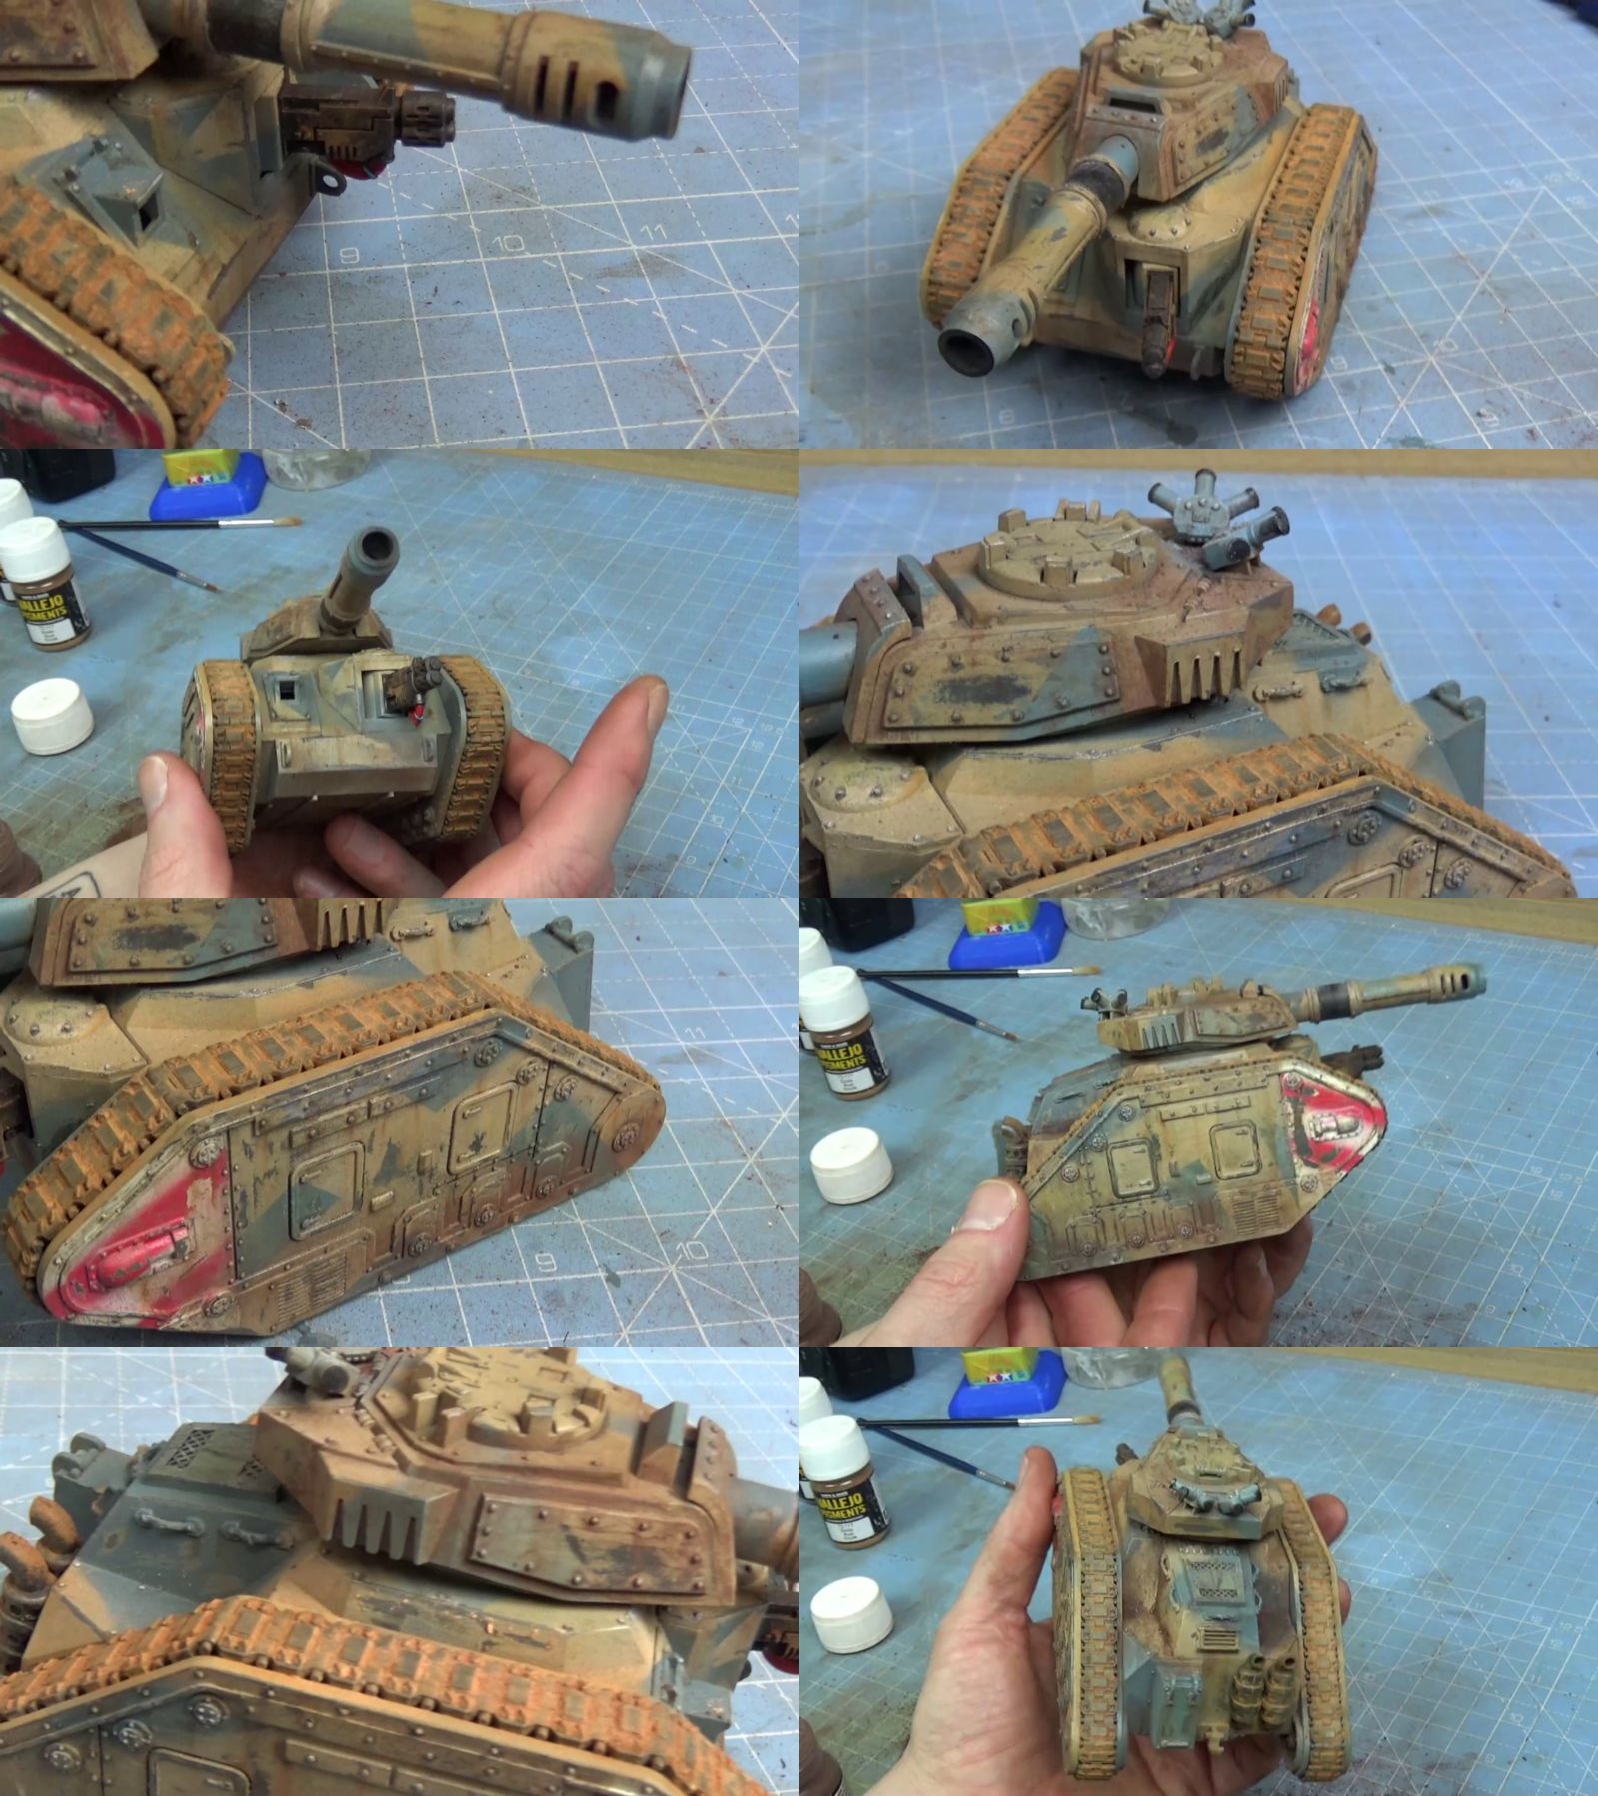
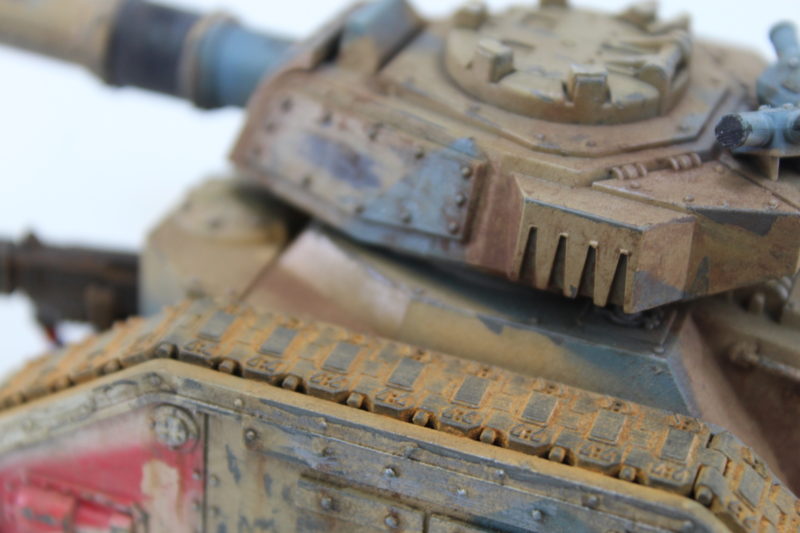
Now the painting is completed I can get on with the weathering. The first job to remove some of the paint with a wet brush. This lifts off the hairspray and the paint on top of it.
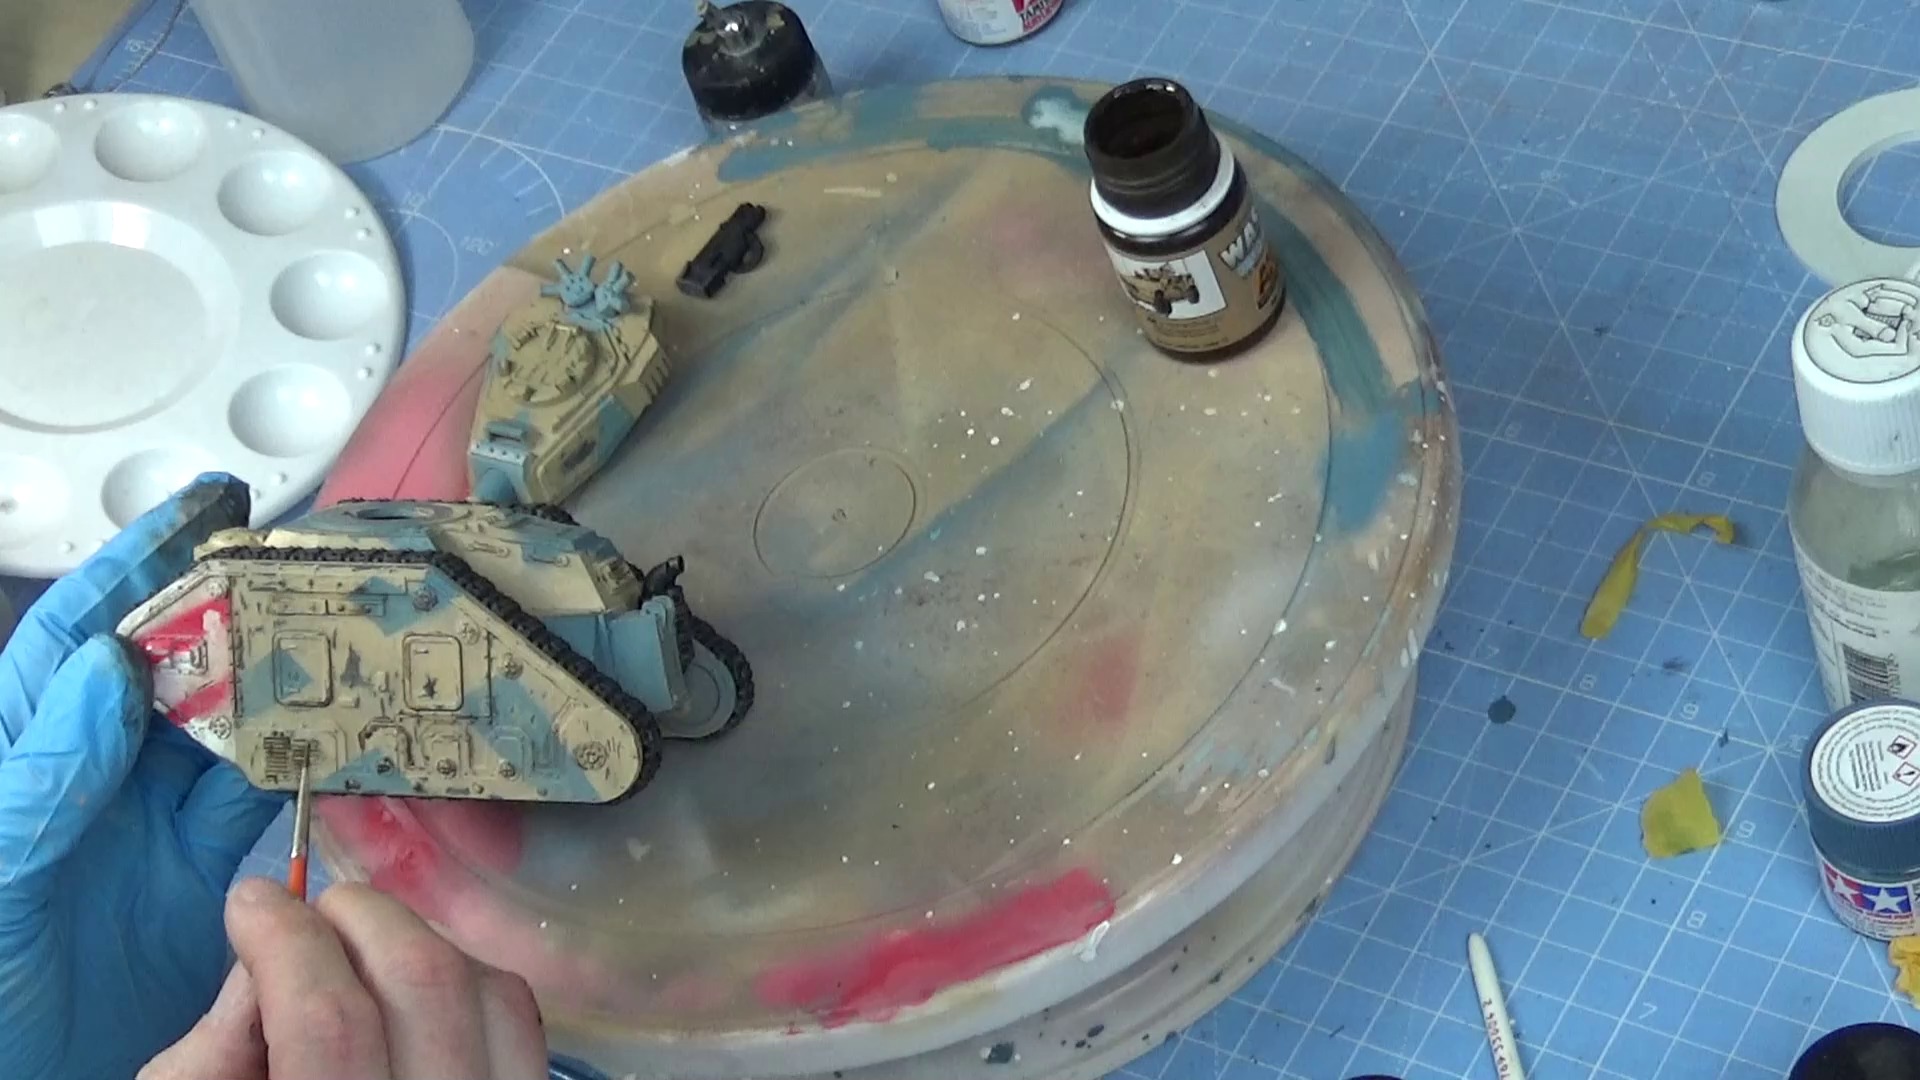
The Paint Chipping Has Now Been Done Using The Hairspray Technique. The Tank Is Painted Up And Some Weathering Has Been Started, Mainly Chipping So Far.Fitted The Tracks And Given The Model A Coat Of Clear Varnish.Using AK interactive OIF Wash To Highlight The Panel Lines.
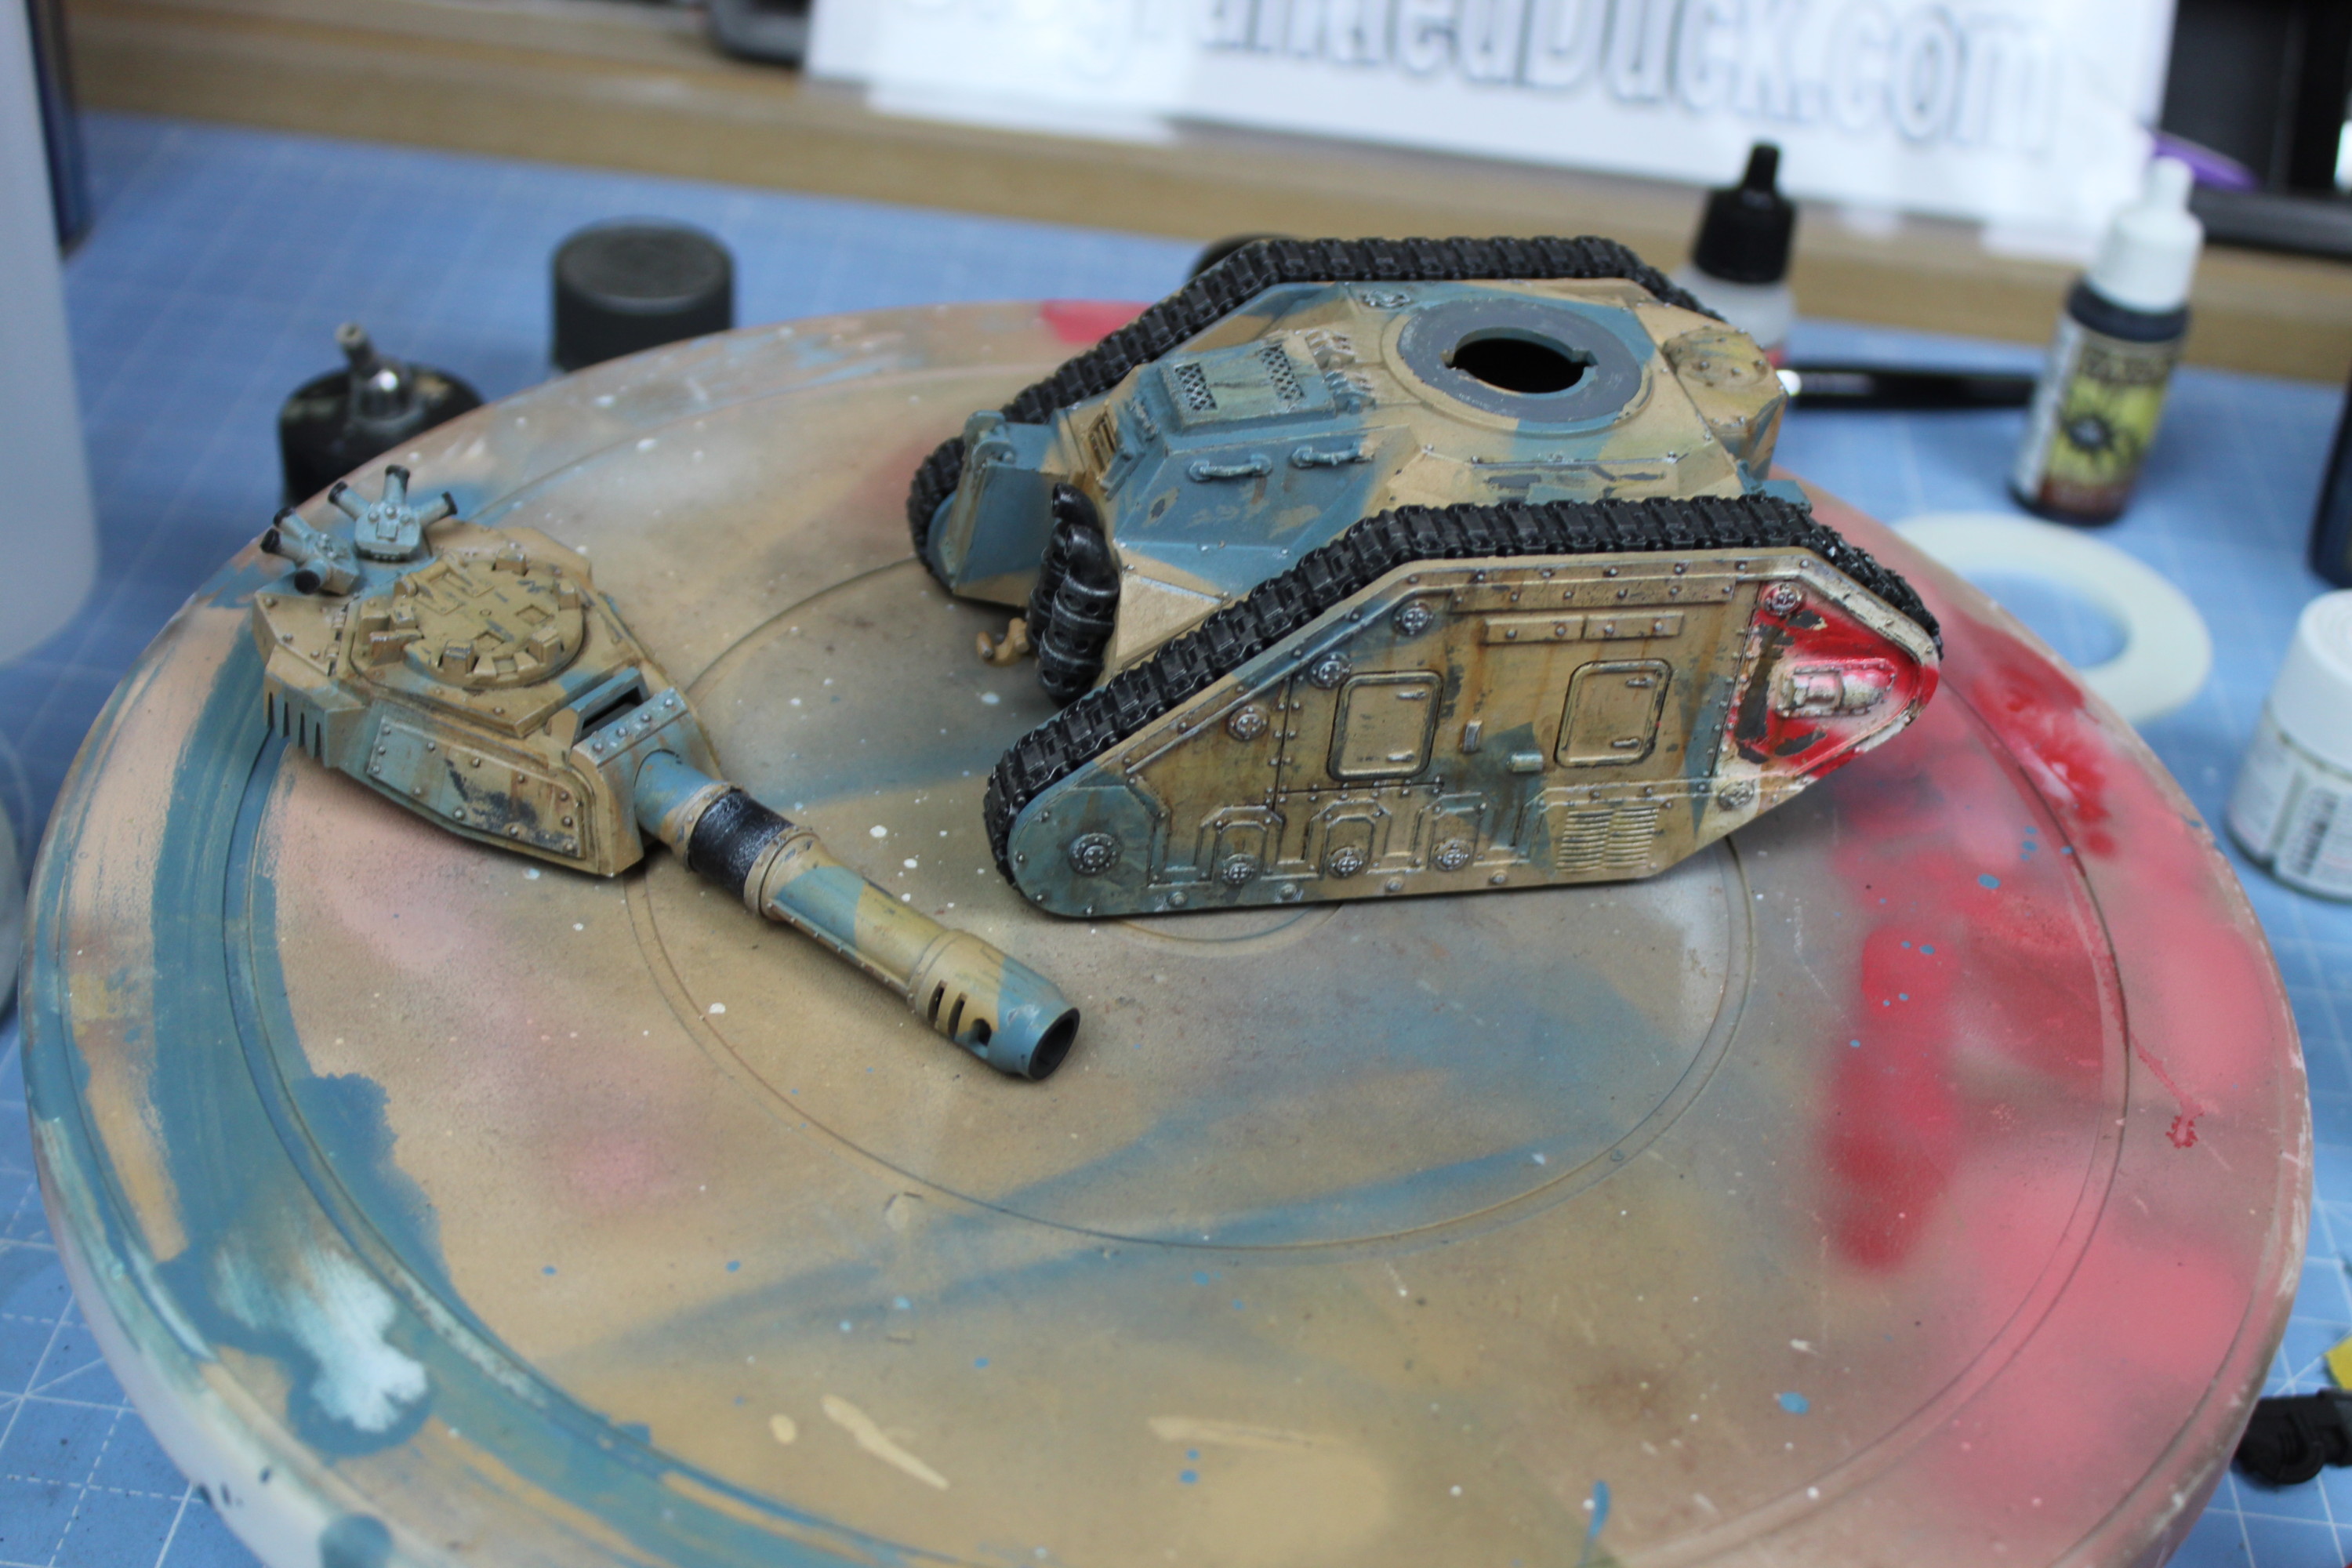
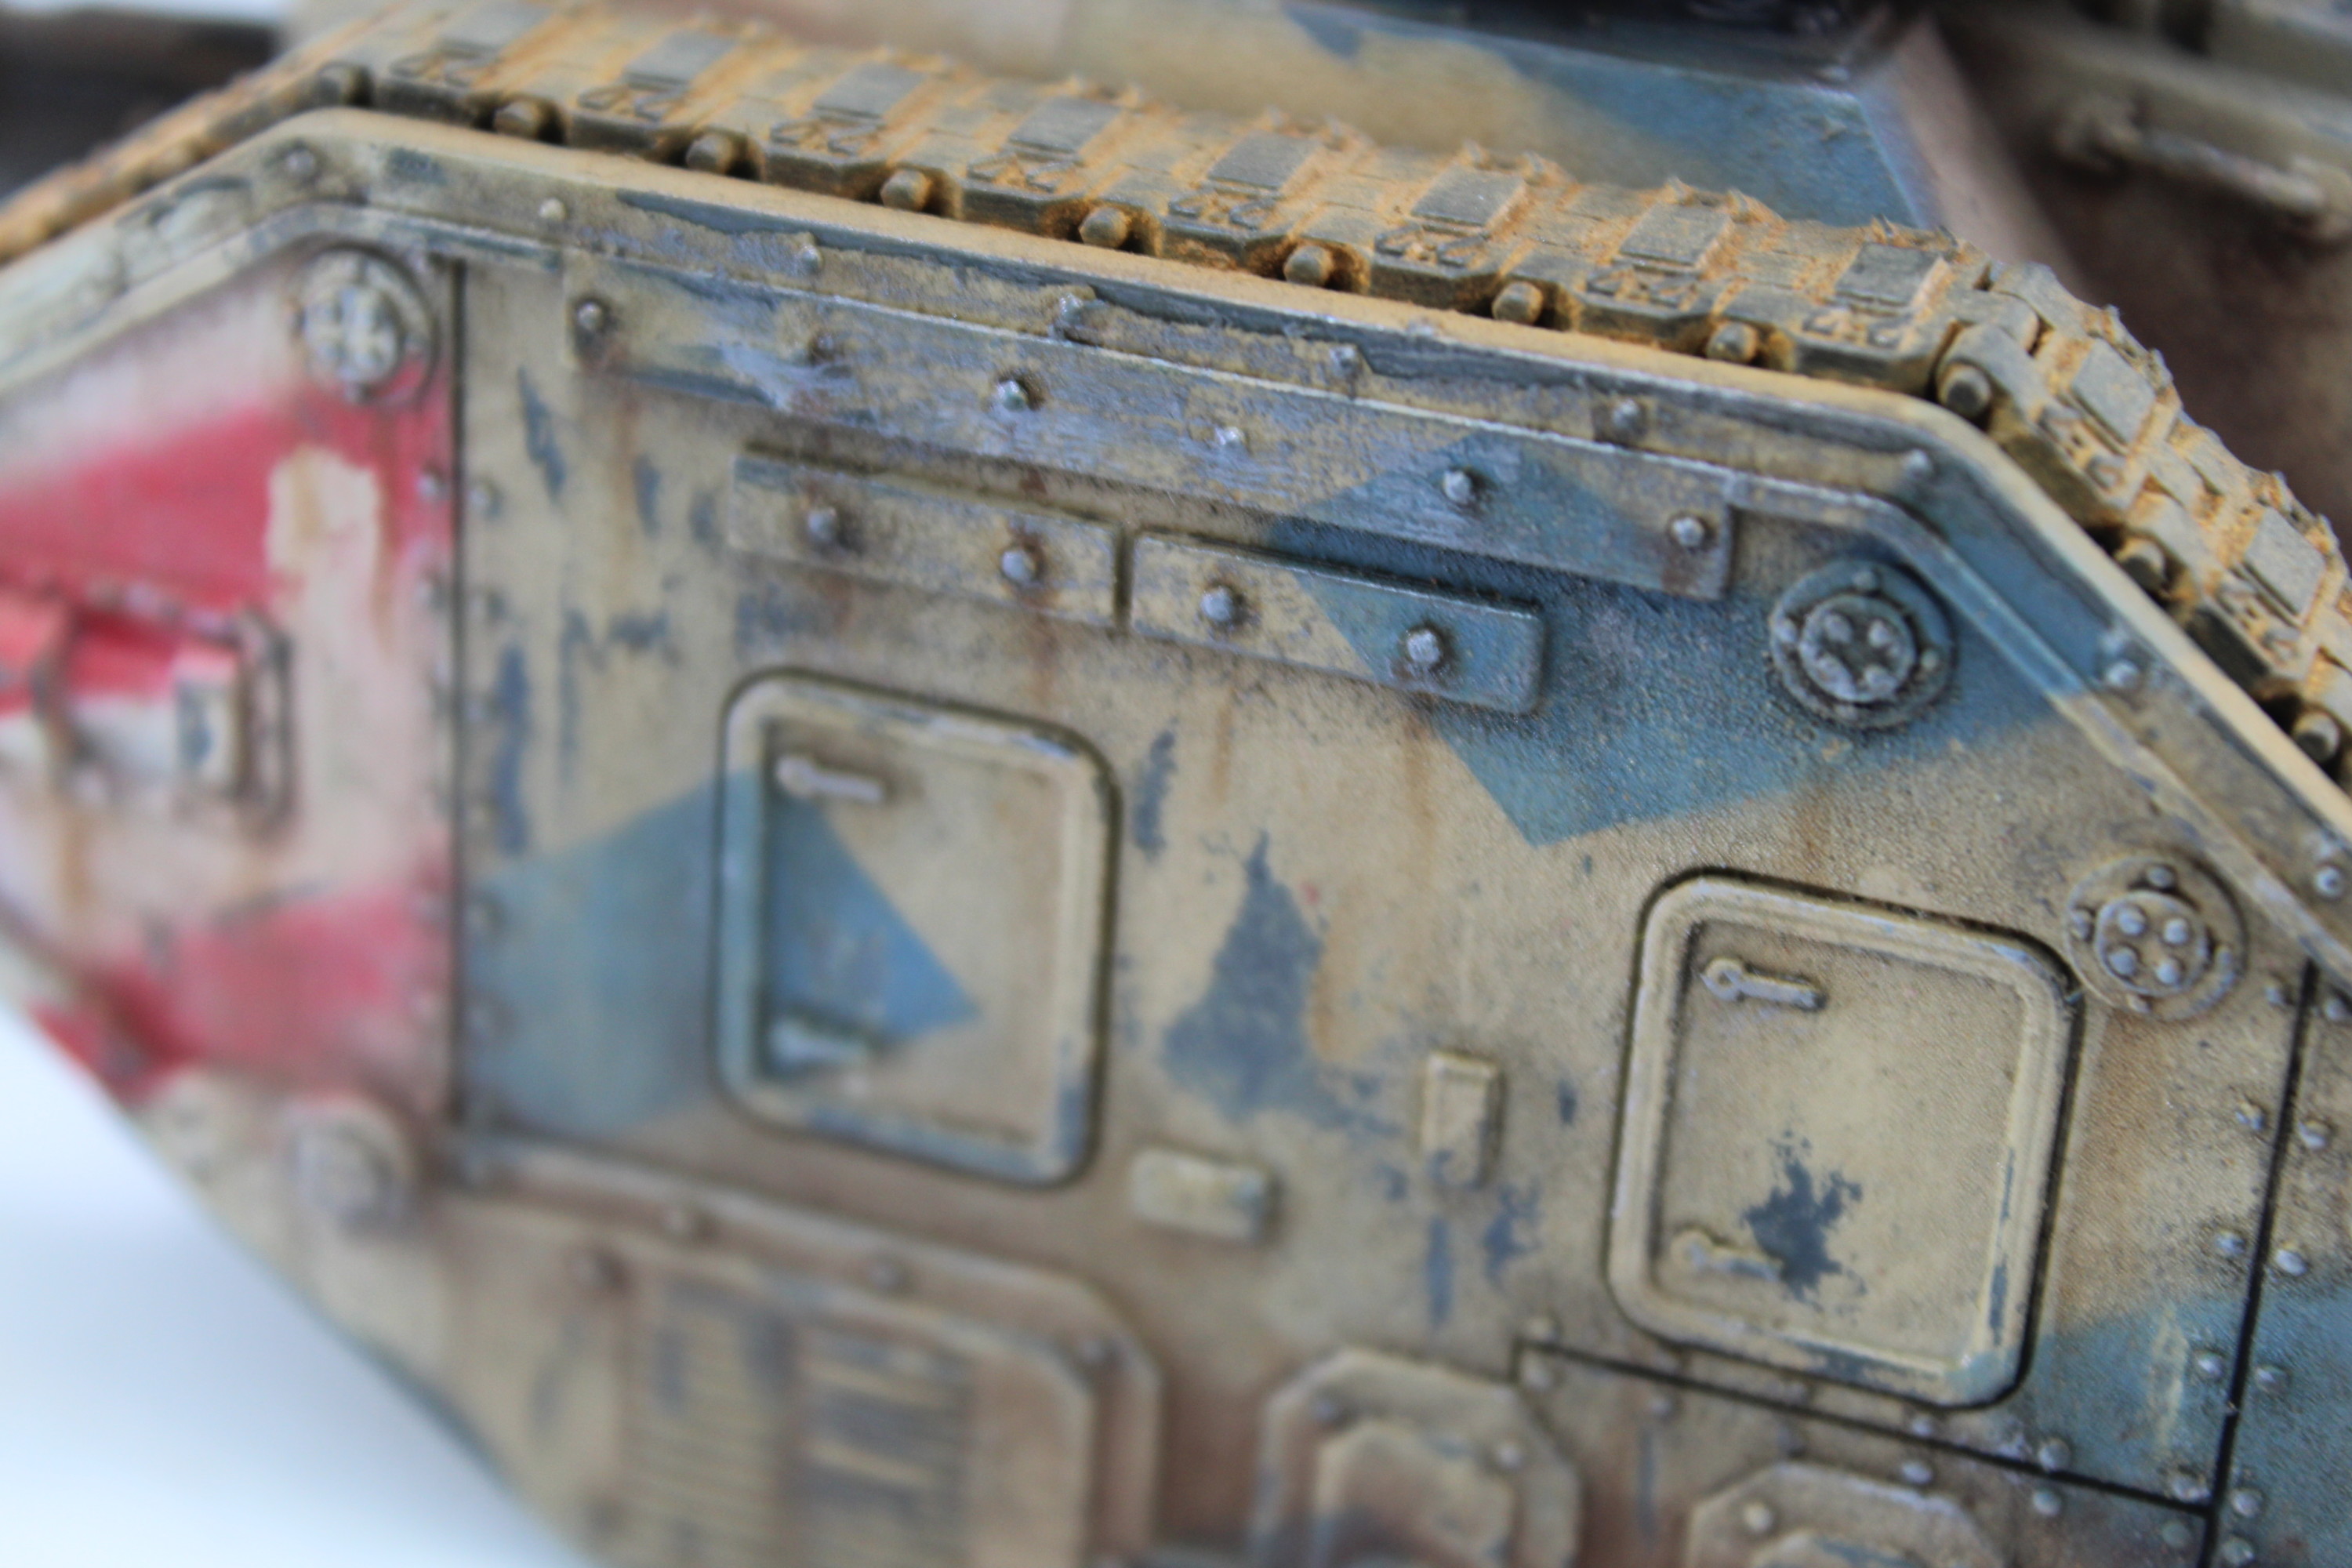
After a coat of varnish, time to start on the weathering. First bringing out the panels lines, then on to some rust streaks and then to highlight the nuts and bolts.
Applied Some Rust Streaks Using Humbrol Rust Wash.Highlighting The Raised Nuts And Bolts With White Paint.Pin Wash Applied And Rust Streaks As Well As Some Highlights On The Nuts And Bolts.
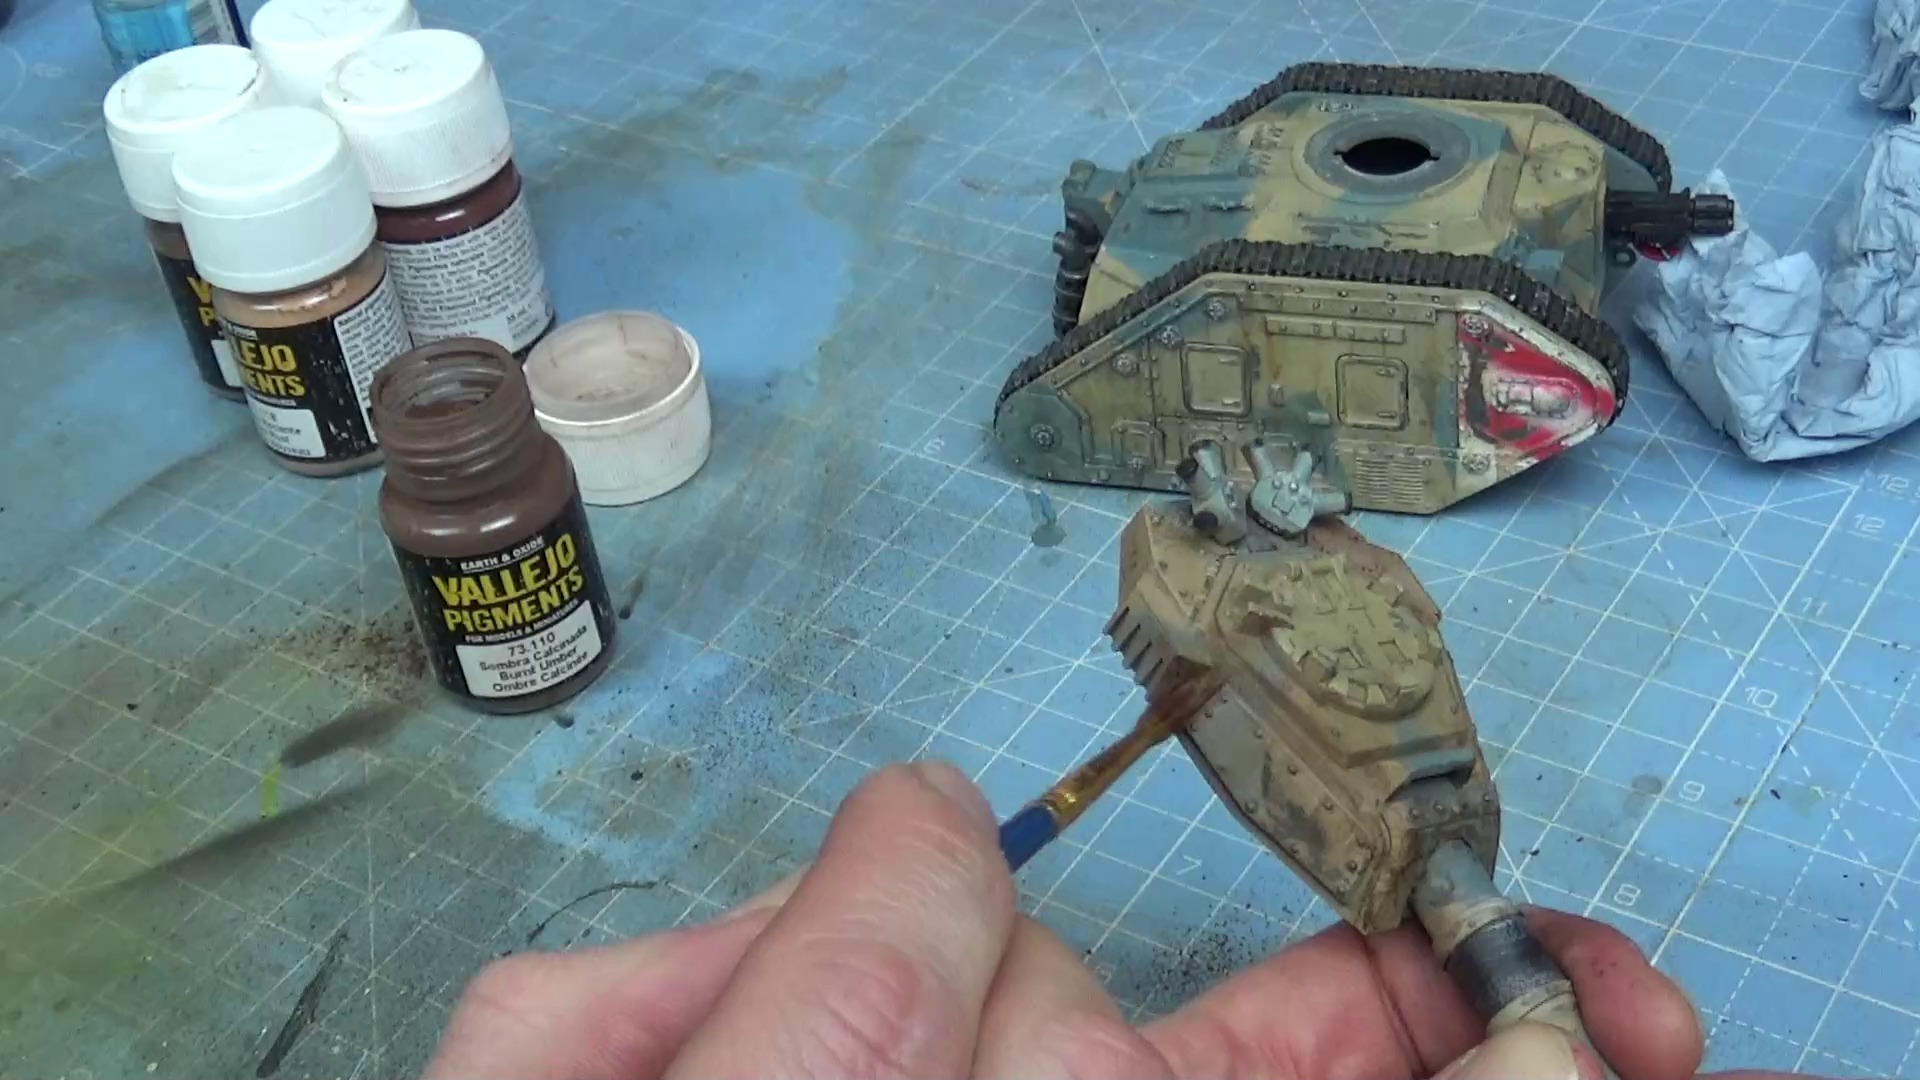
A coat of matt varnish and on to the final stage of weathering. Pigments! Some rust on the tracks and some dirt on the tank.
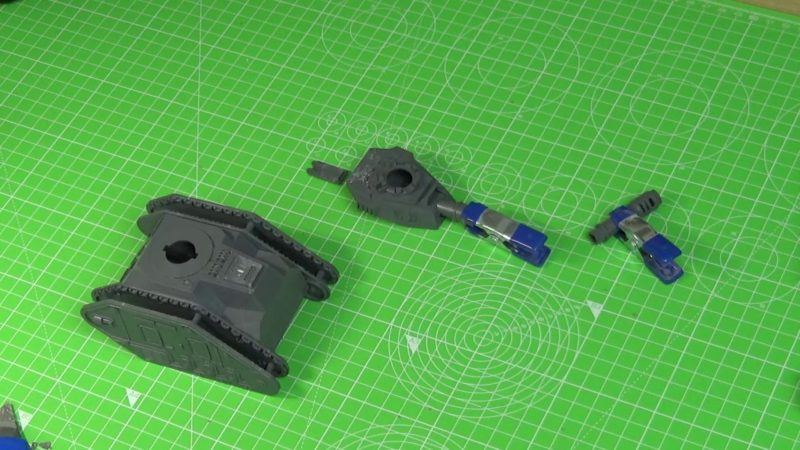
Painting The Gun For The Leman Russ Tank
I have painted the flamethrower, done some dry brushing with citadel paint colours Bolt Gun Silver then painted the tubes with Chaos Red and Ice Blue
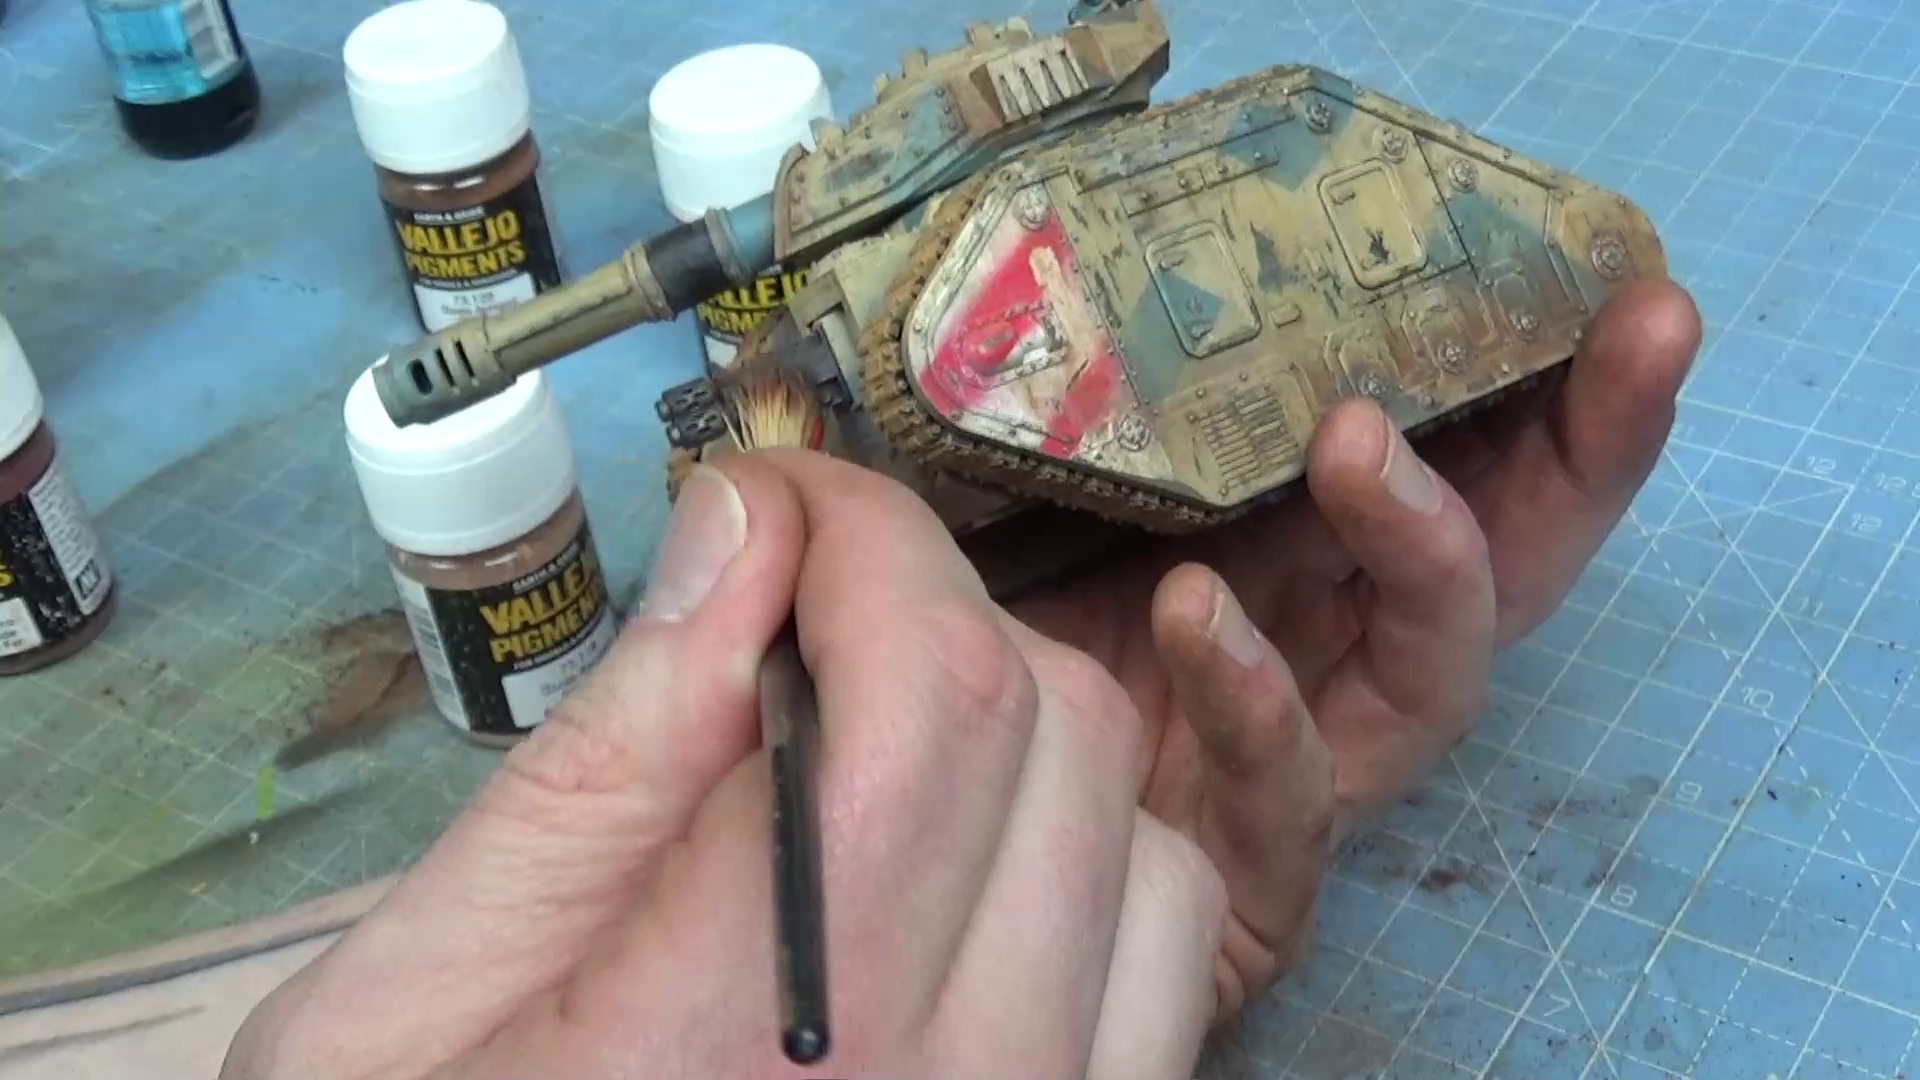
Applying Pigments To The Gun Turret.Applying Heavier Pigments To The Lower Hull Of The Leman Russ Tank.
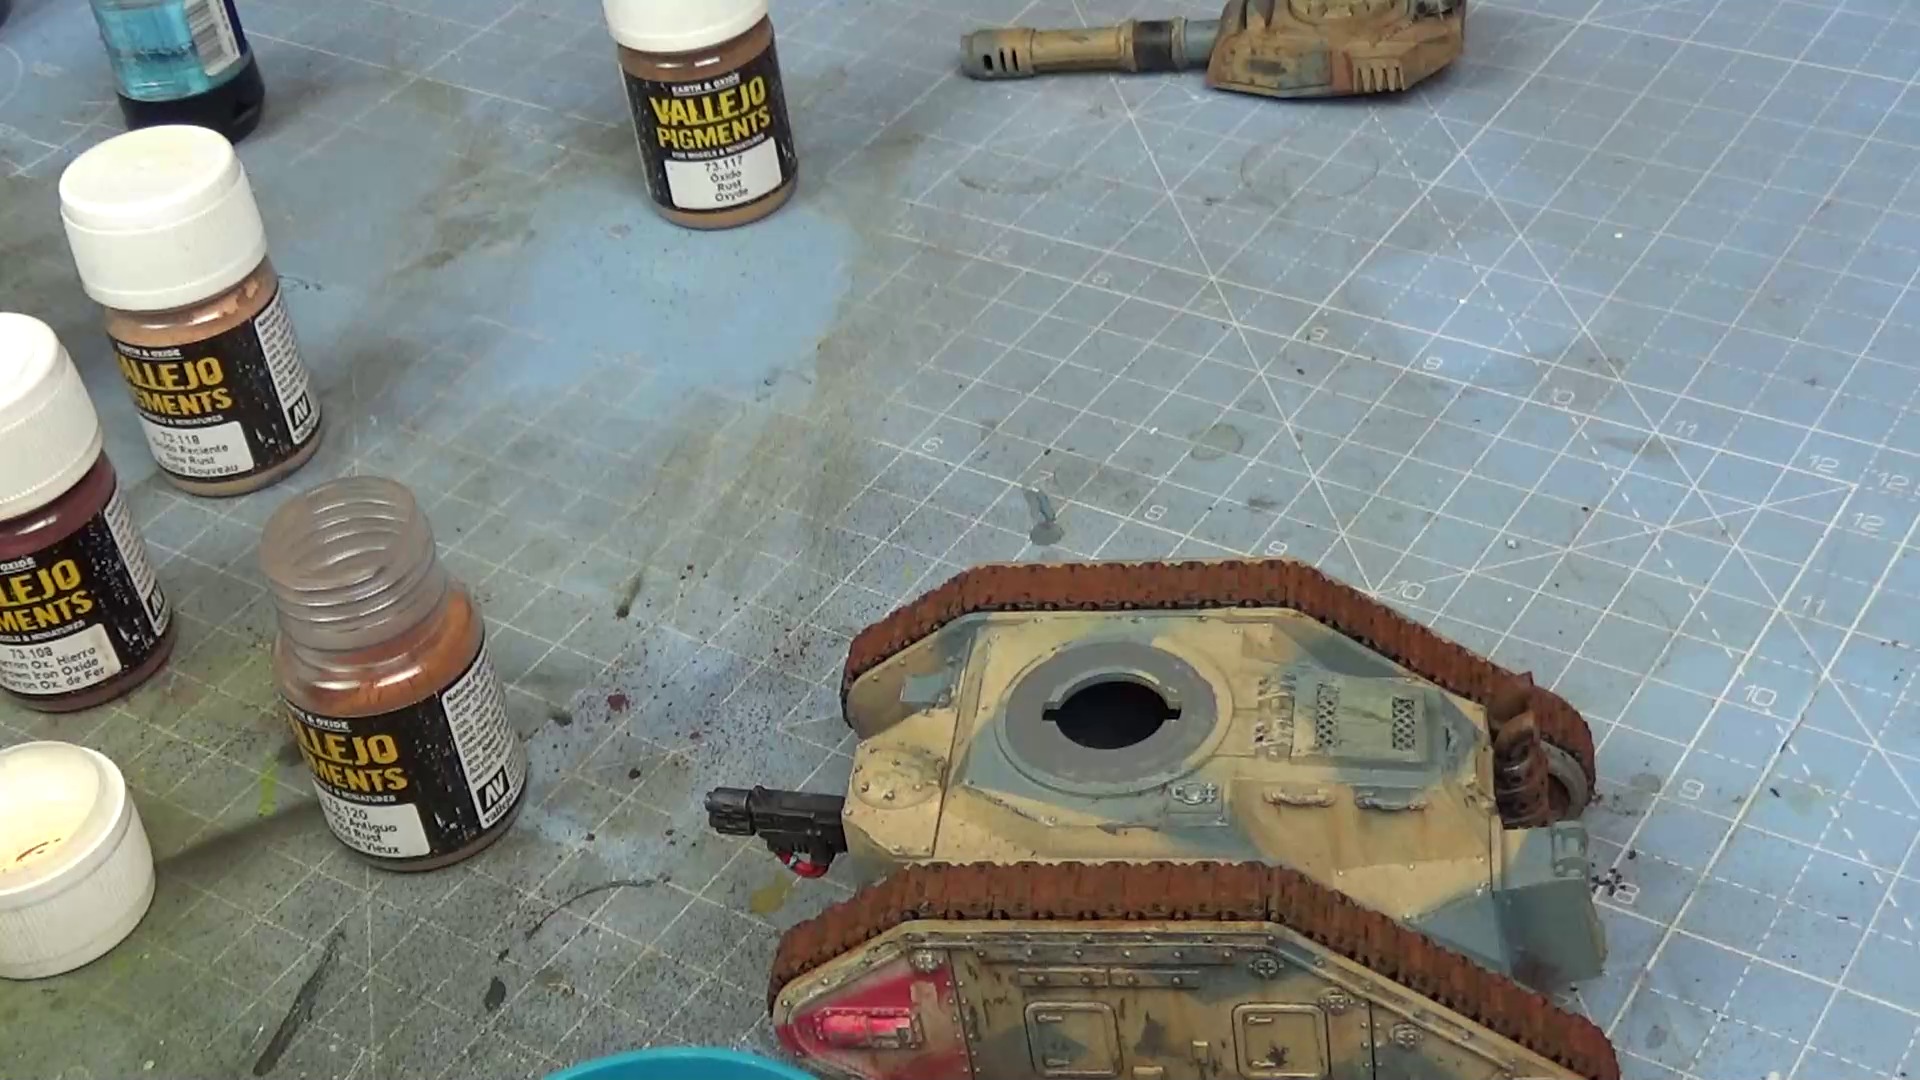
So there are the mud pigments added to the turret and the hull, now it’s time to start getting to work on making the tank tracks look rusty.
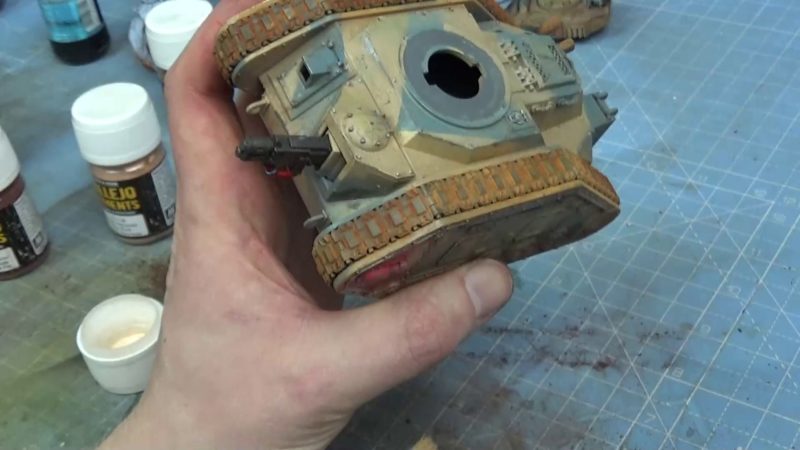
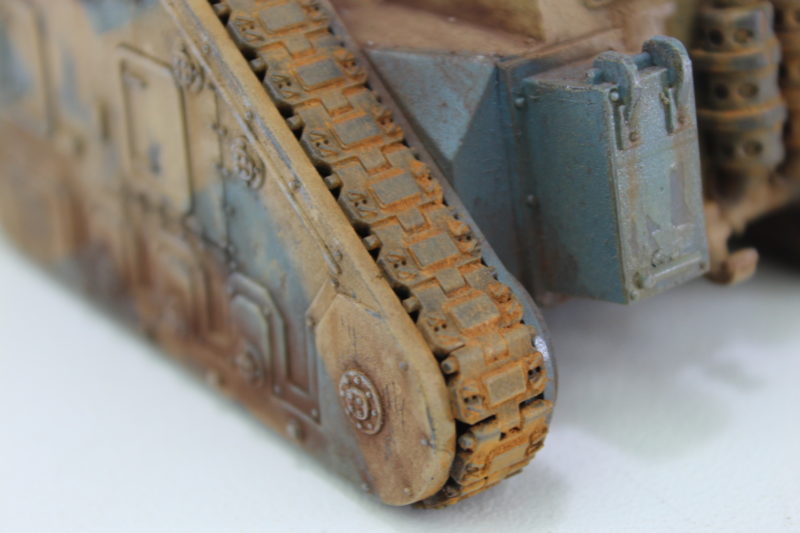
Painting On The Rust Pigments To The Tracks.Refining The Rust Pigments On The Tank Tracks.The finished Rusty Tracks On The Games Workshop Tank.
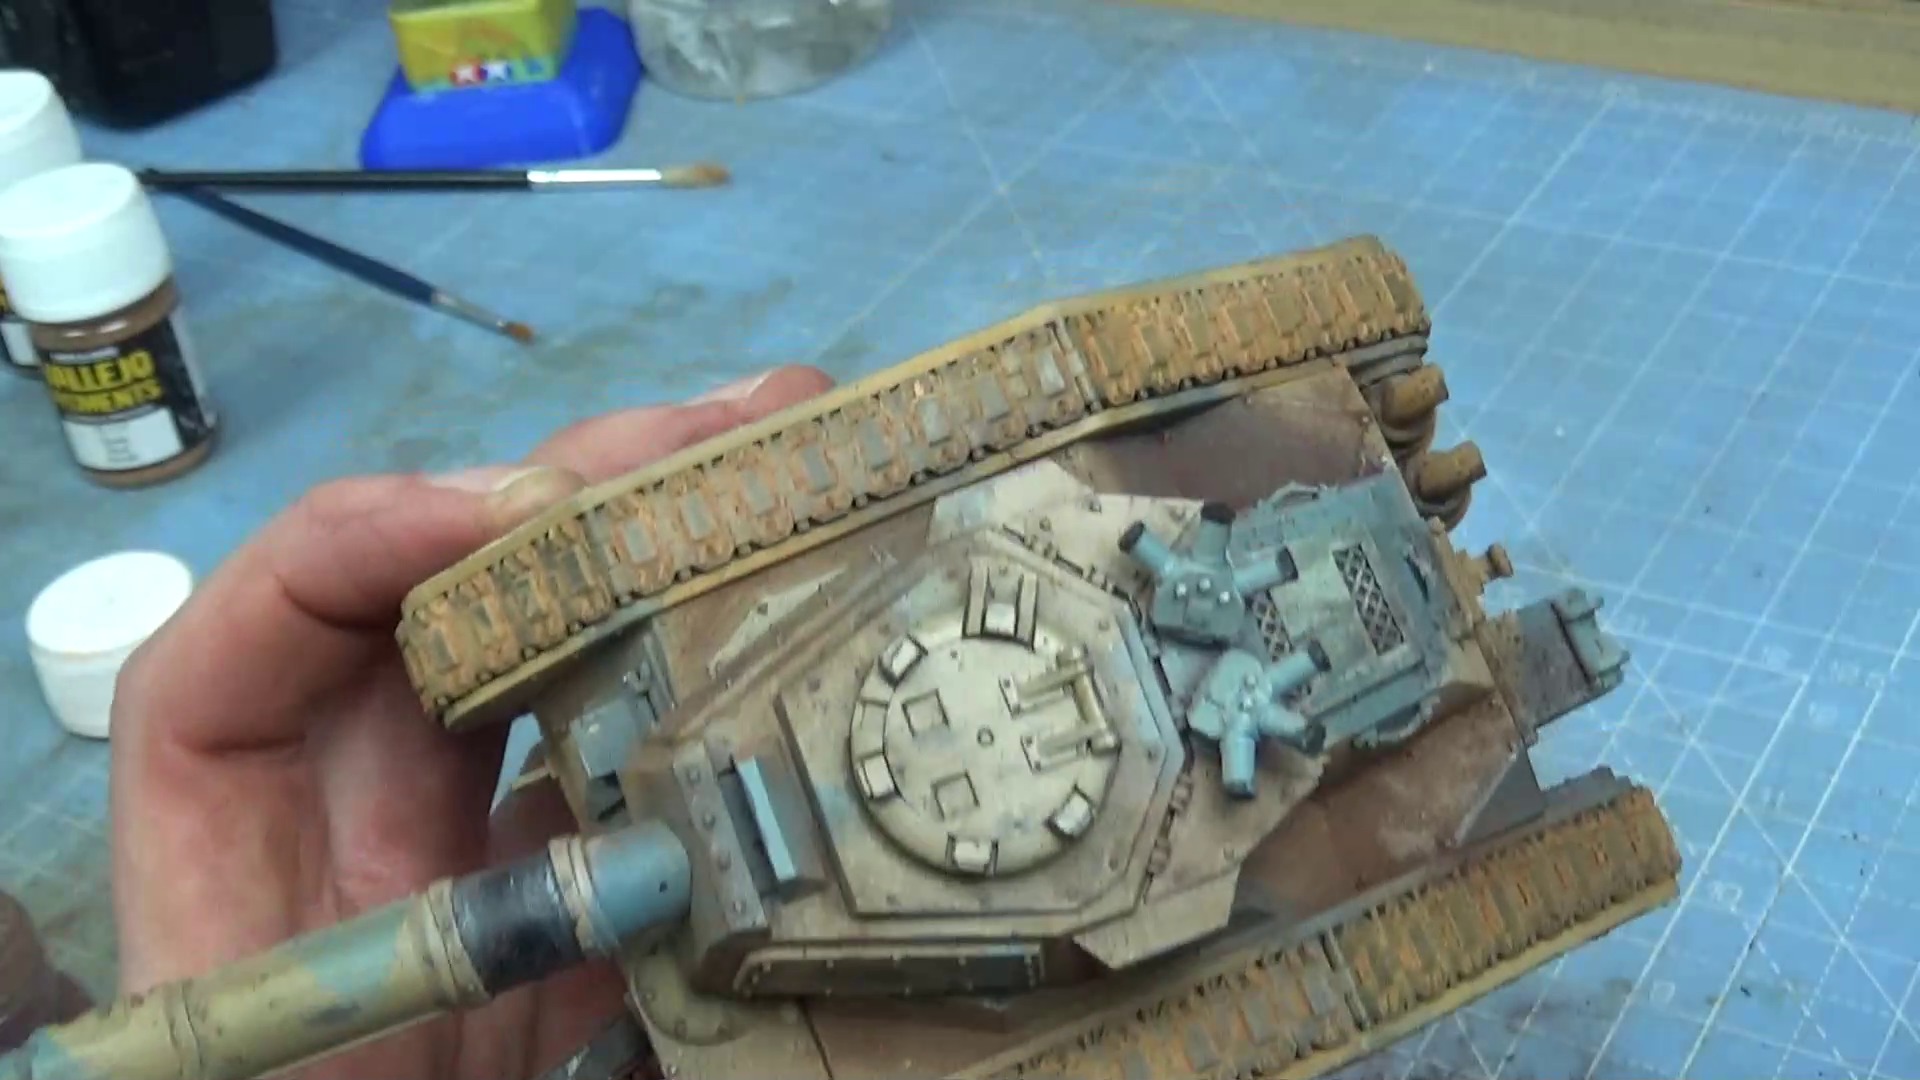
So I have used a few different rust colours to get the desired look on the tracks and I’m pretty happy with how the weathering has gone.
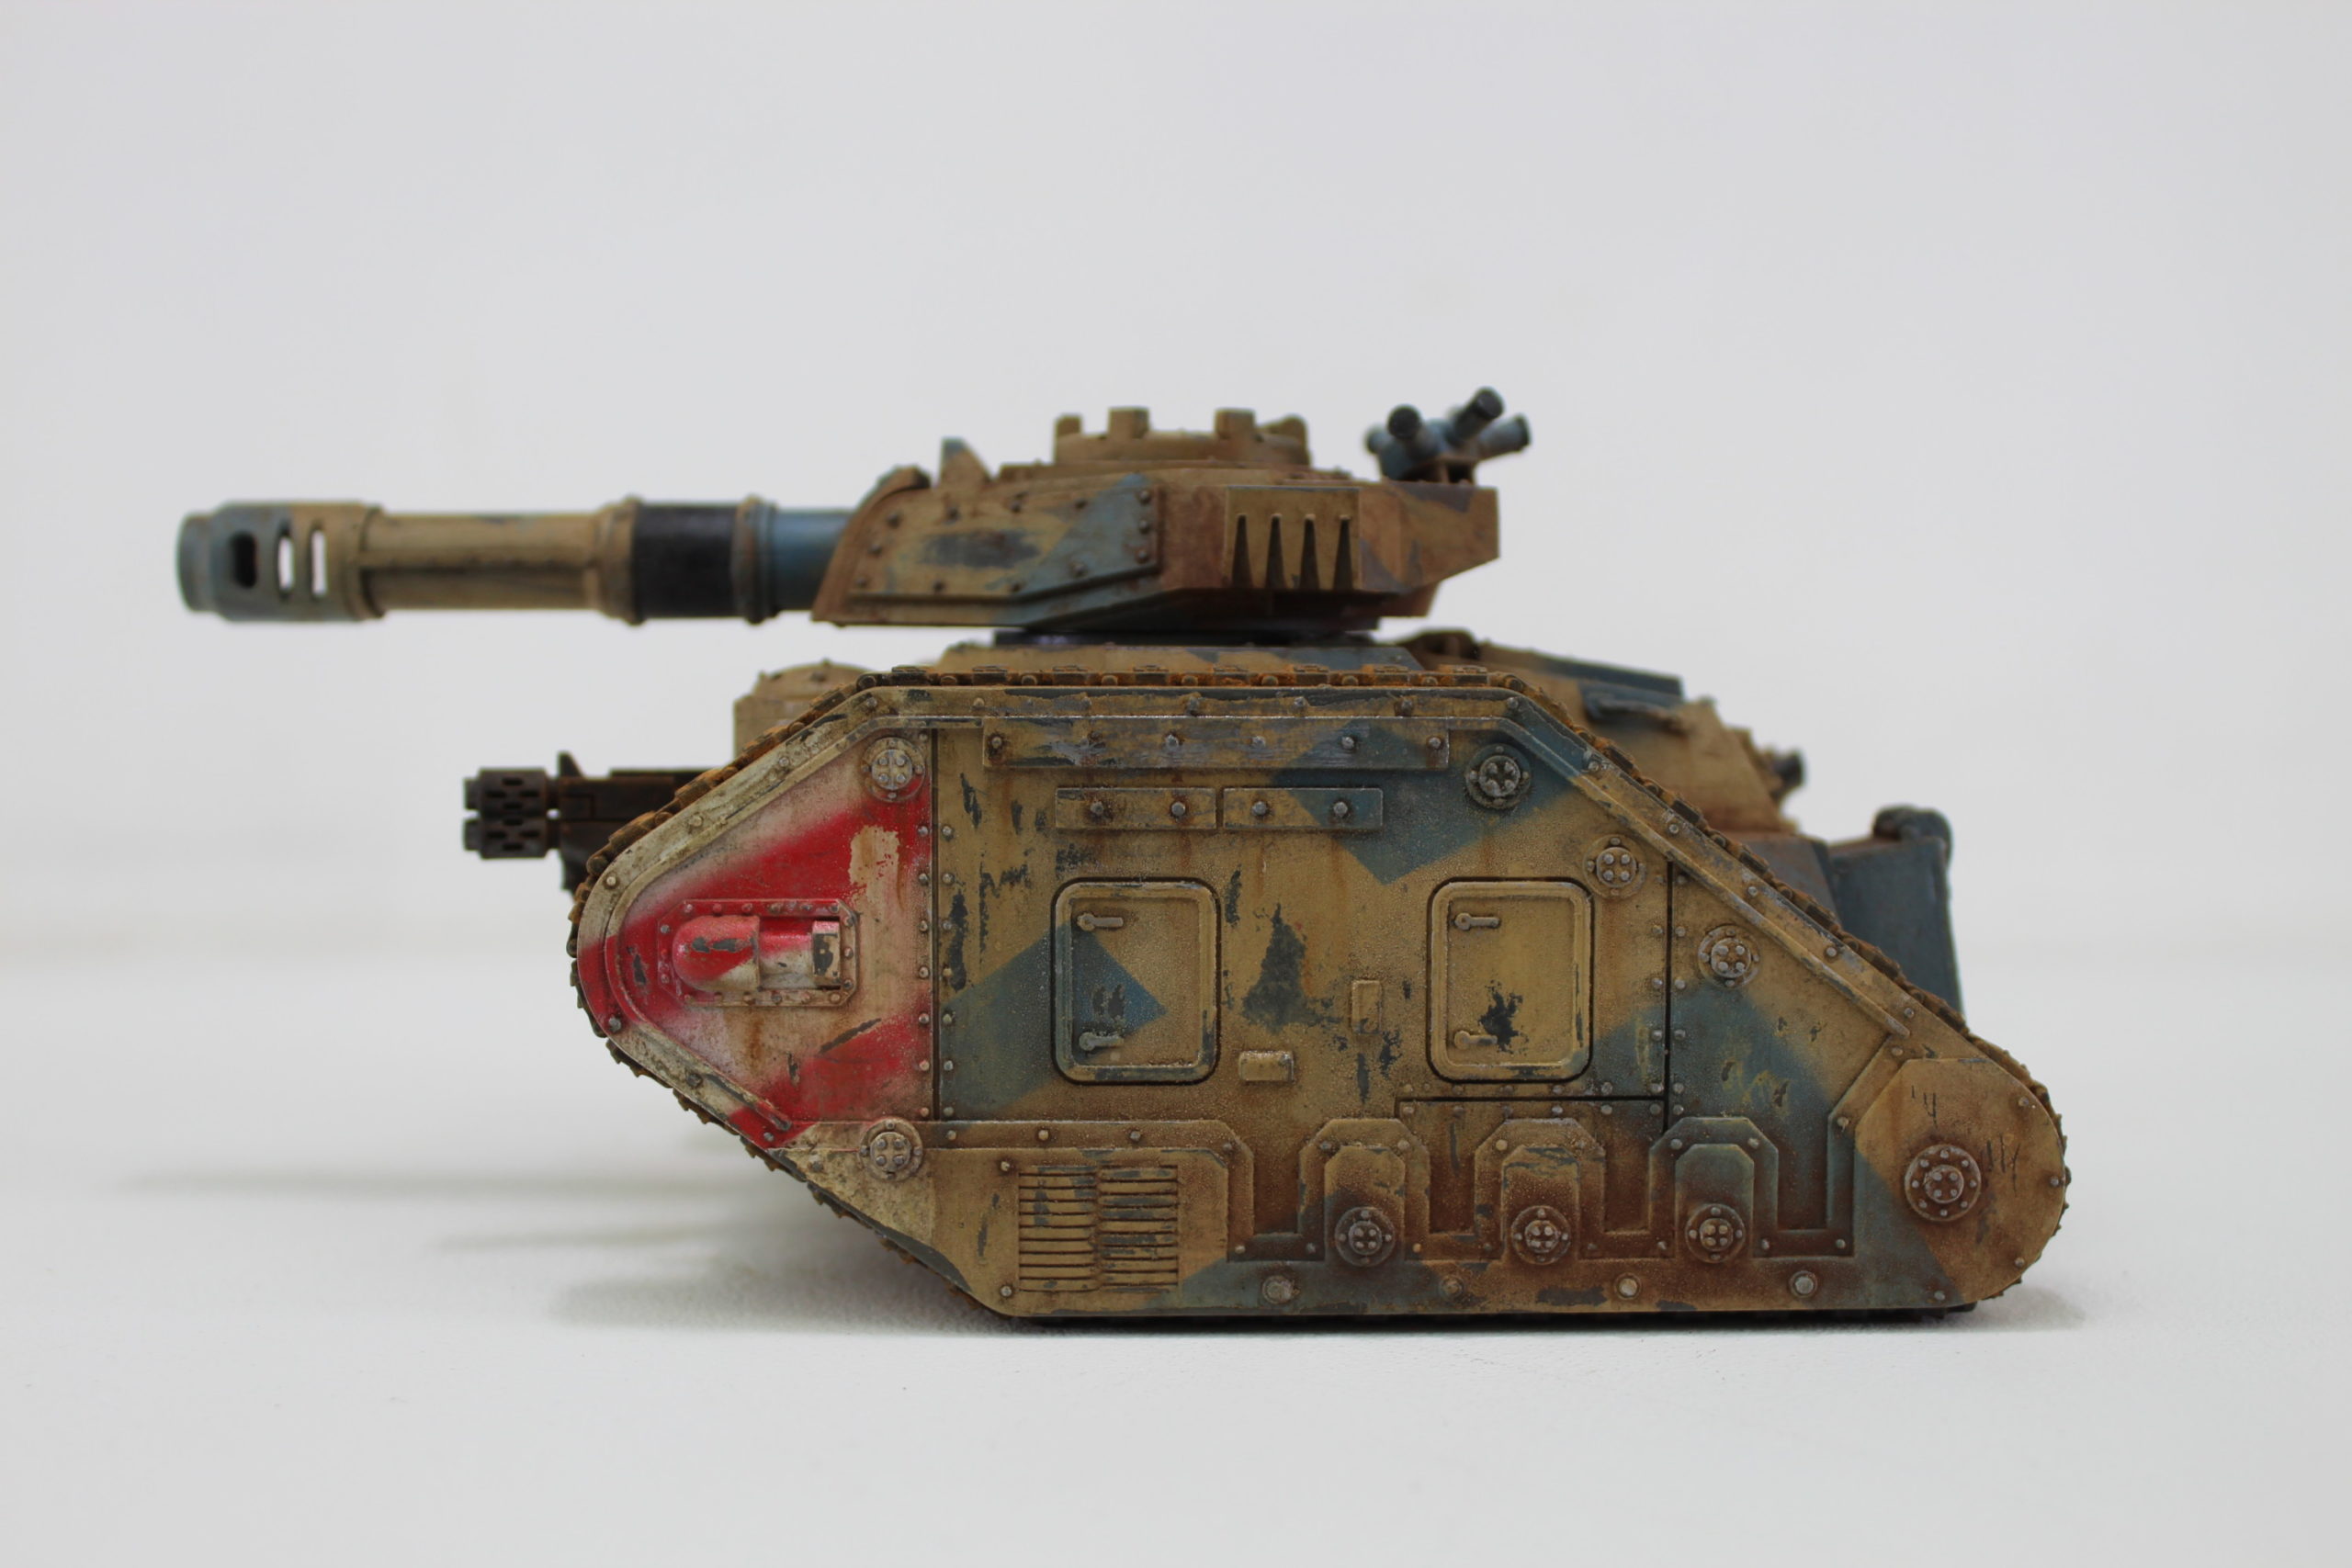
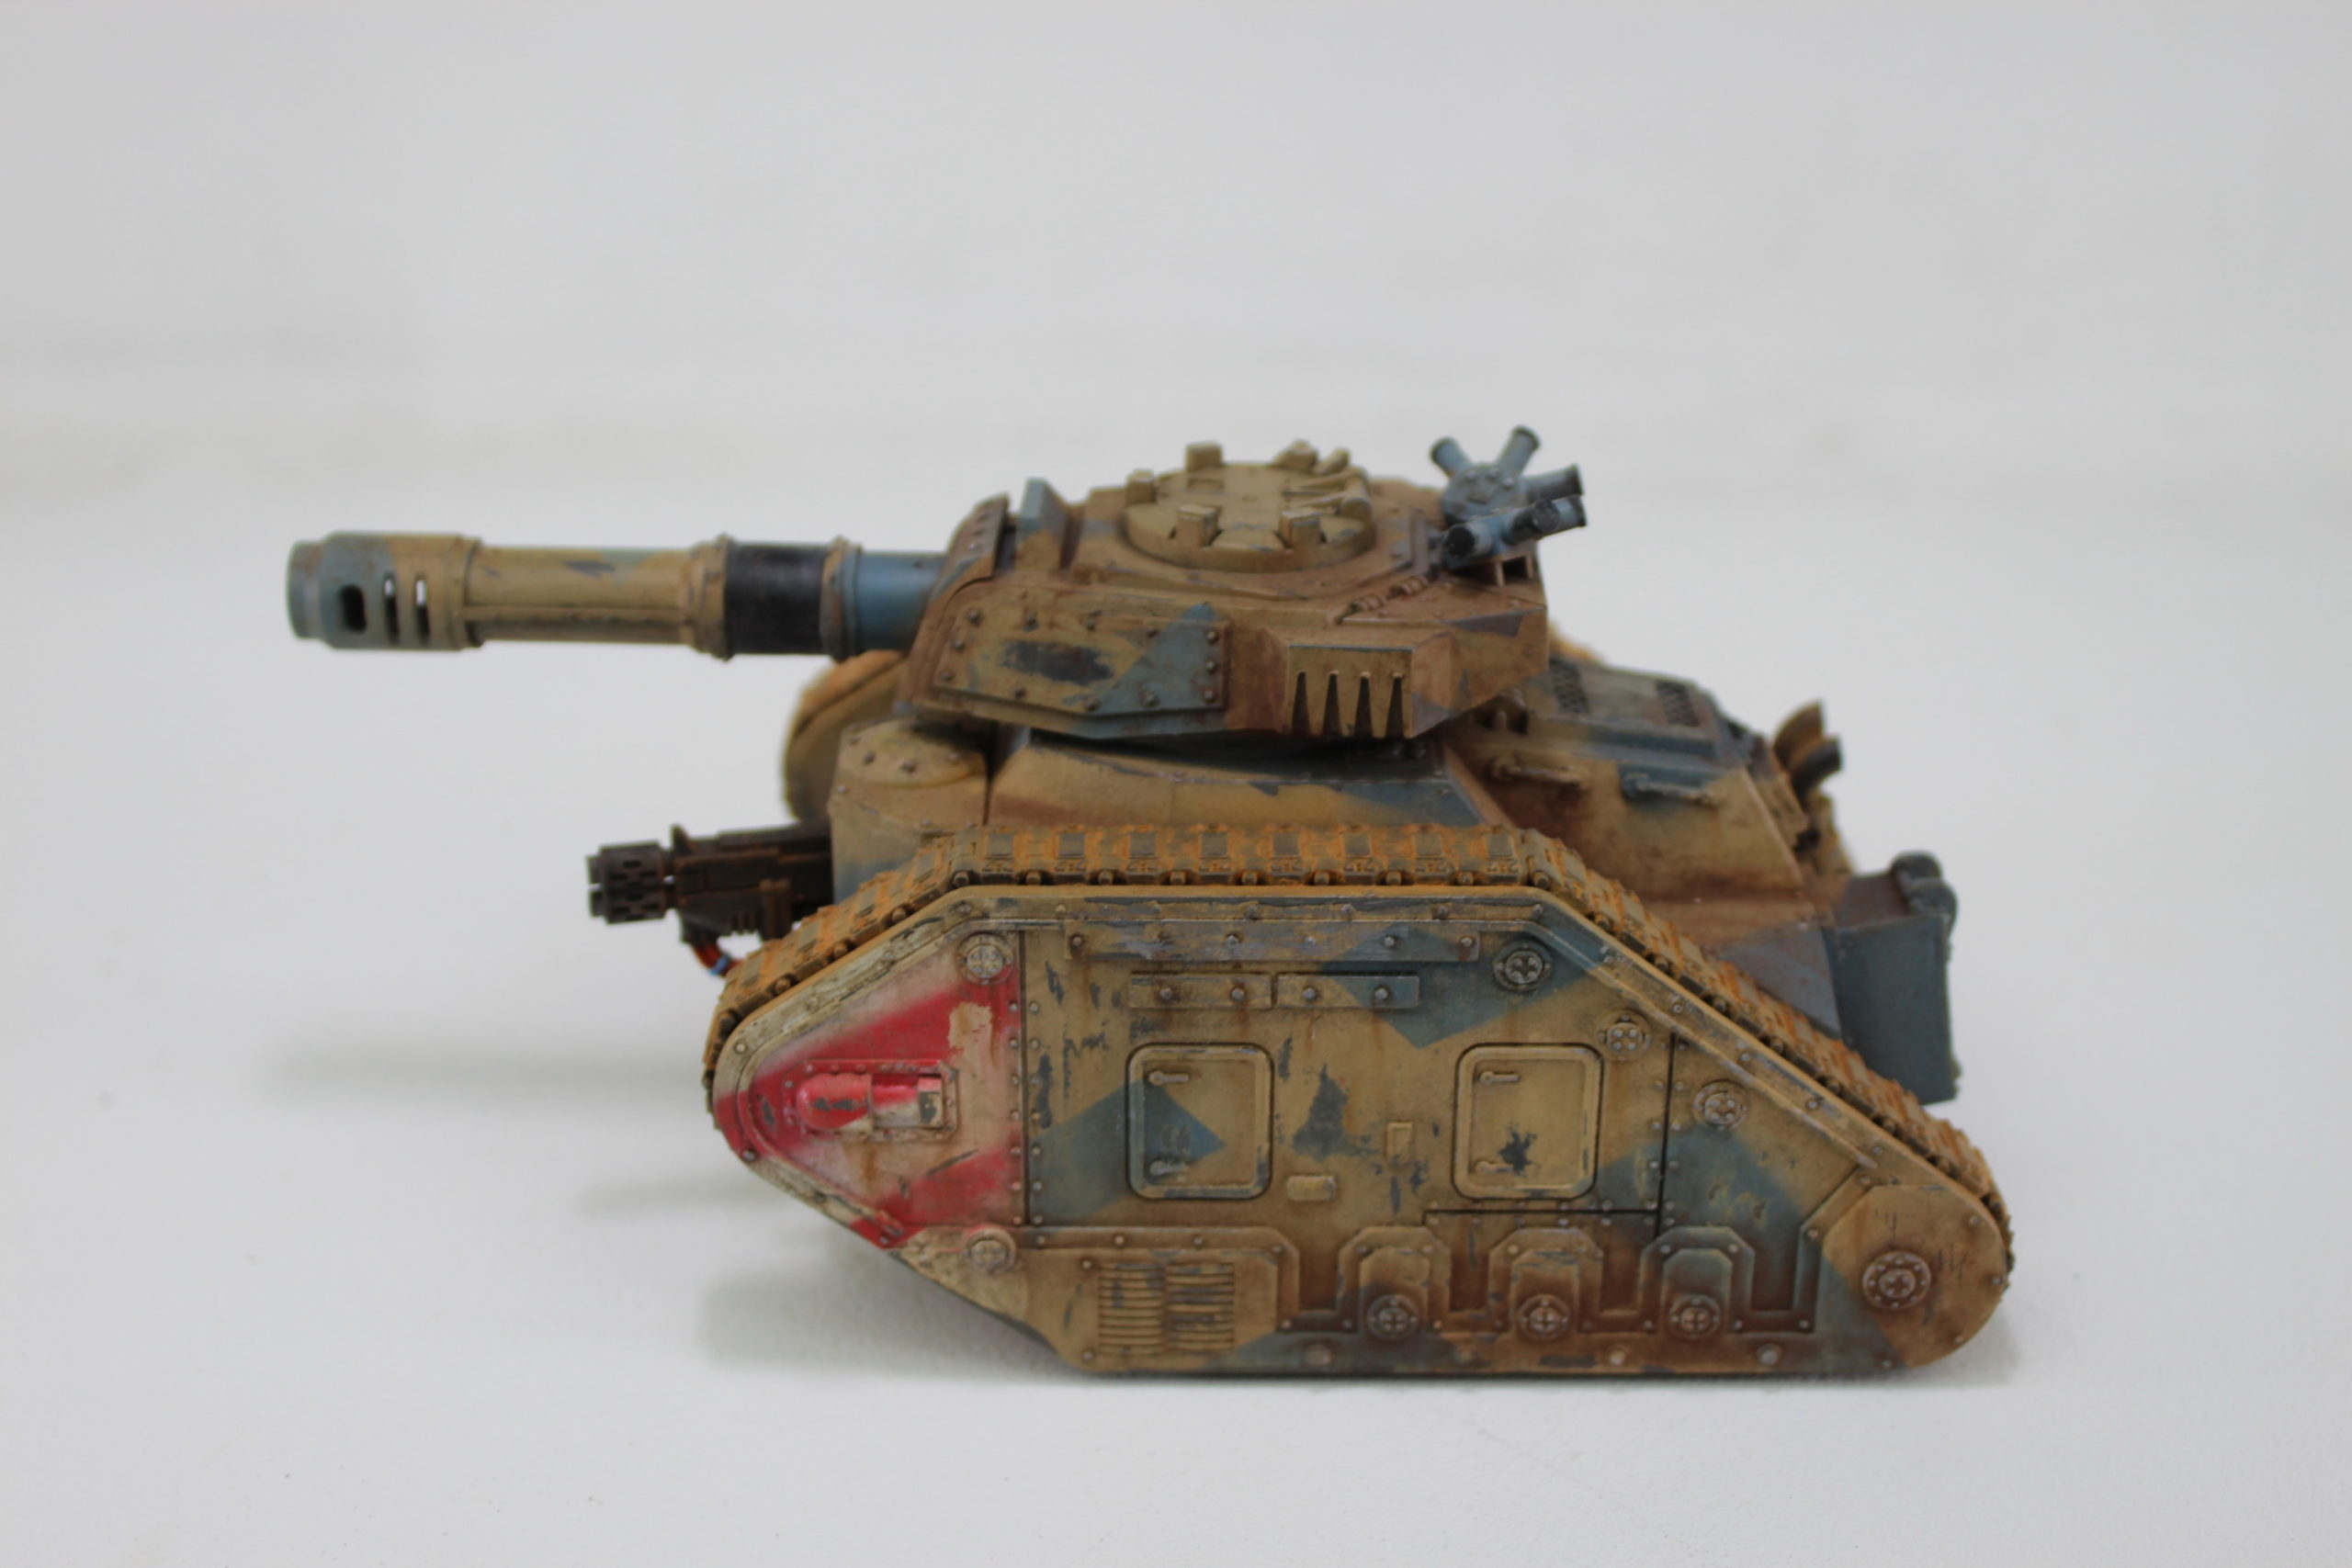
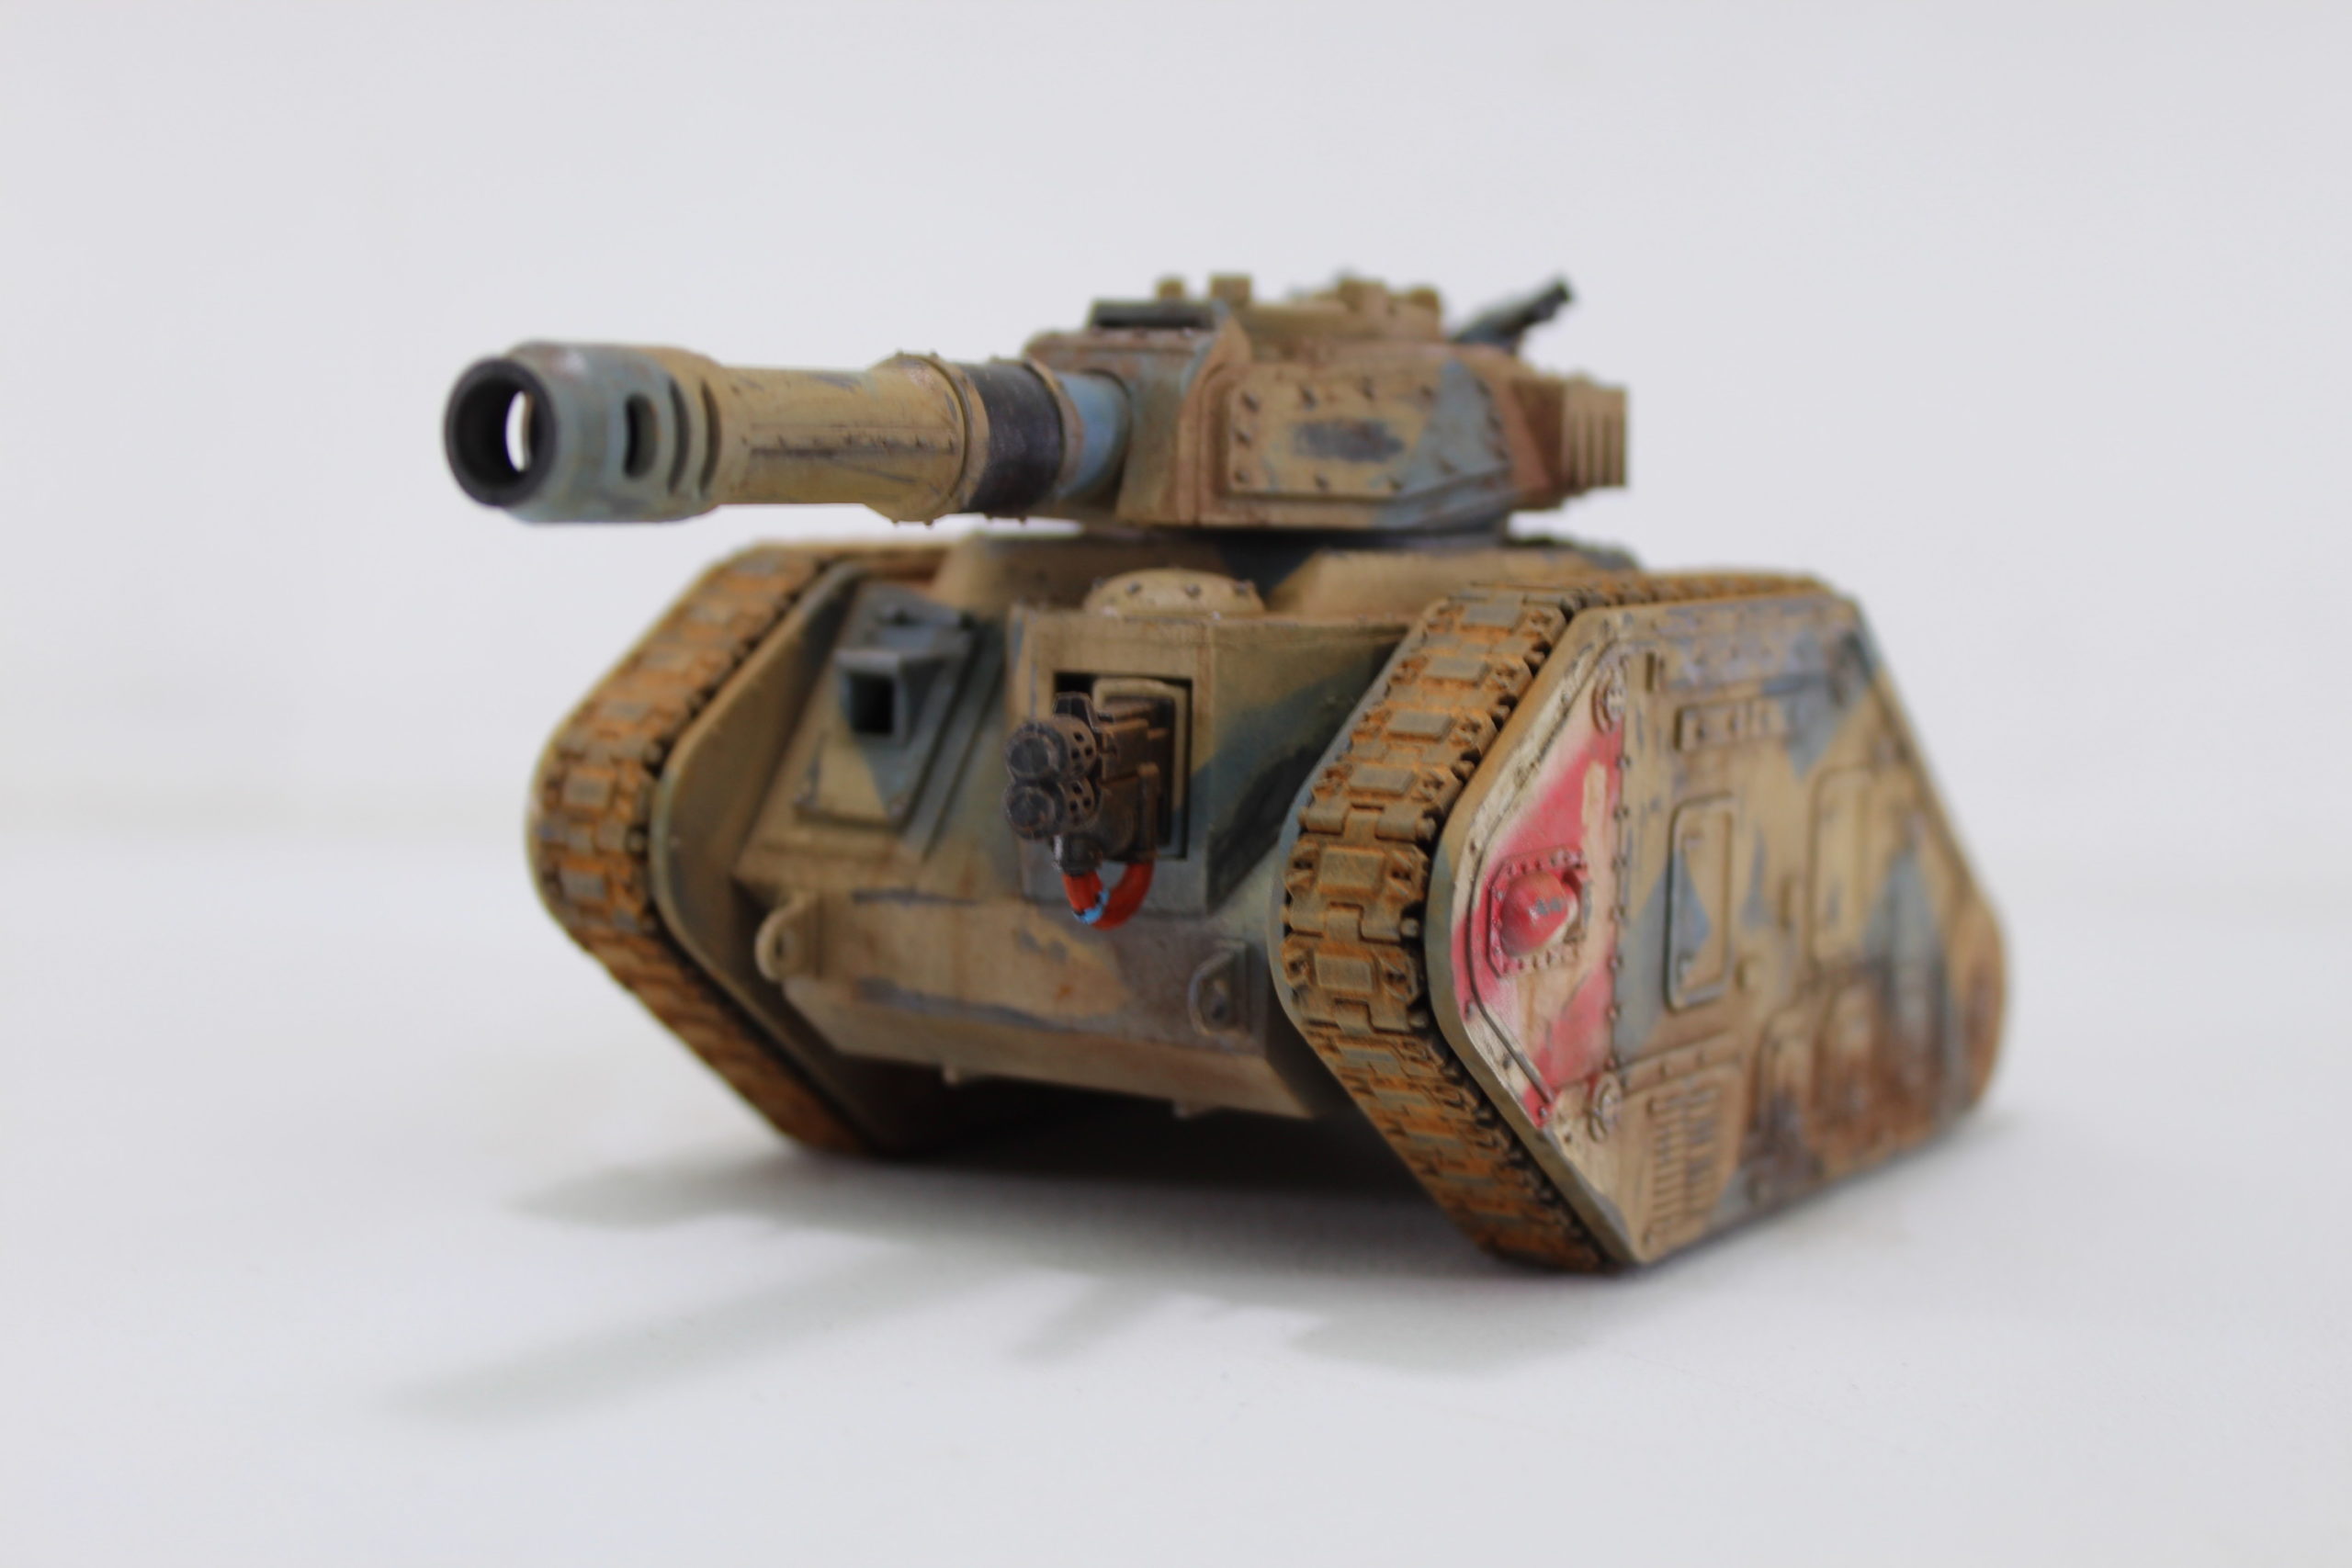
Finished The Weathering On The Leman Russ Model Kit.
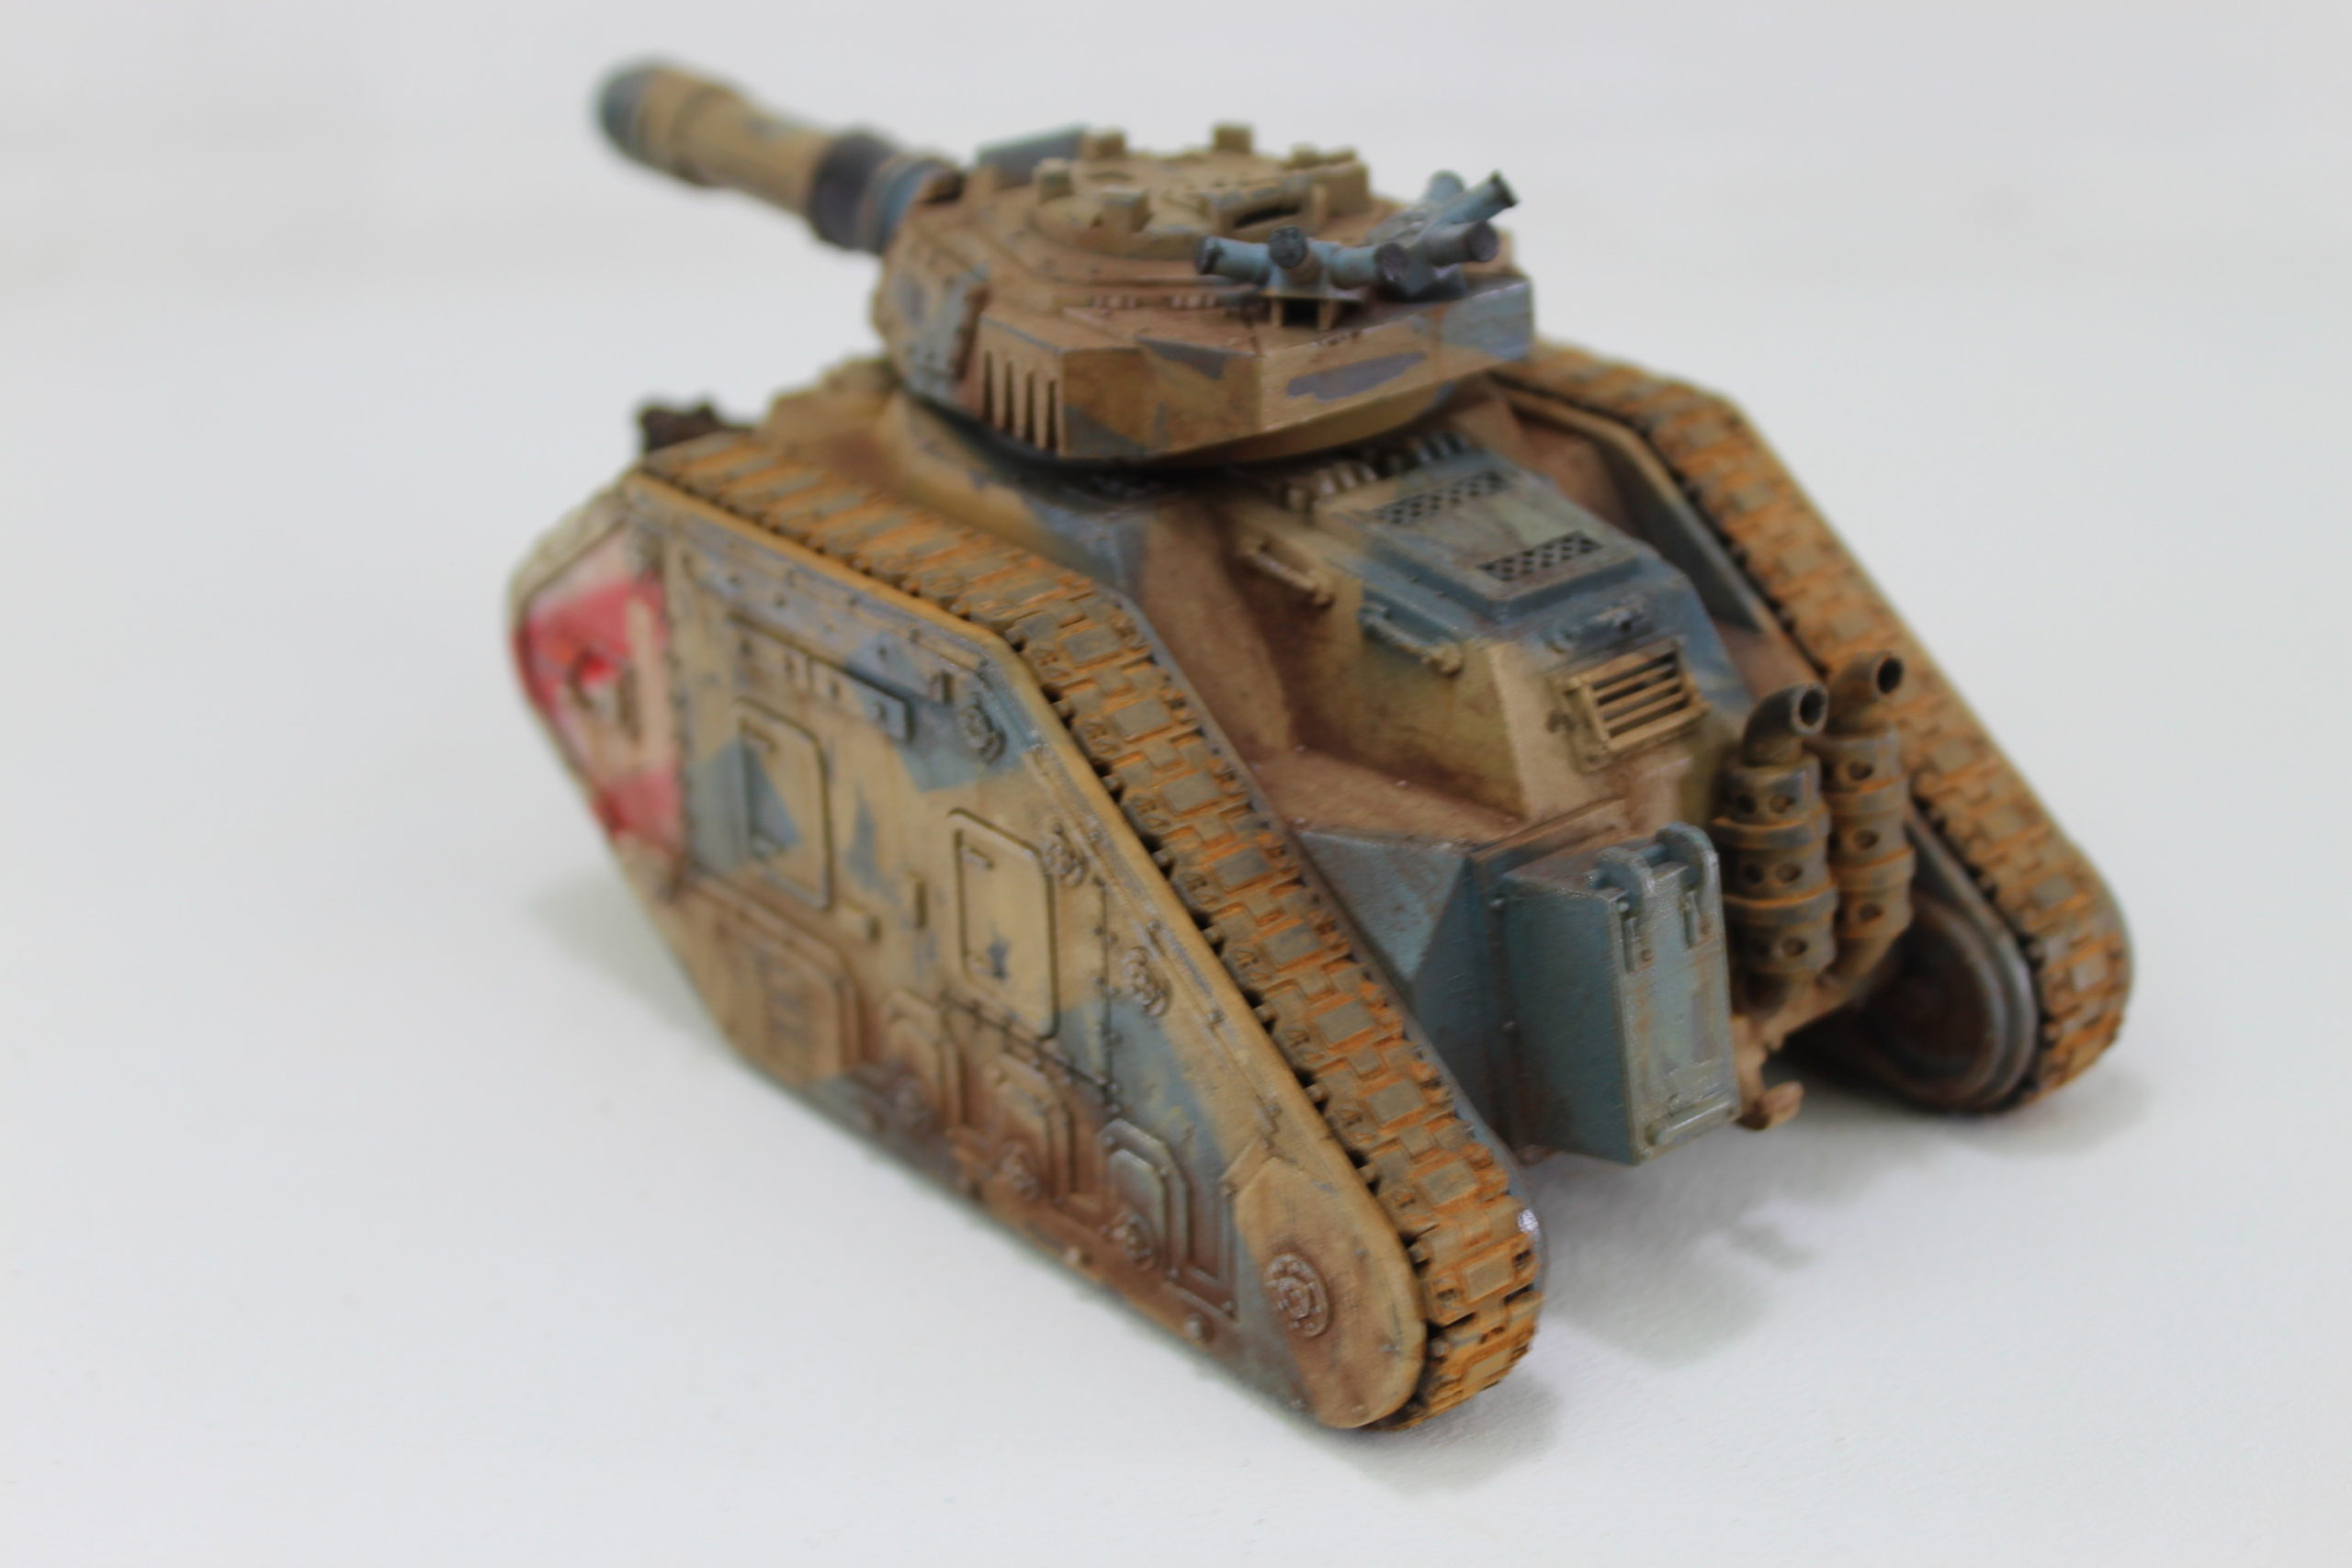
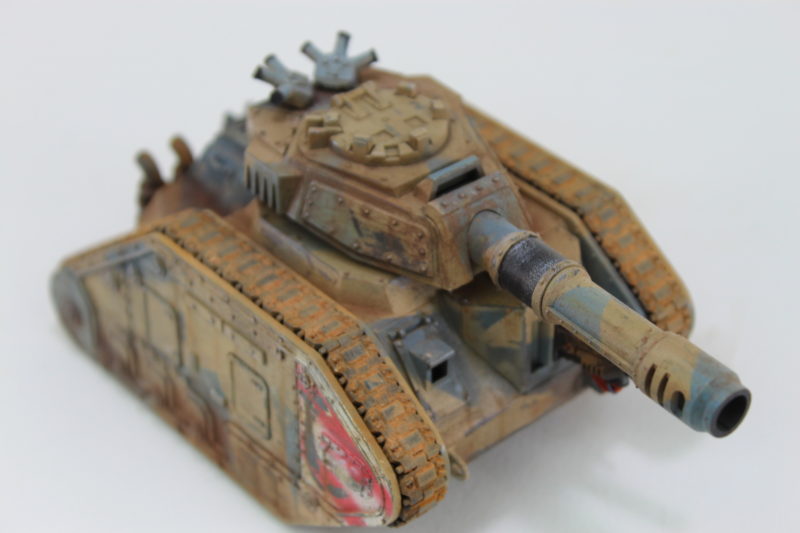
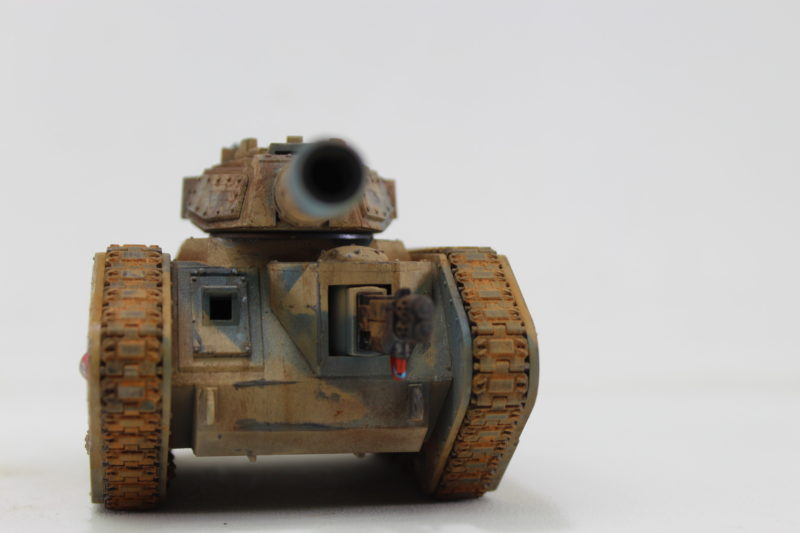
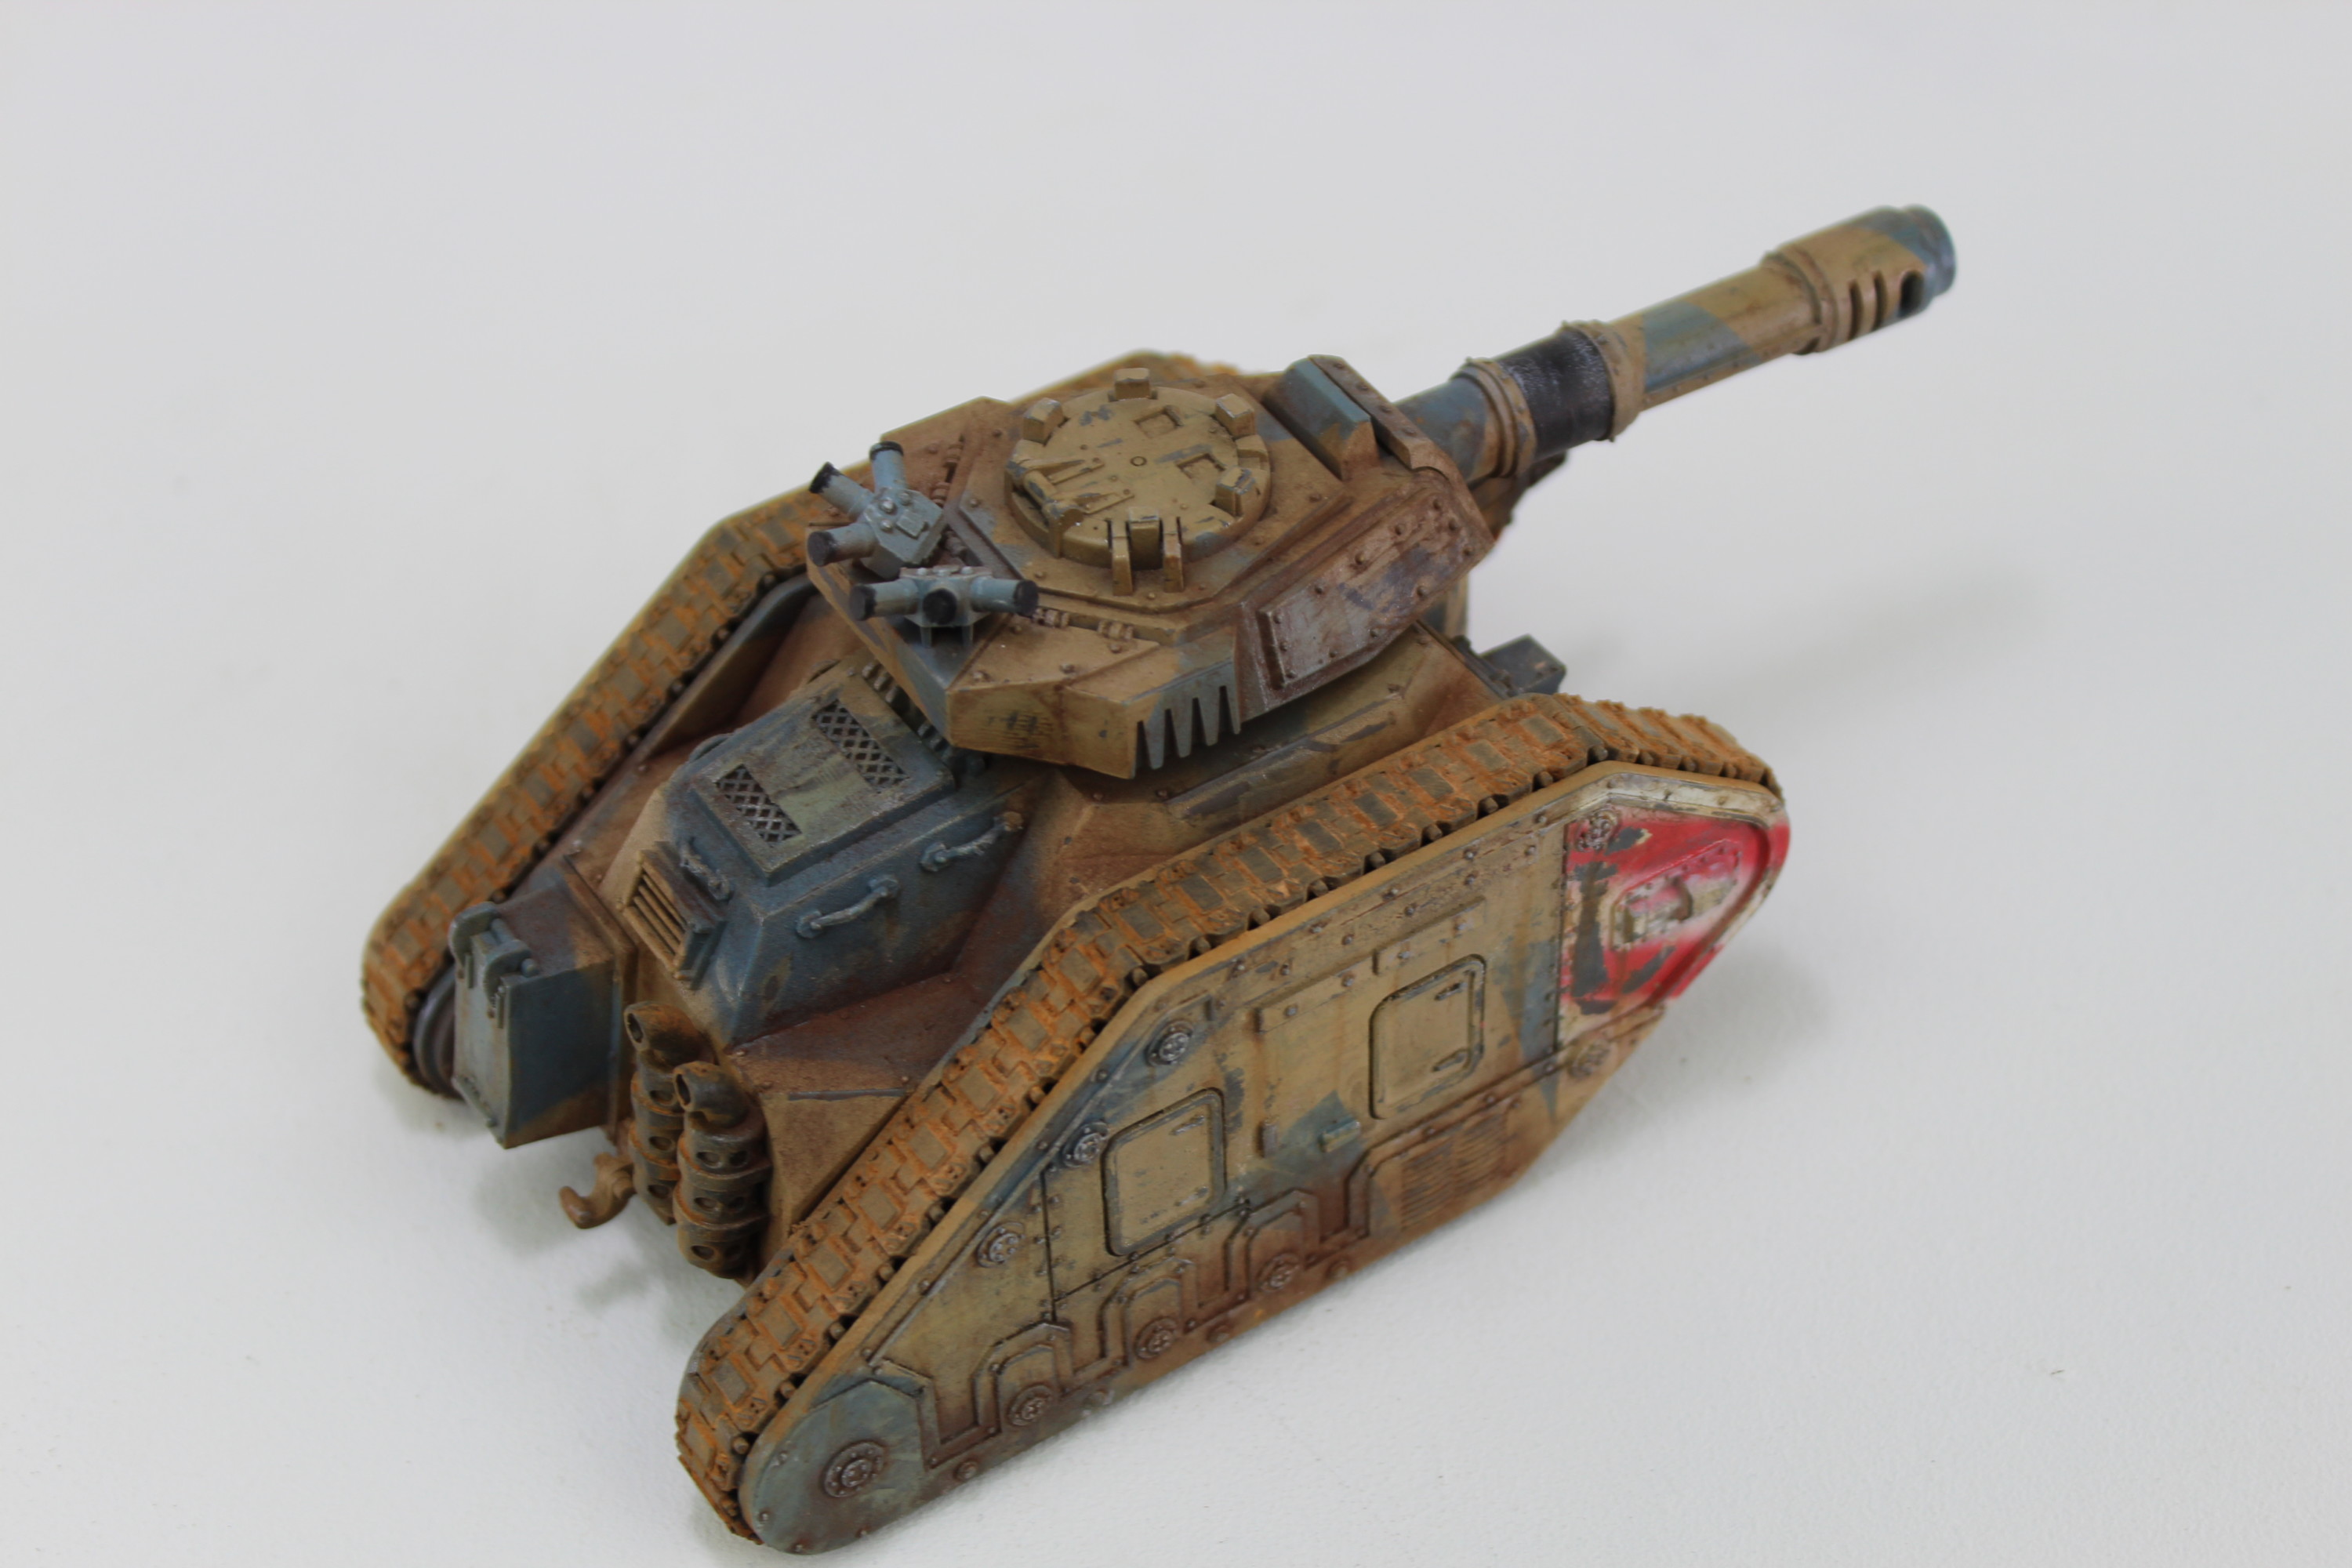
So I’m going to call this one done. It has been a fun little build and I love the way the camo has turned out. Take a look at the pictures below.
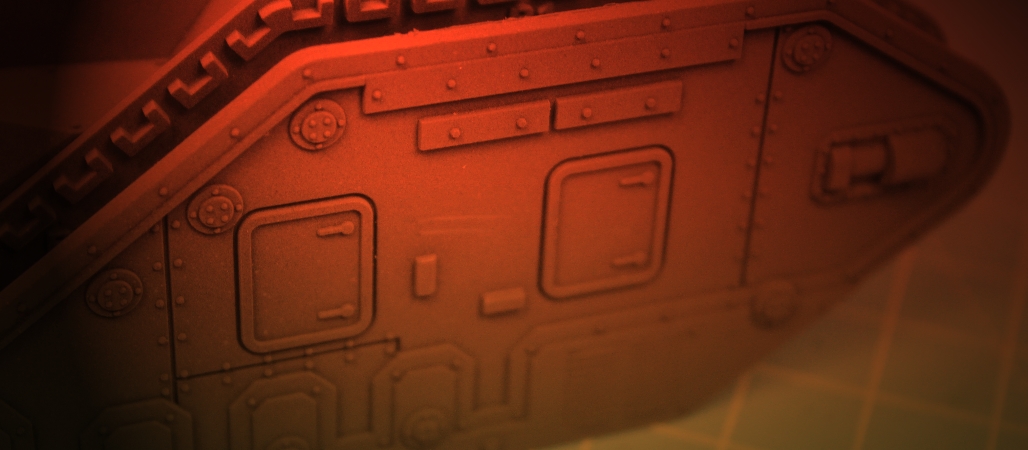
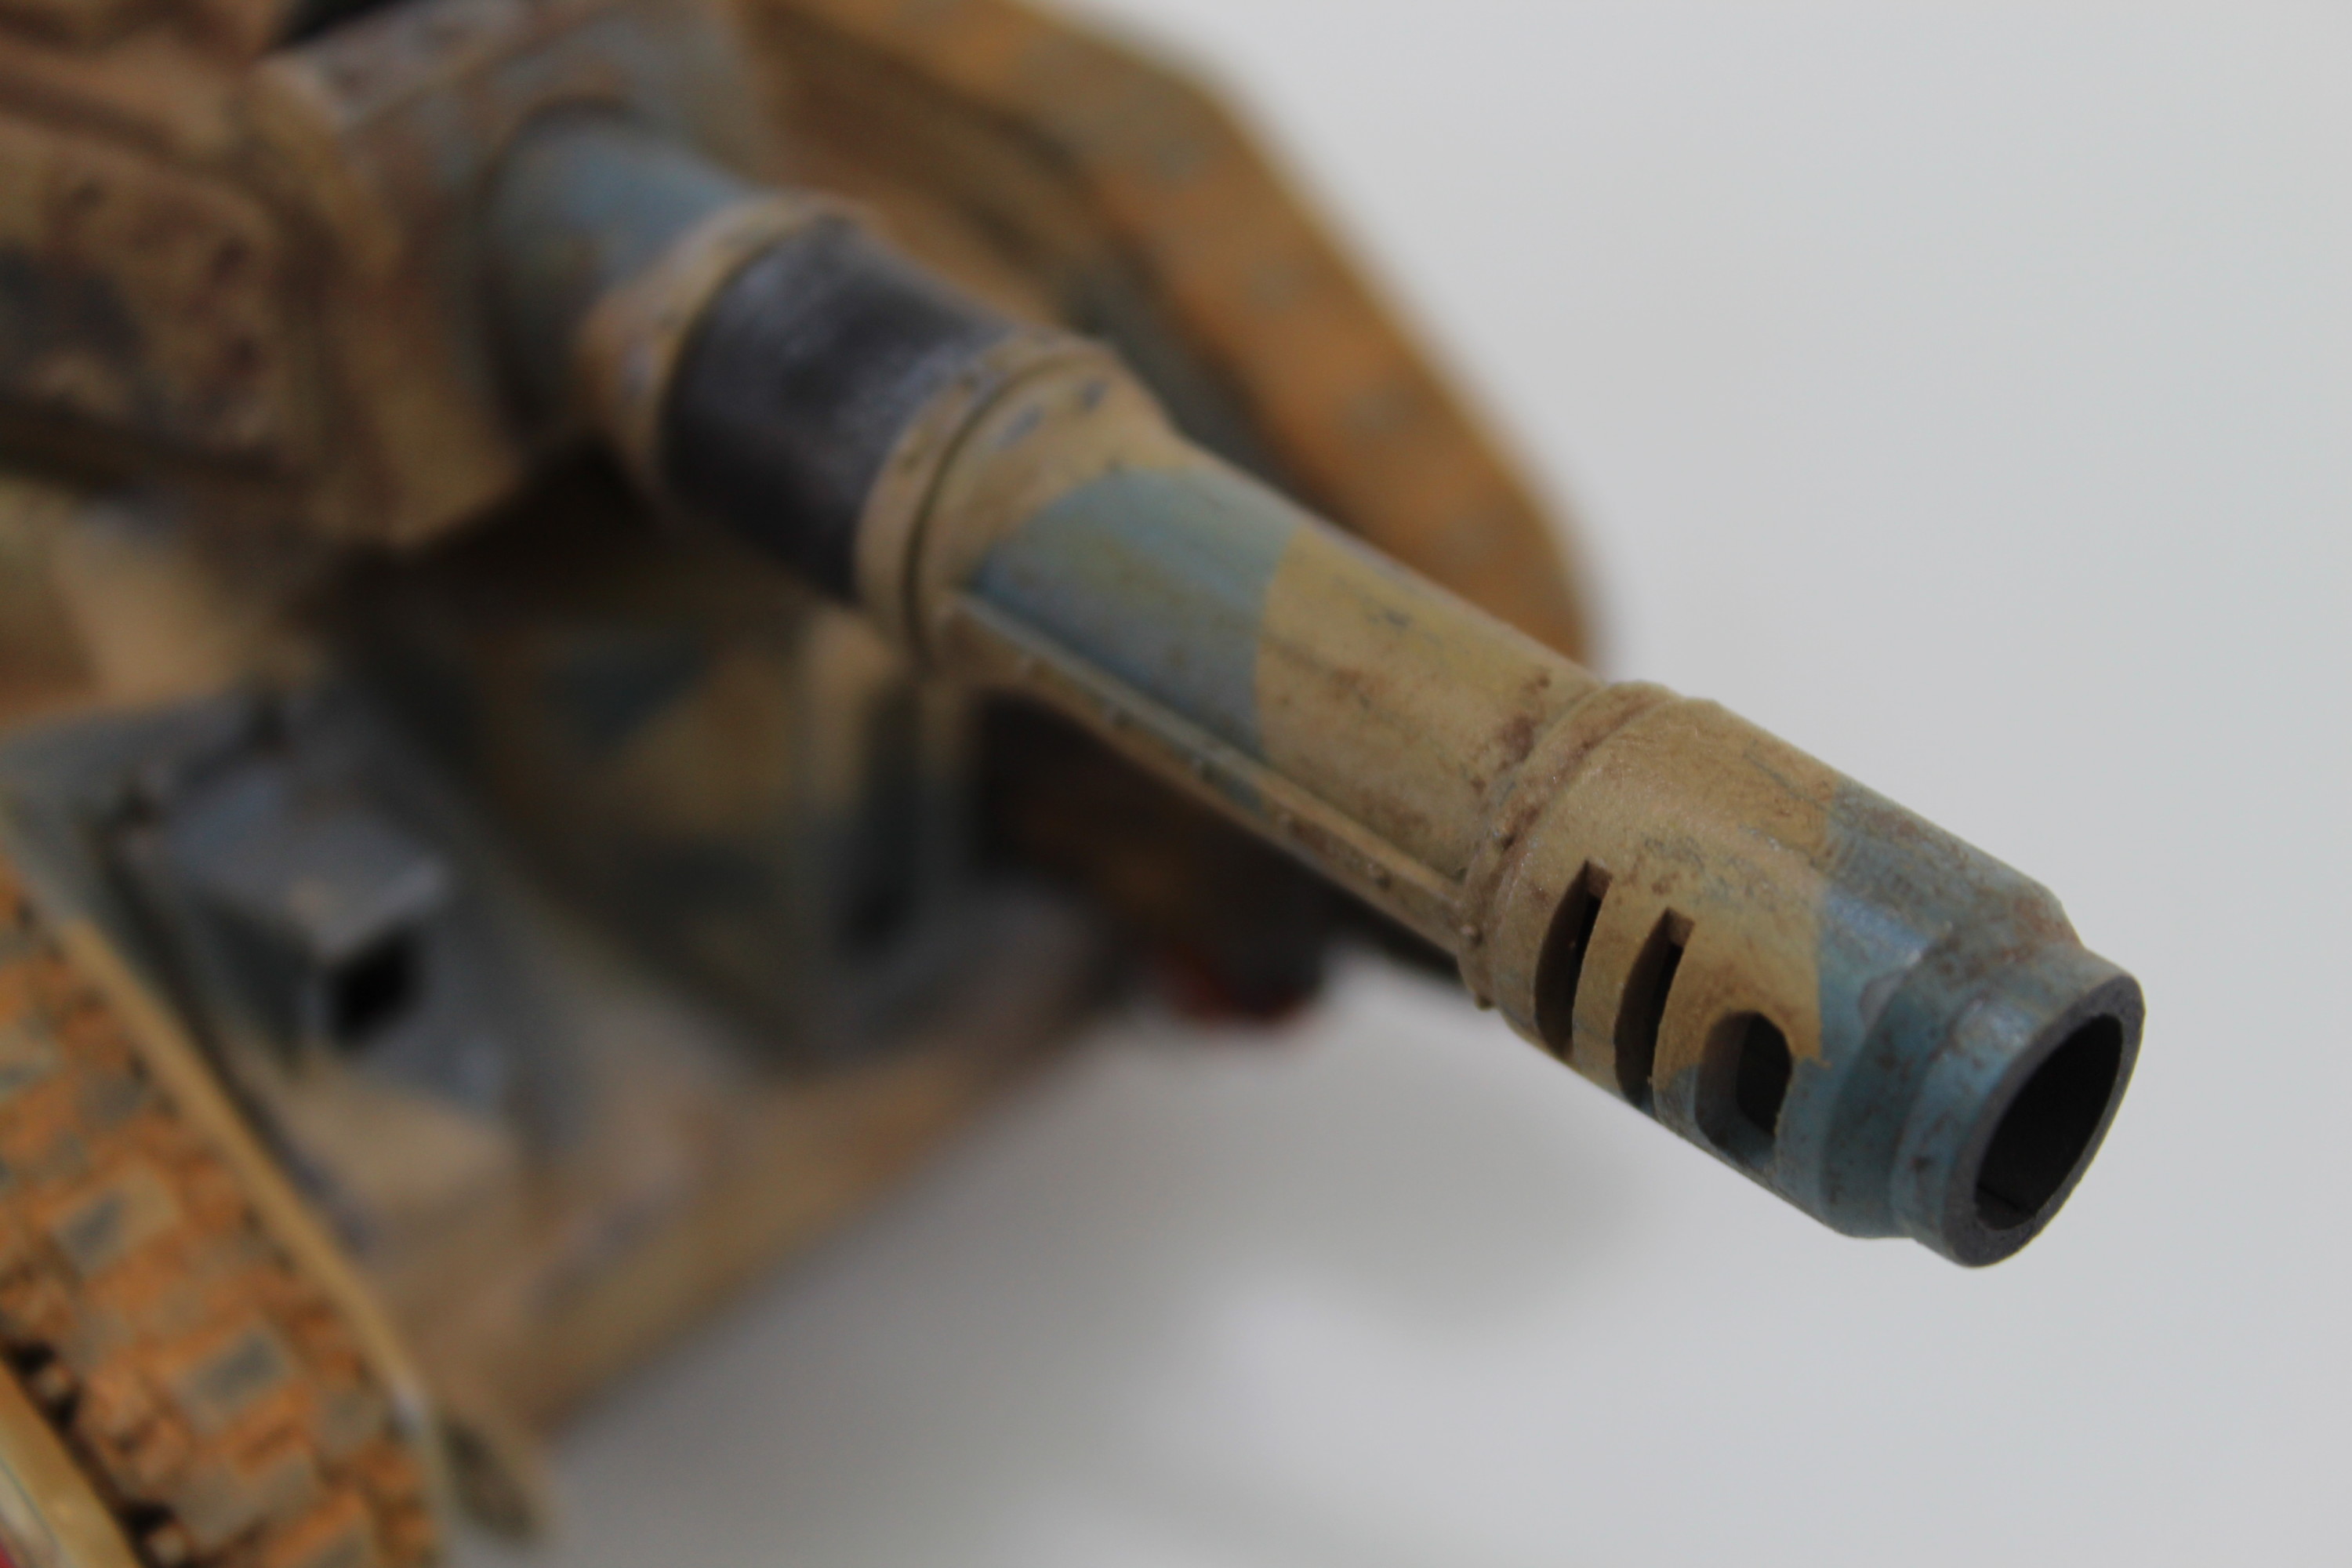
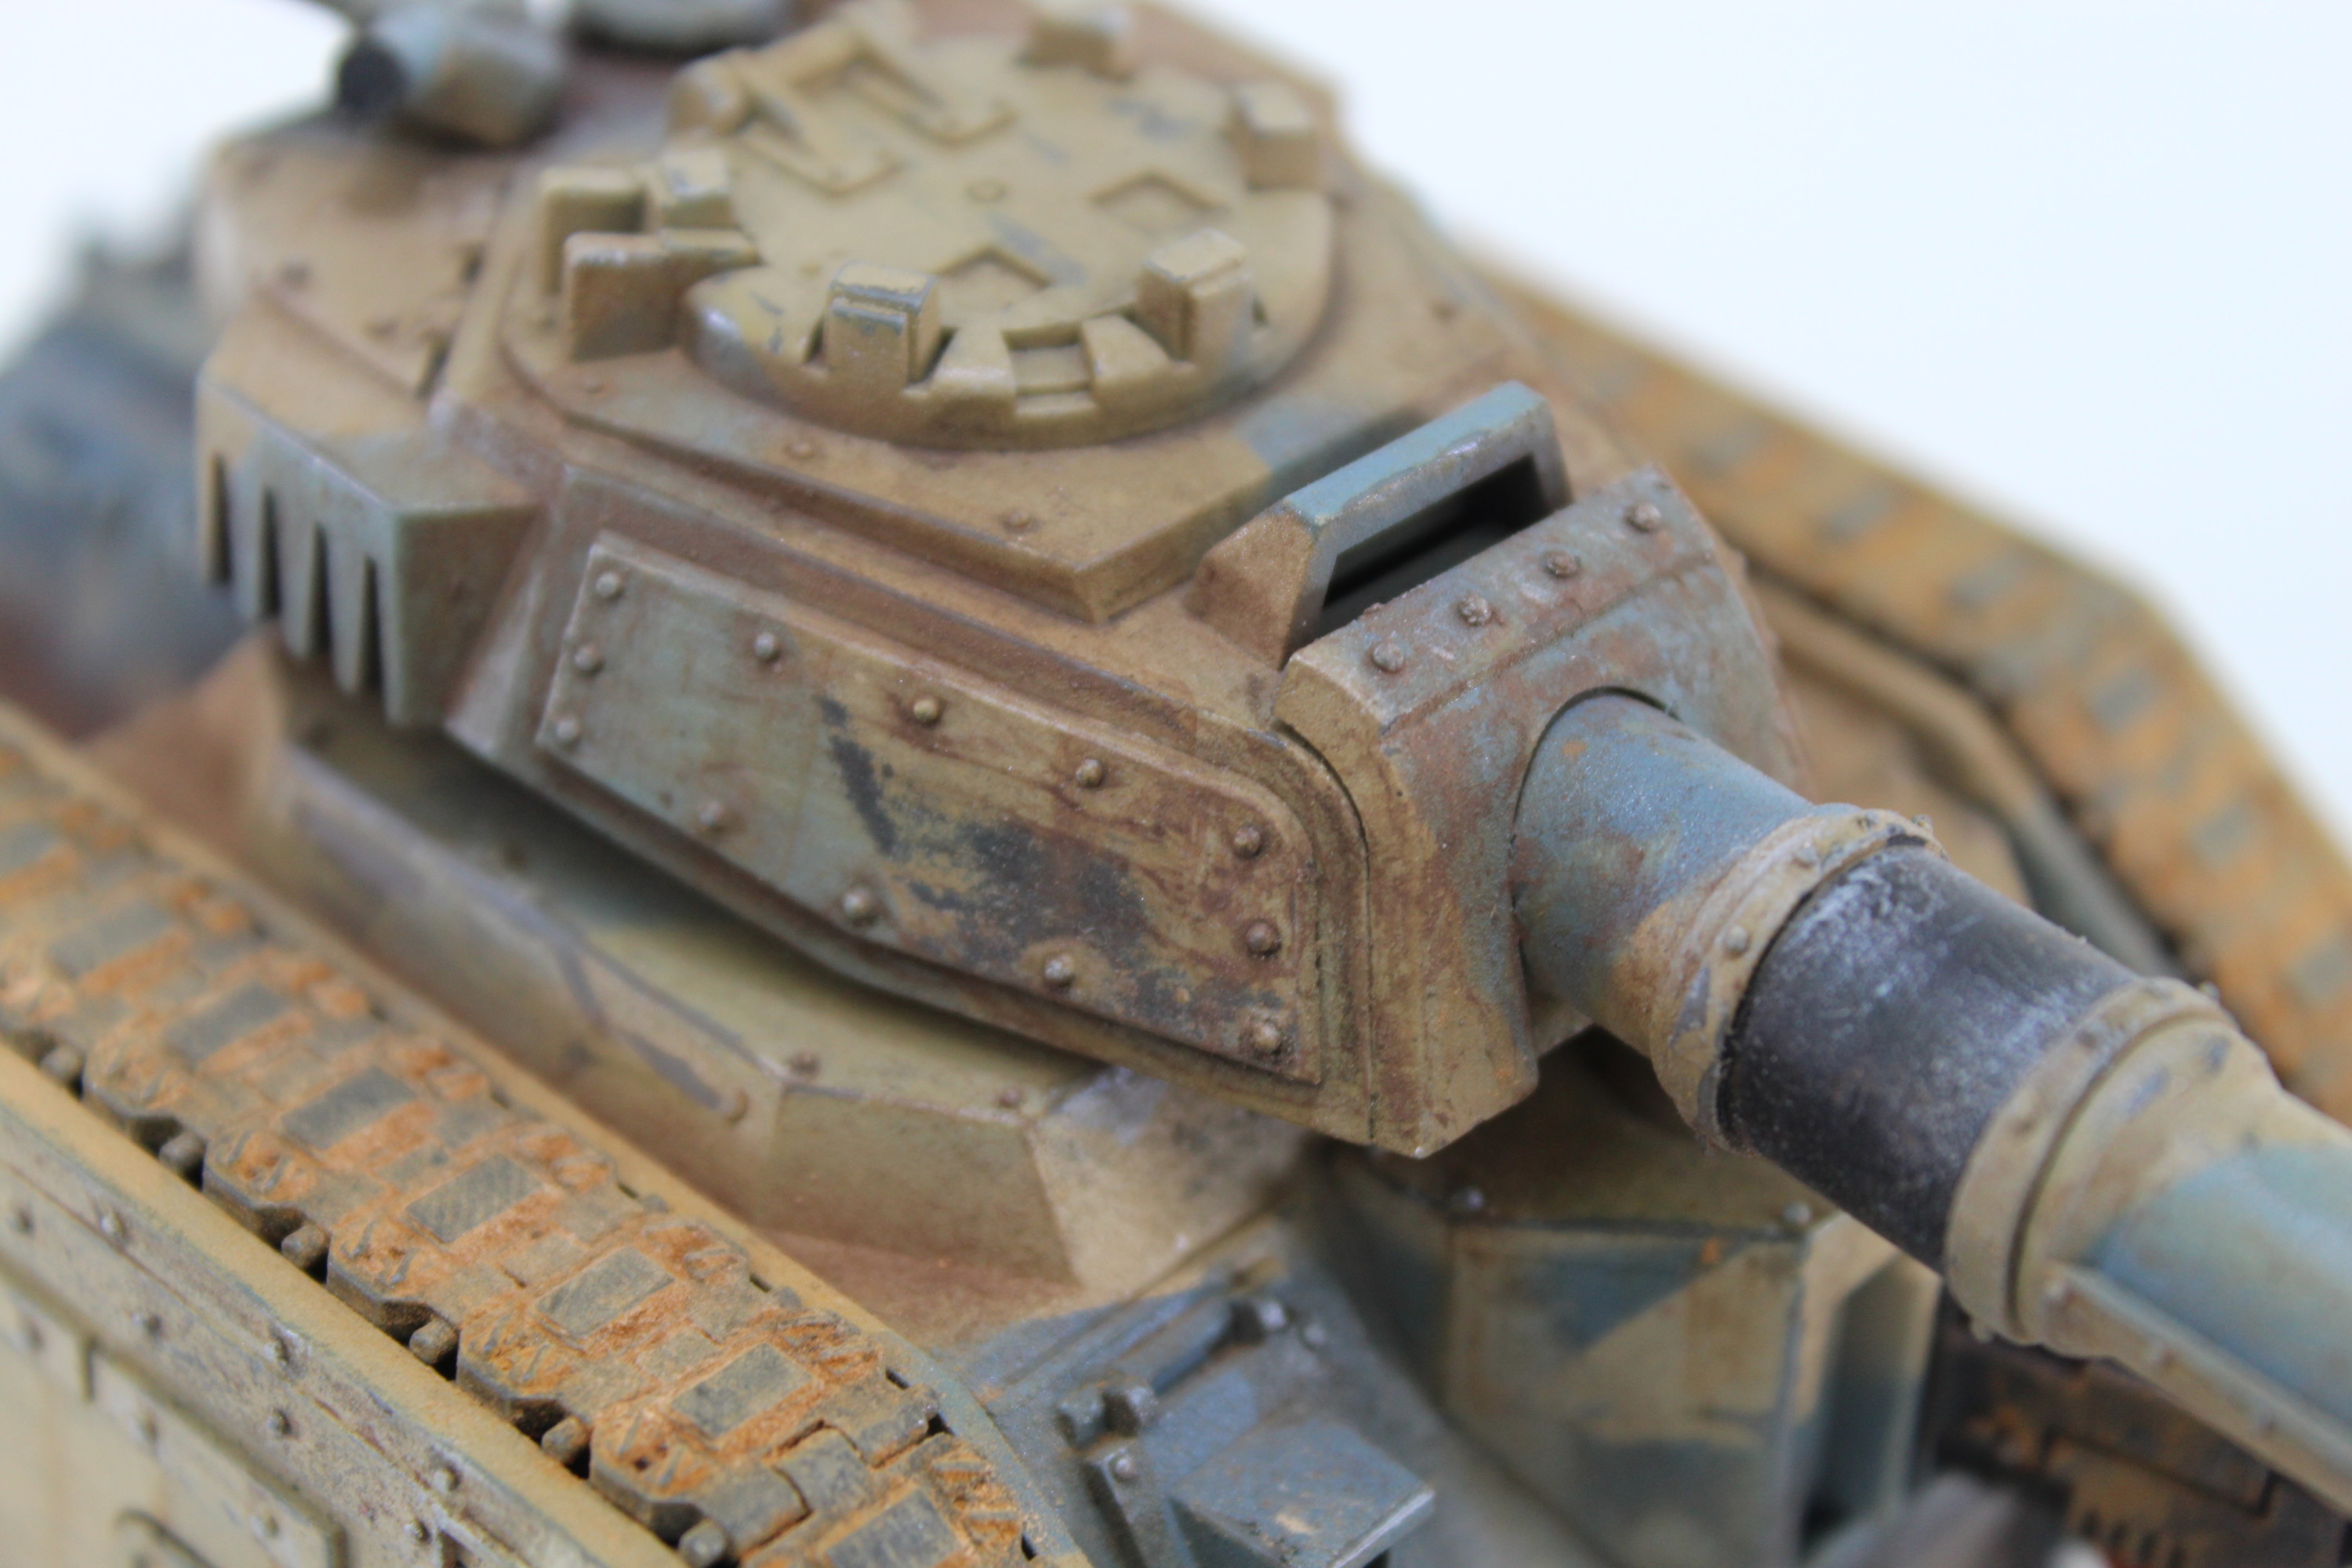
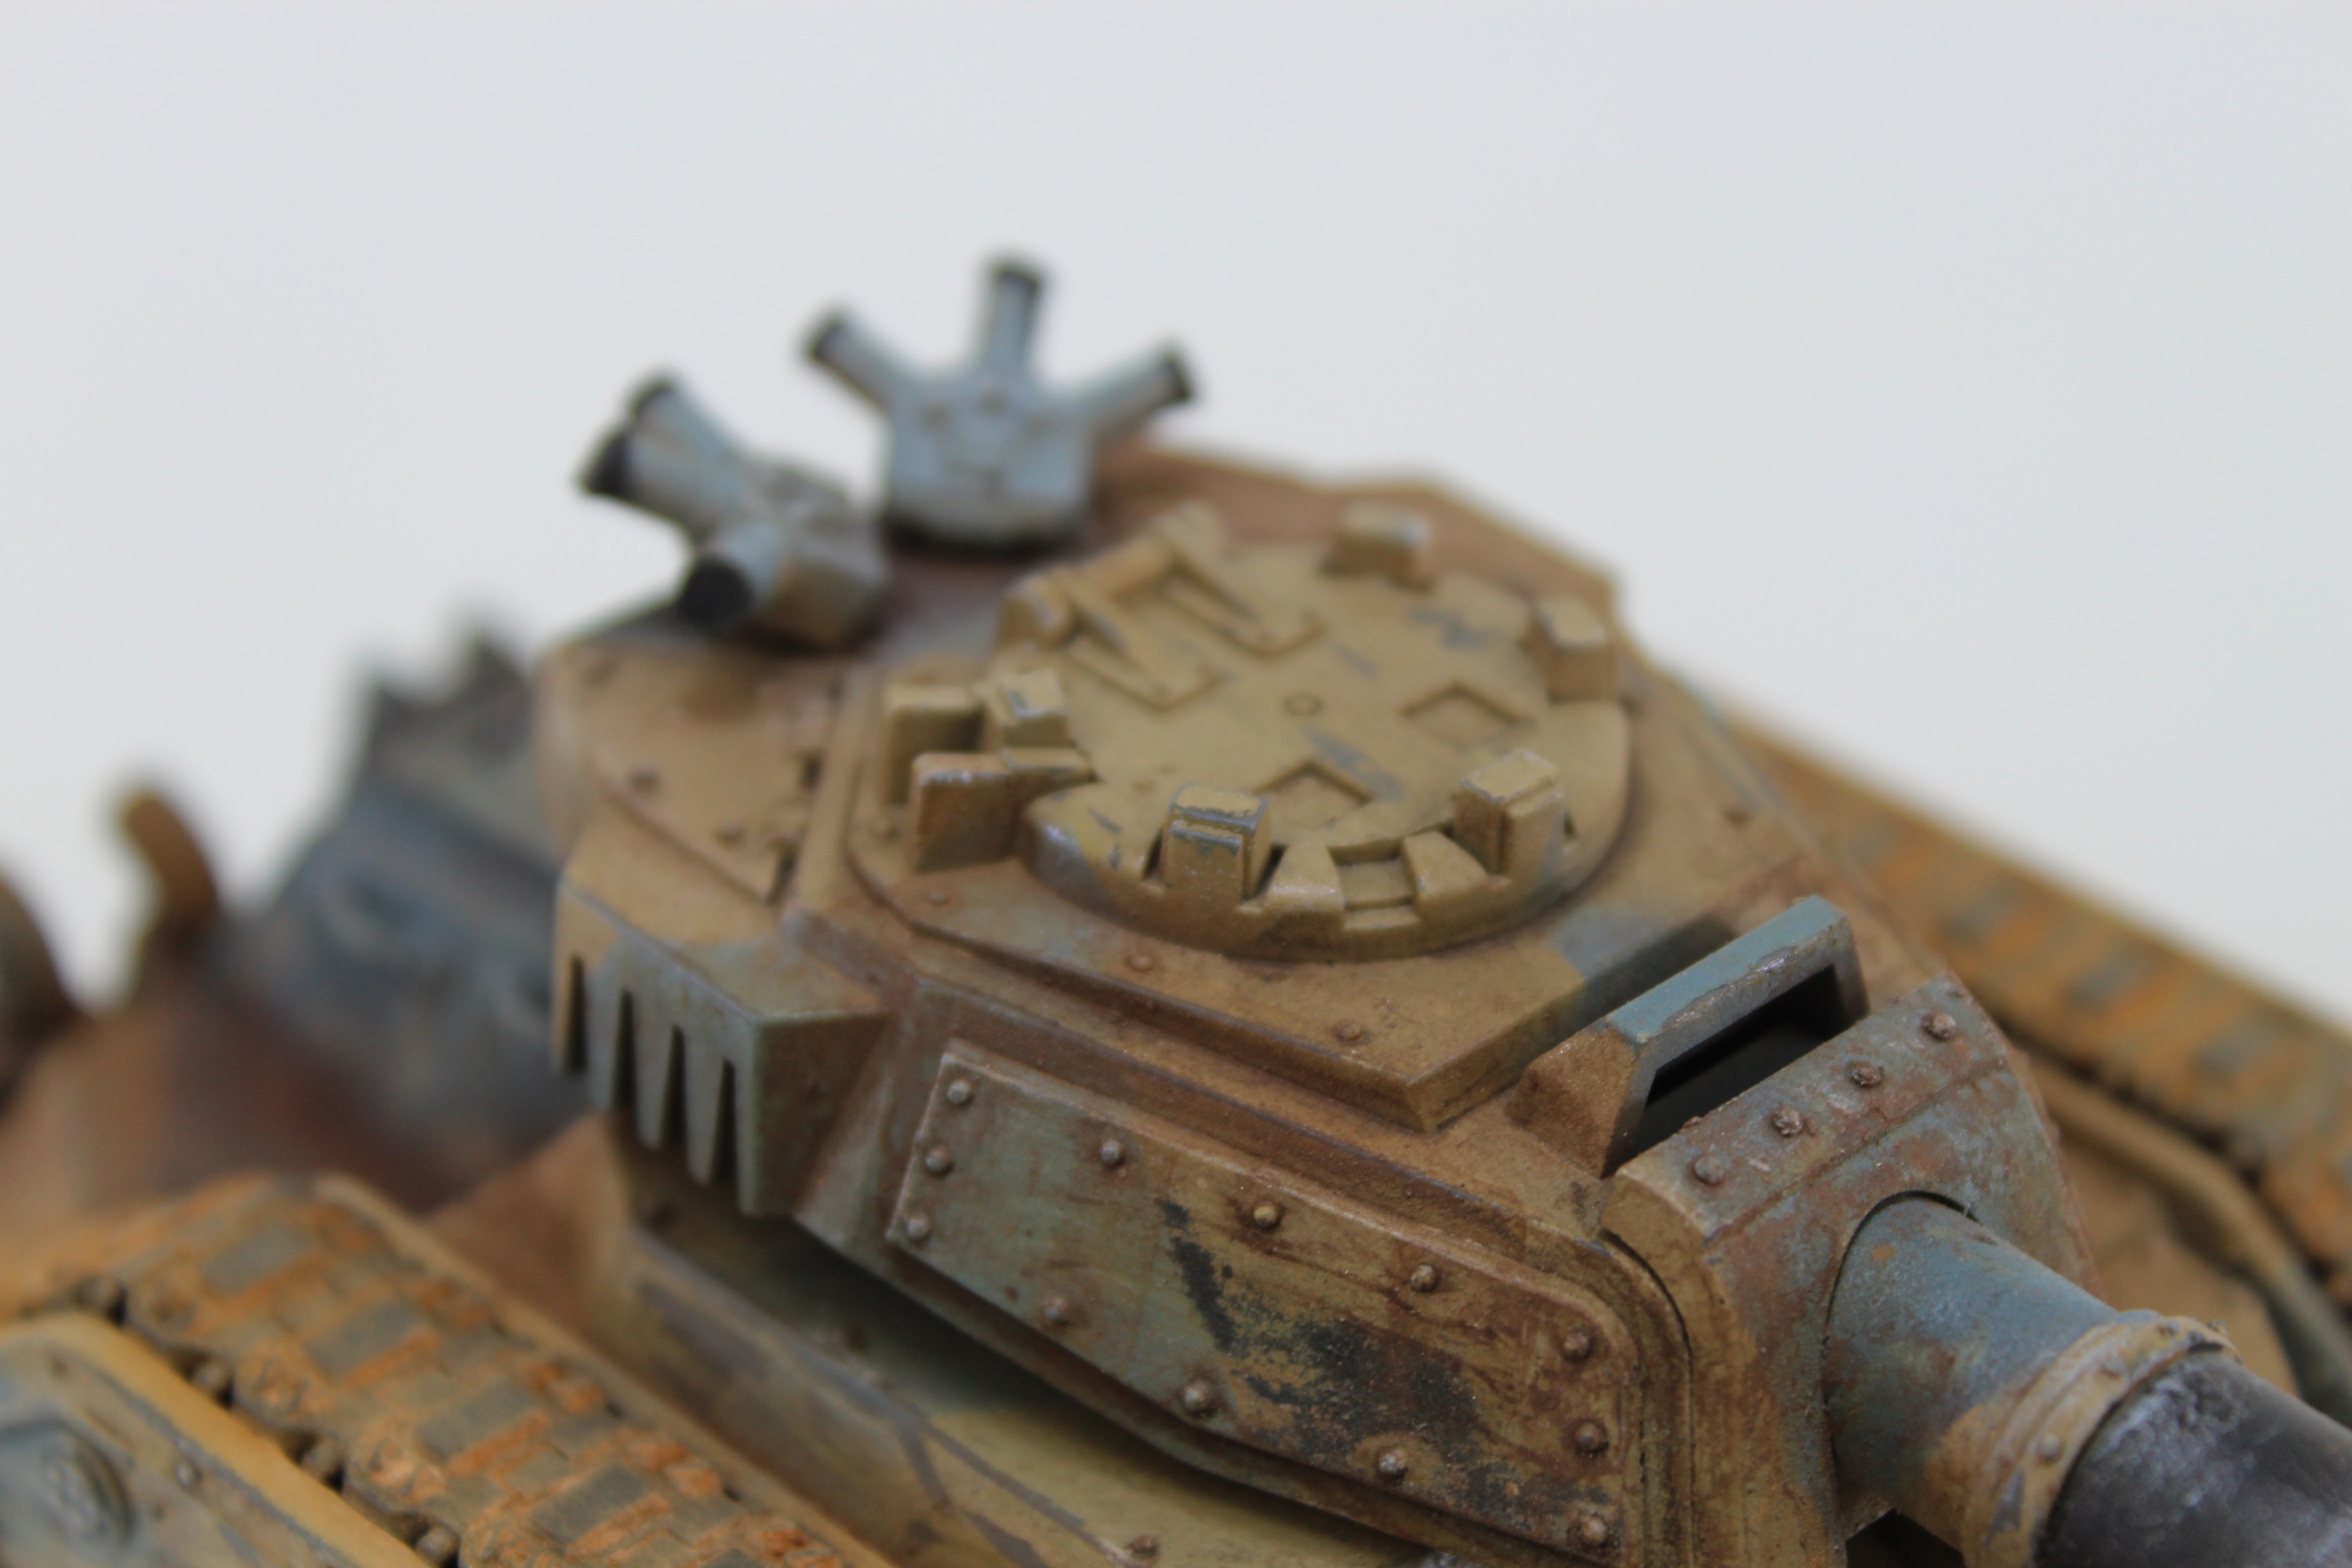
Leman Russ Tank Painted.Games Workshop Leman Russ Tank.Games Workshop Leman Russ Tank Finished Model.Games Workshop Leman Russ Tank Photo From The Rear.Leman Russ Tank Close Up Details.Leman Russ Track Details.Games Workshop Leman Russ Turret Details.Leman Russ Main Gun.Games Workshop Leman Russ Turret.Leman Russ Turret Details.The Completed Games Workshop Model Tank.Leman Russ Tank.The Games Workshop Model Tank.Leman Russ Close Up Track Details.Leman Russ Close Up Details Of The Second Gun.