Next up I’m going to have a go at a British Tank in fact the Tamiya British Chieftain MK5 to be precise. I think the biggest thing about this build is the paint scheme that I’m going to use, but I will come to that in due time.
This will be the first British Tank I will be building and of course, it is a Tamiya model. Furthermore, I have made a review video; you can check it out HERE.
Building The Tamiya British Chieftain MK5
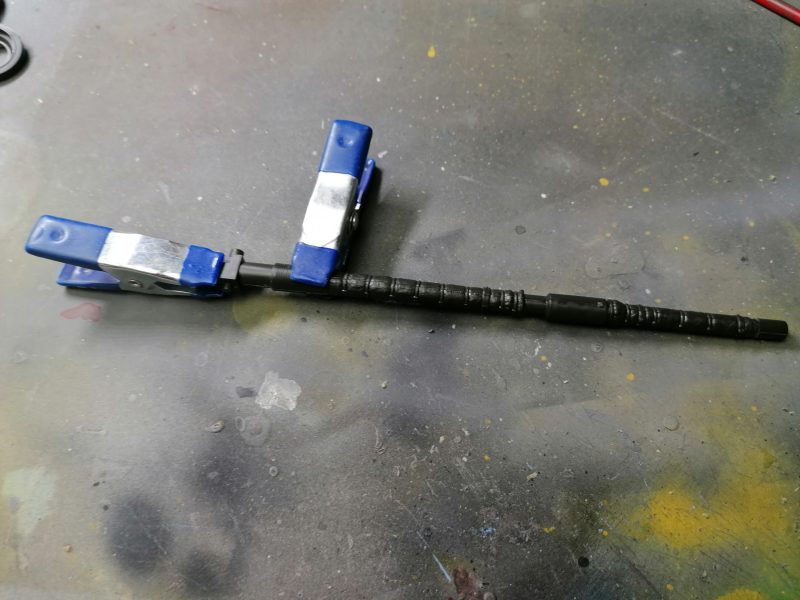
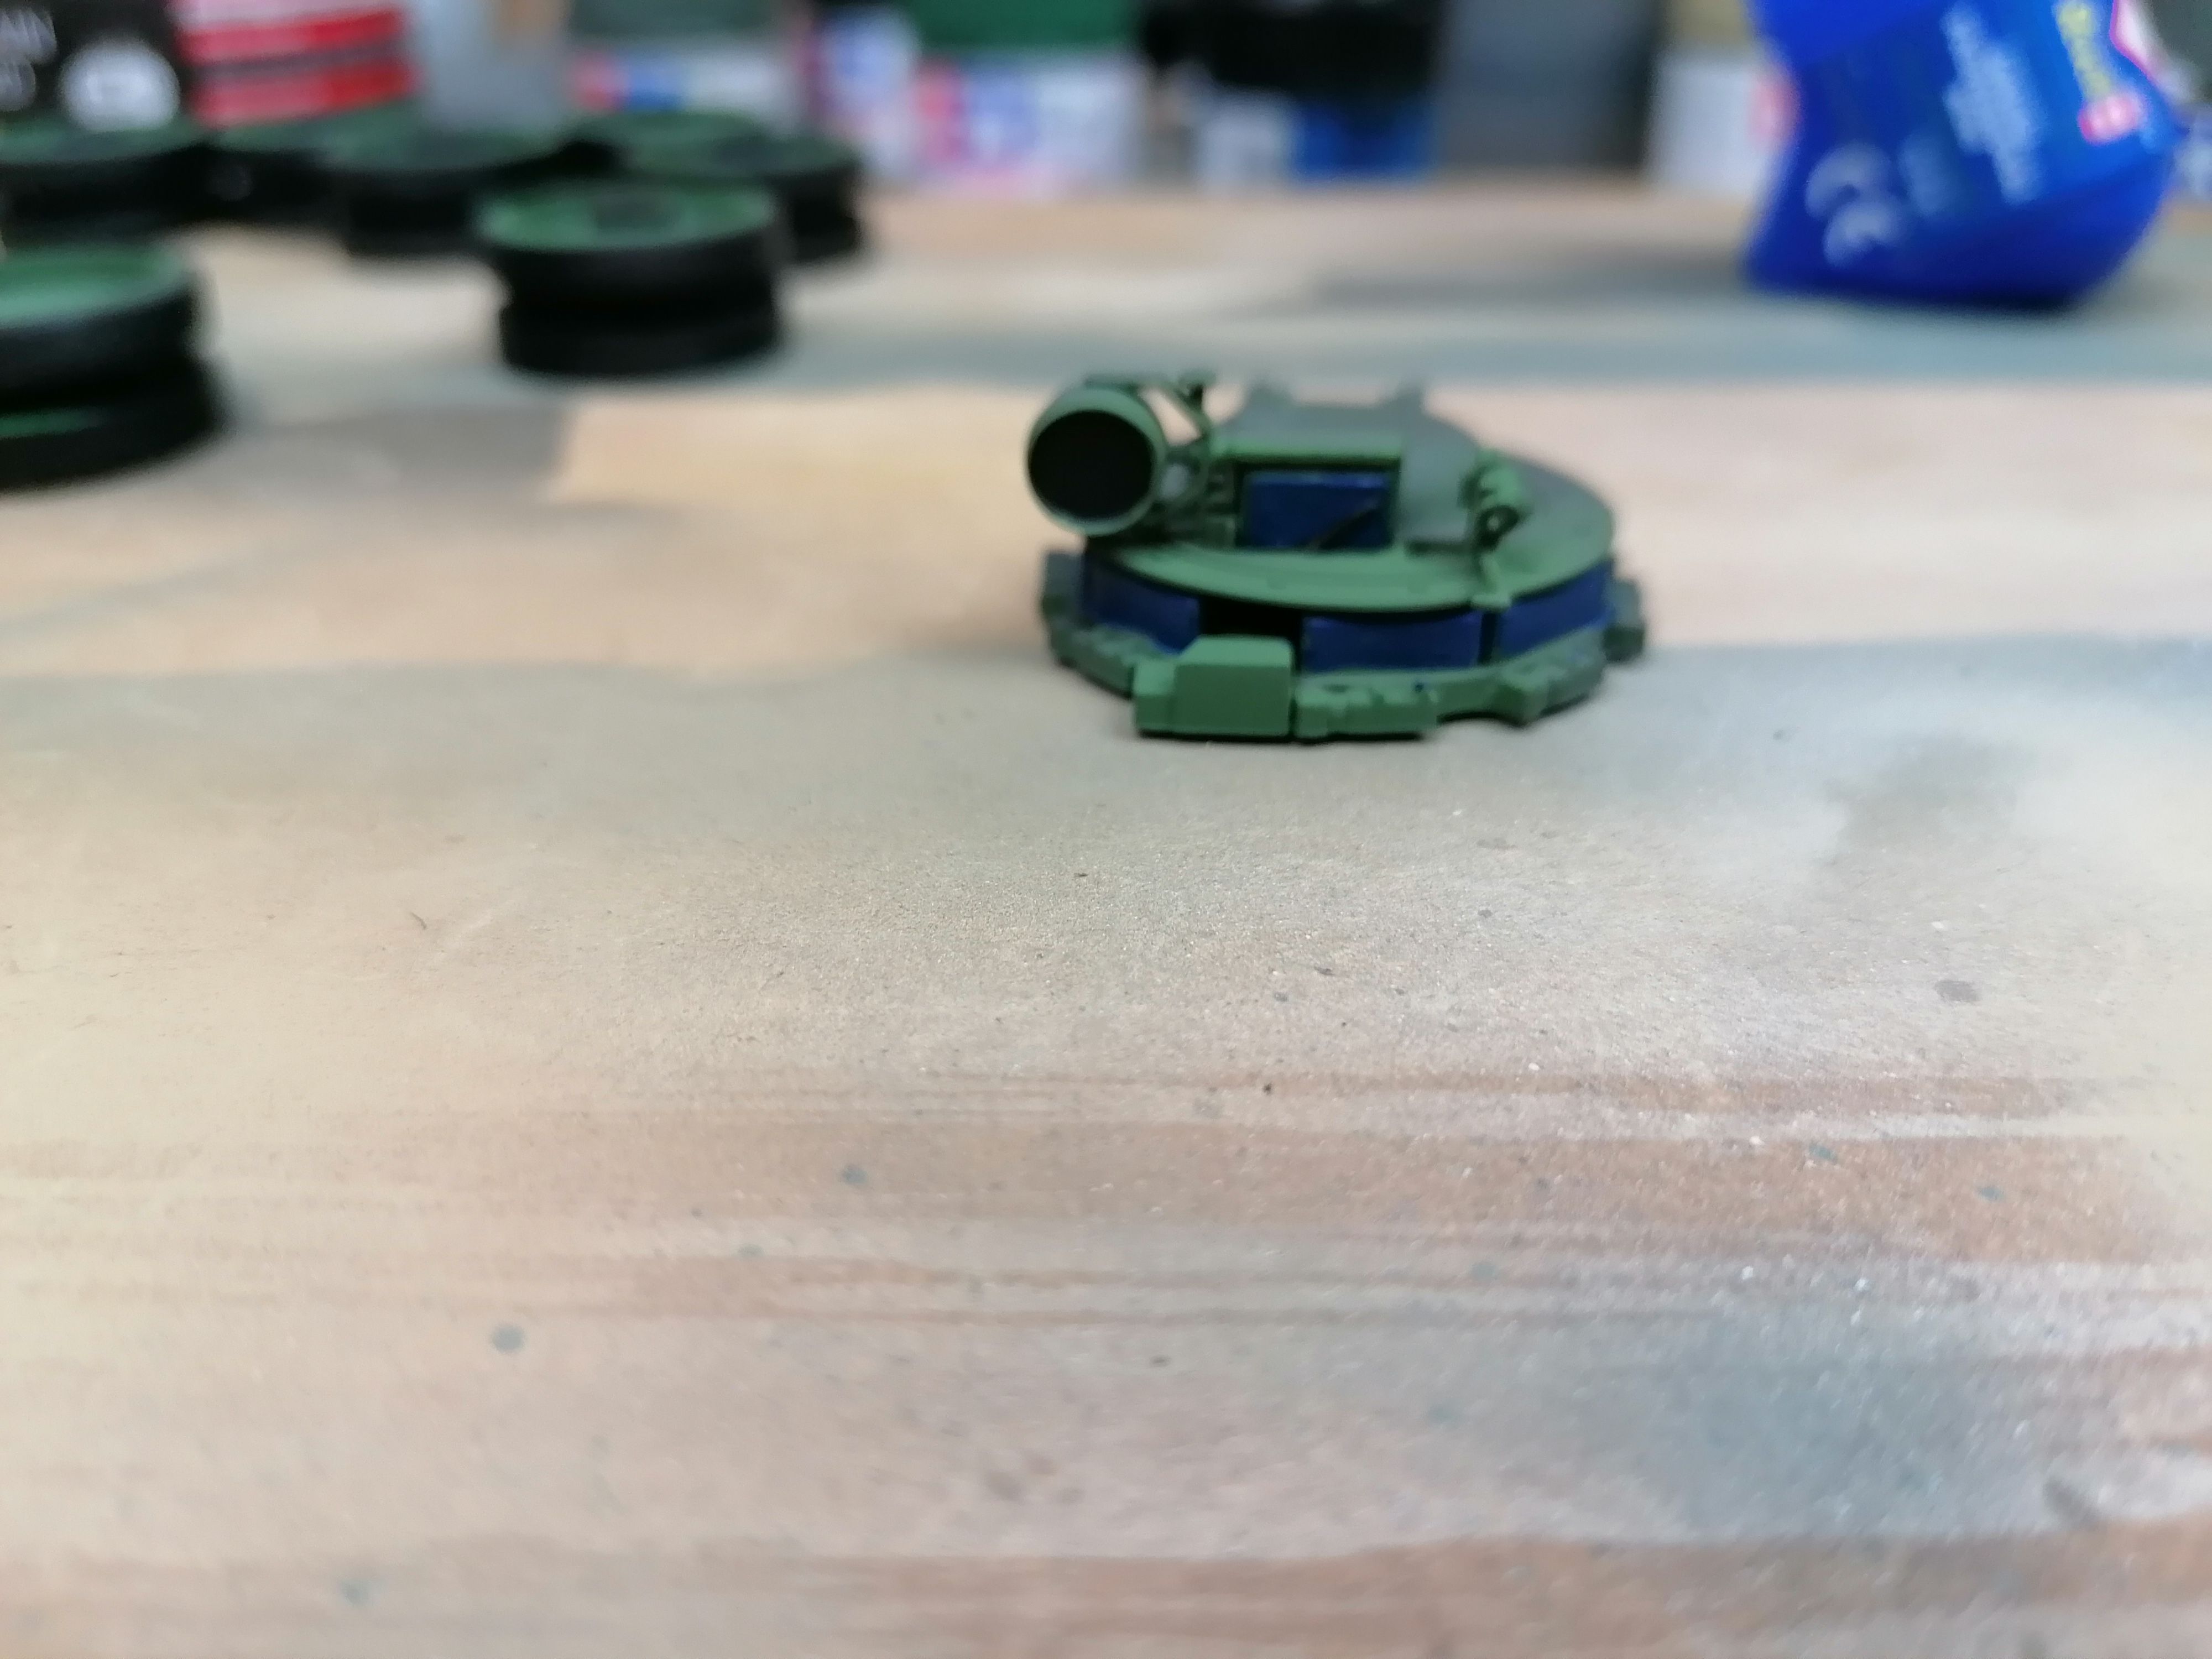
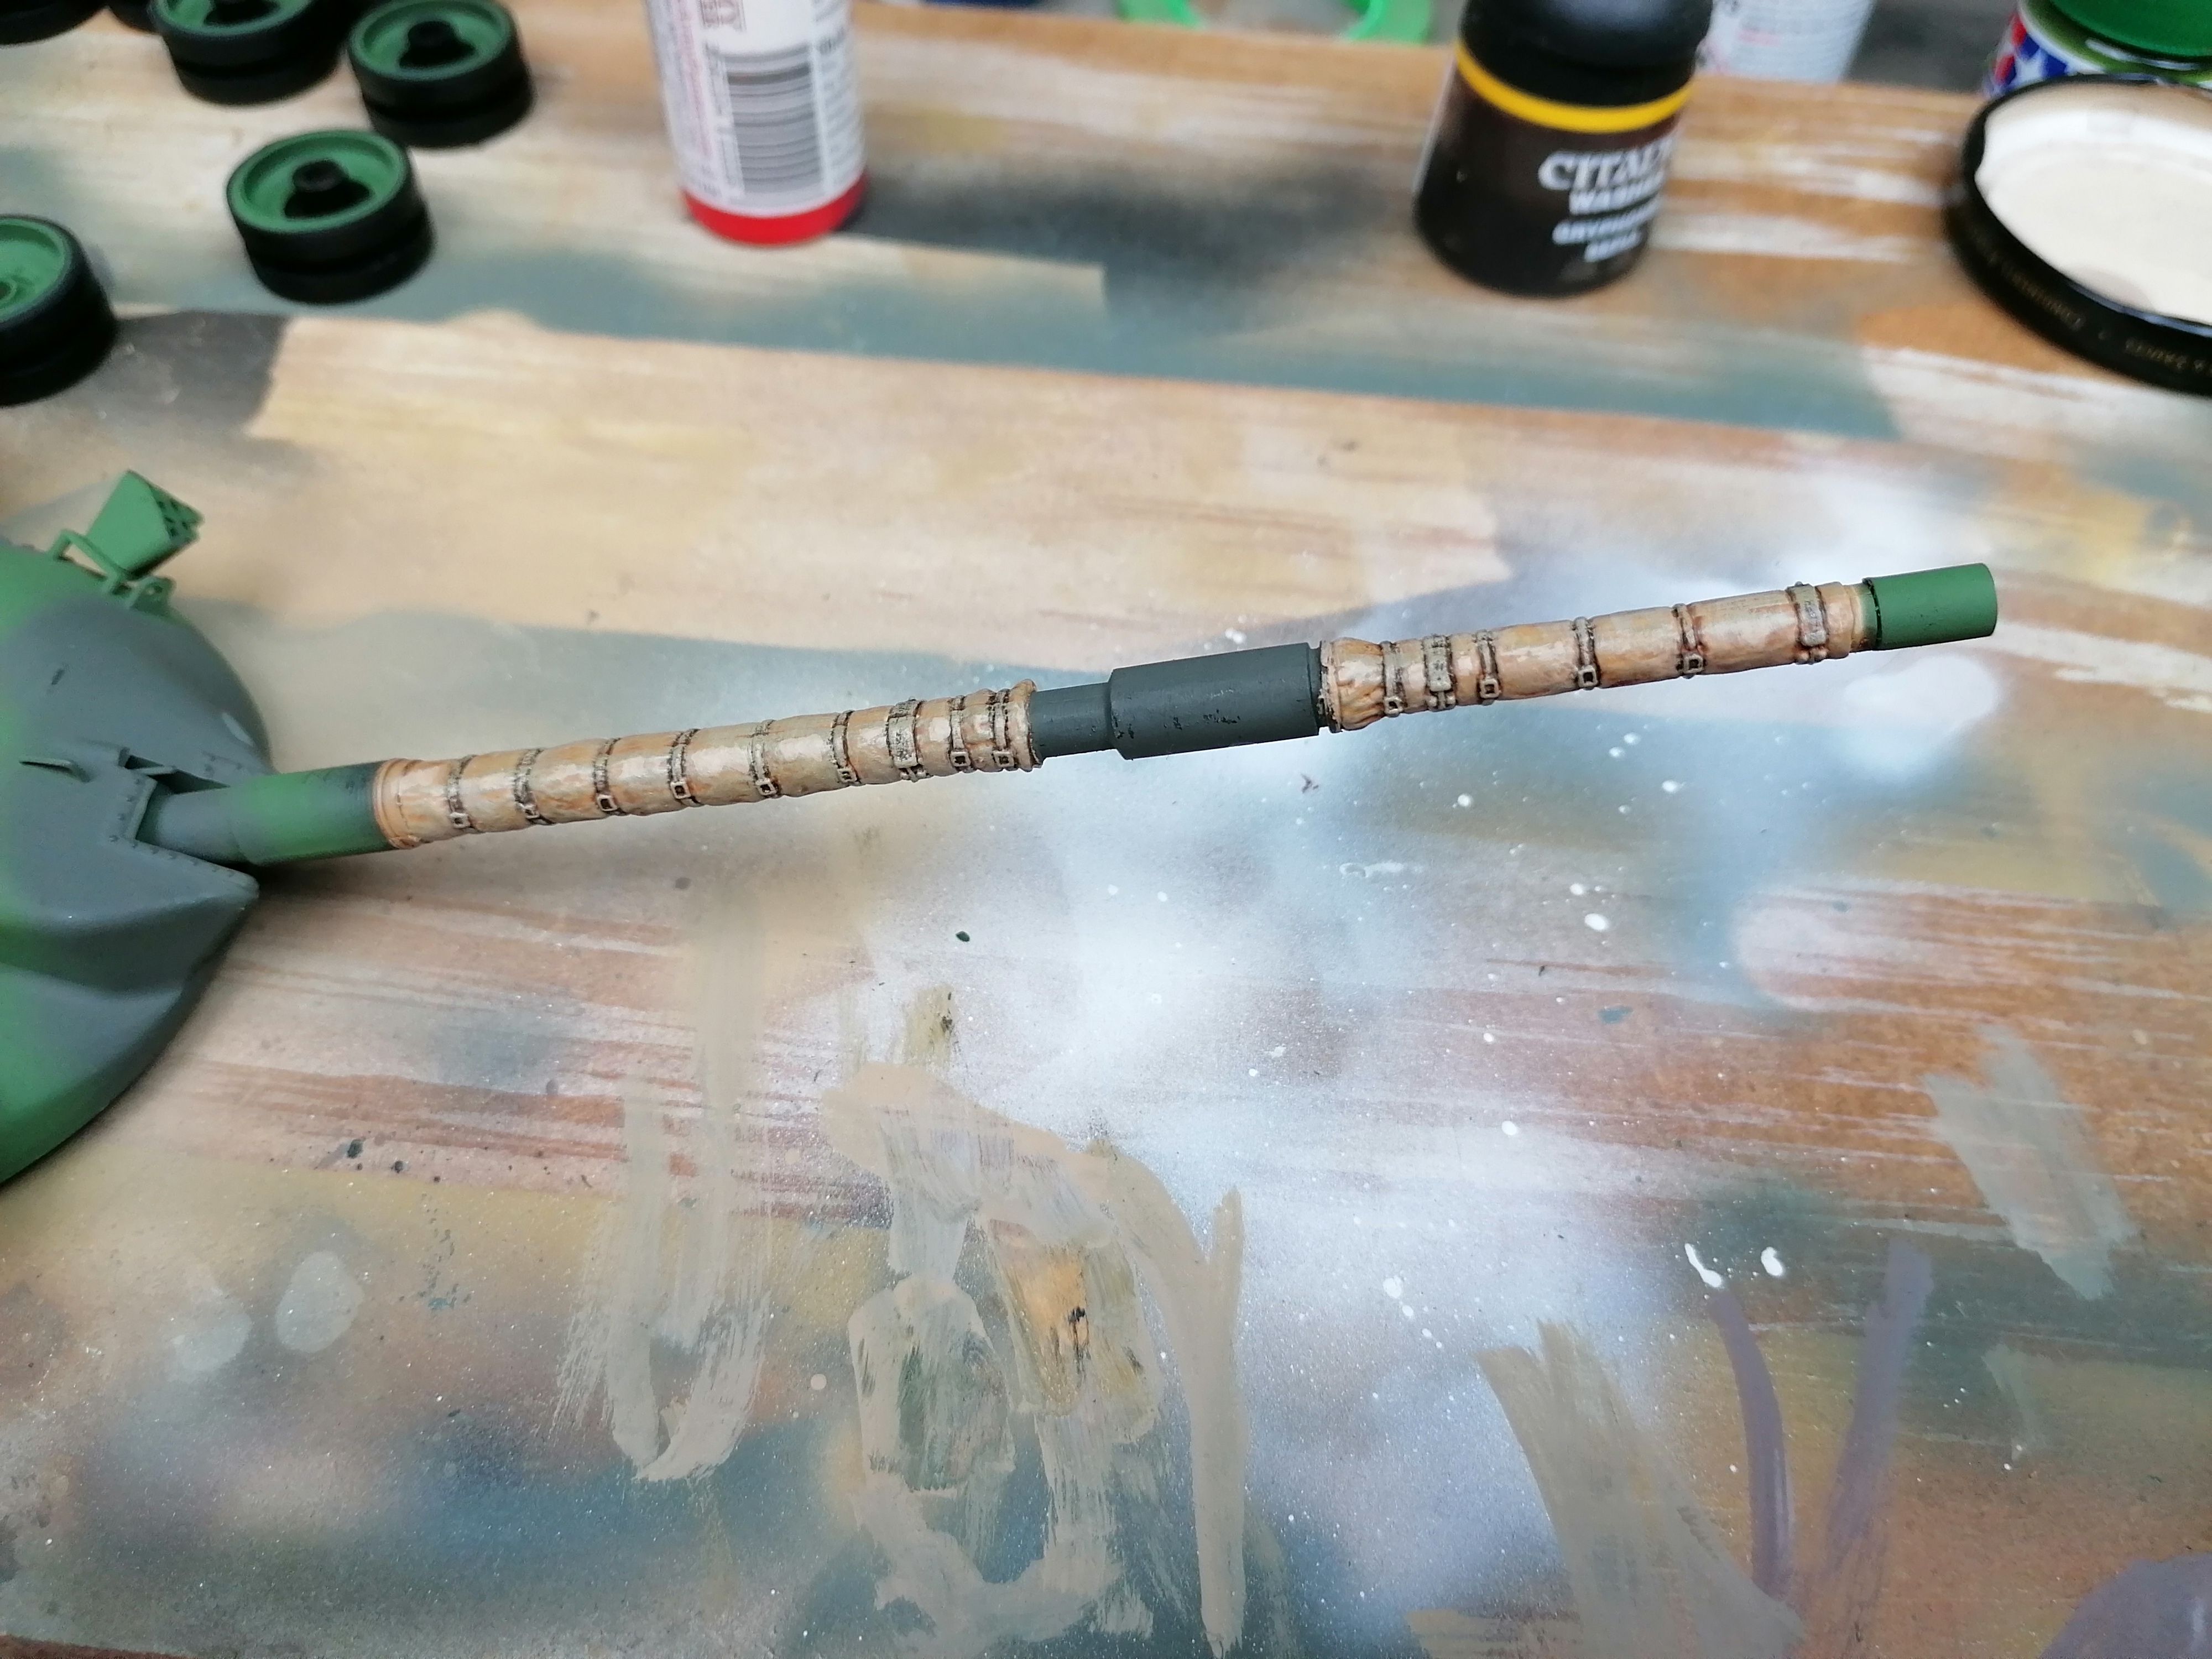
The barrel of the gun has a Thermal Sleeve, so firstly I join the 2 halves of the barrel as some more work might be needed later. I didn’t take nearly enough photos on this build but there is some more content in the build video.
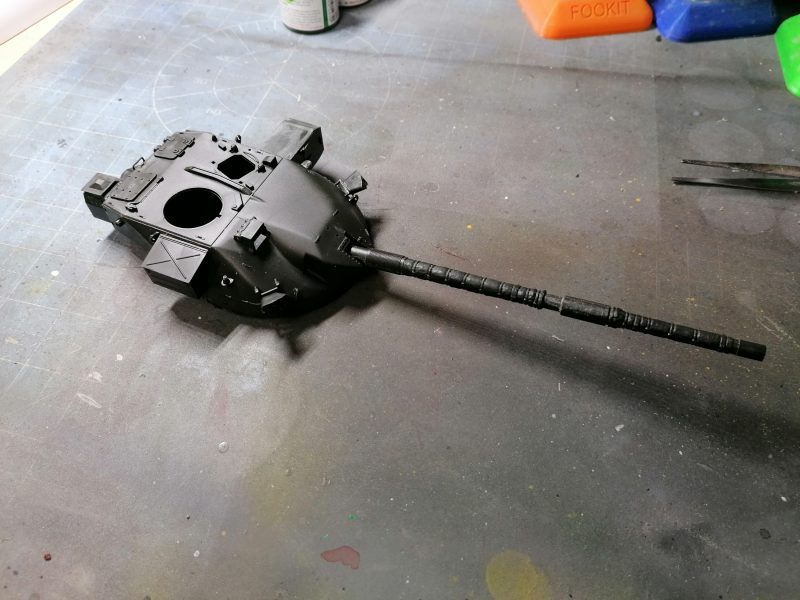

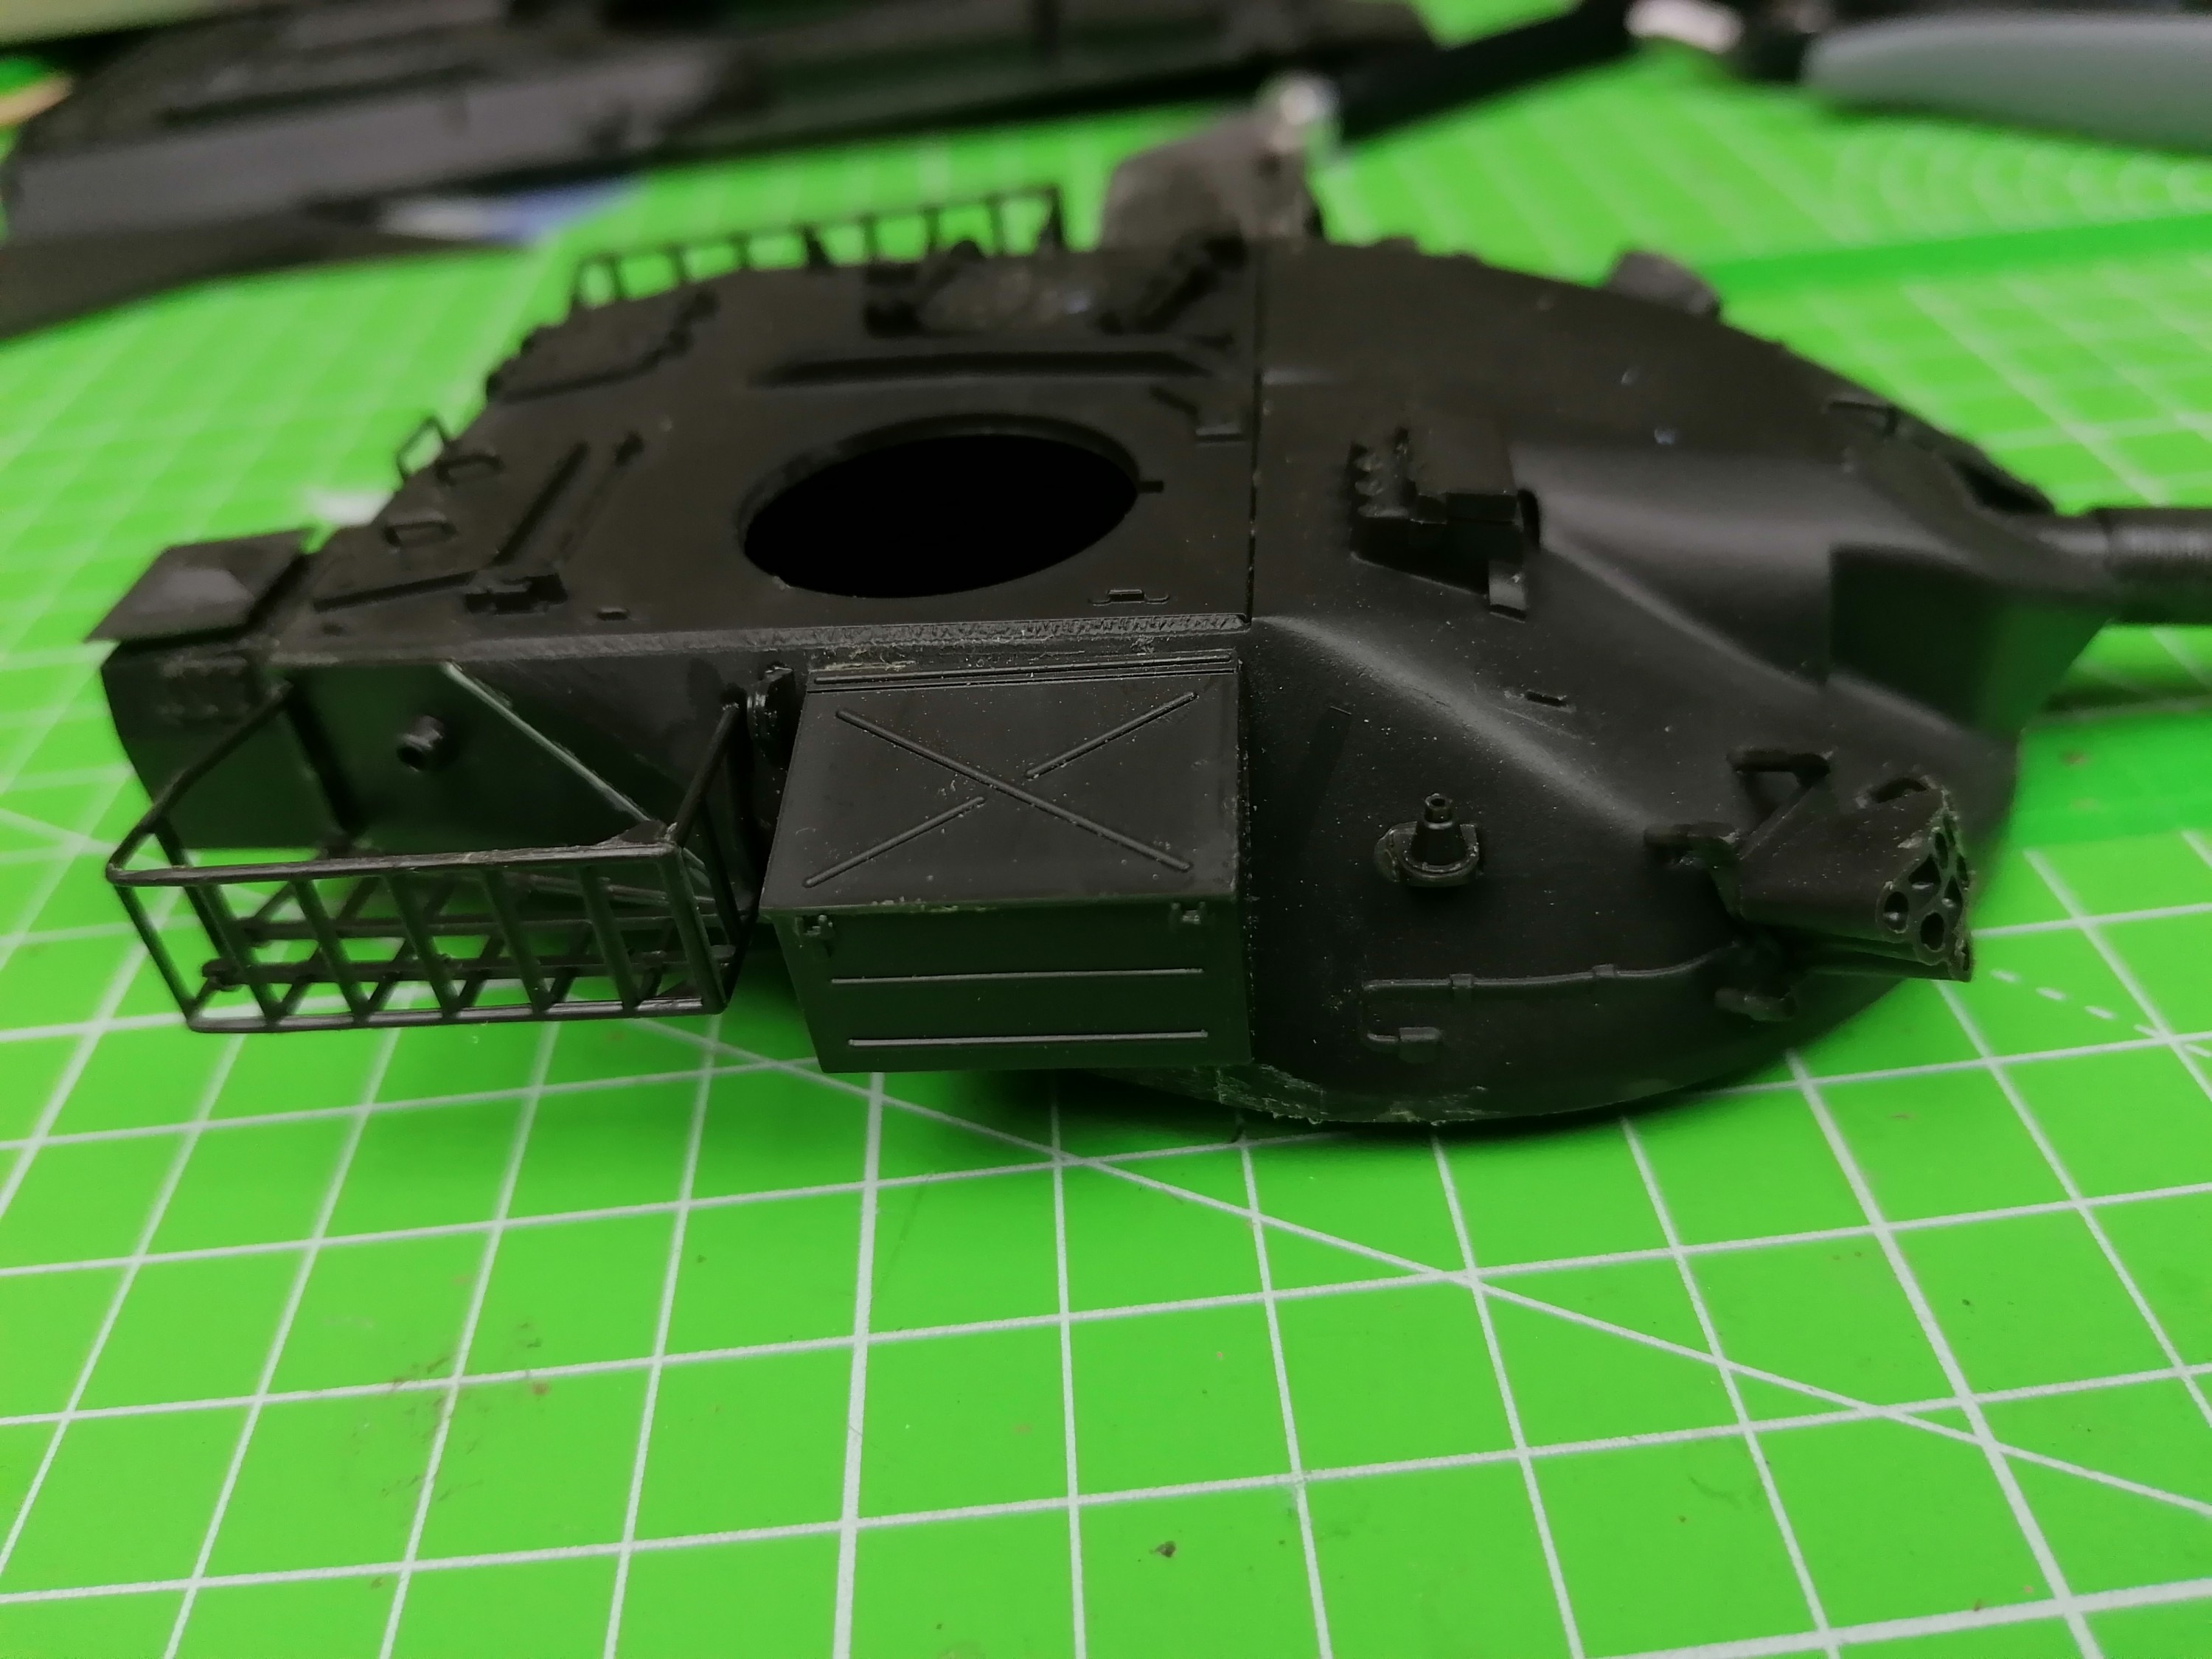
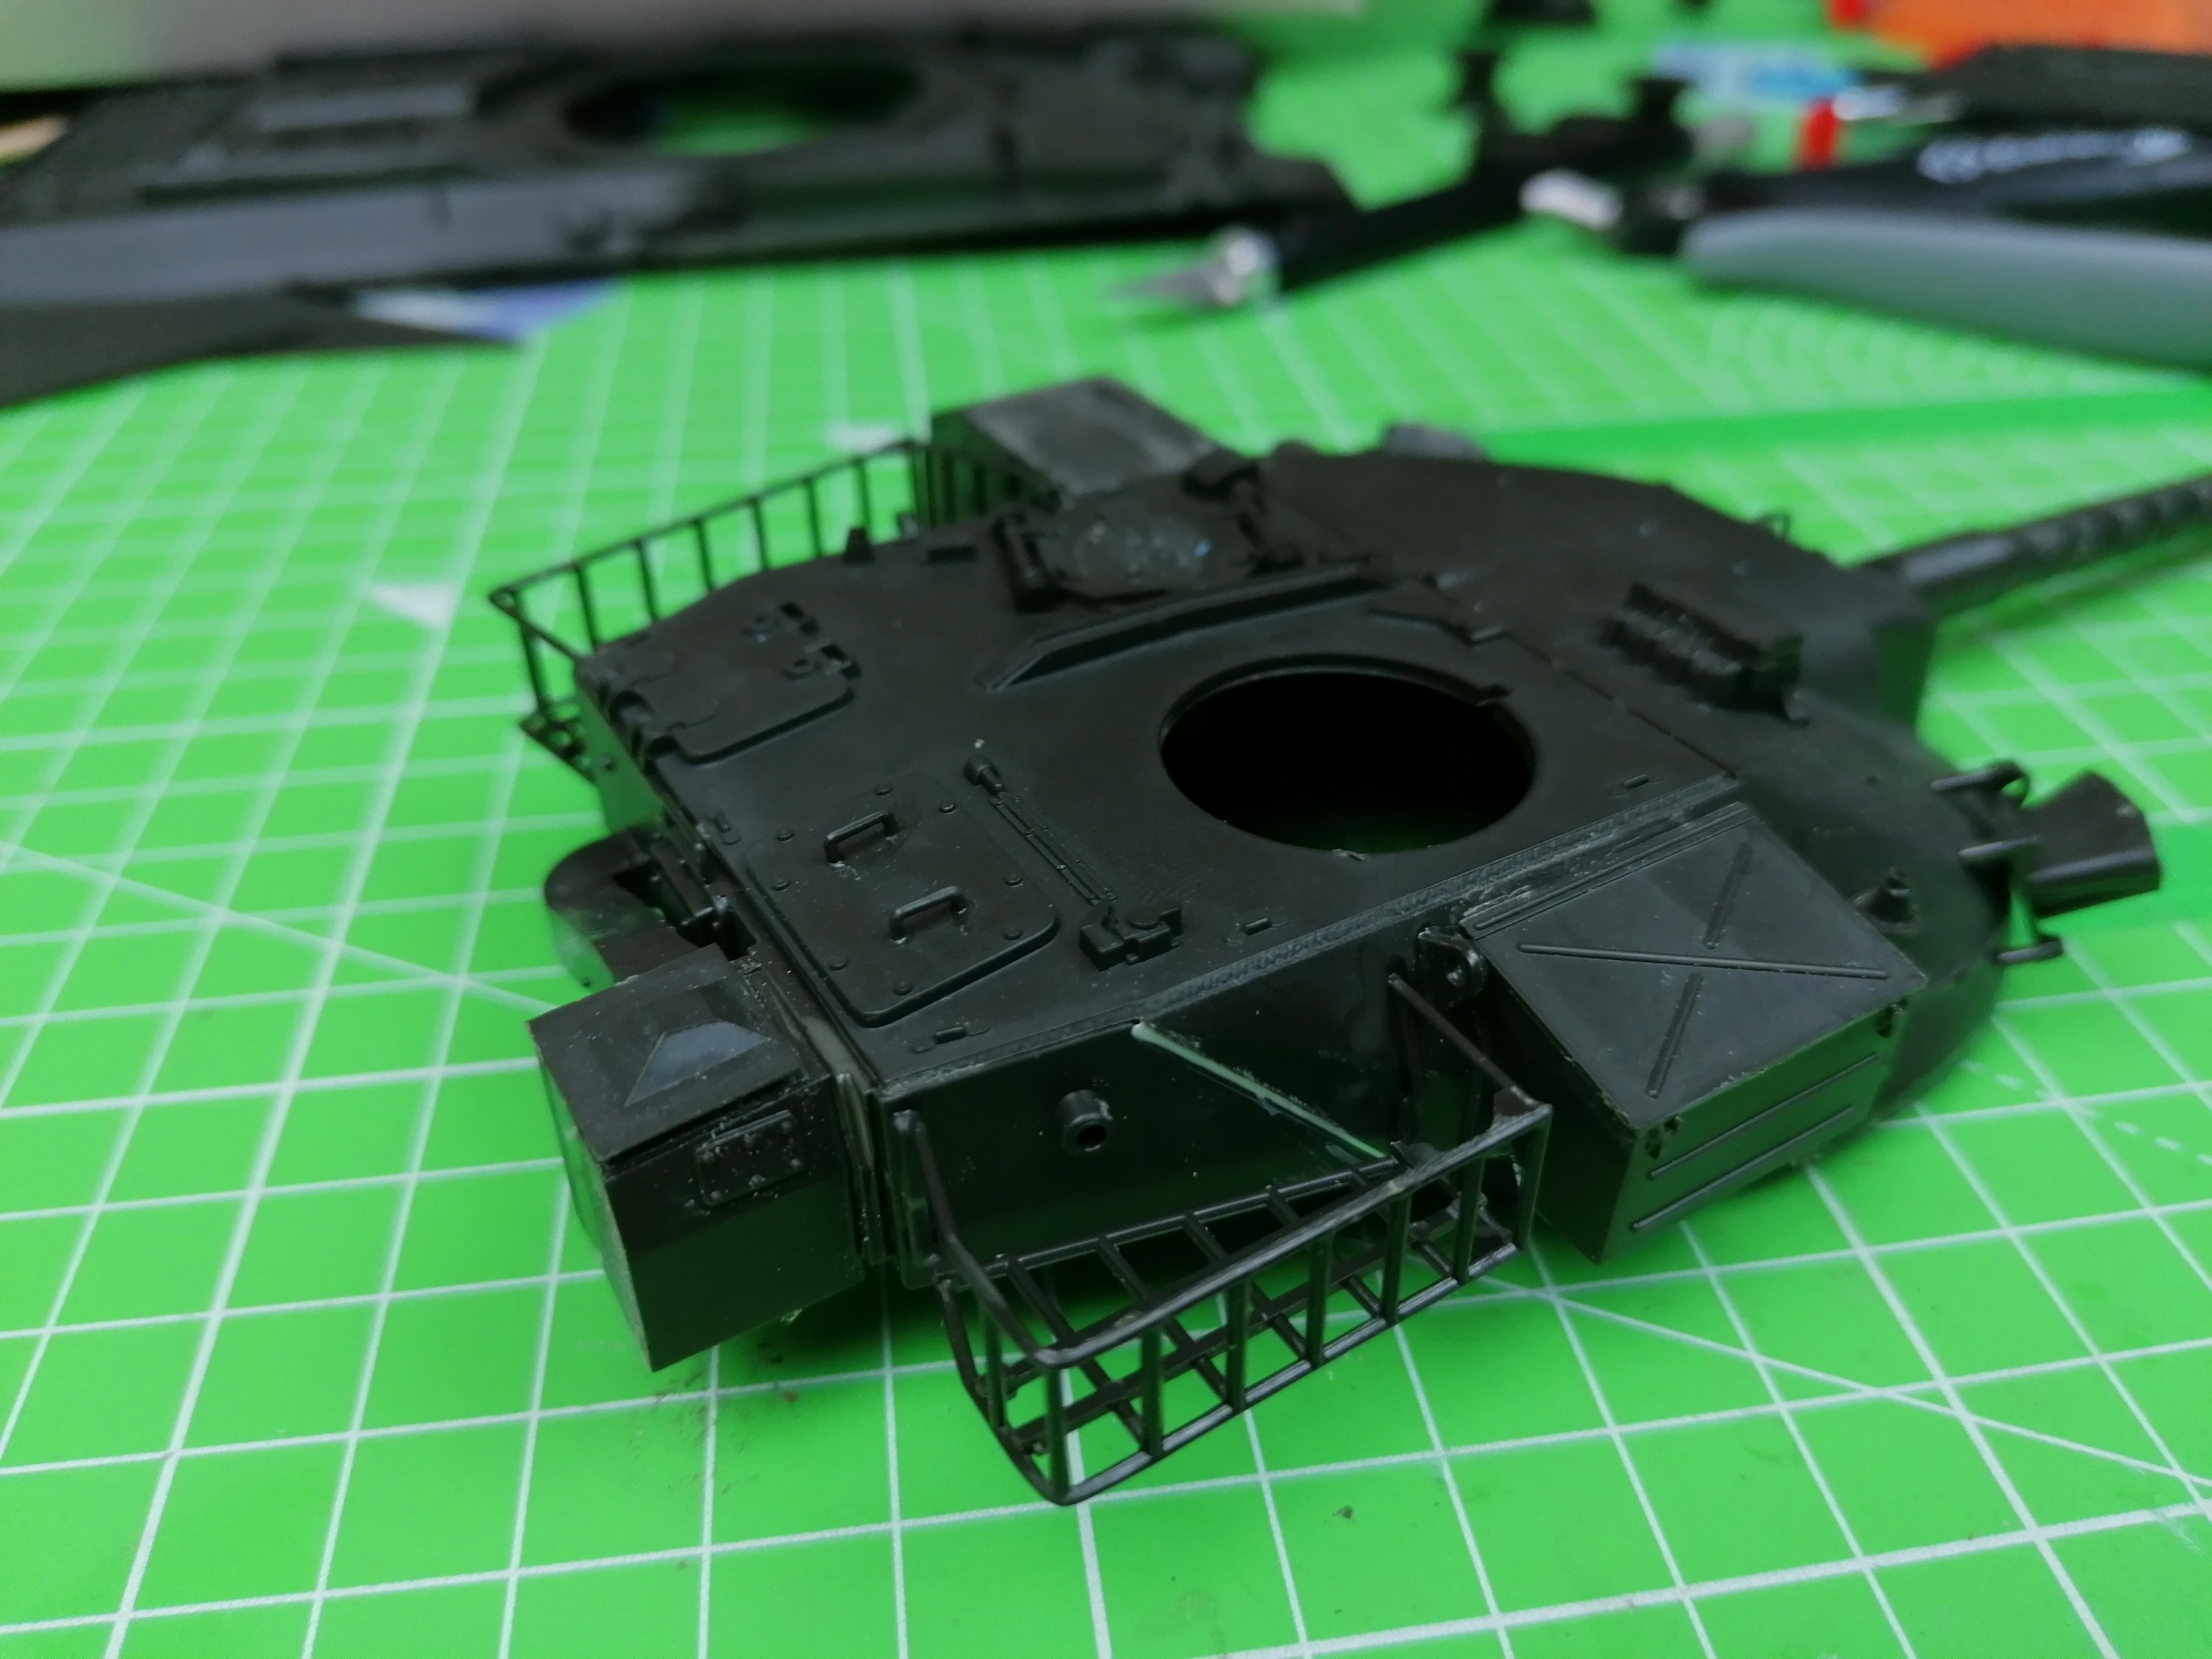
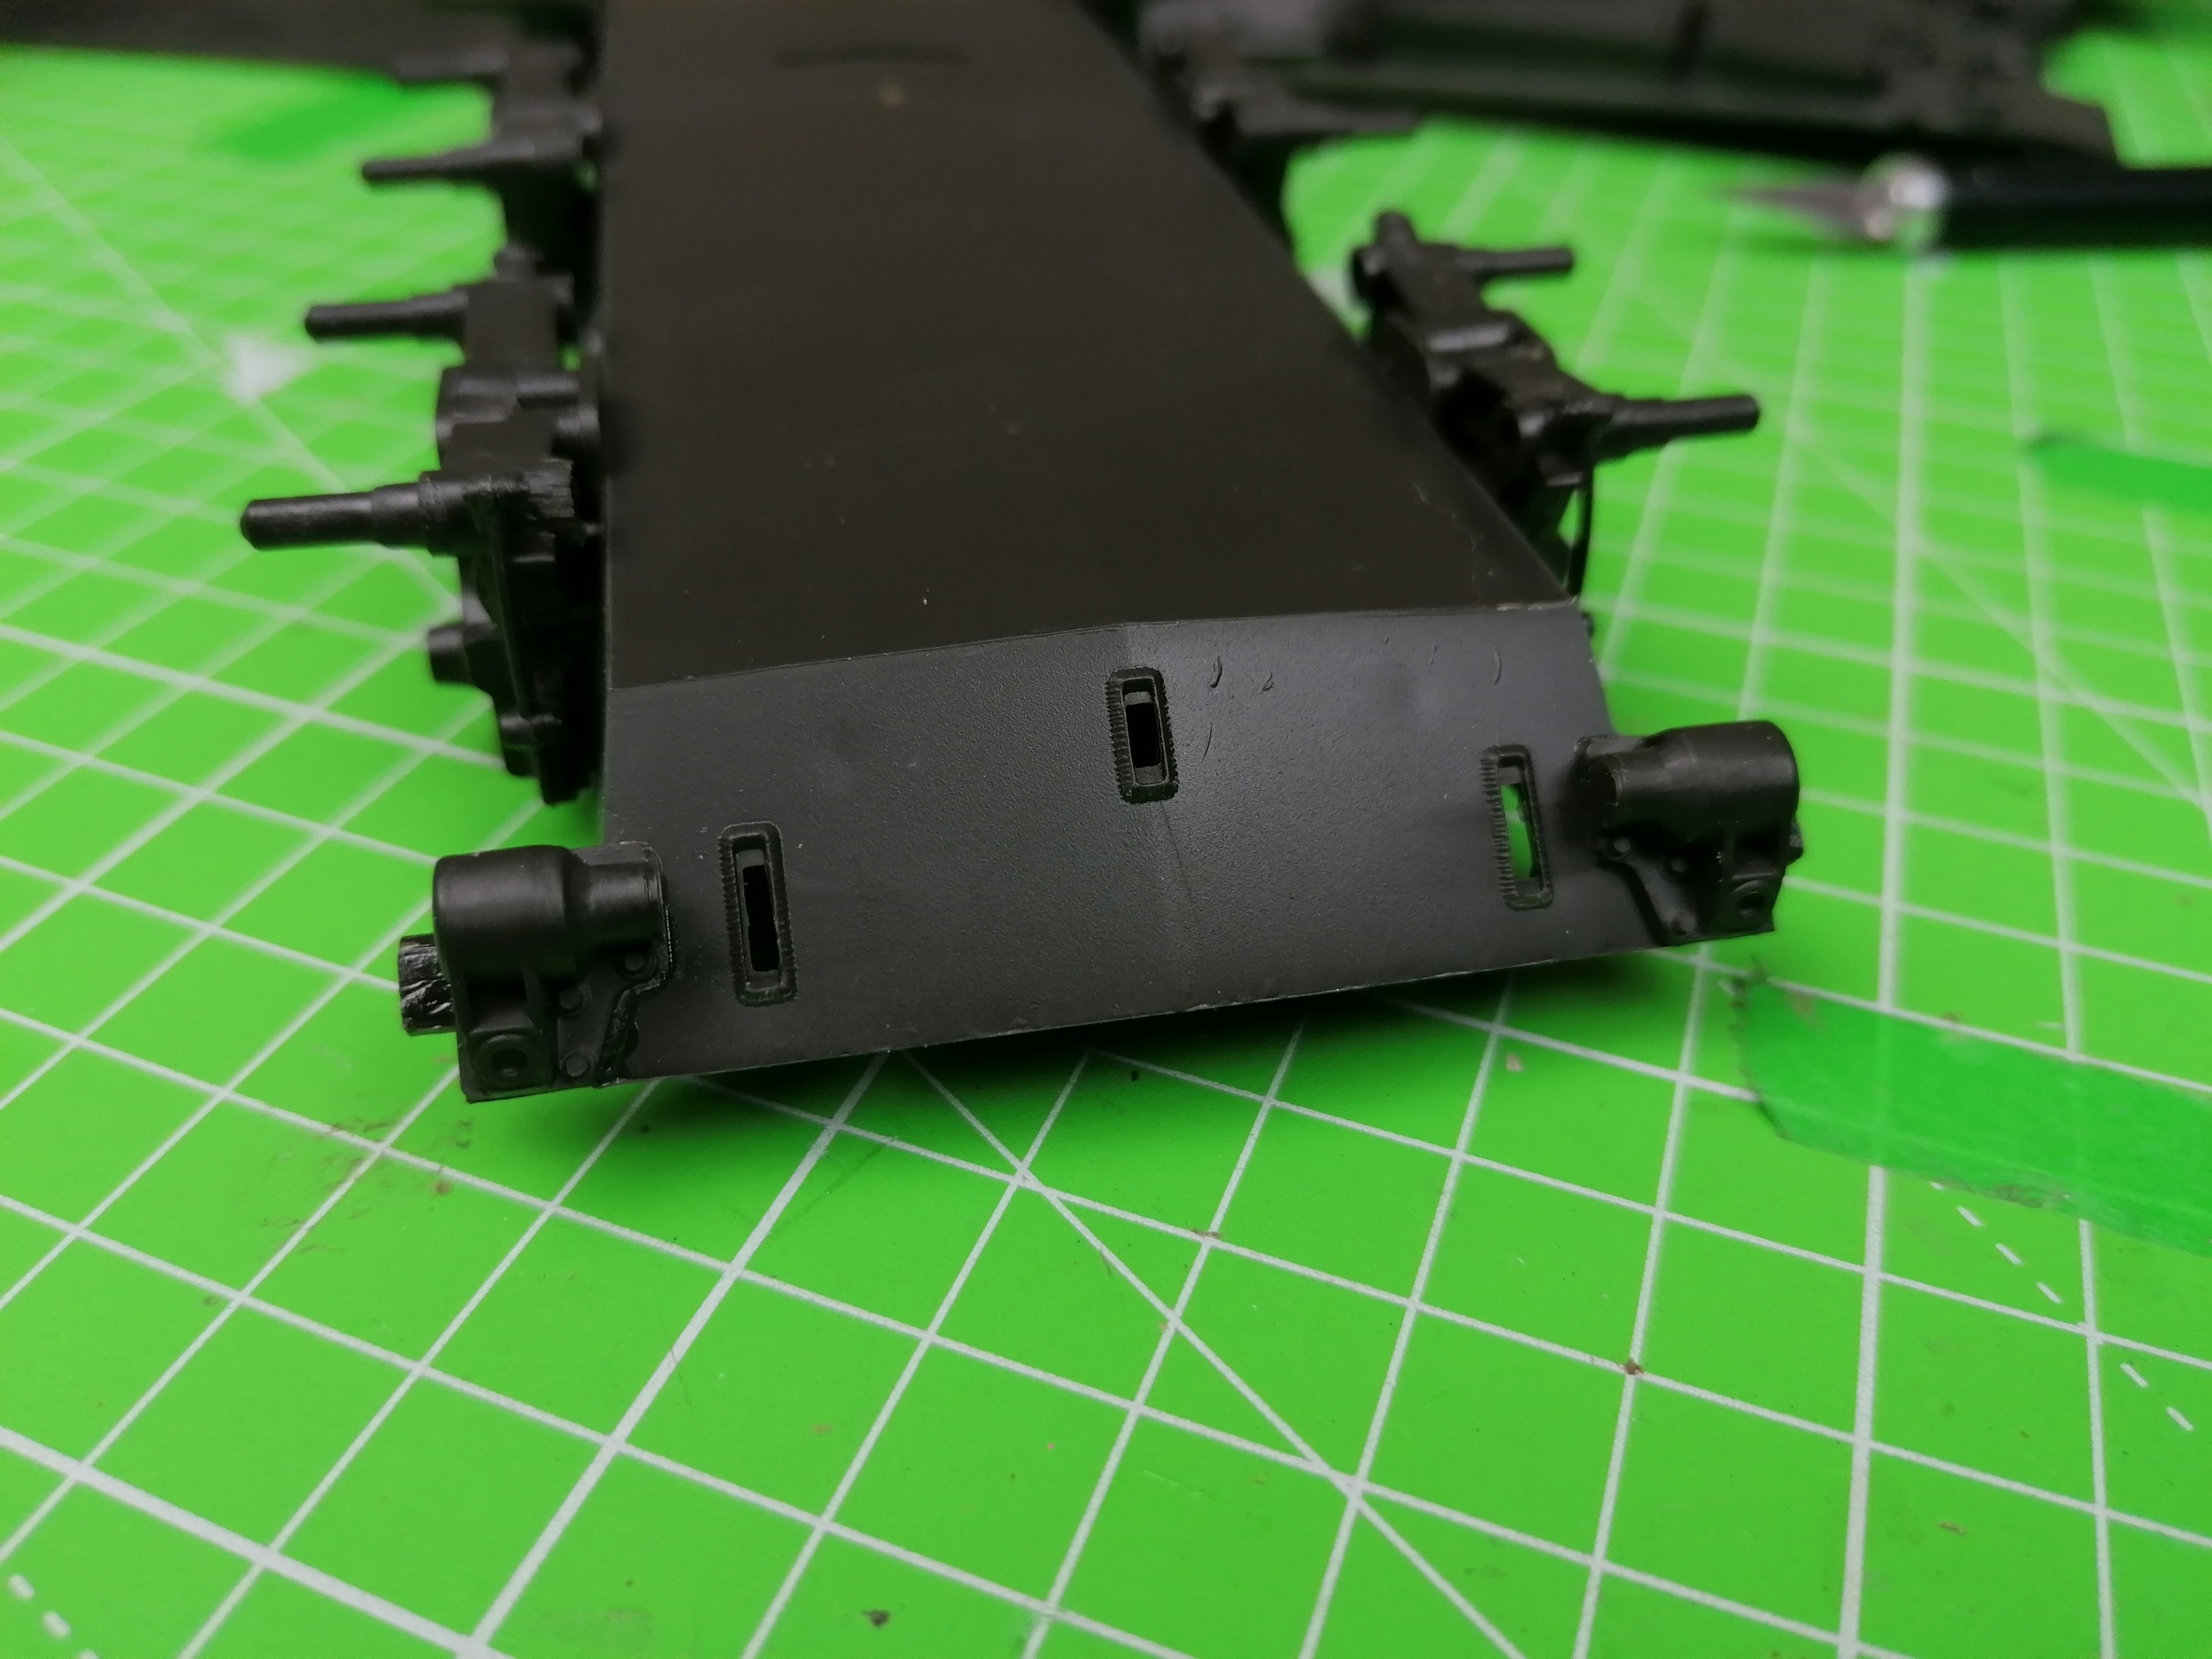
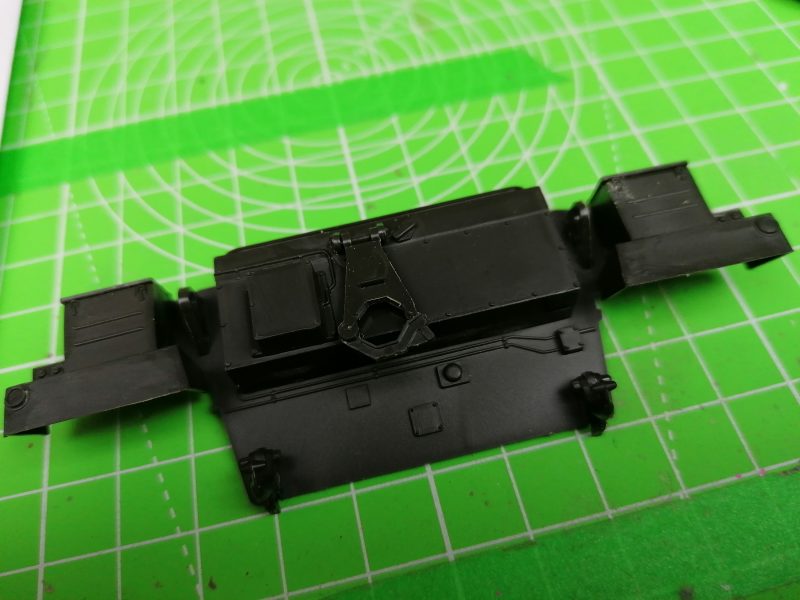
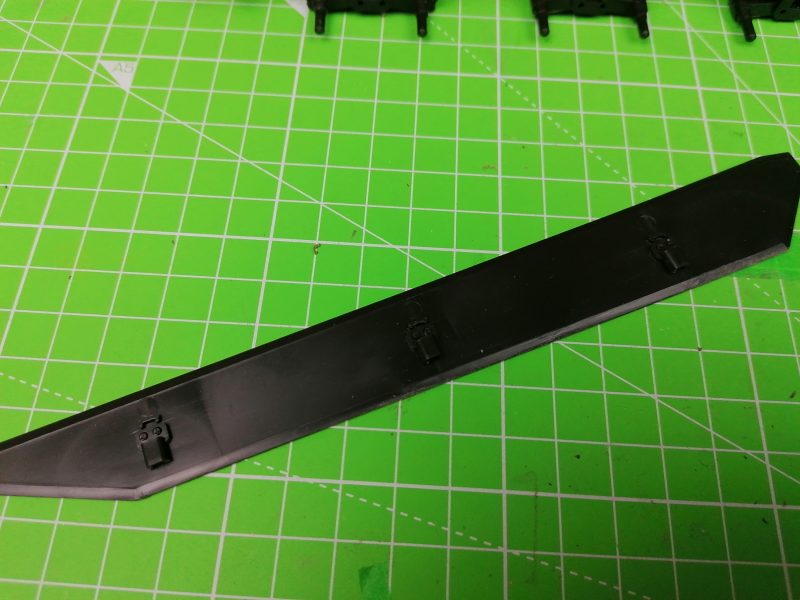
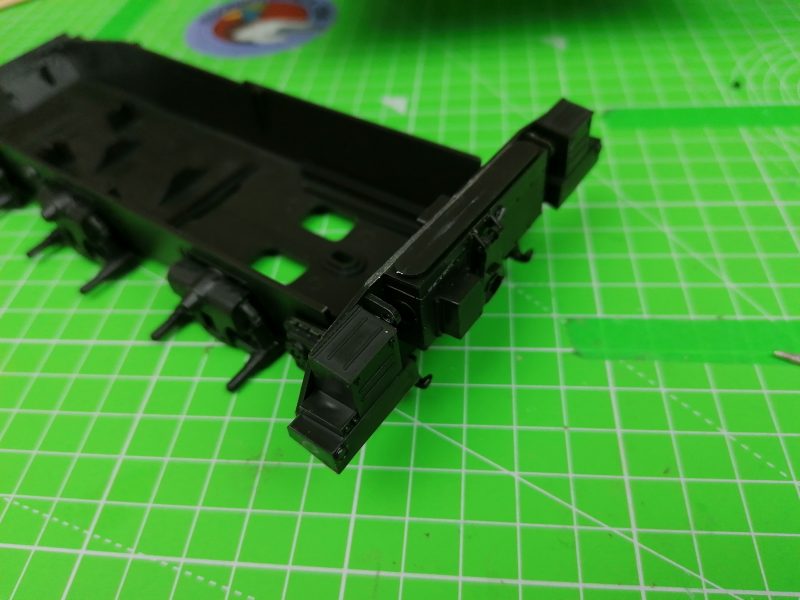
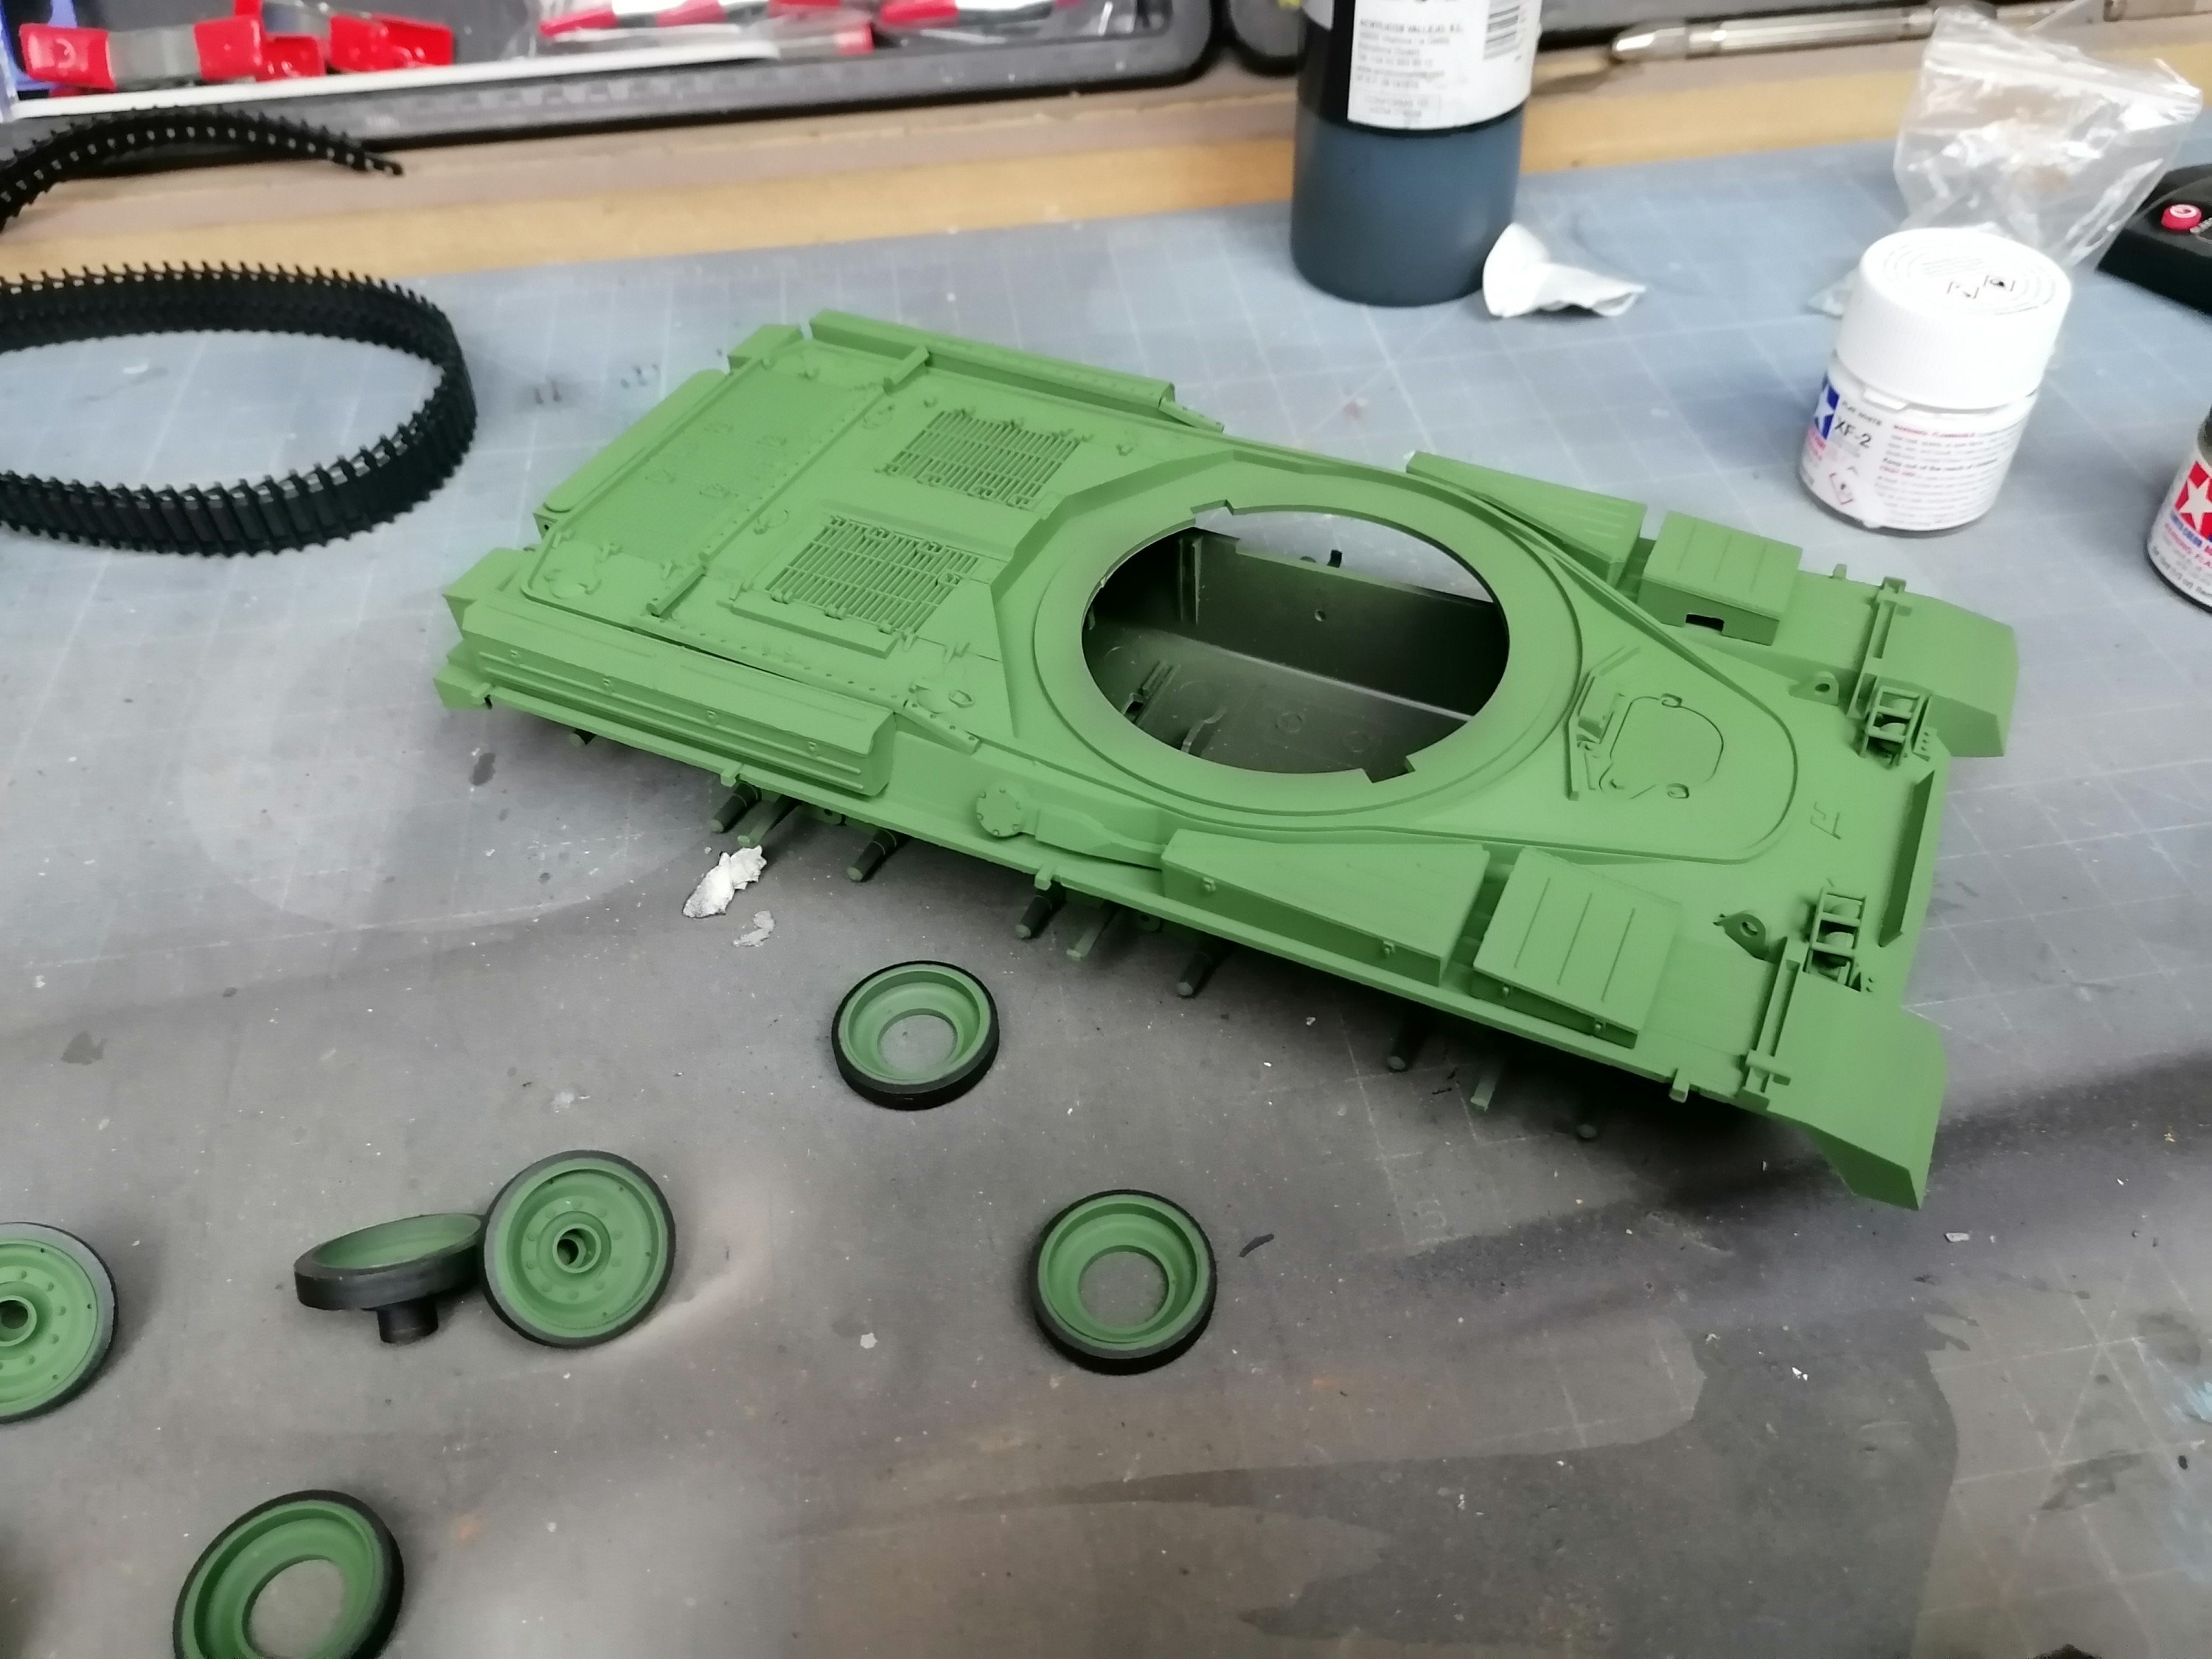
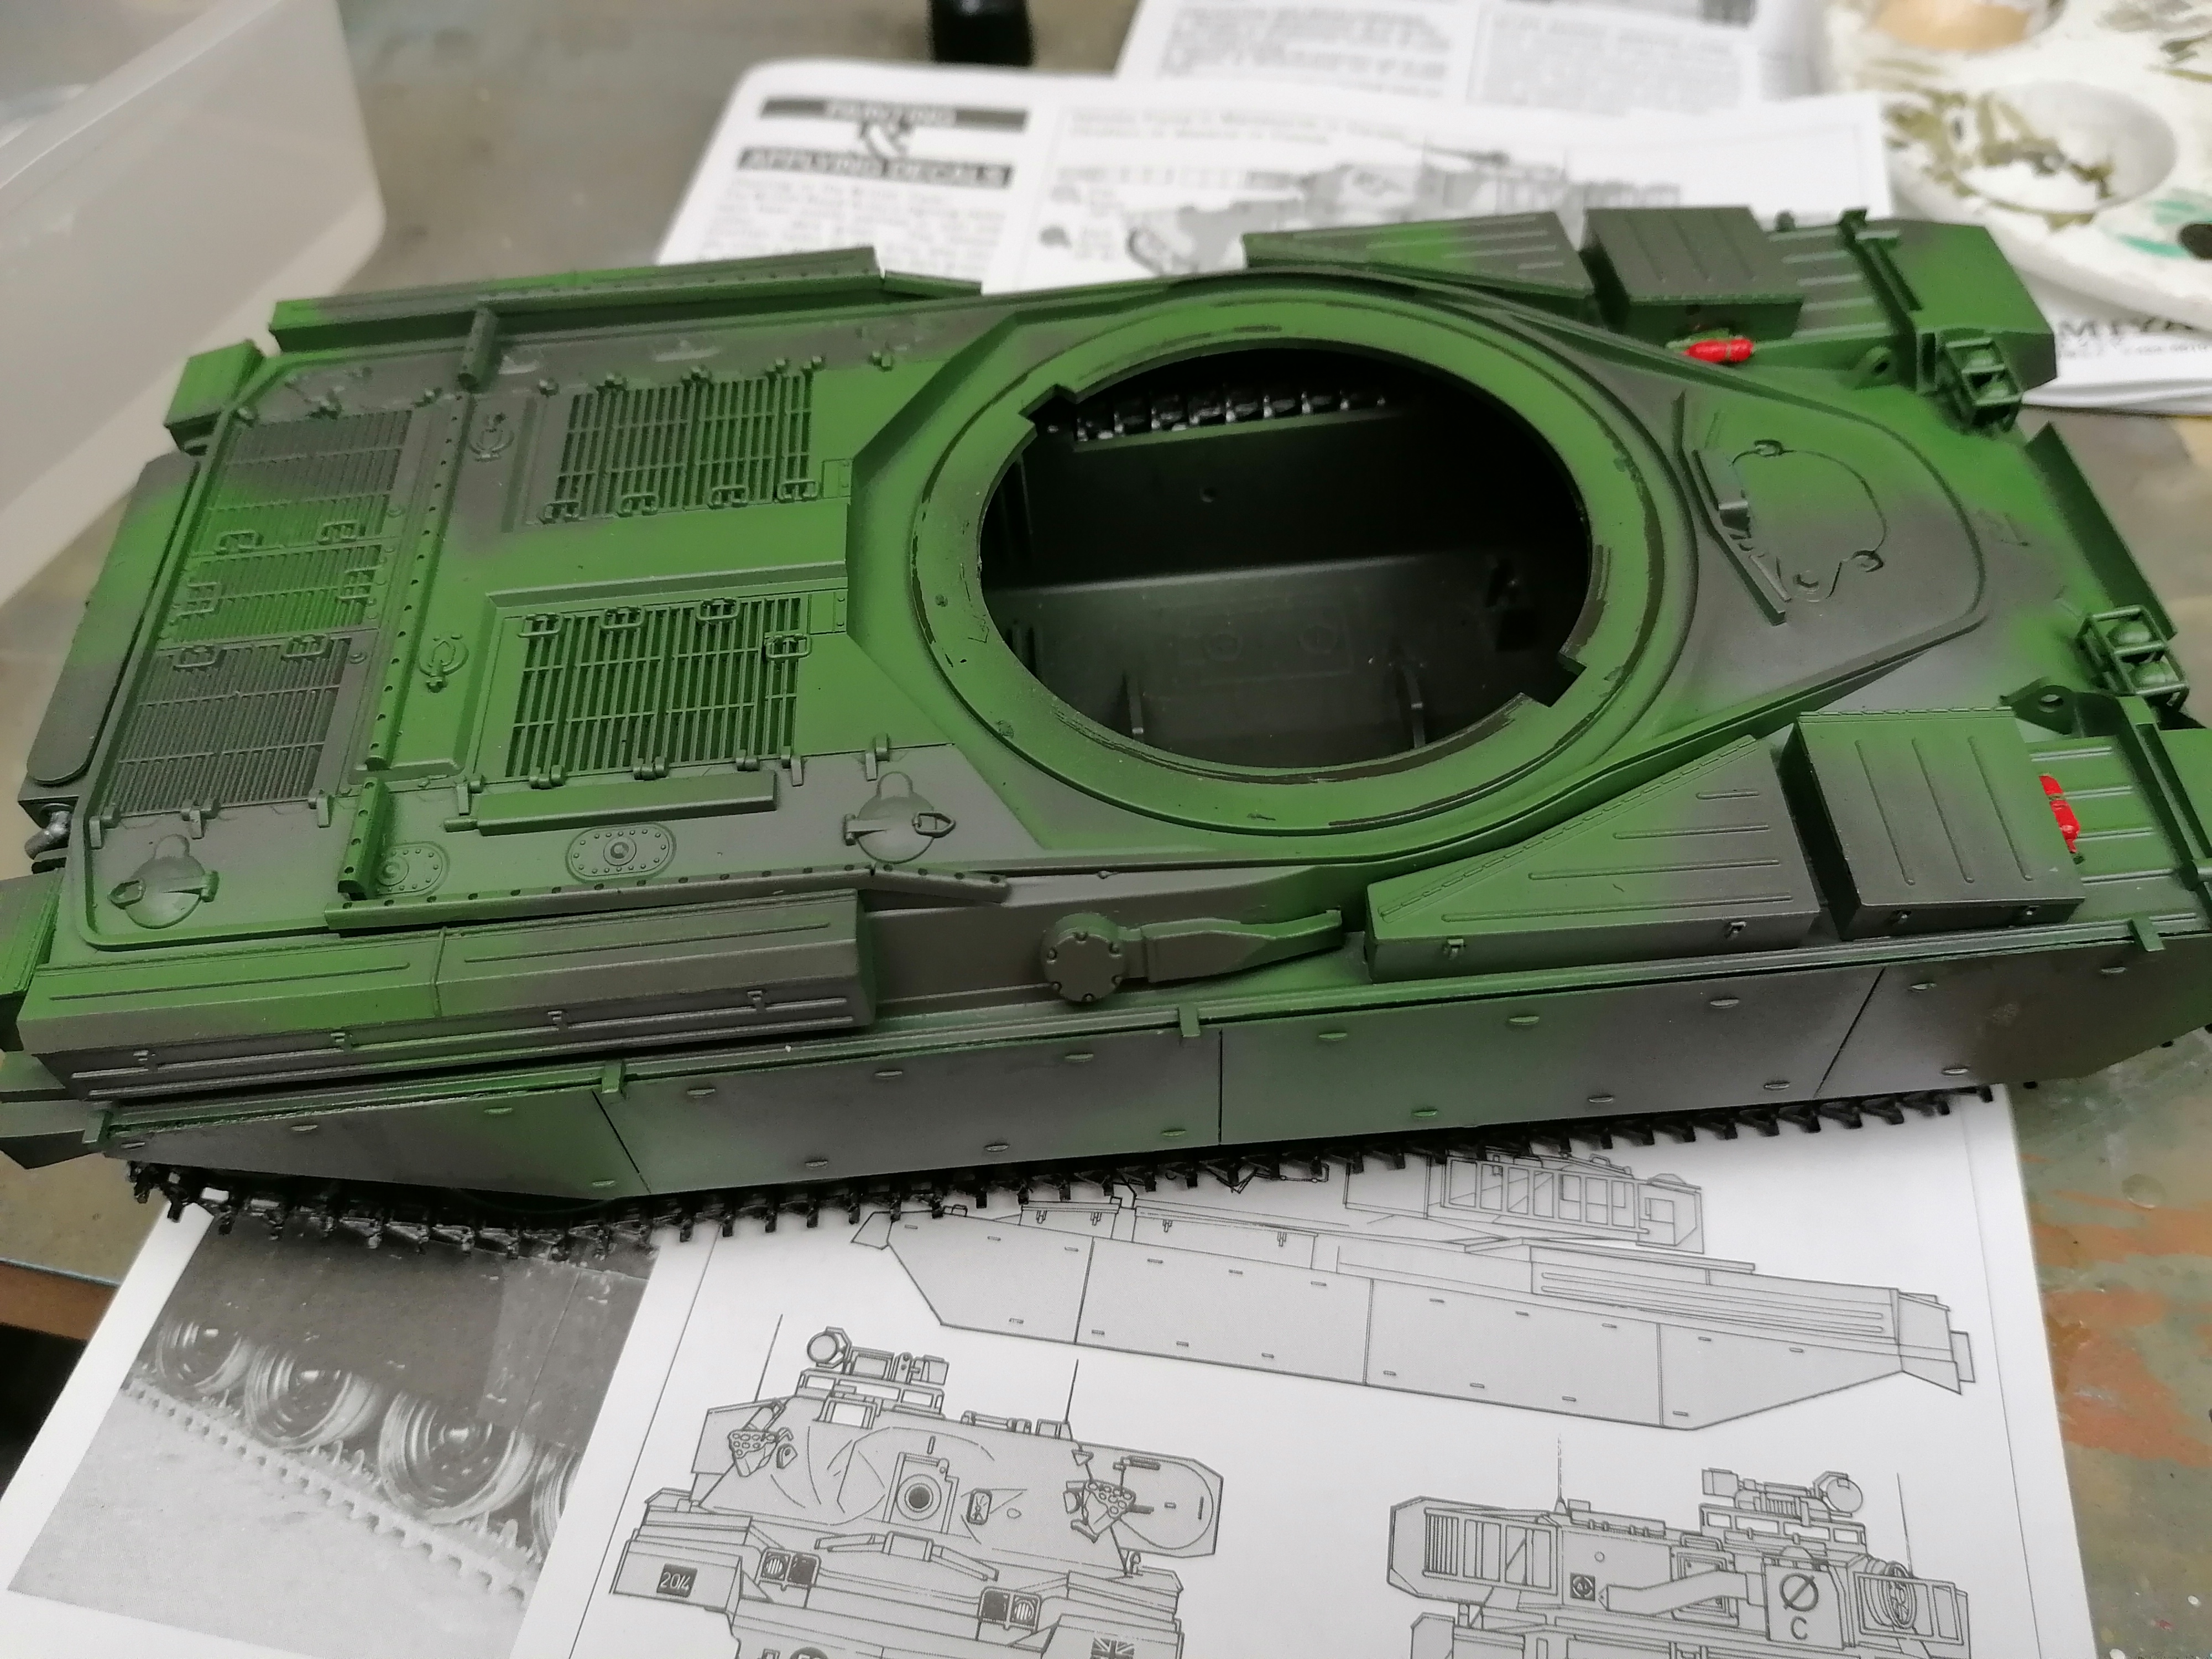
Now that the turret has been completed on the Tamiya 135th British Chieftain Mk5 I can move on to the hull. Being an older kit there isn’t a ton of work to do on the model tank. It comes together quickly and easily.
Painting And Weathering The Tamiya British Chieftain MK5
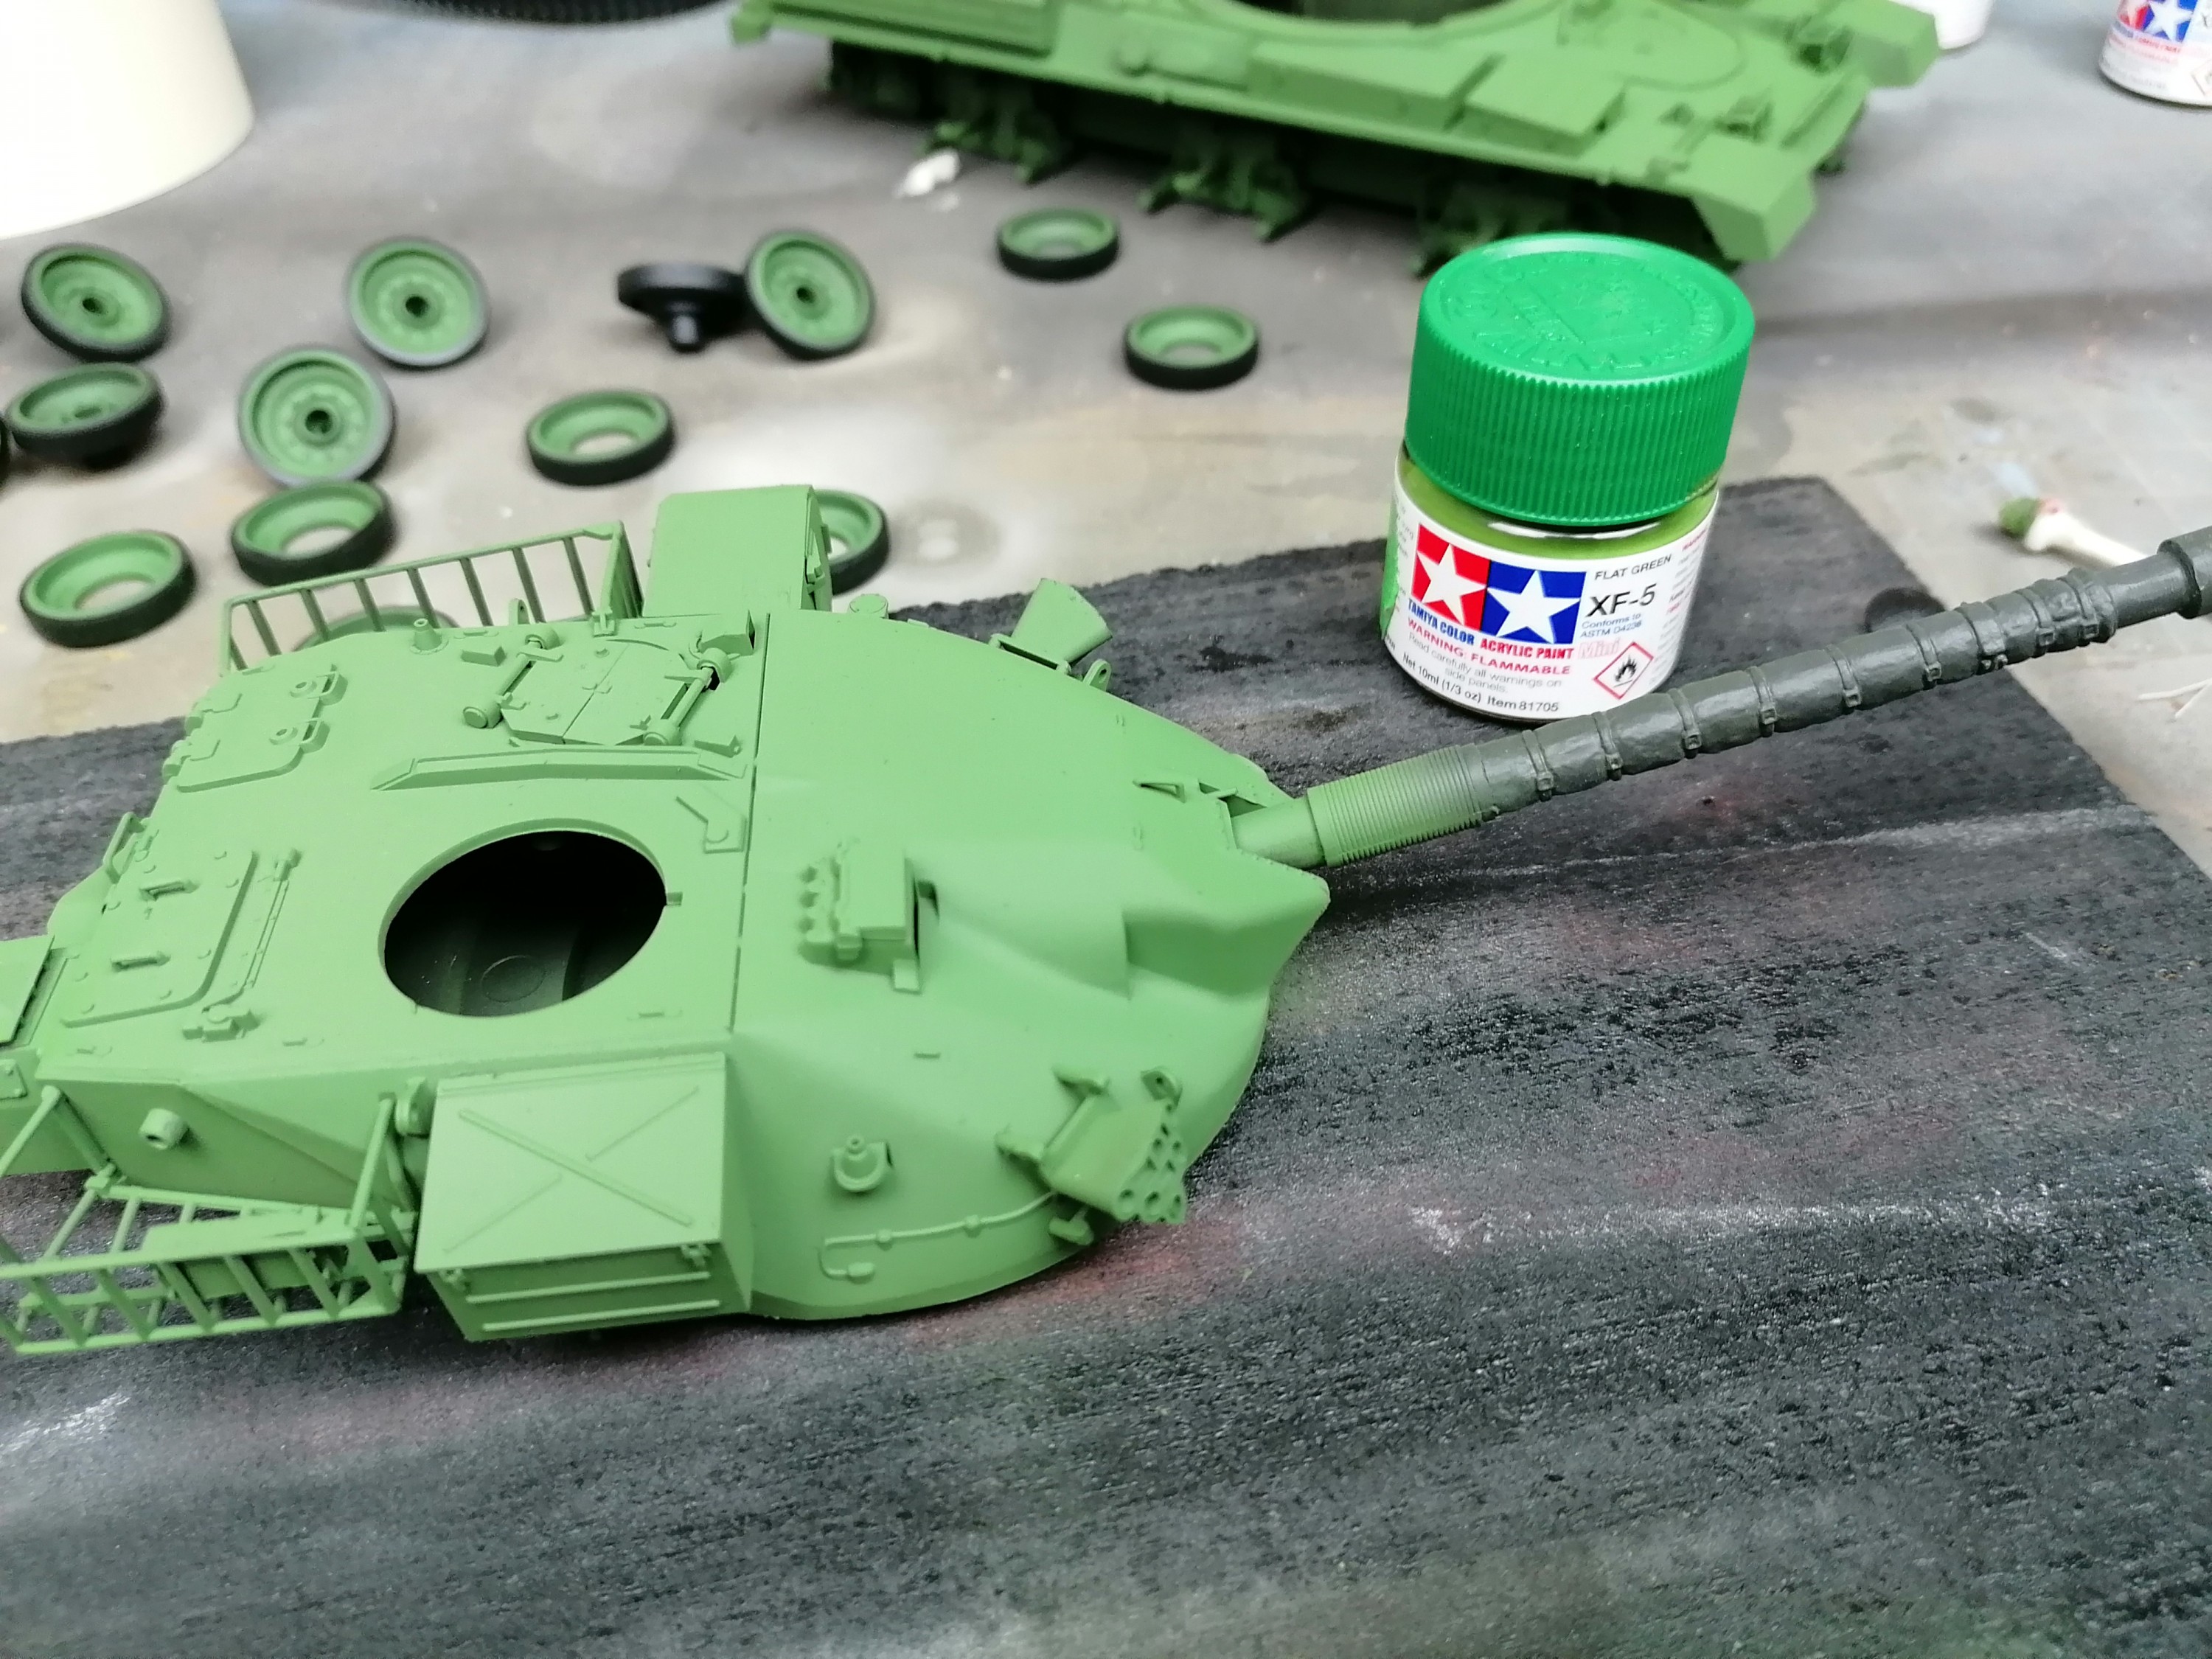
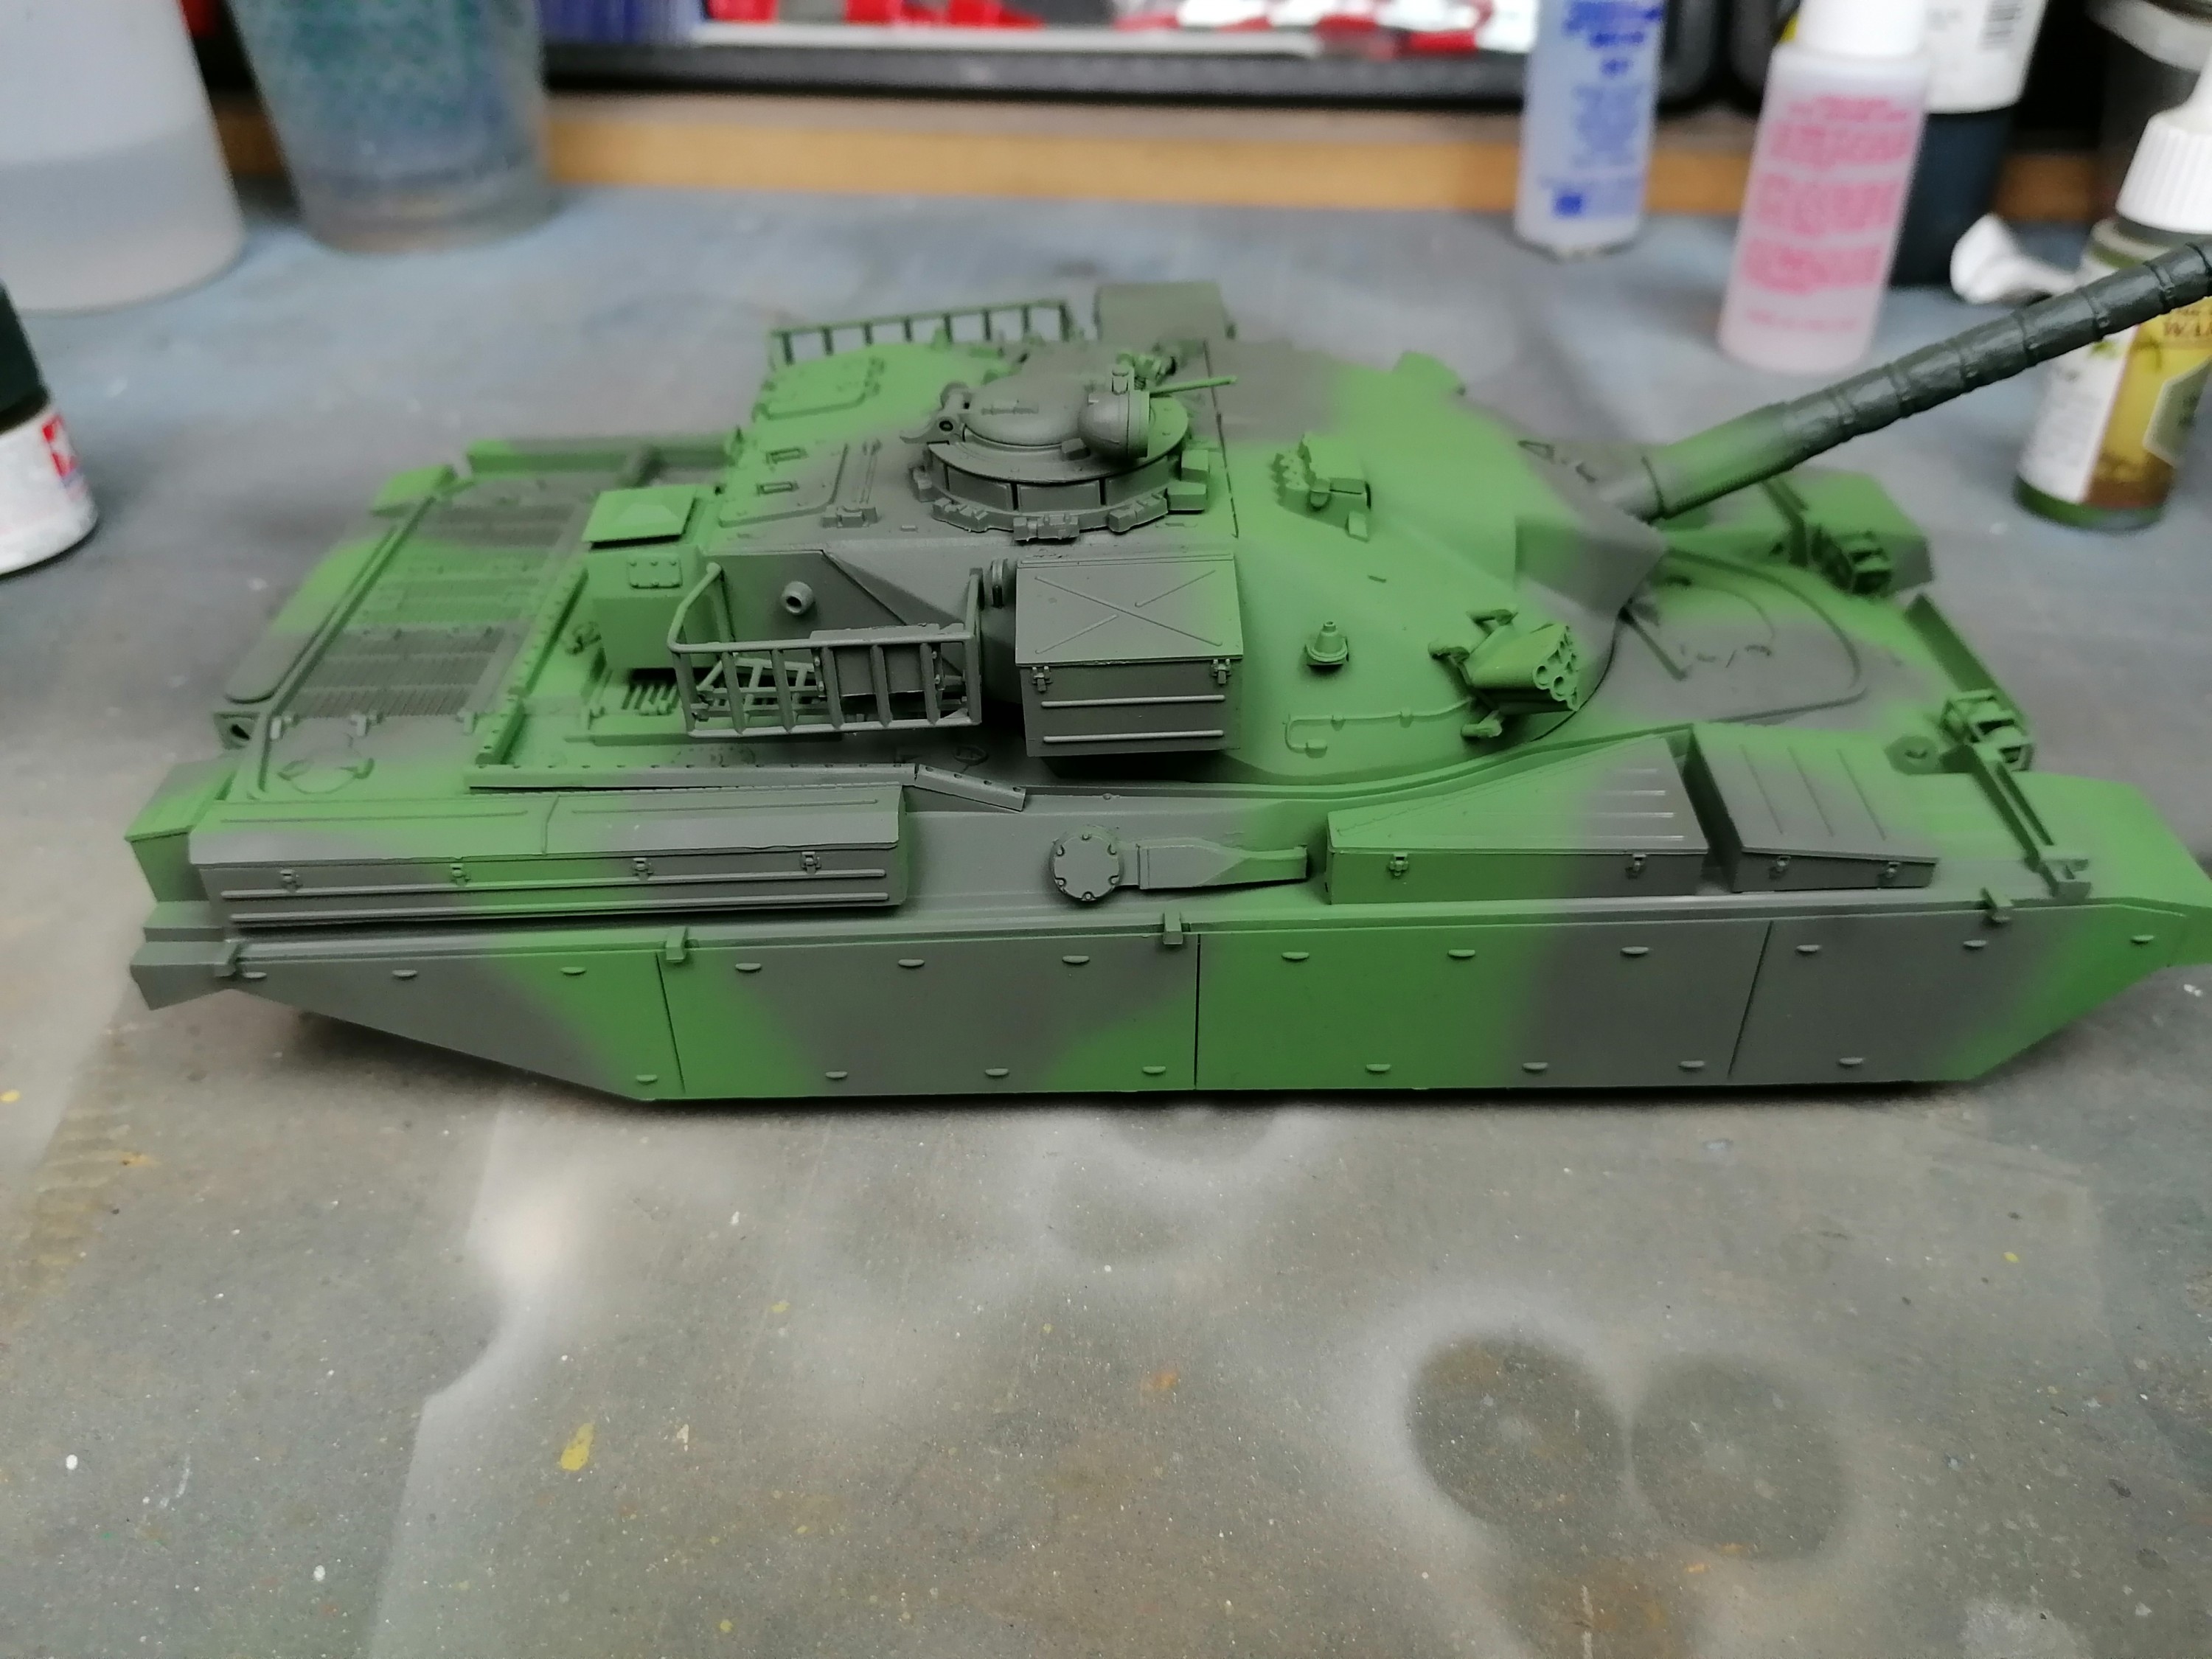
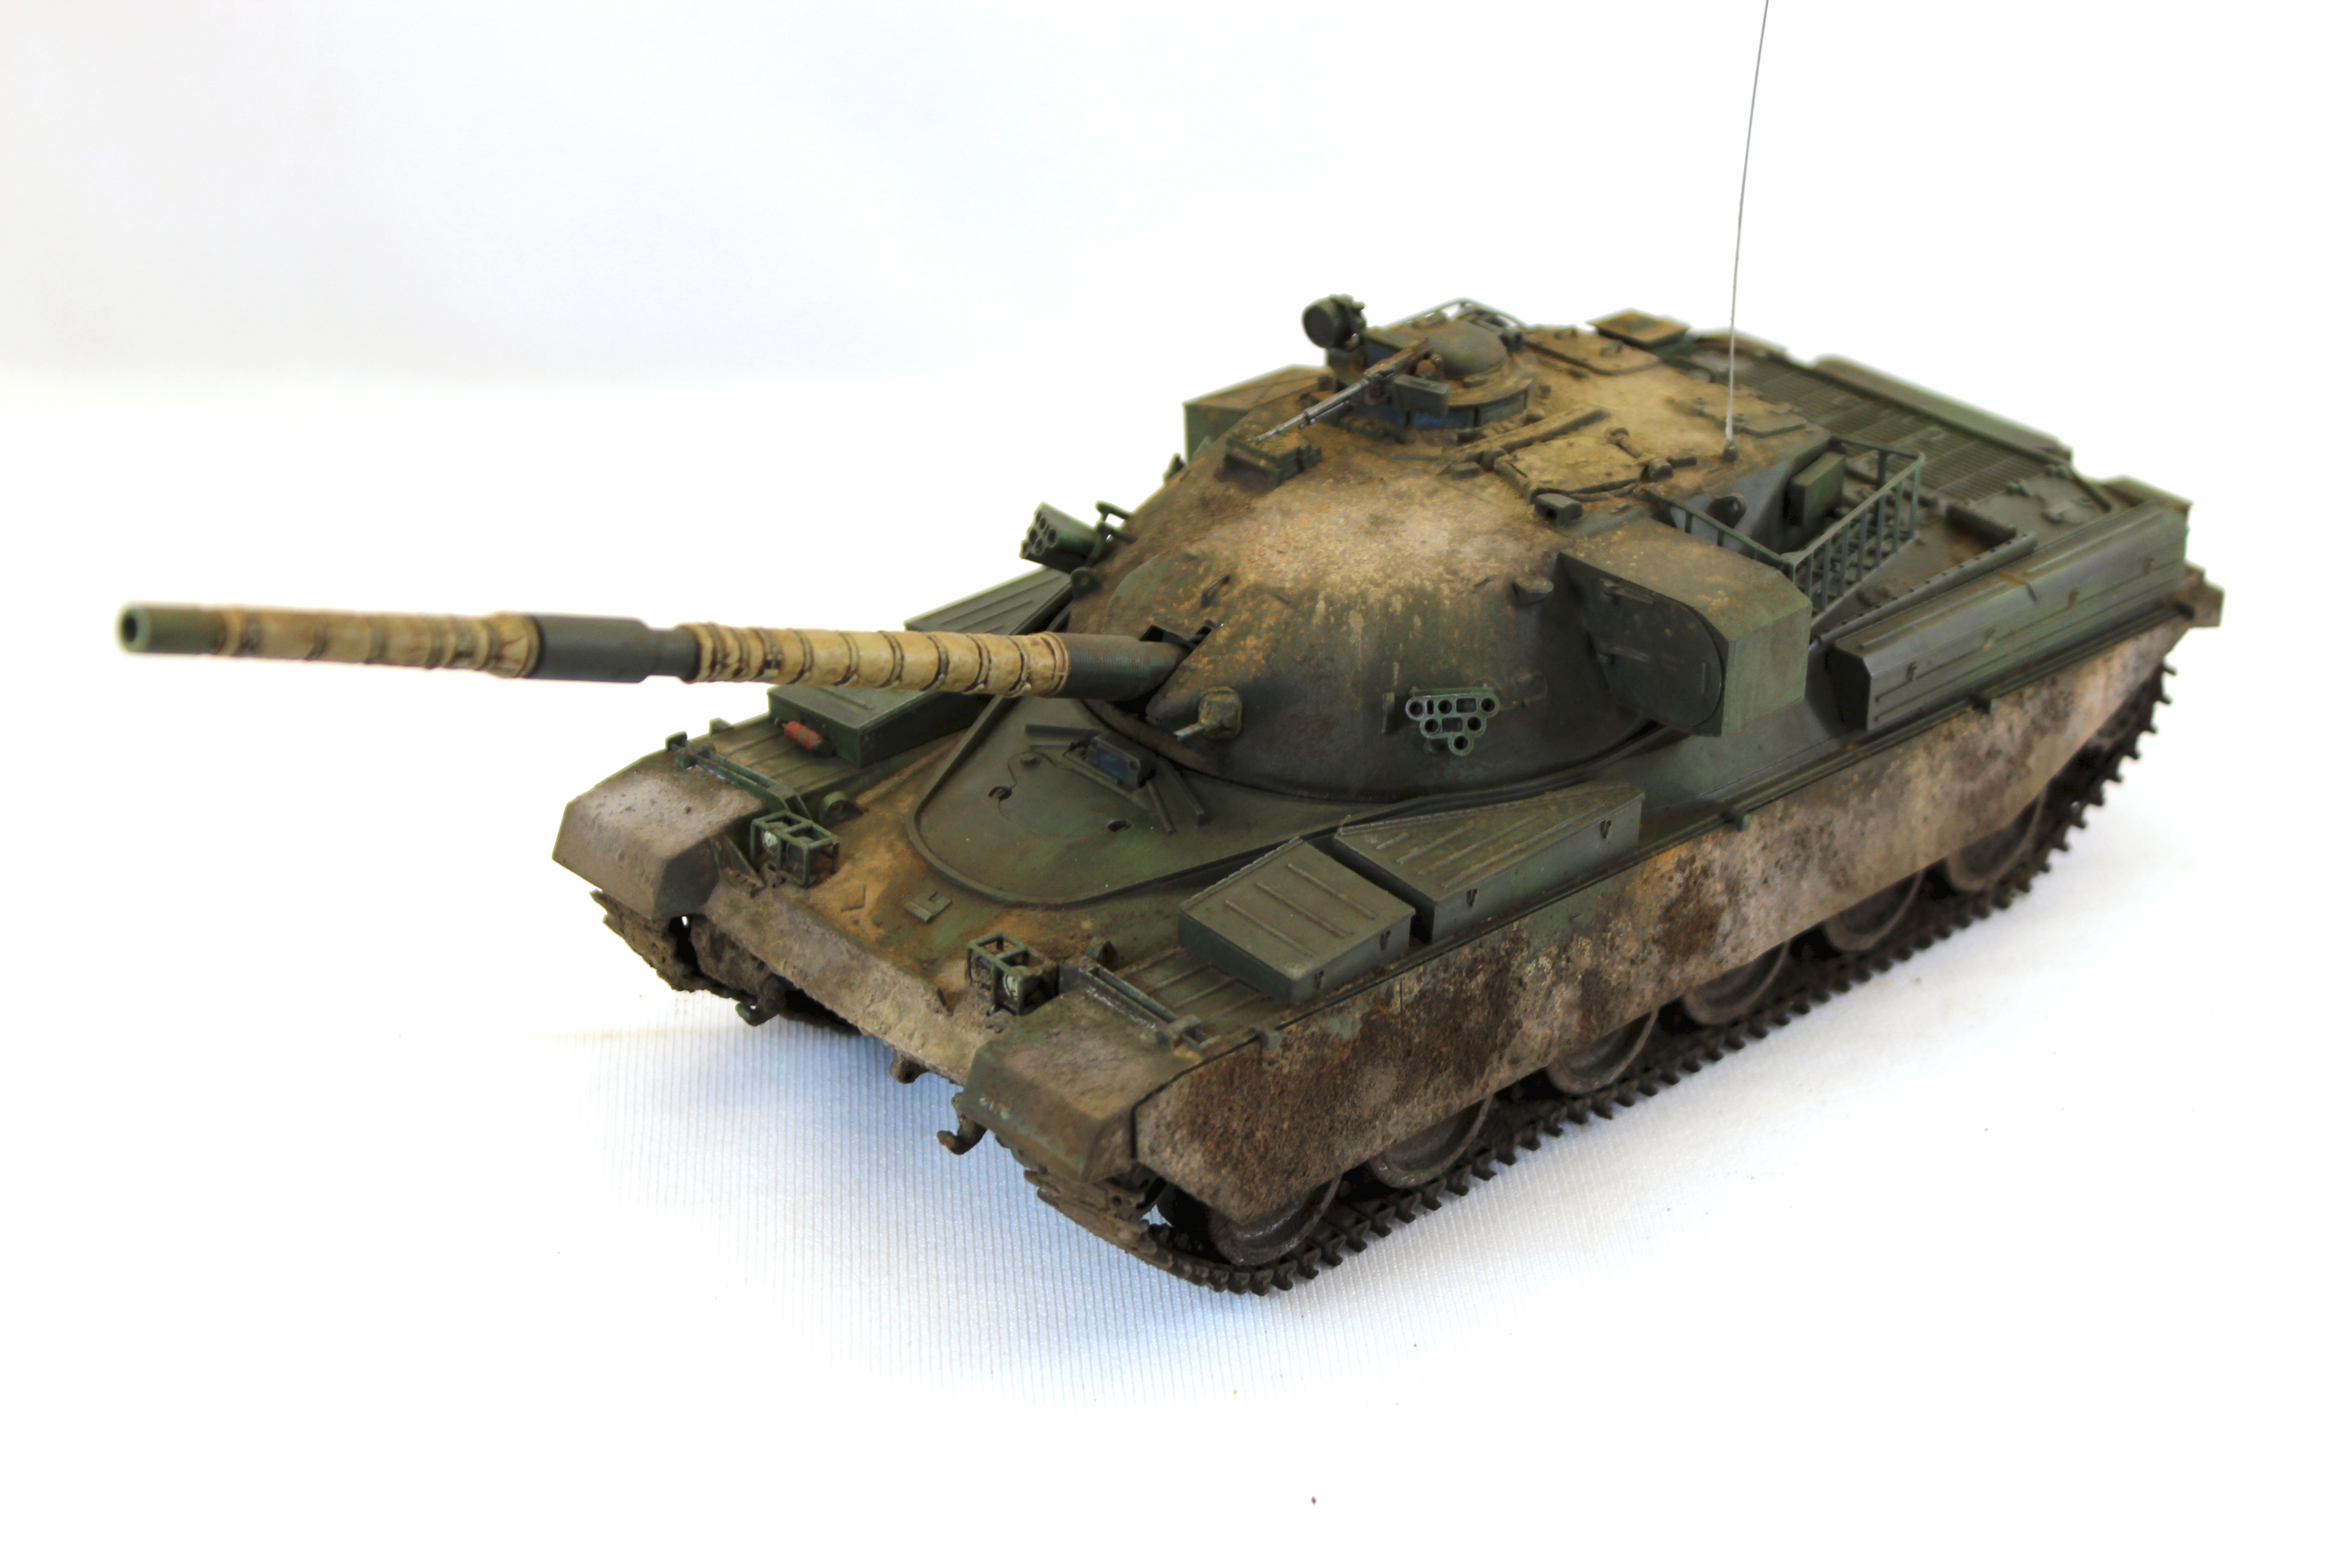
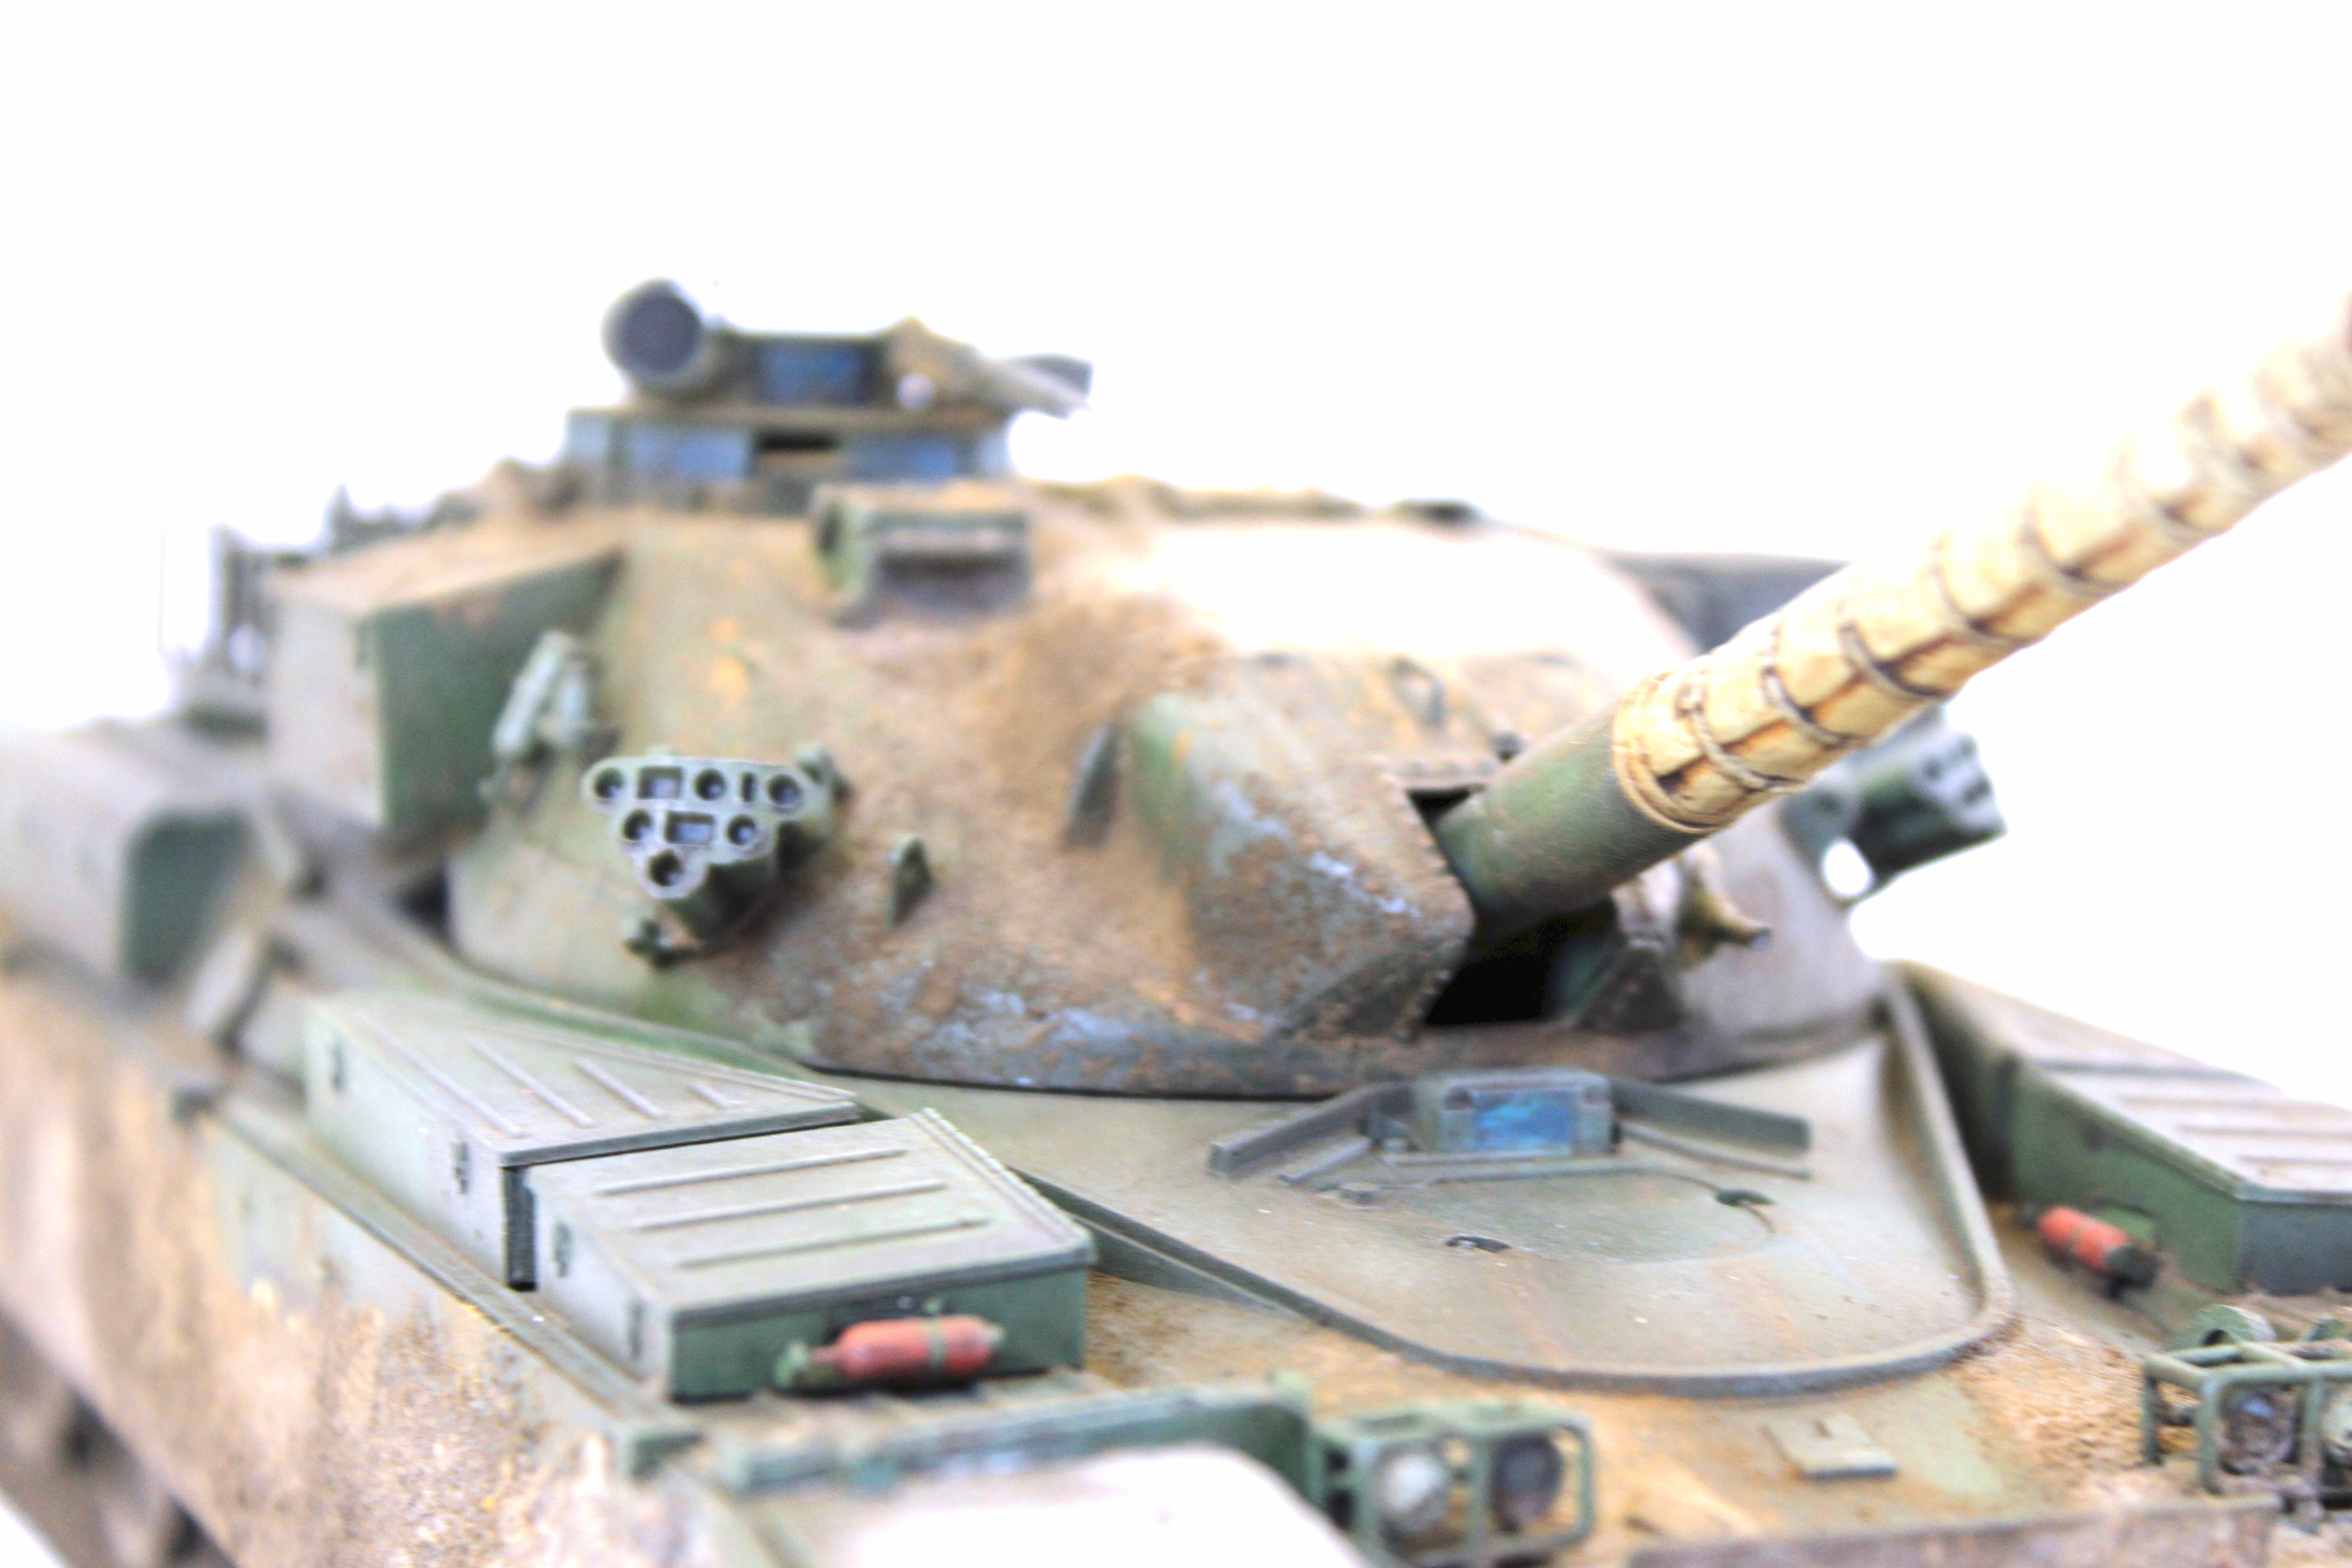
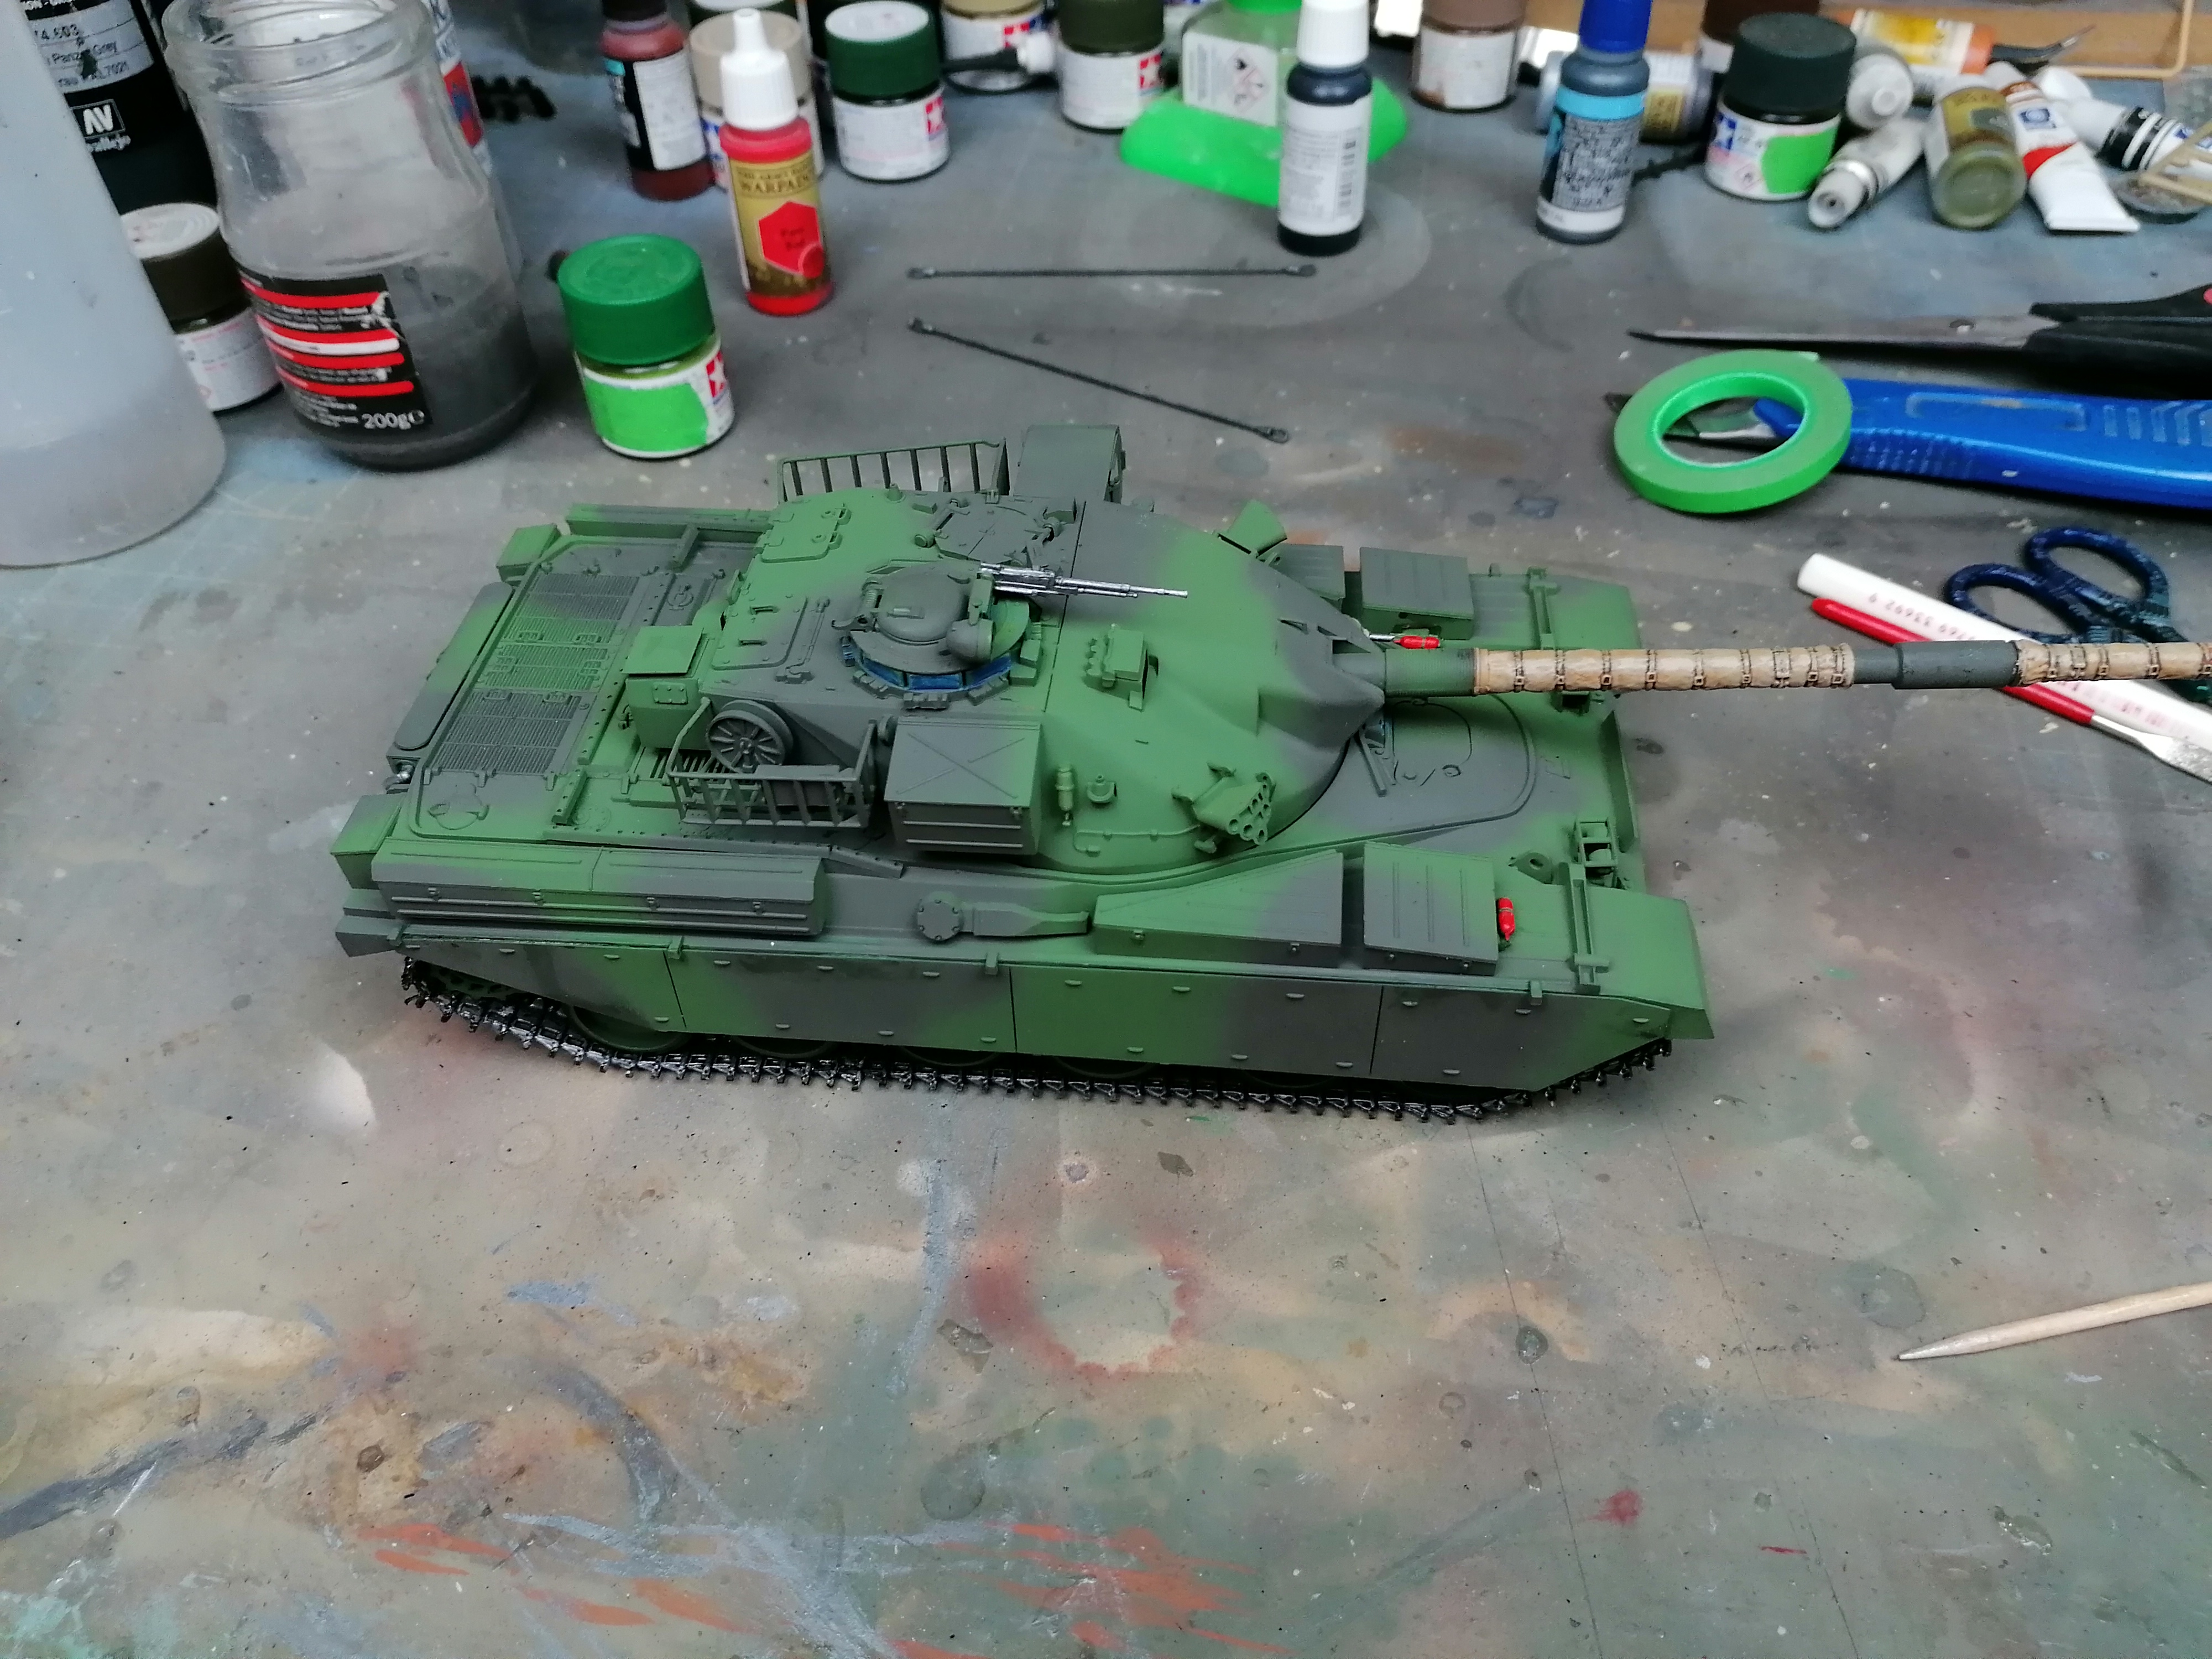
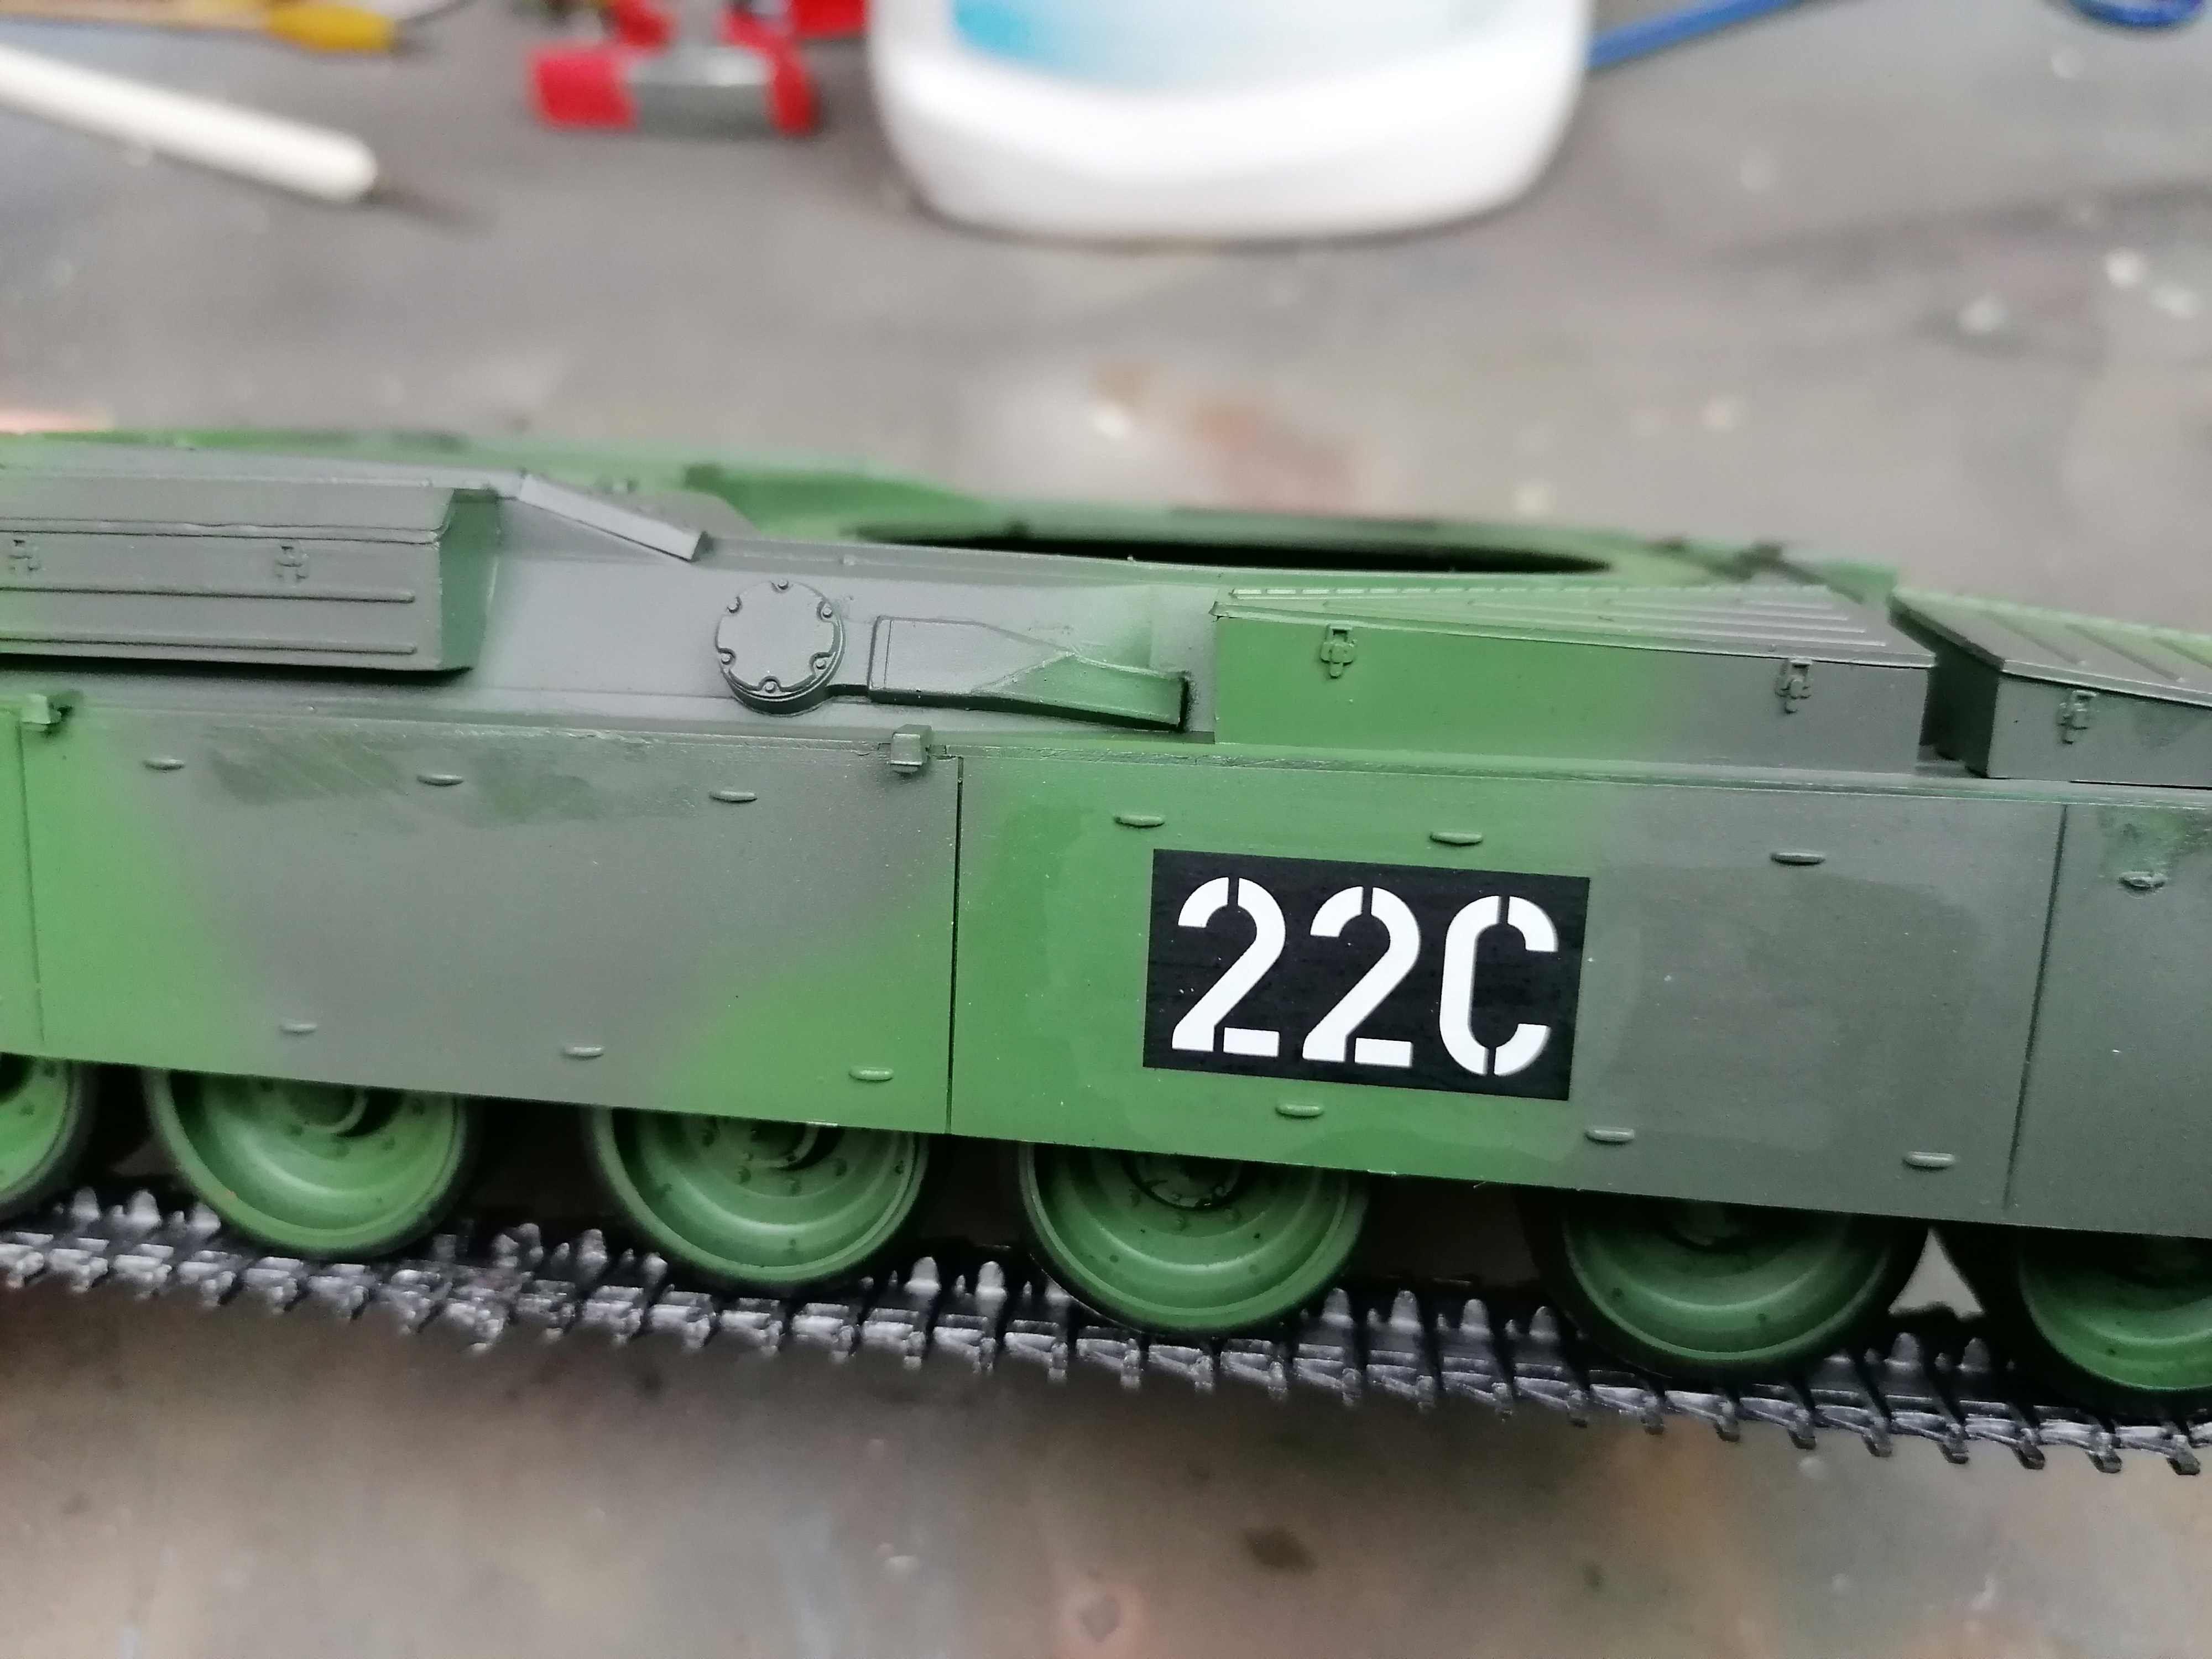
Quite a simple little paint job on this model tank kit. Firstly a coat of Tamiya XF 5 all over and then freehand with an airbrush with some Tamiya XXXXXX. After that, it was just a case of doing the detail work of the barrel cover, lights and windows.


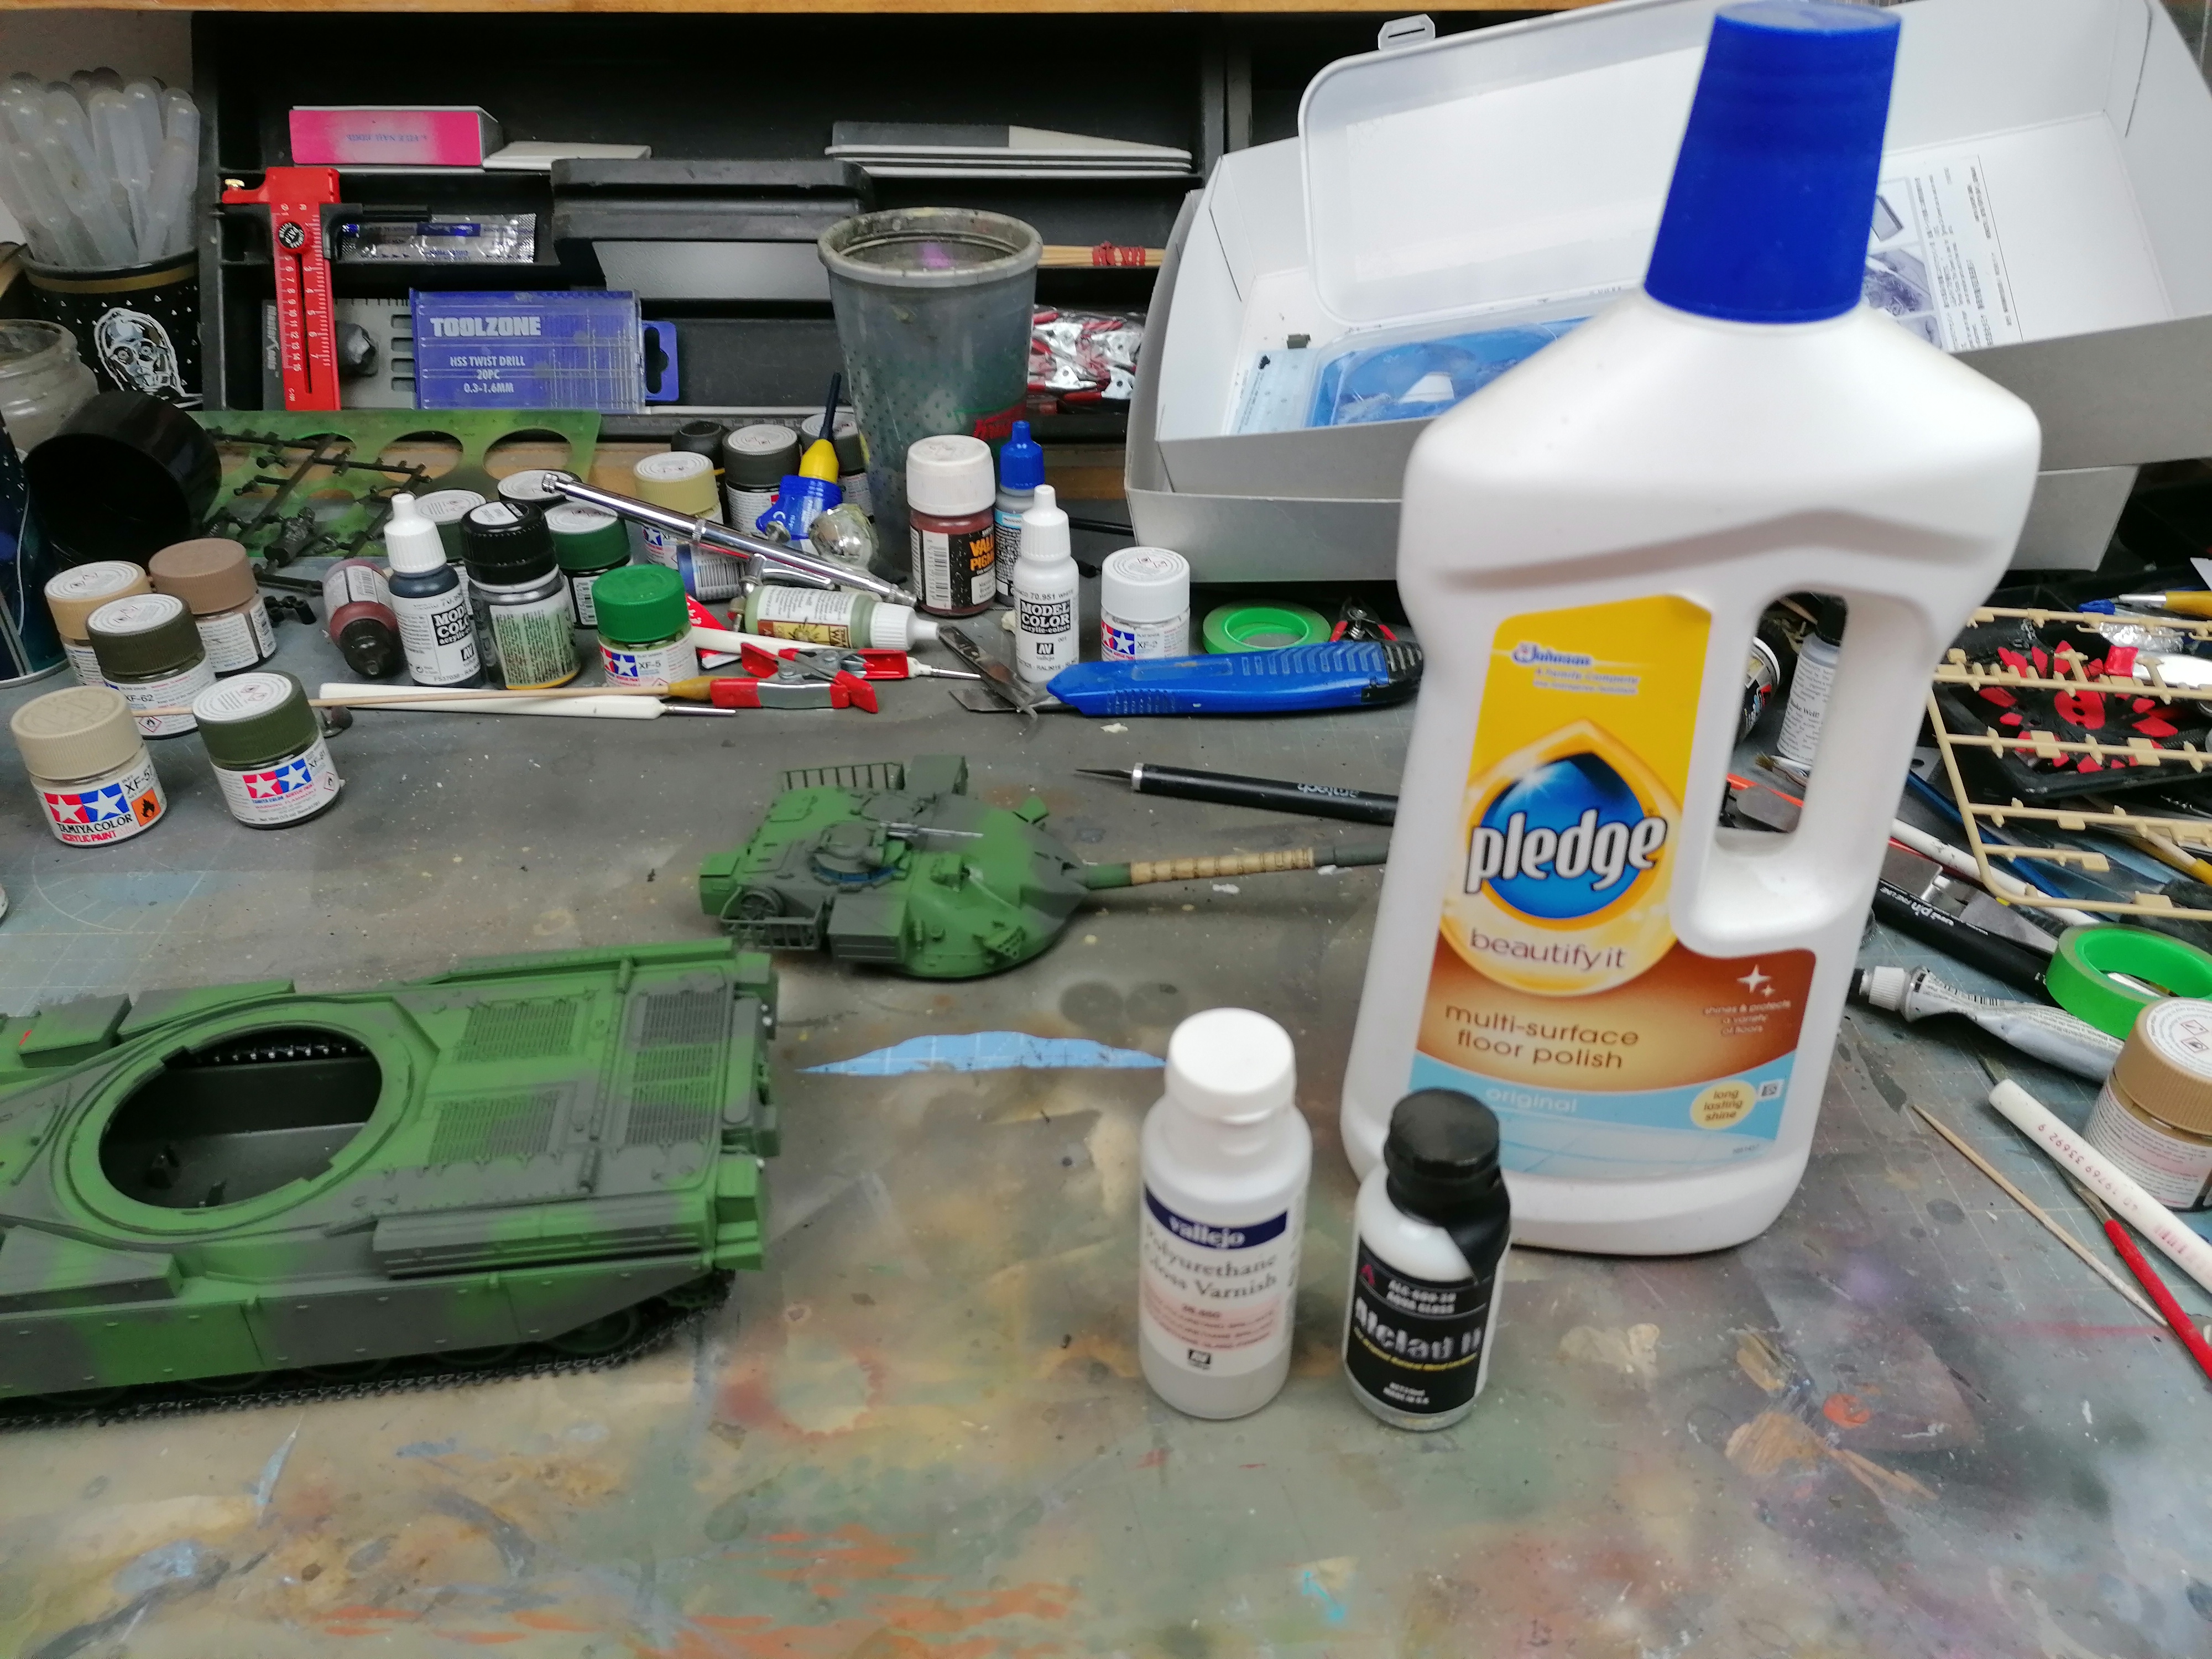
I have heard a lot of people using Pledge as a clearcoat, it is priced so much more reasonably than scale model varnish. It has seemed to go alright but I will need to test a few more times until I’m happy.
Final Stages Of Weathering
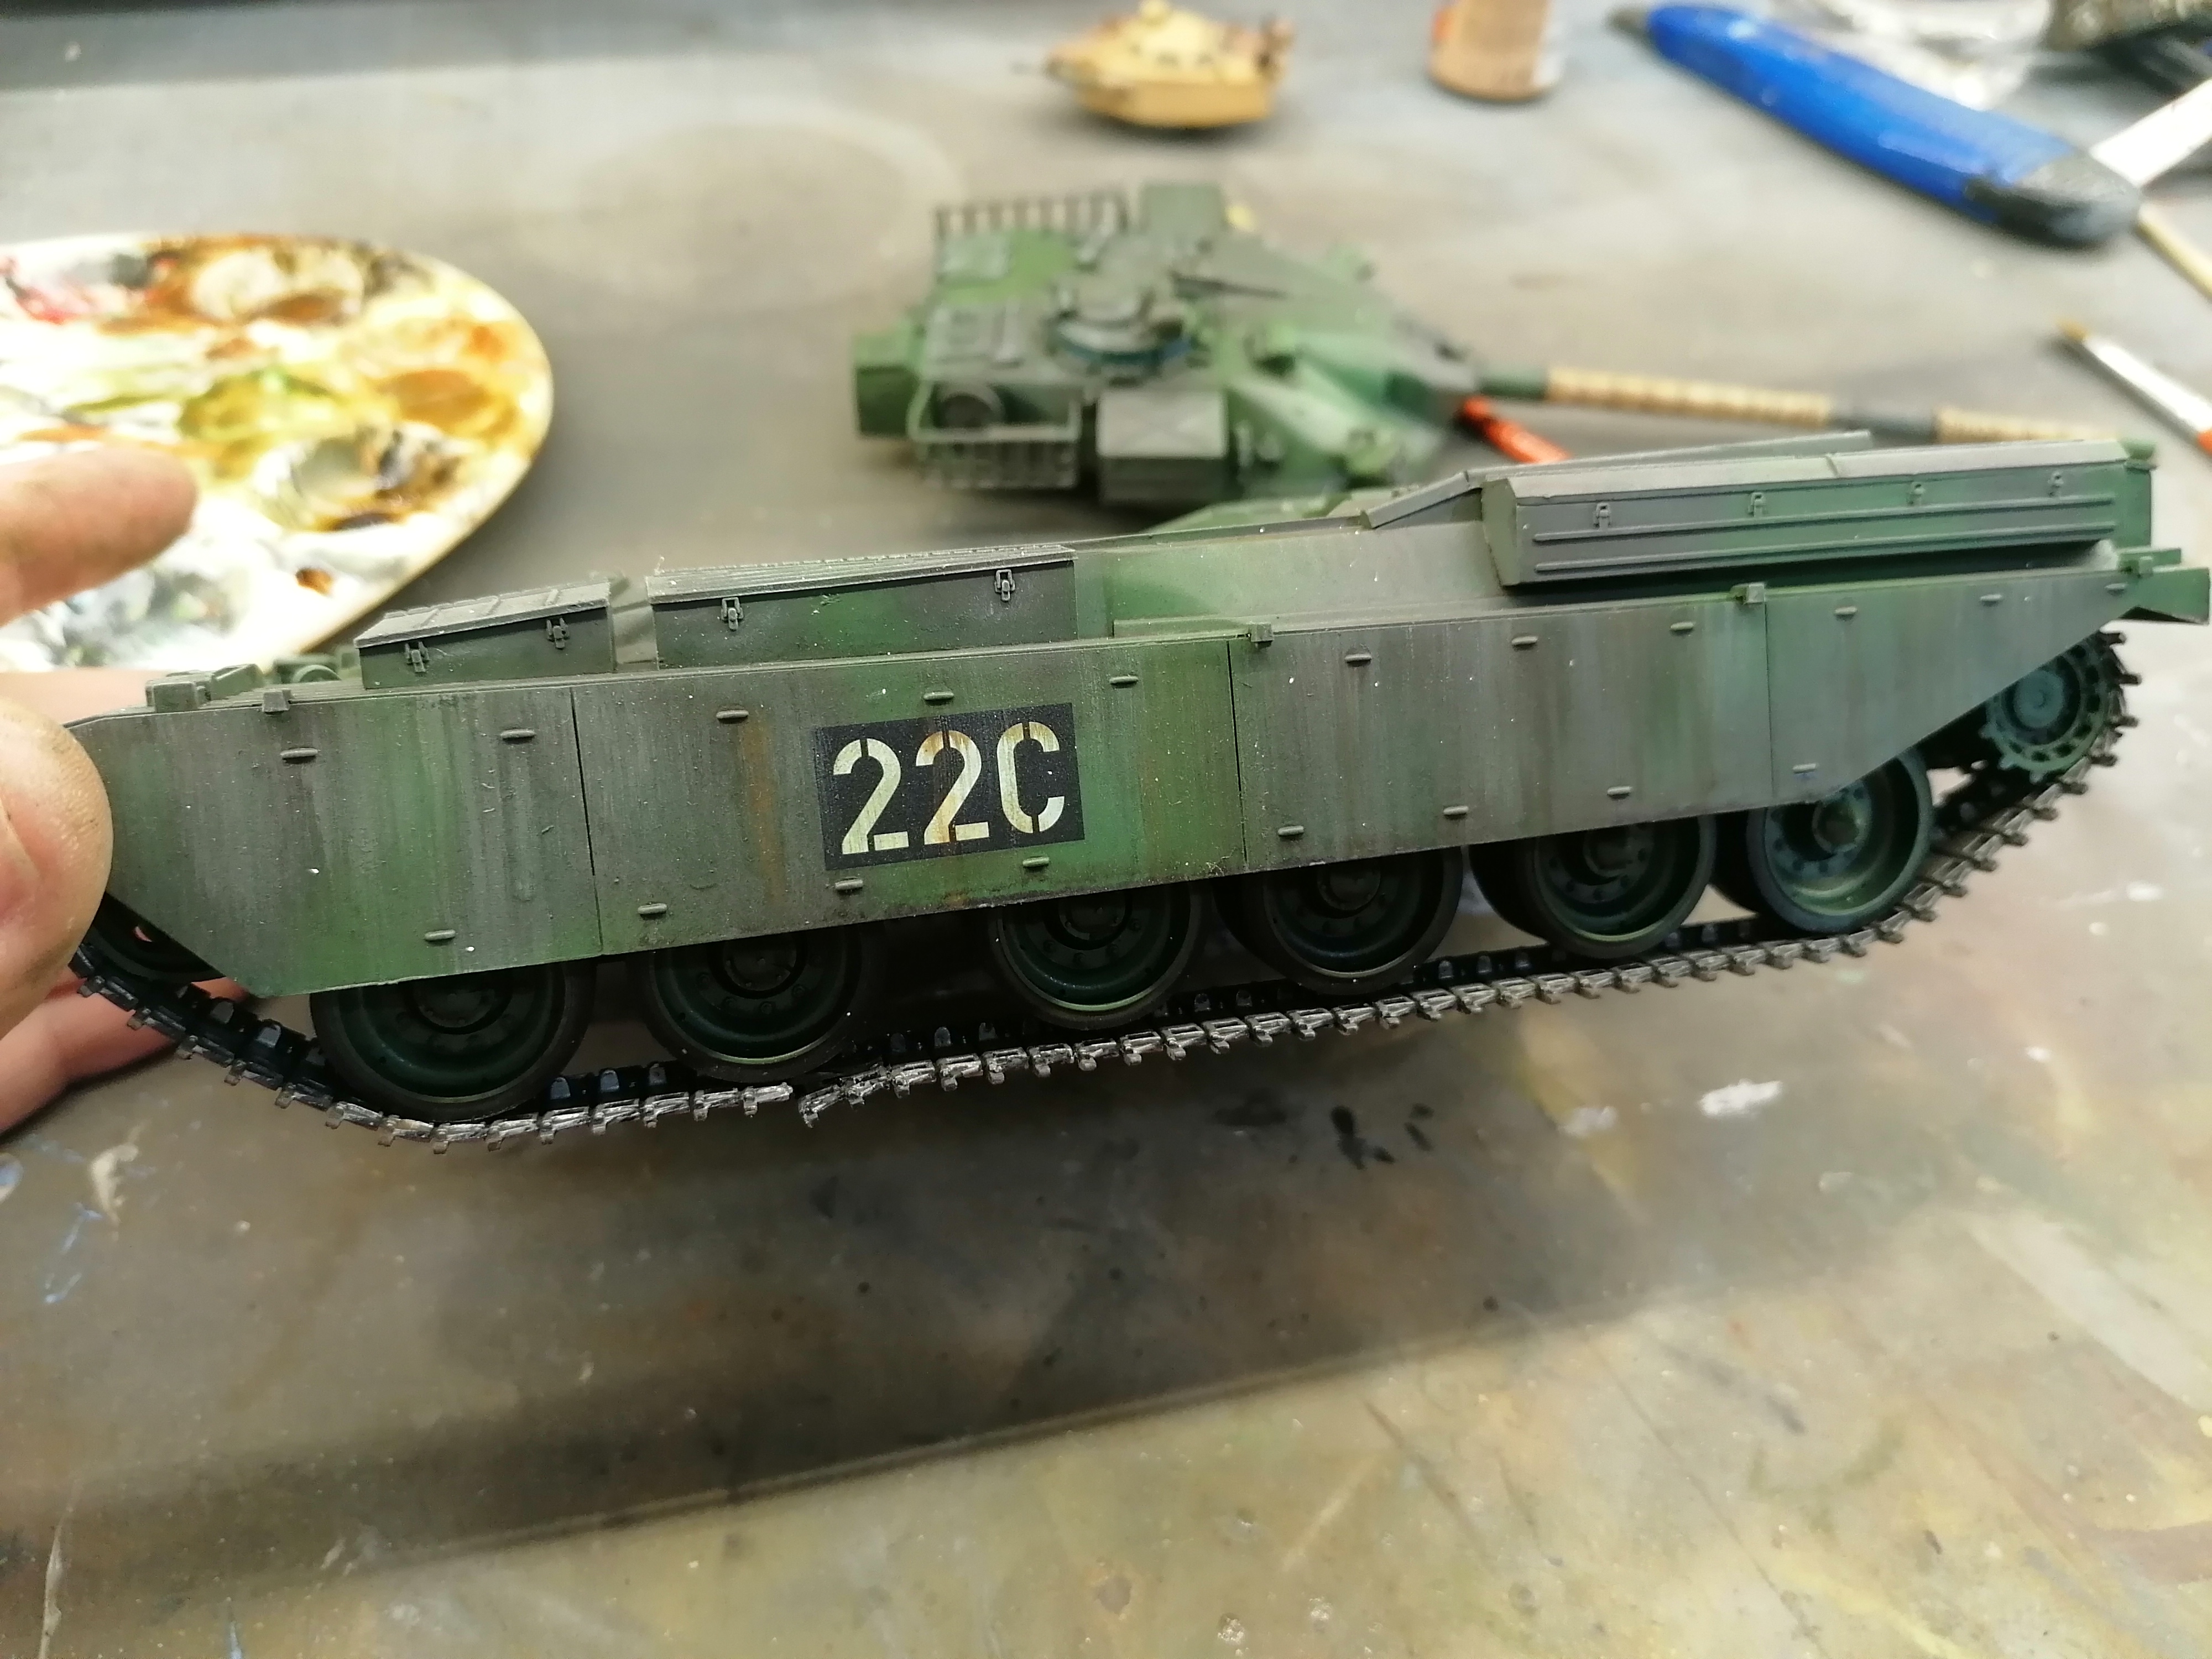

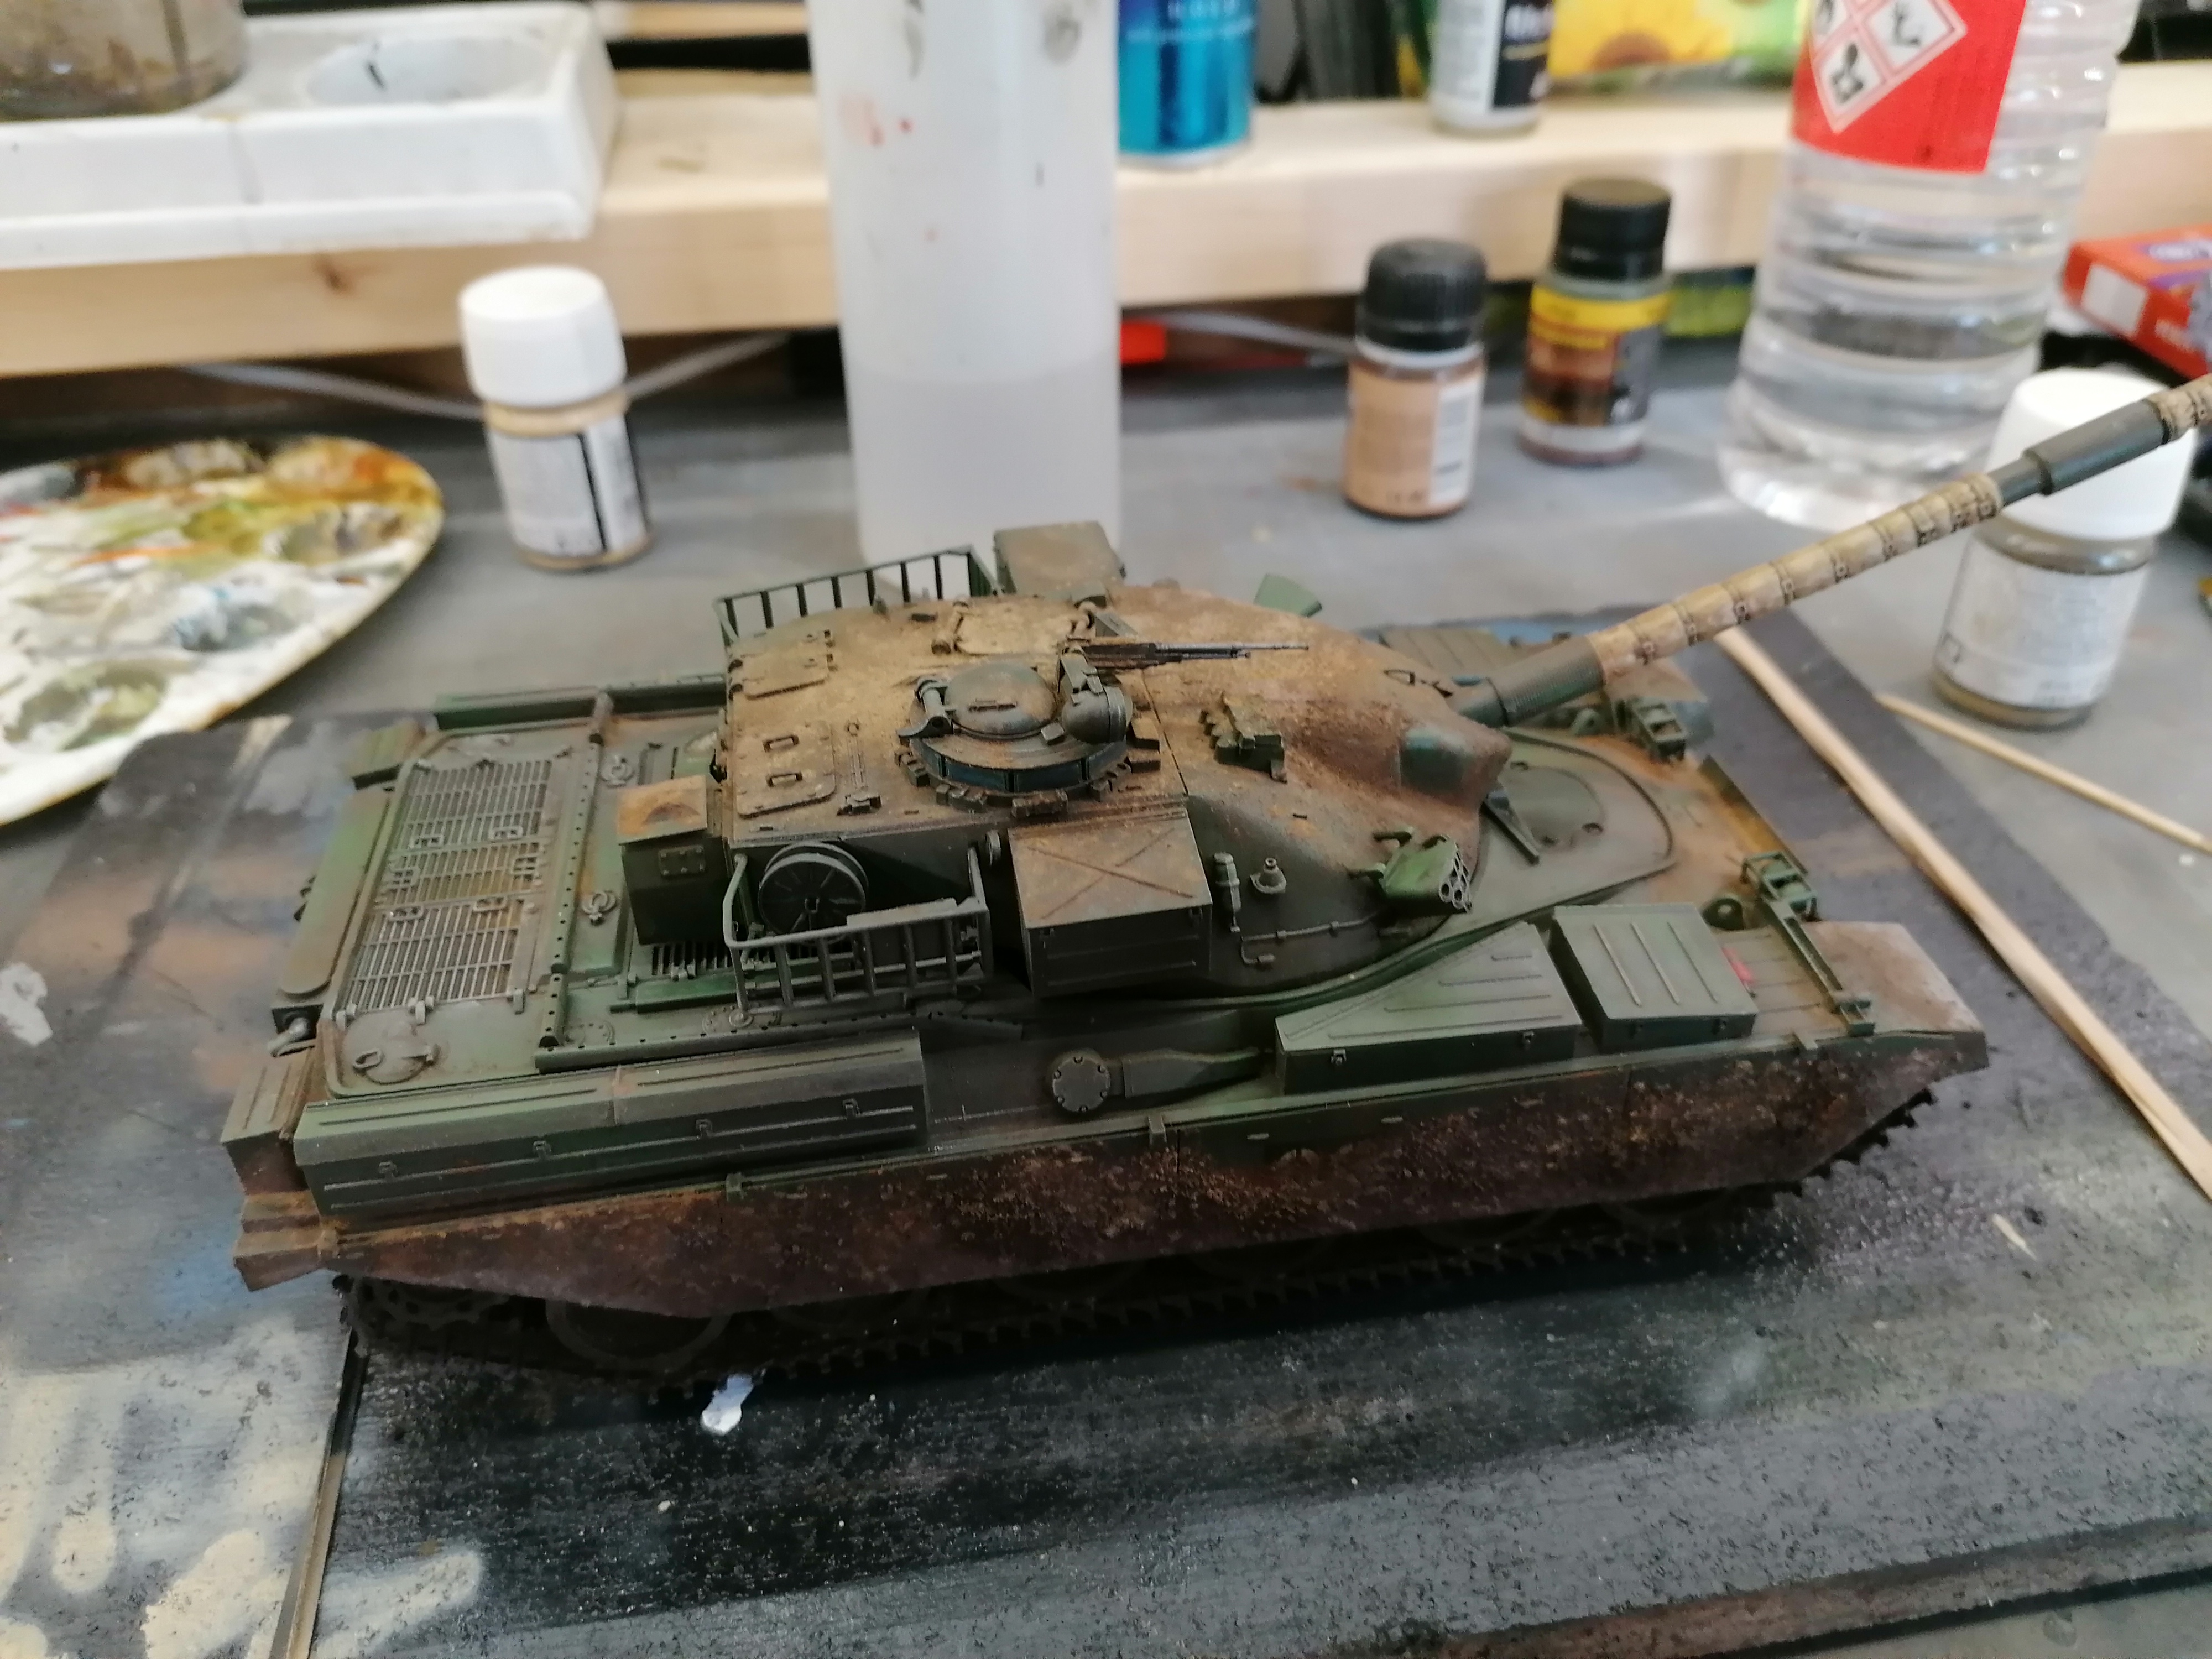
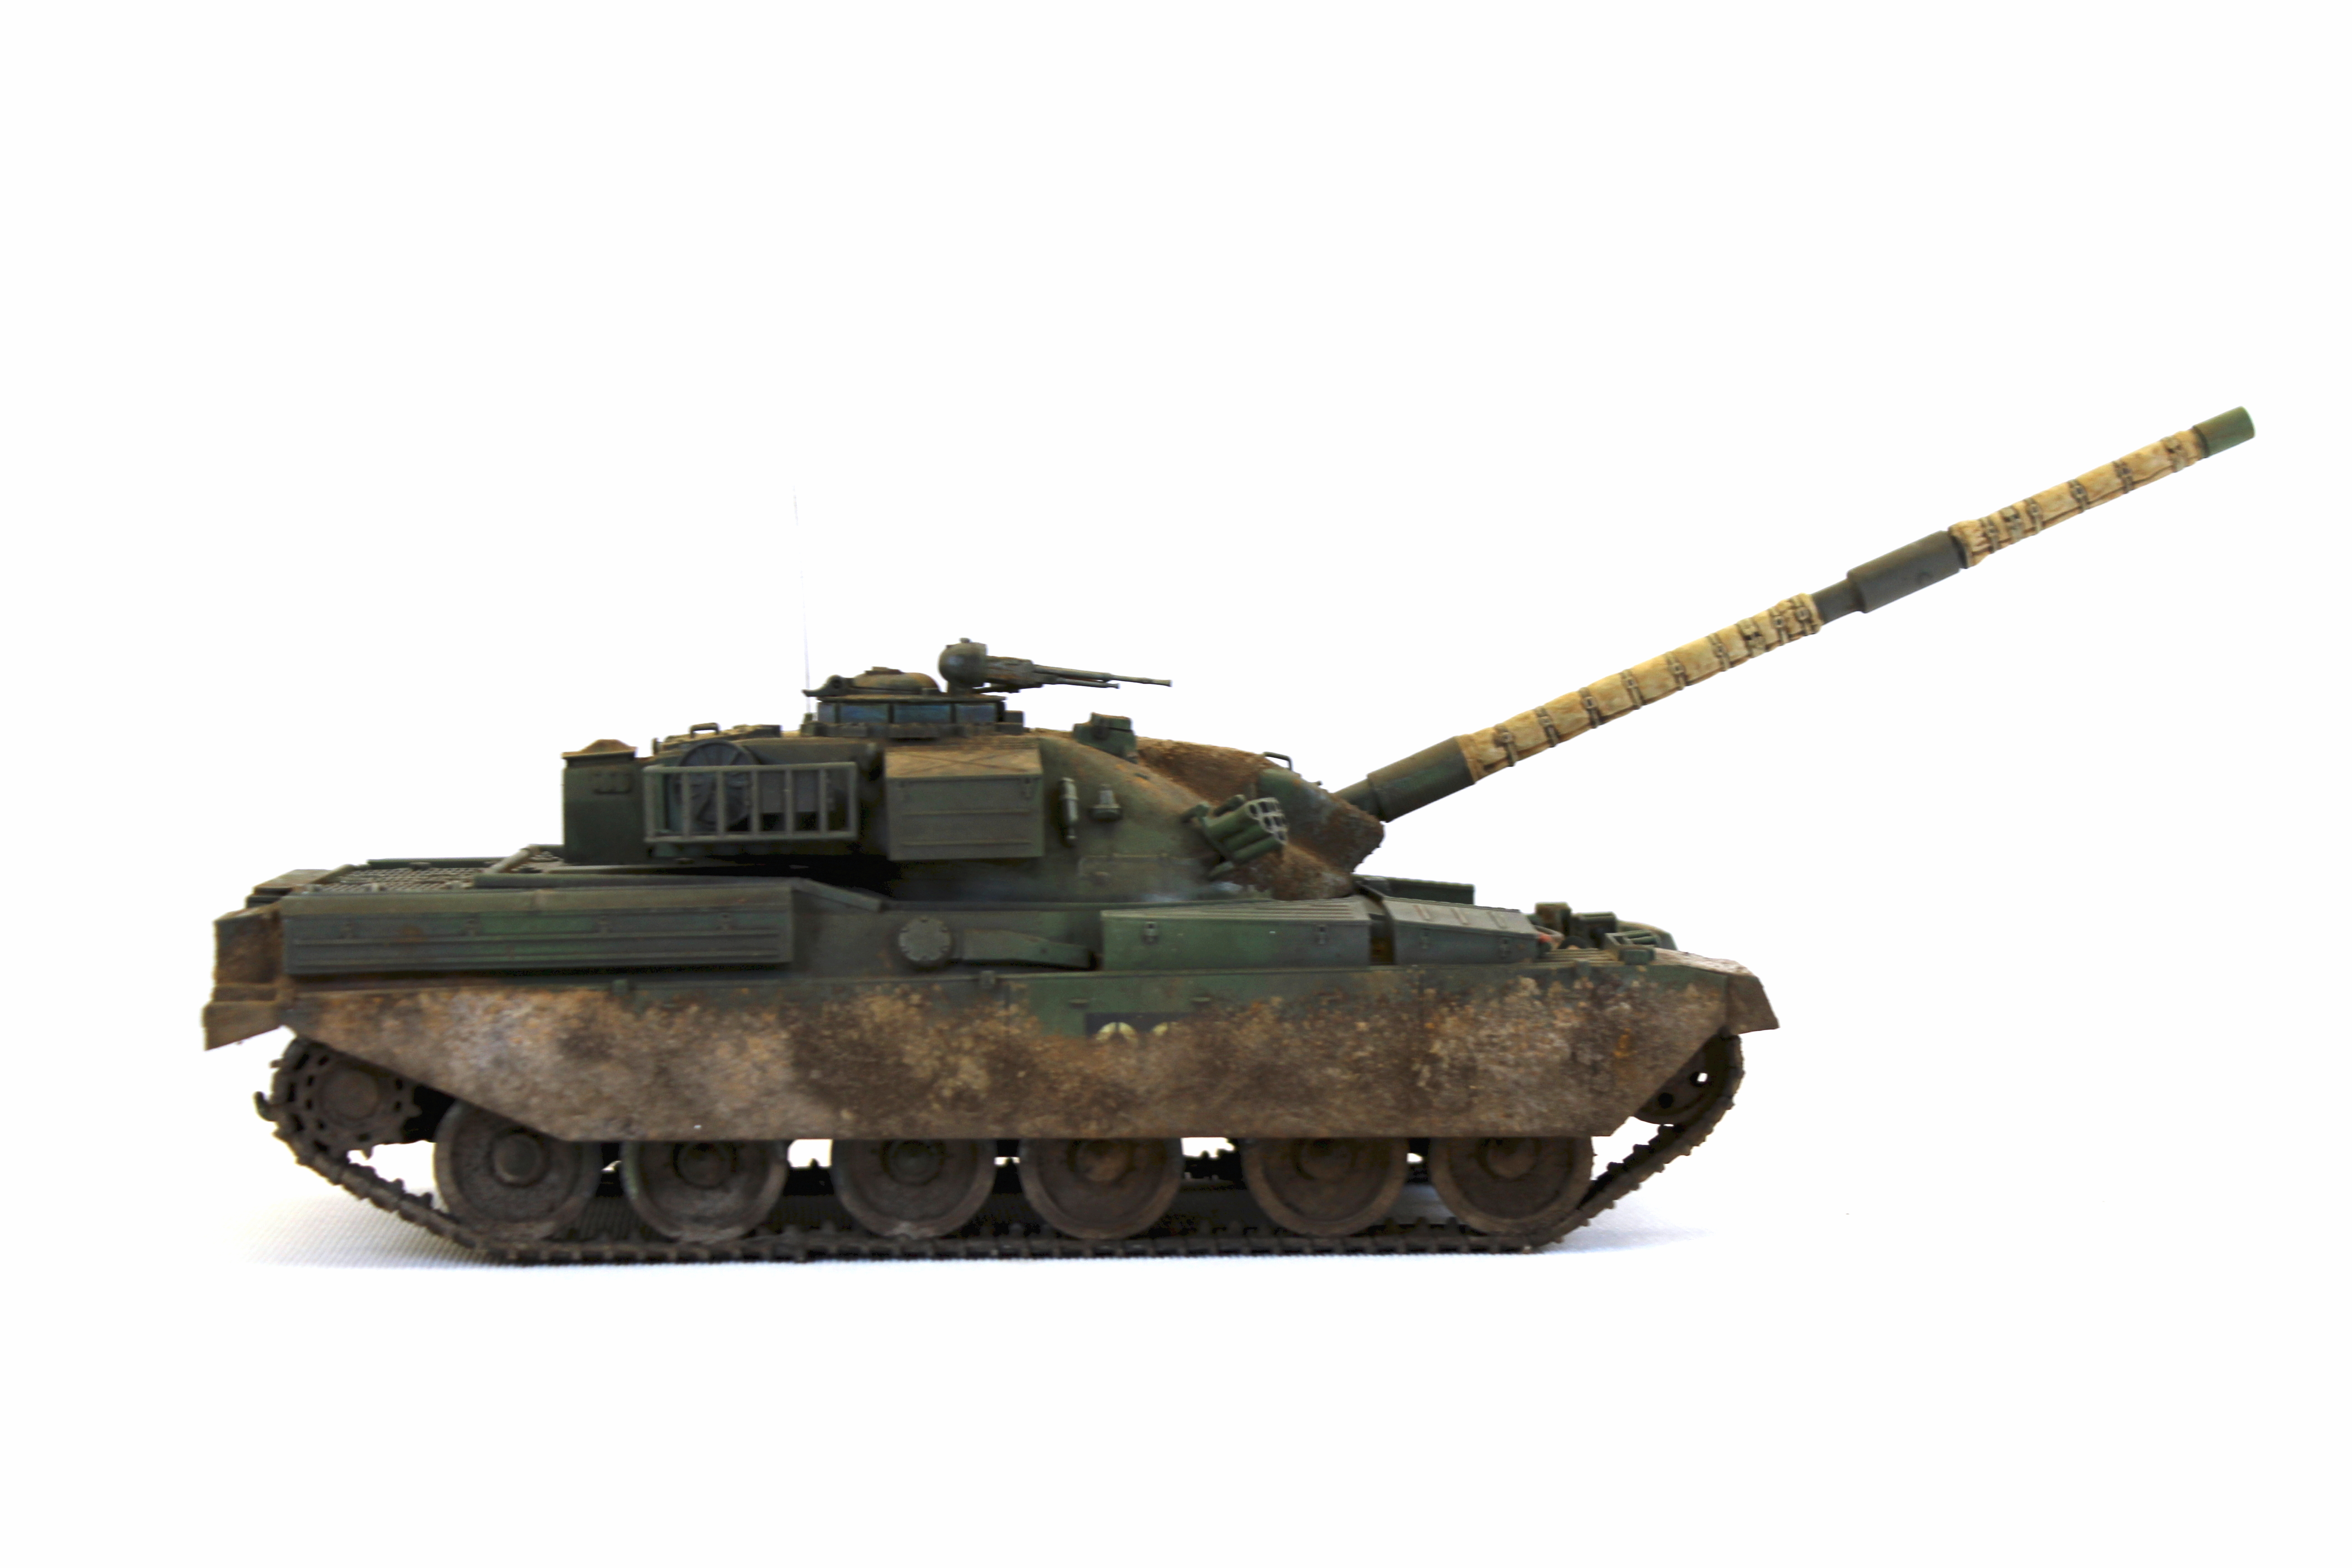
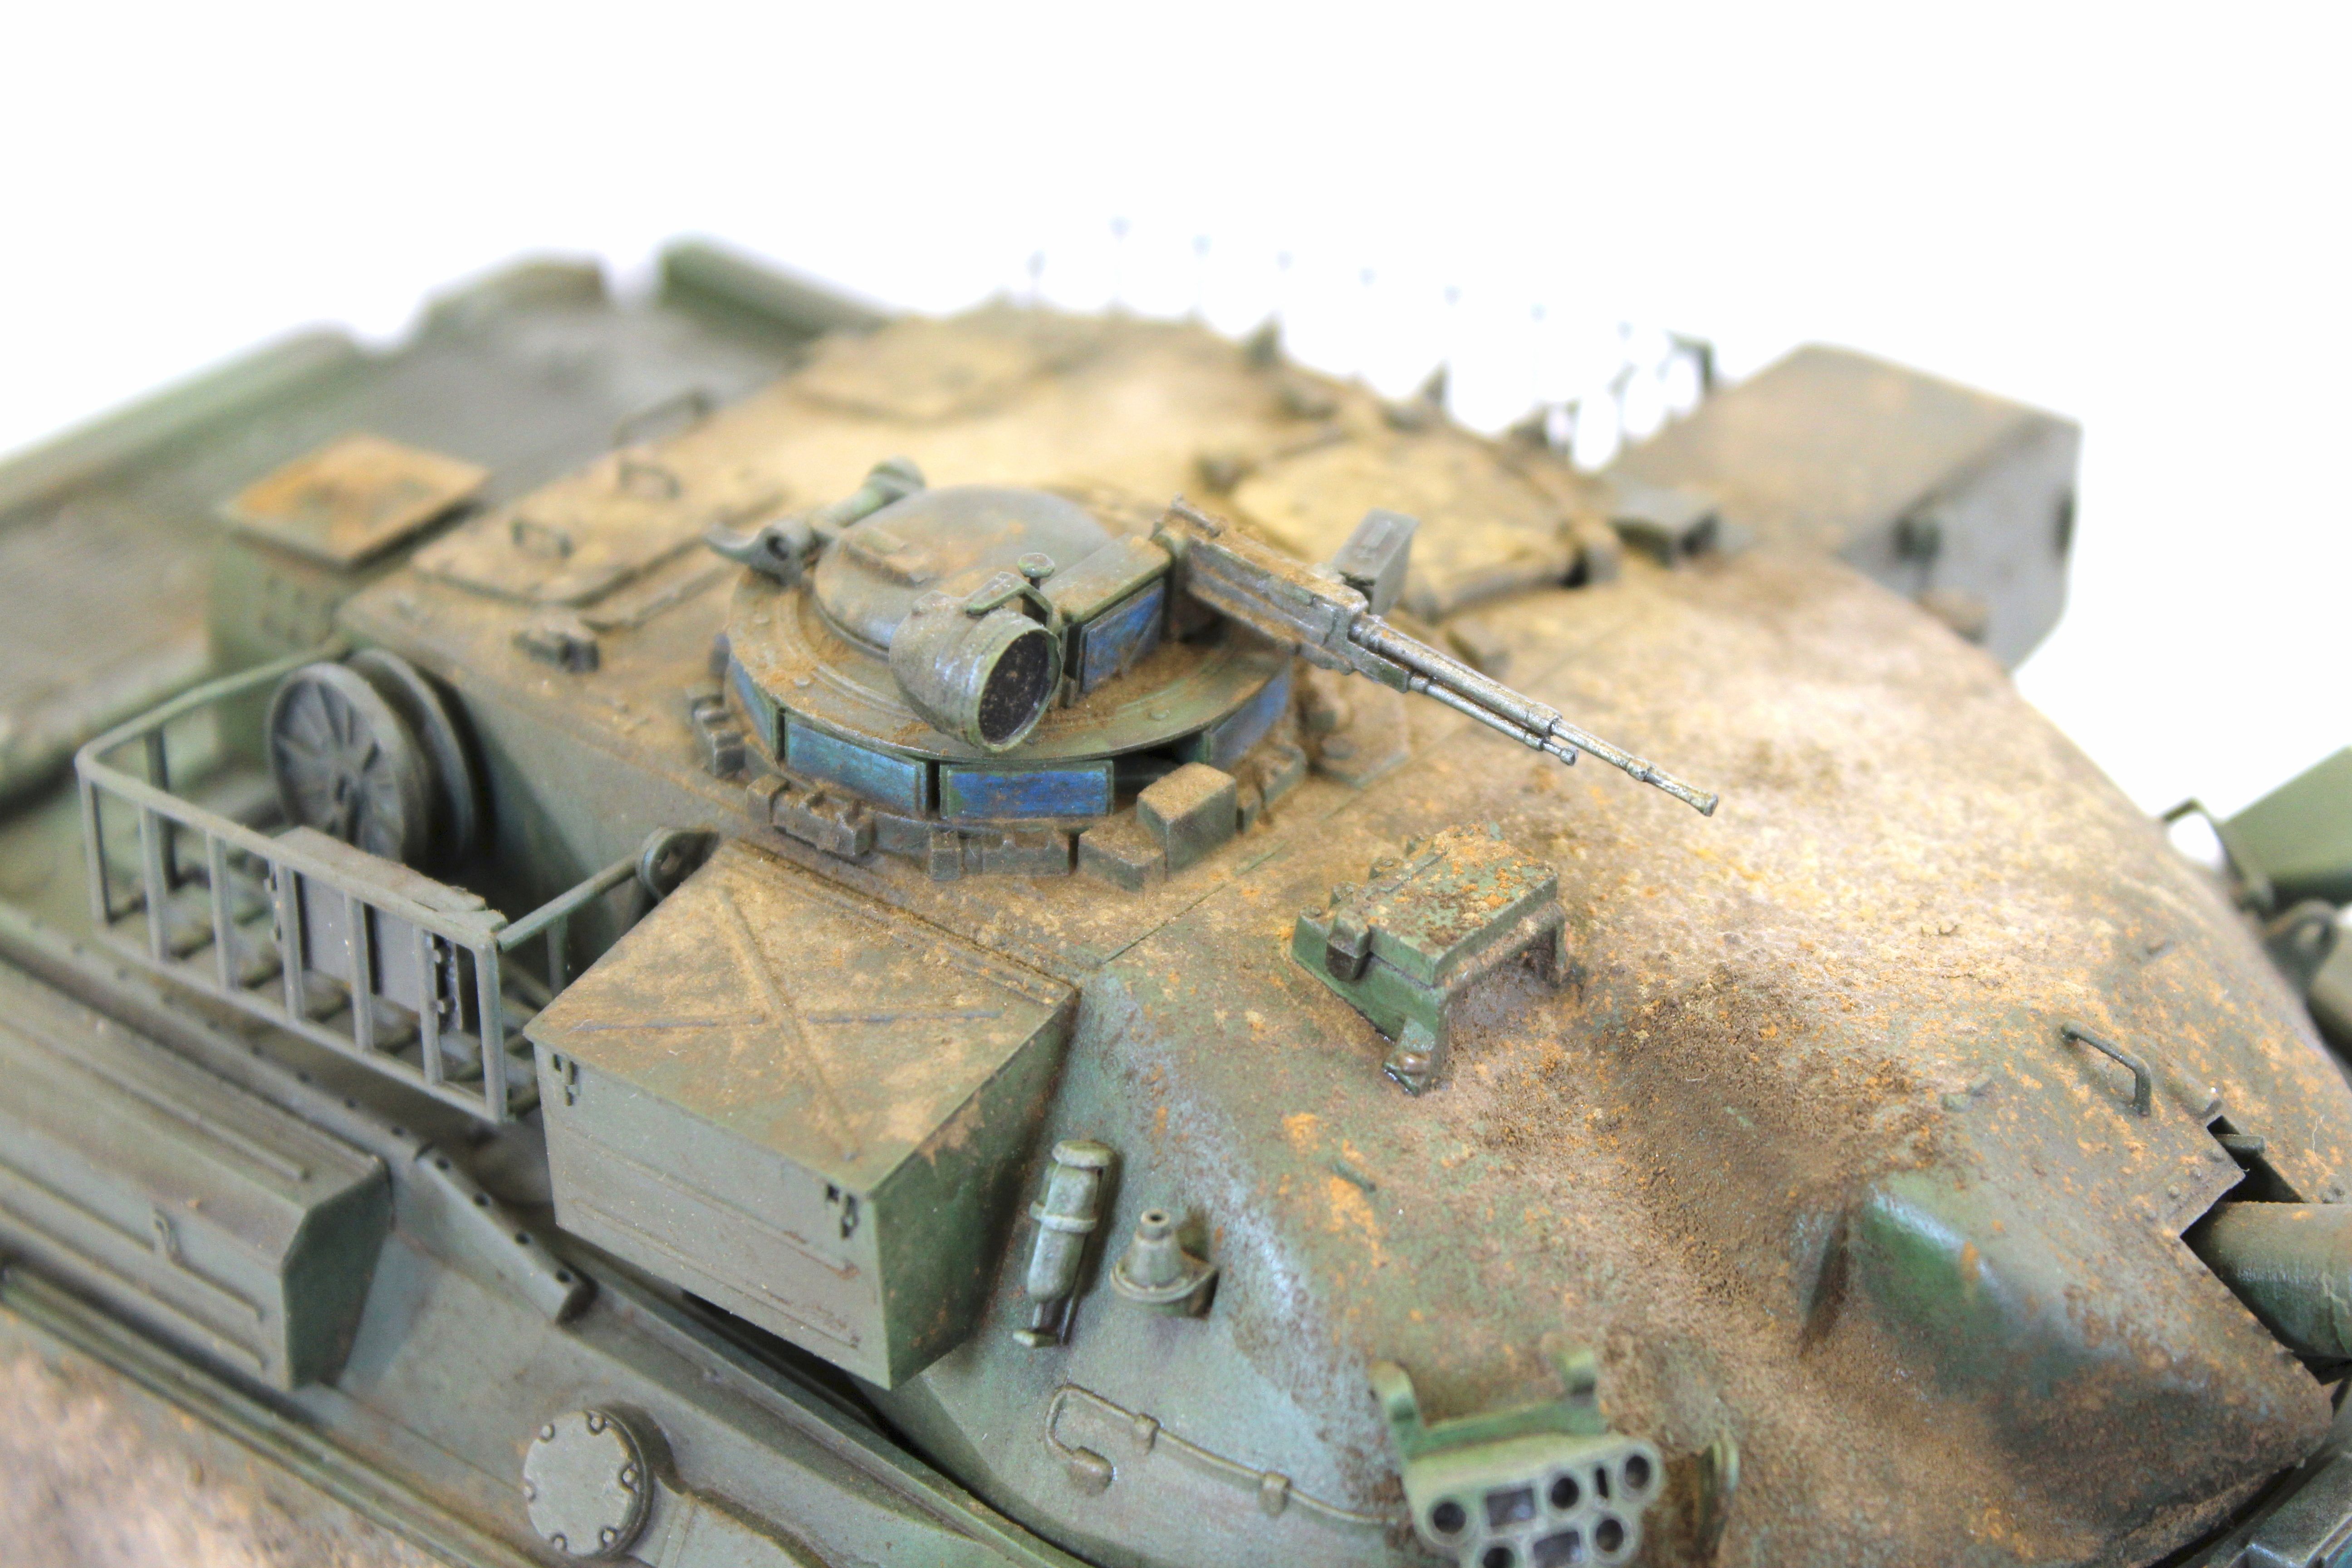
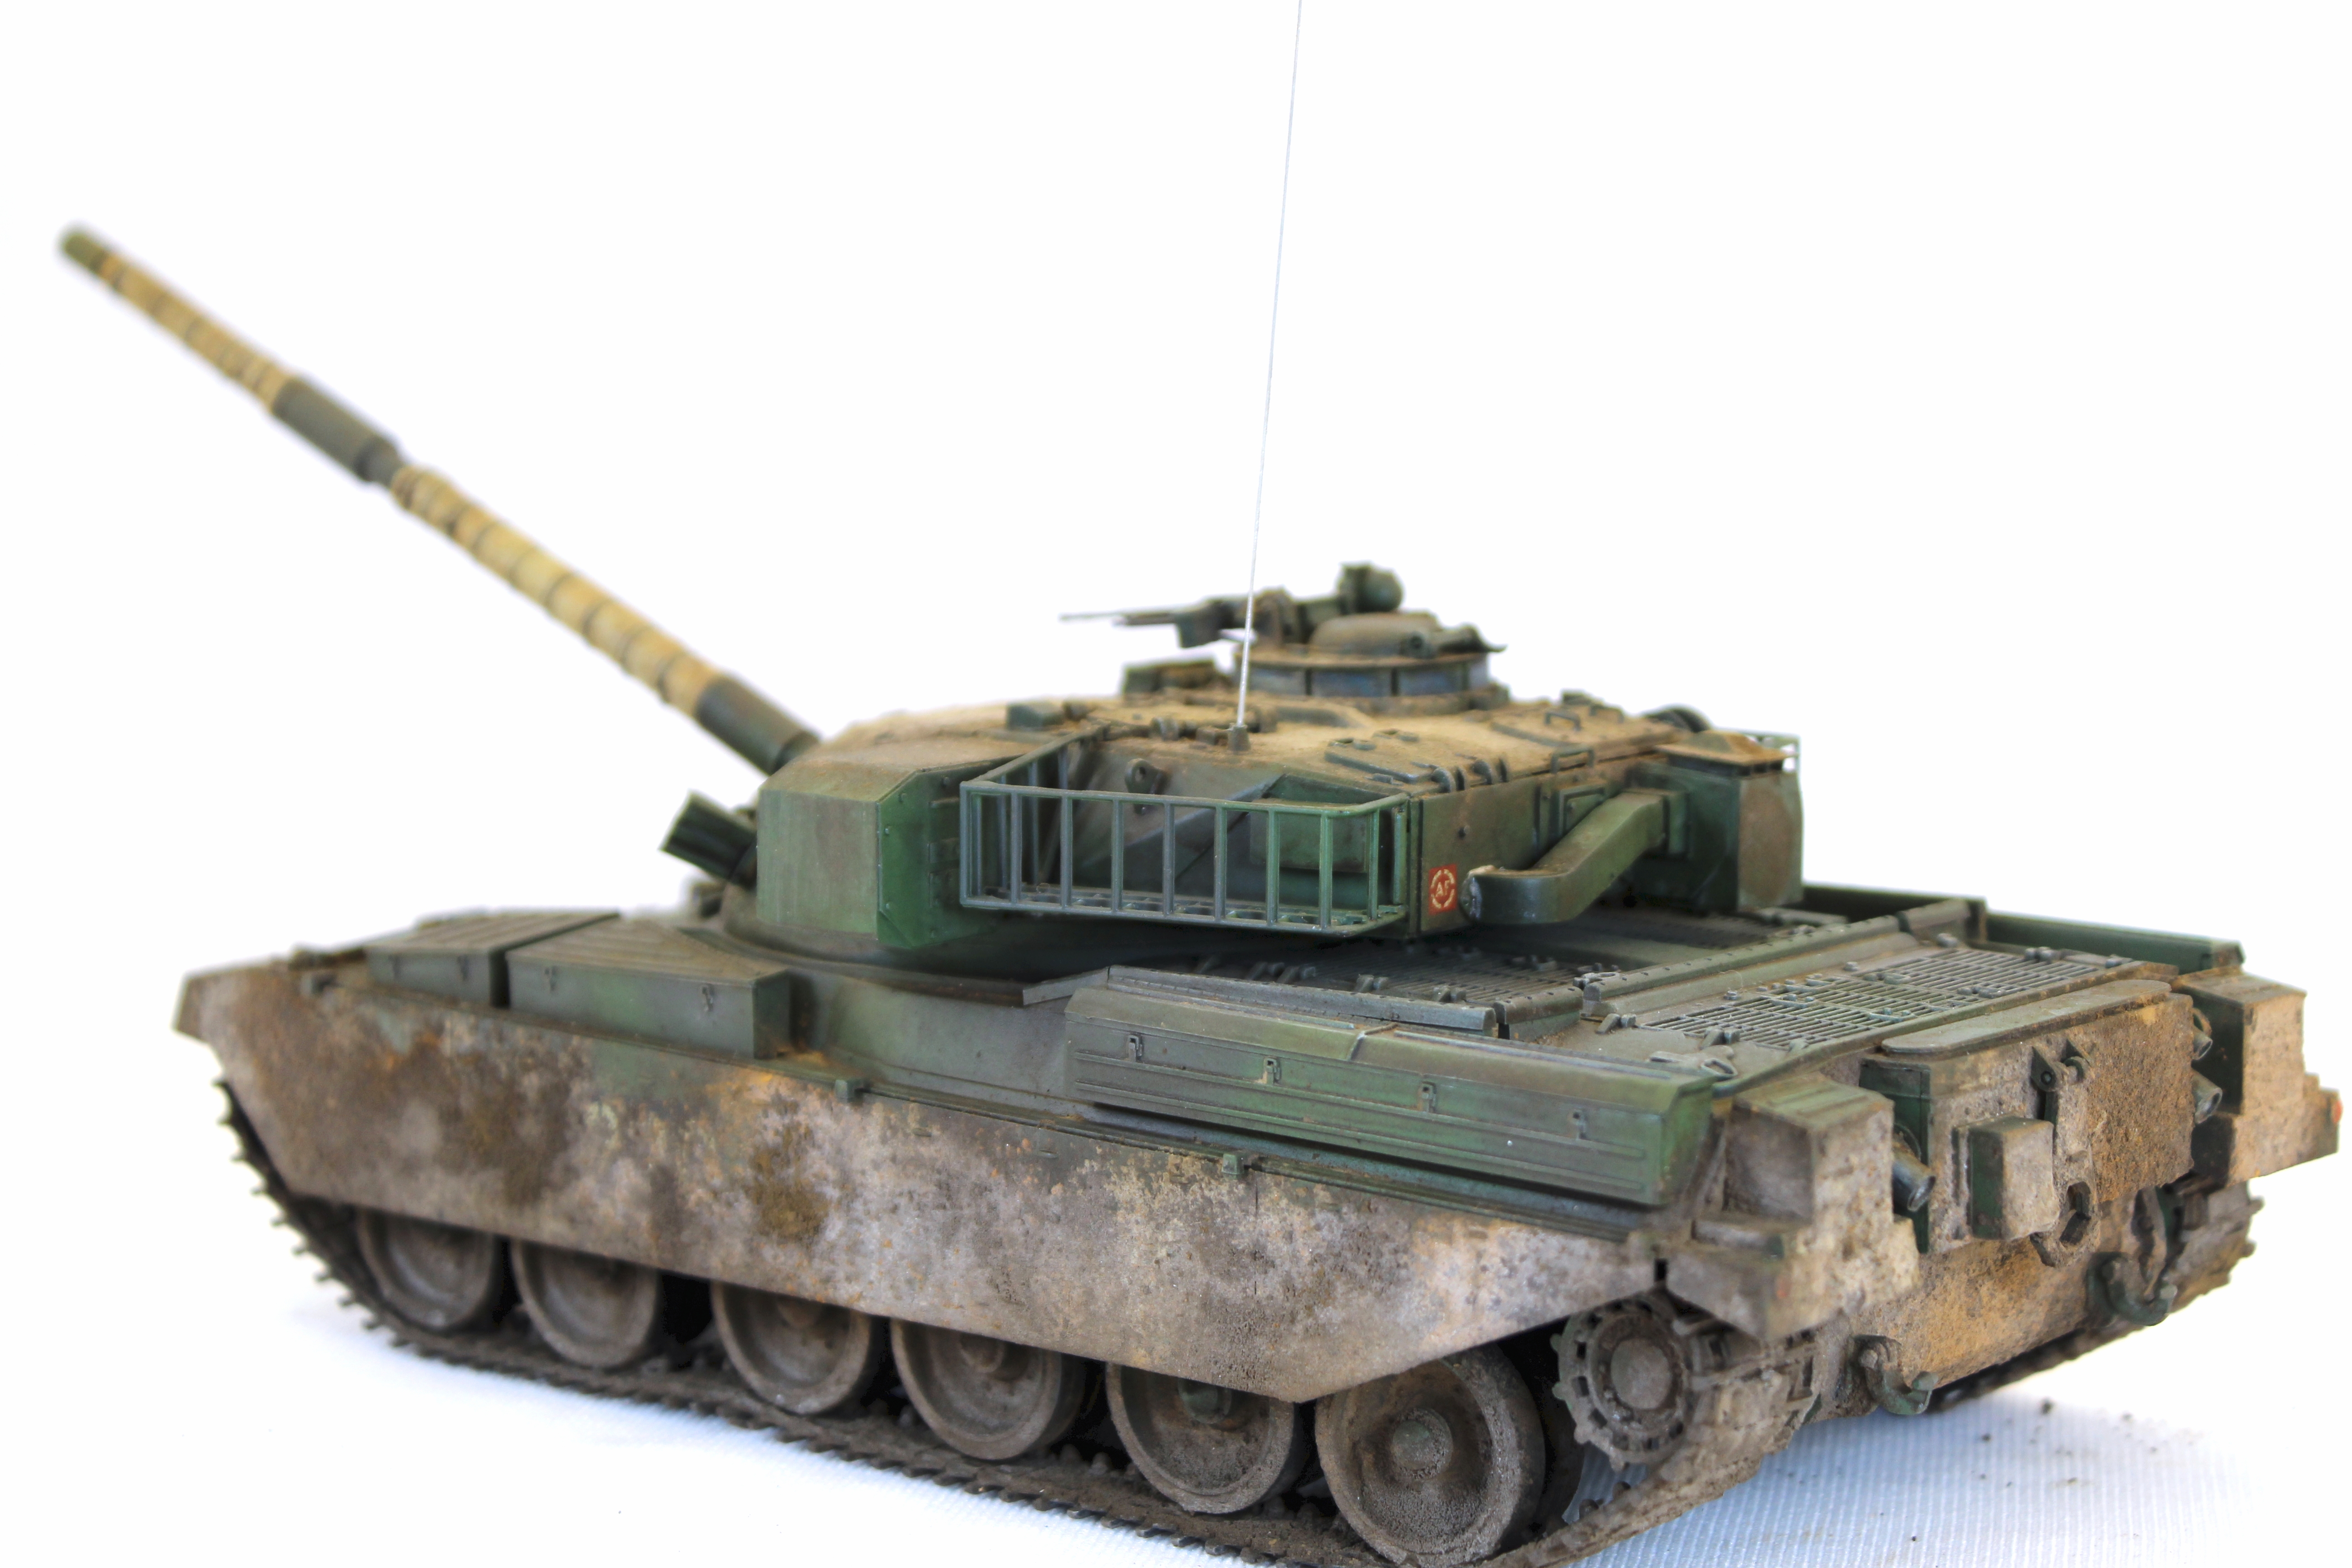
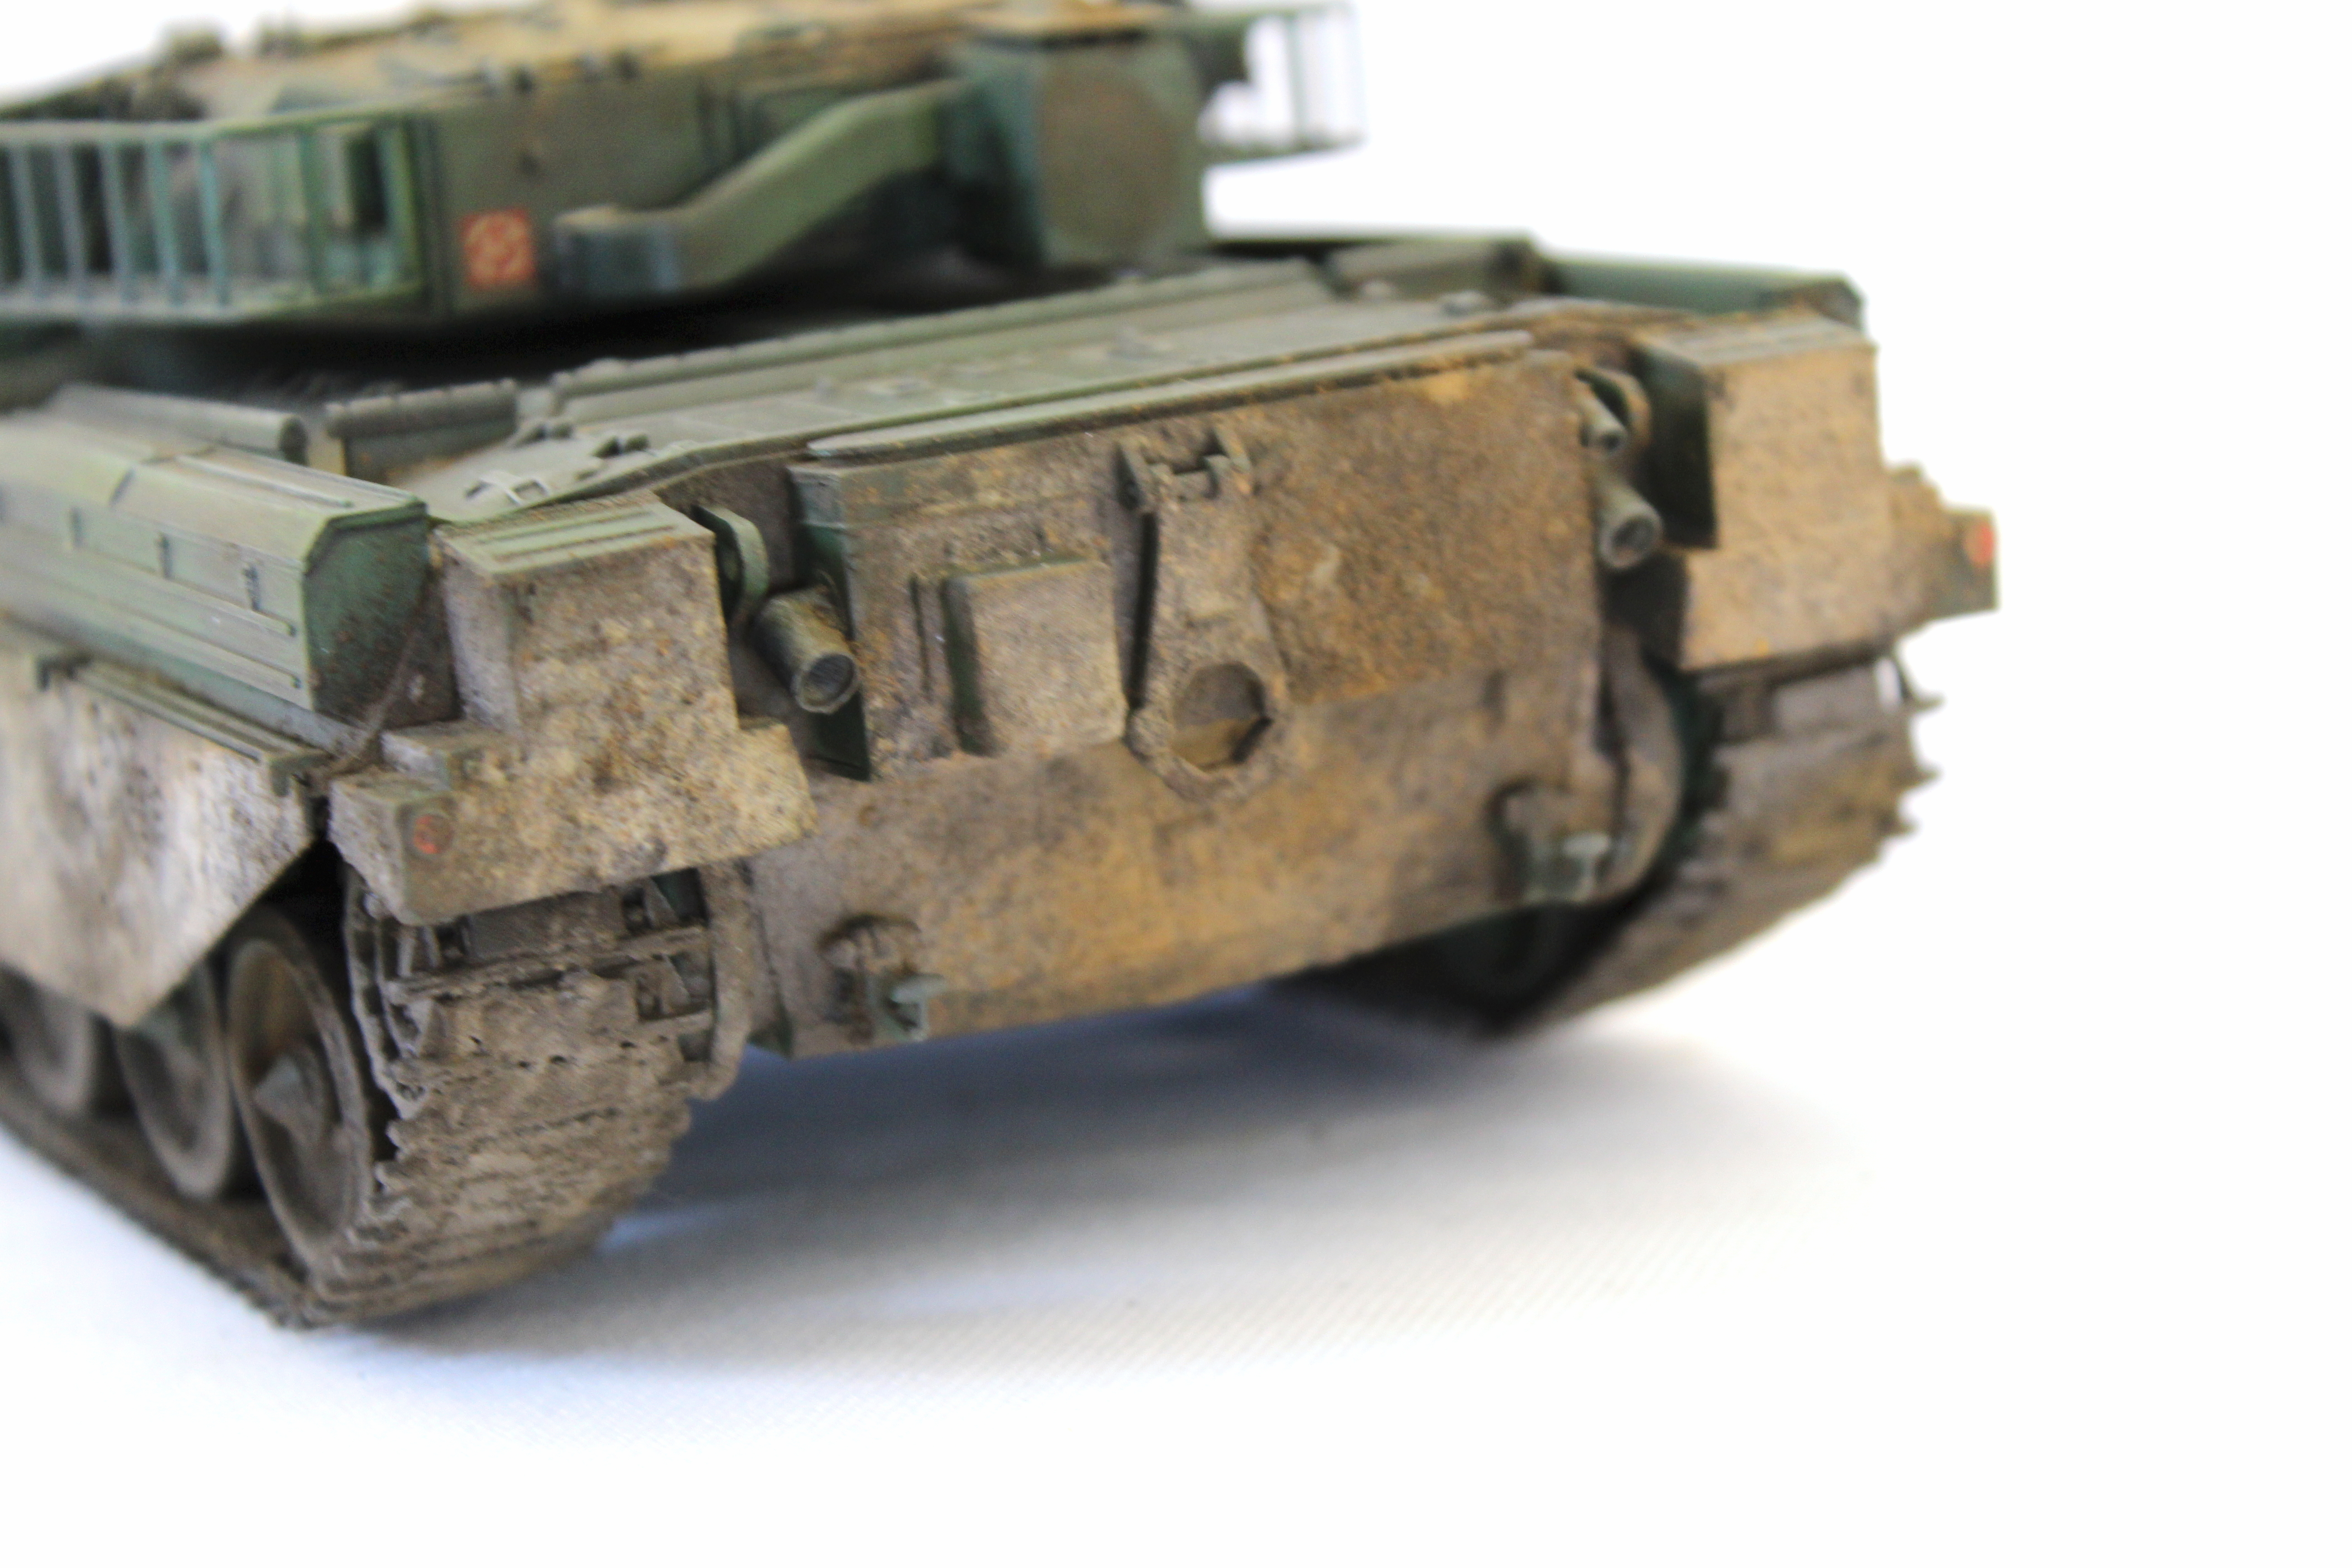
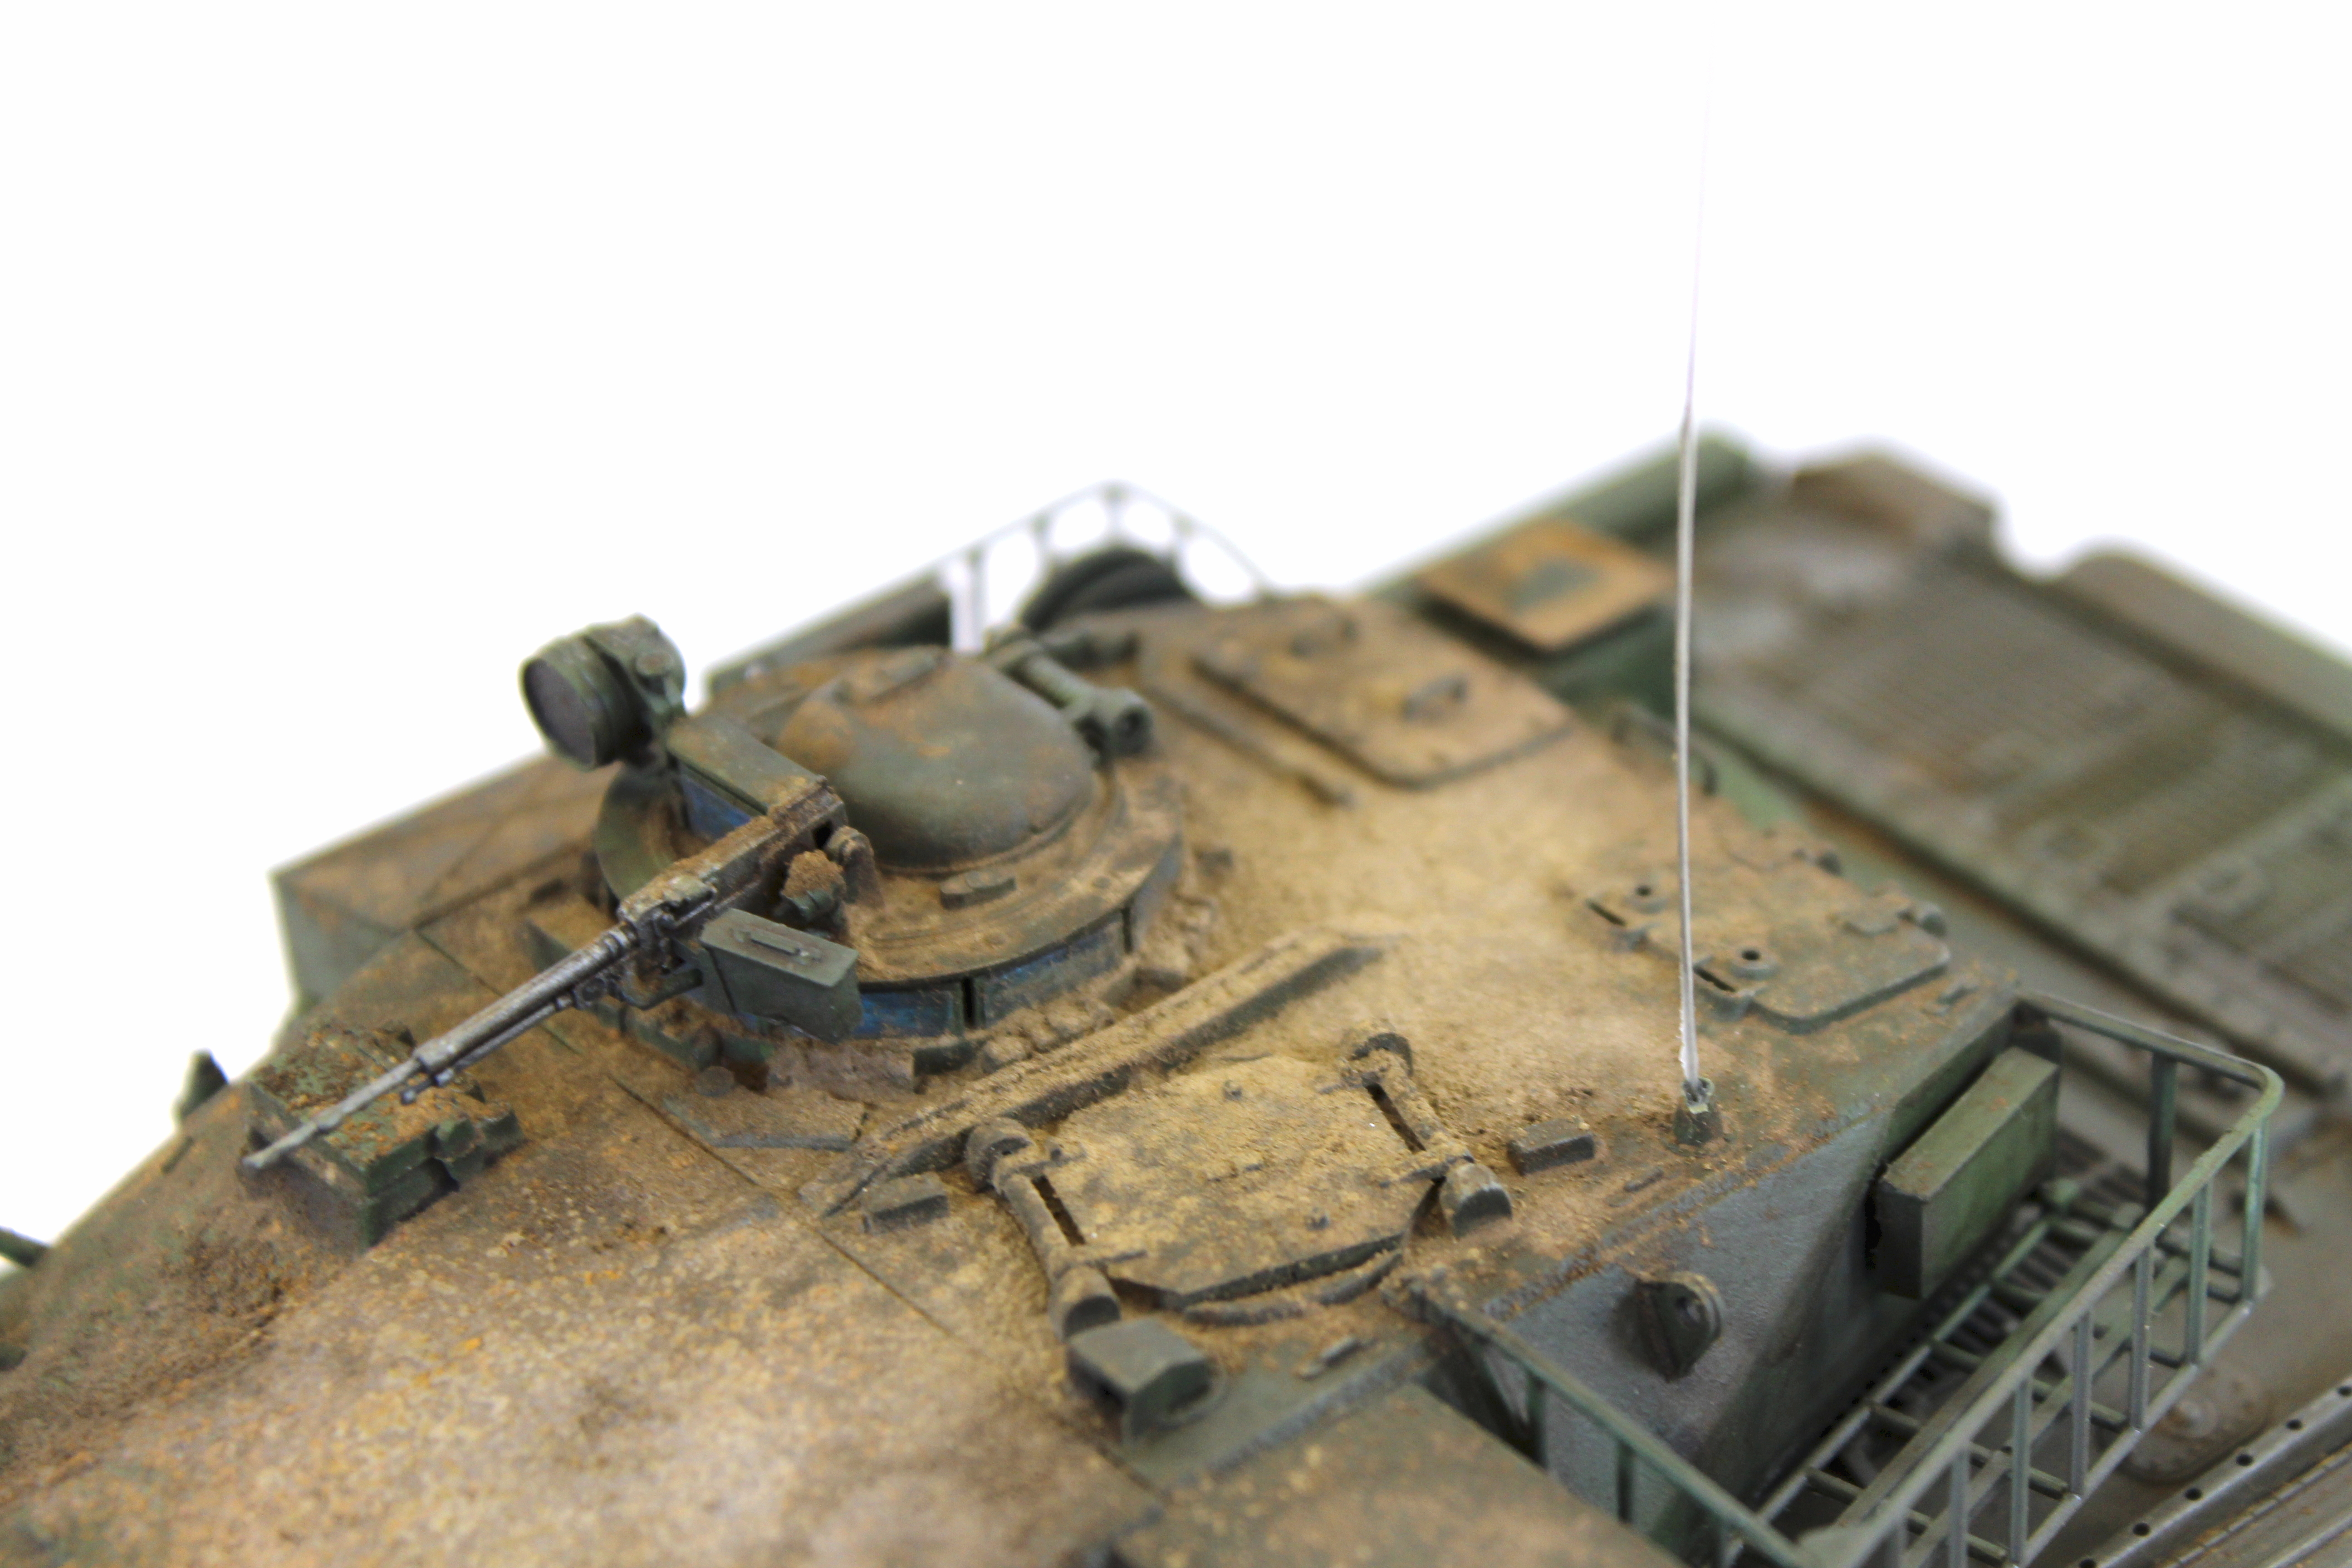
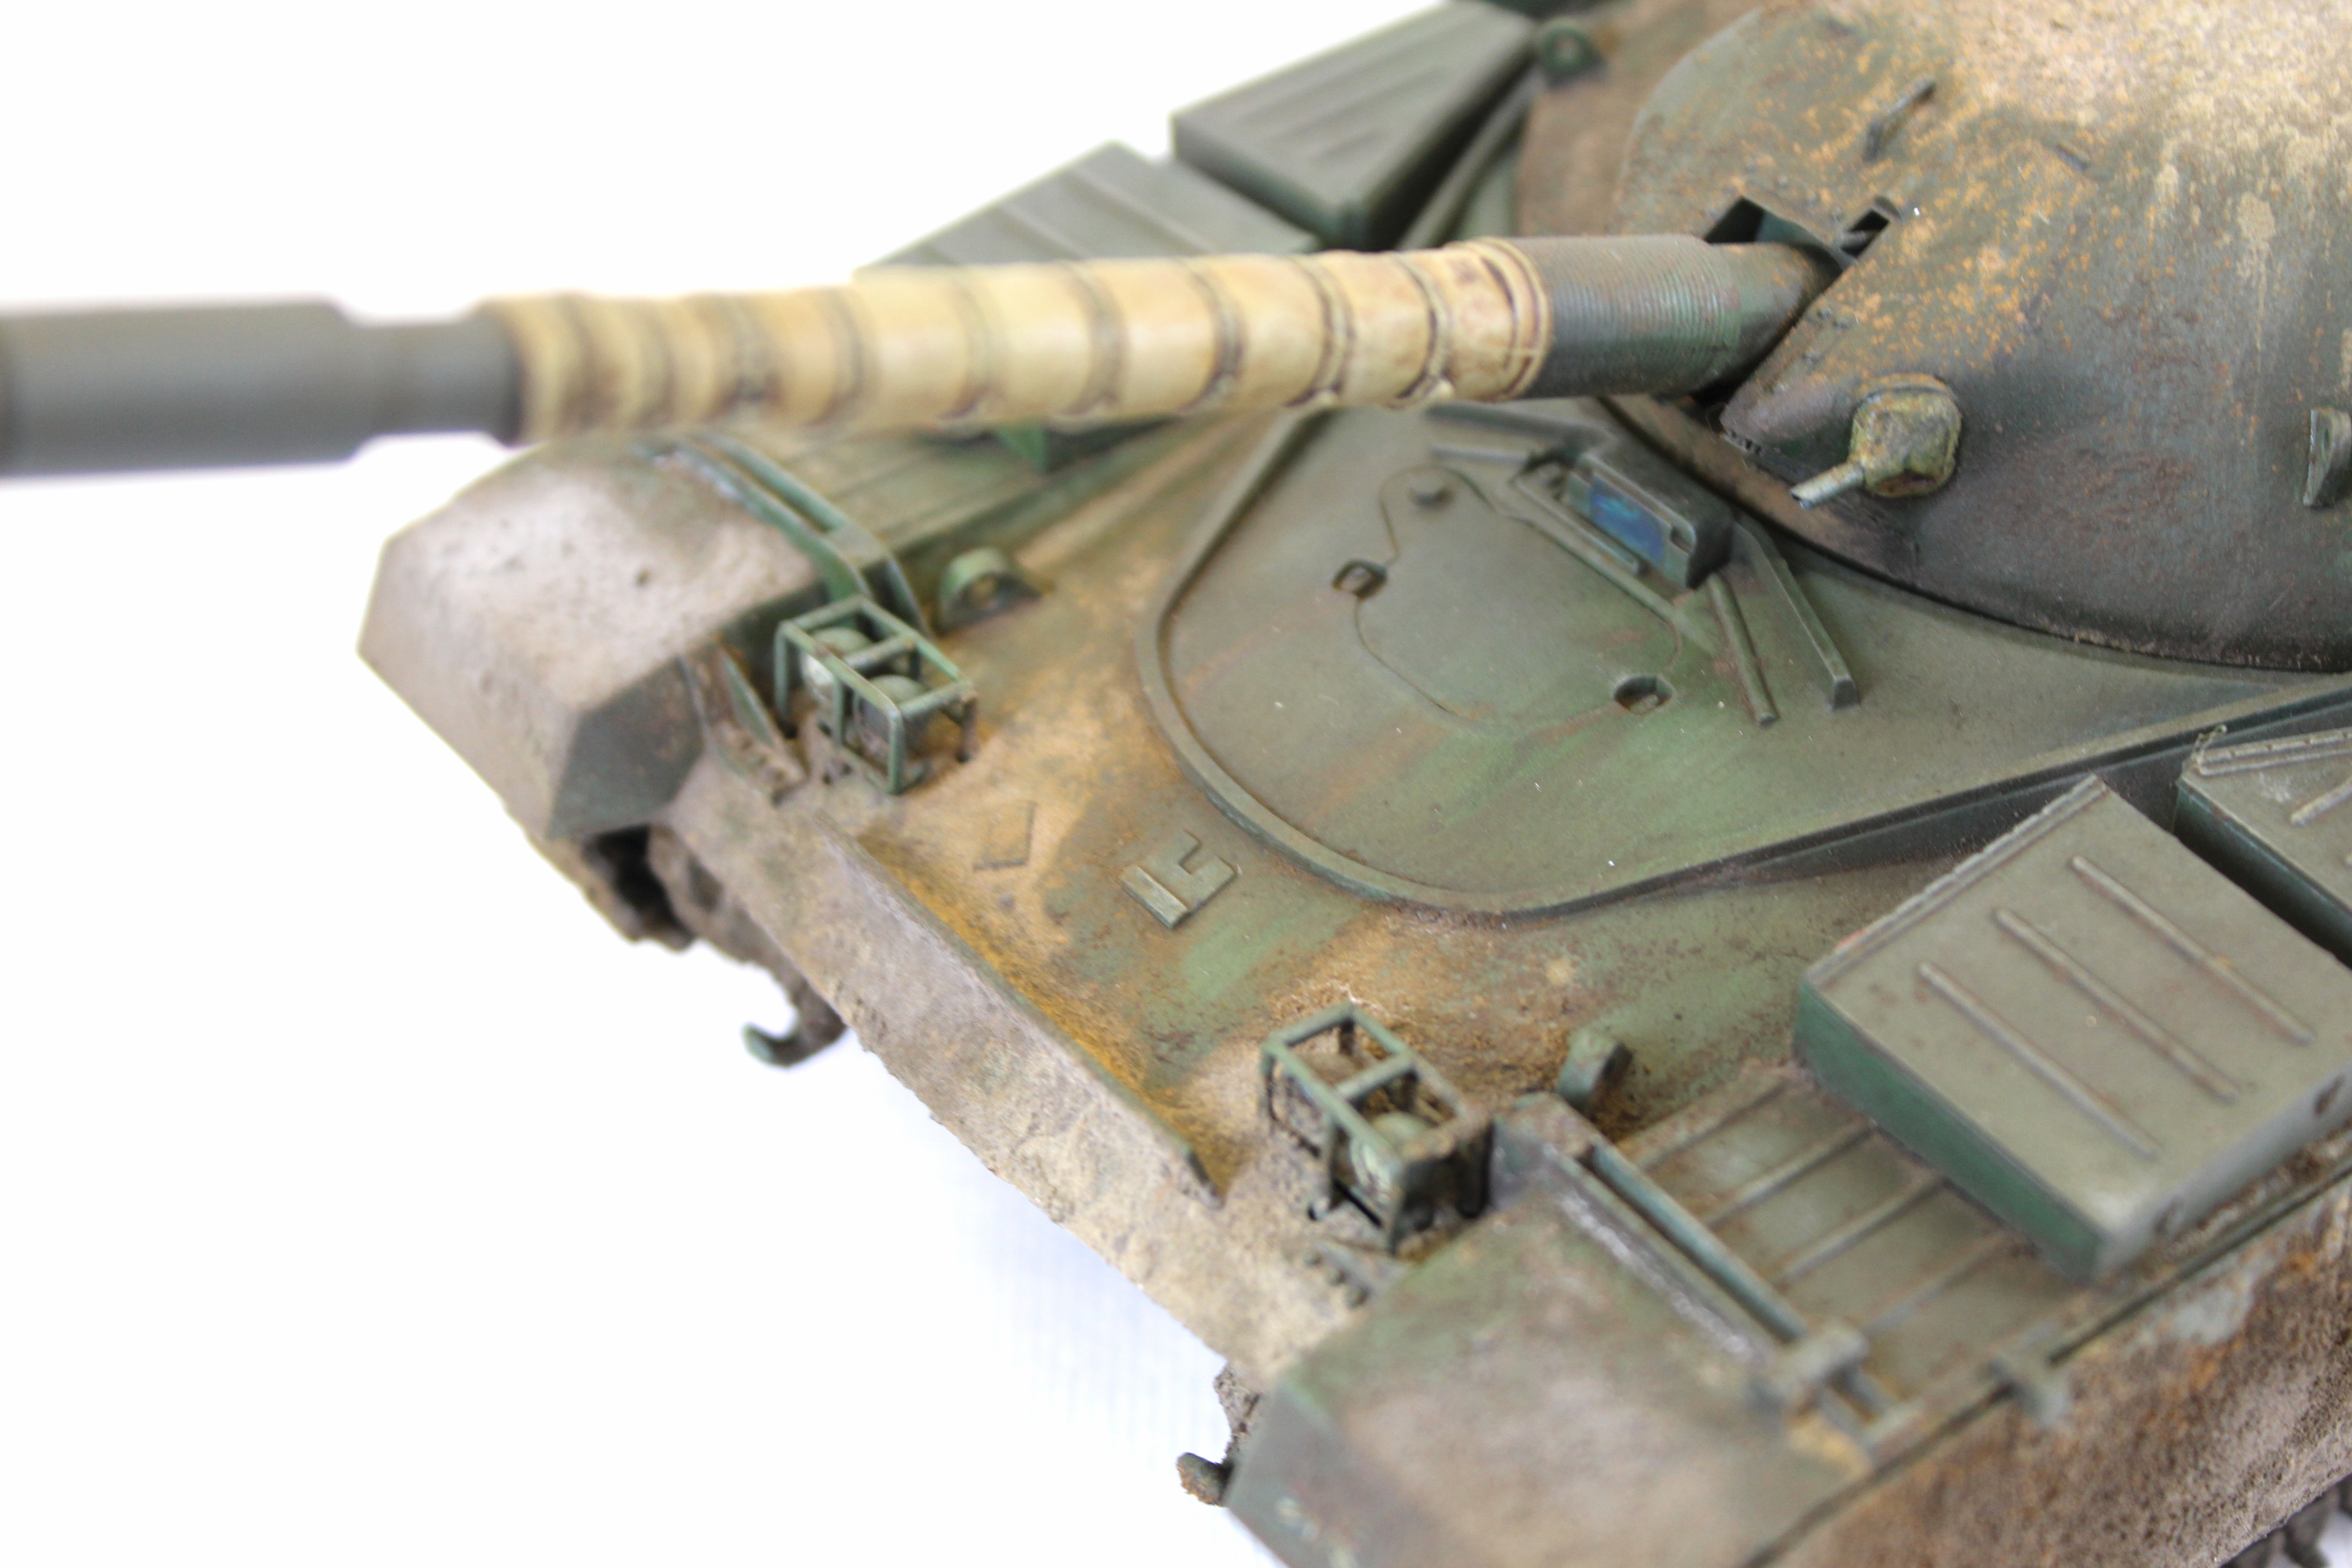
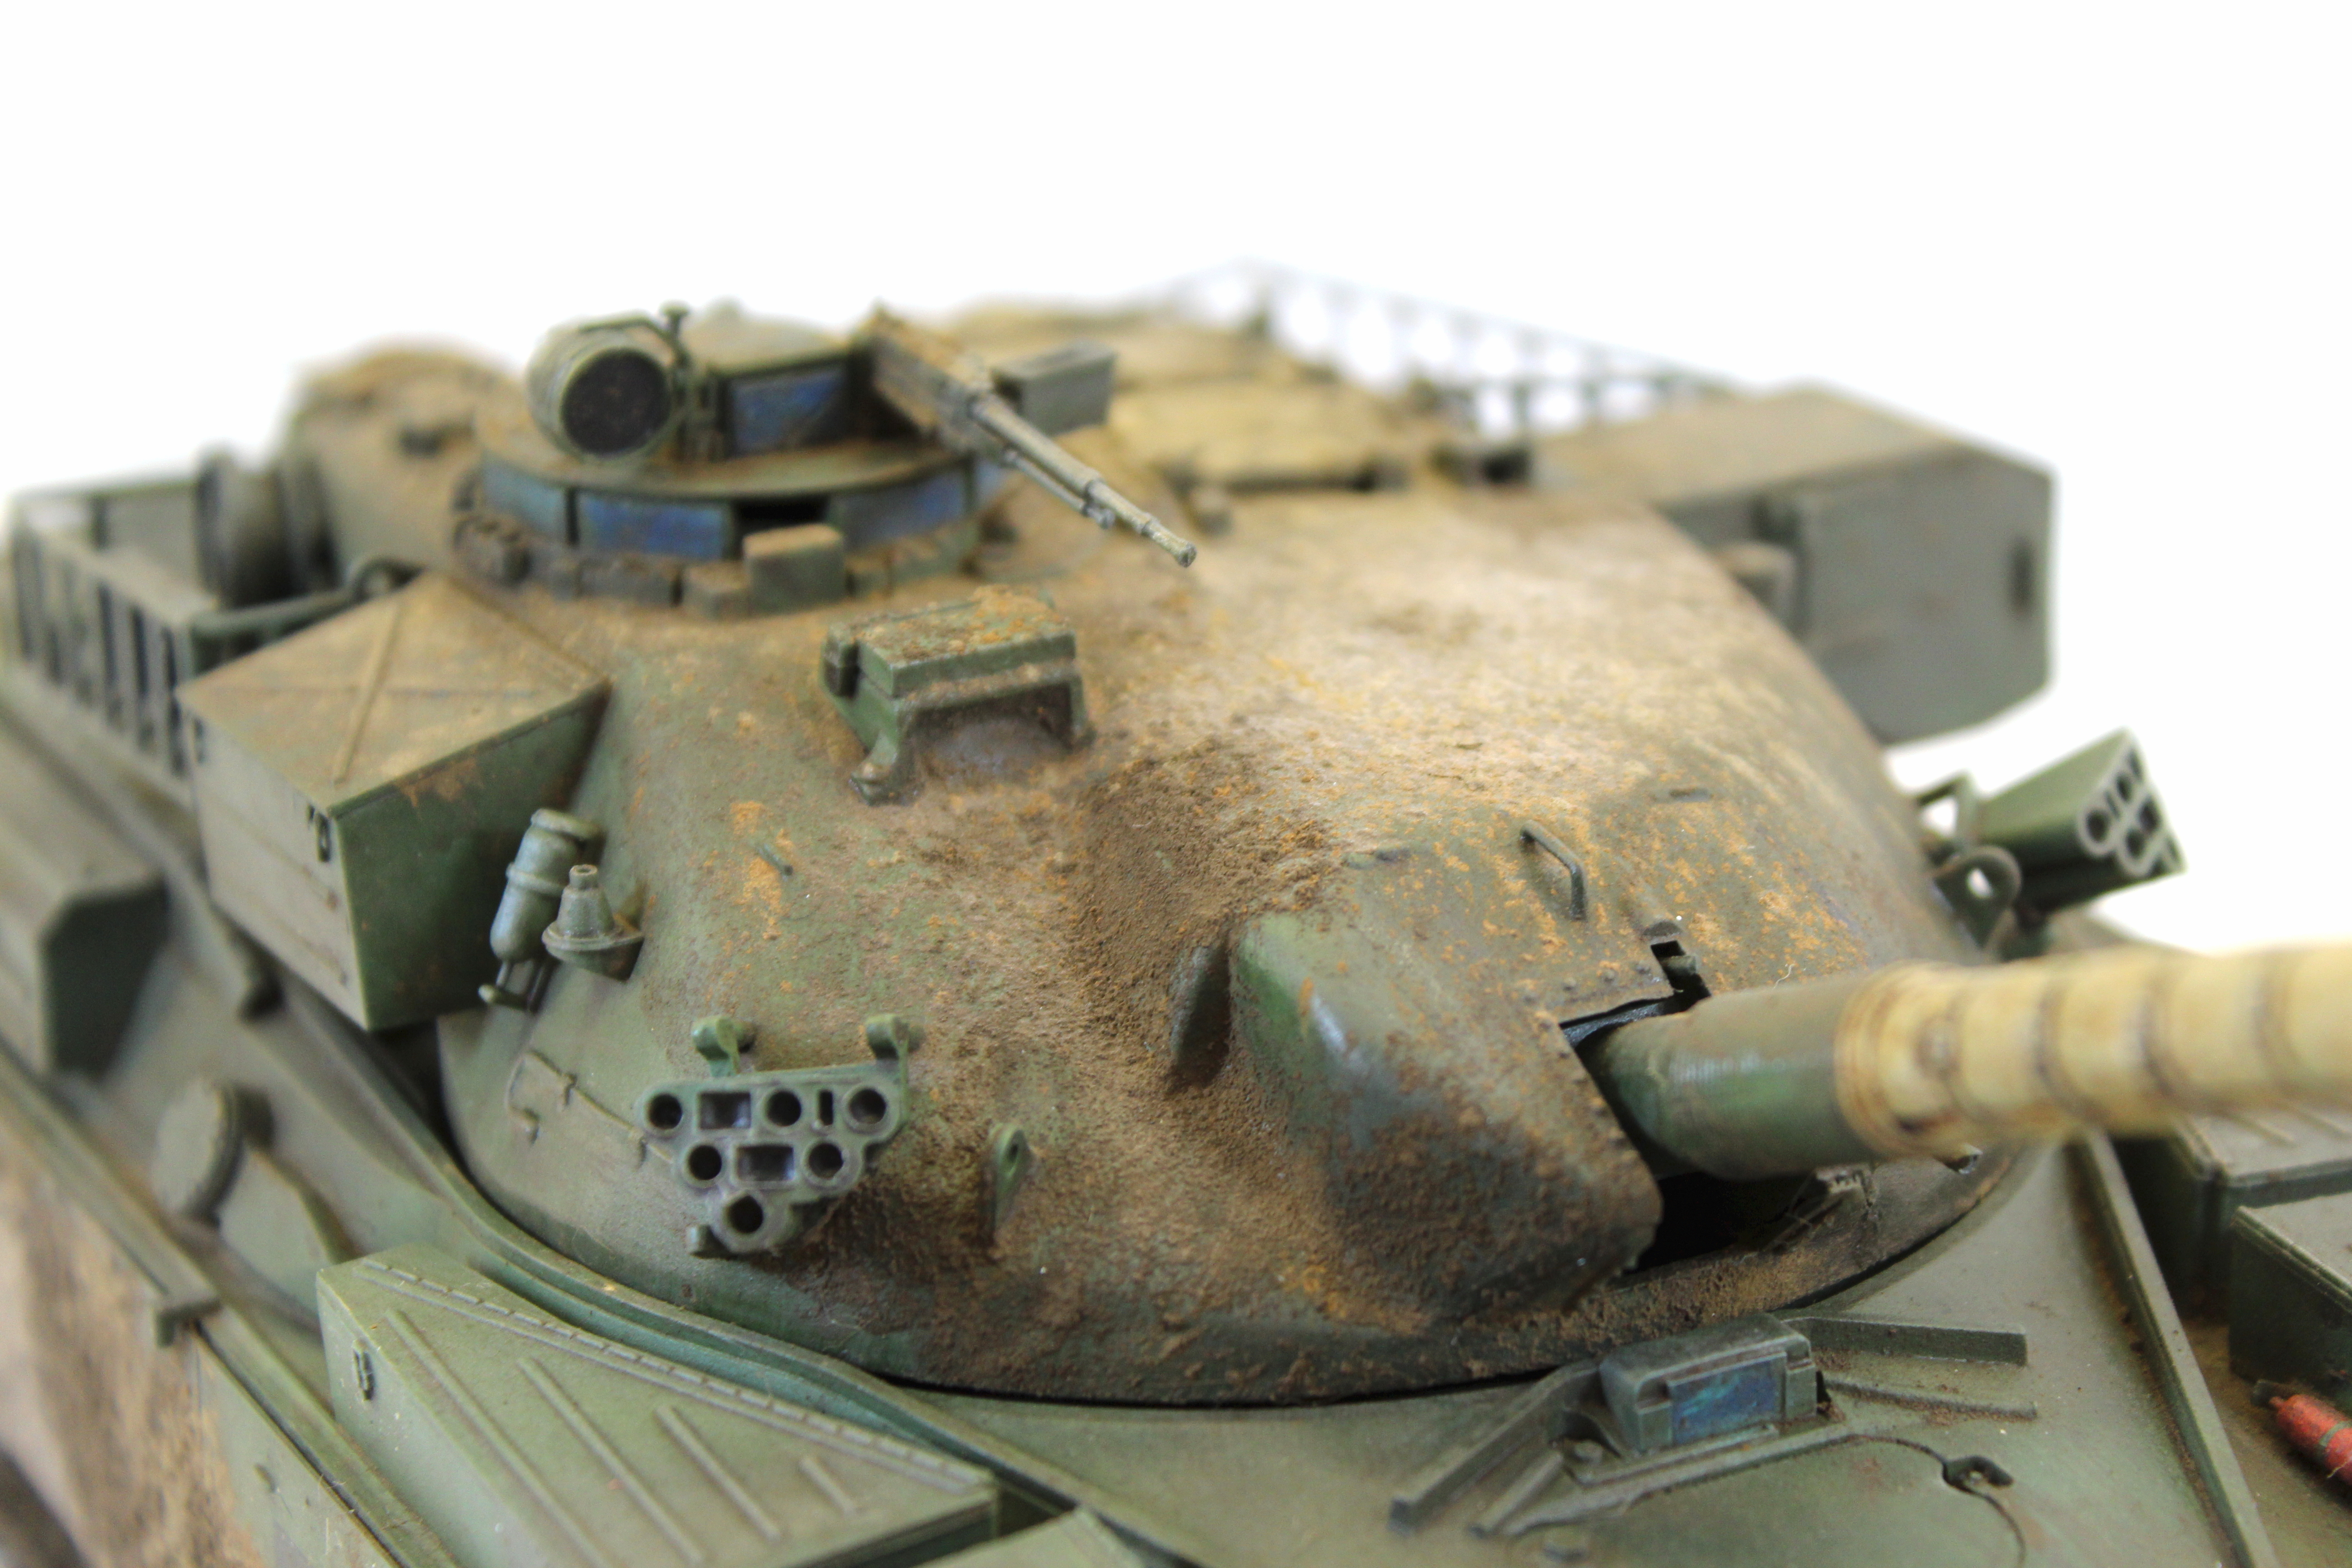
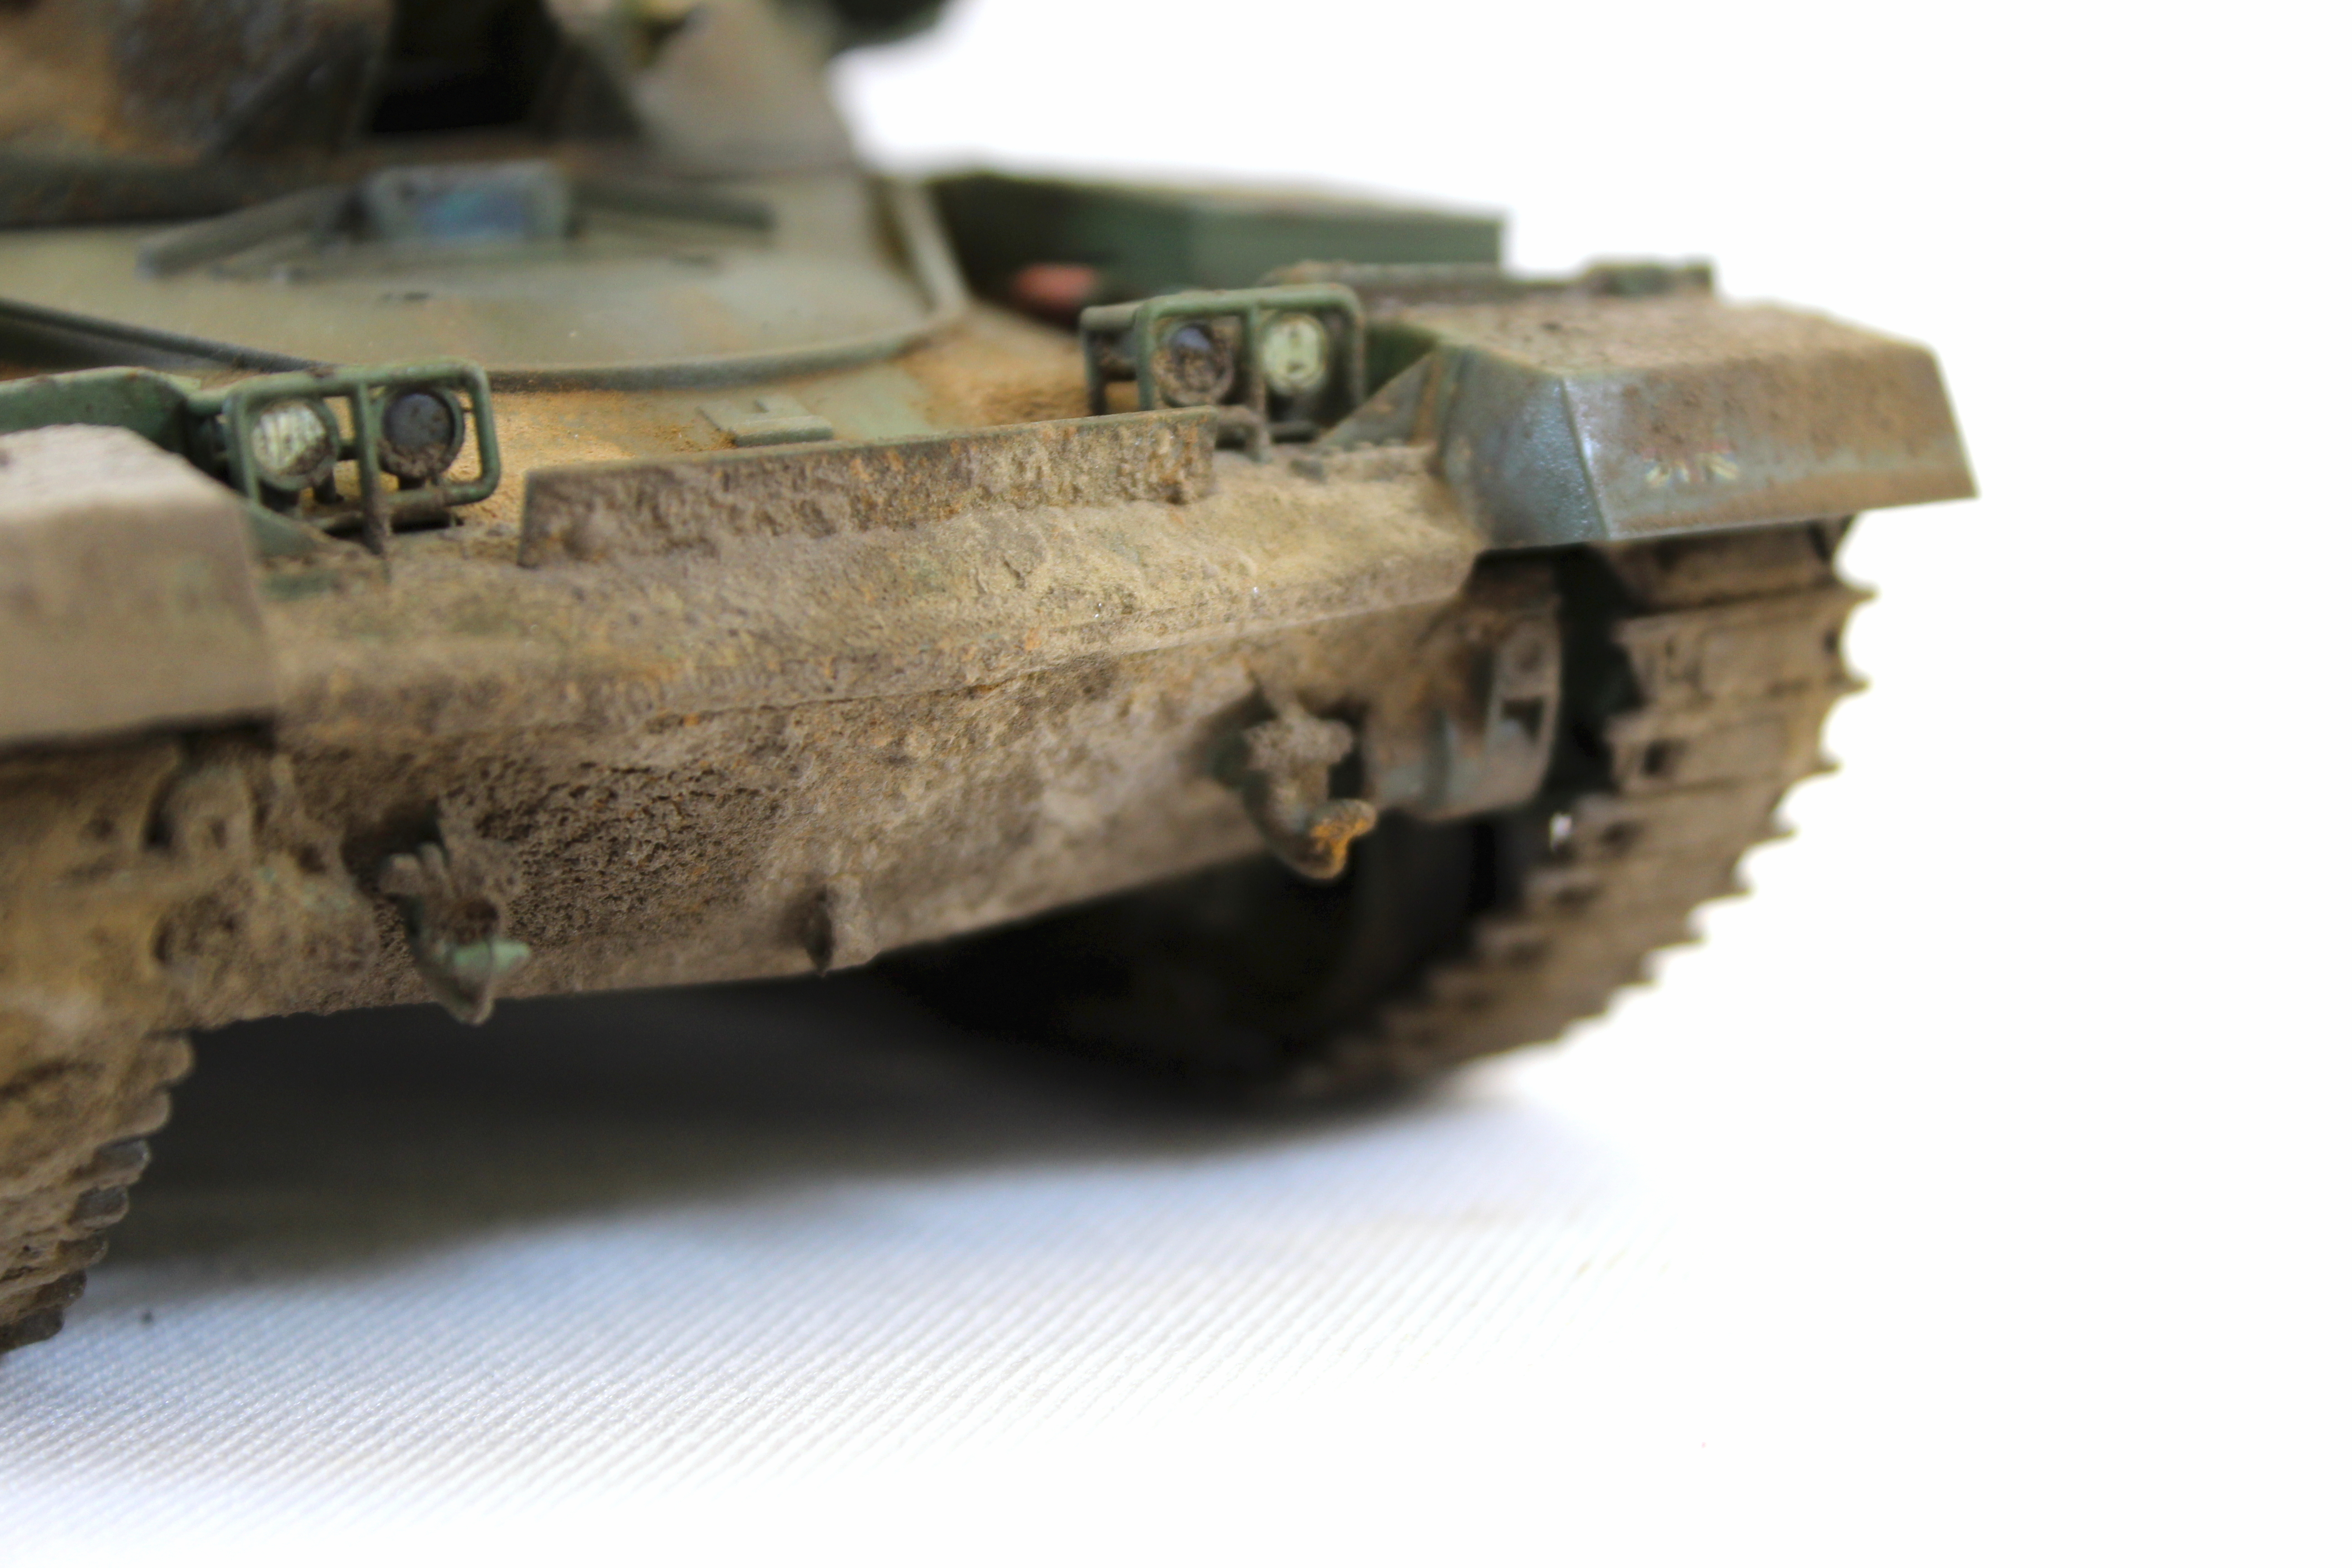
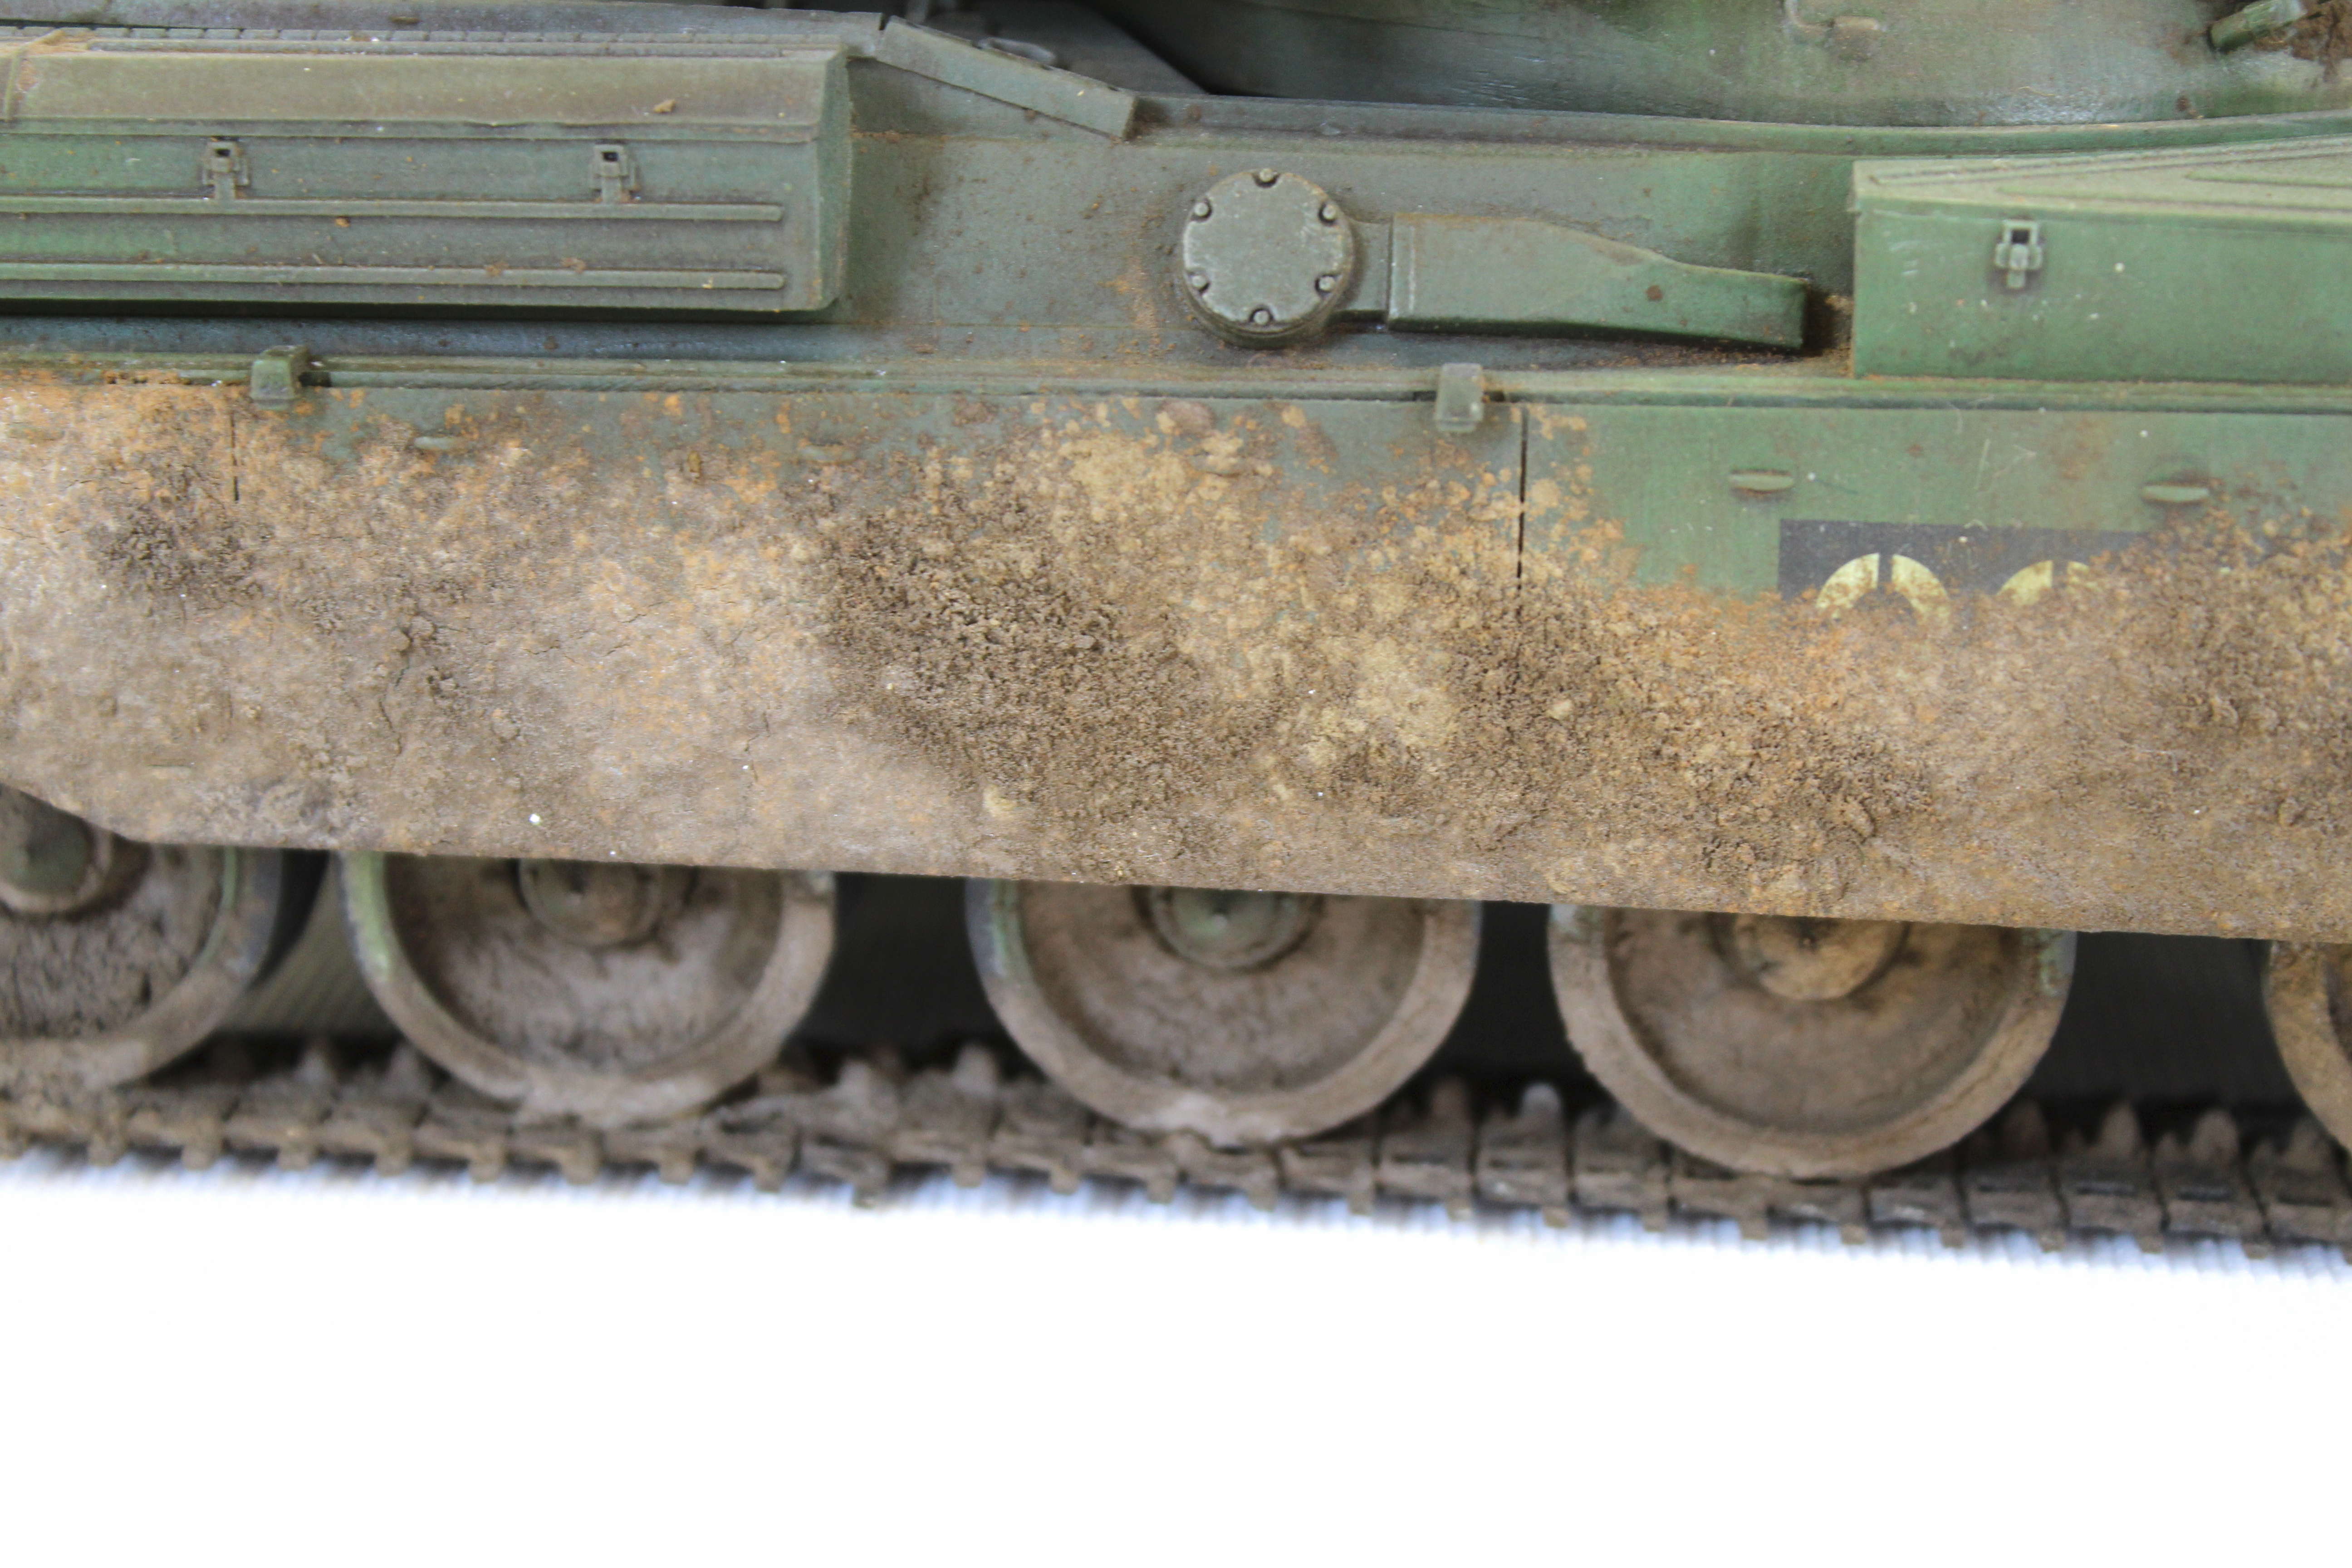
I have placed some water streaks along with some small rust streaks. Obviously, a lot of this detail will clearly be lost when applying the mud splatter. However, I did go to town with the mud and pigment weathering on this kit. Still, I feel that I missed an opportunity to add some weathering to the deck of the hull. Apart from this small detail, I have to say that I am delighted with the outcome. Last but not least with this being a Tamiya model kit It was a pleasure to build. I hope you guys have enjoyed this one and please check out the build video and finished model below.
Tamiya British Chieftain Mk5 Full Build