
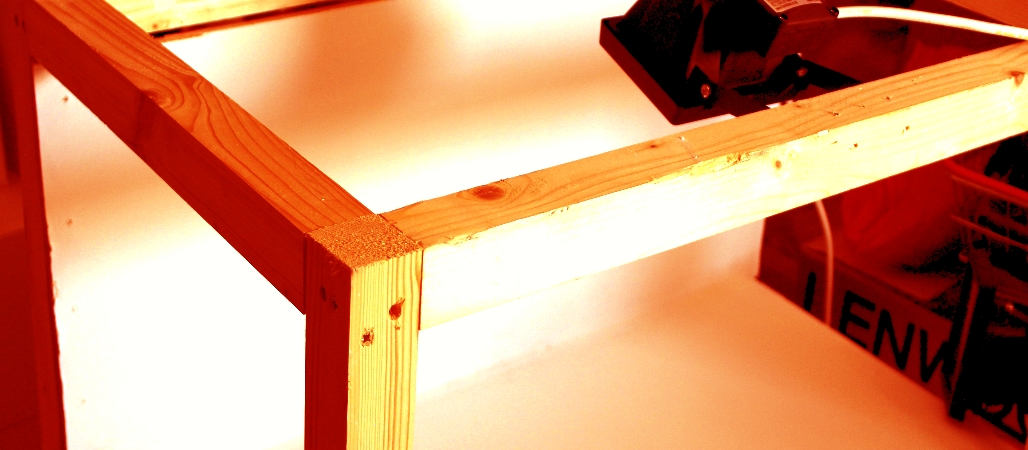
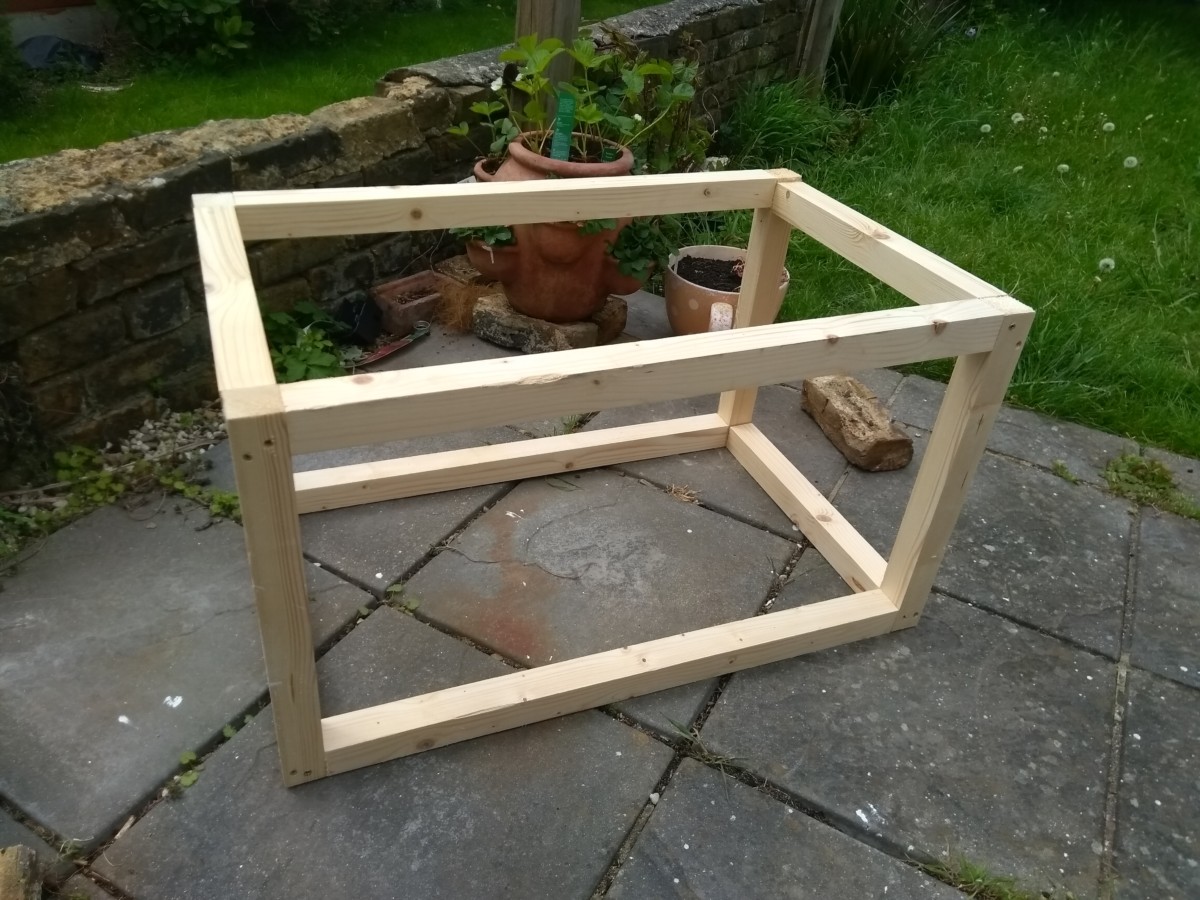
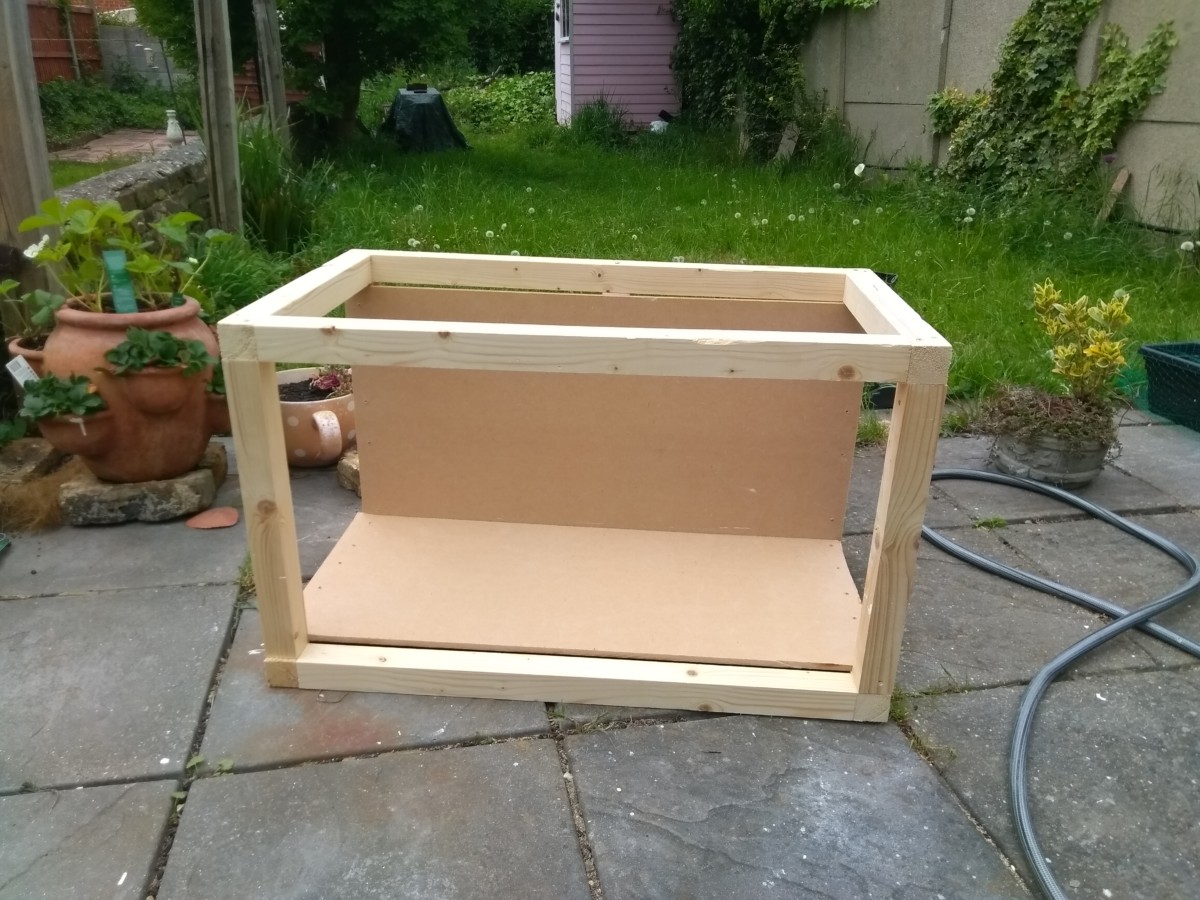
After having a lot of success with the £5 lightbox, I started a new little project. I have been working on a few scale models at the moment that are a little too large to photograph in the lightbox I have. So with a few bits around the house from DIY projects, I began by throwing together a quick frame for a new lightbox.
Next, I wanted to see if I could use some of the LED strips I have amassed. I had thought that they would produce enough light, going by the lights in the living room bookcase. I attached them up and ran a circuit, I took a few pictures just to see as proof of the concept.
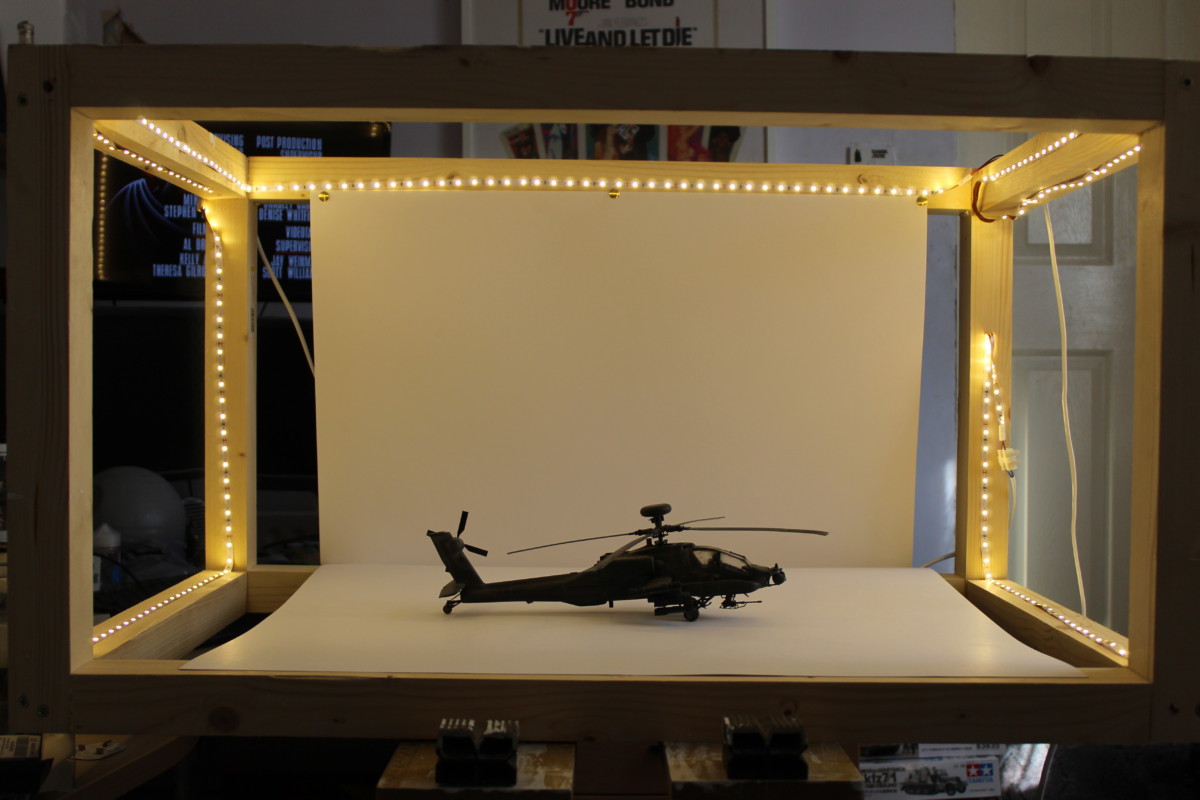
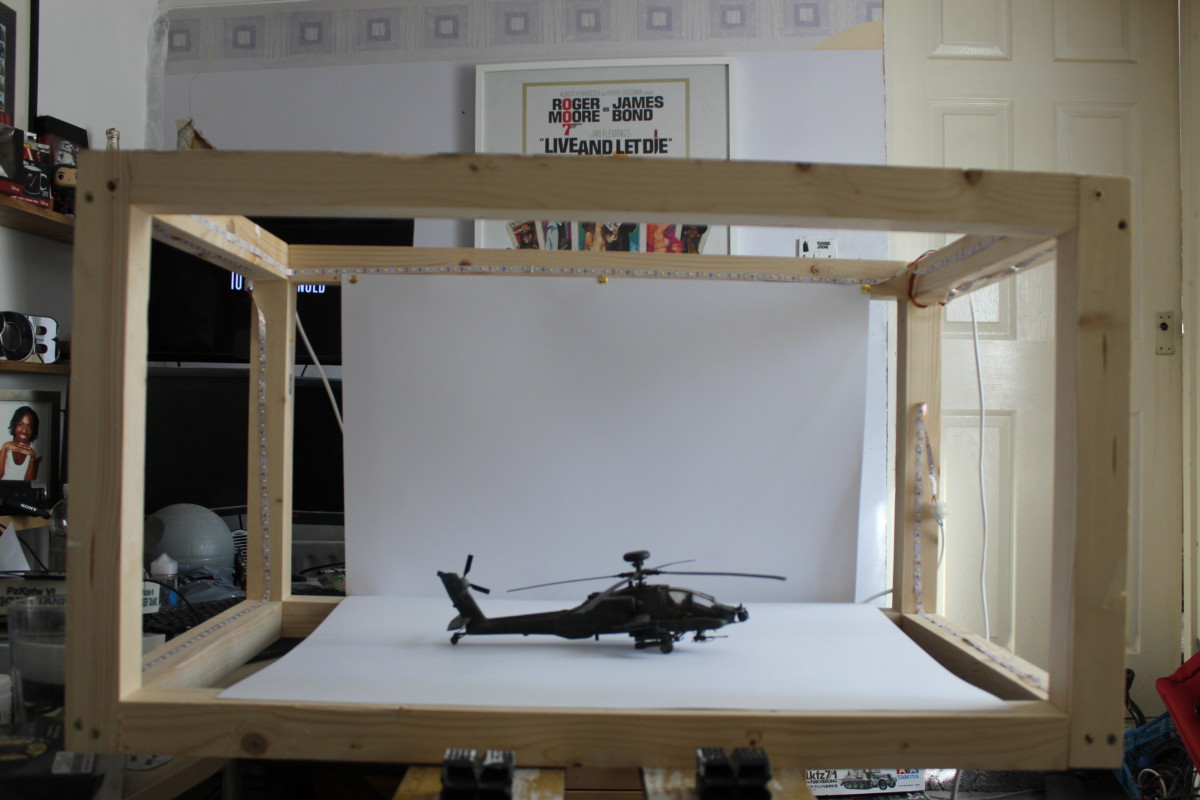

As you can see the LED Strips just don’t give off enough light to make it a viable option. So back to the drawing board. I have a few garden floodlights that I picked up on sale from Homebase a few years ago. They are halogen fittings but I have ordered some replacement LED bulbs to cut the running cost down. In the meantime, I can line the inside of the frame with MDF and get it painted white.
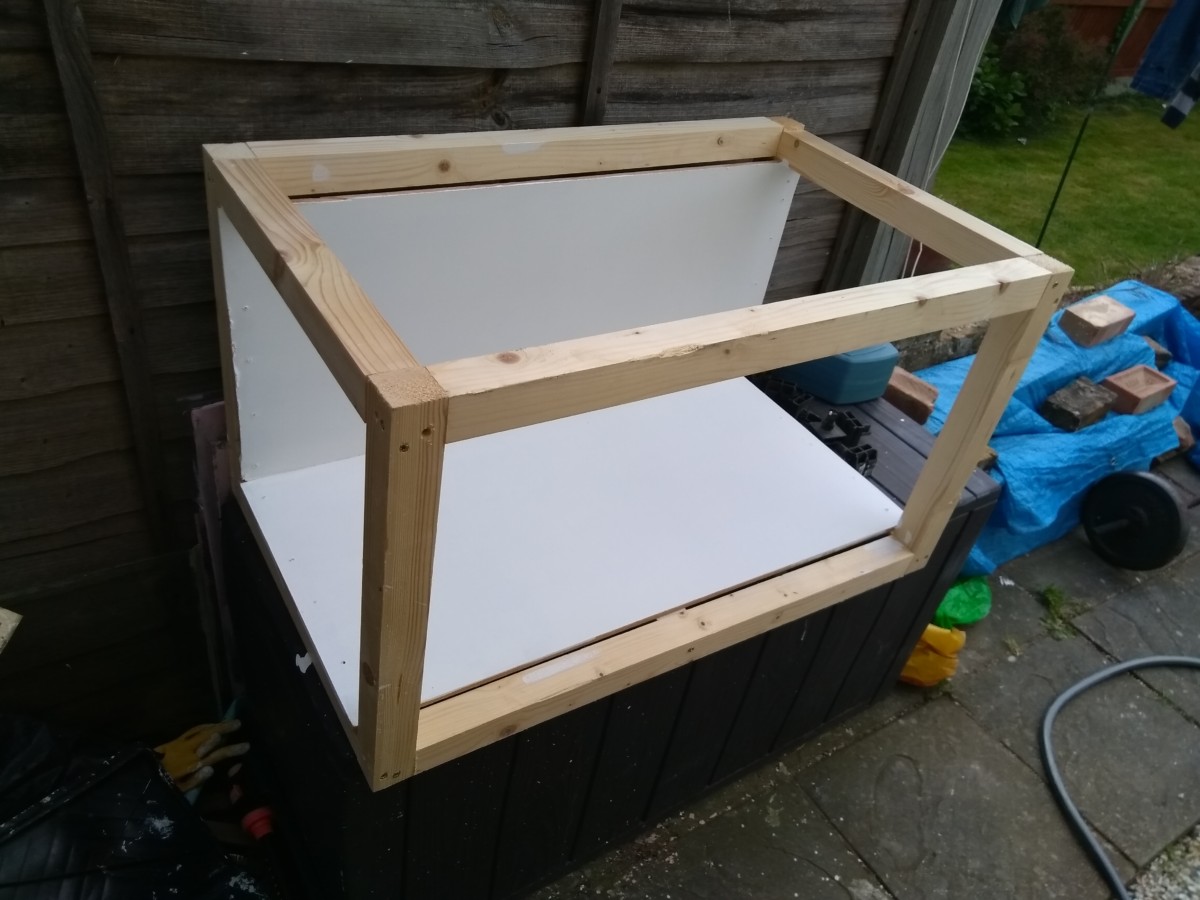
With all that done, I have given the MDF a quick fine sanding to make the surface nice and smooth. Now fitting the lights and wiring them up.
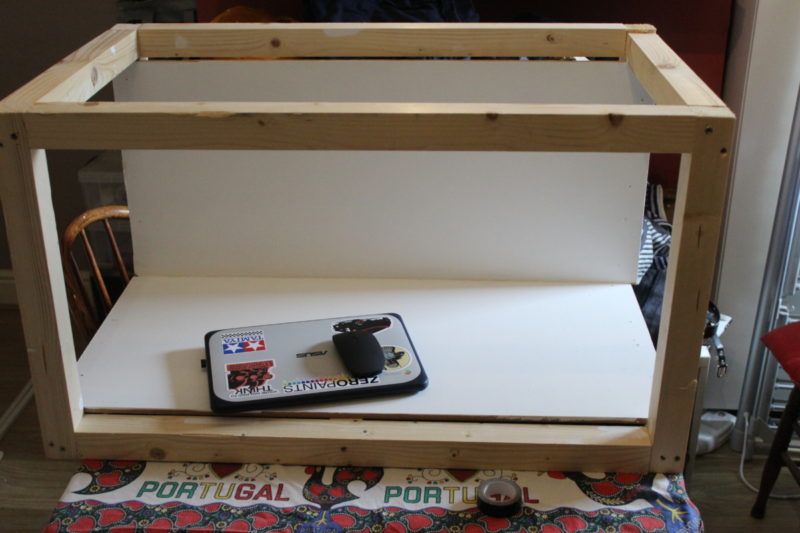
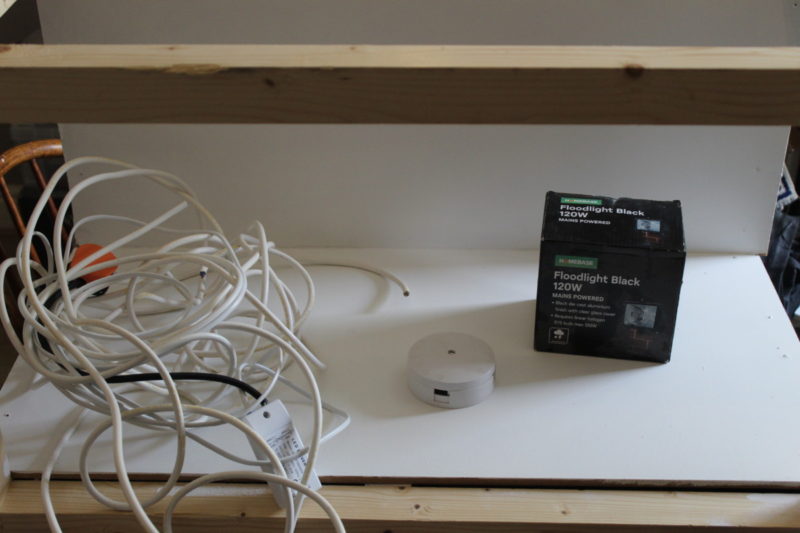
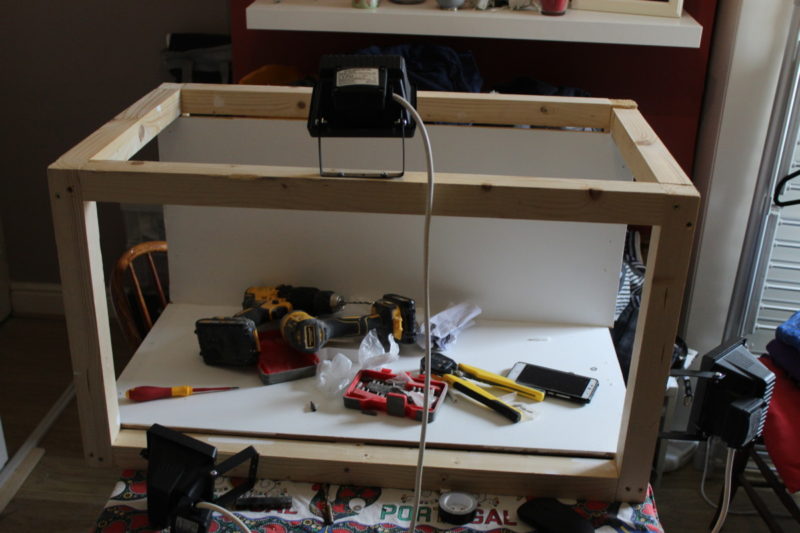
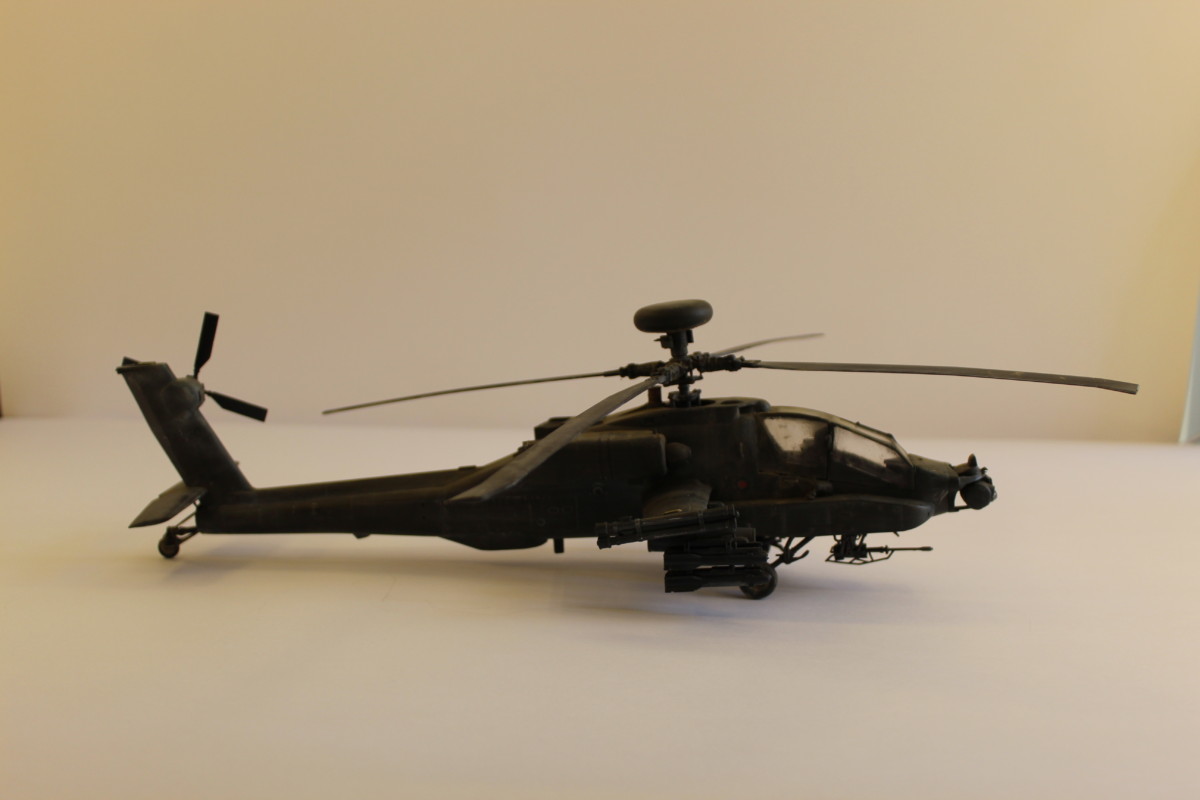
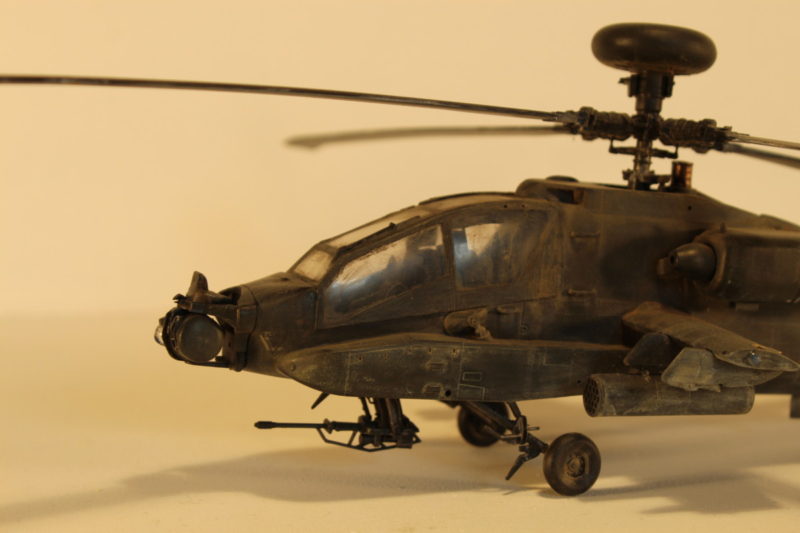
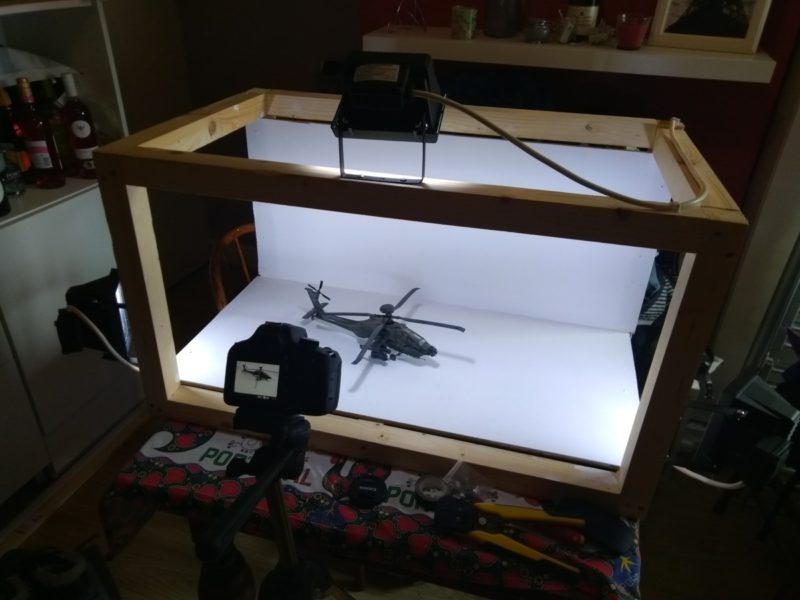
So now I have added some 120w floodlights. I picked these up years ago at the Homebase sale. One of those “I don’t need them now but fuck they are £2 each”. I ordered some 10w led light bulbs off eBay and the first result was not great. So I ordered some 120w halogen bulbs and here are the results below. As you can see, it looks goods but it has that yellow tinge to it. I tried to edit it out in photoshop but I’m losing some of the detail. So back to the LED bulb but I have moved the fitting slightly, Only a couple of inches, but let’s be honest a couple of inches more is all we ever want ?!?!
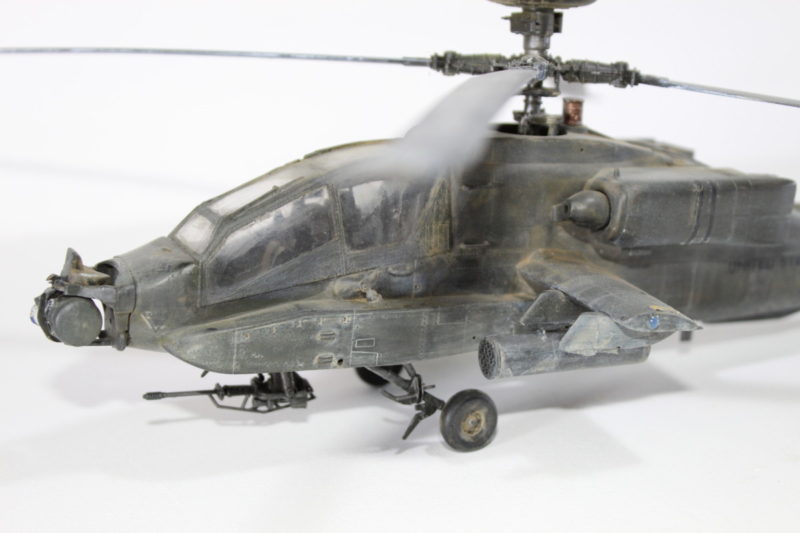
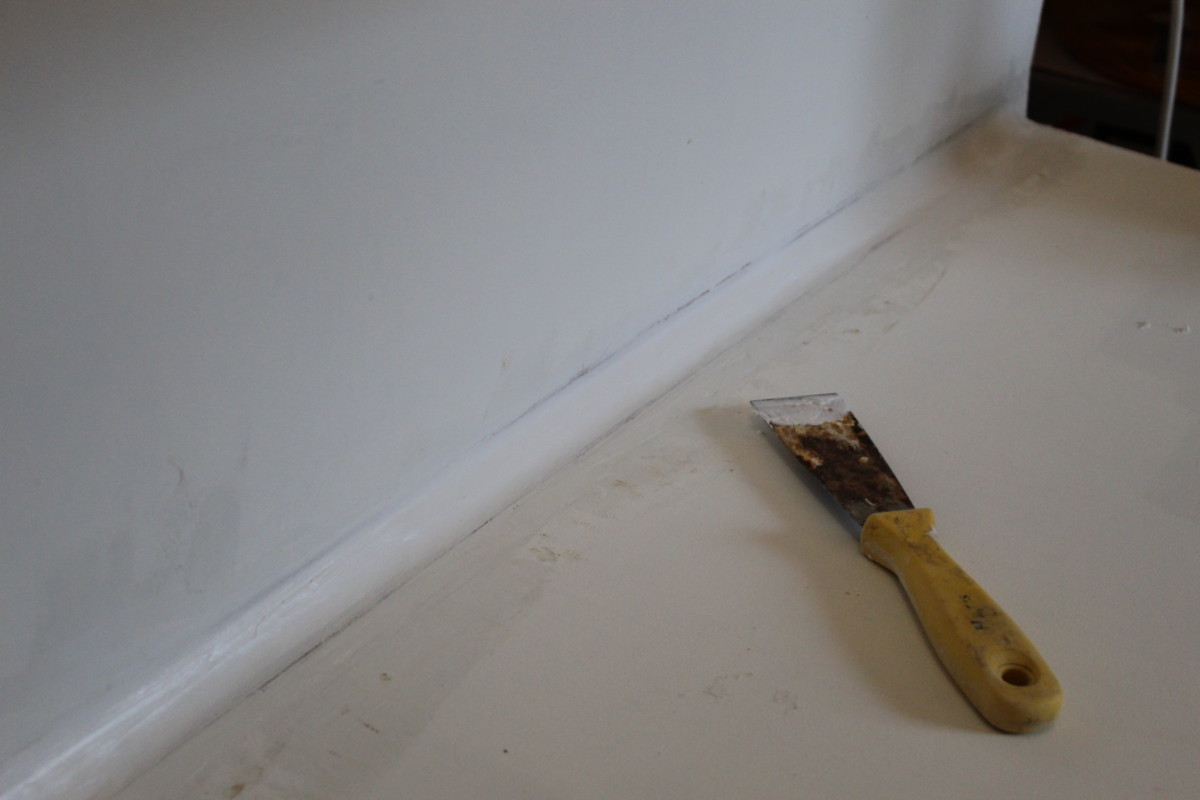
Now I am happy with how this has turned out. I just want to run a little silicon along the back of the light box to diffuse that hard edge, the reason being that angle is 90 degrees and quite acute and we want something slightly more obtuse so it doesn’t take away from the subject matter. When that’s done we crack on!

This is going to be the bain of my life. Your model is only as good as your picture, luckily I’m learning both at the same time, so by the time I’m making awesome models, I should be taking awesome scale model photos.


Comments are closed.