She Shed Part One Building A Pent Shed For The Girlfriend

She Shed

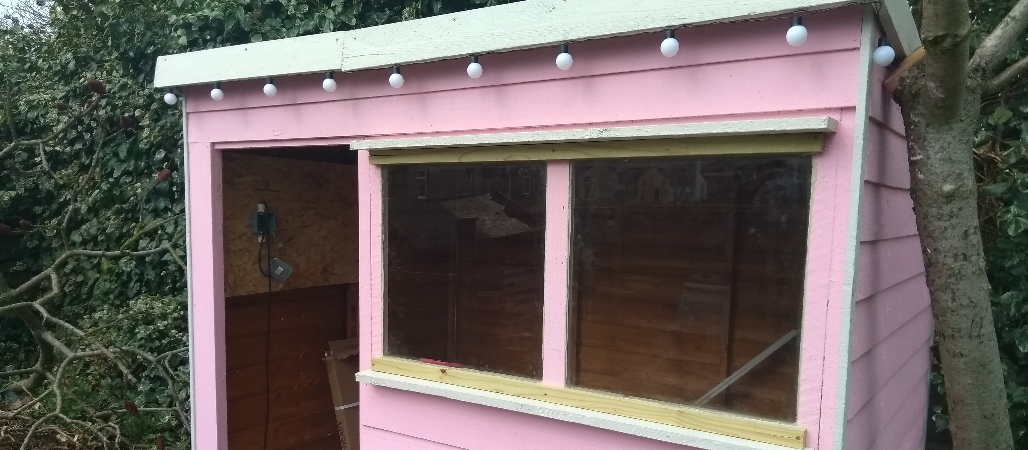
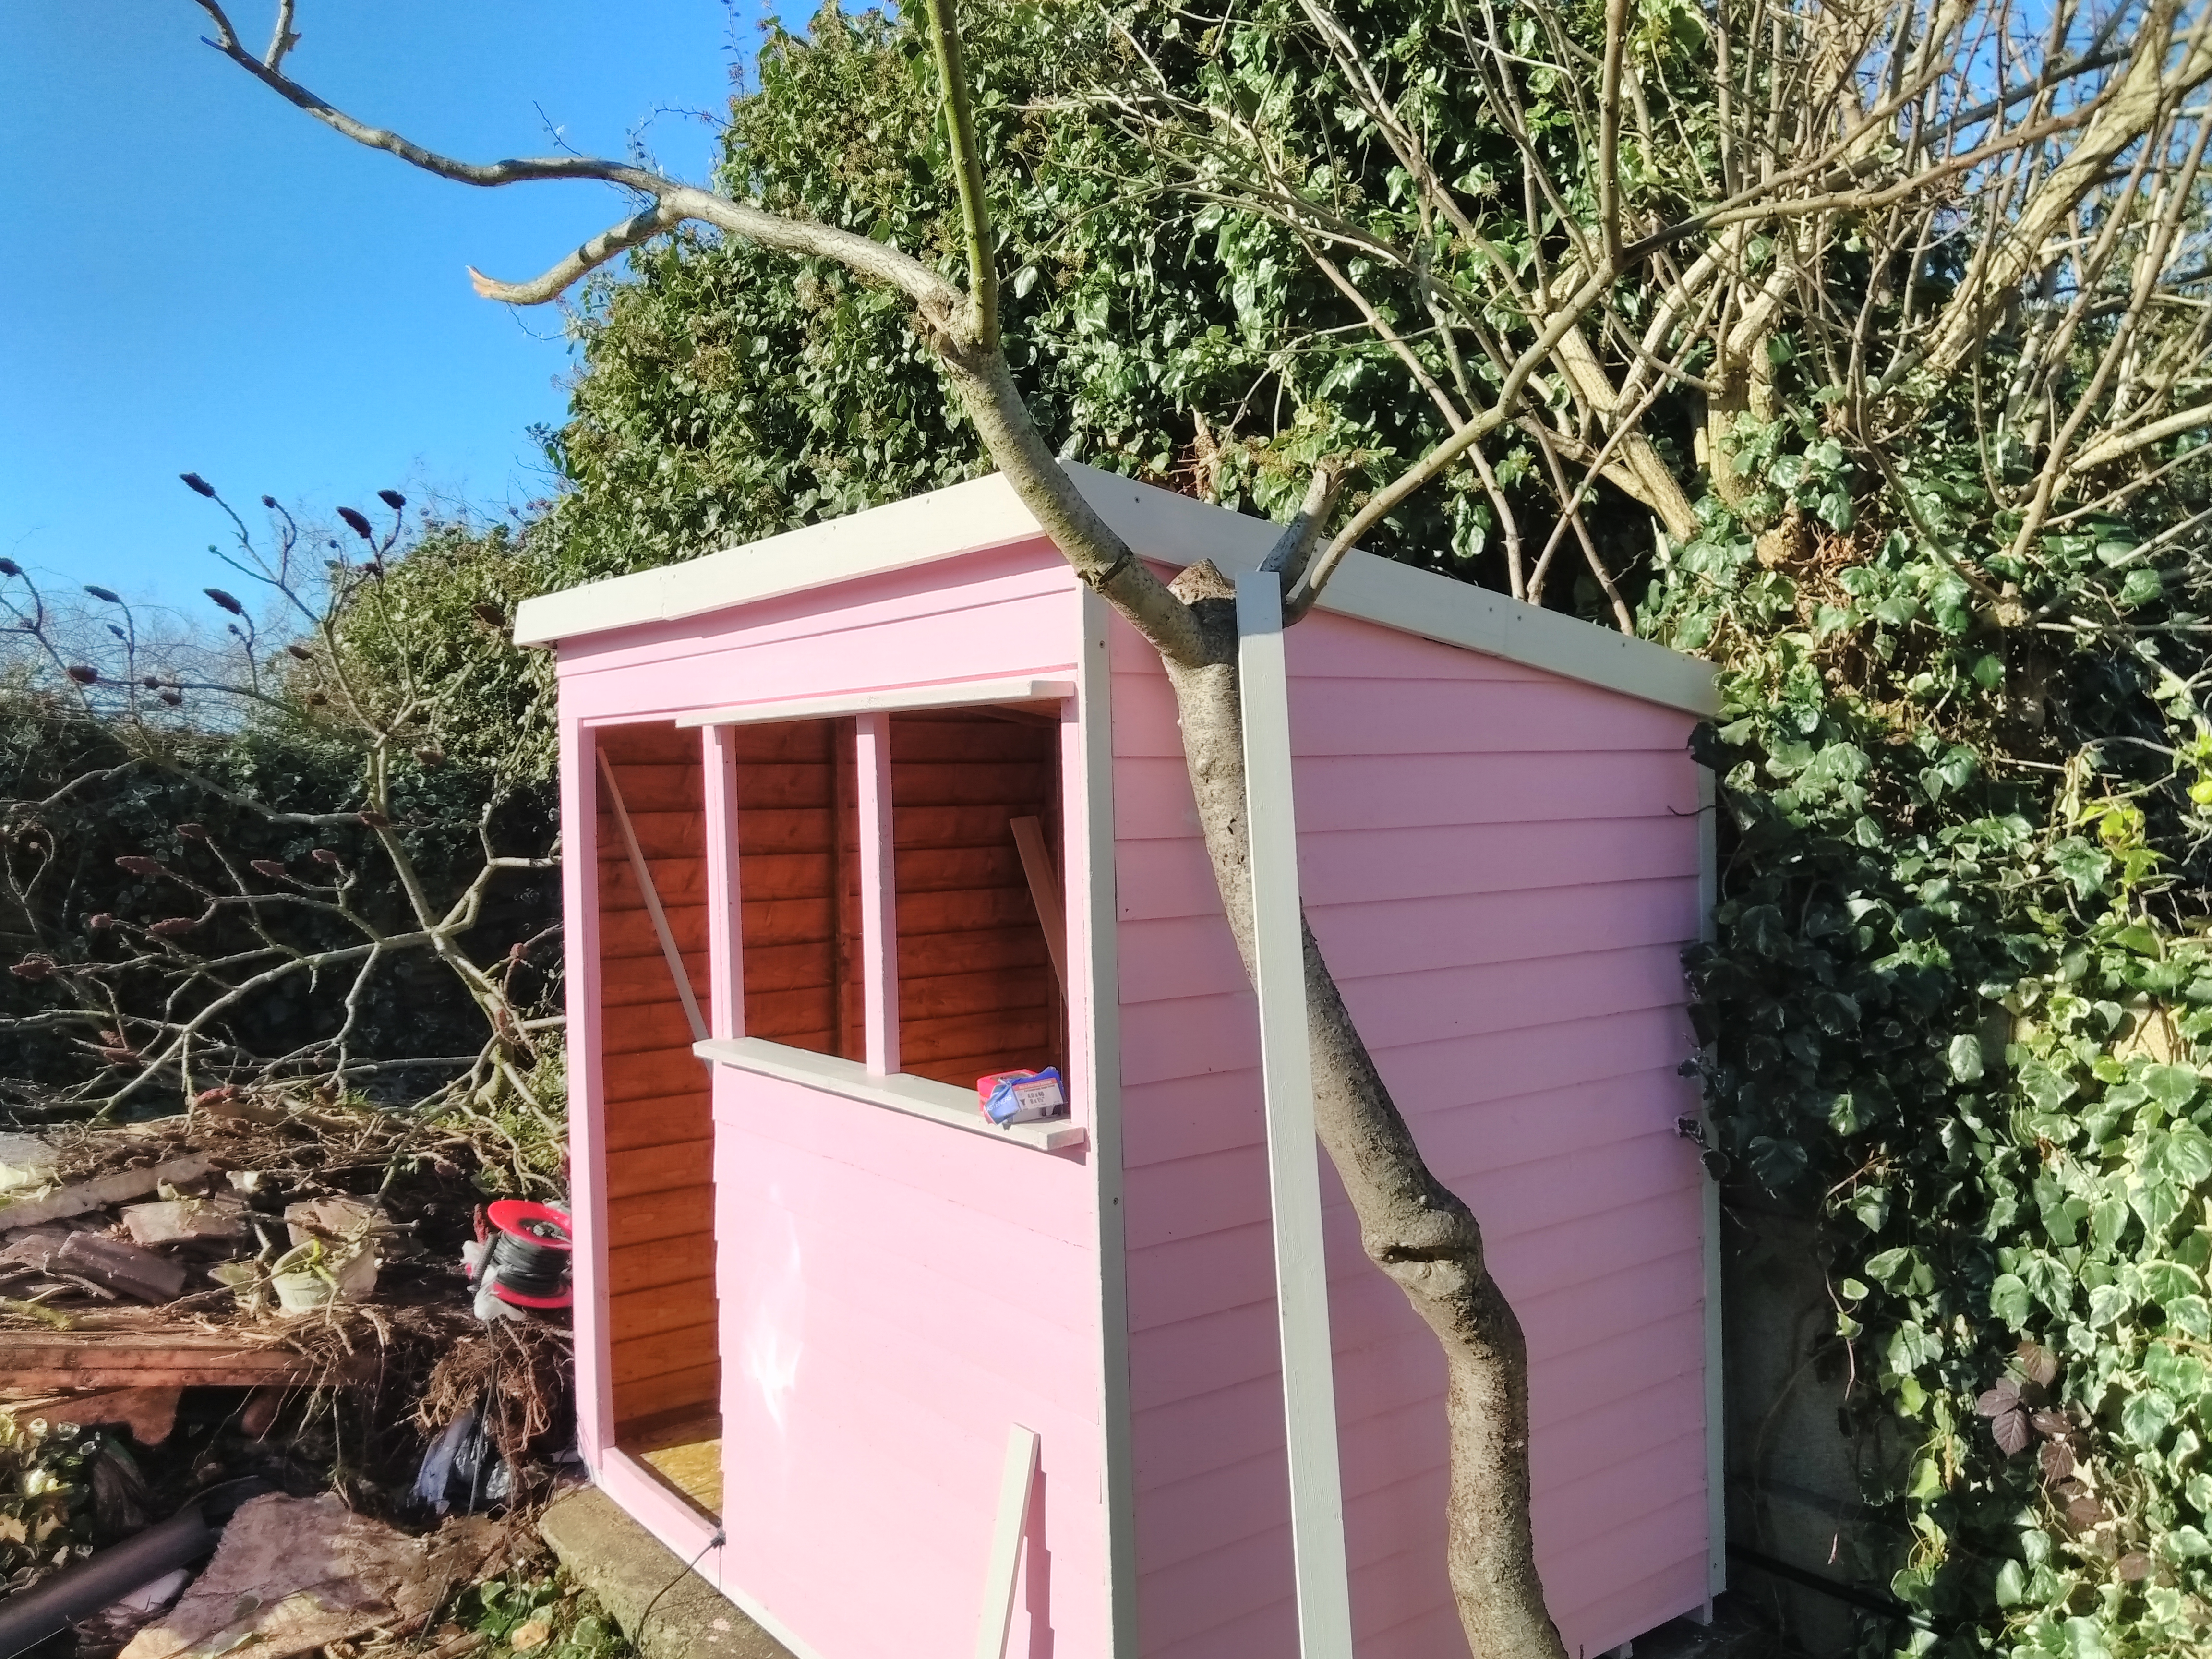
If I didn’t have enough to do with the living room I thought why not build a shed. To be fair it is just one of those kits that you stick together. Managed to find this nice little pent shed. As it is for the girlfriend got some pink paint to finish it off.

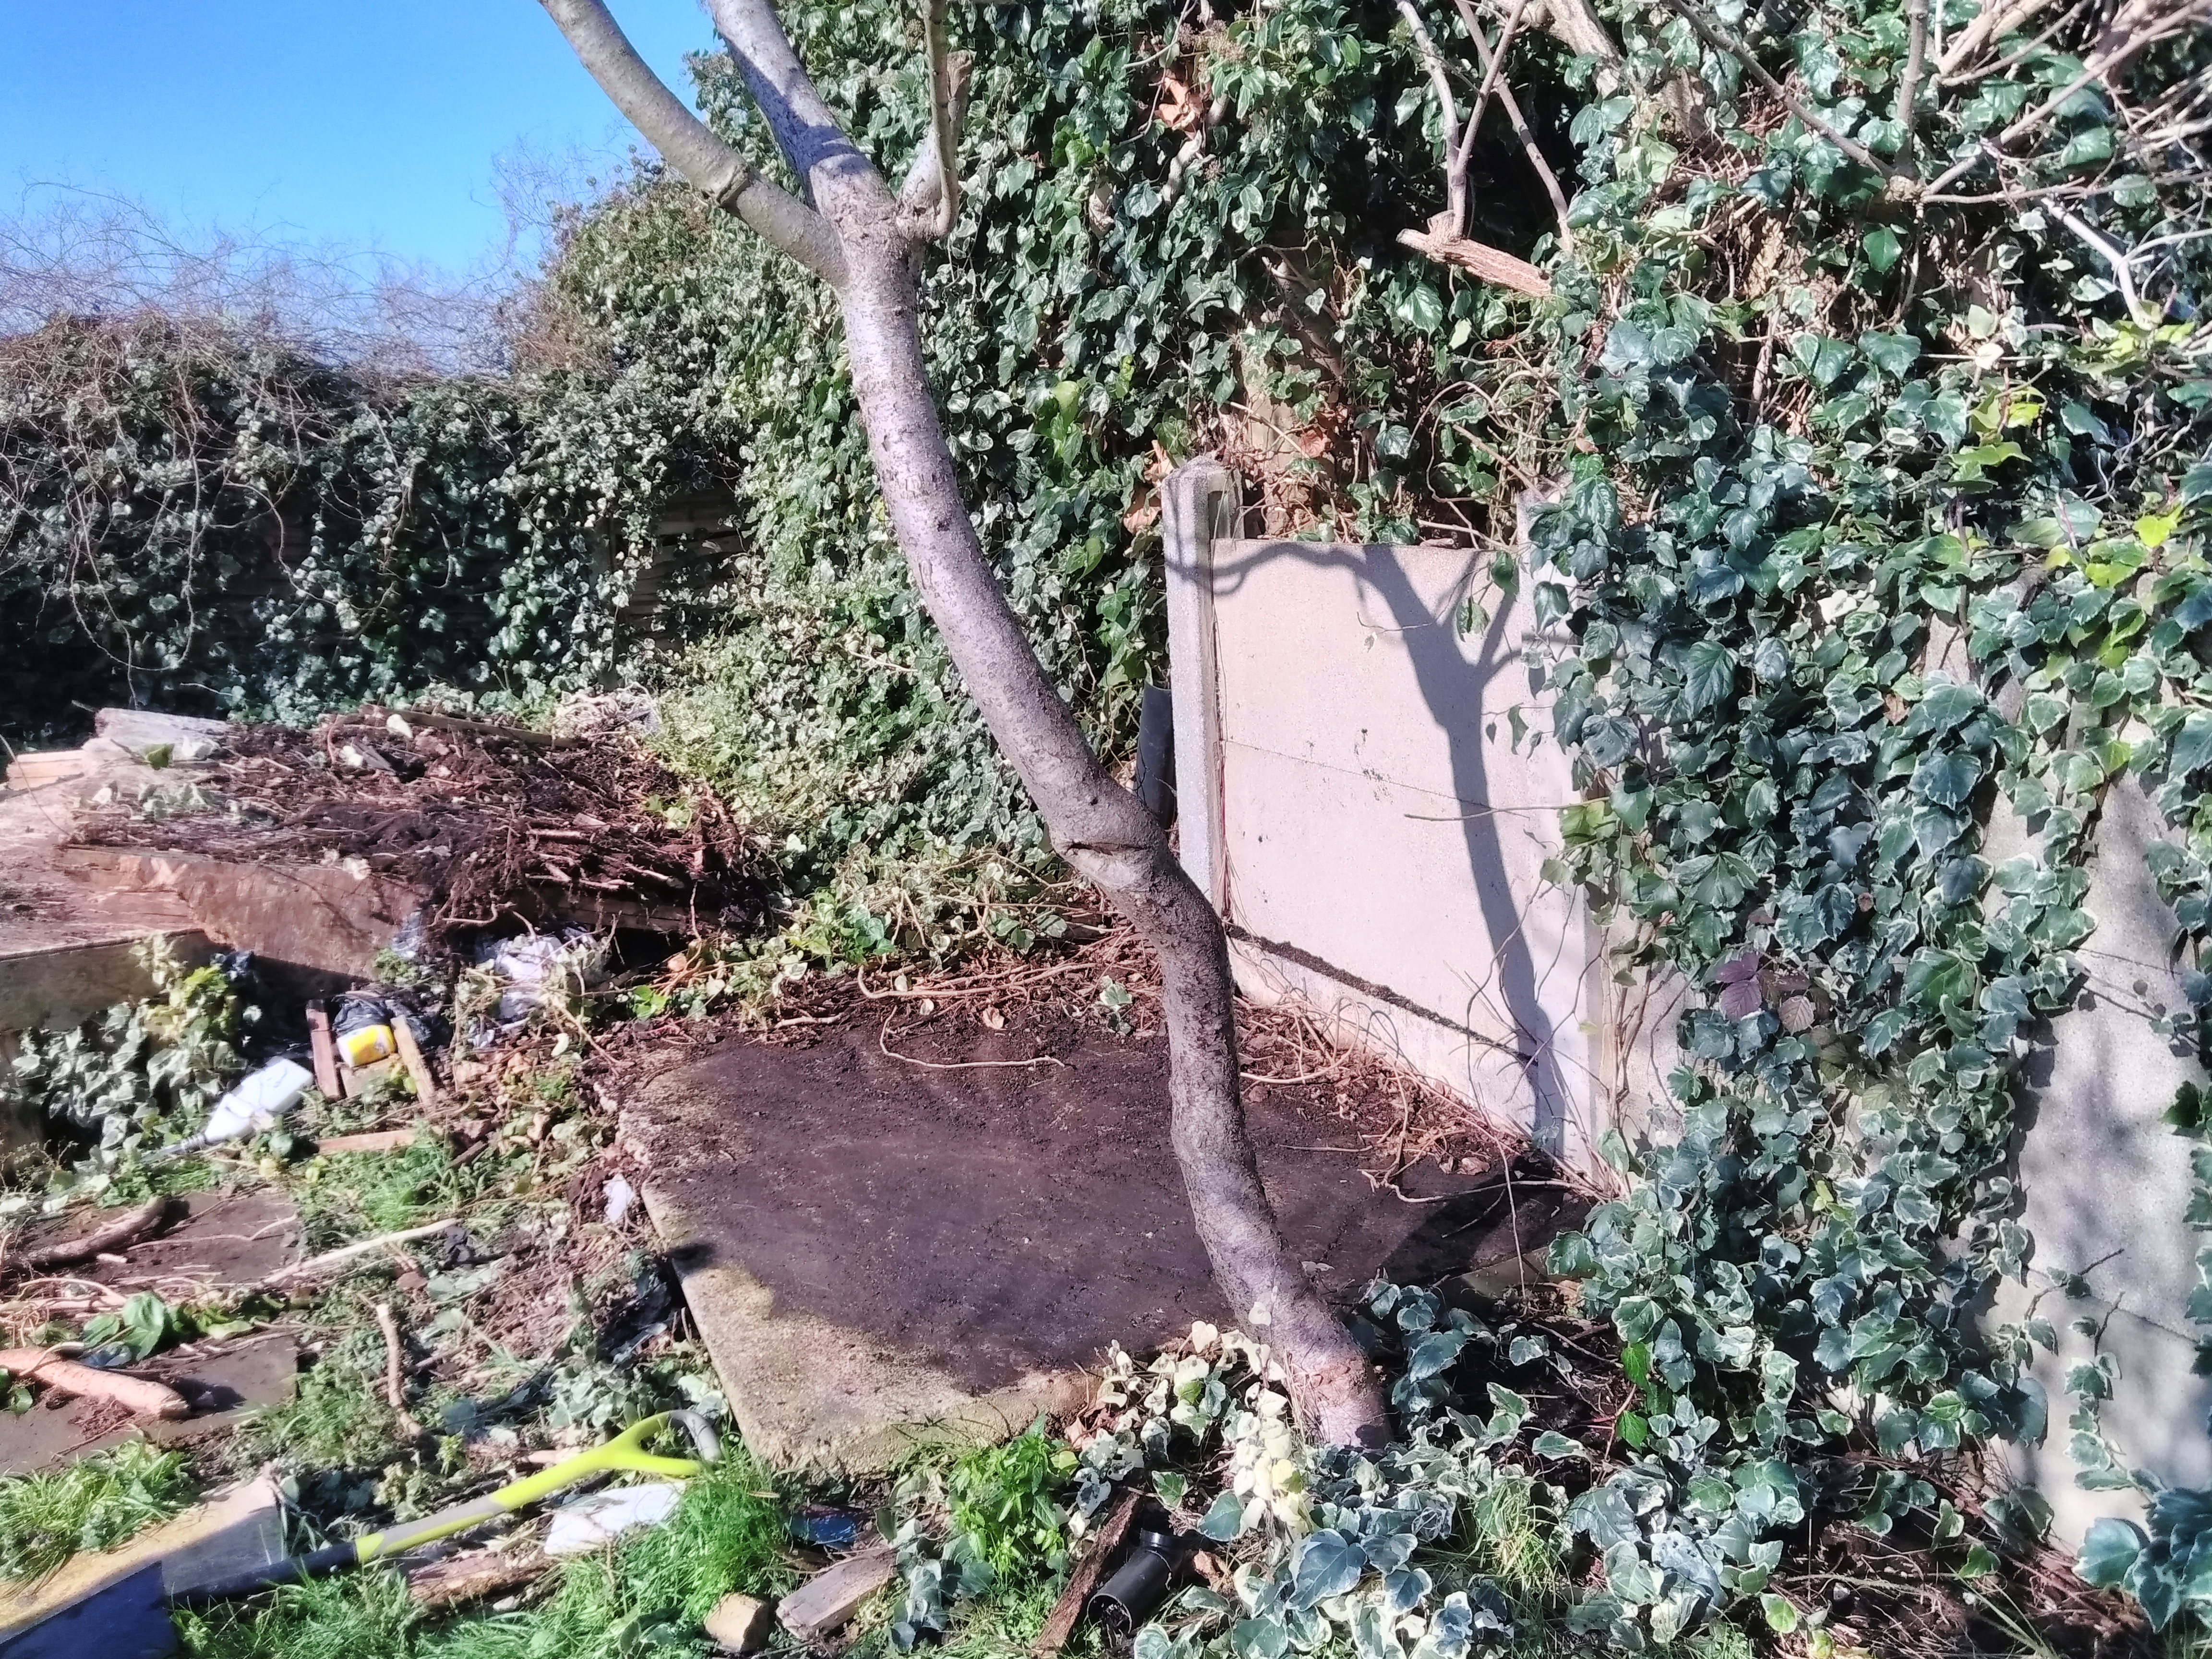
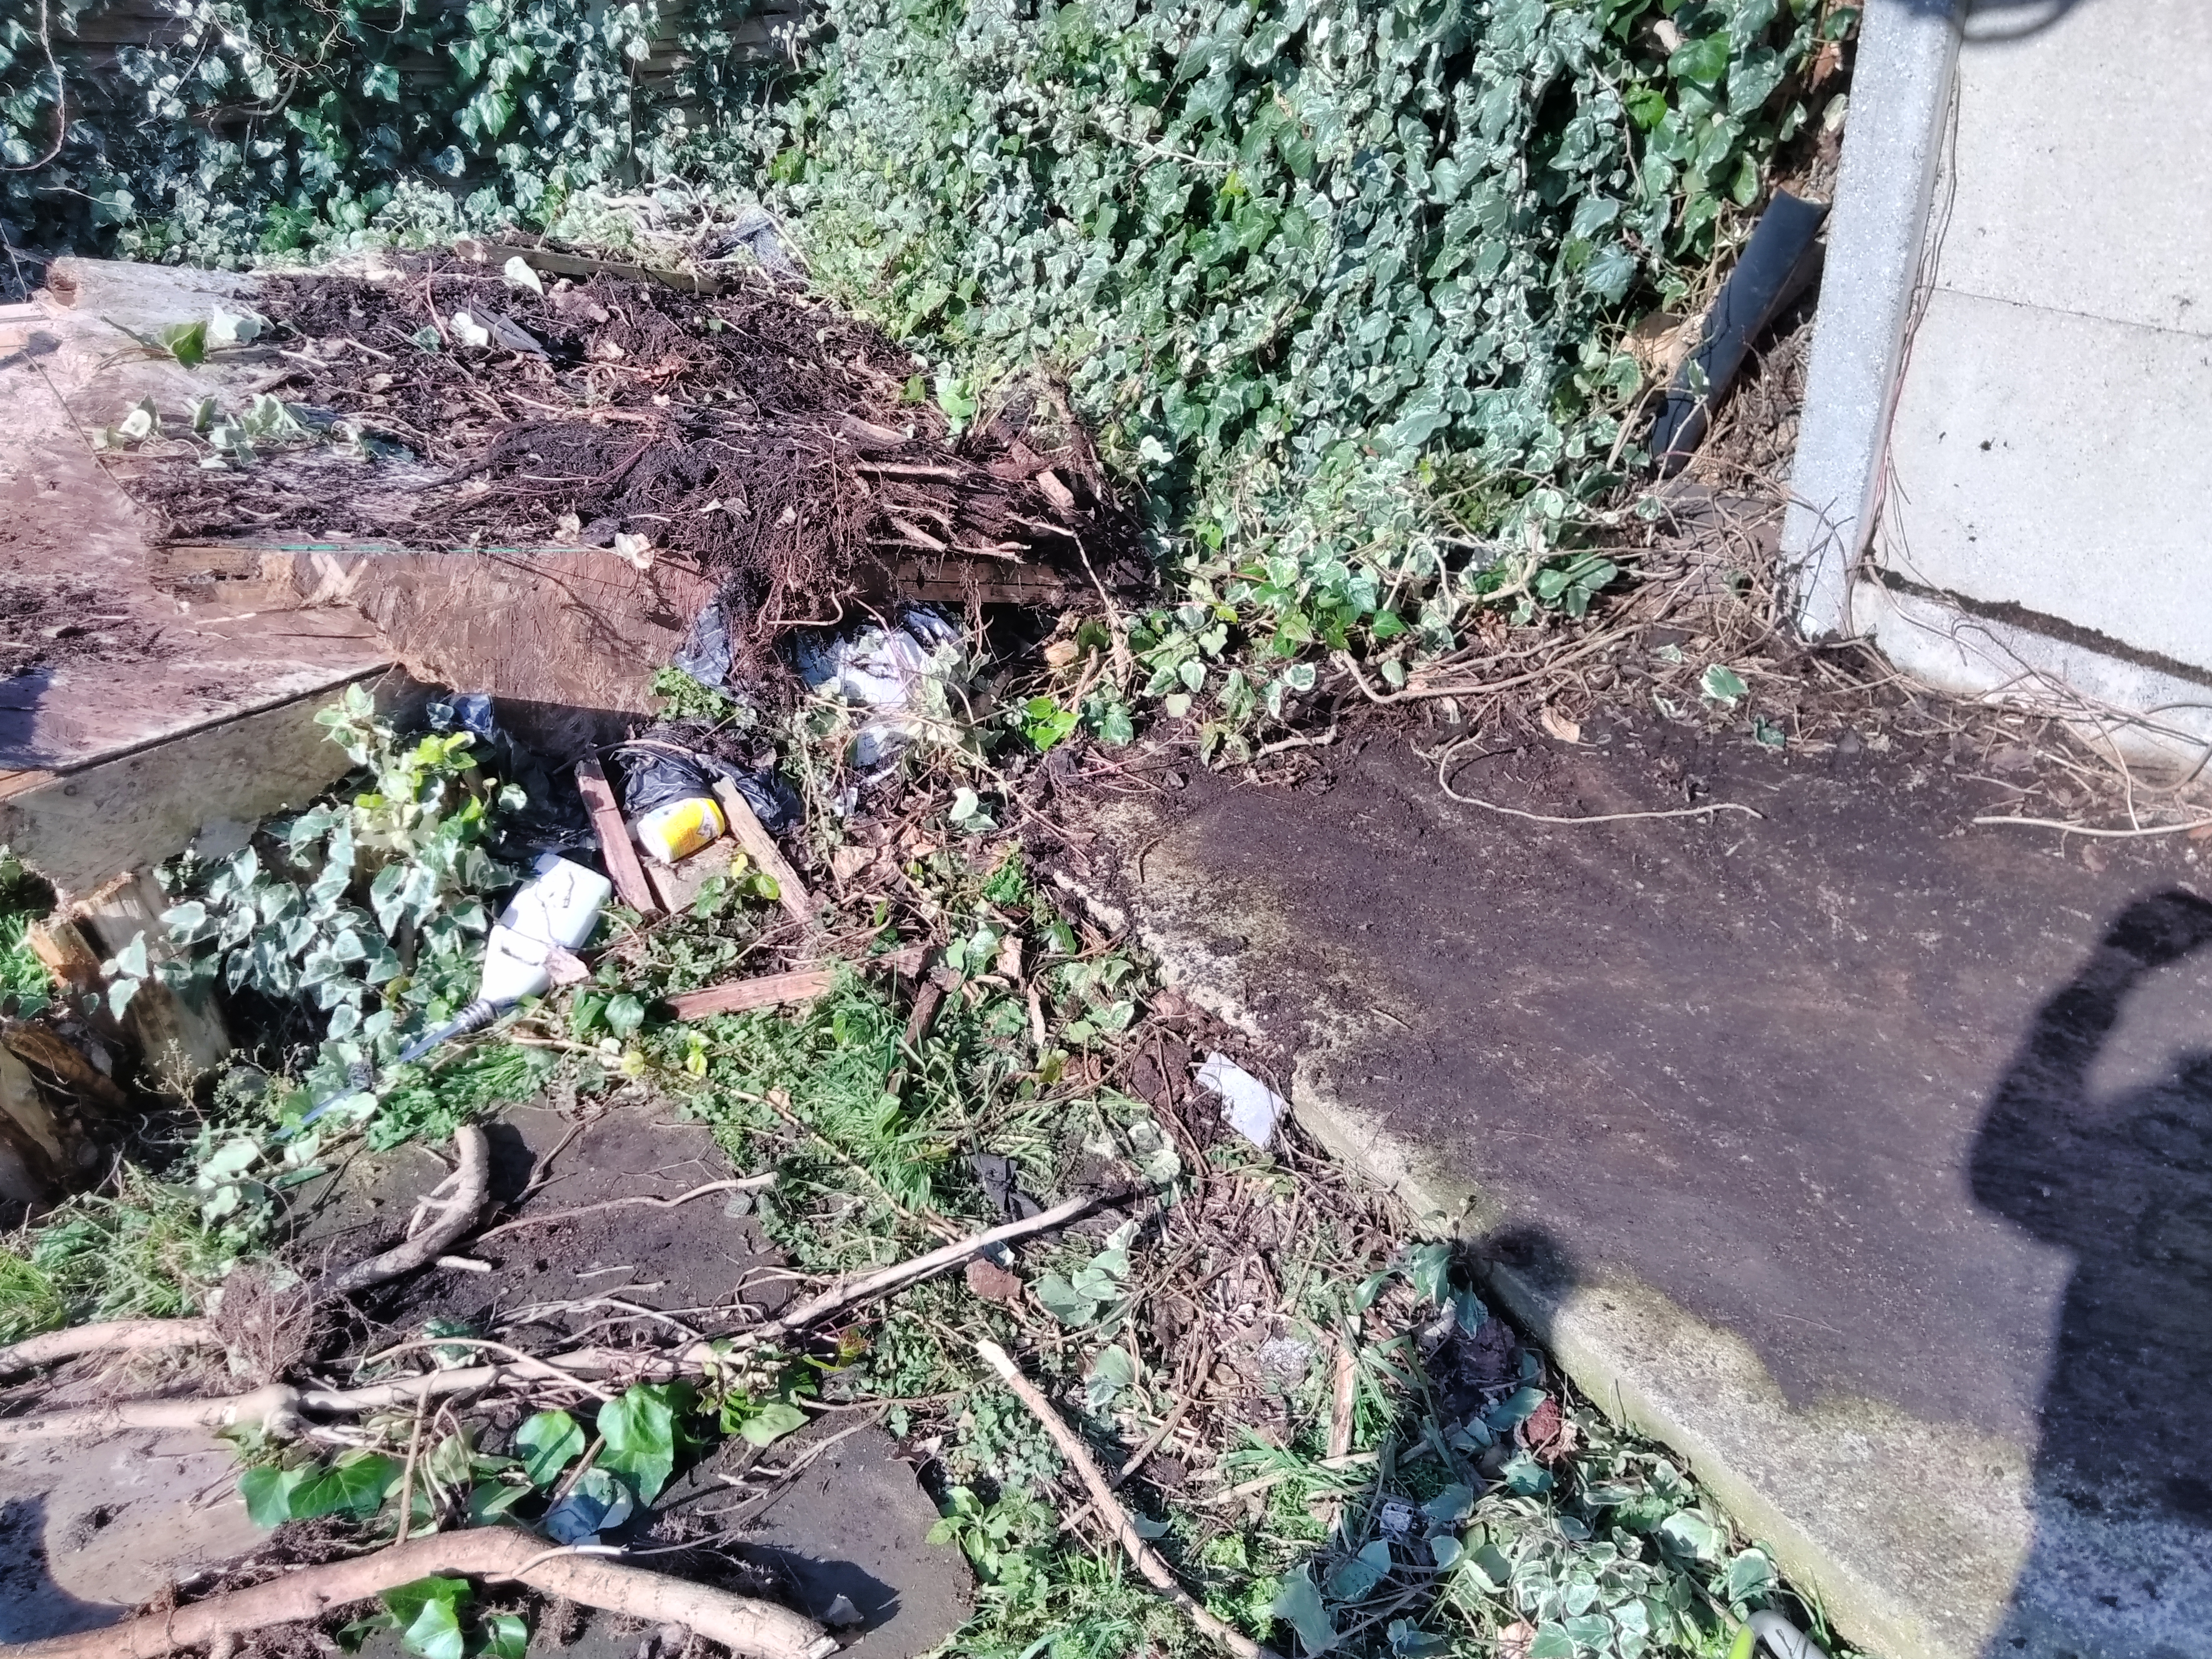
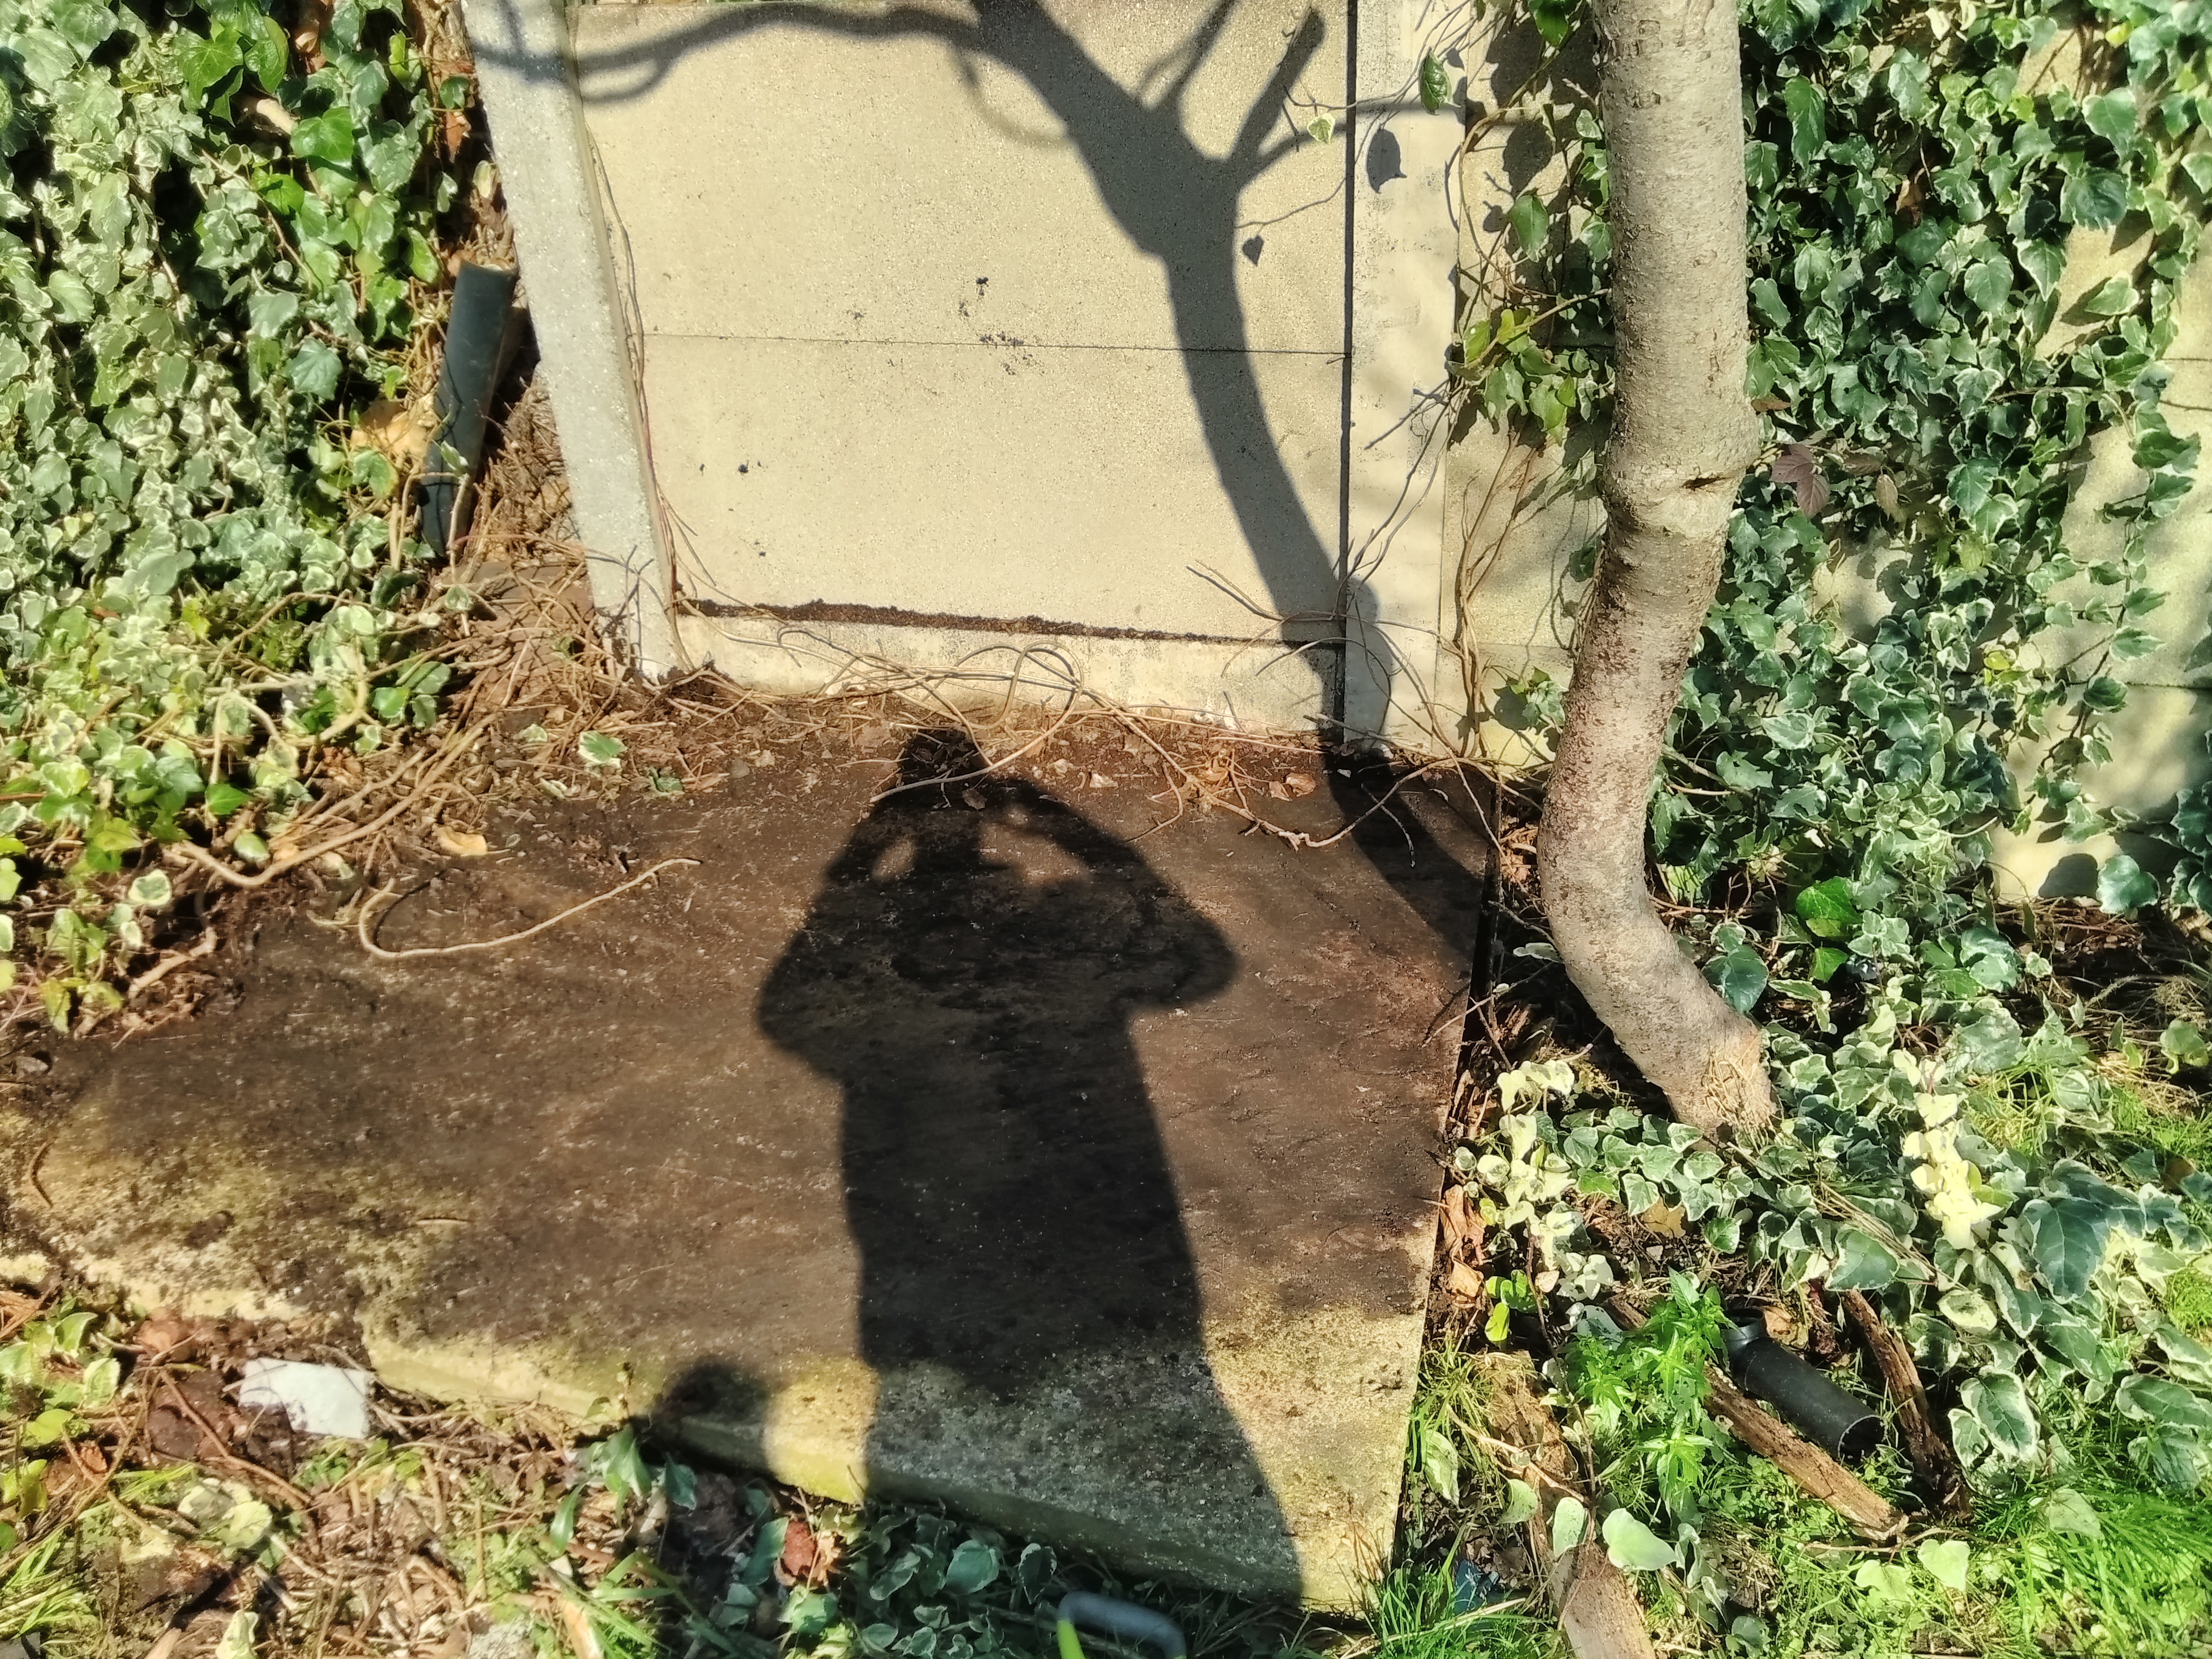
We already have a concrete base at the end of the garden from an old shed so after some cleaning up and cutting back of hedges and plants the base looked good with no damage. I made sure that I had ordered that would fit the base.

Concrete Base From Old Shed
Concrete Base From Old Shed Mostly Cleared And Drying Out
Waste Cleared From The Old Shed
Waste Cleared From The Old Shed Rotted Wood And Branches Moved Away.
Concrete Base For New Shed
Concrete Base From Old Shed Cleared Up And In Good Condition Ready For The New Pent Shed.

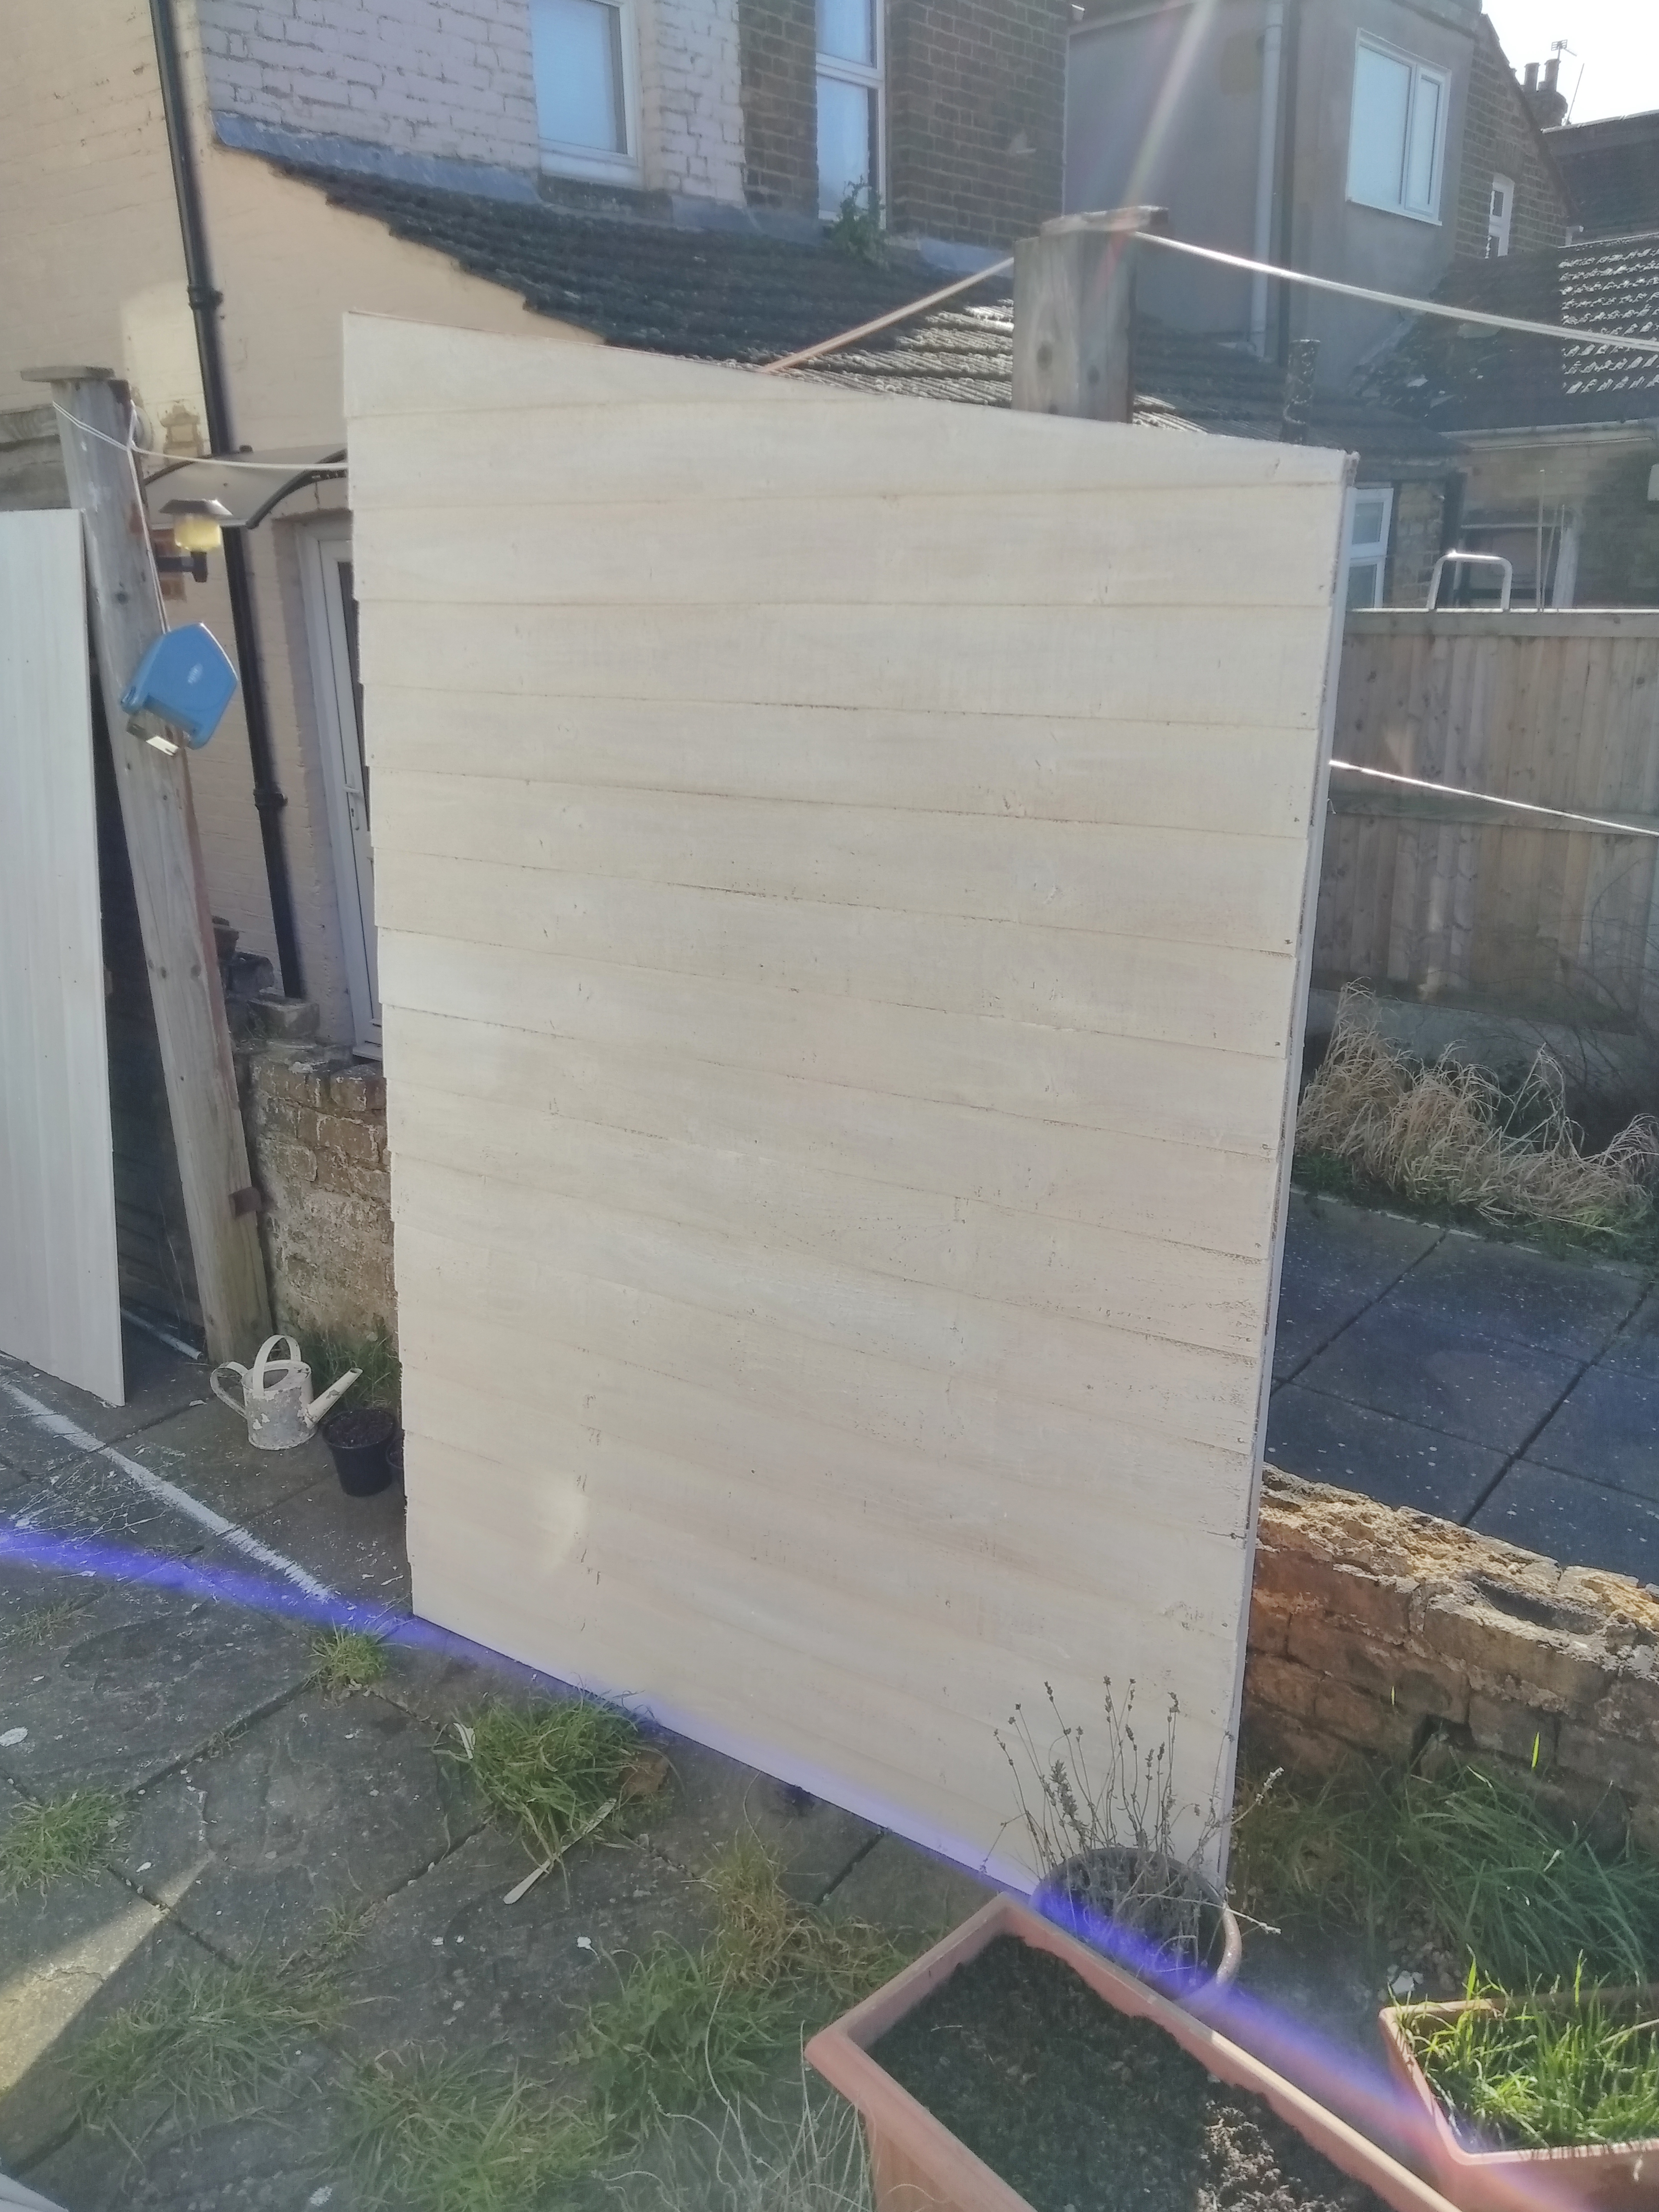
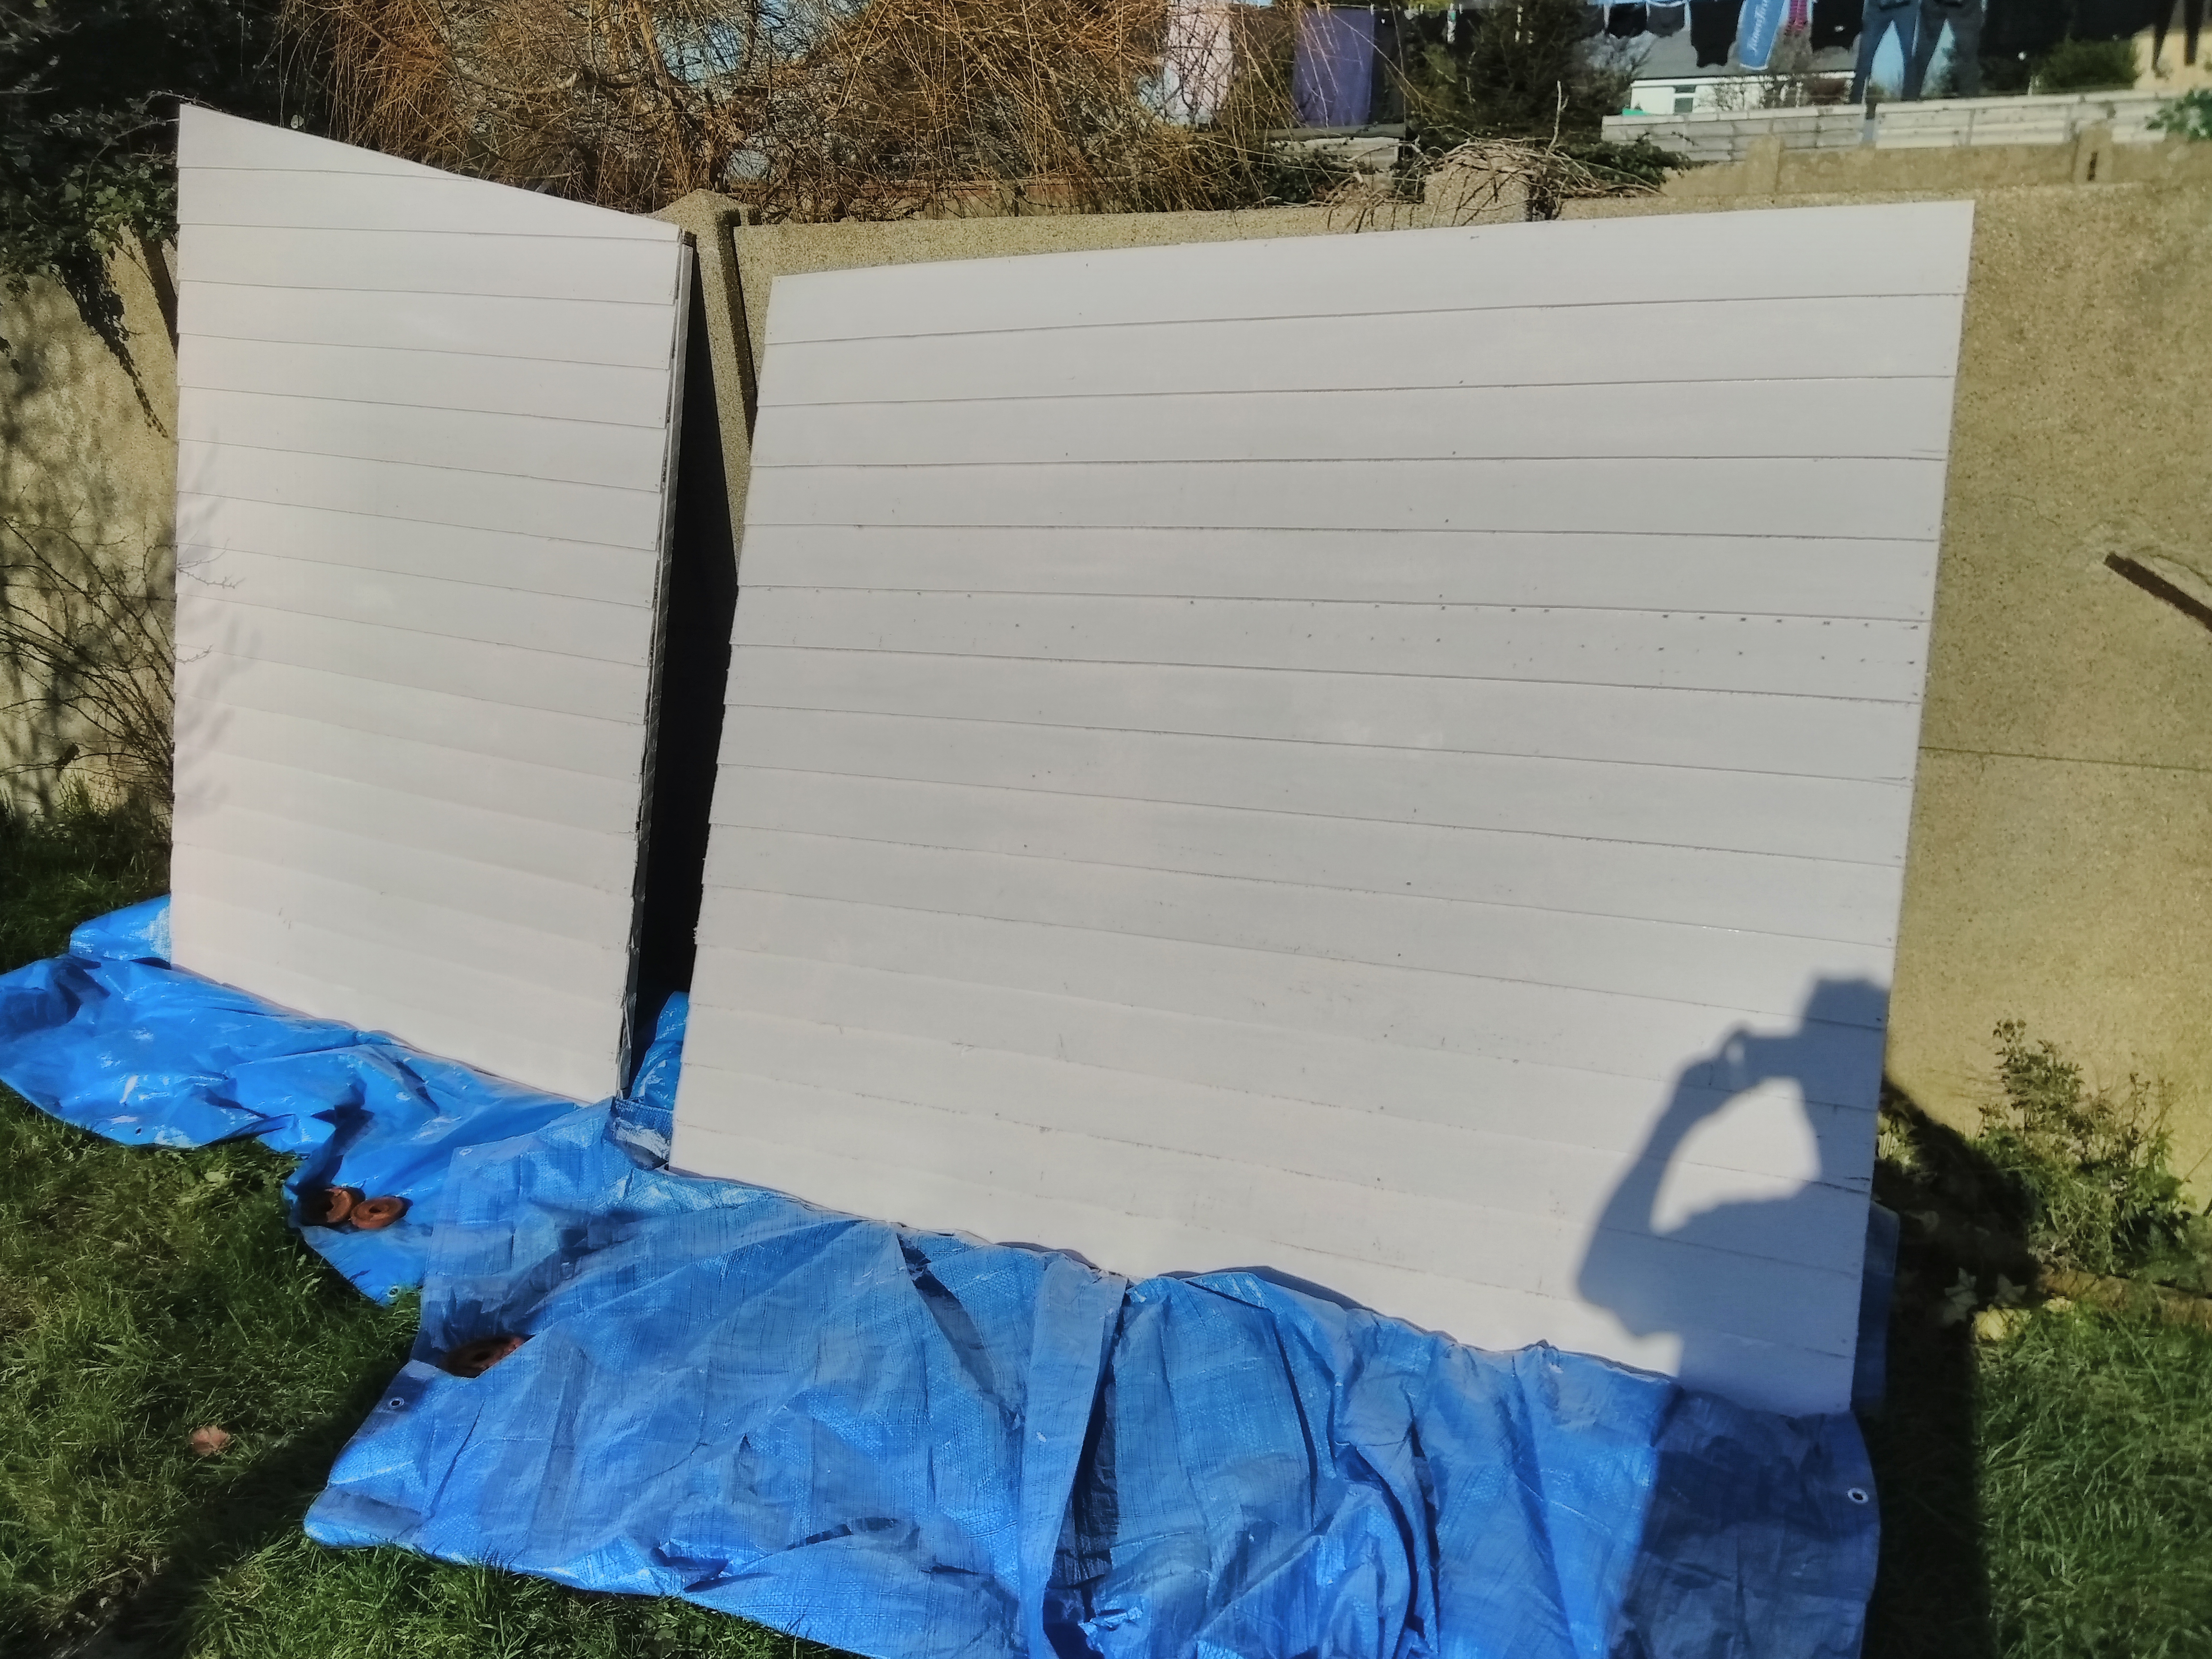
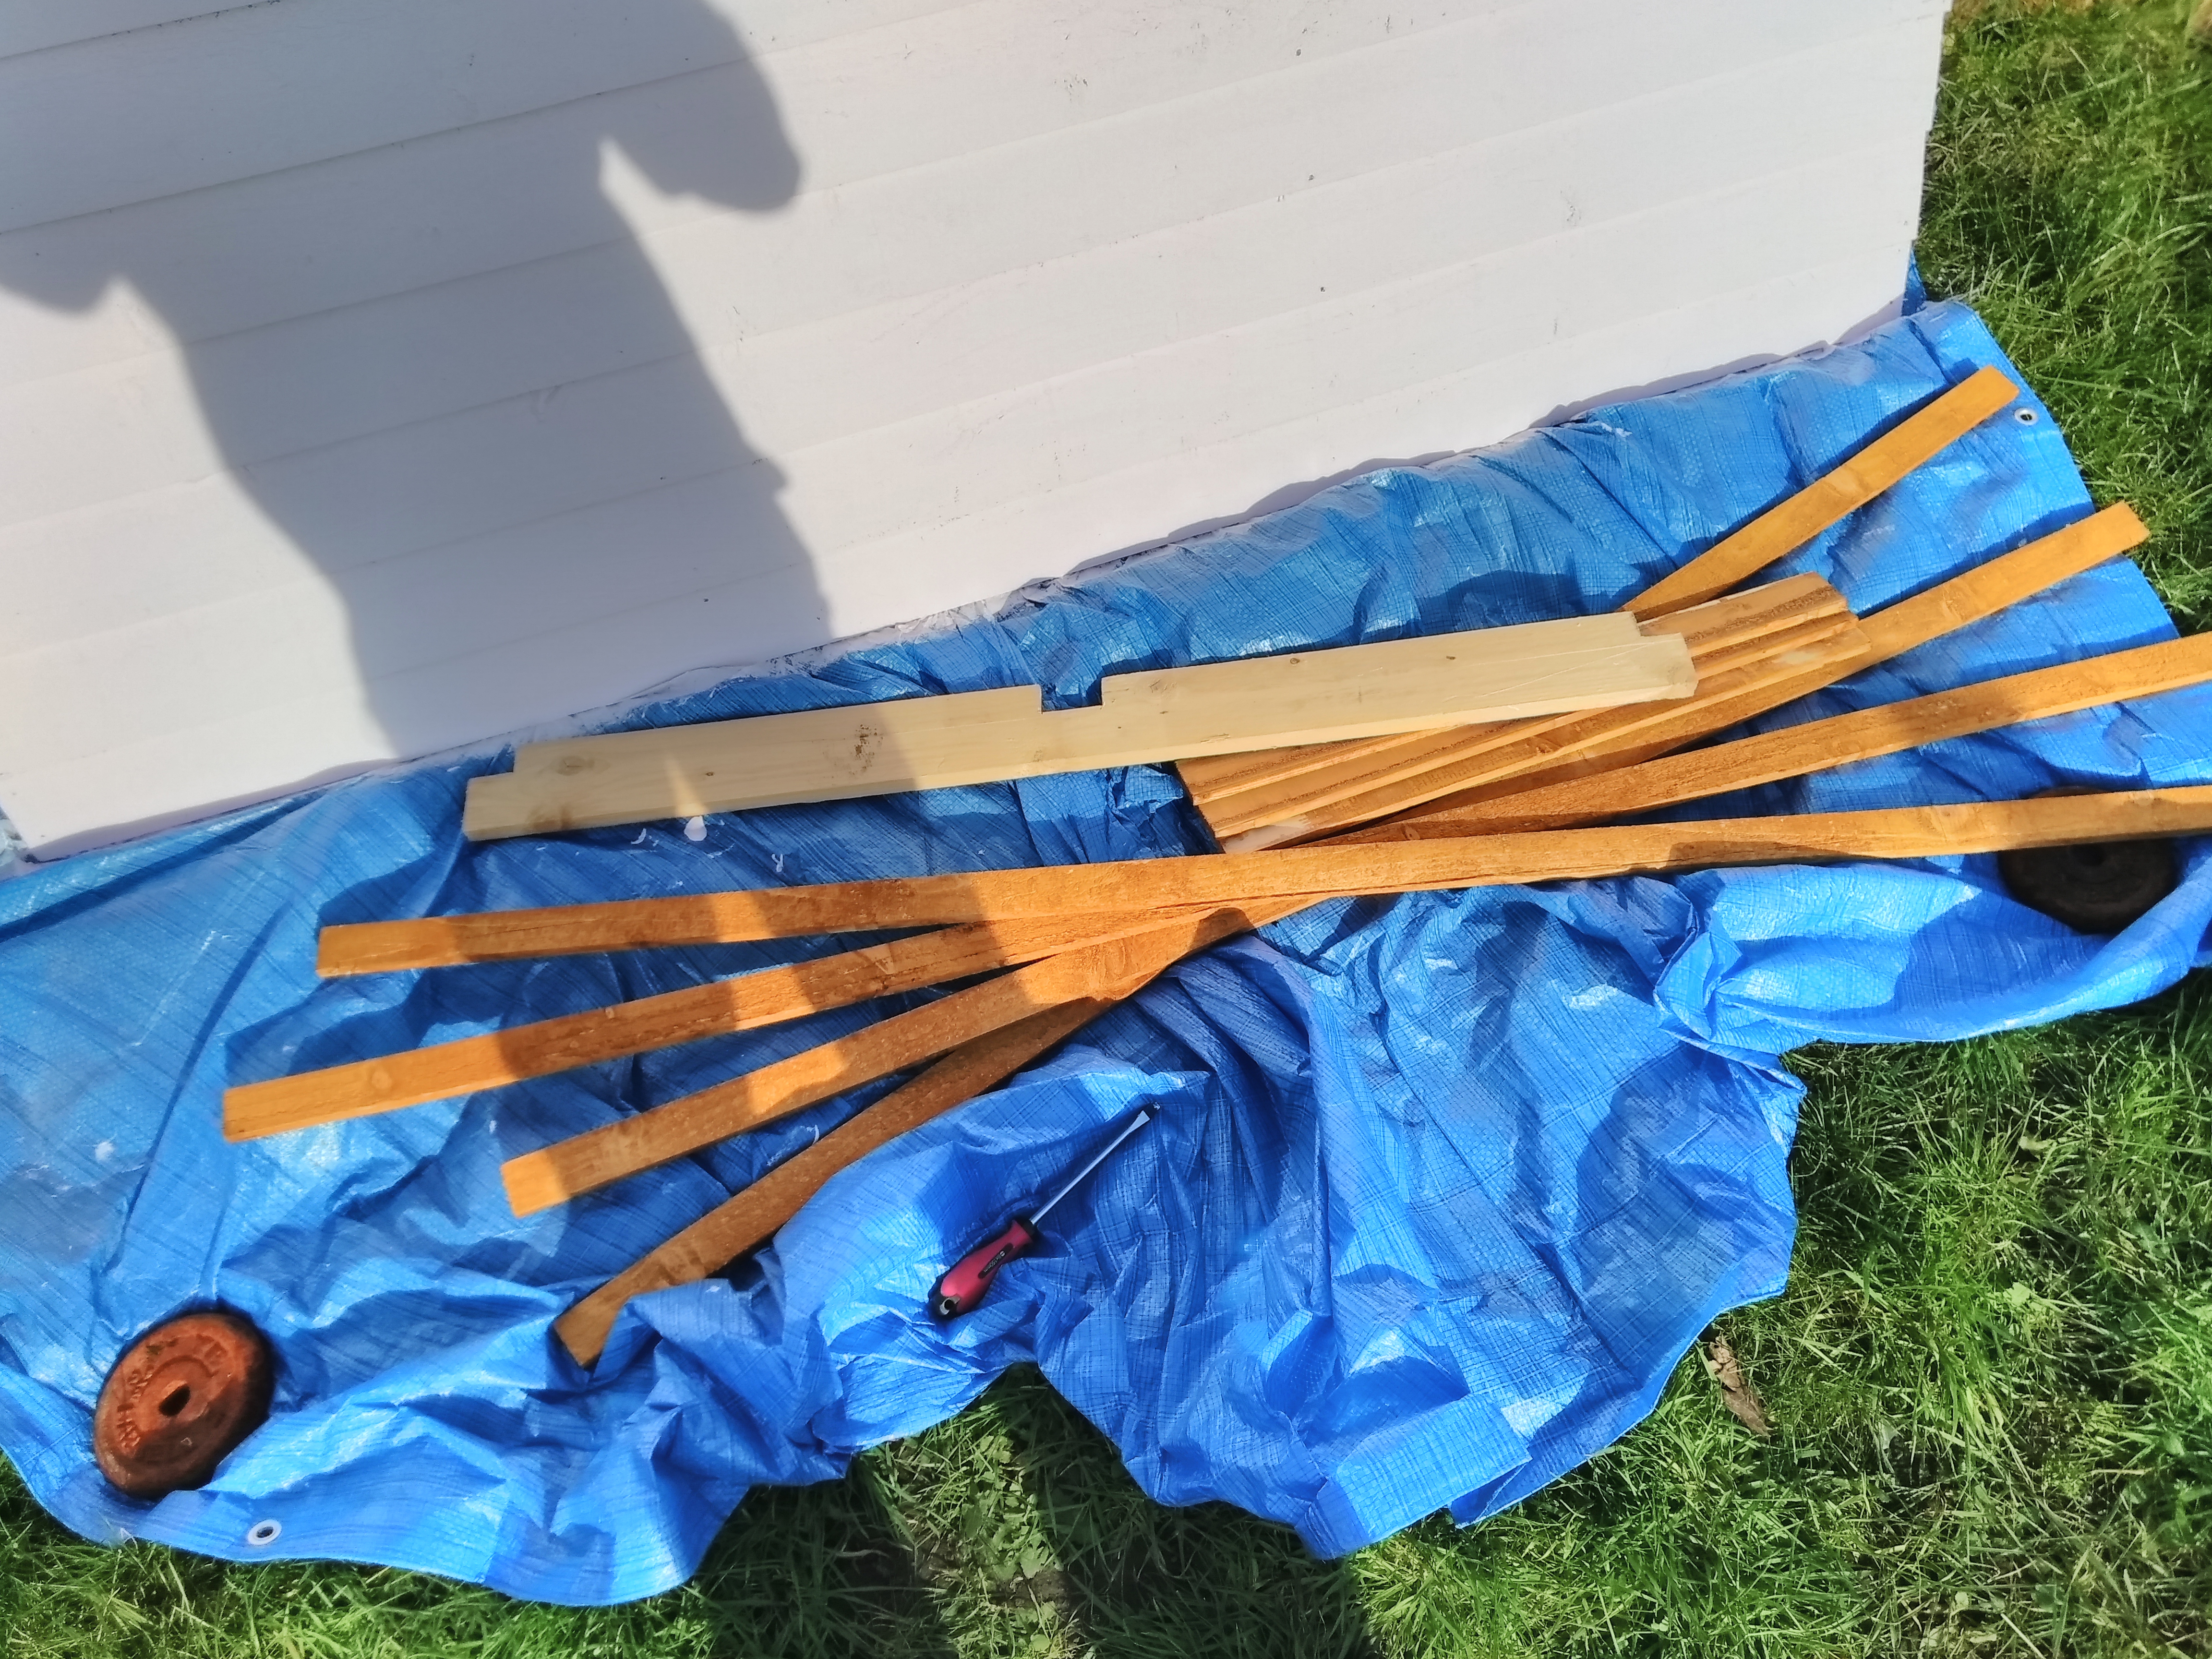
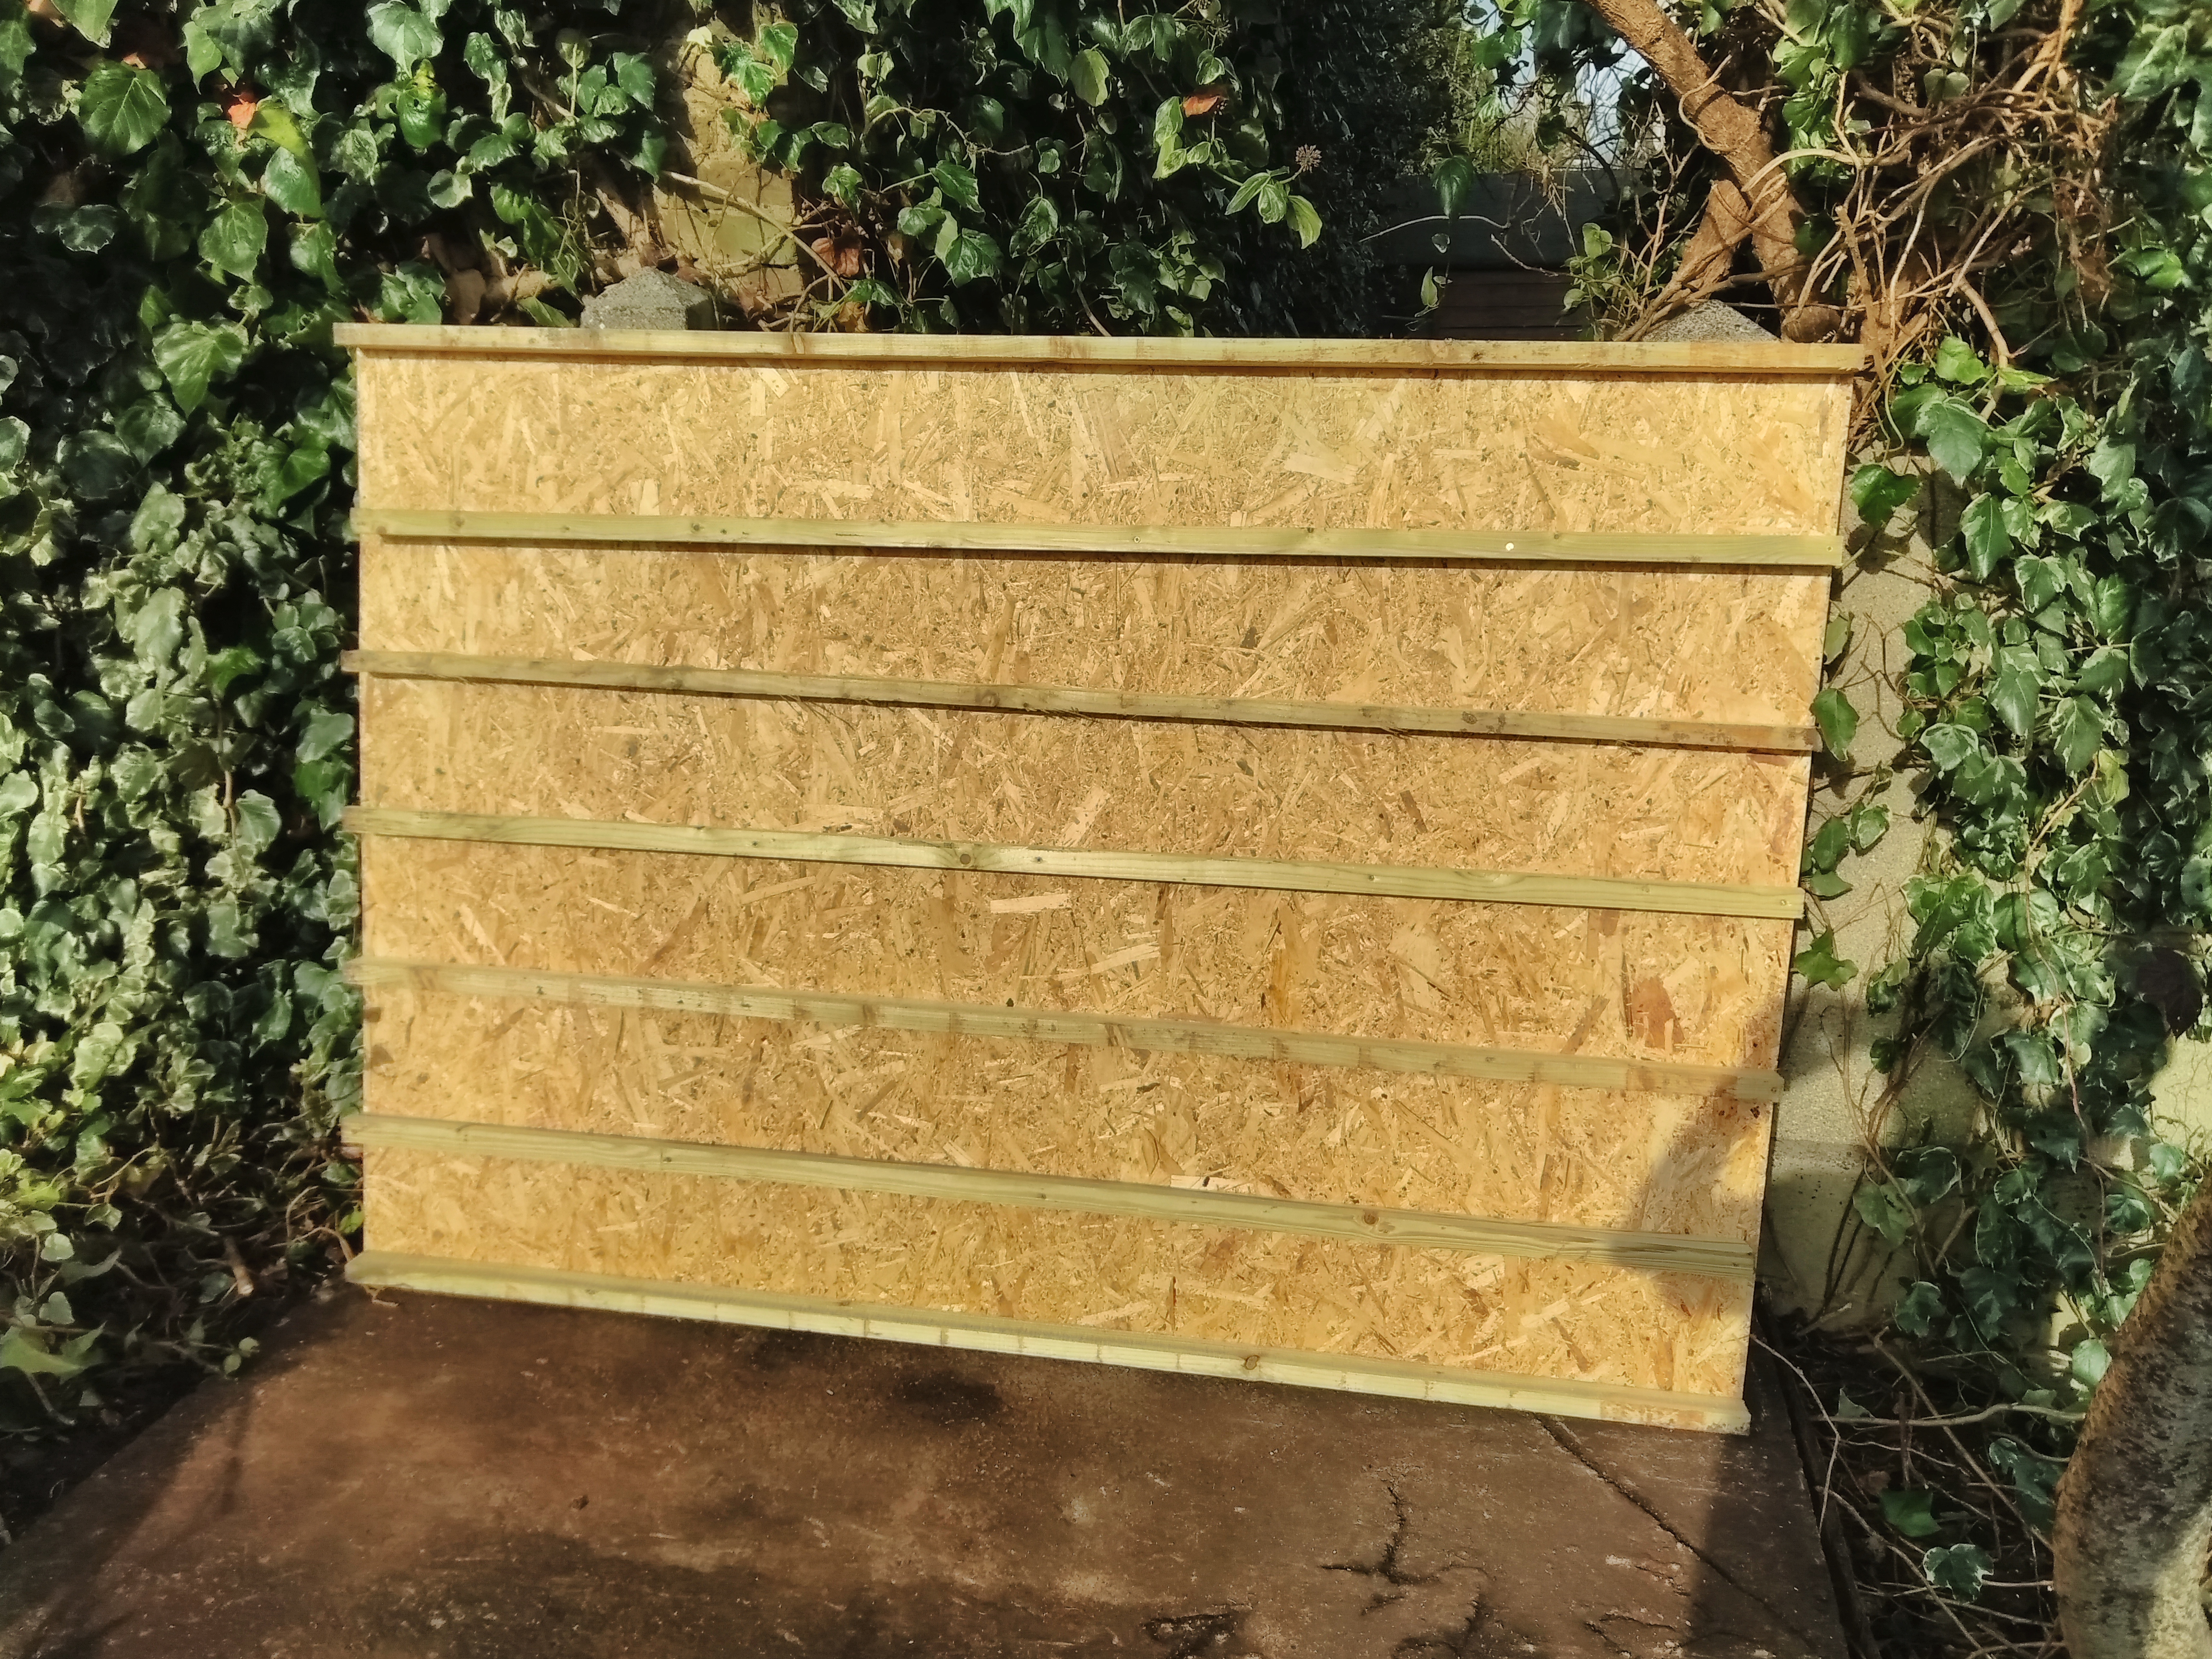
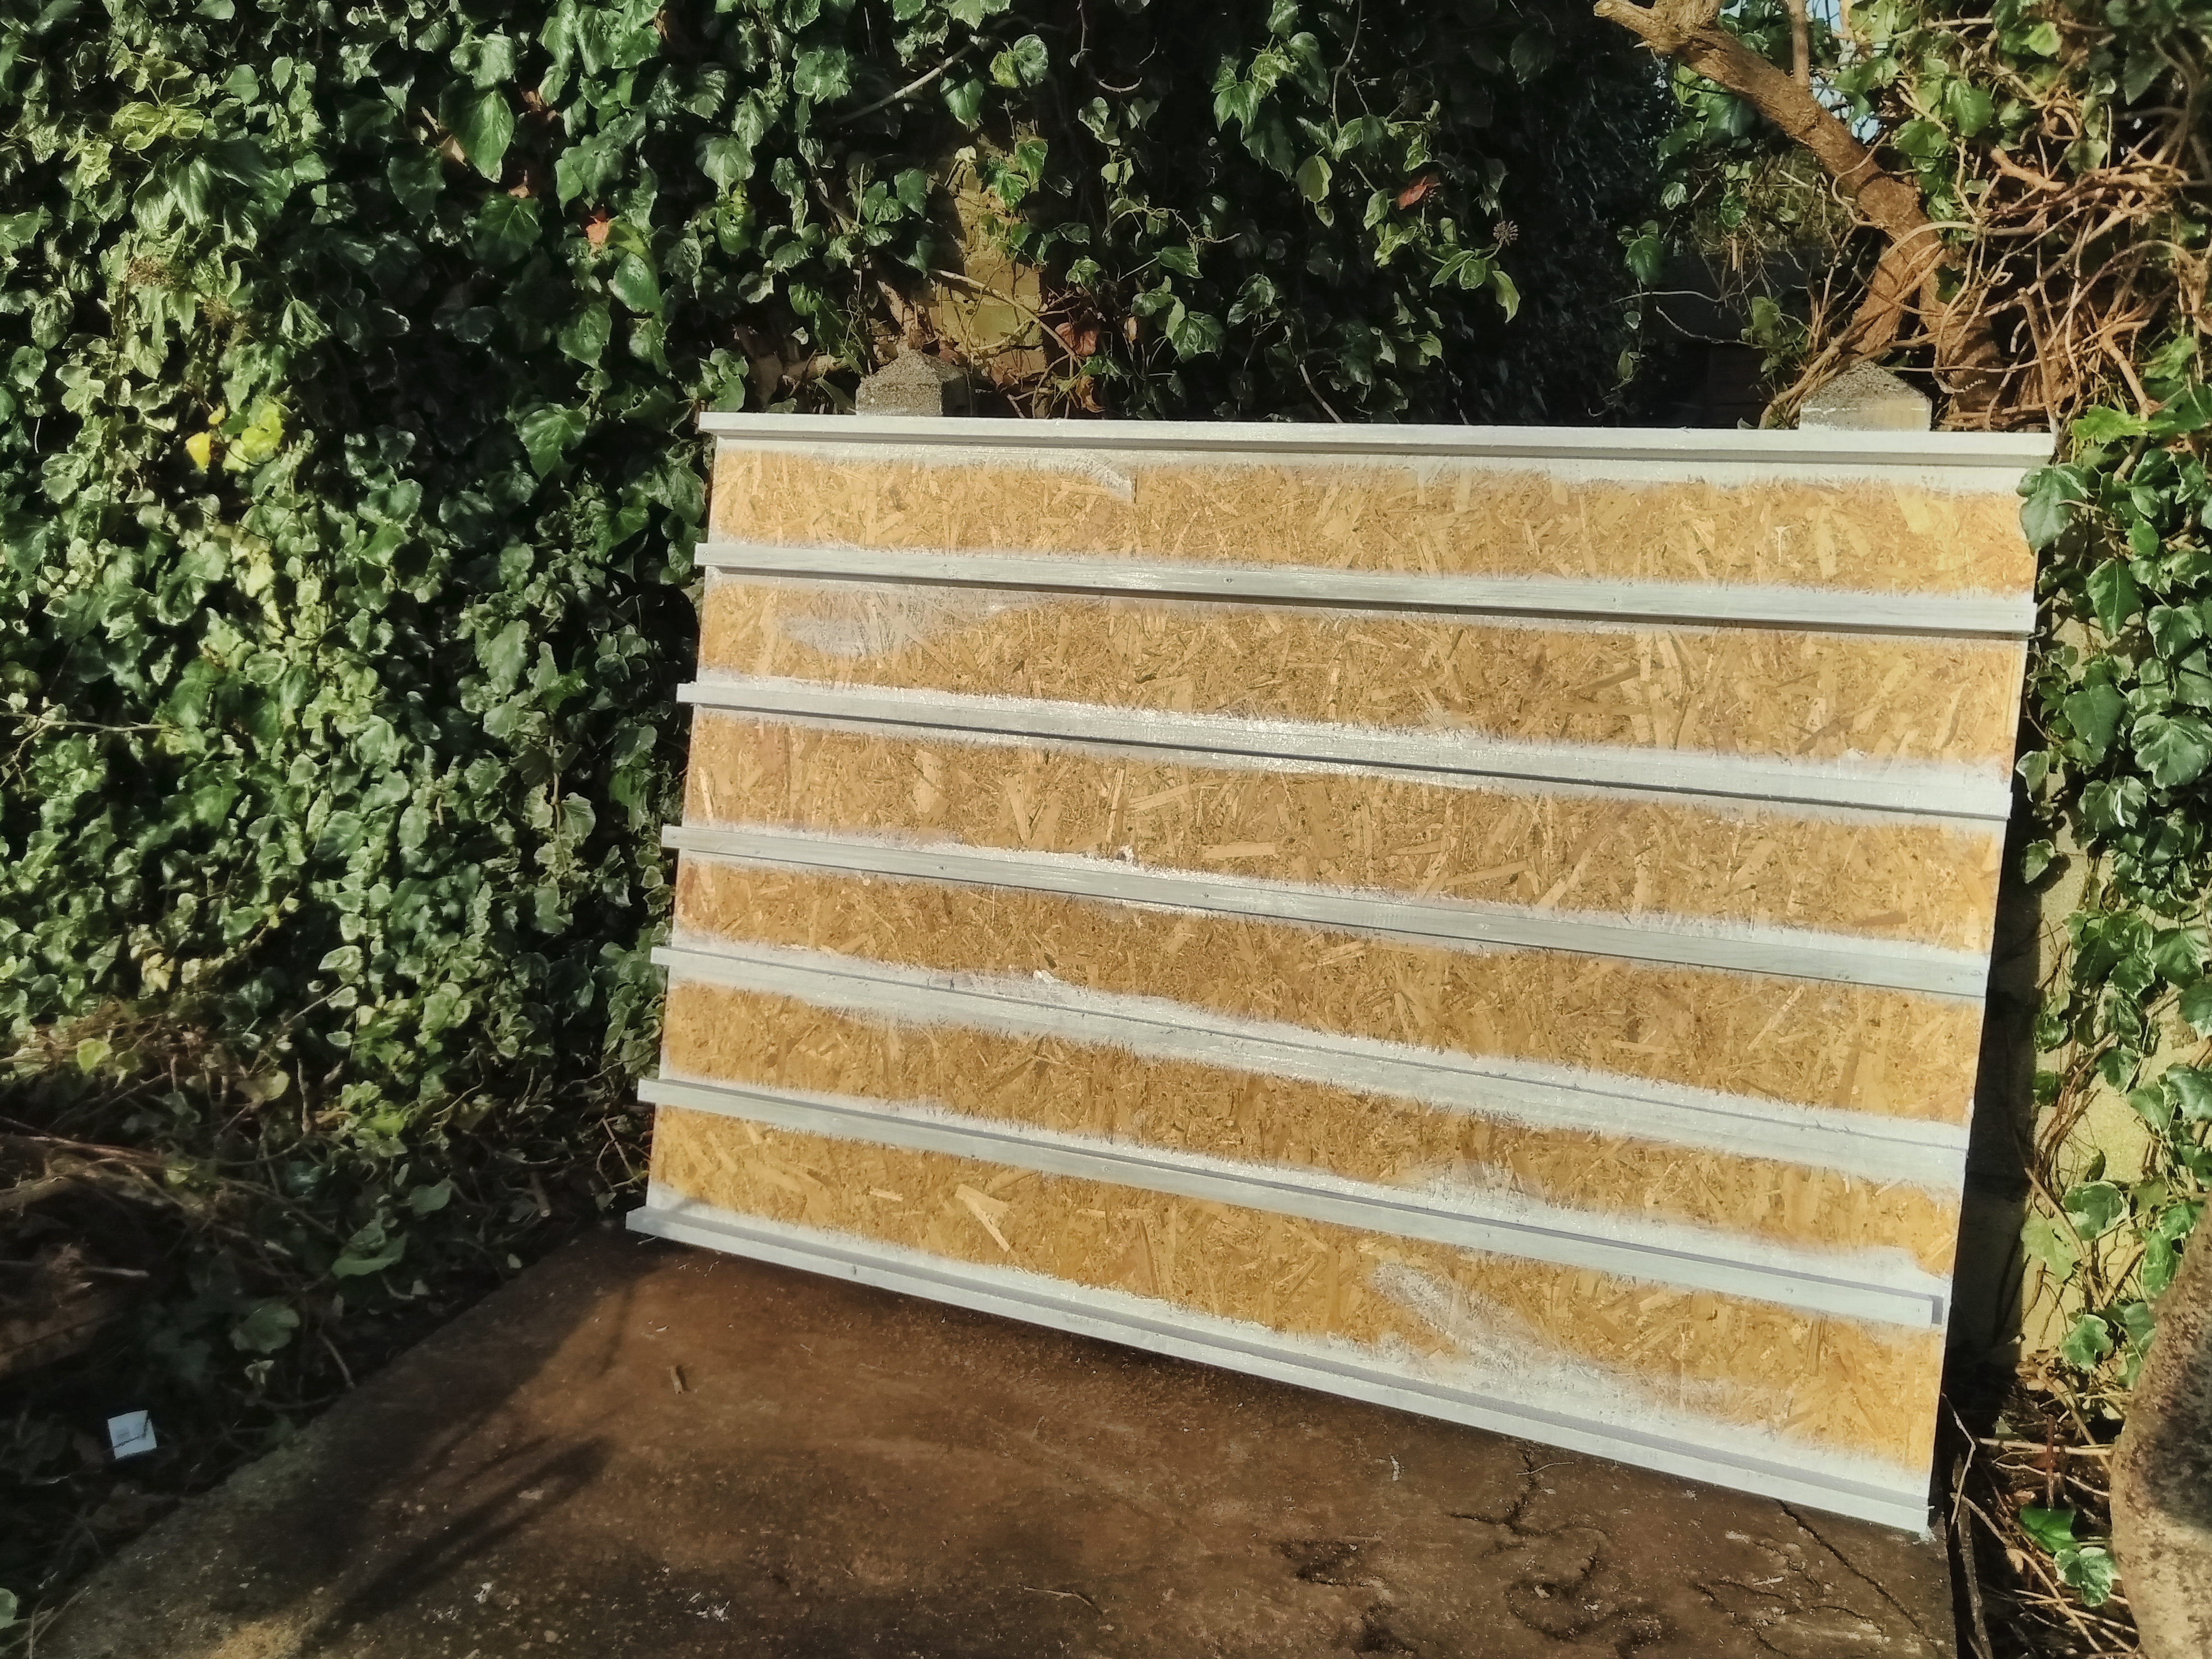
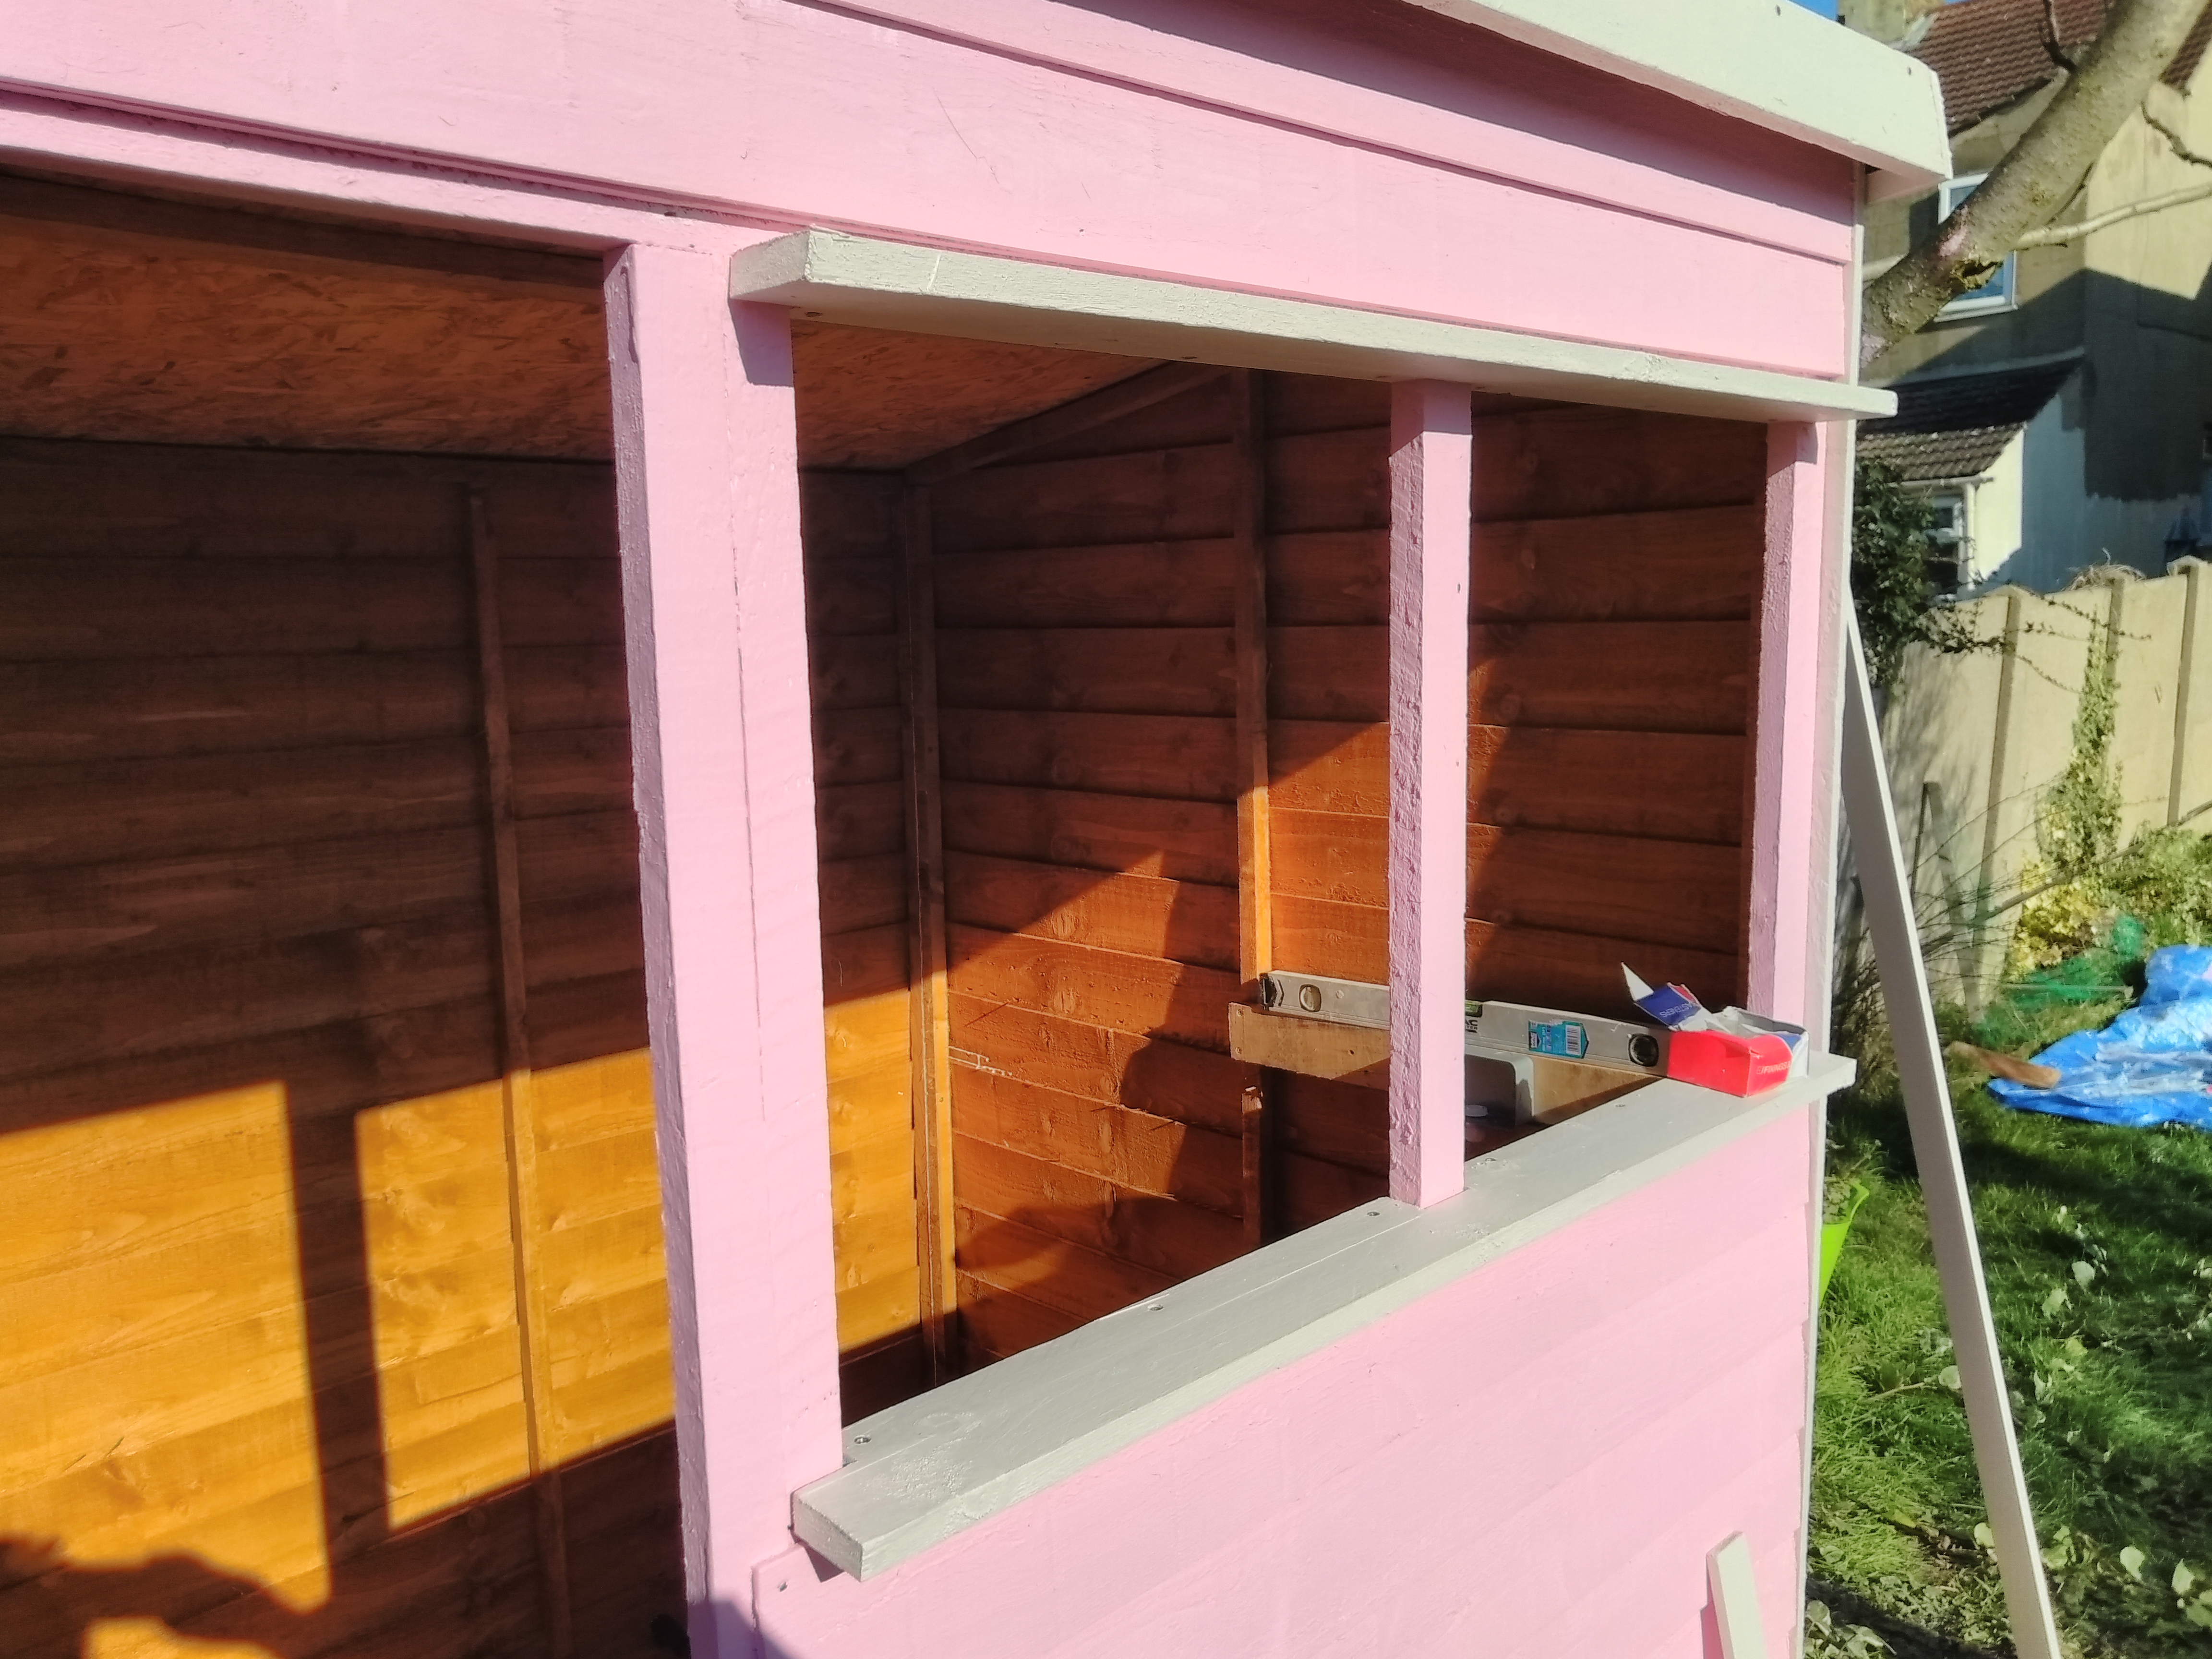
So the first job was to paint all the panels, a nice coat of white undercoat then 2 coats of the pink.

Side Panel Of Shed Undercoated
Side Panel Of Shed Painted With B&Q Quick Dry Undercoat.
Shed Panel Undercoated
The Front of The Shed Undercoated With A White Paint Ready For The Top Coat.
Shed Back And Side Painted In Pink
Shed Back And Side Painted In Pink, Paint Is Fresh So They Still Look Very Pale.

I have a pretty much endless supply of used pallets at work and bought a long one for this project. Cut a couple of pieces off and made some window ledges. Then painted them up as well as all the trim in white.

Pallets Is There Anything They Cant Do
Pallets, Is There Anything They Cant Do, Cut Up Pallet Used For Window Ledges And Shed Trim.
Shed Trim And Window Ledge Ready For Paint
Shed Trim And Window Ledge Ready To Be Primed And Painted With White Garden Paint.

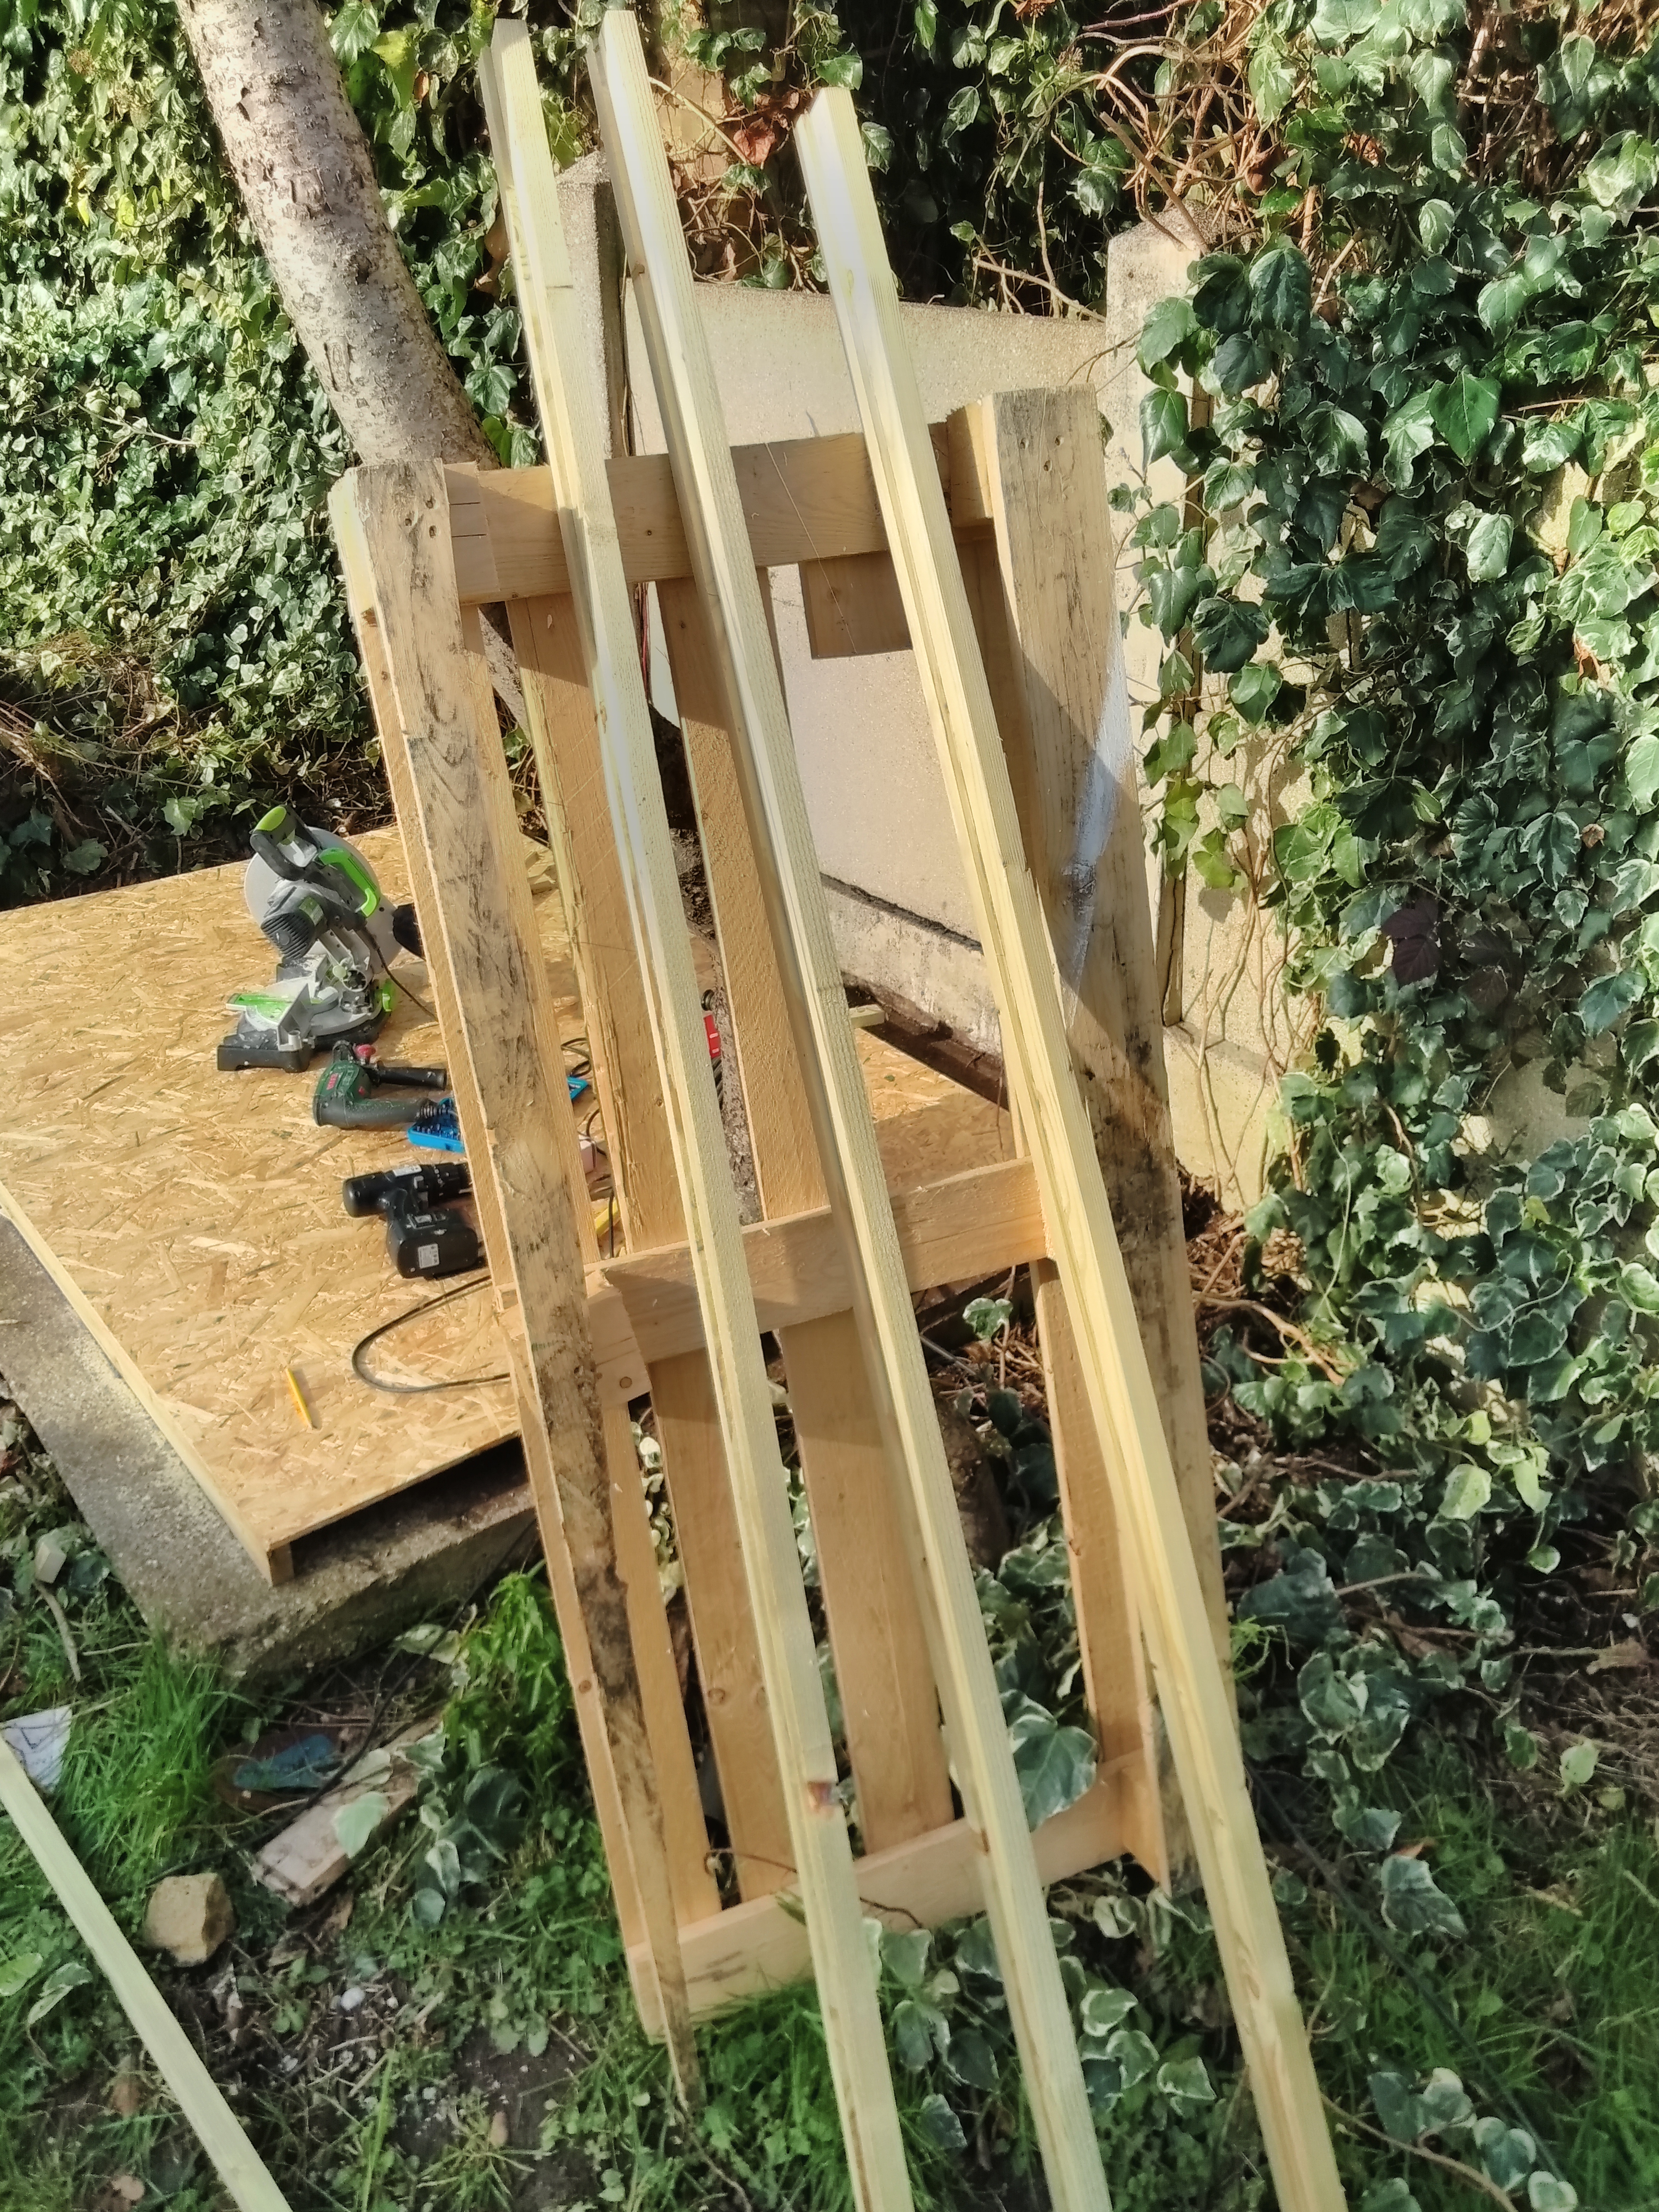
Next job is getting the base down. There are 3 struts on the bottom that keeps it off the ground. I wanted to add some extra stability so added another few supports.

The Shed Base Fits Perfectly
The Shed Base Fits Perfectly On The Concrete Base, A Nice Little Lip At The Front Or Back.
Laying The New Base For The Shed
Laying The New Base For The Shed, Cutting Down Wooden Strip For Extra Support.
Added Supports To The Shed Base
Added Supports To The Shed Base Extra Strips Of Treated Timed Added To The Base Of The Shed For More Support.

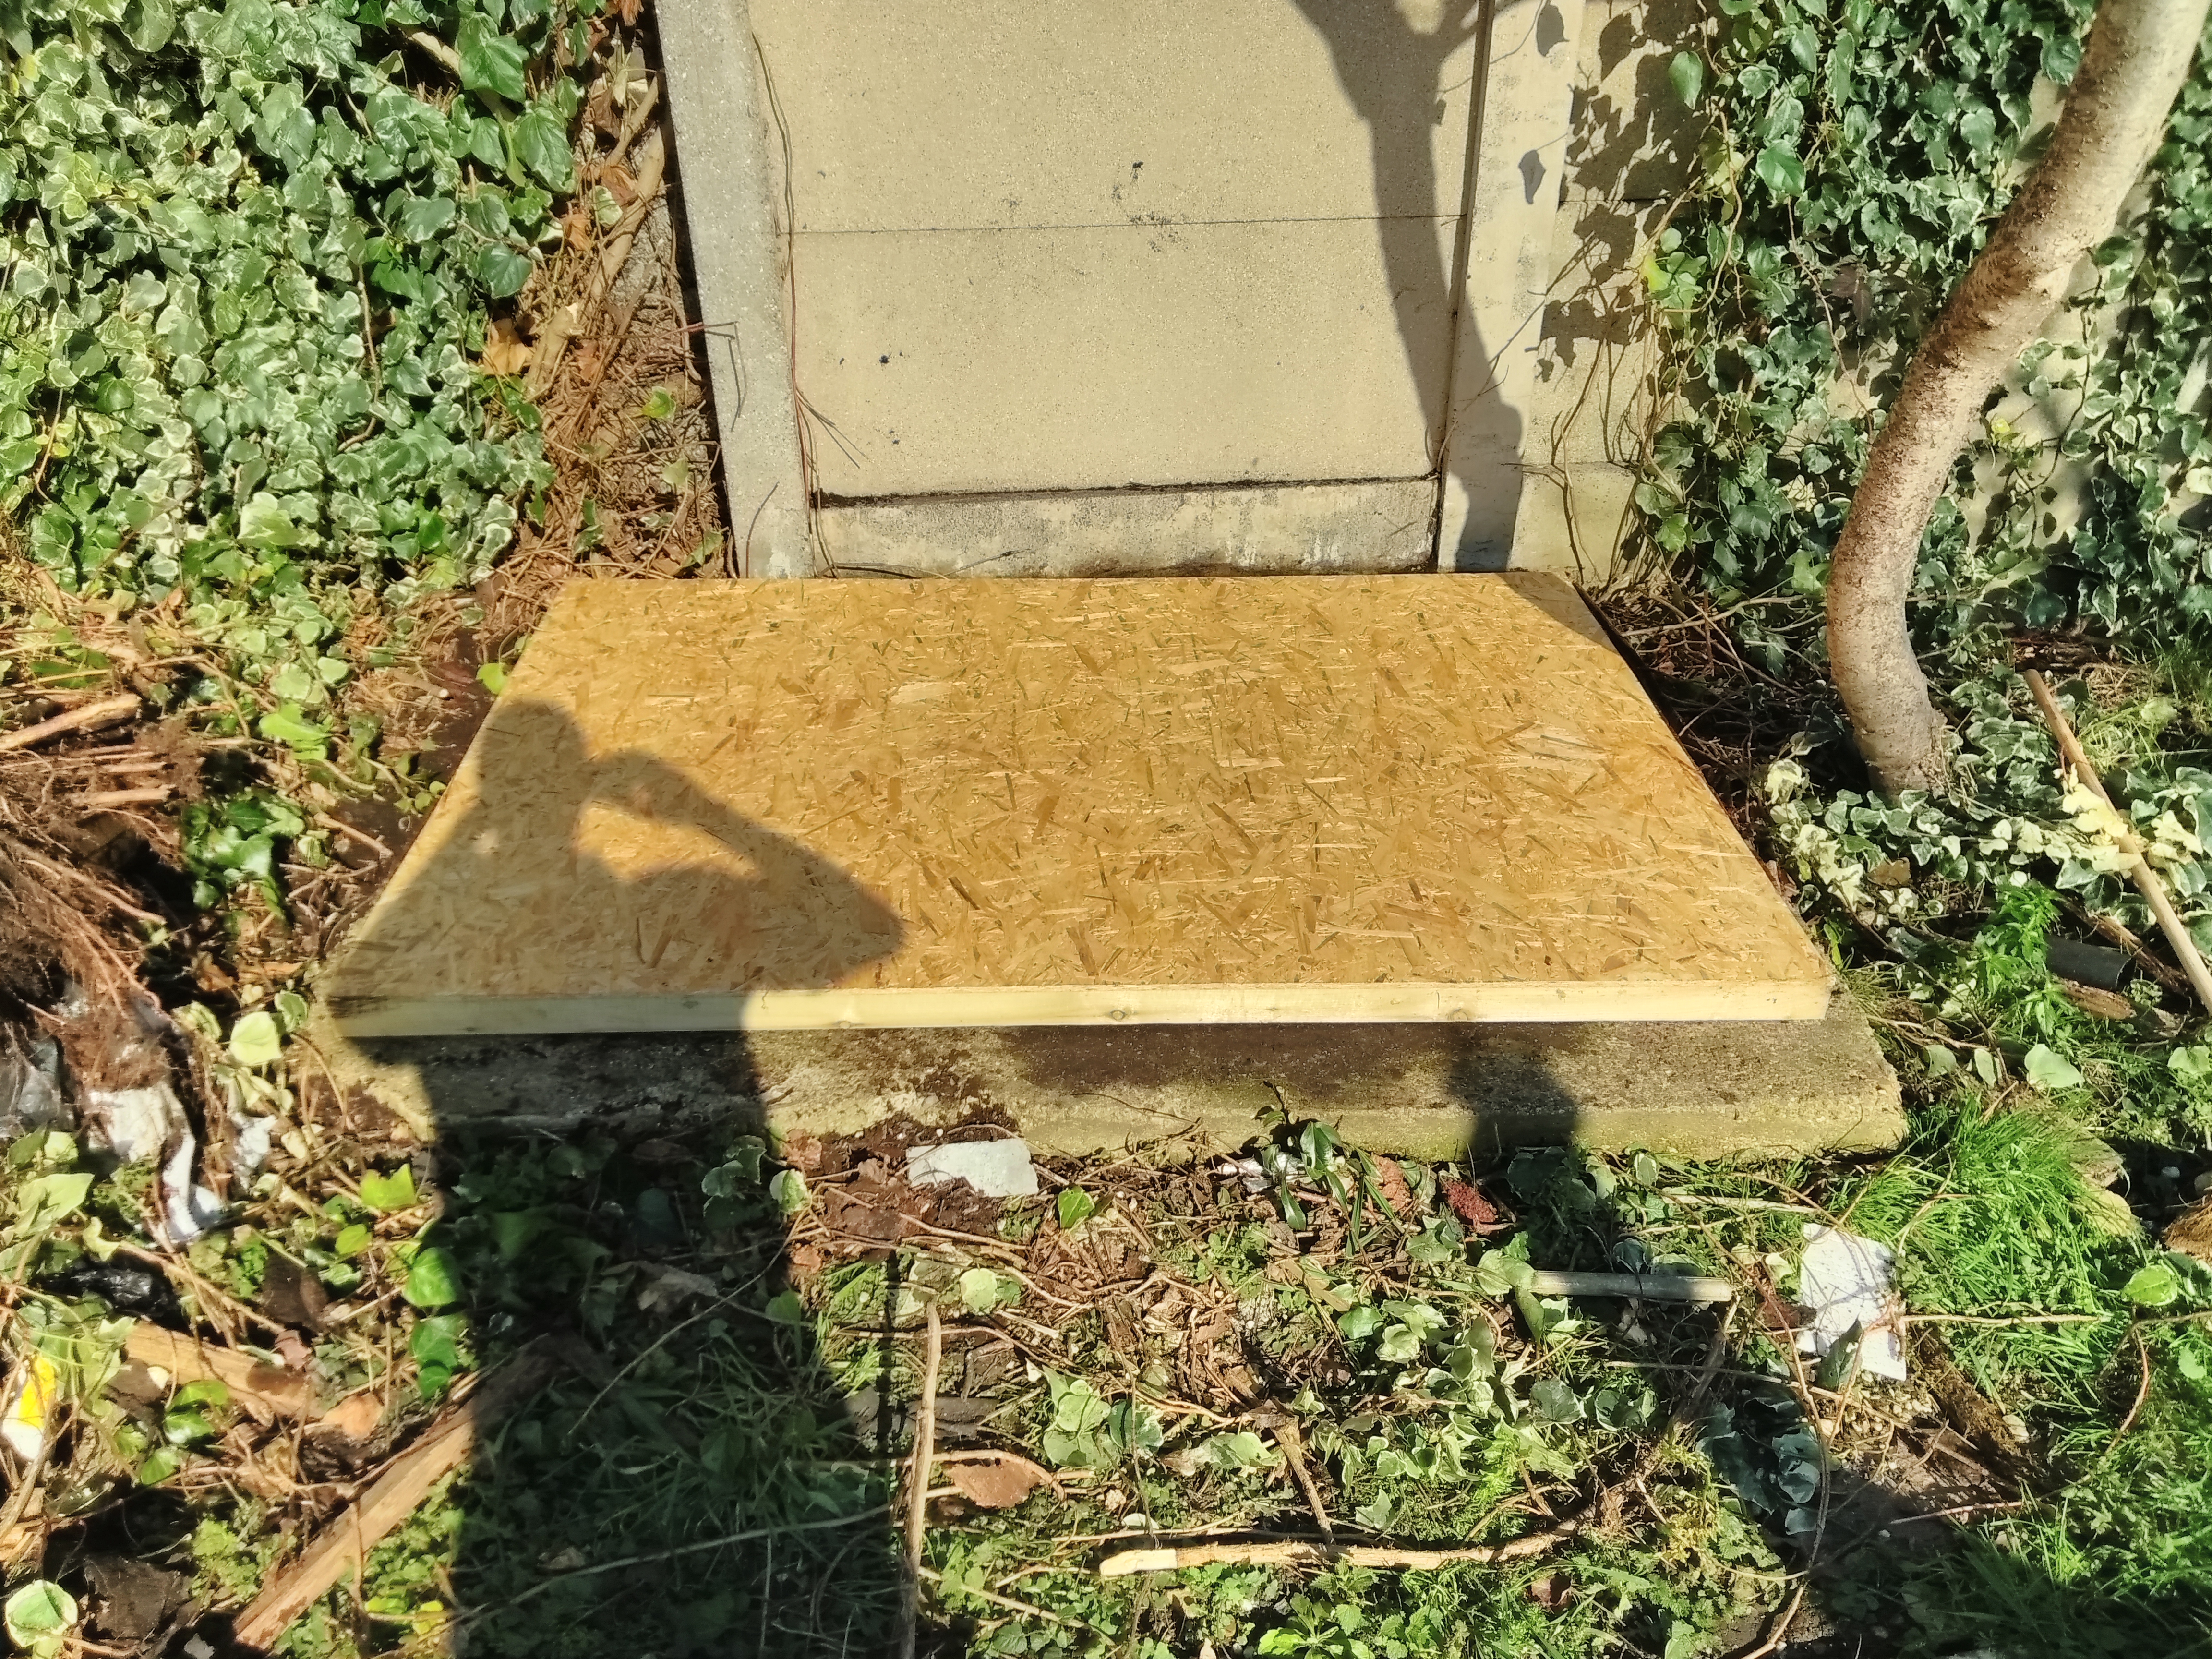
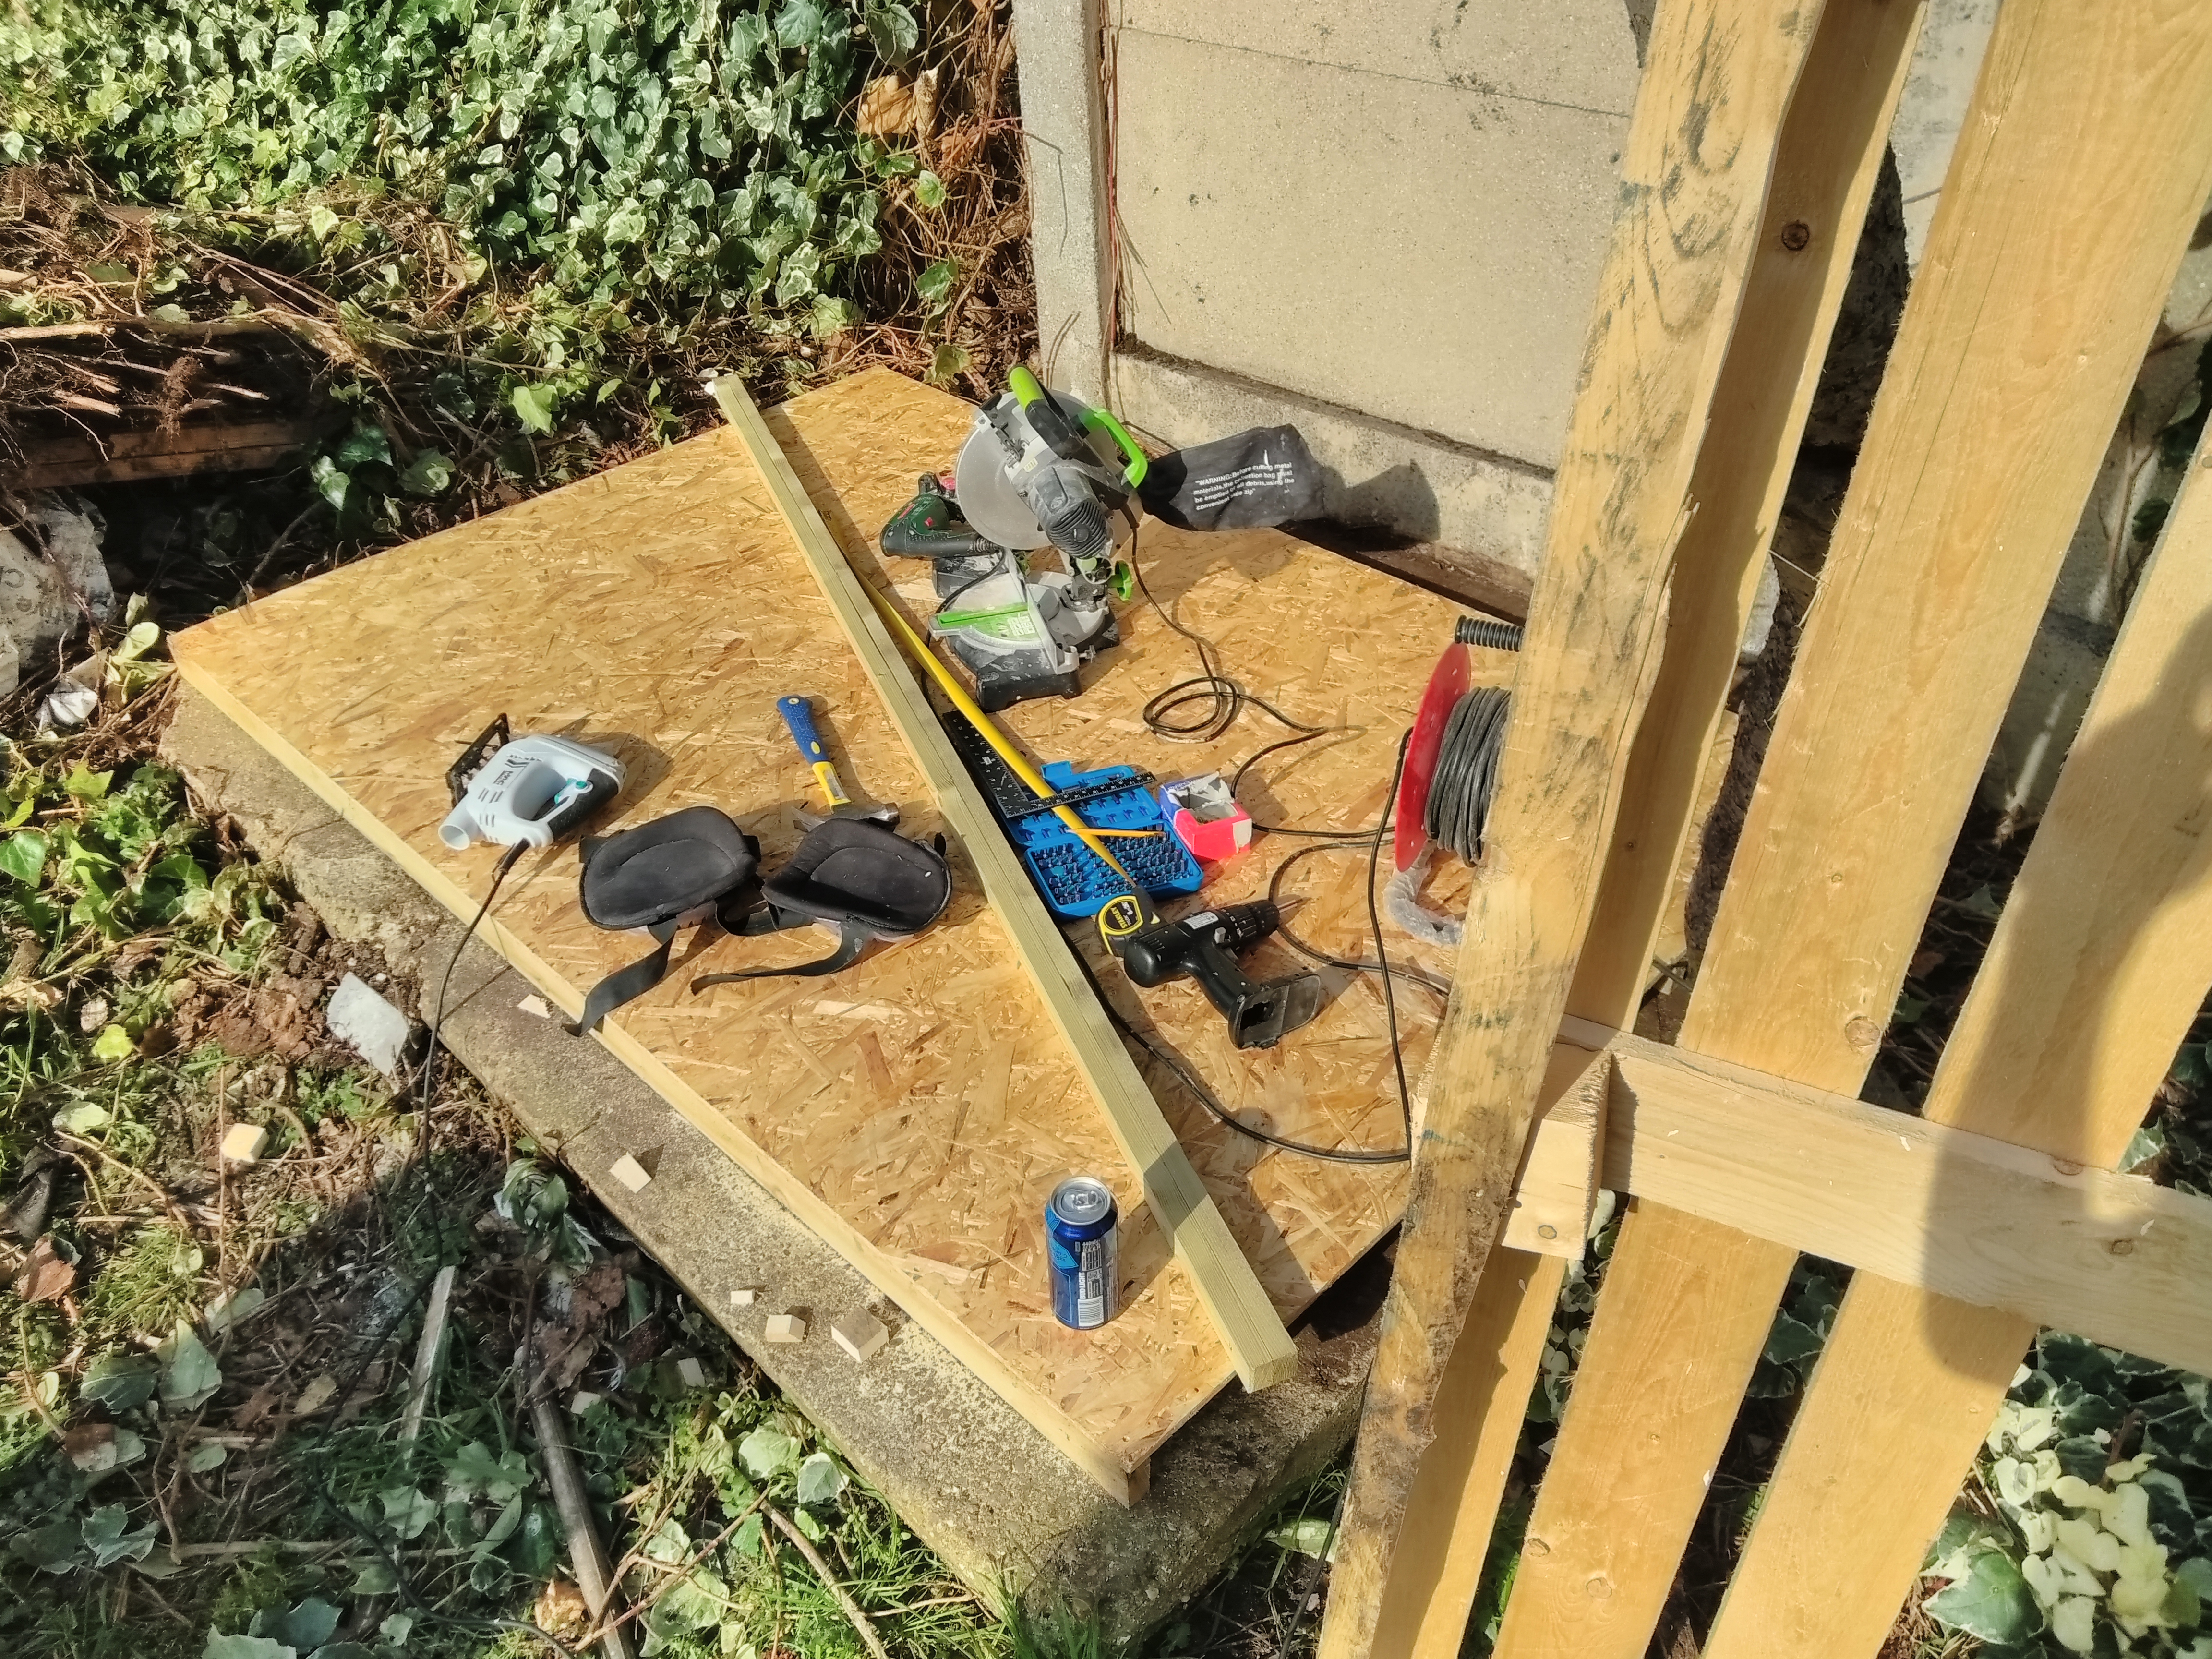
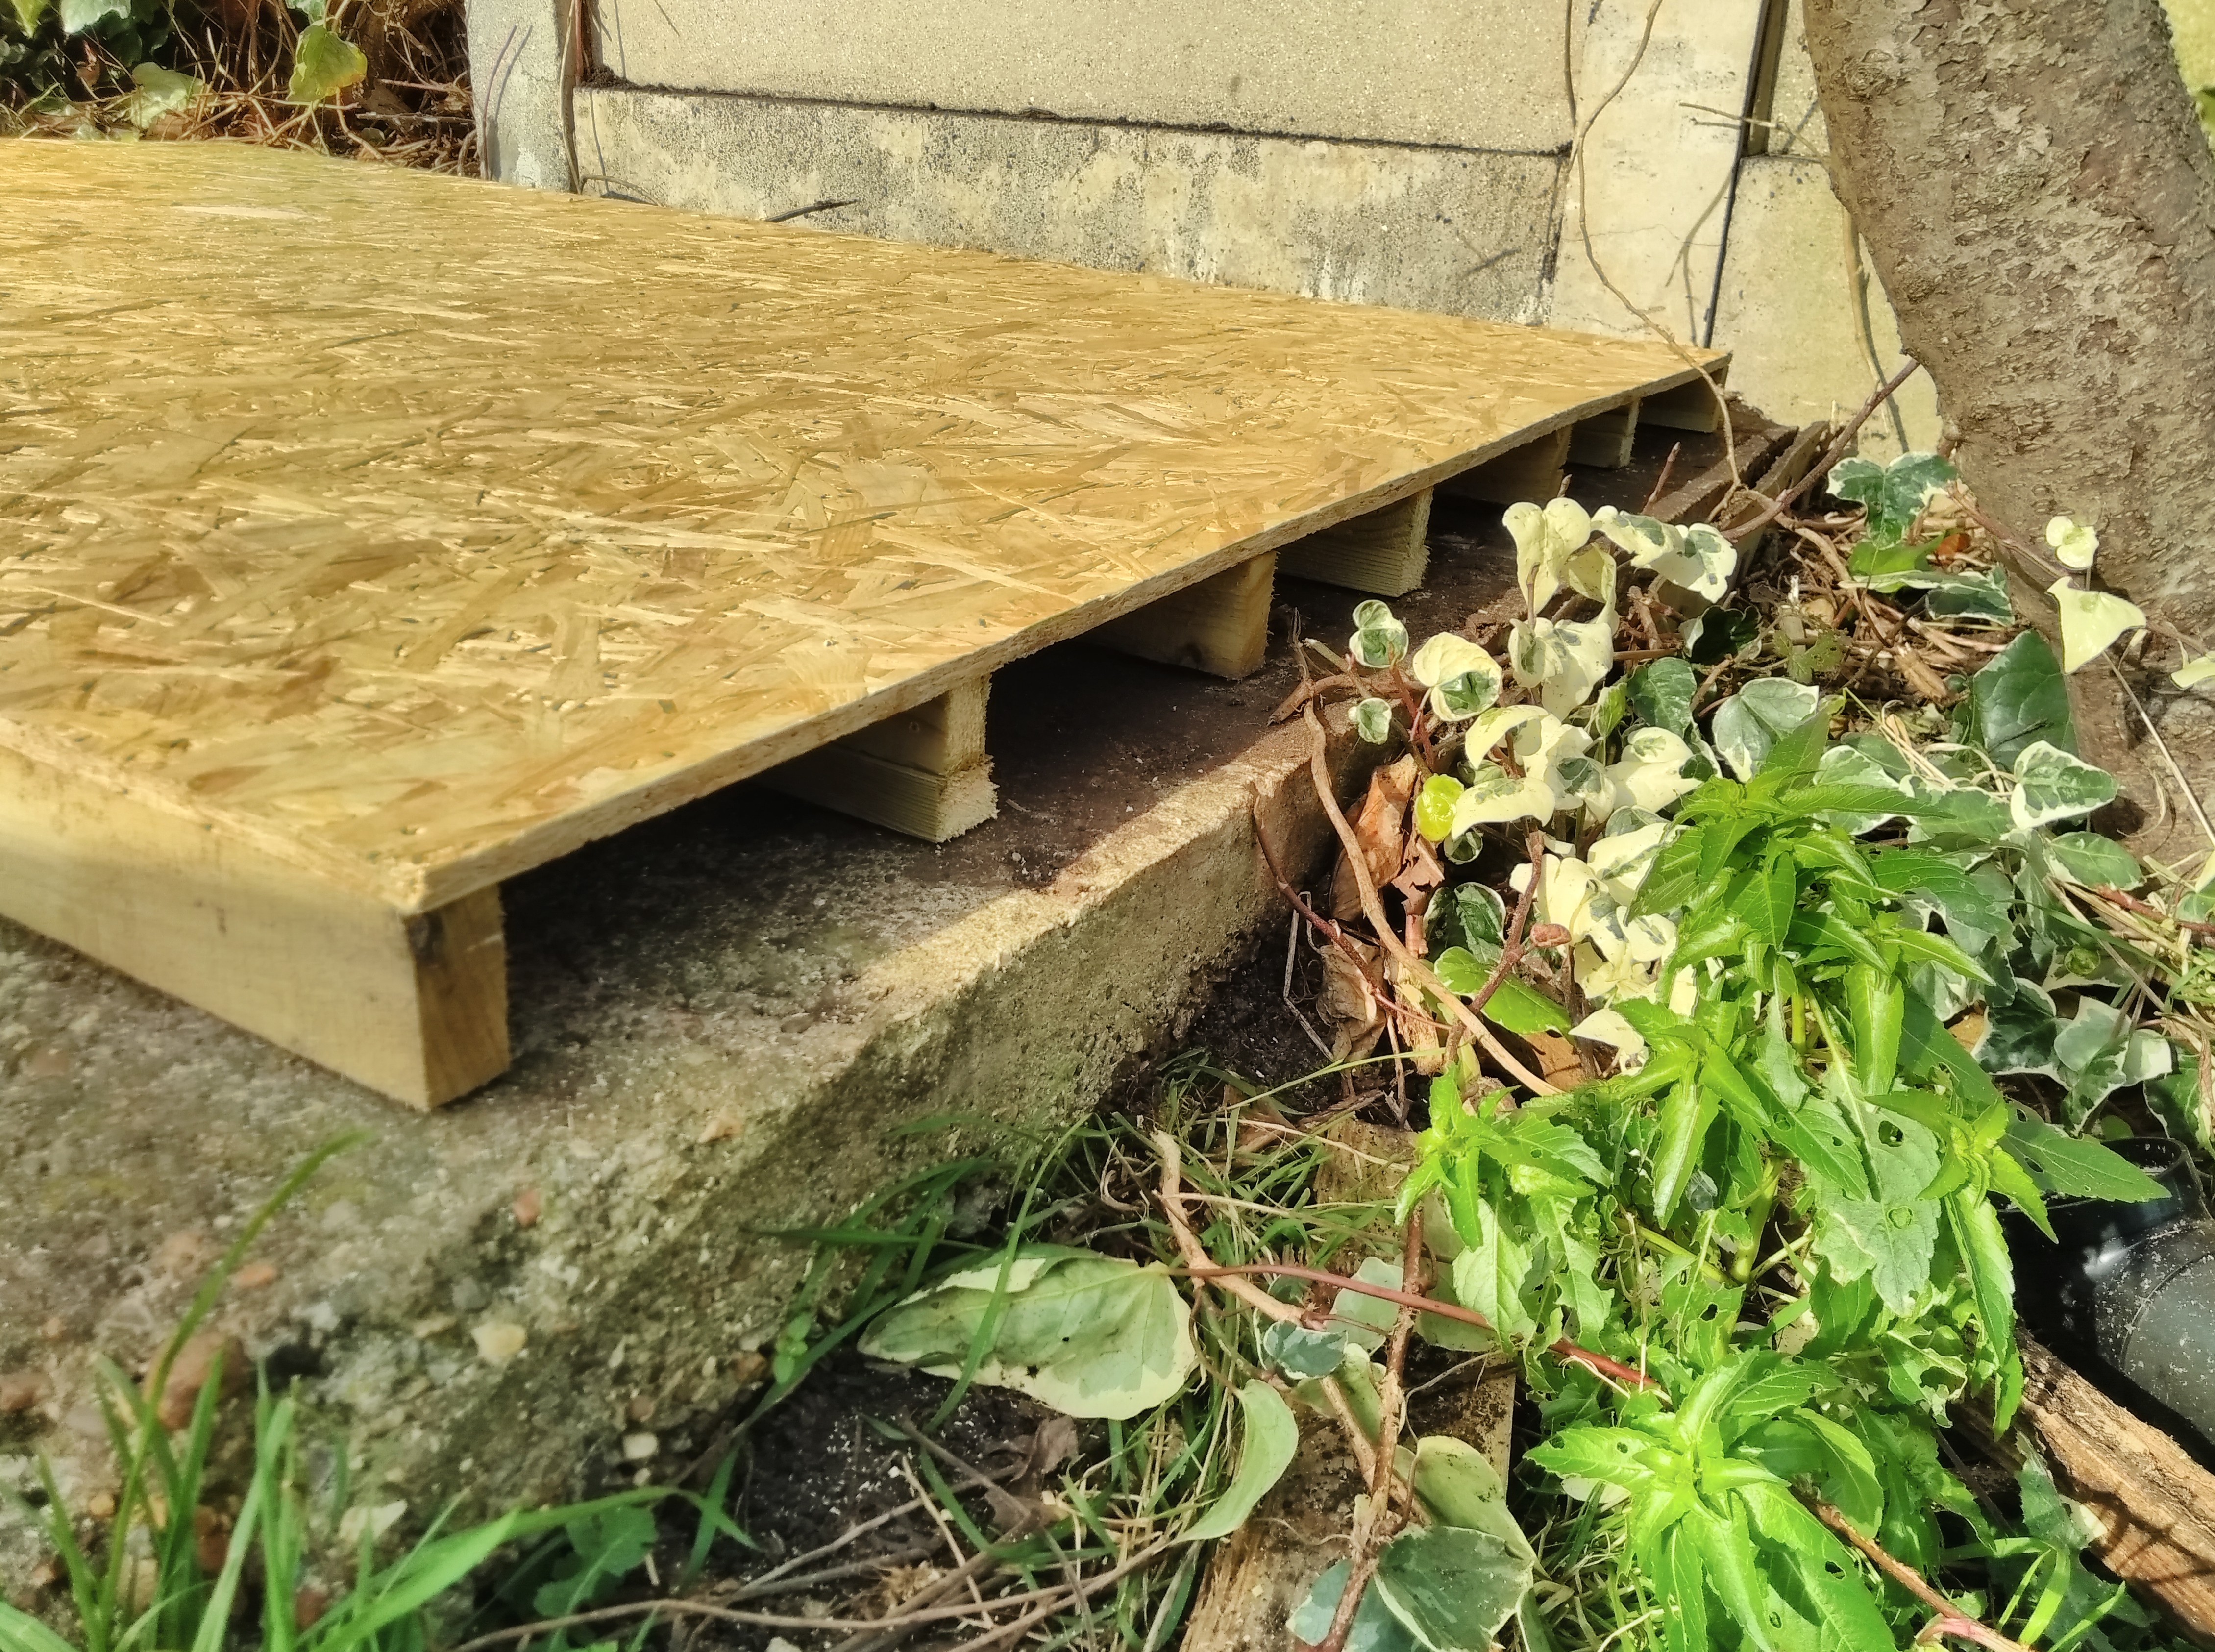
Next, I gave these a coat of primer and a couple of coats of weatherproof paint. I don’t know how much effect this will have but just hoping it will slow the rotting process.

Base Of Shed With Added Supports
Base Of Shed With Added Strips Of Treated Timber To Give The Base Extra Support.
Base Of Shed Extra Supports Painted White
Base Of Shed With Extra Support Timed Painted With Water Resistant White Paint.

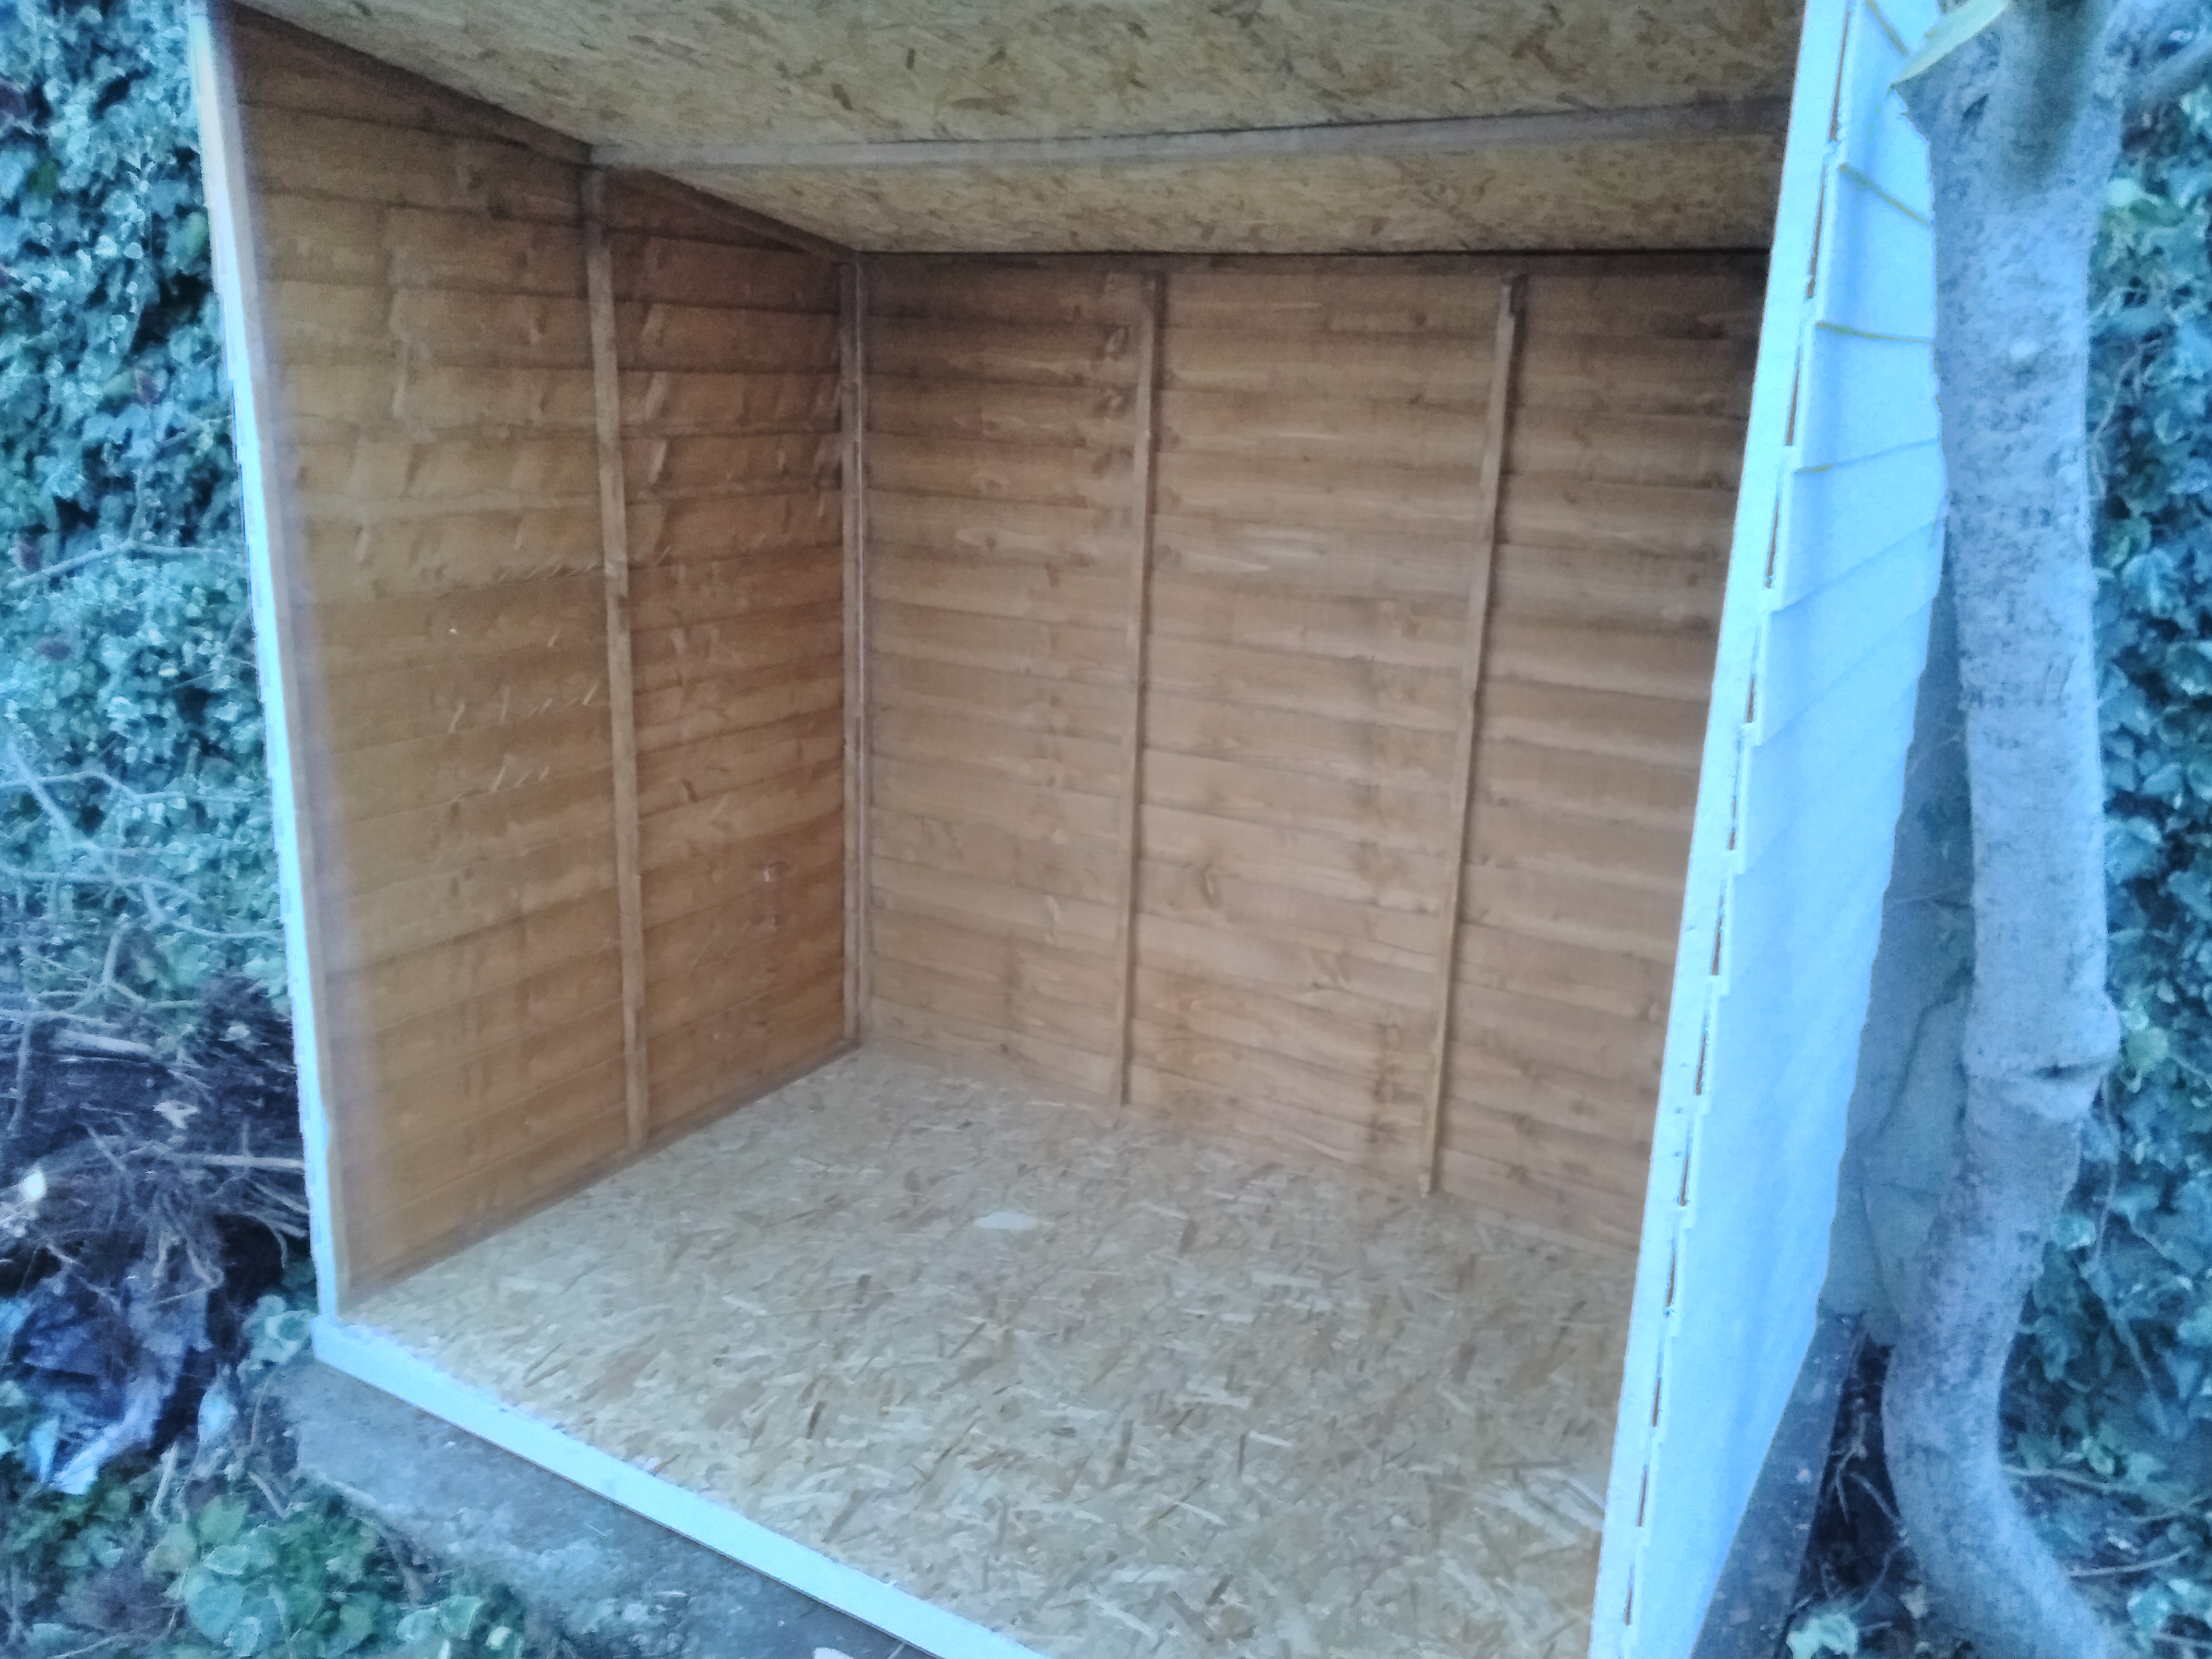
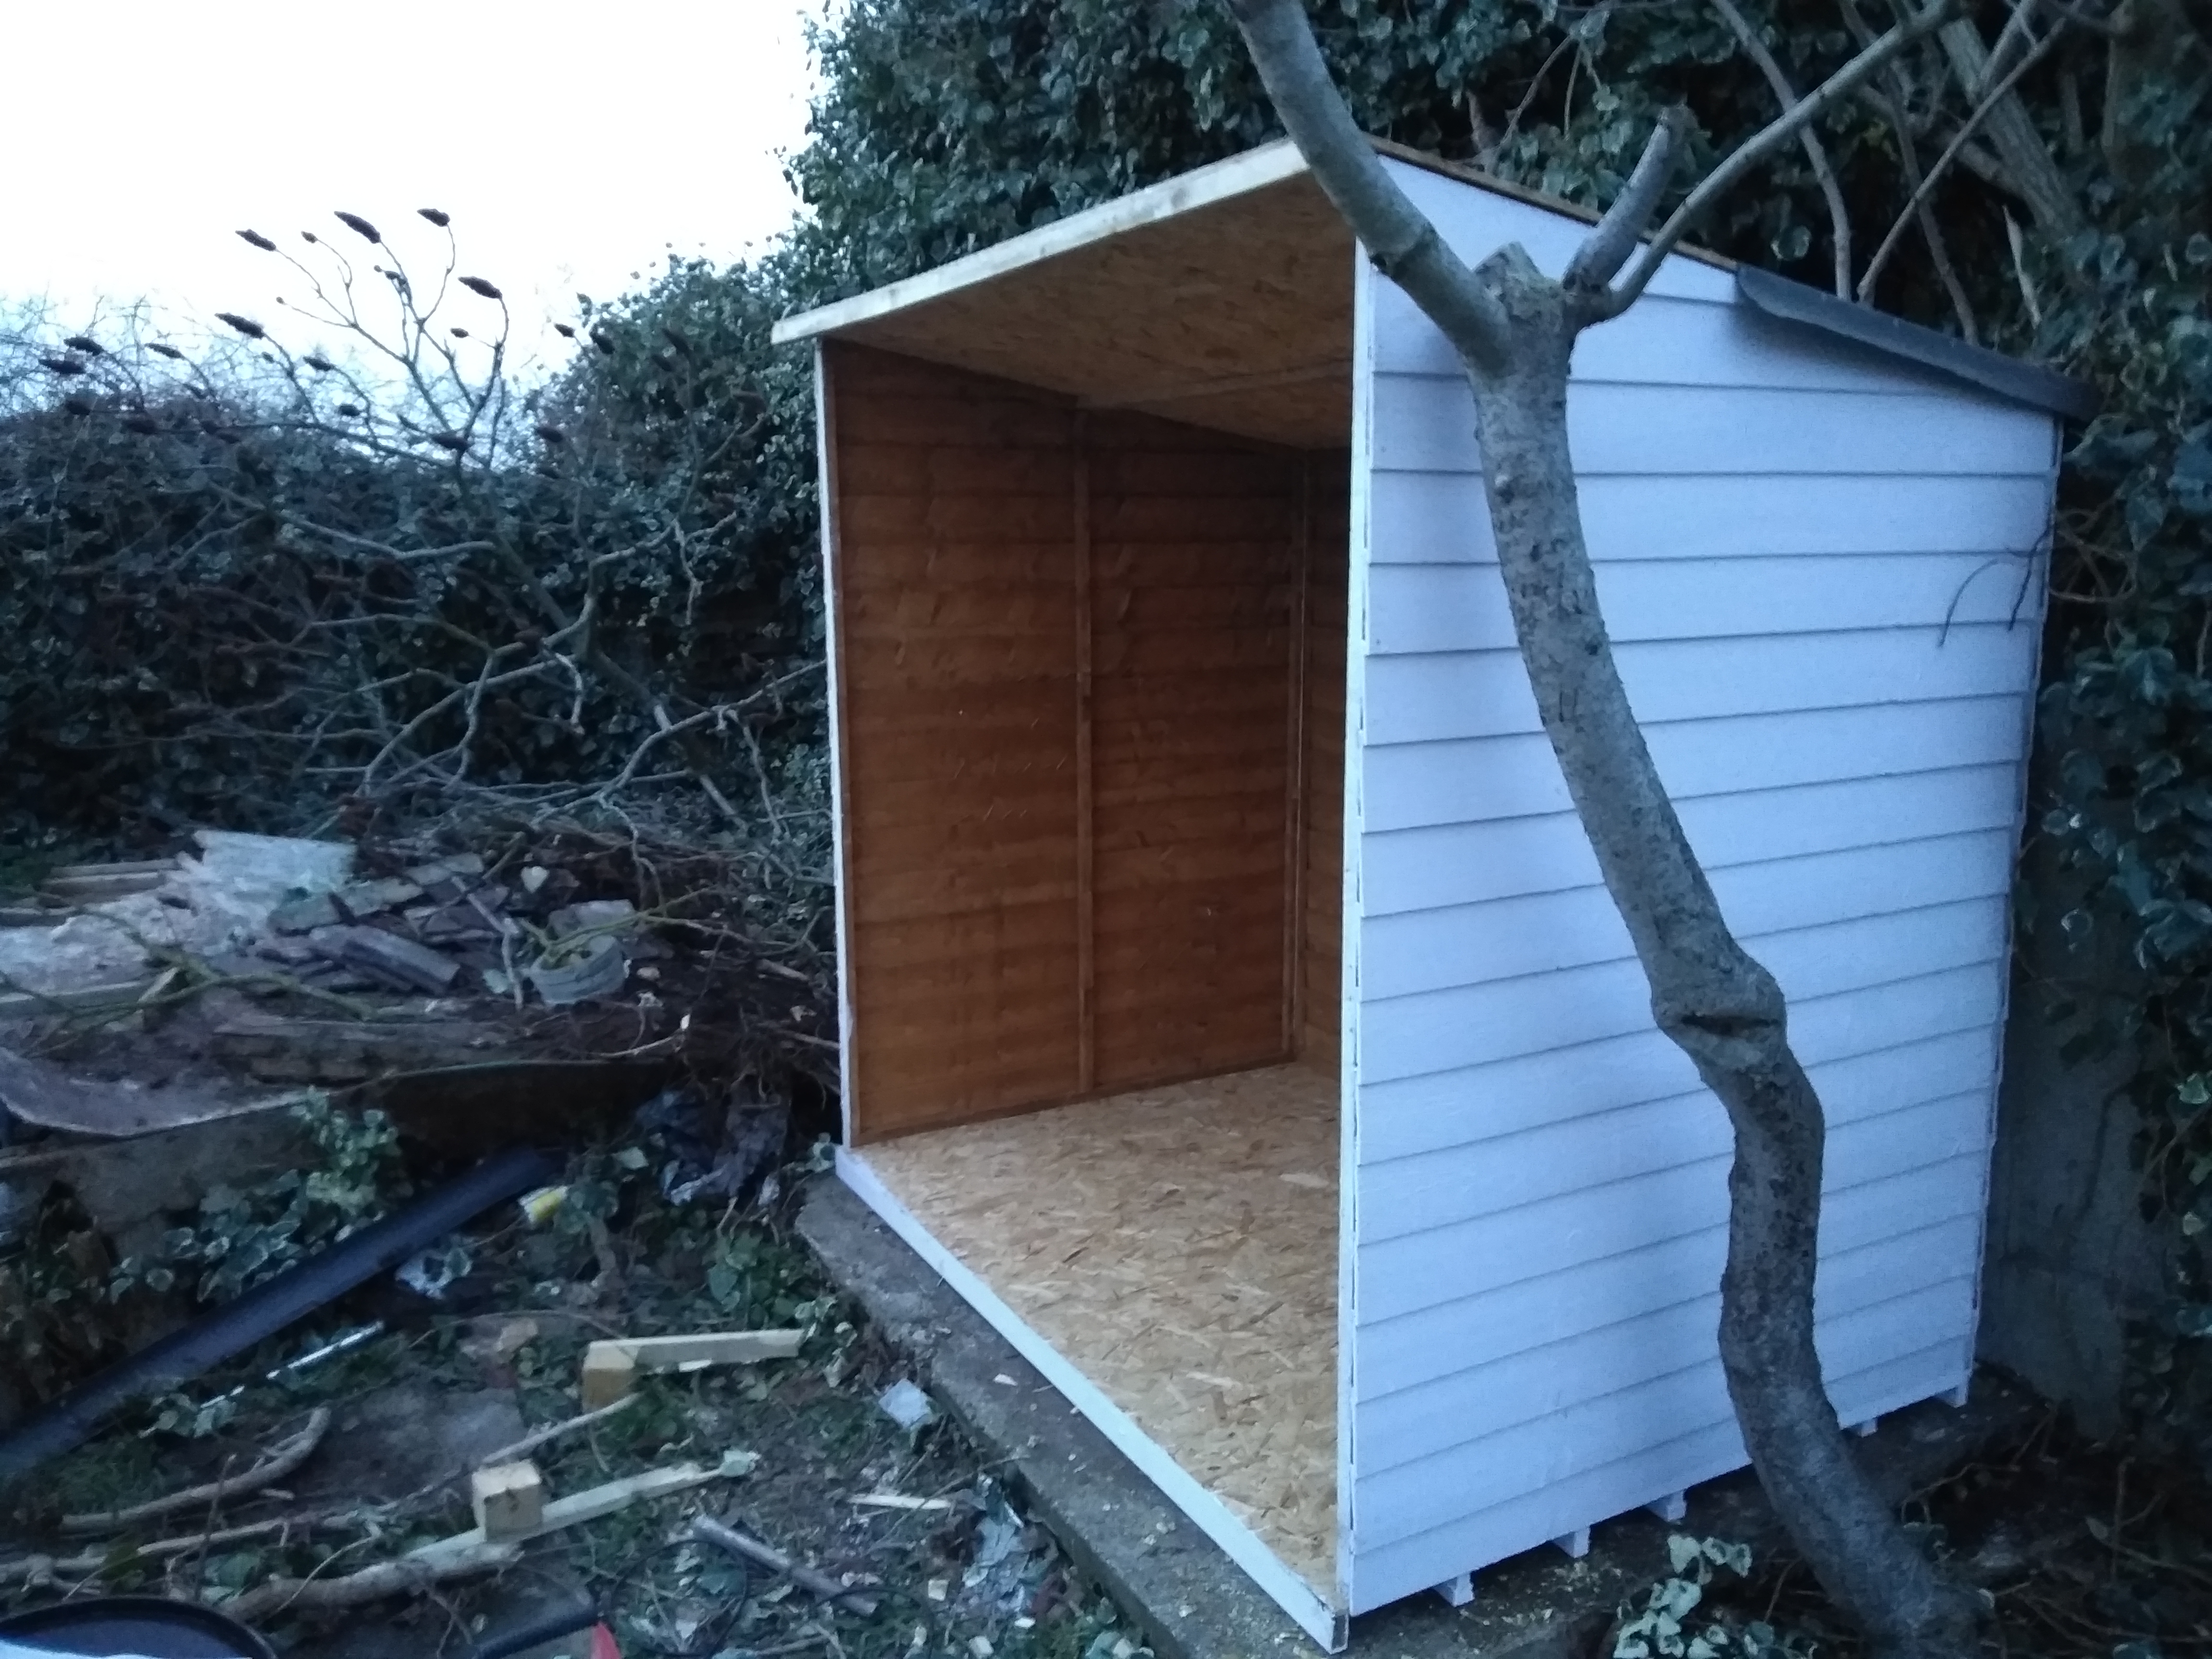
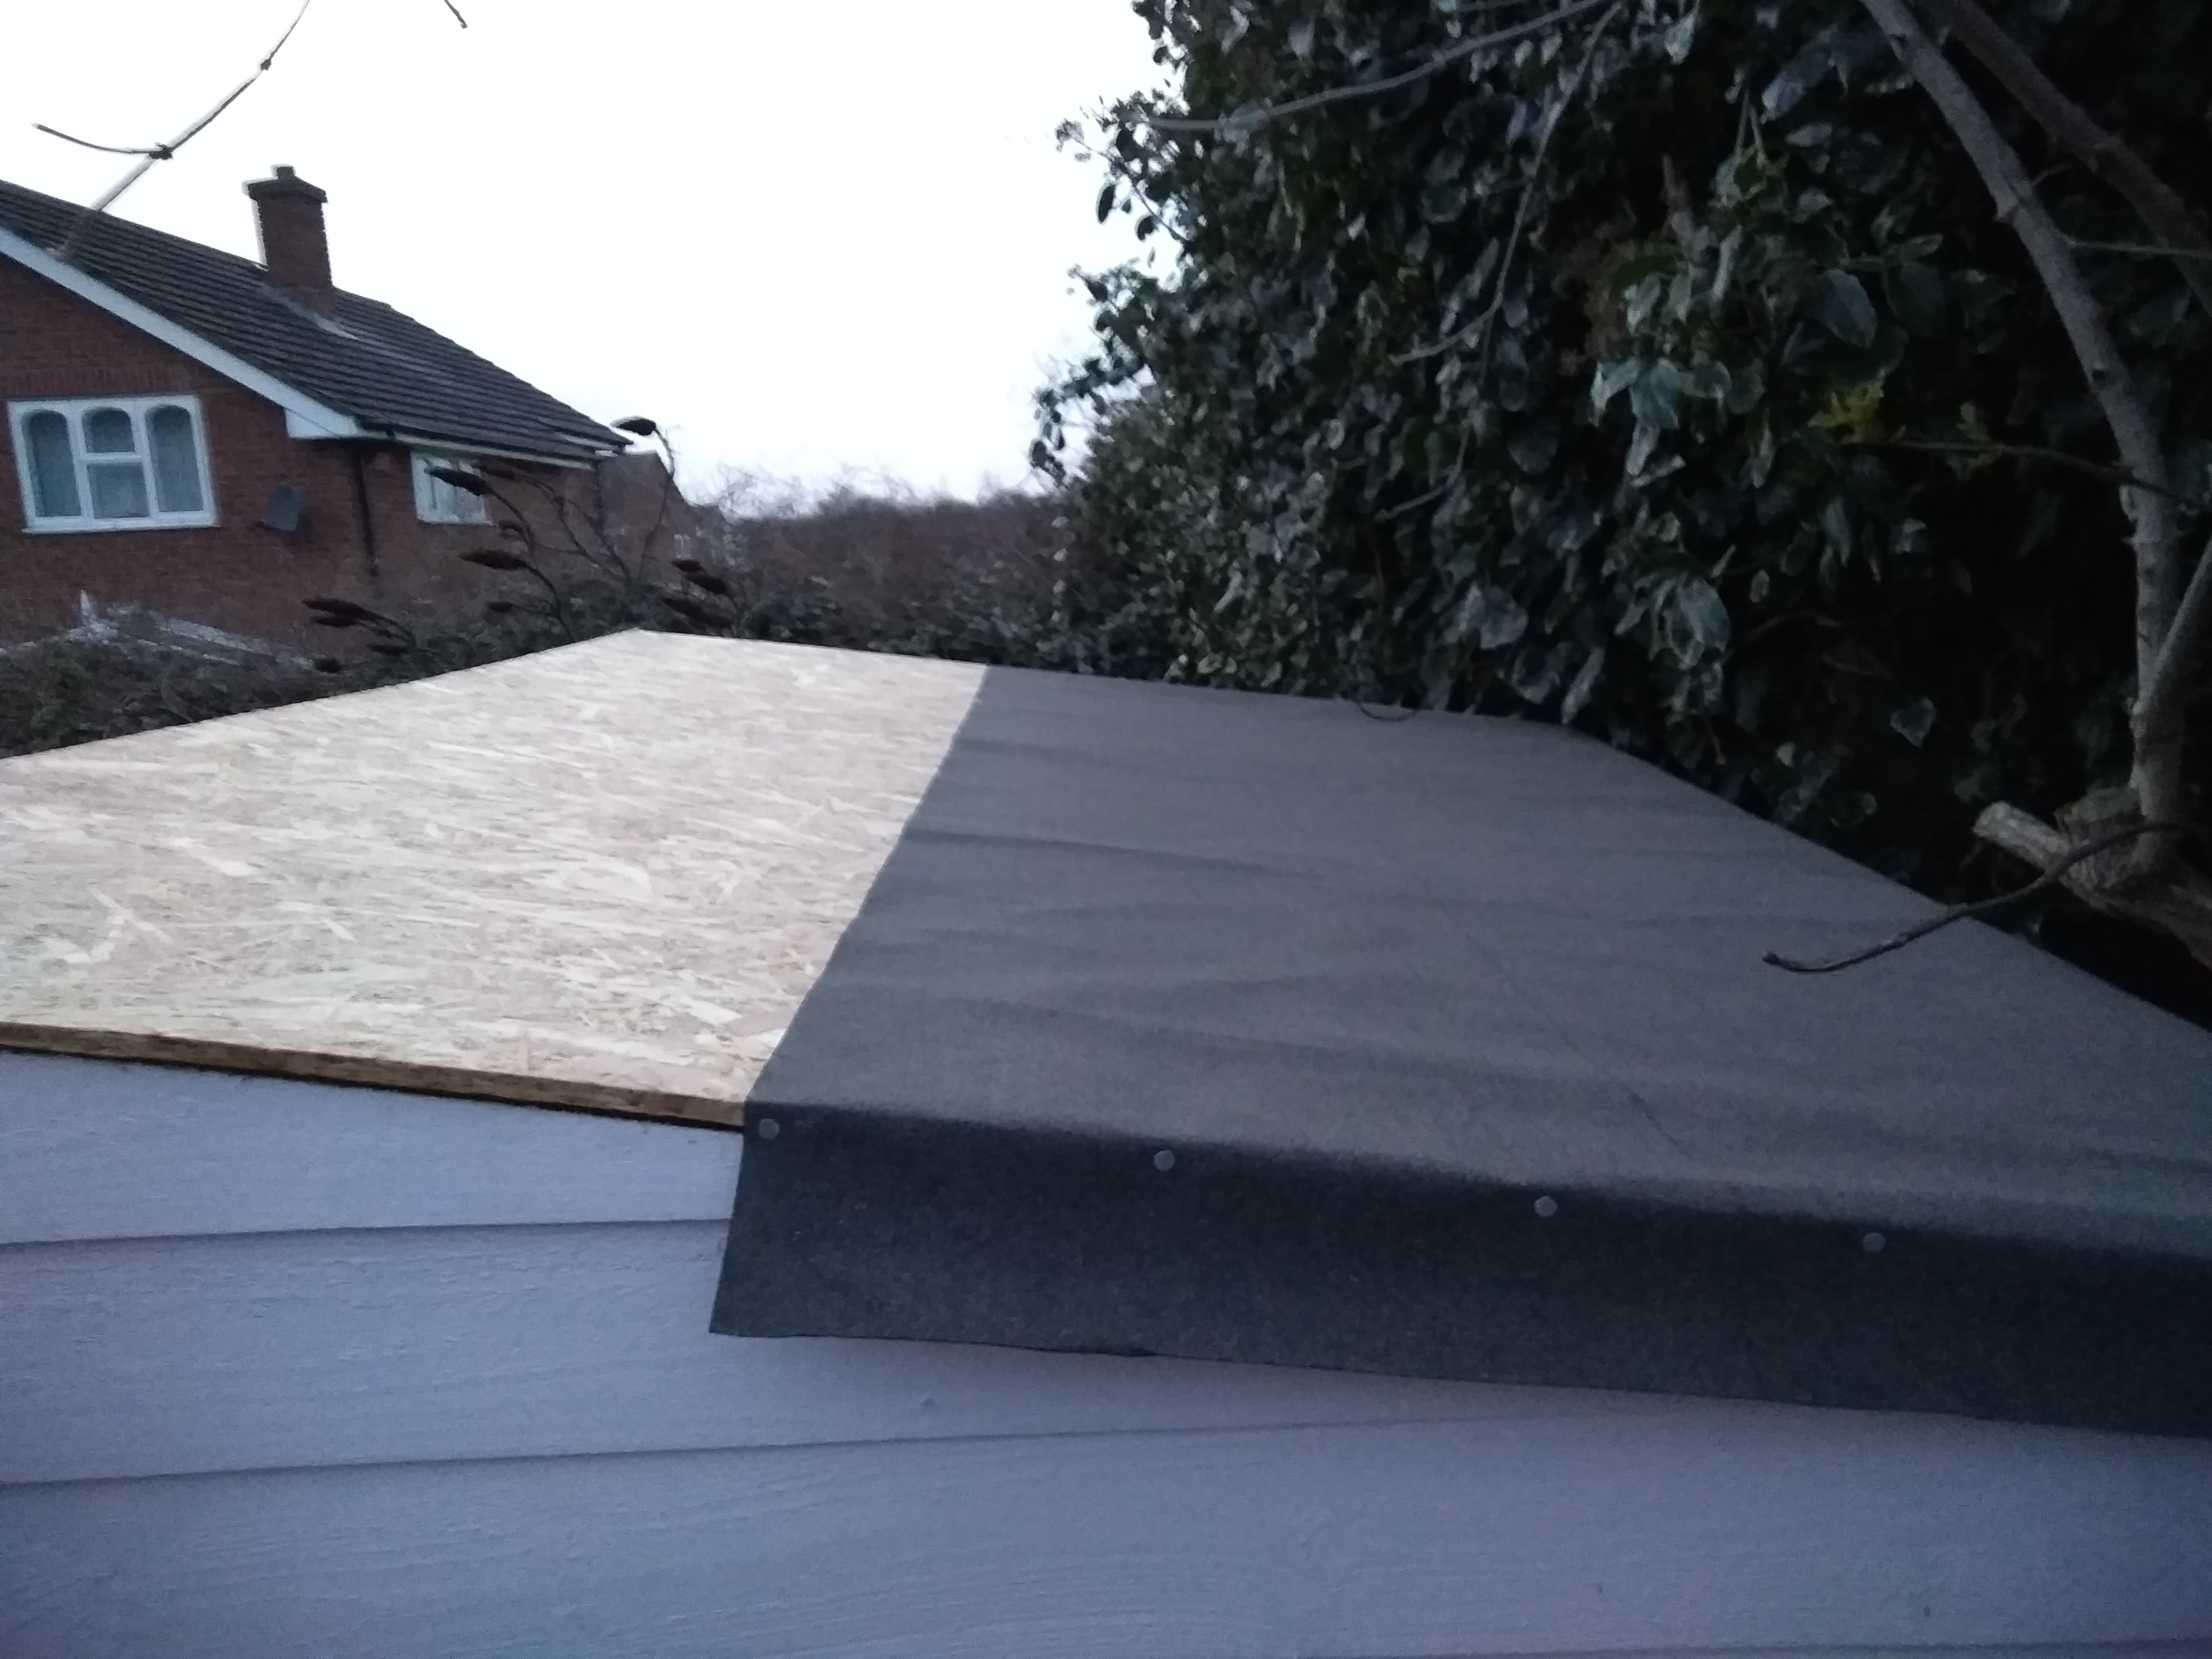
Now Putting the back and both sides on followed by the roof. Need to do a small bit of tree surgery to move an overhanging branch, put the front on then tarp the front up and off to bed.

Starting To Look Like A Shed
Starting To Look Like A Shed! Back Sides Nd Roof On. The Shed Is Starting To Come Together.
Shed Partially Built
Shed Partially Built, Back And Sides Attached Roof On And First Strip Of Roofing Felt Down.
Shed Frame Work Completely Fitted
Shed Framework Completely Fitted All Sides Of The Shed Attached To The Base And Roof.
Attaching The Roofing Felt
Attaching The Roofing Felt. The last Job Of The Day Making The Shed Water Tight.

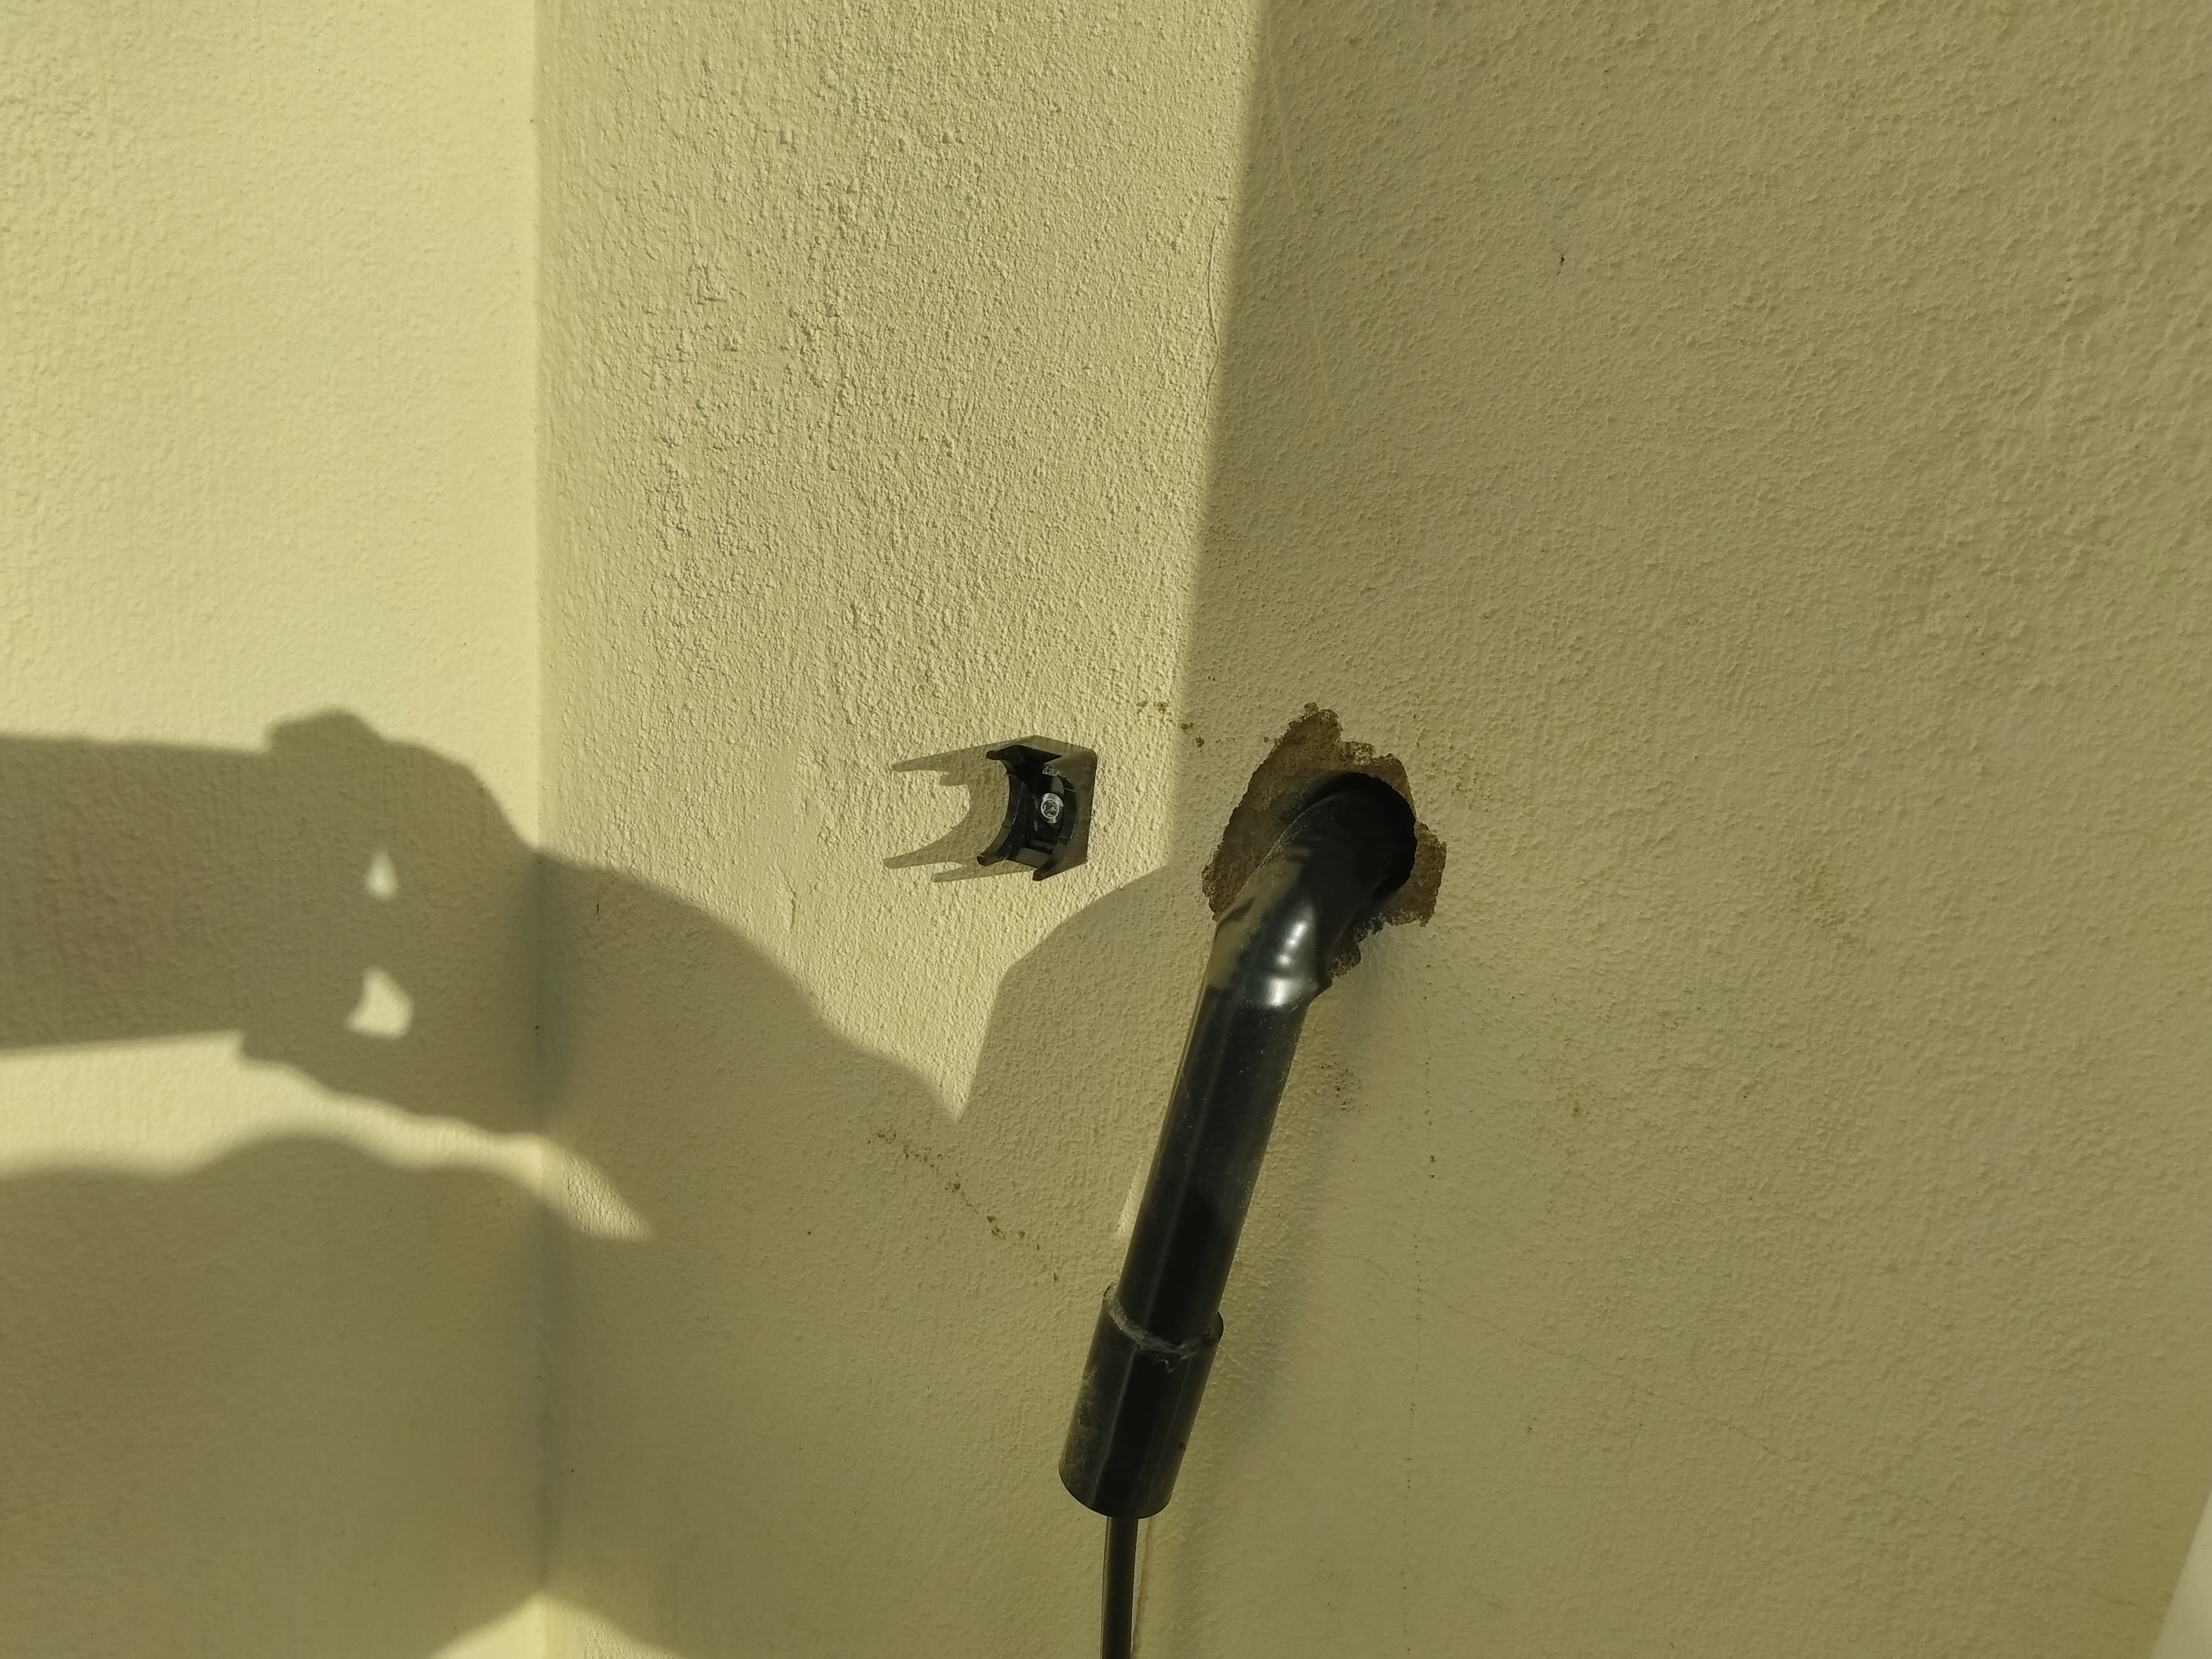
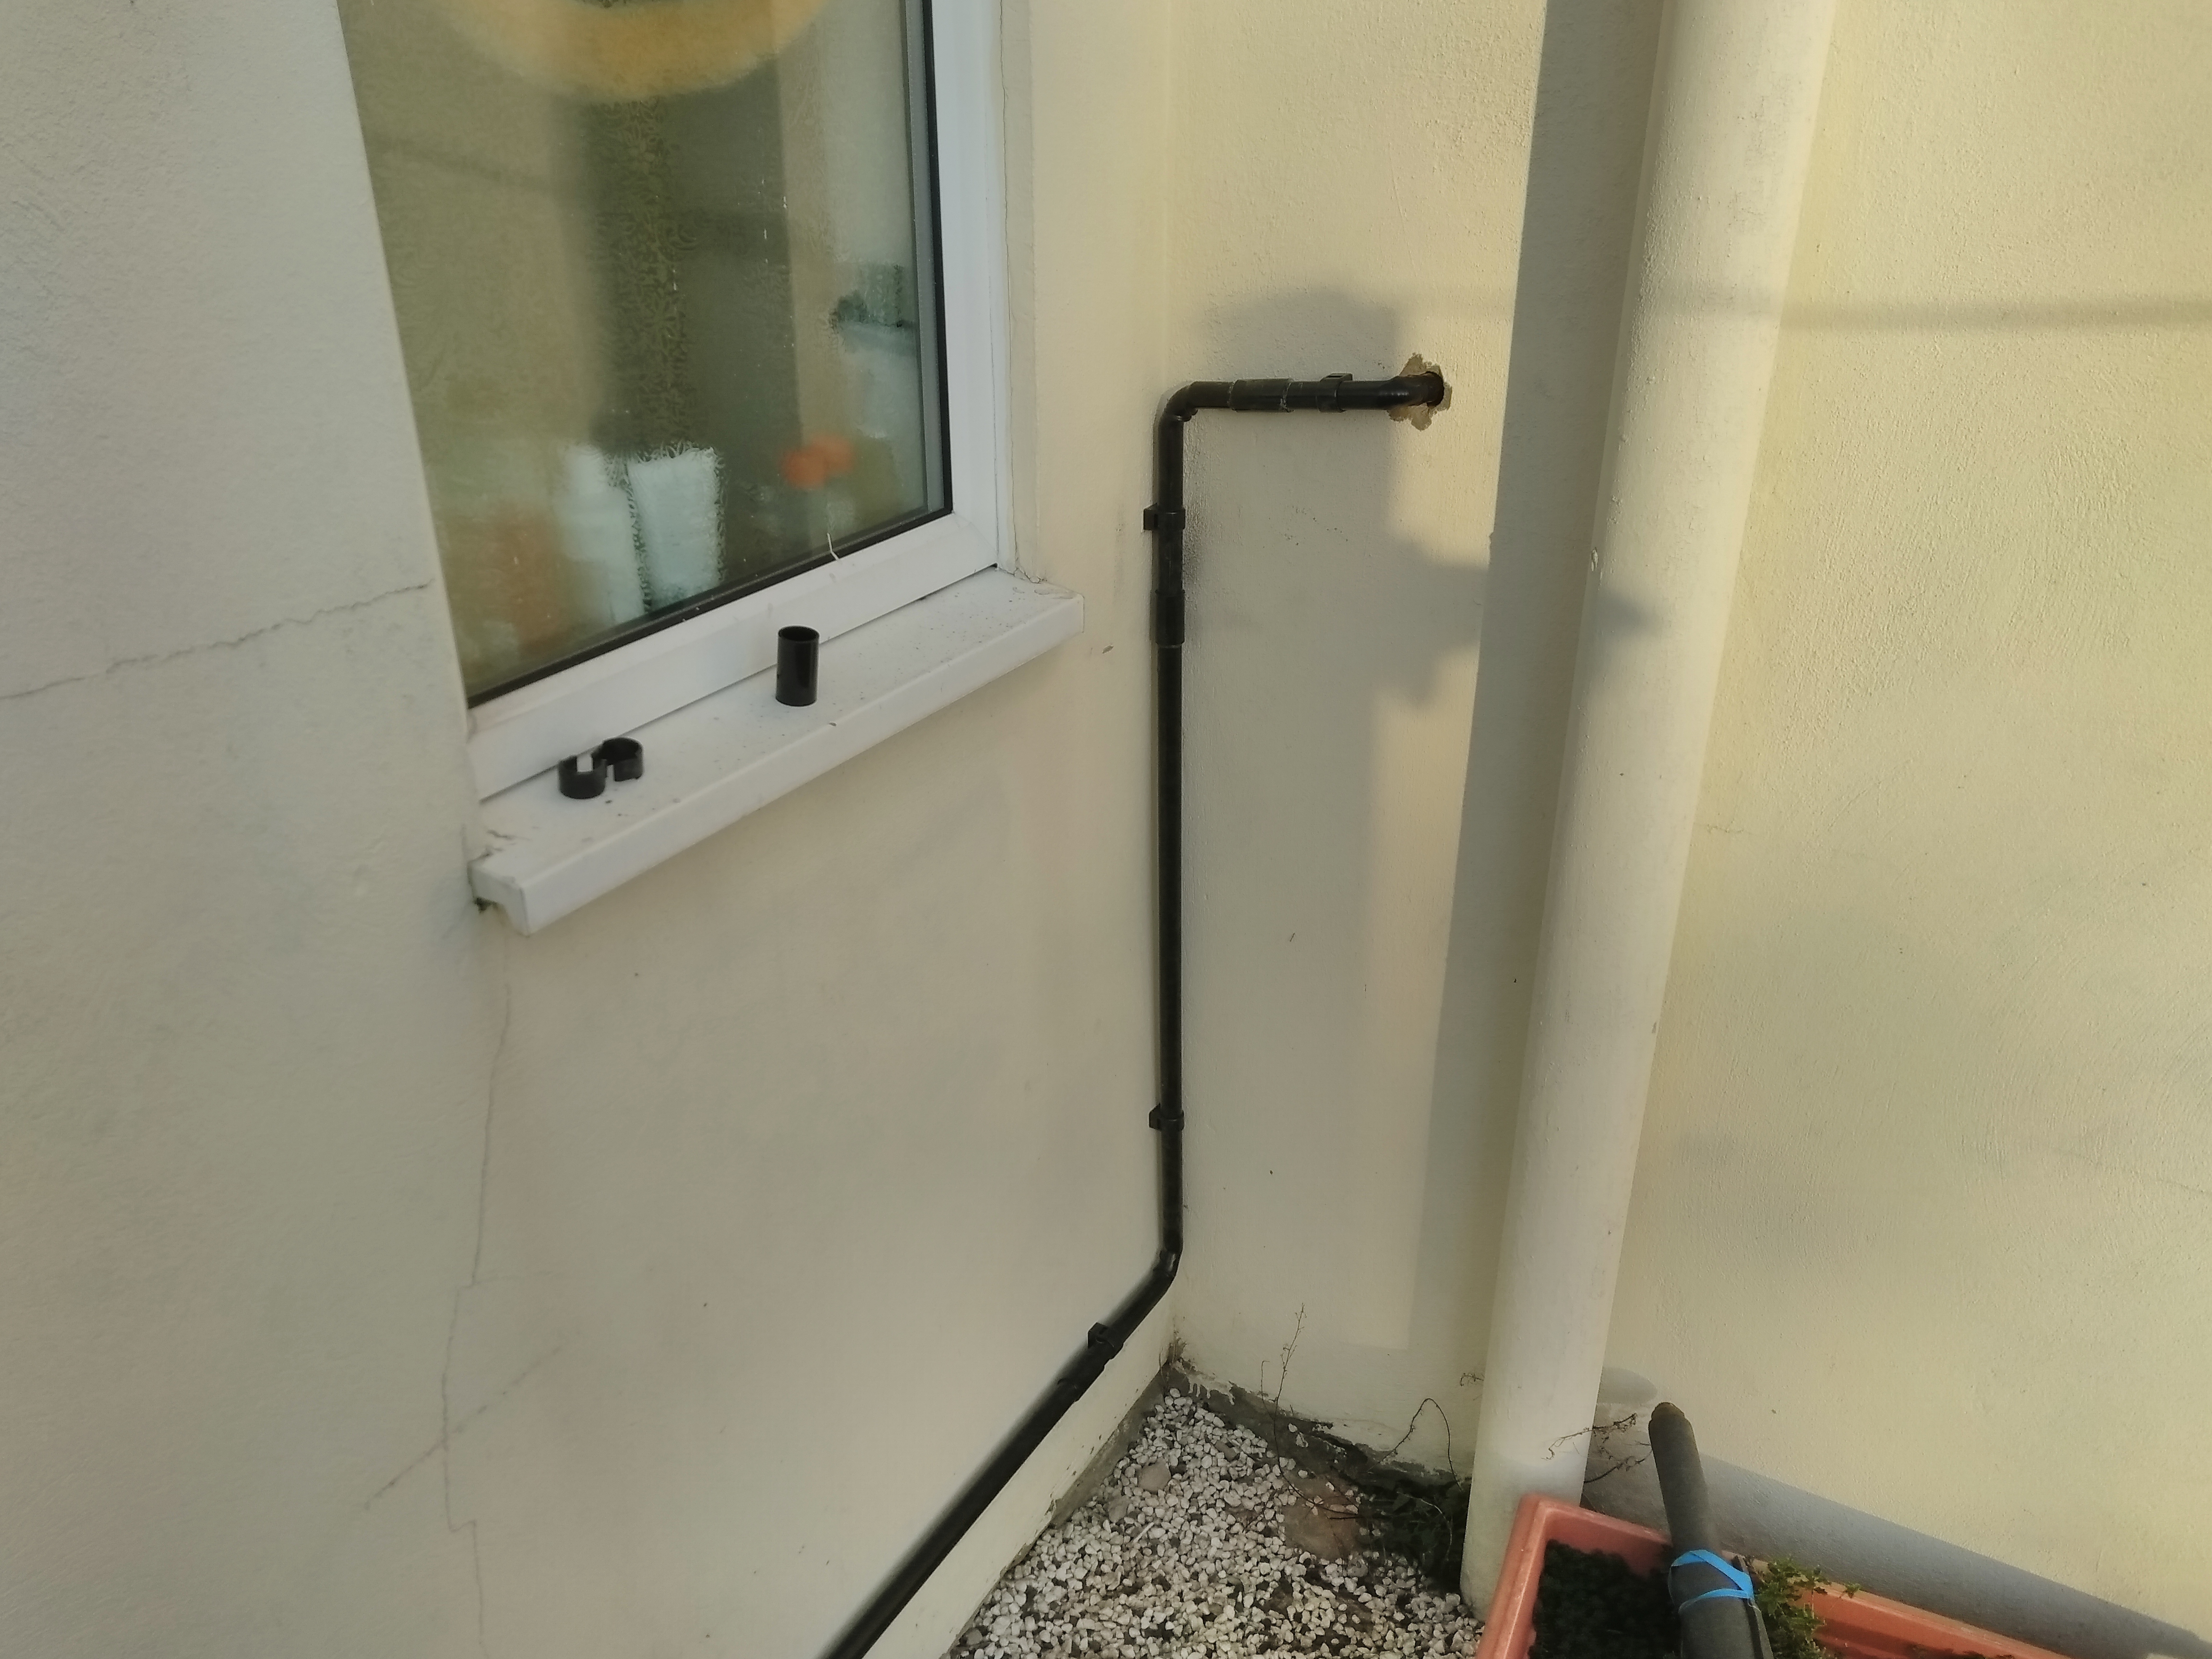
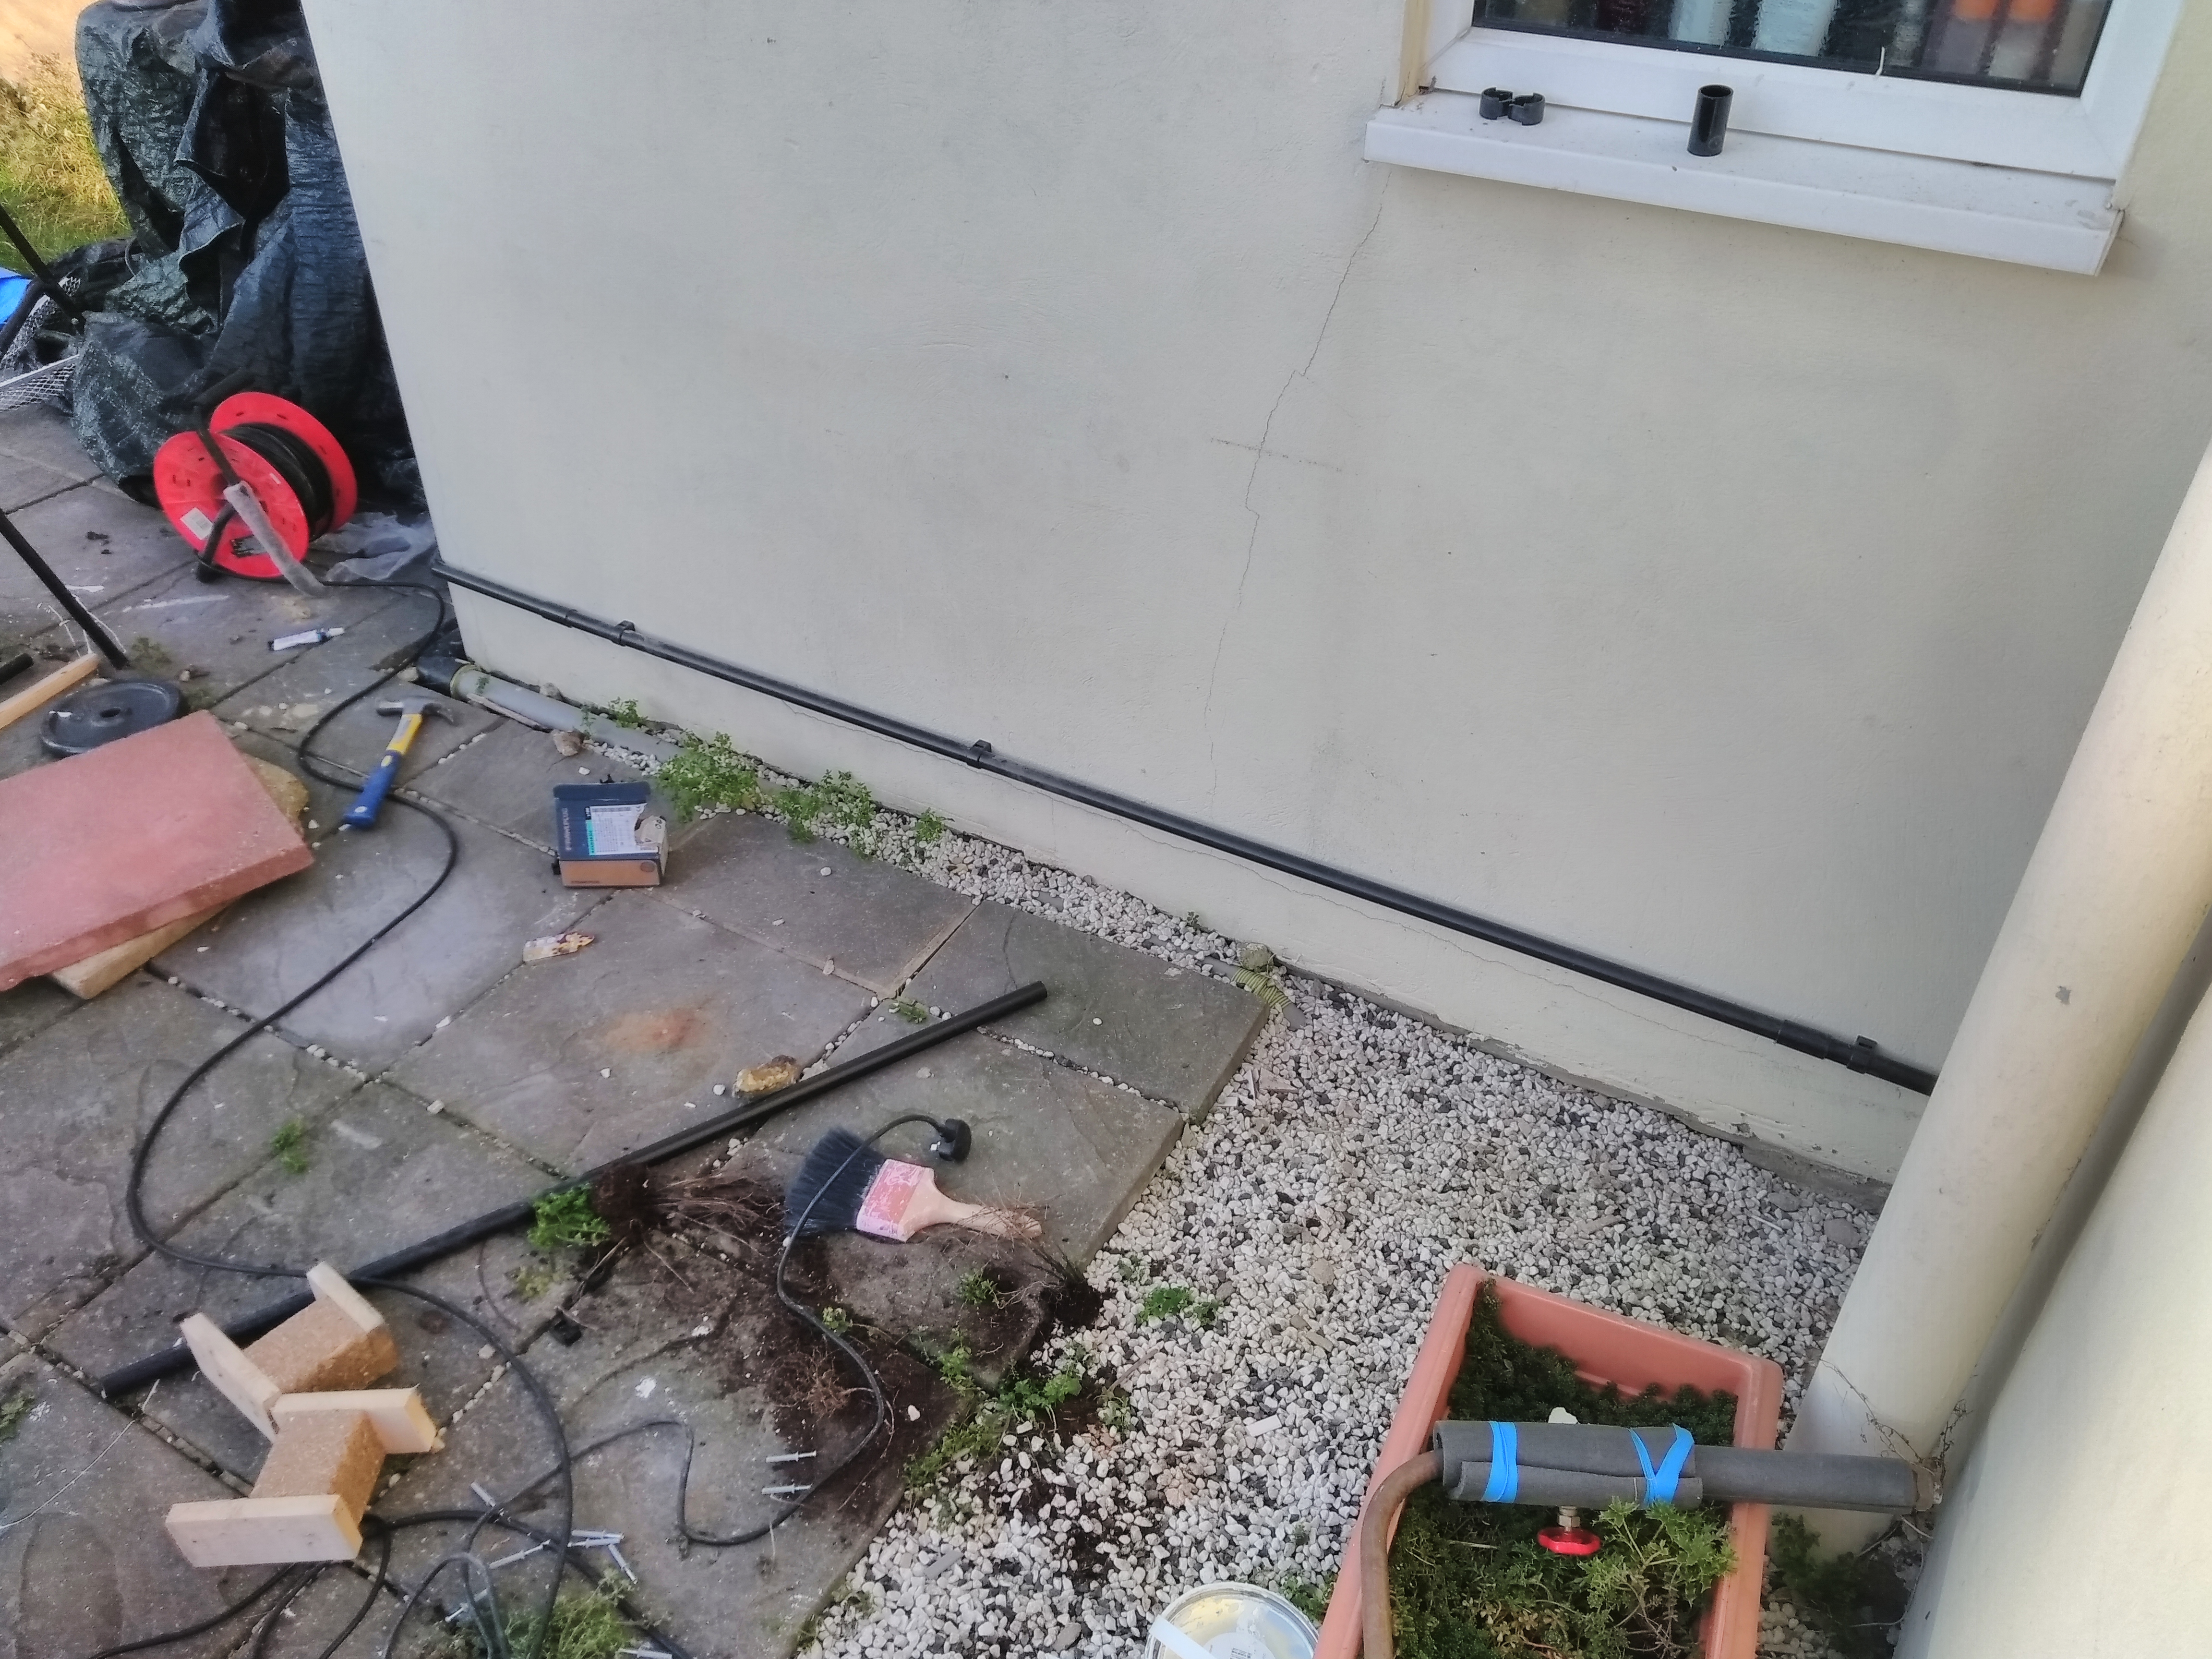
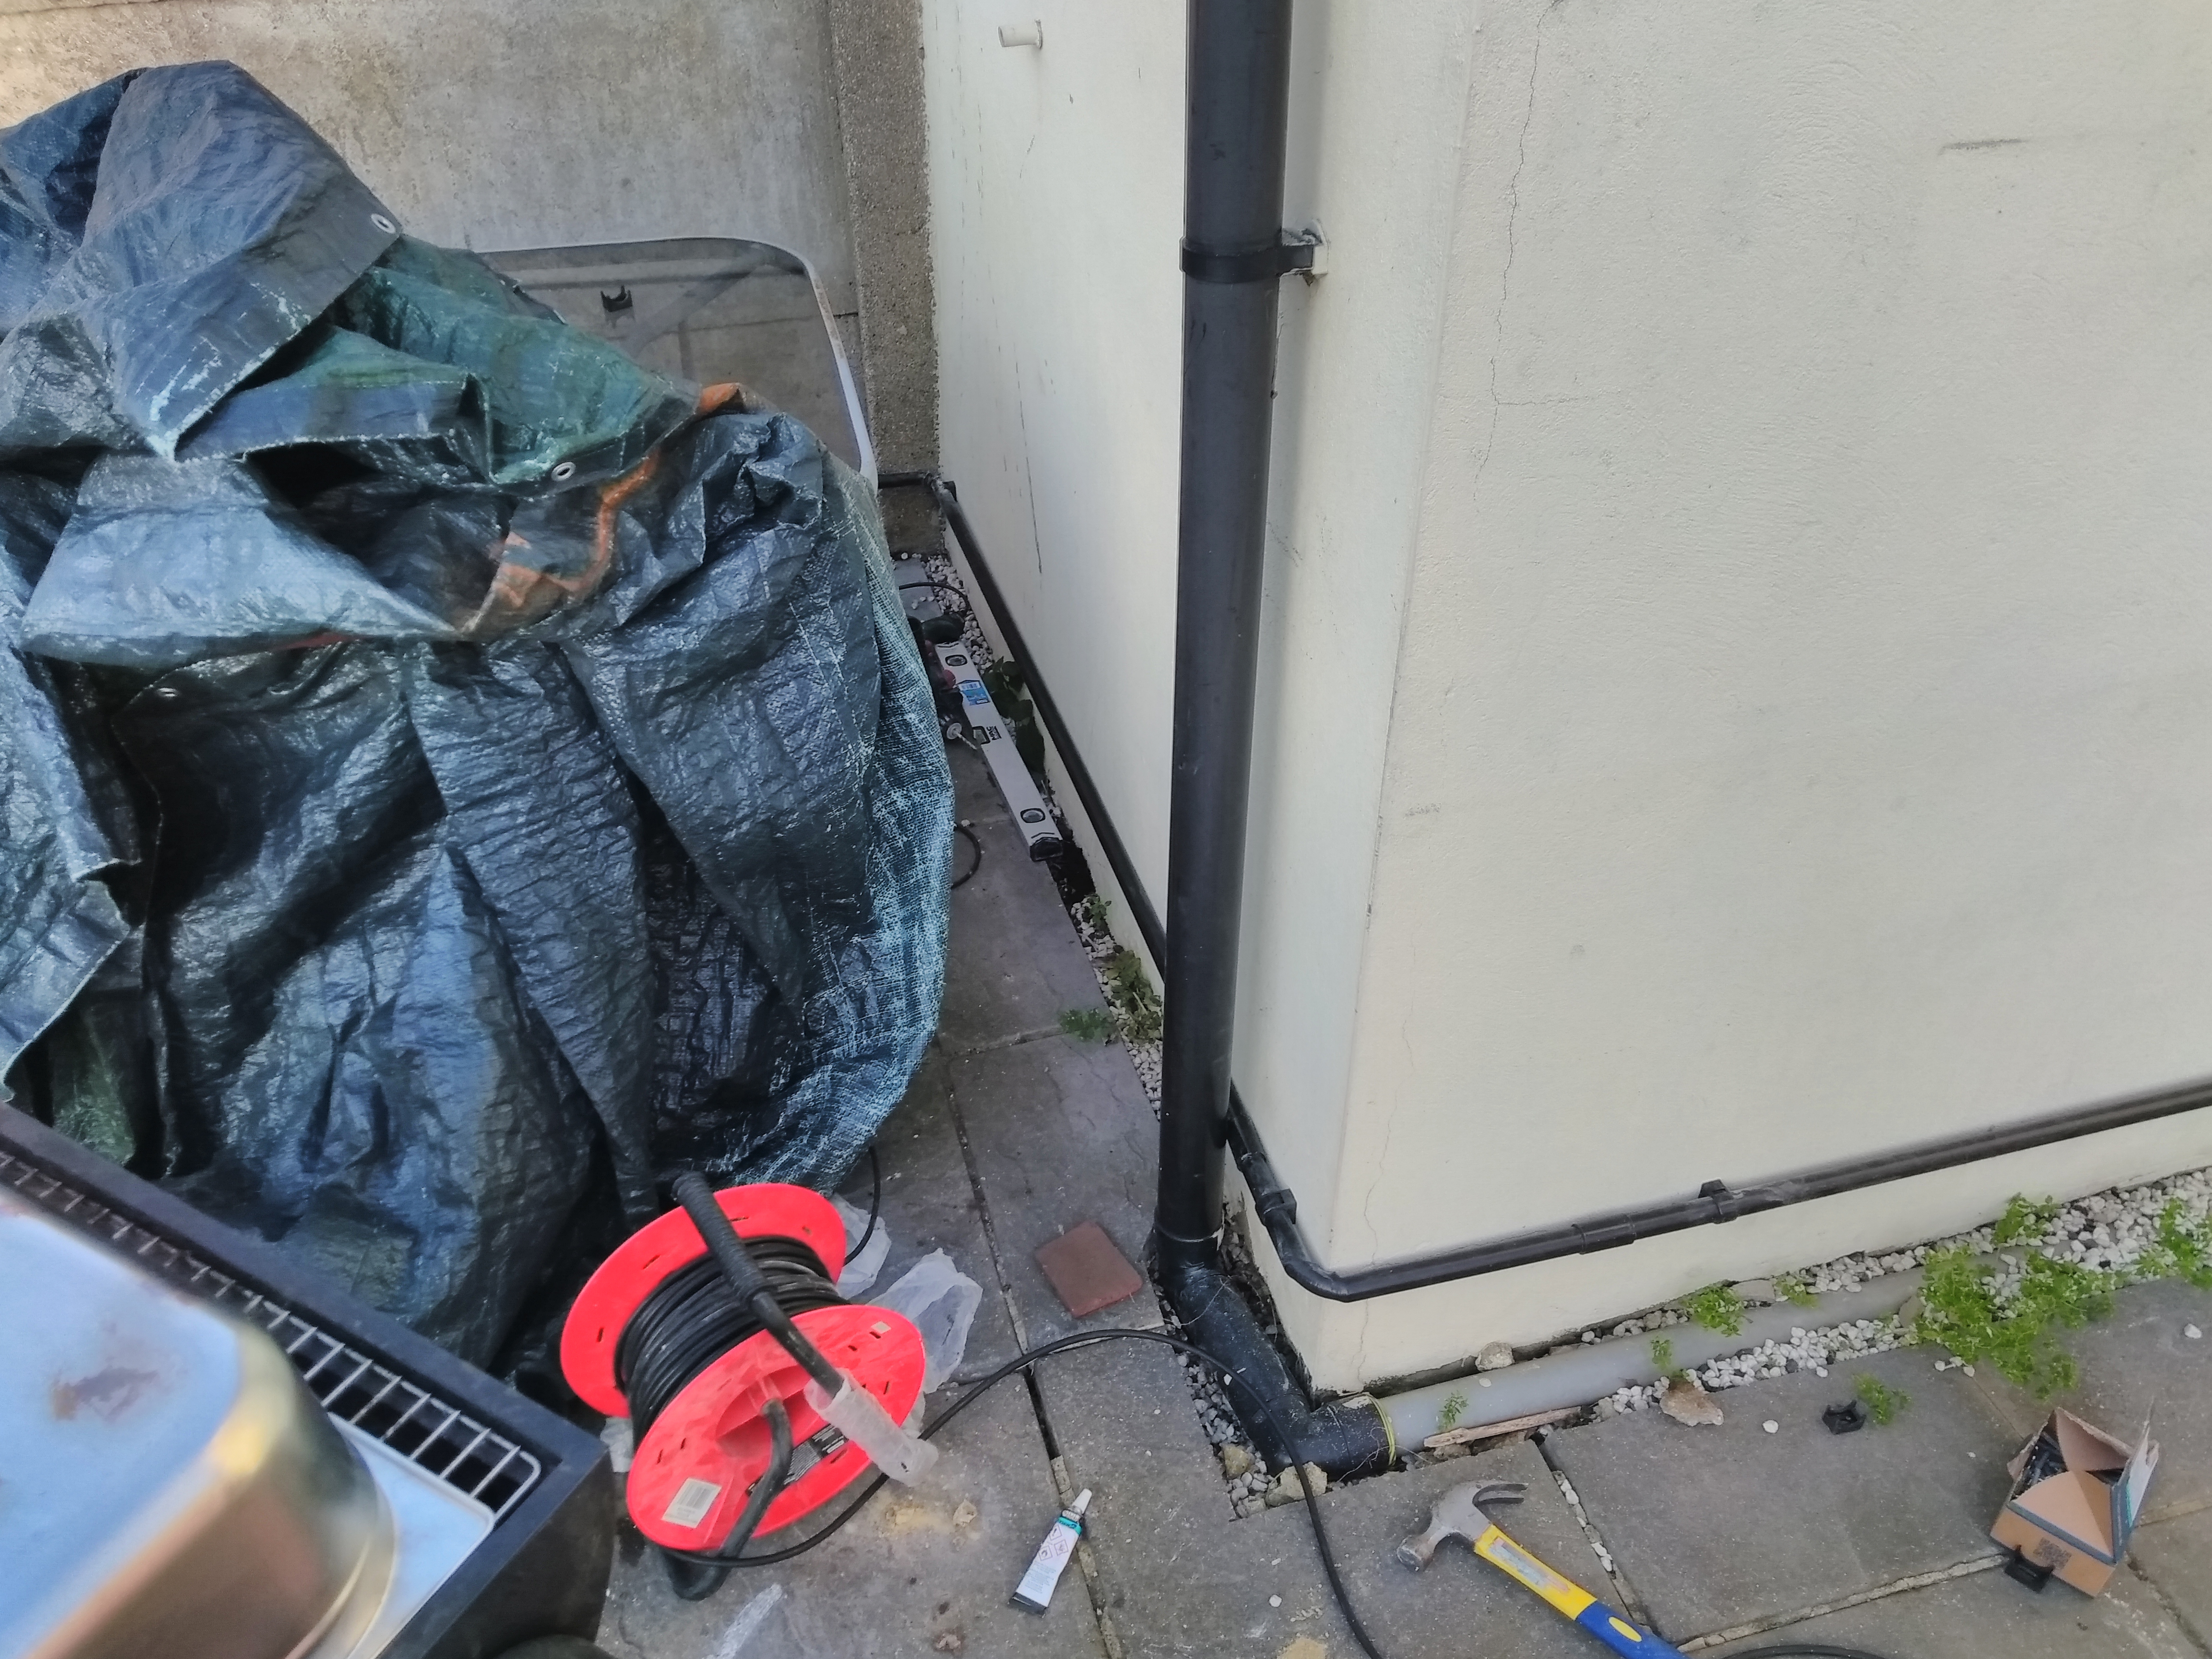
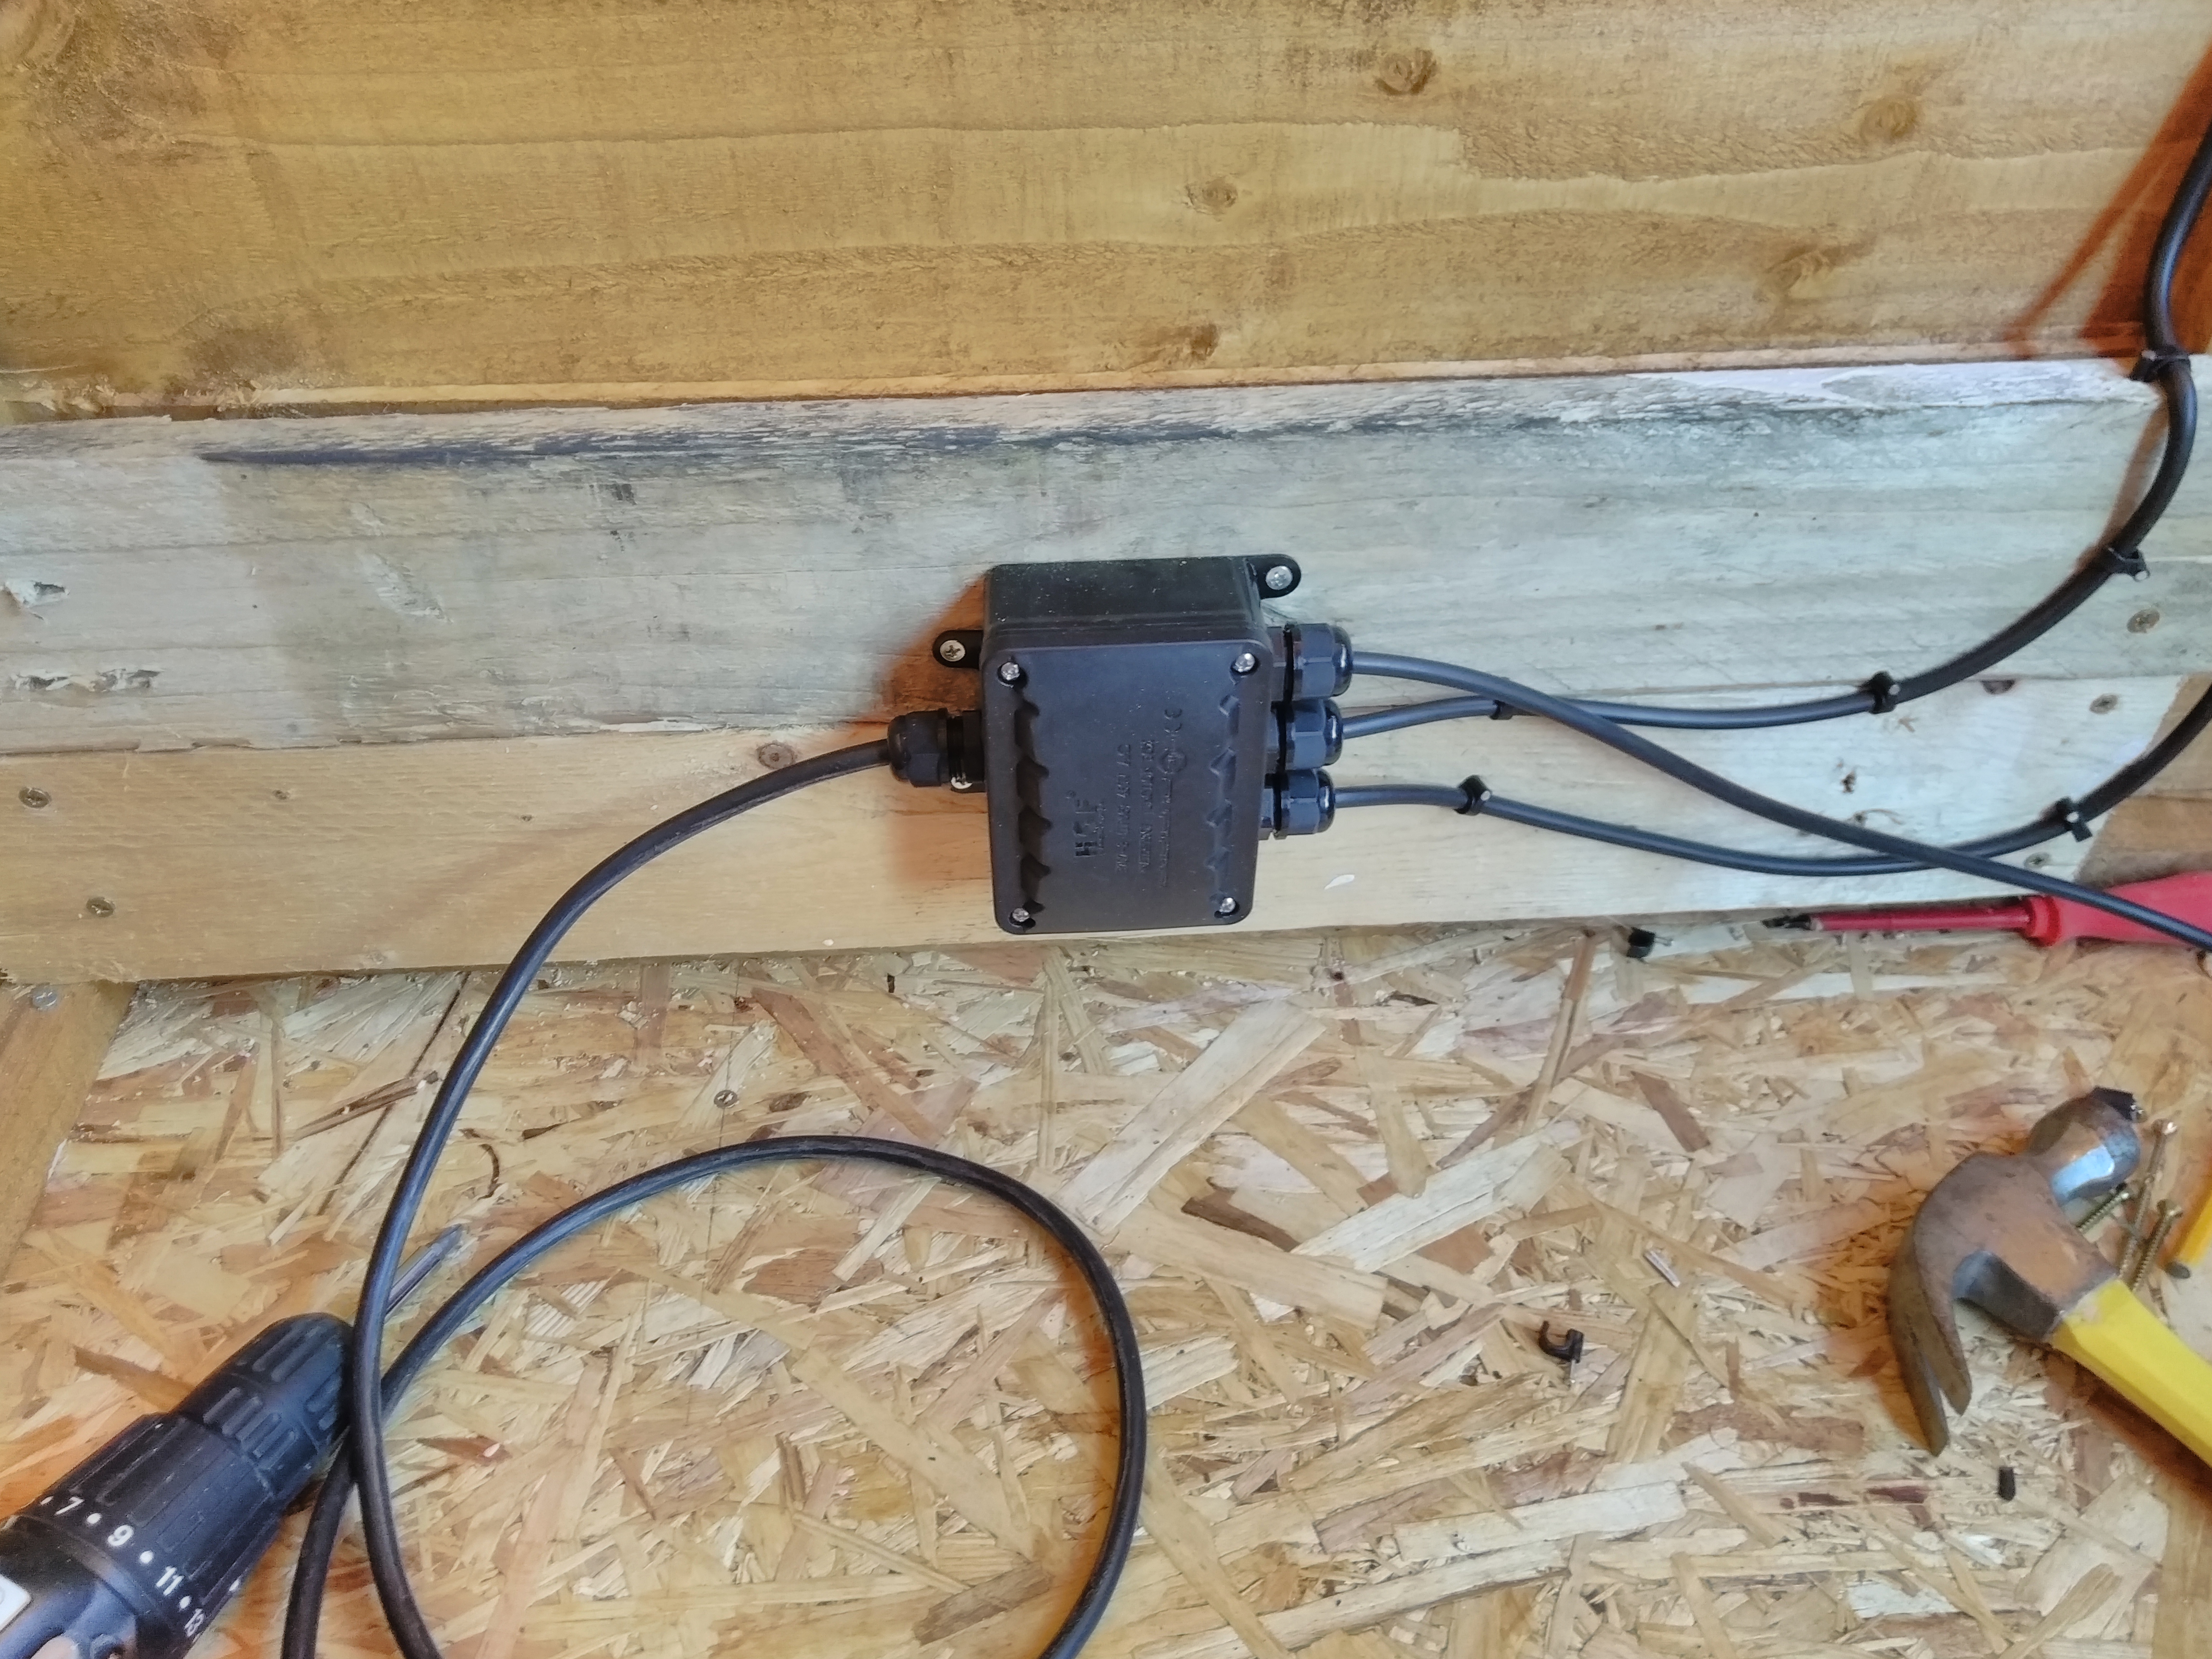
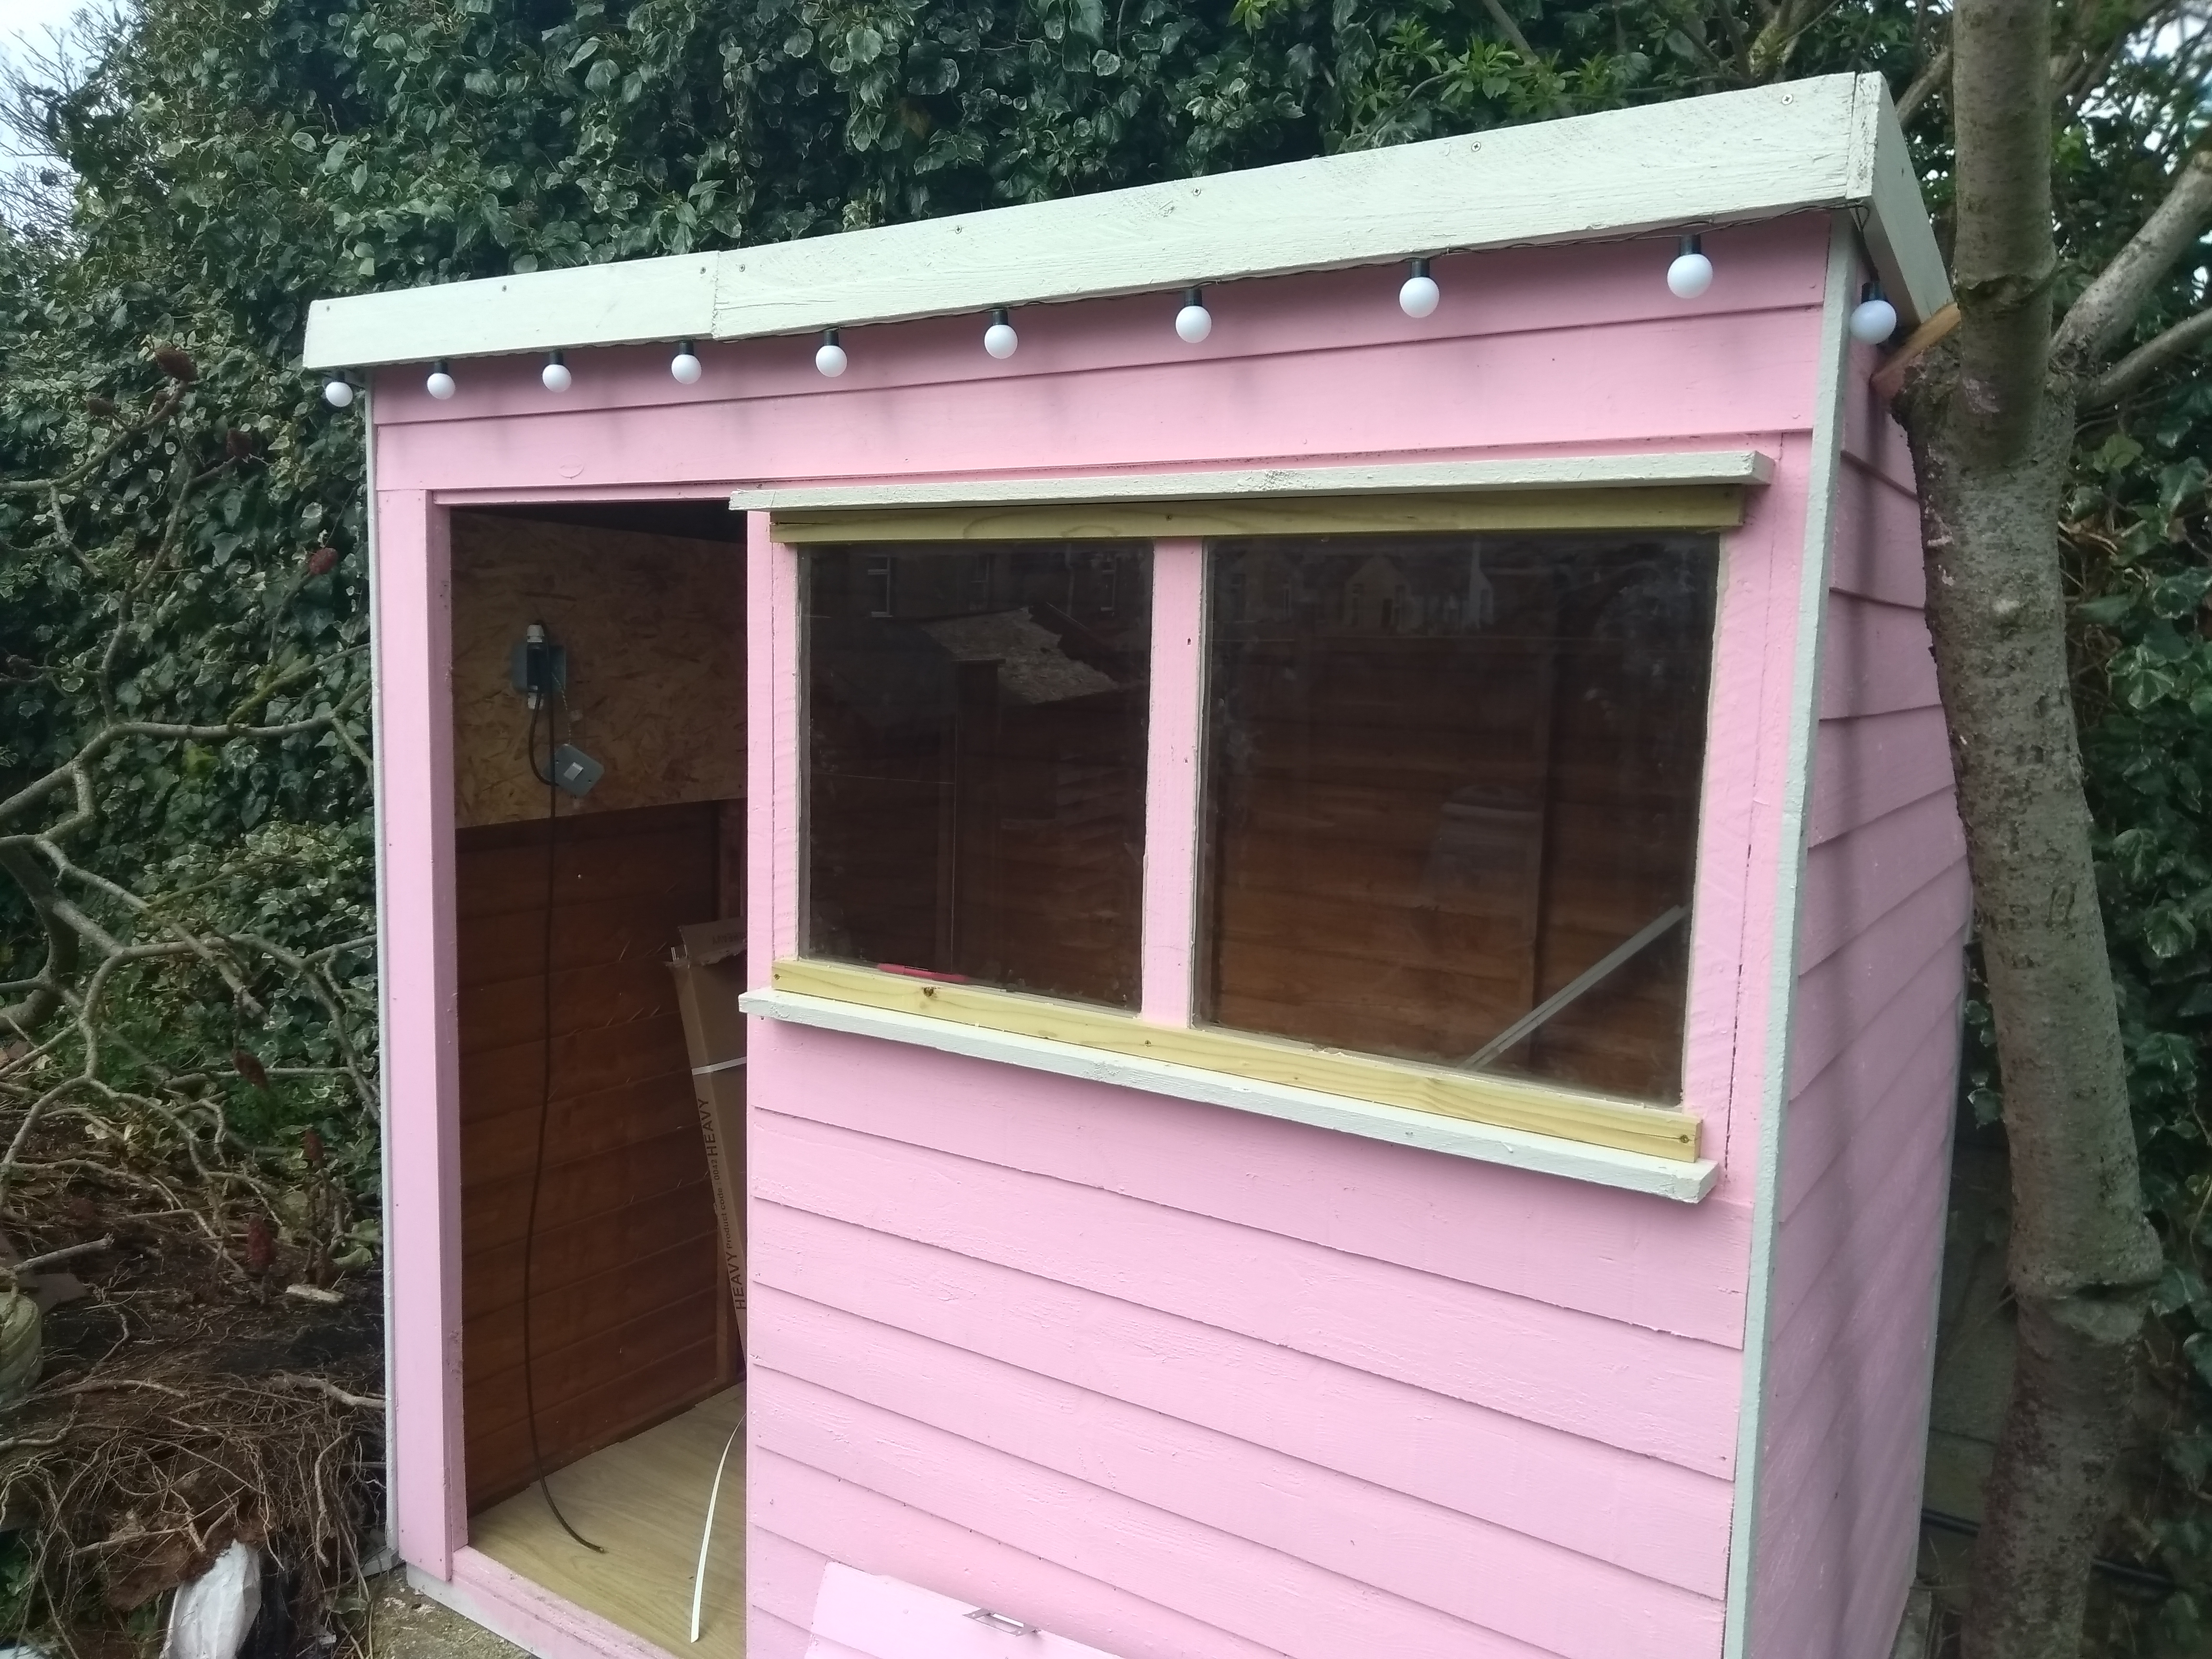
Next day and running some power. I run a power cable through 25mm plastic trunking.  I don’t need a lot of power, just going to have 2 plug sockets. A string of outdoor lights and an internal led light strip. Possibly another outdoor light but haven’t decided yet. So I’m running this as an extension connected to an rcd plug in the kitchen.

Running Cable From Kitchen To Shed
Drilled Through To The Kitchen To Run Power To The Shed.
Electrical Trucking From Kitchen
Using 25MM Tubing to keep the Power Cable away From Water And Protected
Electric Trunking Fitted To The House
Electric Trunking Fitted To The House Inn 25mm Black Trunking.
Cable Run Around The House And Along Garden Wall
Cable Run Around The House And Along Garden Wall, Connected Black 25mm Plastic All Weather Trunking.

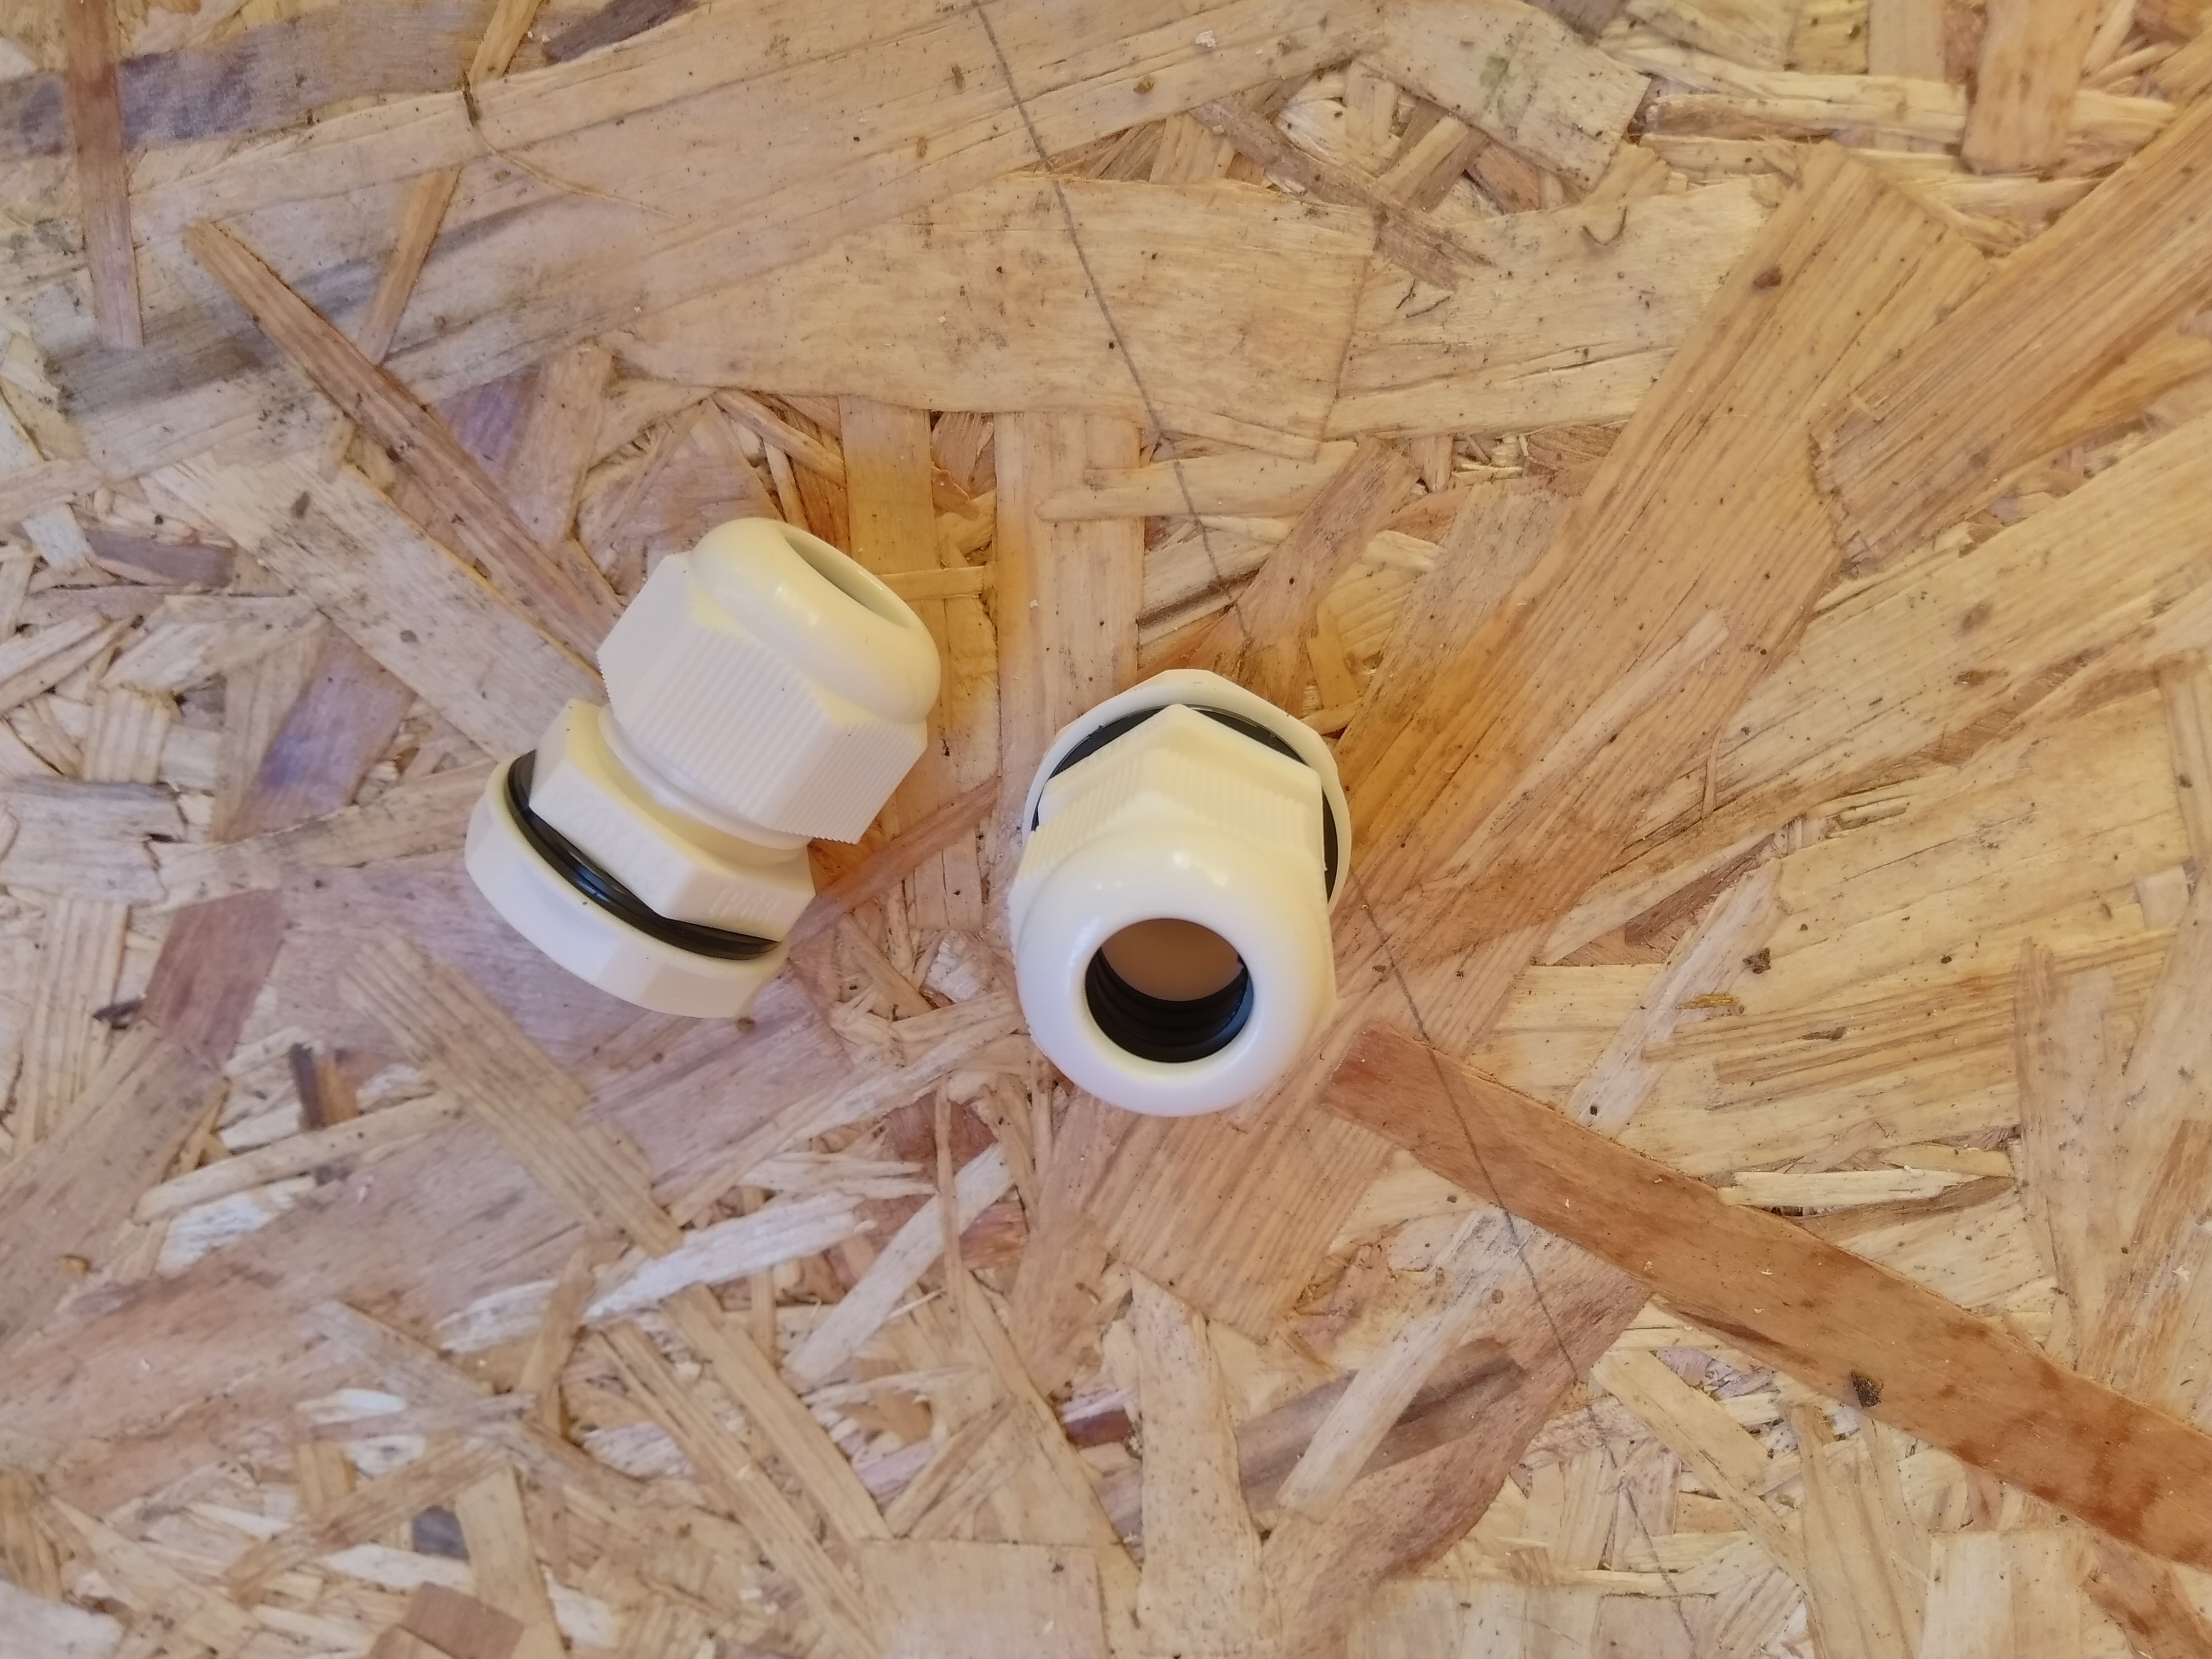
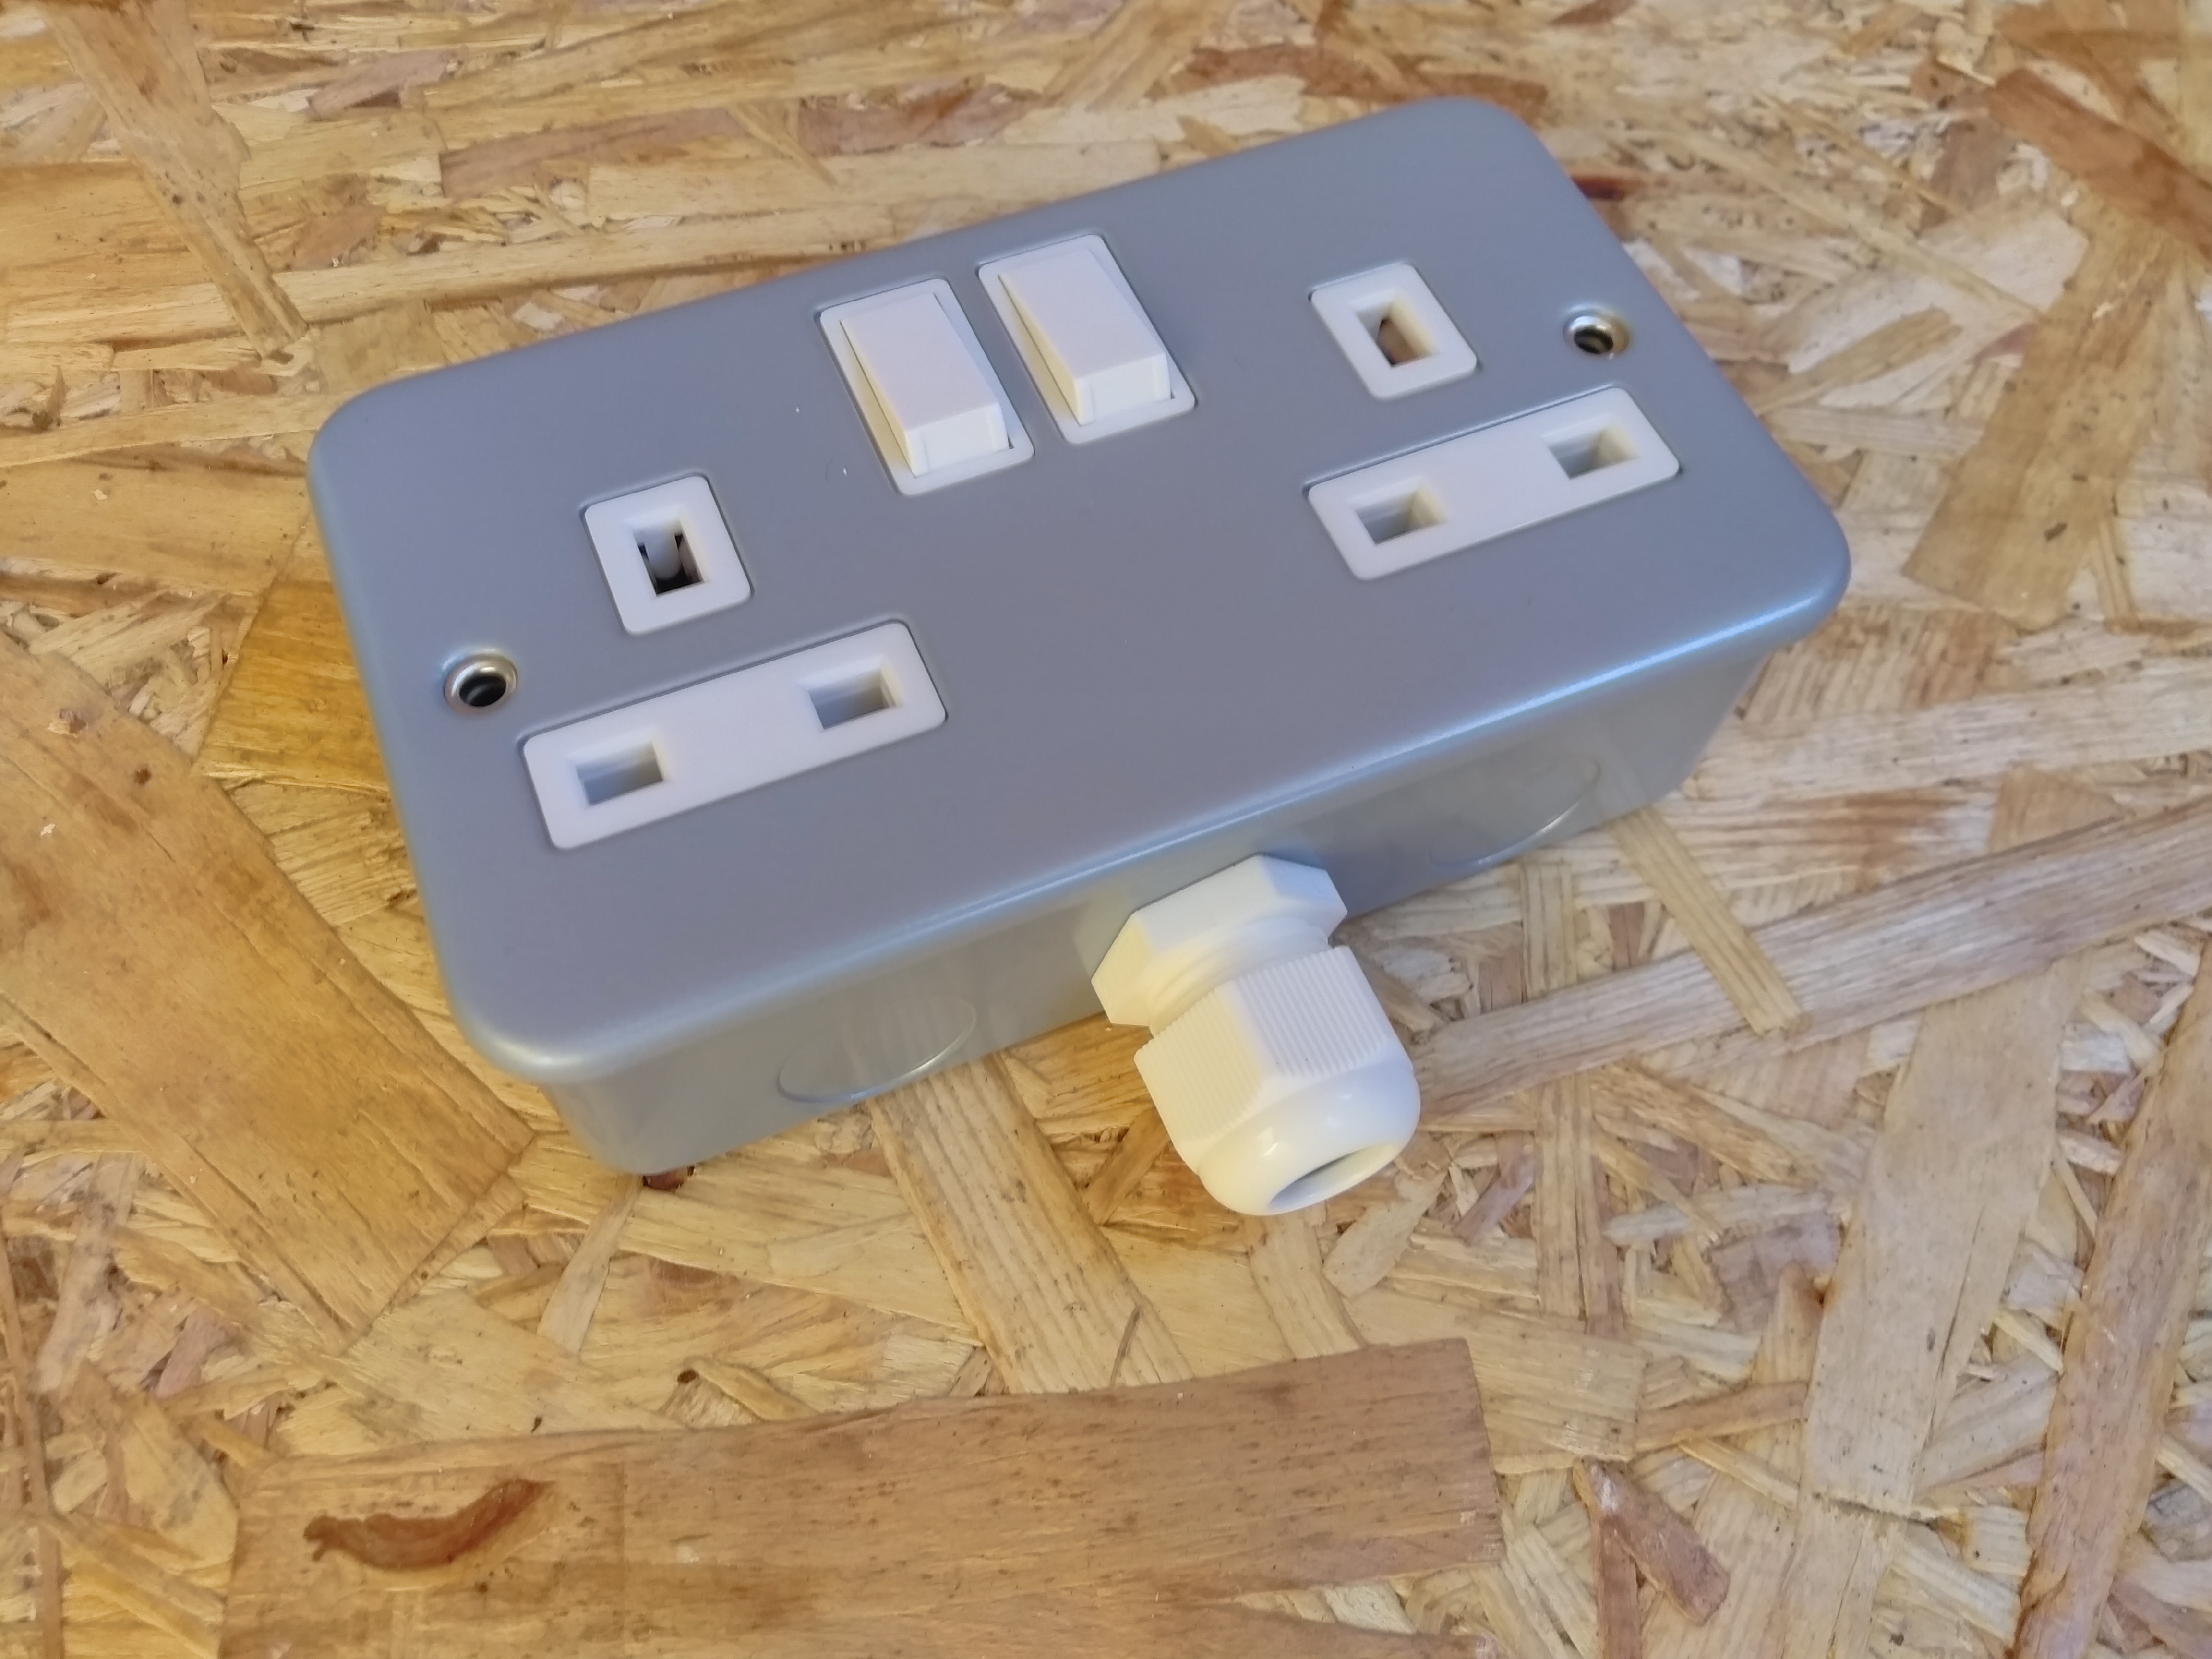
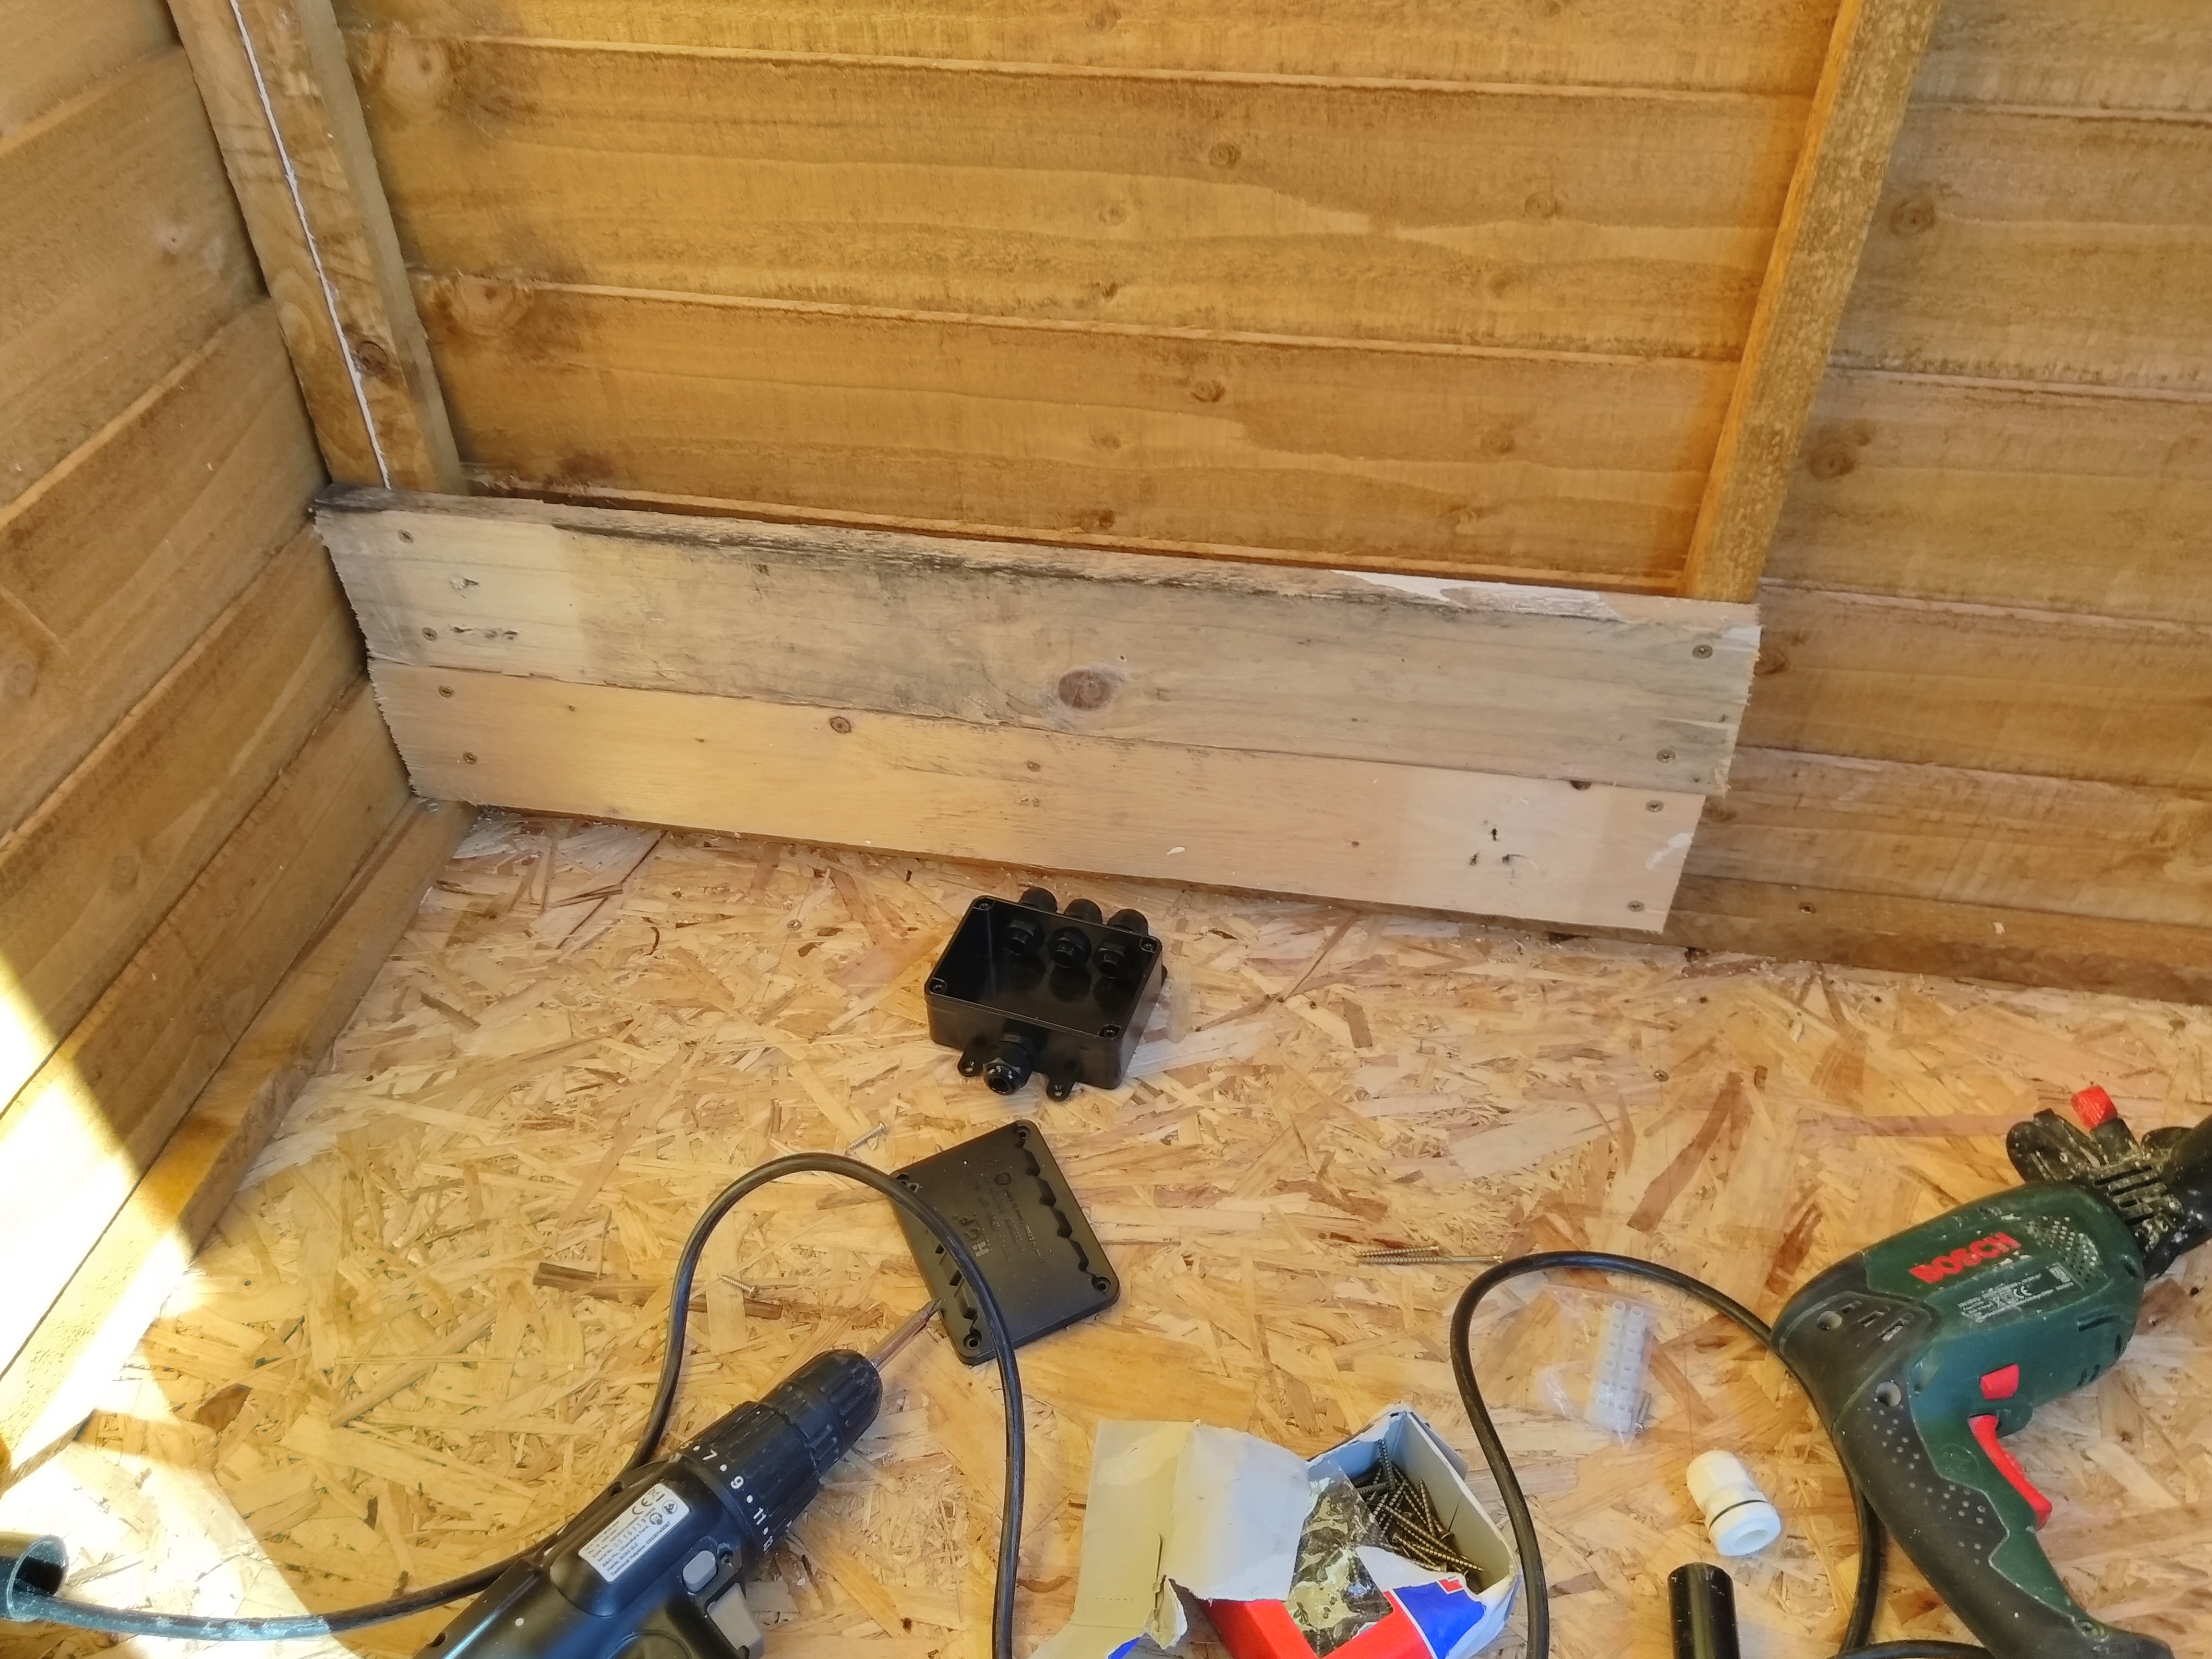
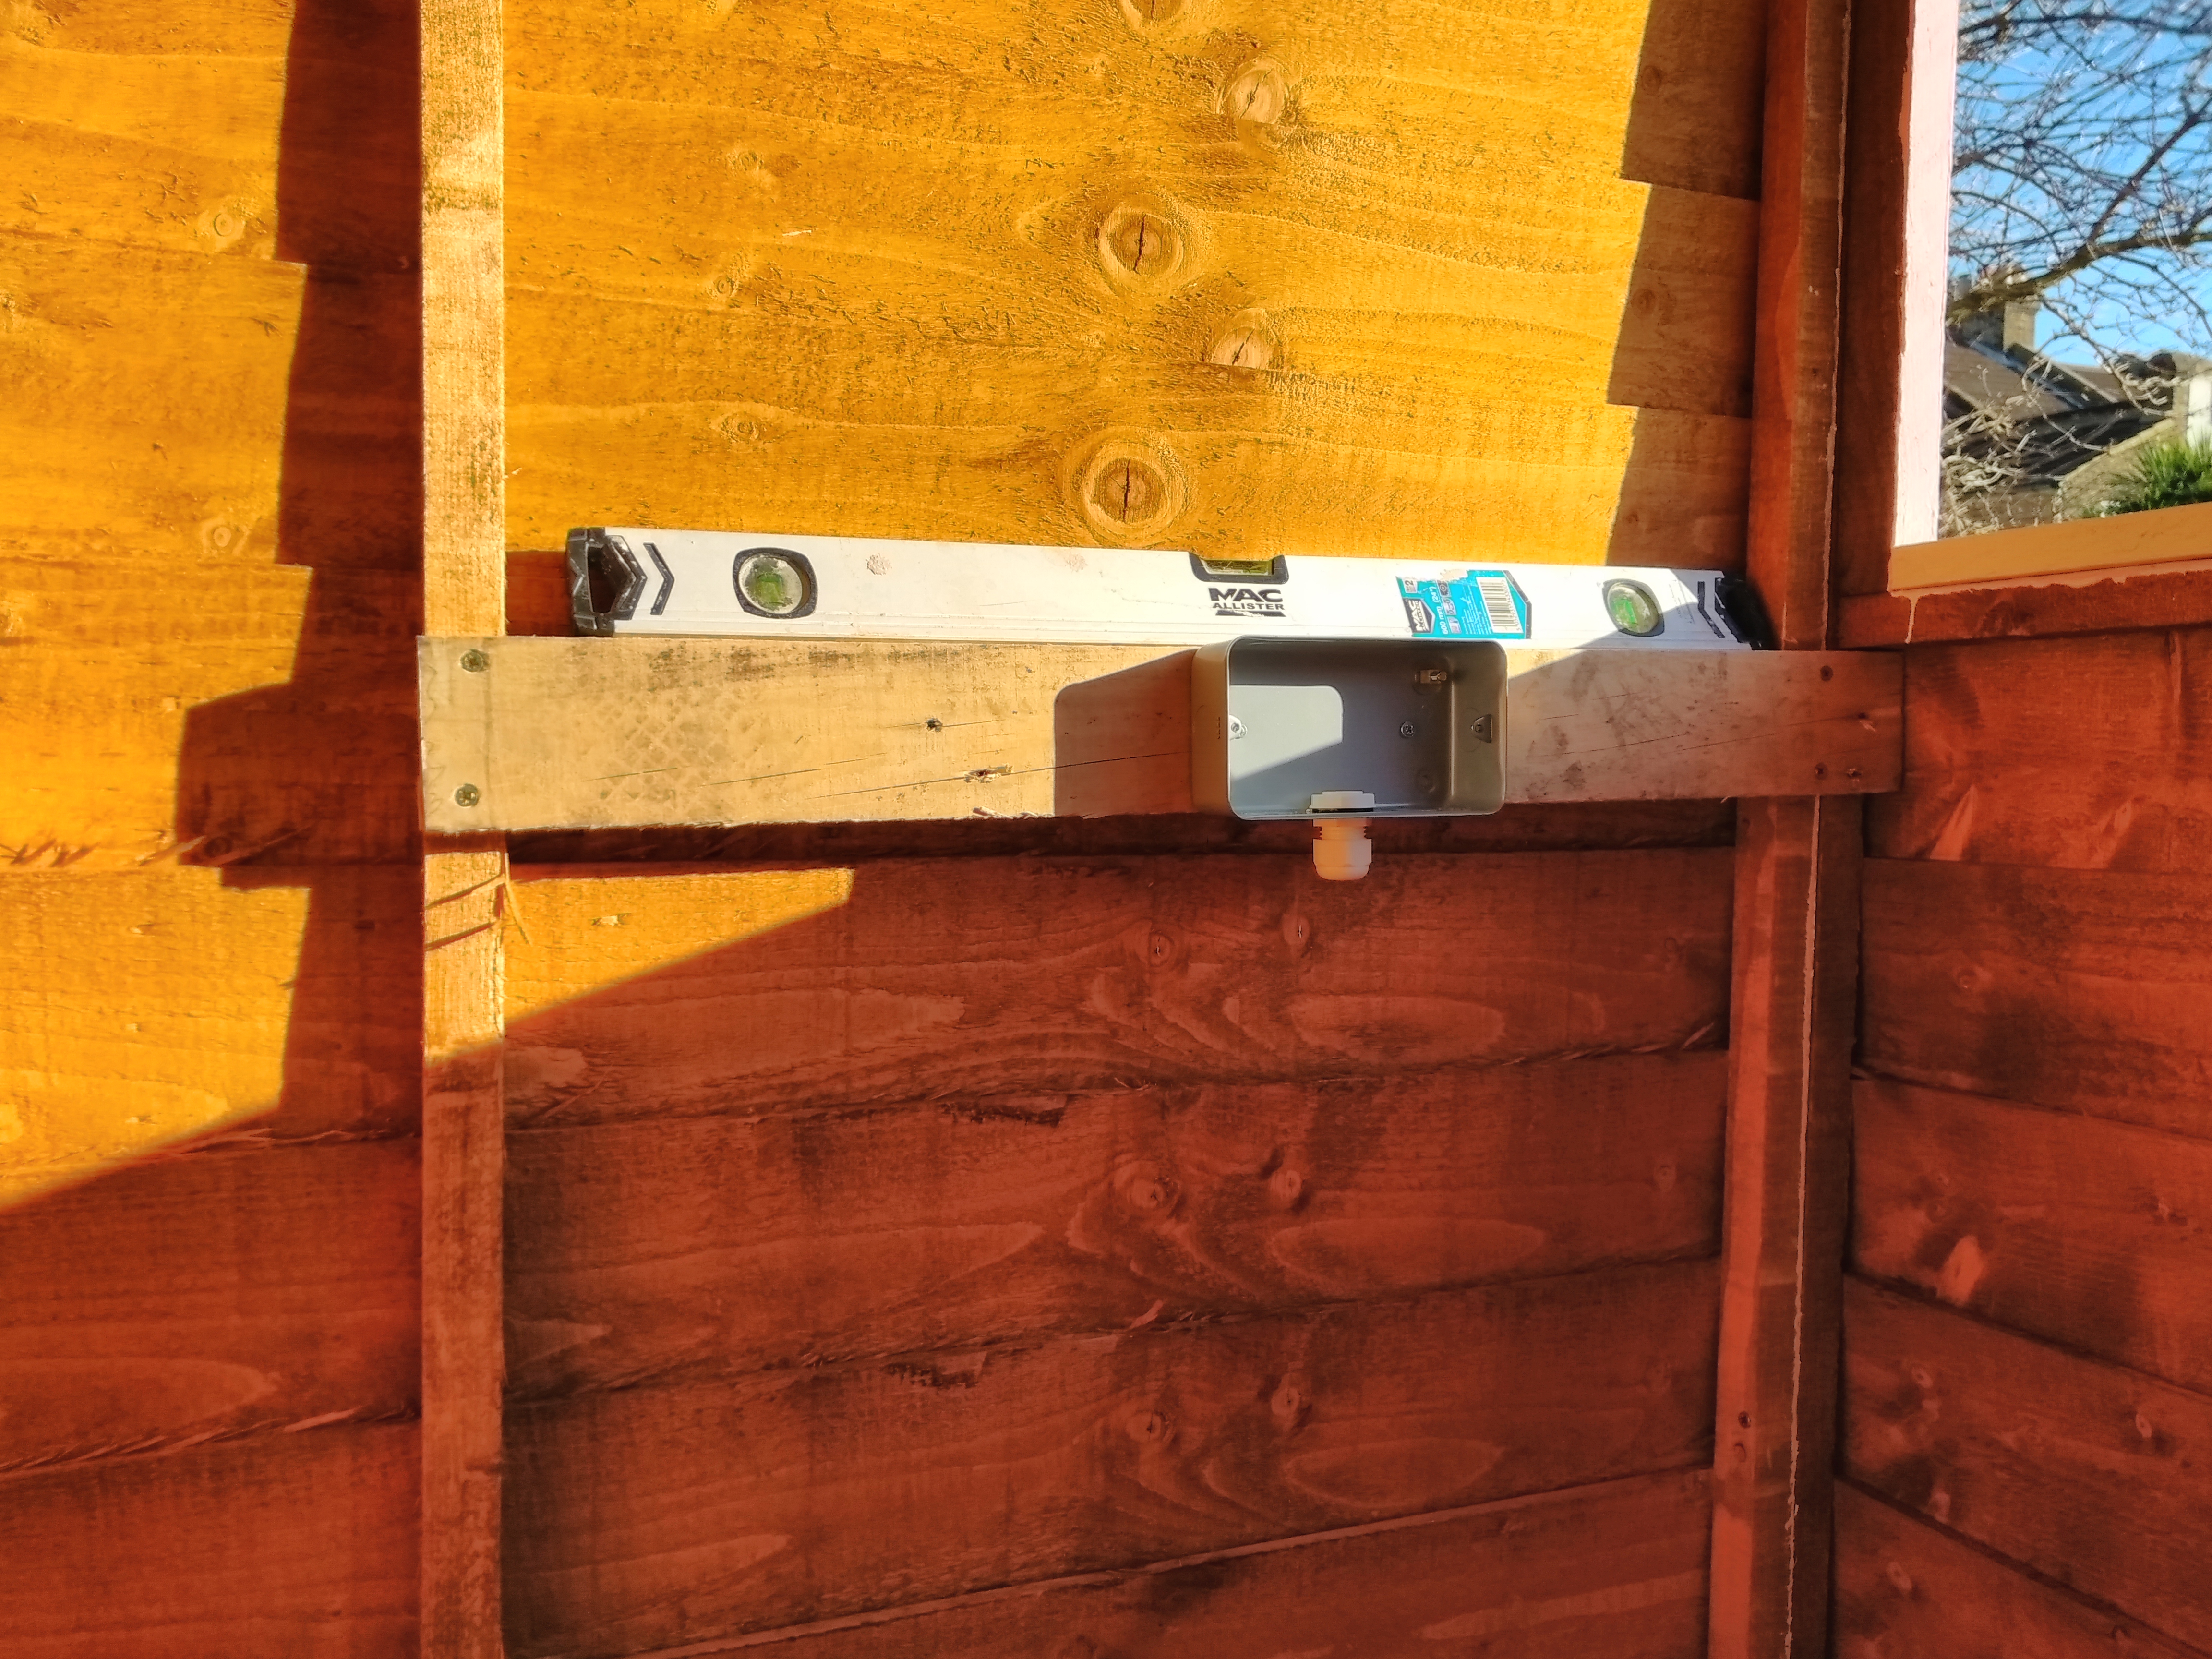
I ordered these Metal Clad sockets and these some waterproof glands and a waterproof junction box.

Metal Clad Light Sockets
Heavy Duty Industrial Style Metal Clad Light Sockets.
Waterproof Glands
Waterproof Glands Stops Water Getting Into Sockets Being Used In The Shed, The Make A Watertight Barrier Around The Cable.
Metal Clad Double Socket
Metal Clad Double Socket With Waterproof Gland.

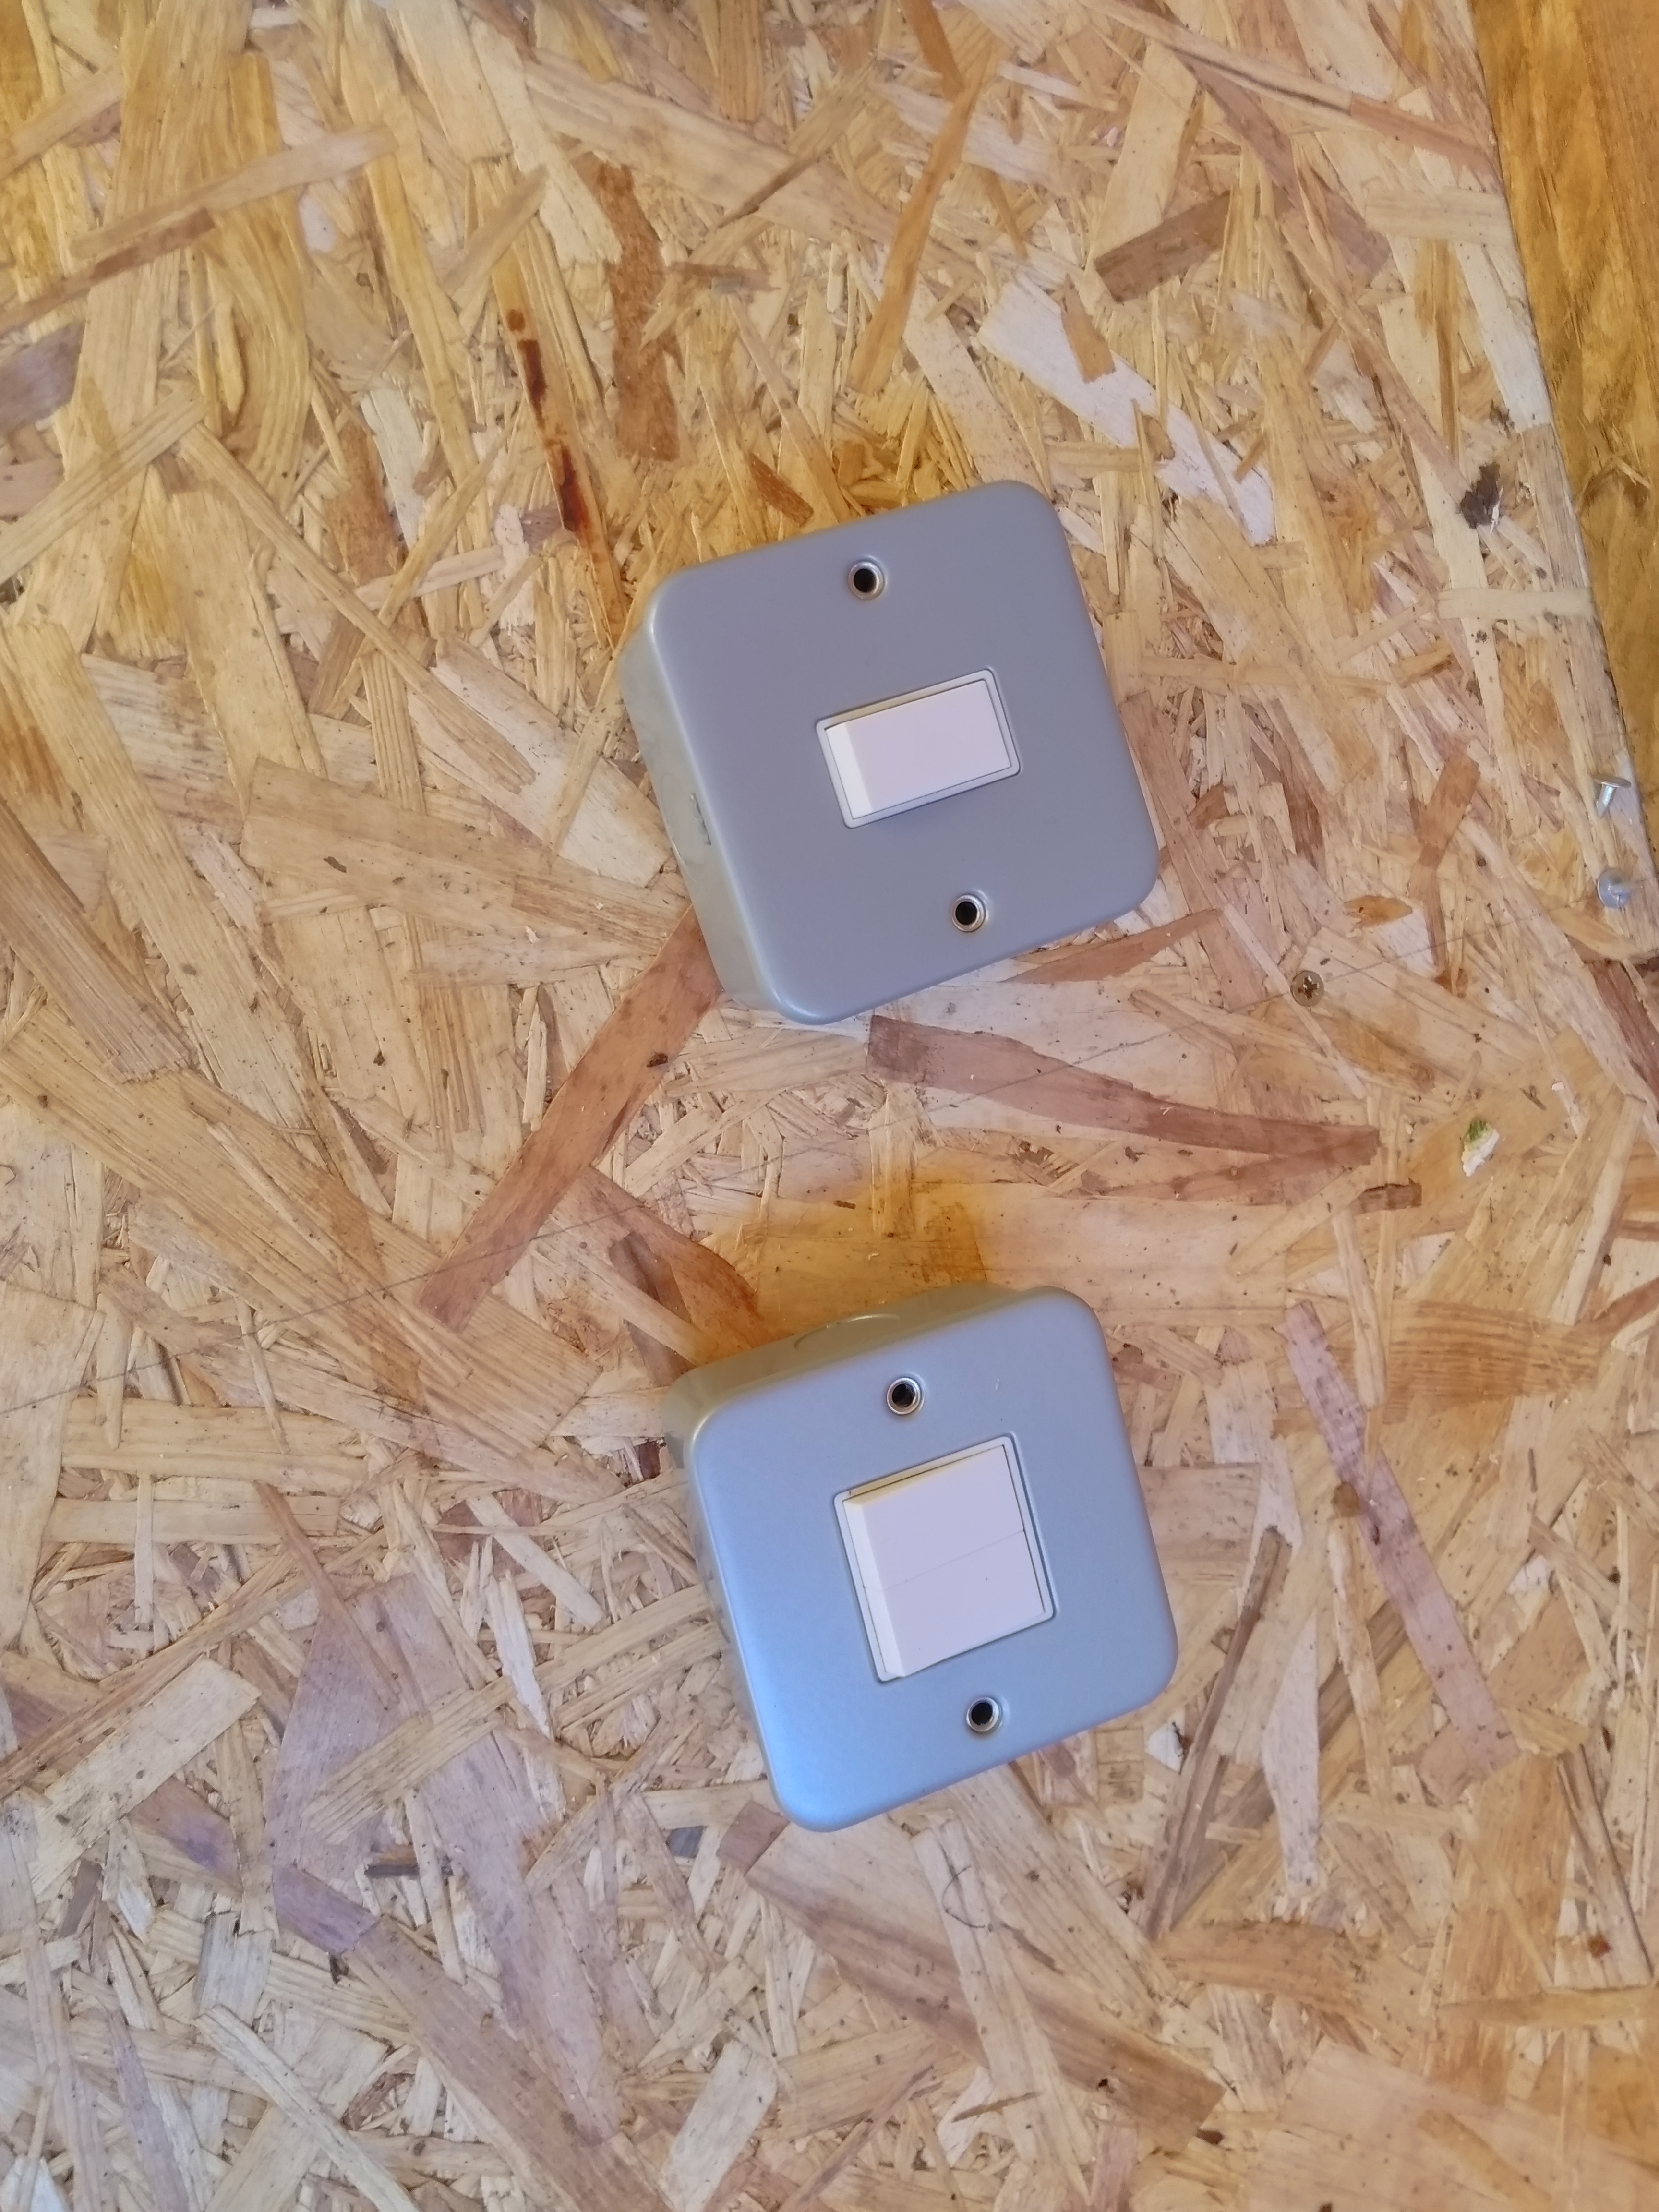
I used some more of the pallet to make a stable surface in the shed for both the socket and junction box. Then fitted all the cables in the shed. Also fitted a small panel to hold the light switches.

Pallet Strips Attached For Waterproof Junction Box
Two Pallet Strips Attached To Side Of Shed For Waterproof Junction Box.
Plank Of Wood Fitted For Double Socket
Piece Of Pallet Fitted To The Shed To Hold A Double Metal Clad Socket.
Waterproof Junction Box Fitted In Shed
Waterproof Junction Box Fitted In Shed With Inbound And Outbound Cables Connected.

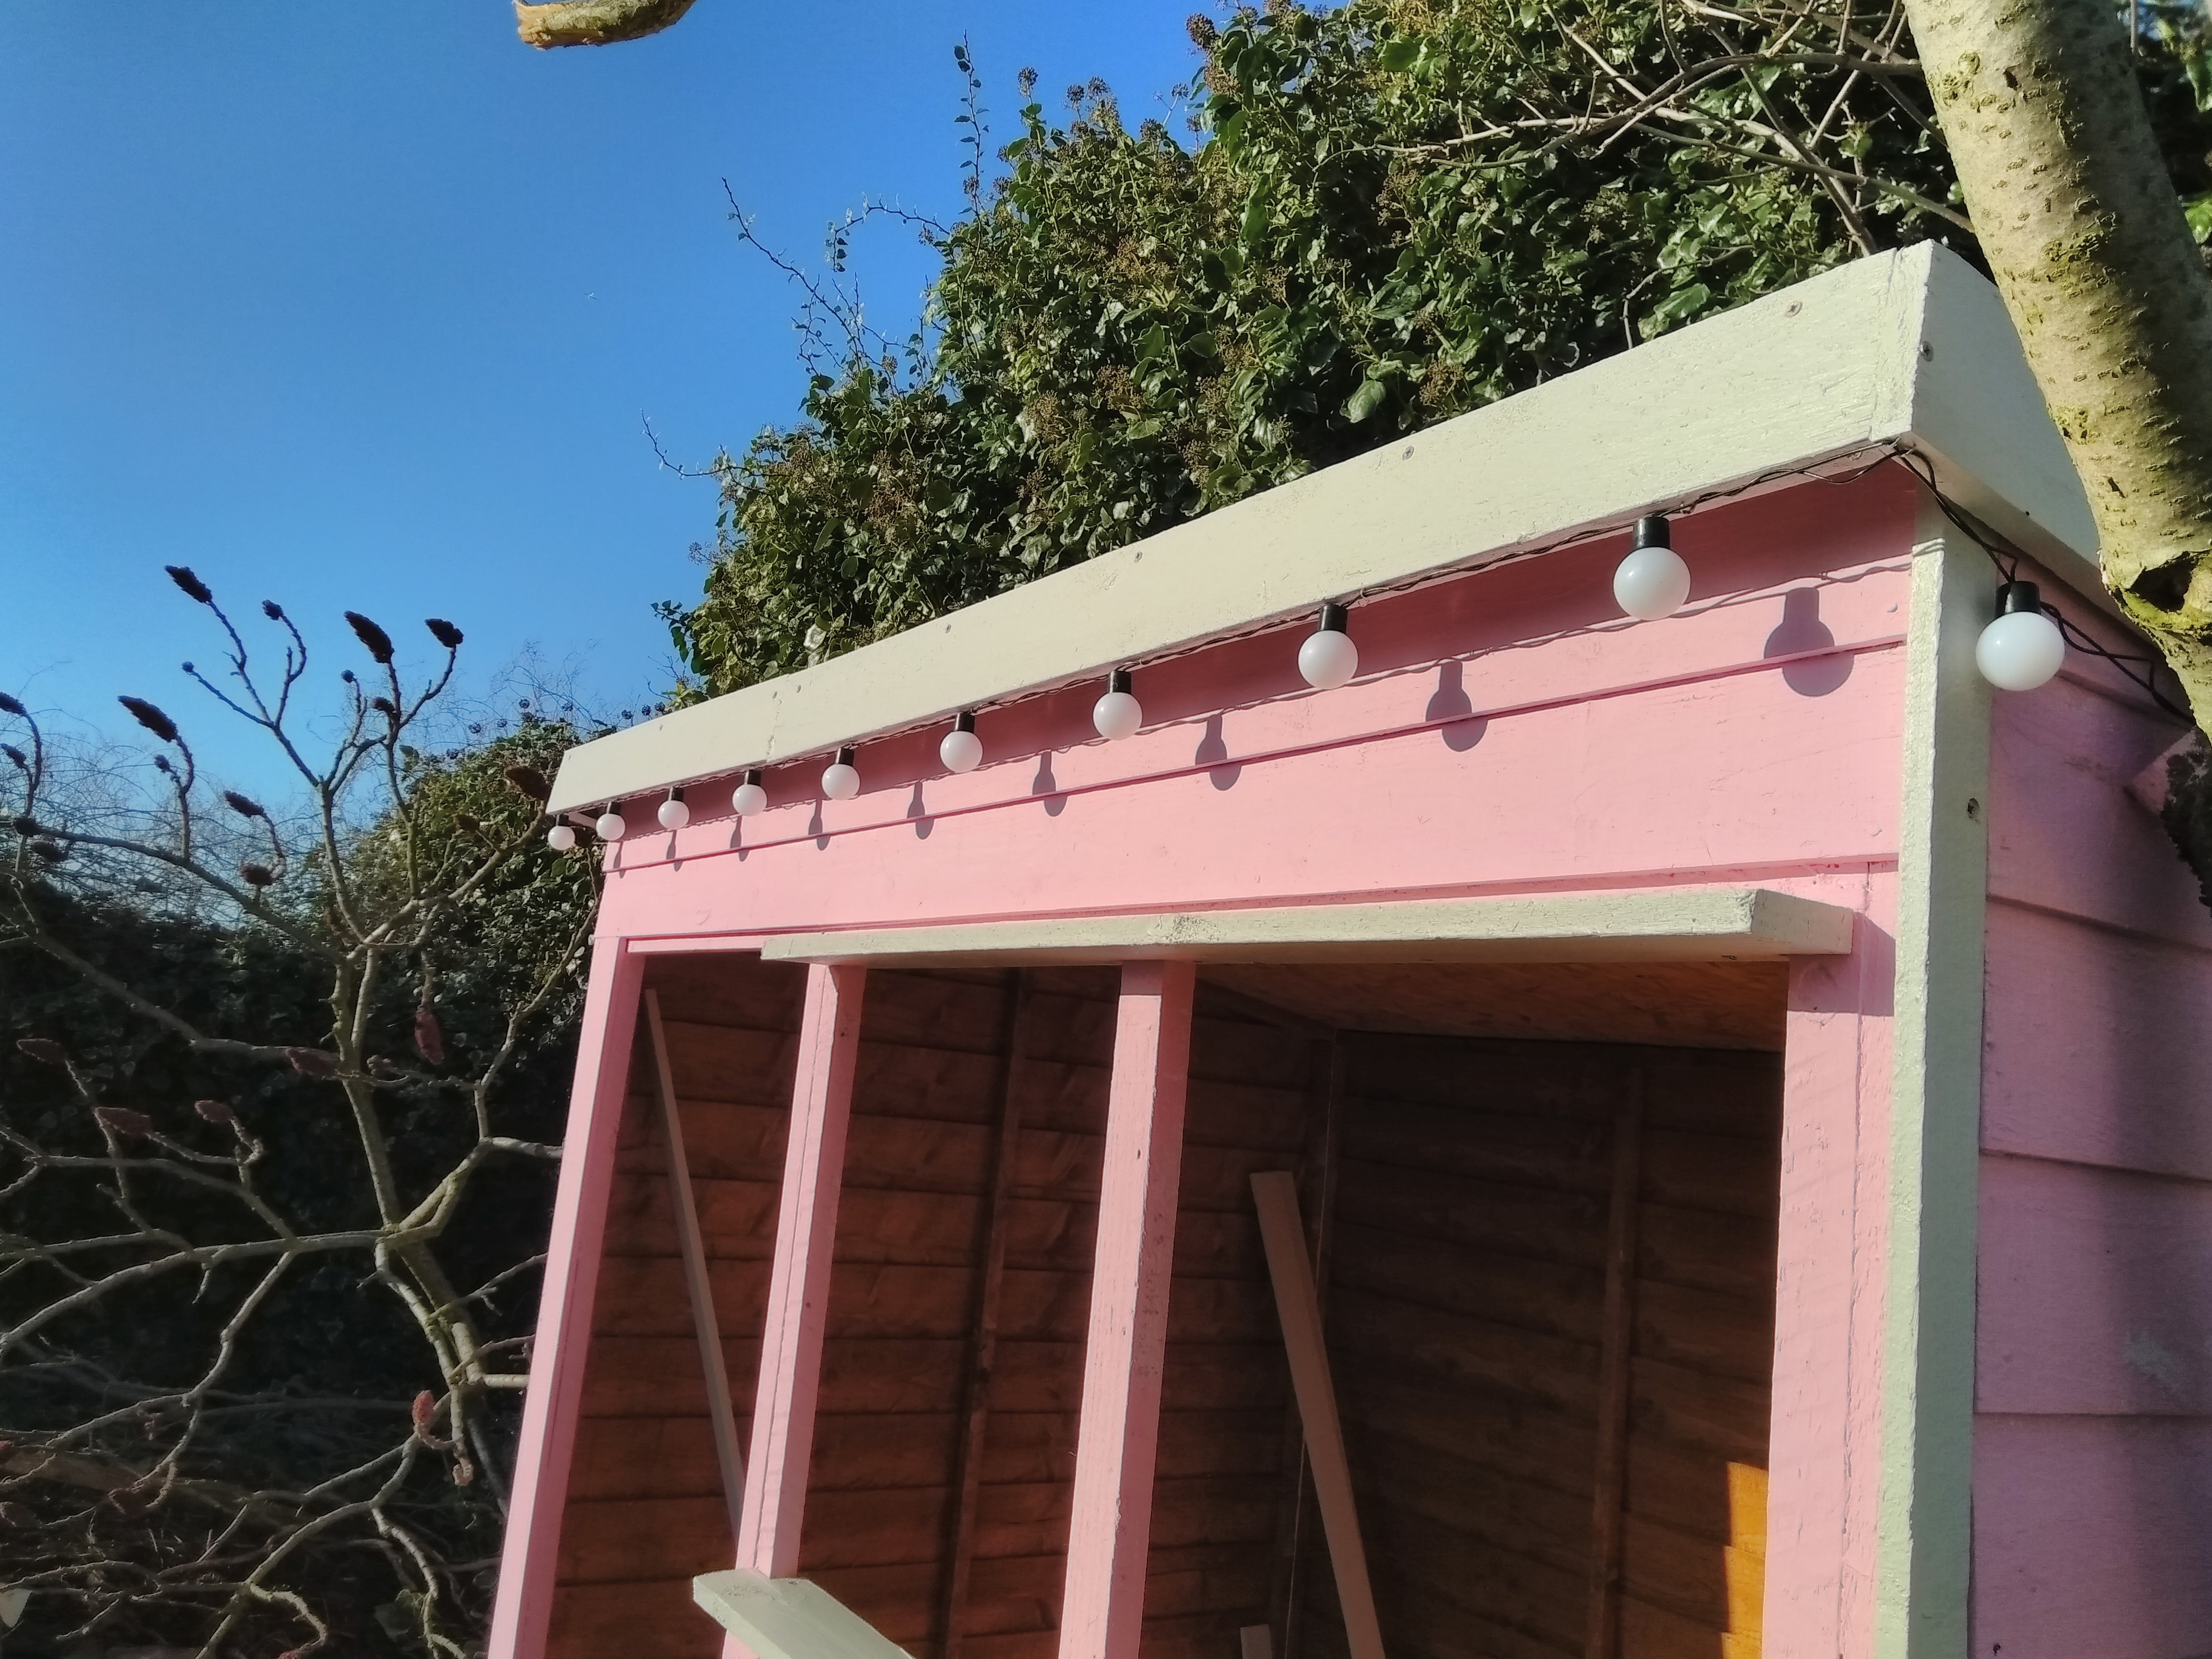
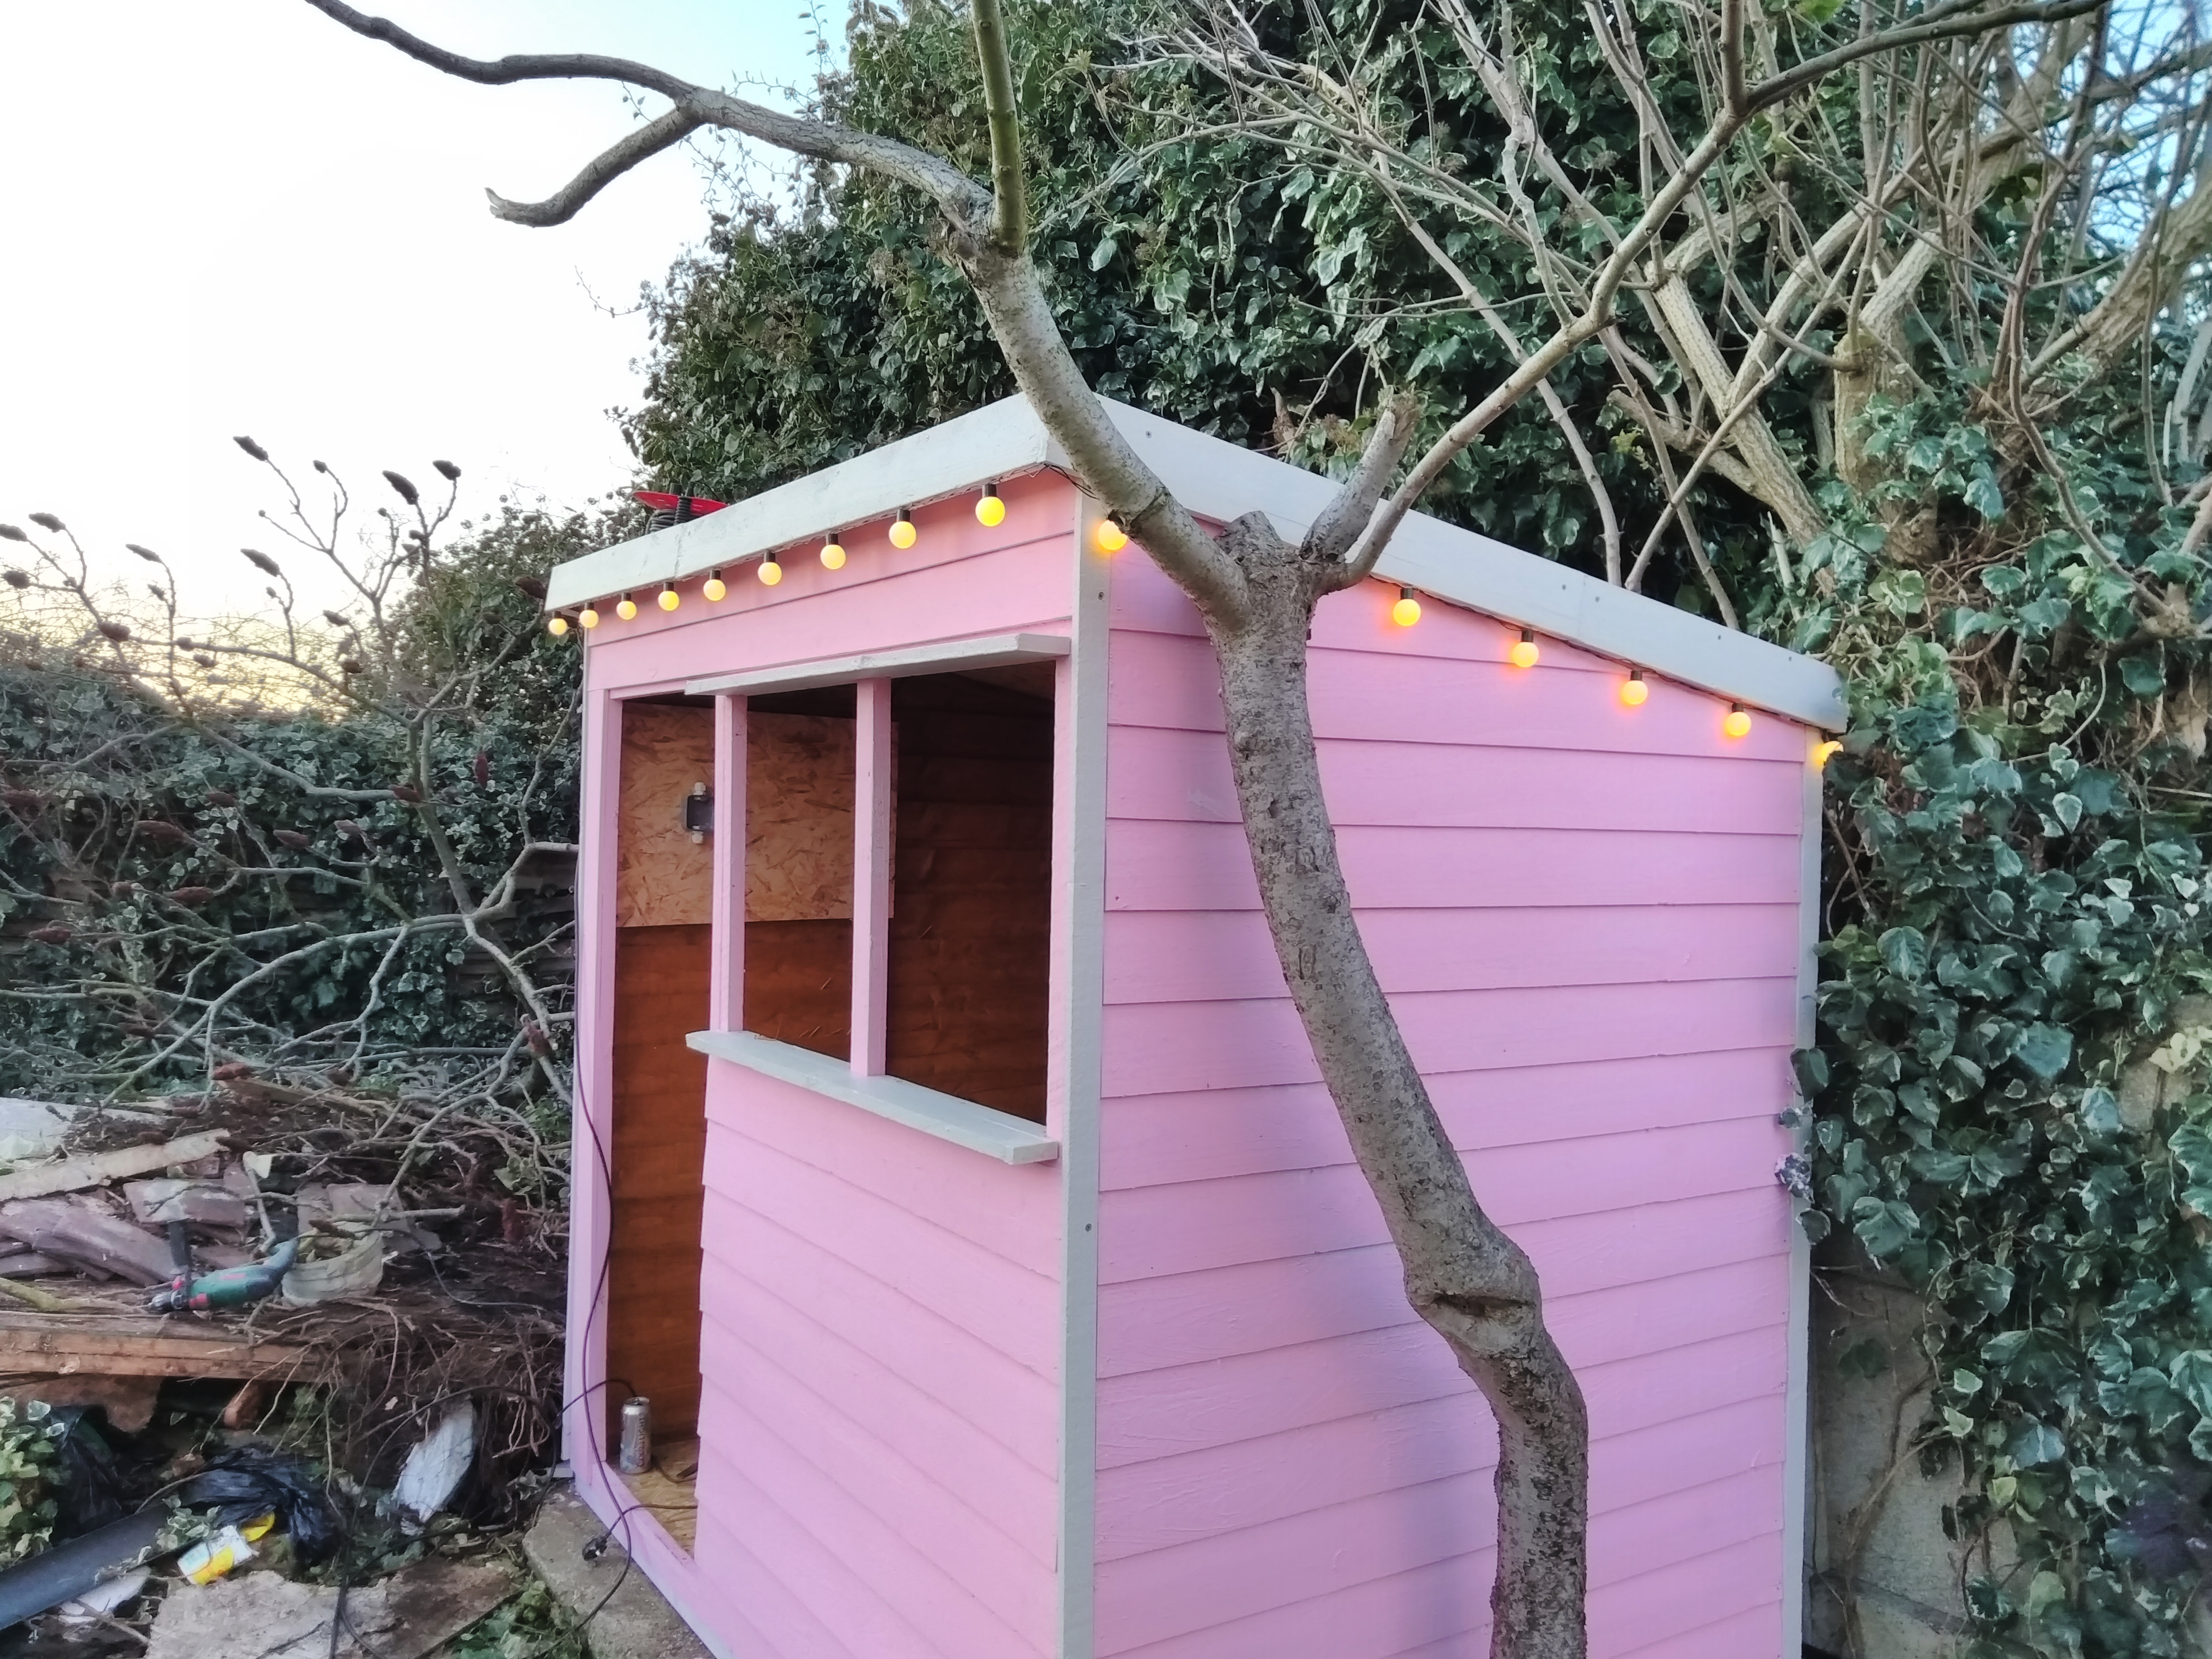
Finishing off some of the outside now, fitted the window ledges as well as a trim made from the pallet. I have also attached a string of light around the outside.

Window Ledges Fitted
Window Ledges Fitted To The Shed Top And Bottom Of Window Frame.
The Shed With Trim Fitted
In The Light And With The Paint Dry You Can Really See The Pink Now Just Adding The White Trim And Window Ledges.
Attached Some Lights Around The Roof
The Trim Around The Roof Was Also Made With Pallets And I Have Now Attached Lights.
Testing Out The Lights
Checking The Outside Led Lights On The Shed Are Working.

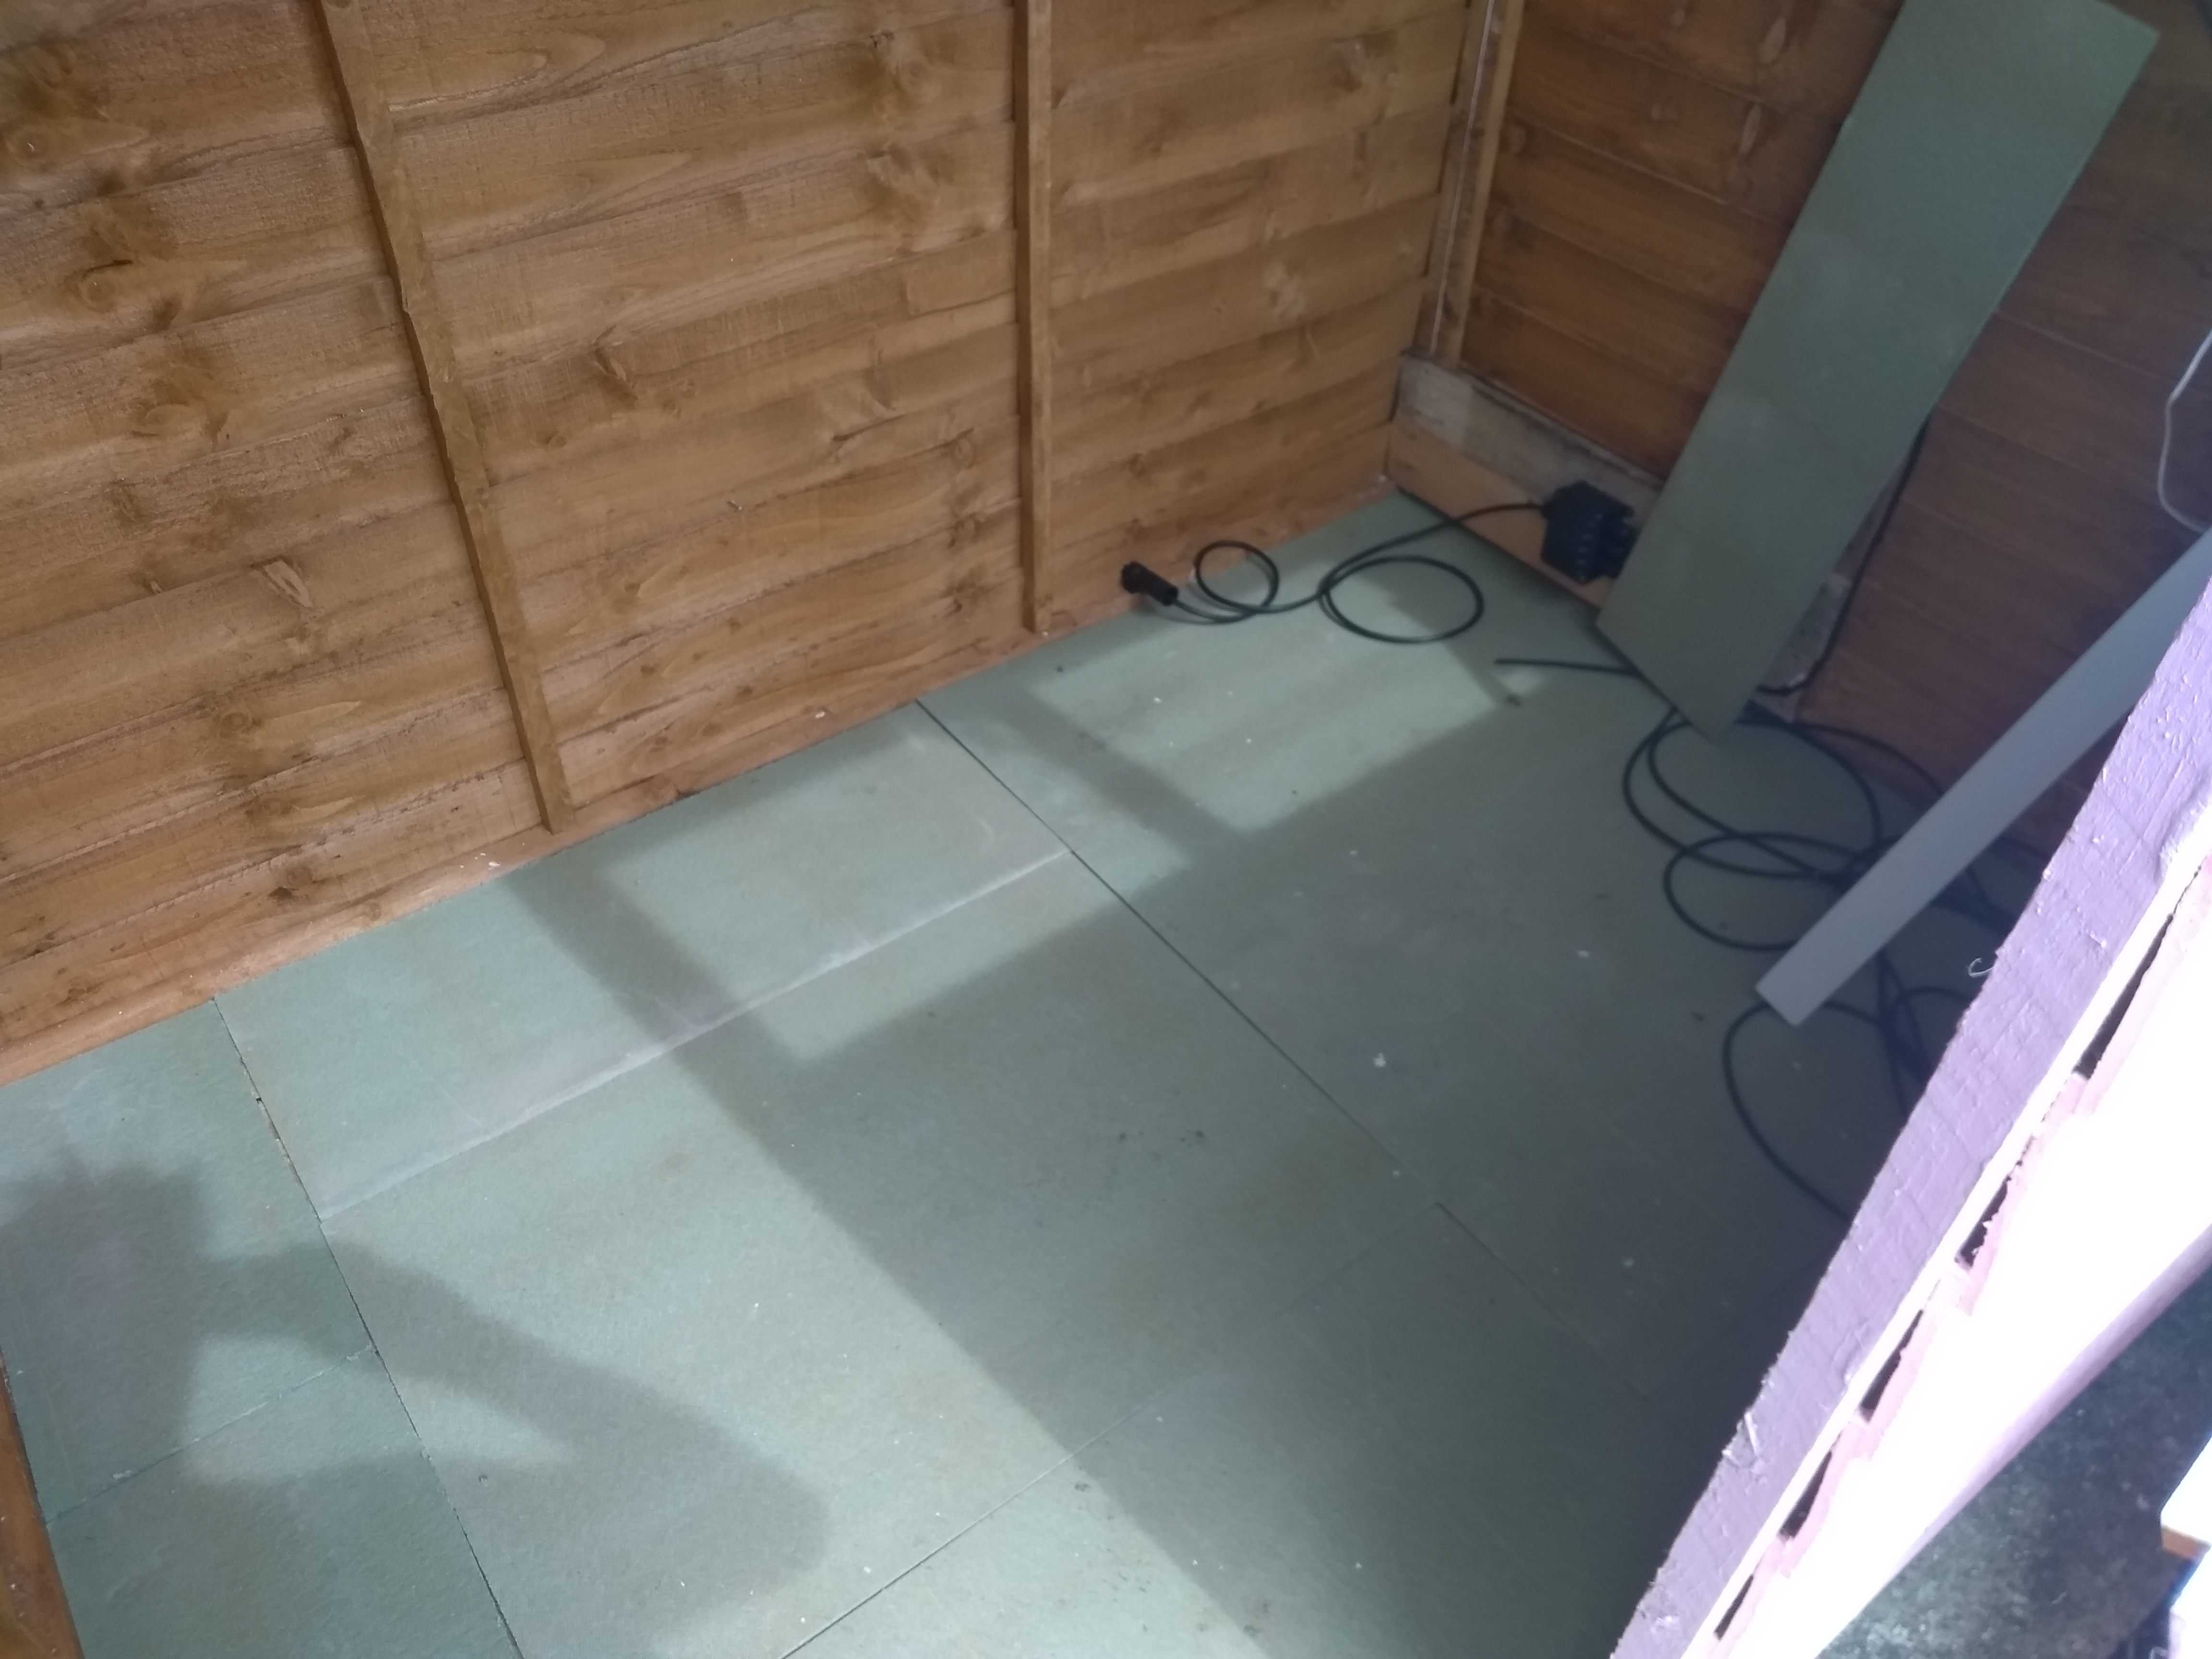
So when I lifted the laminate from the front room I kept hold of some of it for just such an occasion. I haven’t finished it with some trim or anything.

Fitting Underlay In The Shed
Reusing The Old Laminate Flooring From The Living Room. Laying The Underlay In The Shed.
Laminate Flooring Laid In Shed
Old Laminate Flooring From Living Room Fitted In Shed.

With most of the outside done I have now fitted the windows. It came with some plastic windows but I decided to go down to my local glass shop. These places are usually really helpful. I got 2 sheets of tough glass cut to size and some window putty for under £15.

Glass Windows Fitted In Shed
Thick Glass Windows Fitted In Shed Wooden Strips Added To Stop Easy Removal From Outside.

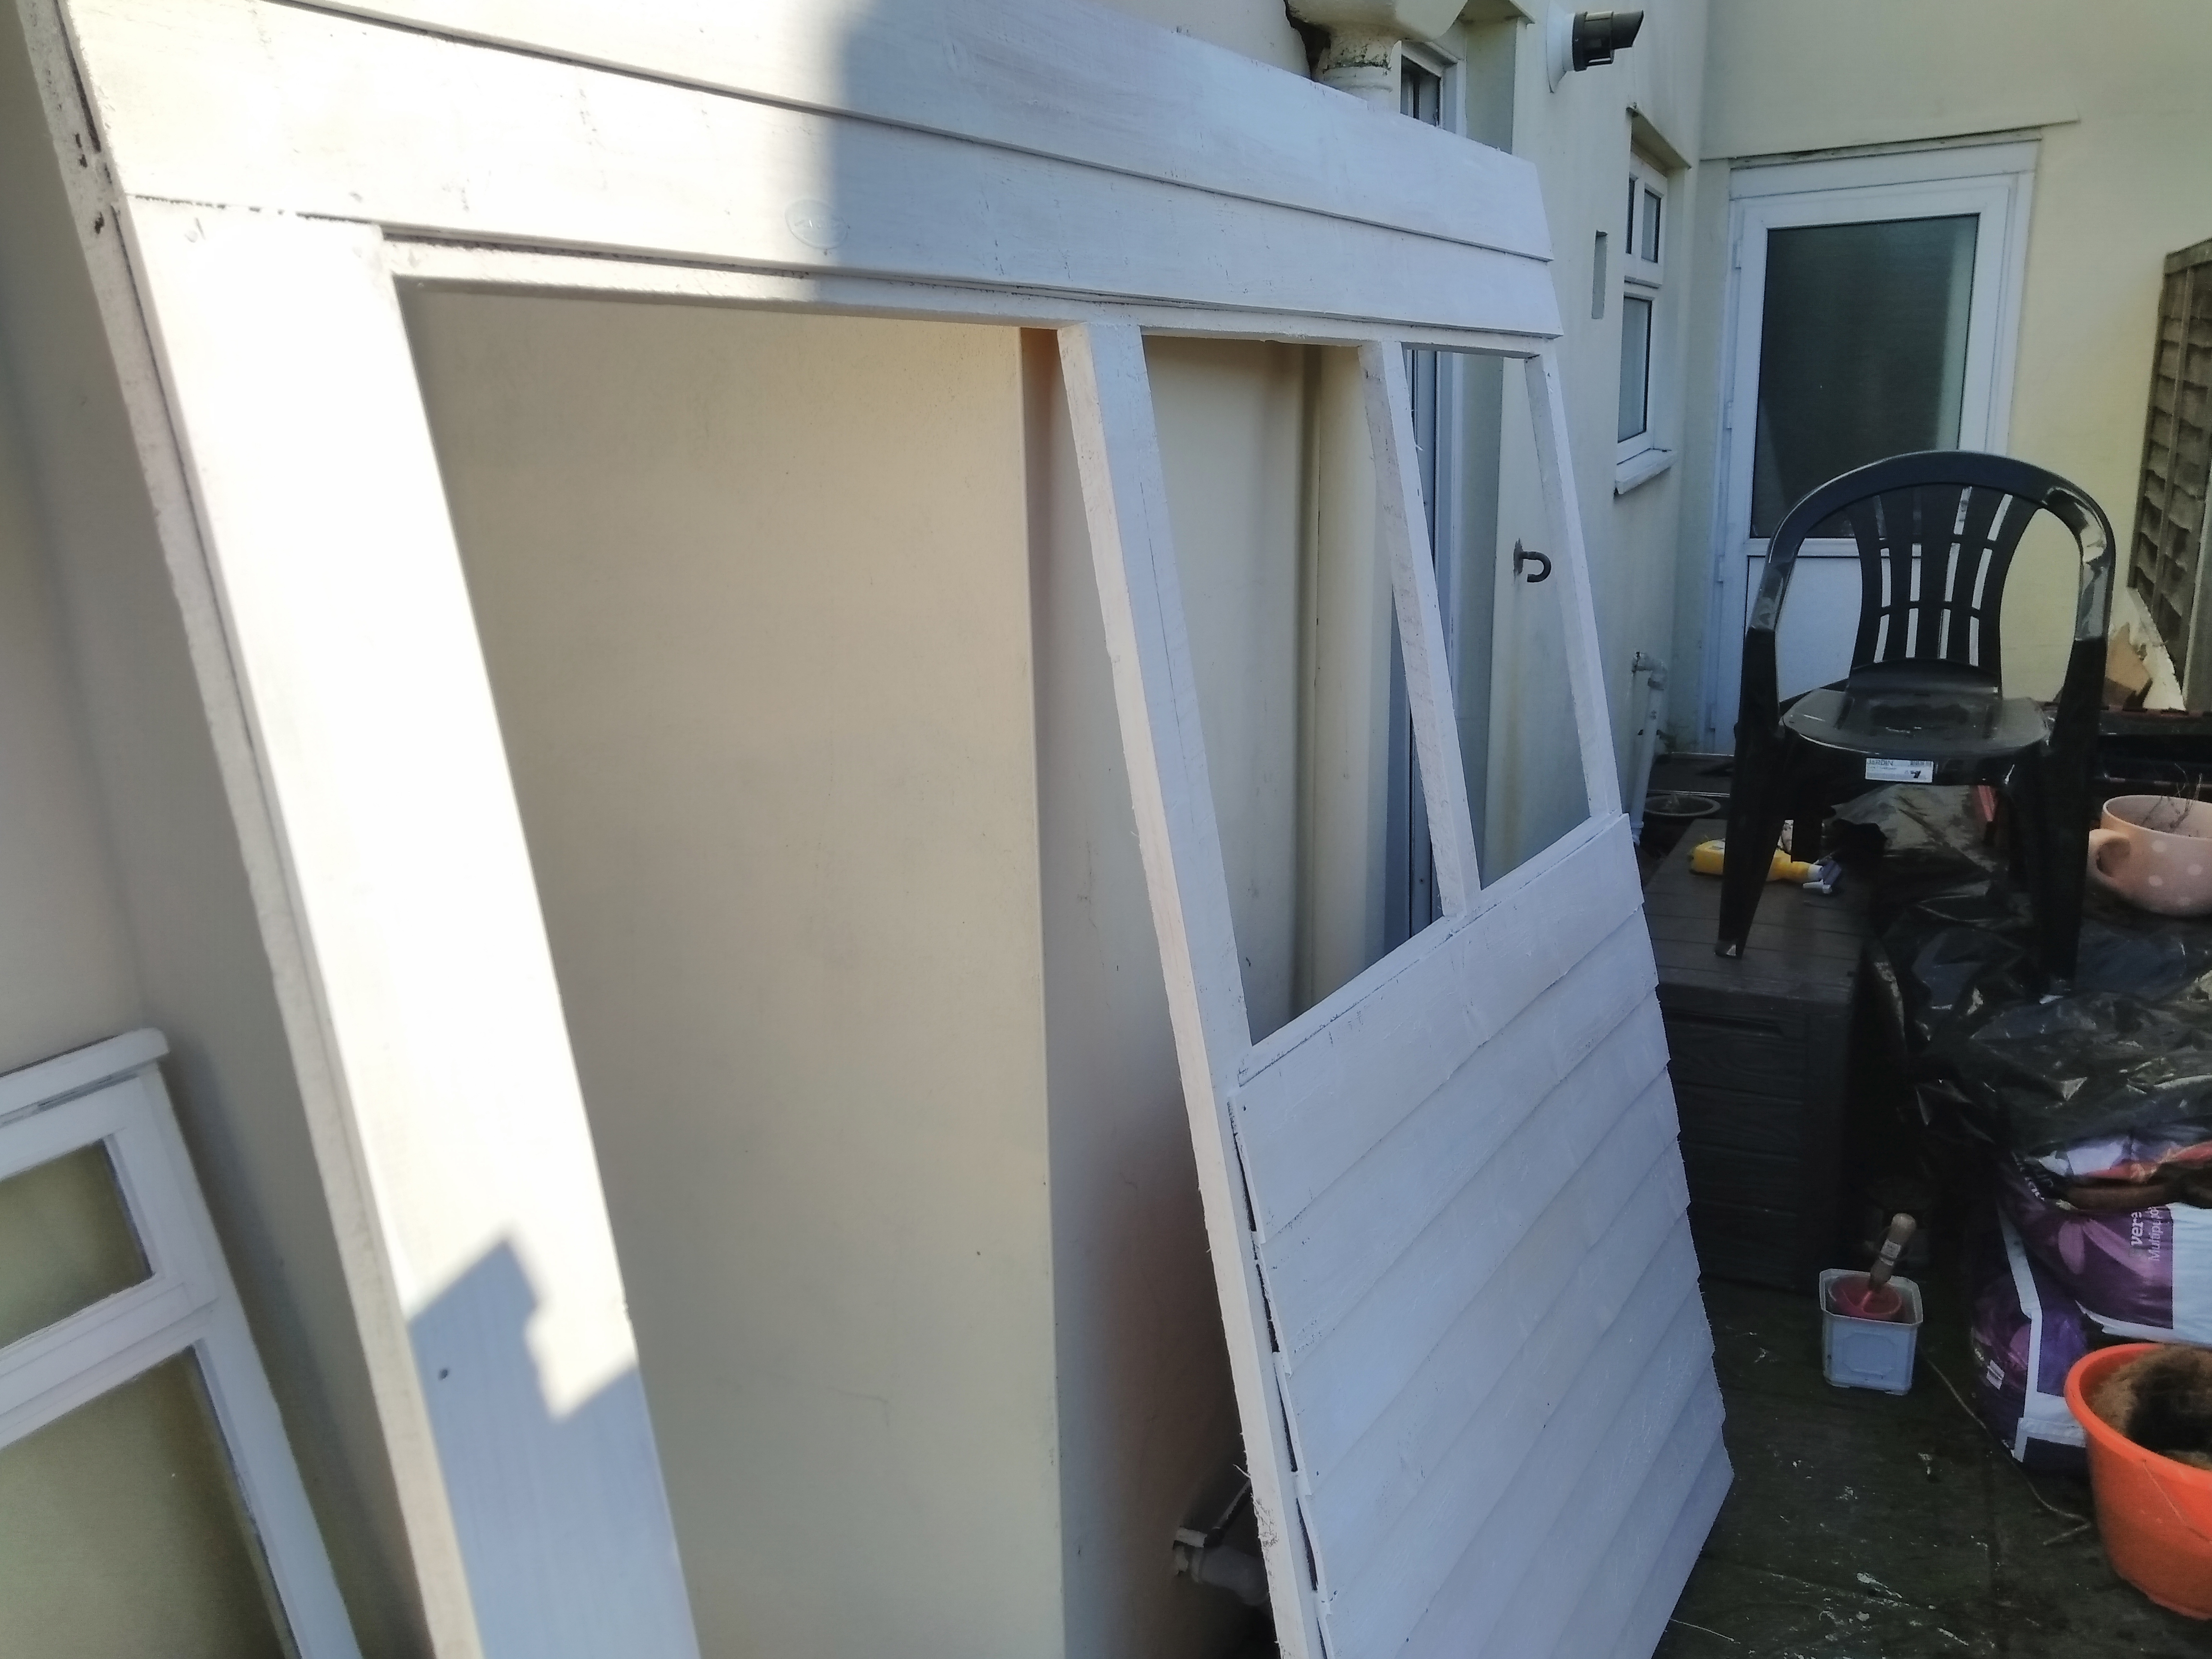
So, for the time being, I have had to fit a door and leave the project for the rest of the year and focus on the living room.

As soon as I get started again I will get another post up.

Facebook Comments