
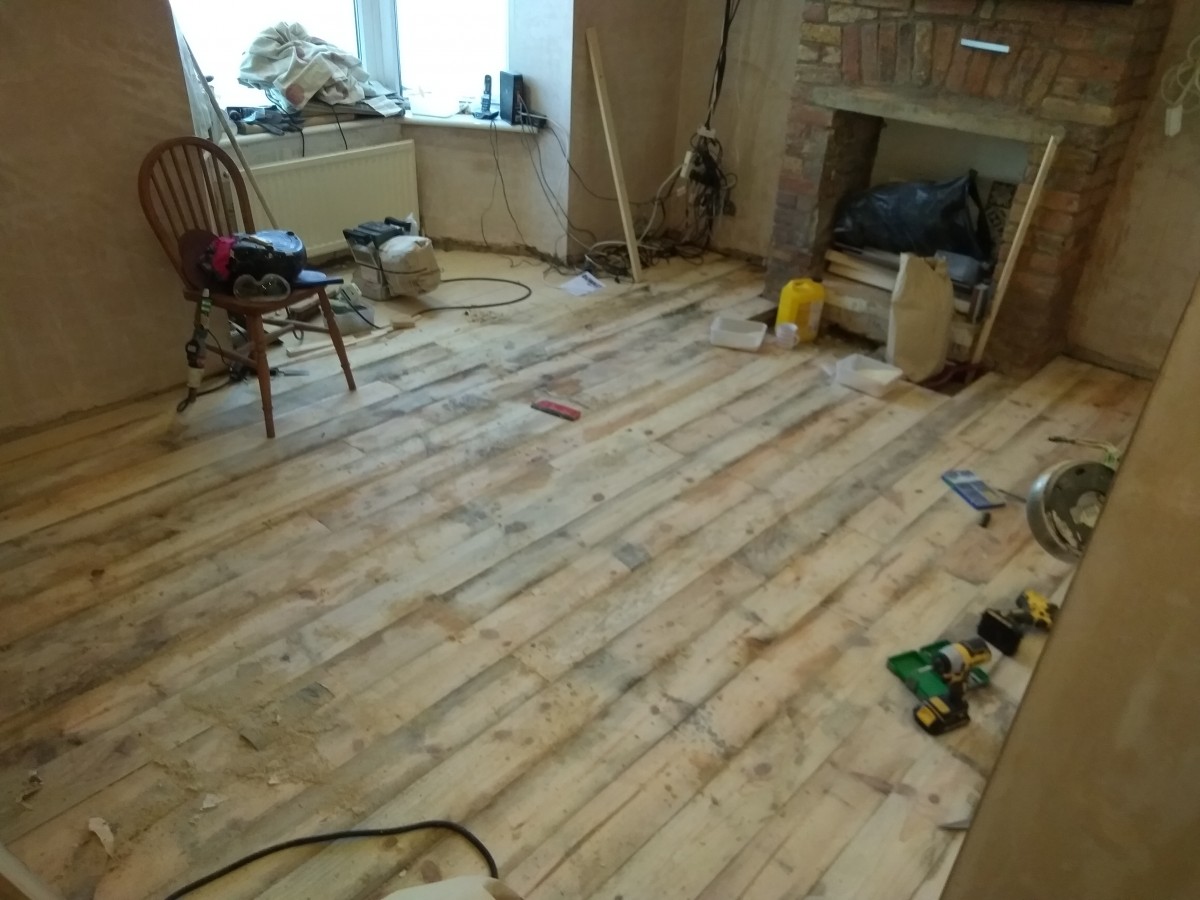
So after lifting the laminate floor from the room, we knew that we wanted a wooden floor and the idea was to sand down the floorboards and varnish. Once we had a look at the boards I could see straight away a lot of paint stains, splits and the fireplace hearth. Bit of research into how much boards would cost and what boards to use, this lead me to Scandinavian Larch.
Seems like a nice wood, good colours when it’s polished up. Looked around the web for some suppliers and it just so happened some guy was selling planks on gumtree for around £5 a length, went down and picked up about 40. I have to admit they were pretty rough and damp. Got them home, Sam wasn’t happy, AT ALL! So, I stacked them in the living room against the wall to get some air to them. Put a fan on low and then turned them once a day for about a month. After that, I stacked them into two piles and strapped them at each end to stop them bowing.
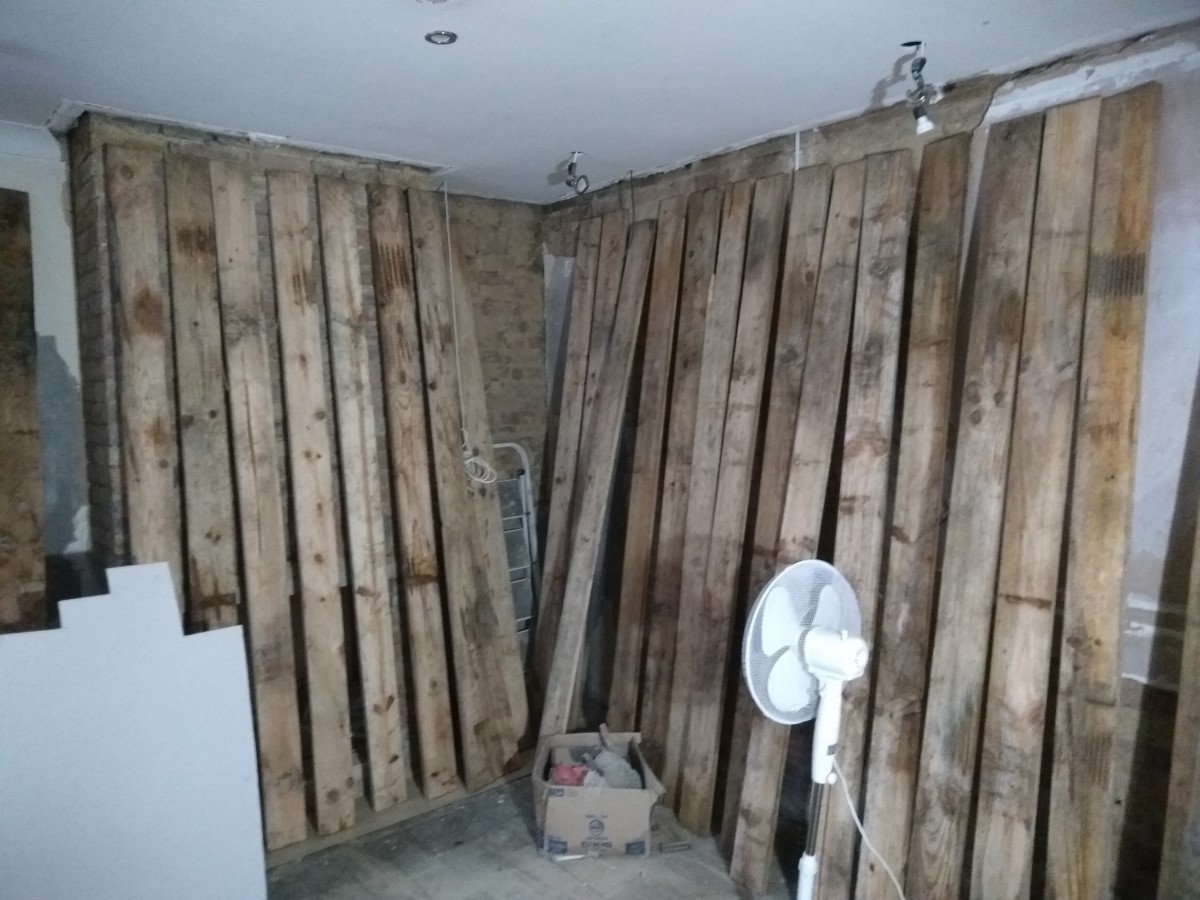
I then unwrapped them after about a month and put them in the room above so the plasterer could do his work.
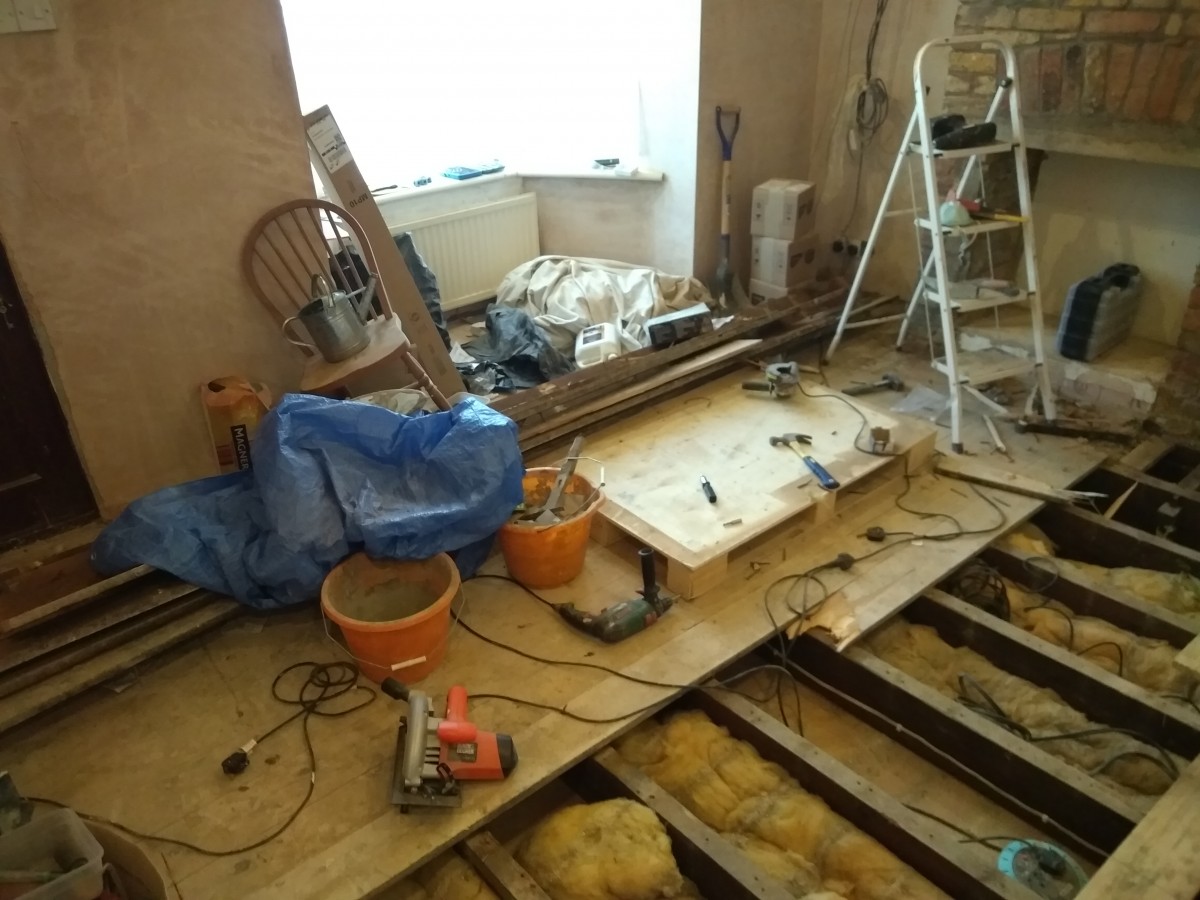
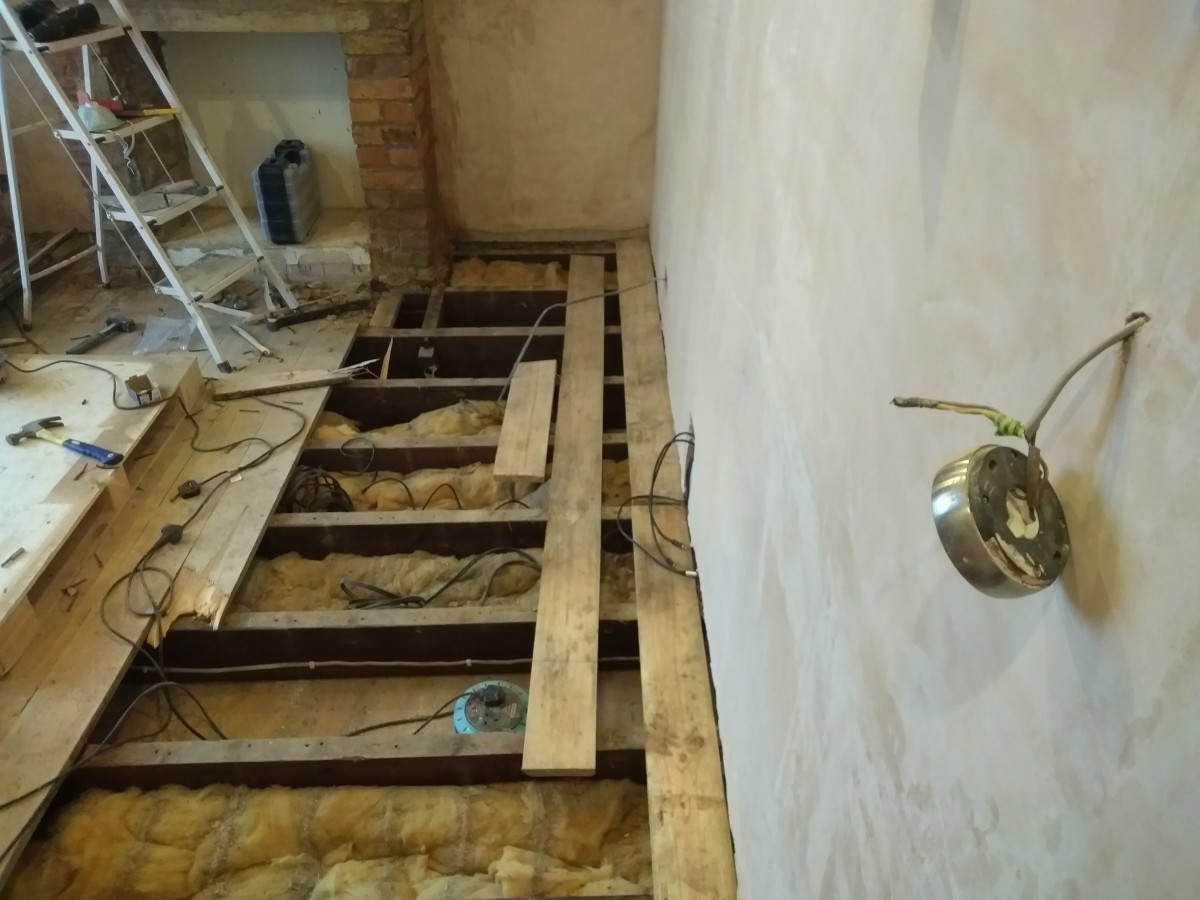
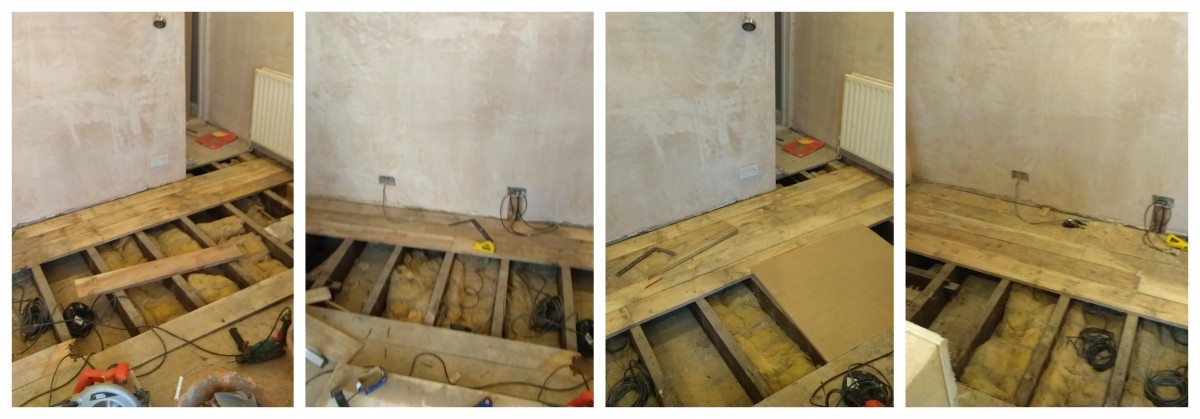
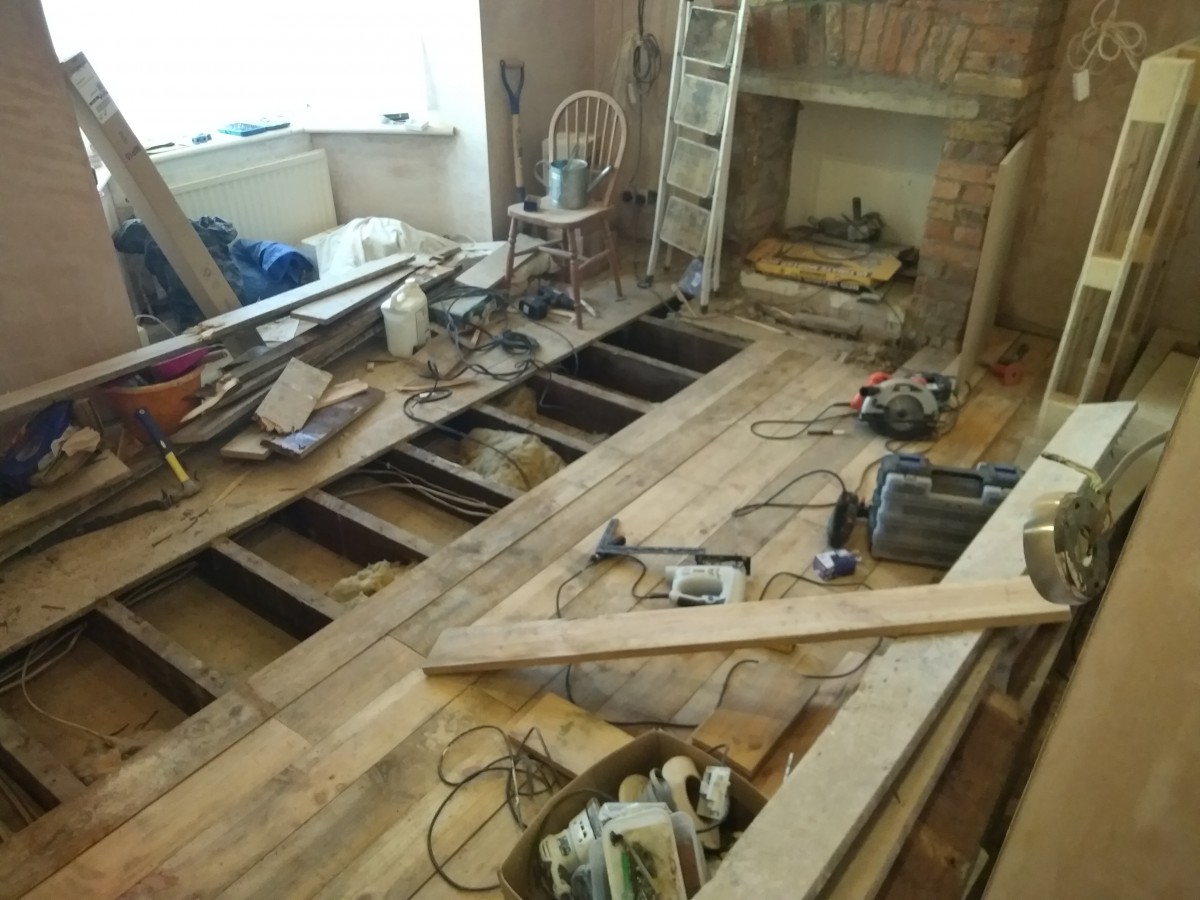
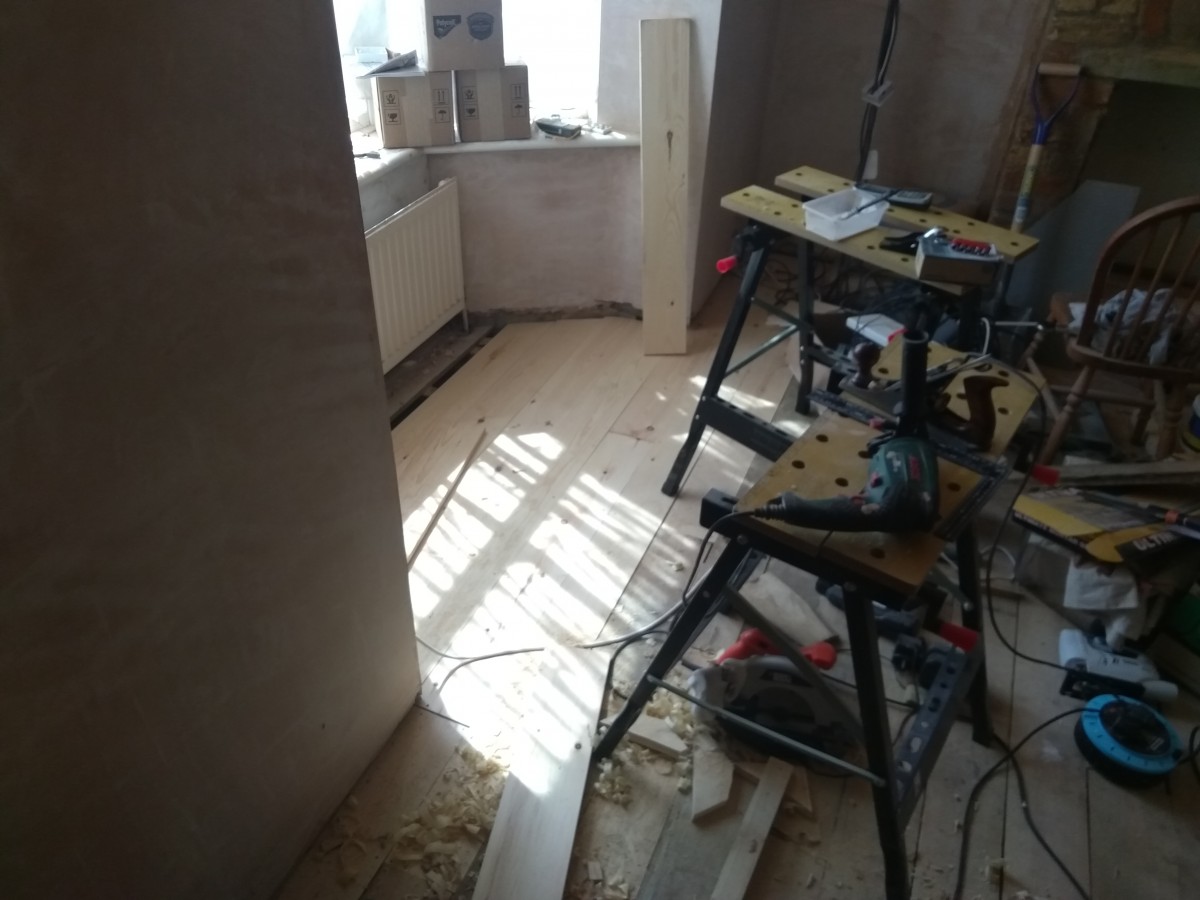
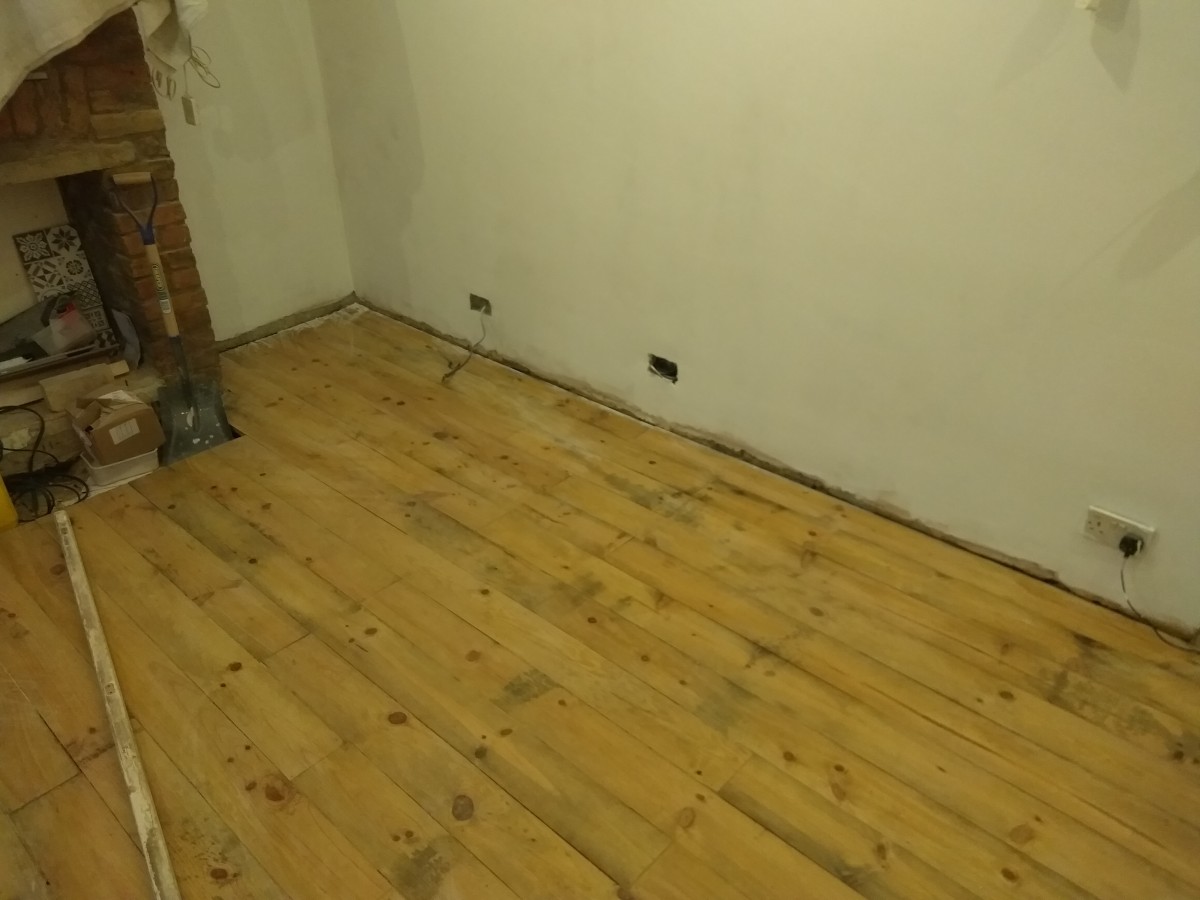
After the plaster was dry it was time to get back to the floor. Quite short on space so instead of ripping up the whole floor I ripped up a section at a time, starting by the staircase I pulled up a few rows at a time.
While I fitted the floor I wanted to lay some cabling. The idea is to have the record player and bass box on one side of the room and hide the cables under the floor to run to the amplifier.
I also ripped out the old hearth and laid the boards around it. Not sure what exactly I was going to do but the joist were already cut.
The first problem was the quality of the wood. Some of it wasn’t up to scratch and couldn’t be used. I hadn’t bought much spare as the grief from the Sam would have been too much. I tried to get in touch with the guy I had got them from but no response. I managed to get some good board from a local timber merchant instead.
Now, this can be a little bit daunting, it is easy to go down B & Q or Wickes with no clue and get what you need without feeling out of place. The problem when you go to trade merchants is they can be intimidating. Mostly full of tradespeople and salt of the earth types behind the counter. Bottom line is they are a business like anyone else. Two things to remember, these places will always be cheaper and these people are knowledgable, they have been there for years they will pretty much know what you need before you do. Having said that it is always good to do a bit of research. Bottom line is the guy who has been working at the plumbing merchants for ten years will have a better idea of exactly what you will need to change a thermostatic valve on your radiator than Kevin the Saturday boy at Homebase. Is Kevin going to tell you to buy some ptfe tape? No, he won’t and that’s why you will still be sitting there way after the shop has closed trying to figure out why no matter how tight you tighten the screw on your new thermostatic radiator valve it is still leaking. Then the only option is, drain the system and turn off the heating. Just hope it’s summer otherwise the other half is going to give you so much grief. Also, you go to these superstores they blatantly charge a “Pussy” tax. Do your research. Buy Local. The smaller the business the better.
So anyway, my point was, I to the timber merchant. I knew the measurements and had taken a piece of wood with me. Strangely enough, it was cut to an un-standardized thickness. Probably why it was so cheap, so told the guy, straight away he said;
“For Flooring? You want this then”.
It was a few mm different but that’s my problem not his.
“How much you want and you want it cut to lengths?”
“How Much To Cut It?”
“Free!” I think B & Q does the first 3 cuts free.
“Want us to deliver it?”
“How much £££?”
“Free, it’s a bit late now but we can drop it down in the morning!”
Like seriously, you just don’t get that with these corporate stores. So I now go there for all my wood needs.
Ideally, if I can buy locally I don’t even mind paying over the odds.. to a degree if it’s a small business.
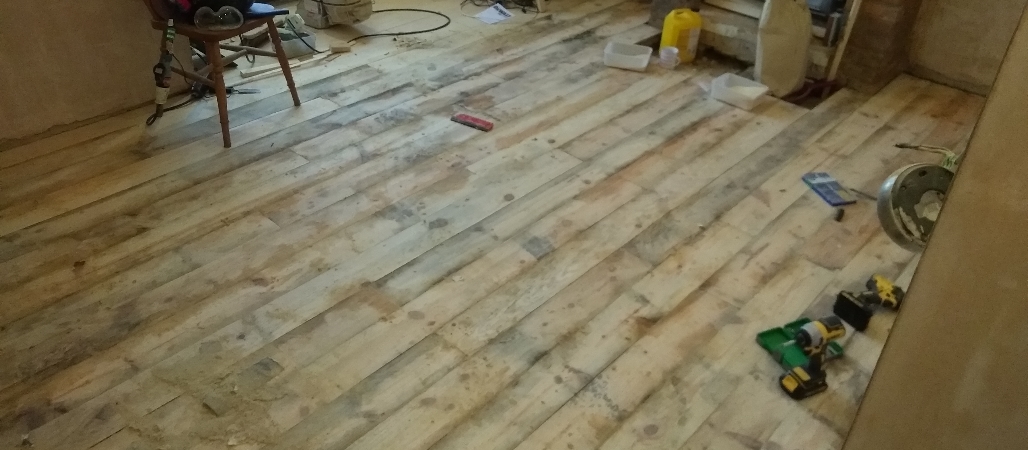
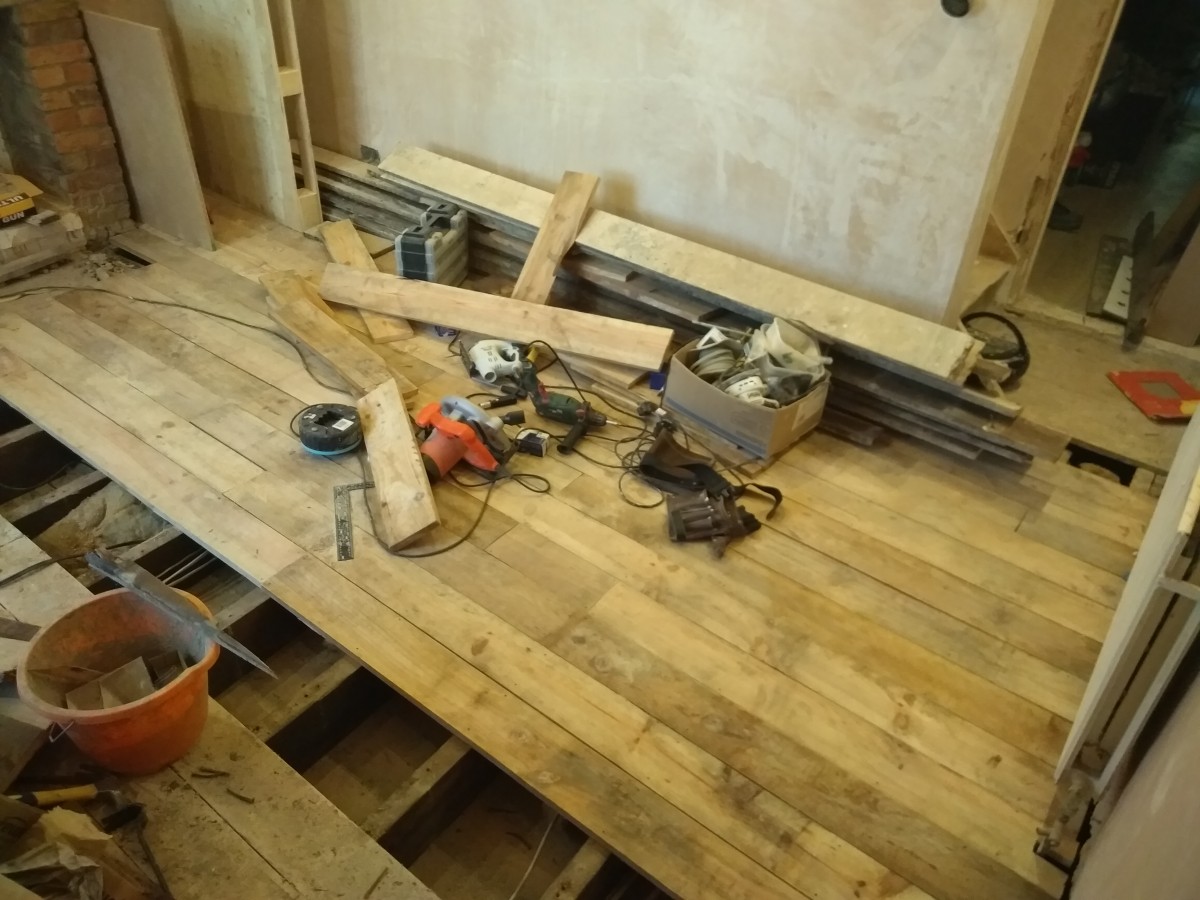
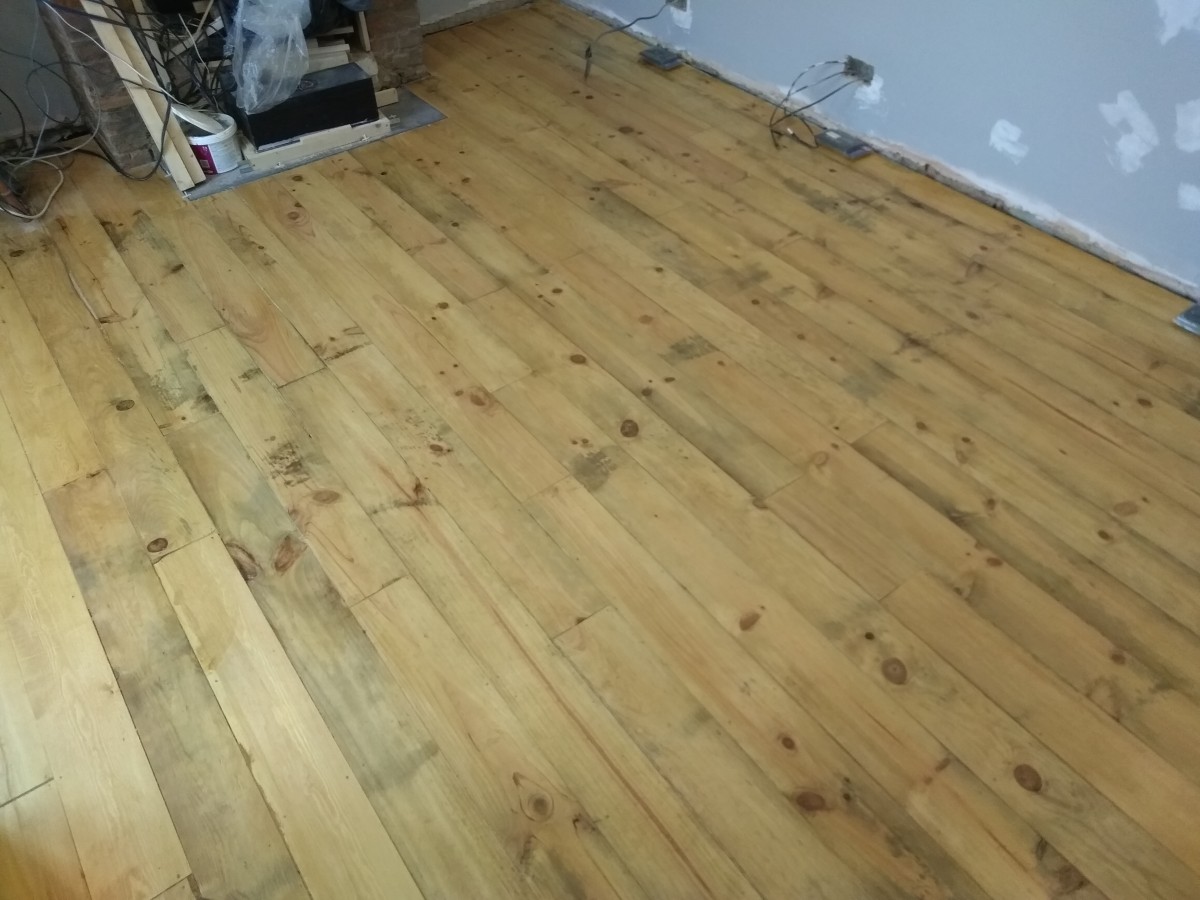
Anyway got the timber back and laid it next to the boards that were already set. A huge difference in colour, but hey we are here now. And it is the bay window section, that will have a chair on it and the direct light from the windows, Now as soon as I laid it down you could see the height difference and no amount of sanding will help. So I had an idea I had some spare 2 b 2 laying around so got out the chop saw and cut some slightly angled slithers or biscuits of wood as well as some flat ones, only a few mm each. I also pulled up a couple of the new floorboard, randomly. So where I have pulled up the board I glued the biscuits to the joists and then screwed in the new boards, it raised the new board just enough to be close in line with the old. I also didn’t want a line down the room where you can see we changed wood, so mixing in a few boards for flavour. Where I did join from the old to the new I used the “wedge” biscuits this gave the height against the old board but lowered to the new boards so I could just continue to lay them. Lastly, I used some pine slivers in any large gaps. This is just thin pieces of timber strip with the slight wedge. Cut to length bit of wood glue and tap it into the gaps. You can buy these pine slivers on eBay of even B&Q. I made mine on the table saw. What I saved in buying them ready-made paid for the table saw!
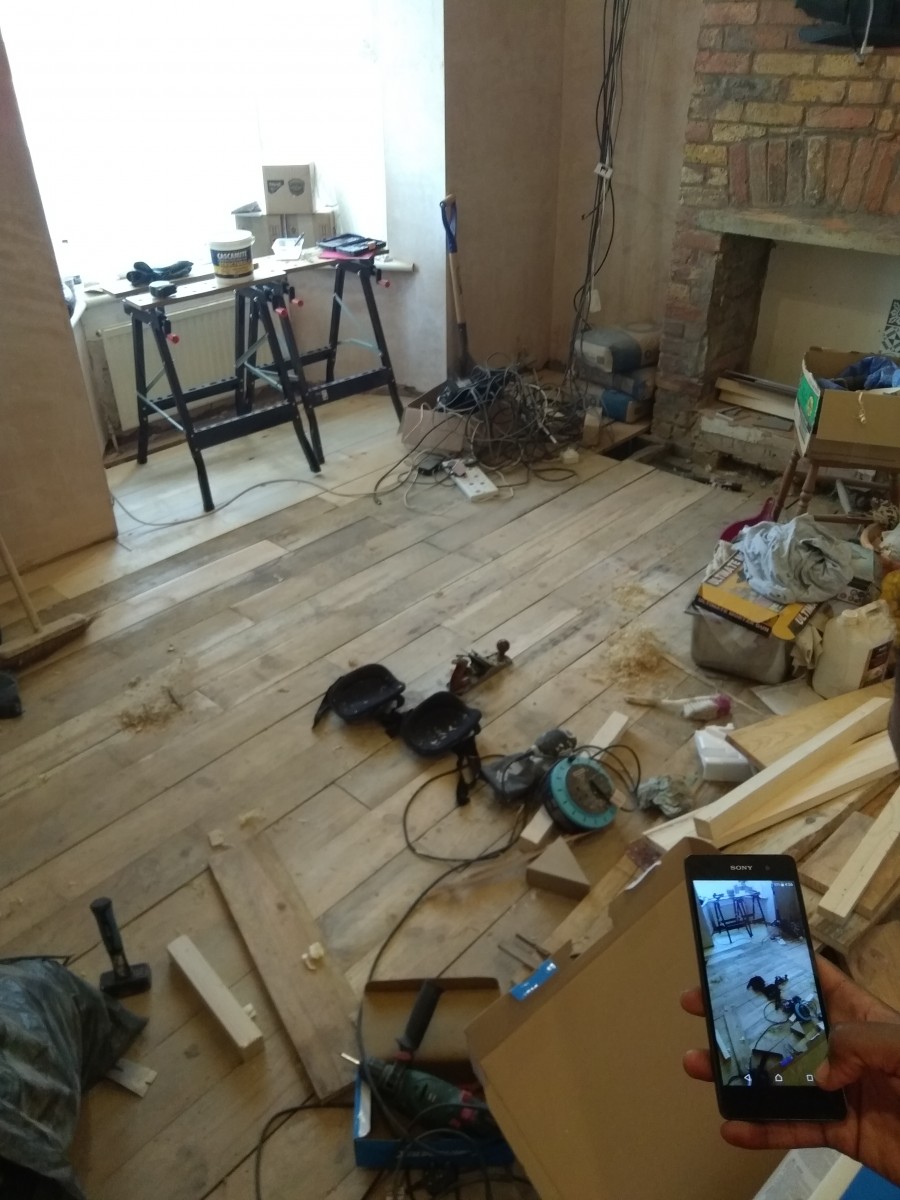
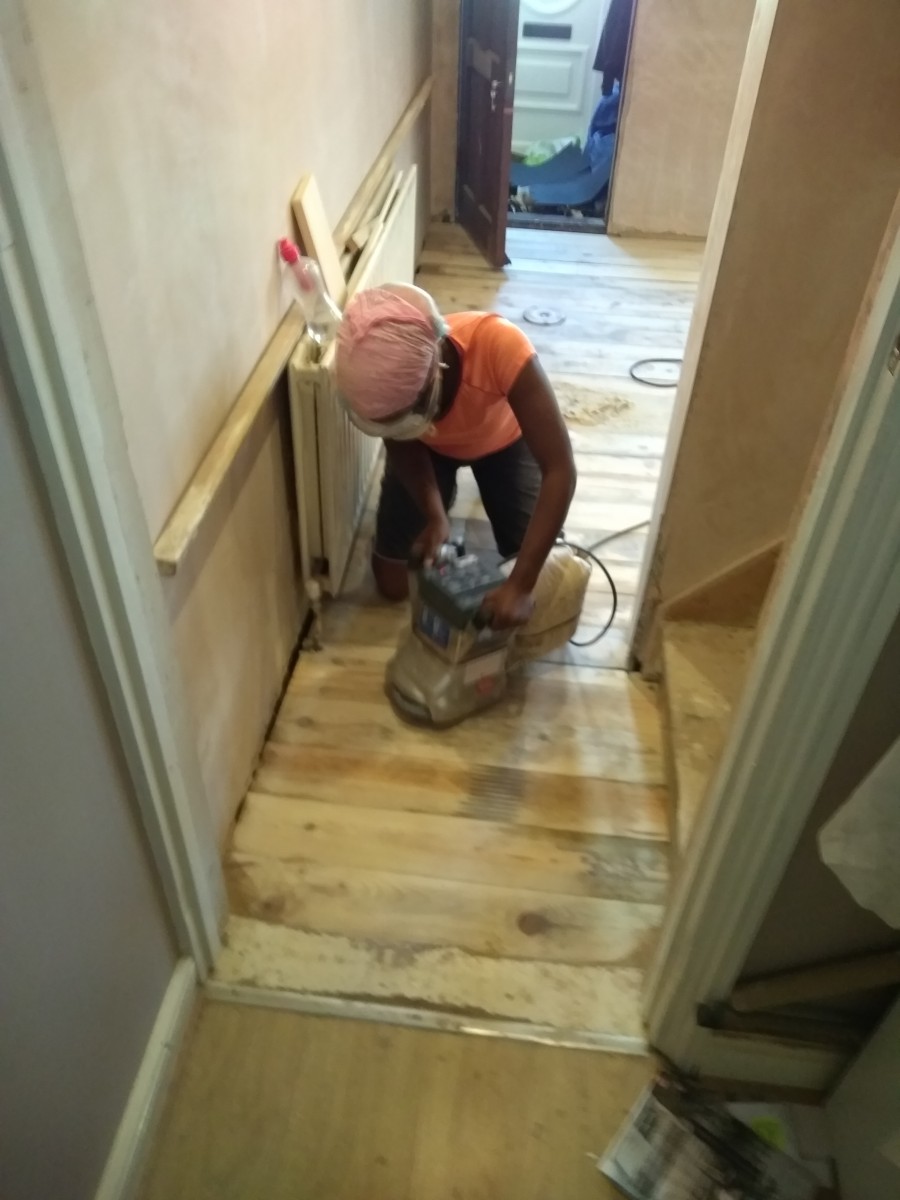
So that’s the floor down. Probably one of the proudest moments of my life. I loved the rustic look but it wasn’t going to stay like that. First went over the hard joins with a plane just to level out any crazy height differences. Next, we hired a floor sander set for the weekend as we had also laid a new bedroom floor so it worked out pretty economical. If I can give you one tip, buy more sandpaper than you can ever imagine using. The hire shop will buy back what you don’t use but if you are doing it on the weekend and you run out the hire shop is usually closed until Monday. Also if you run over a screw and press too hard, you will rip a sheet in second. It scares the shit out of you and you have to stop and refit a new sheet. Make sure you do the sheets up tightly as again if they are loose they will rip. Get one dust bag for each machine and empty it out and reuse. They are like £4 each bag.. So fuck that. (here’s where I saved the sawdust for later).

So now all sanded and looking more uniform but still some nice natural colours. So I got this resin glue from amazon so I mixed it up with the sawdust and using a grouting spatula I went over the floor squeezing it into any gaps between boards. So let that dry out for a couple of days.
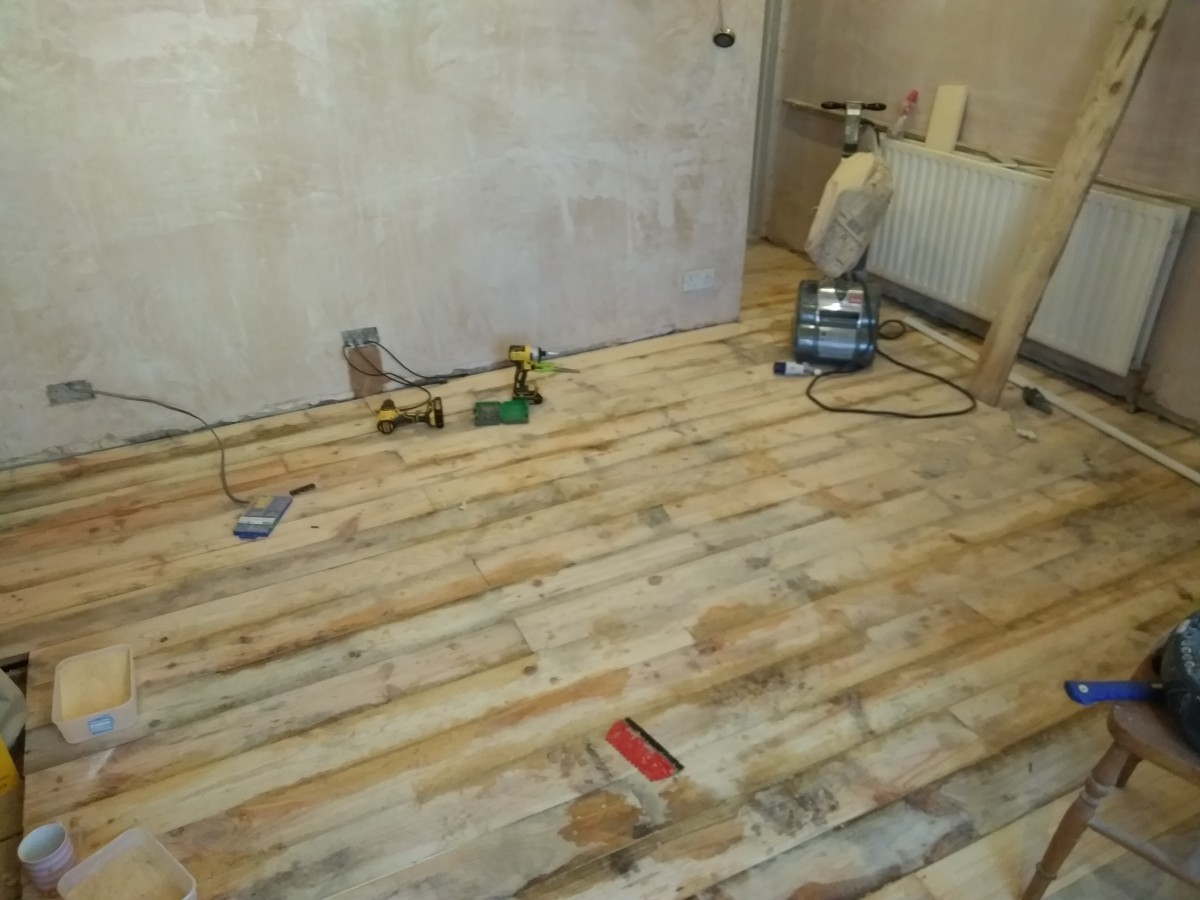
Now for the finish, personally I wanted to go with quite a dark colour but The Sam was dead against it. I thought with the greys and crisp whites a dark wood would look slick. She was having none of it. After I had a little tantrum we agreed on a colour, a lot lighter than I wanted and a lot darker than what she wanted. If you can’t both be happy, you might as well both be unhappy eh! I did have to fight on this one as I wanted the warmth of a rich colour. Whereas she wanted like a virgin pine. We went with Antique Pine. Now I wanted a stain as opposed to a varnish The price wasn’t a factor. Basically, with the stain, the colour is penetrating the wood. So if you get a chip the wood will be the same colour, also you can just go over with some clear varnish every couple of years. With a cloured varnish you get a chip you can see that fresh pale wood. Also to go over it in a couple of years, you will be lucky if you can still get the same product. So buffed it up with the dye and let it have a few days to dry. I think it was 2 or 3 coats, each one getting a little darker before the girlfriend stopped me. Then I got this great varnish from Screwfix, satin floor varnish, cheap as chips. So each night before bed I would start in one corner and coat the floor. Then next day go over any rough areas with sandpaper and repeat. I did 5 coats, and see how long that lasts.
So there you have the floor. But still the hearth. I was already doing the fireplace and we knew the tiles we were having, I didn’t want the same tiles on the hearth as I think it would be too much. So took some measurements and went looking. We, in the end, got them from TOPS TILES. The great thing is you can buy single tiles to take home for we spent about £30 on samples to see what we liked. We choose a dark slate looking one. So took all the tiles back and got refunded for the ones we didn’t need. When I told the guy they were for a hearth he gave me detailed information on how to build one for a running fire. Our one is only aesthetic but it was nice to have that level of service.
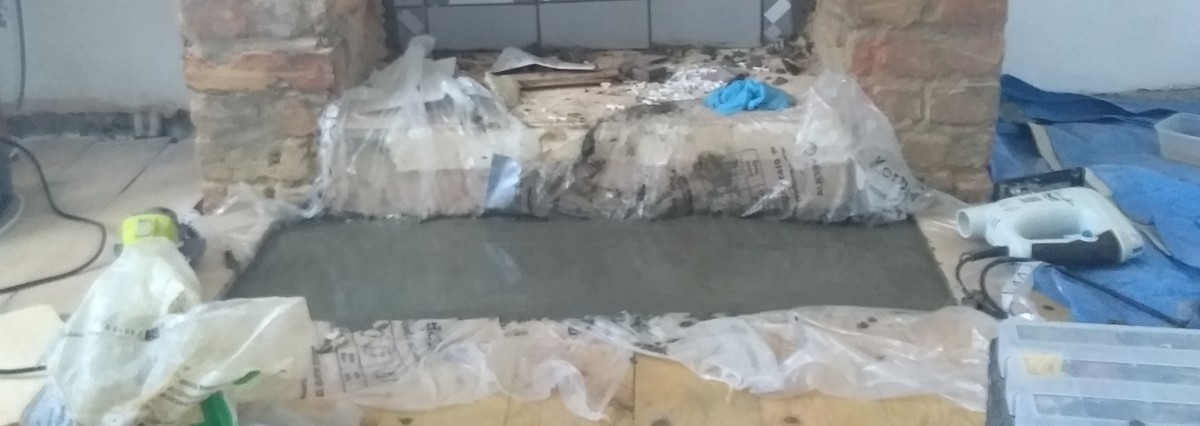
I had some ready mix from doing the pointing on the fireplace so poured a lentil and left for a few days. When that had gone off stuck done my tiles with spacers. We had seen the trim we wanted when we choose the tiles, it was about £17 for 2 and a half meters. No chance so I thought I would wait, had a look on the internet, tried to figure out some cheaper way. But still, every time I was in B&Q I would go and look at the trim. Low and behold, one day it was reduced to £3, had that straight away! Didn’t have the van so that mofo was going straight out the car window.
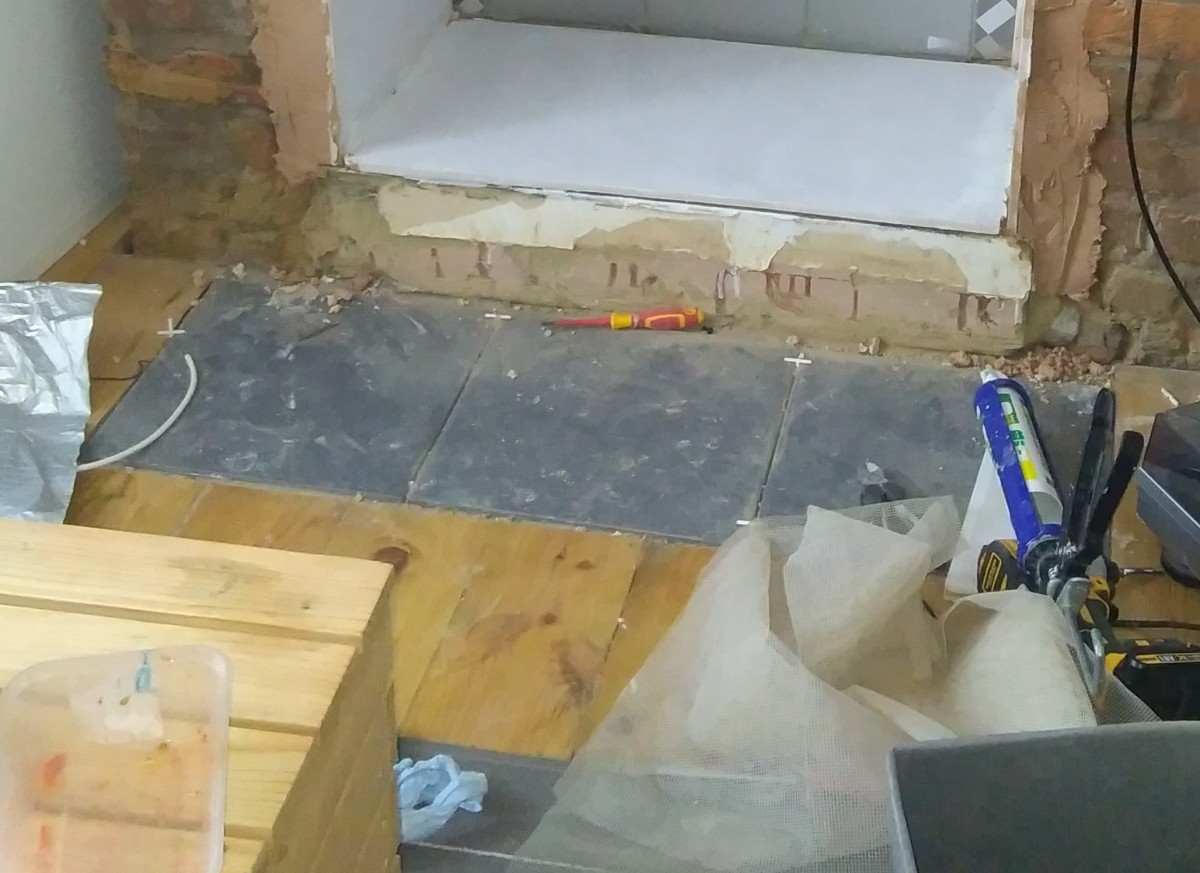
So I knew this was a one-shot deal with cutting it. So I measured it over and over. Dry fitted and then measured again. I used a fine metal cutting disk on the angle grinder and did a little trimming also had to trim a little of the floorboards as there are no straight edges in this house.

The trim wasn’t sticking well using grout or adhesive so I used some pink stuff and put some cast iron weights on top. Left it for a week to set solid. Peeled off the protective film and polished that son of a bitch up.
So There is the floor.


